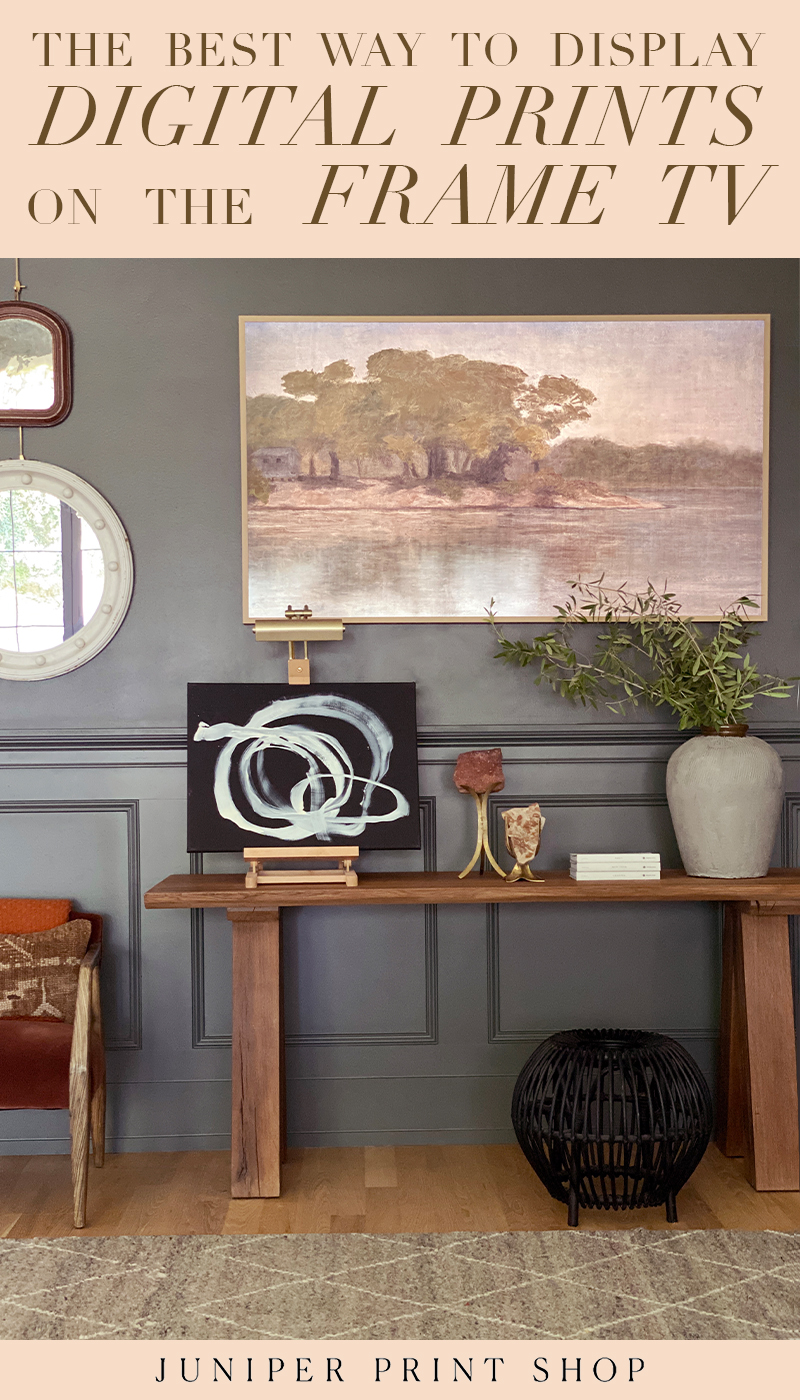
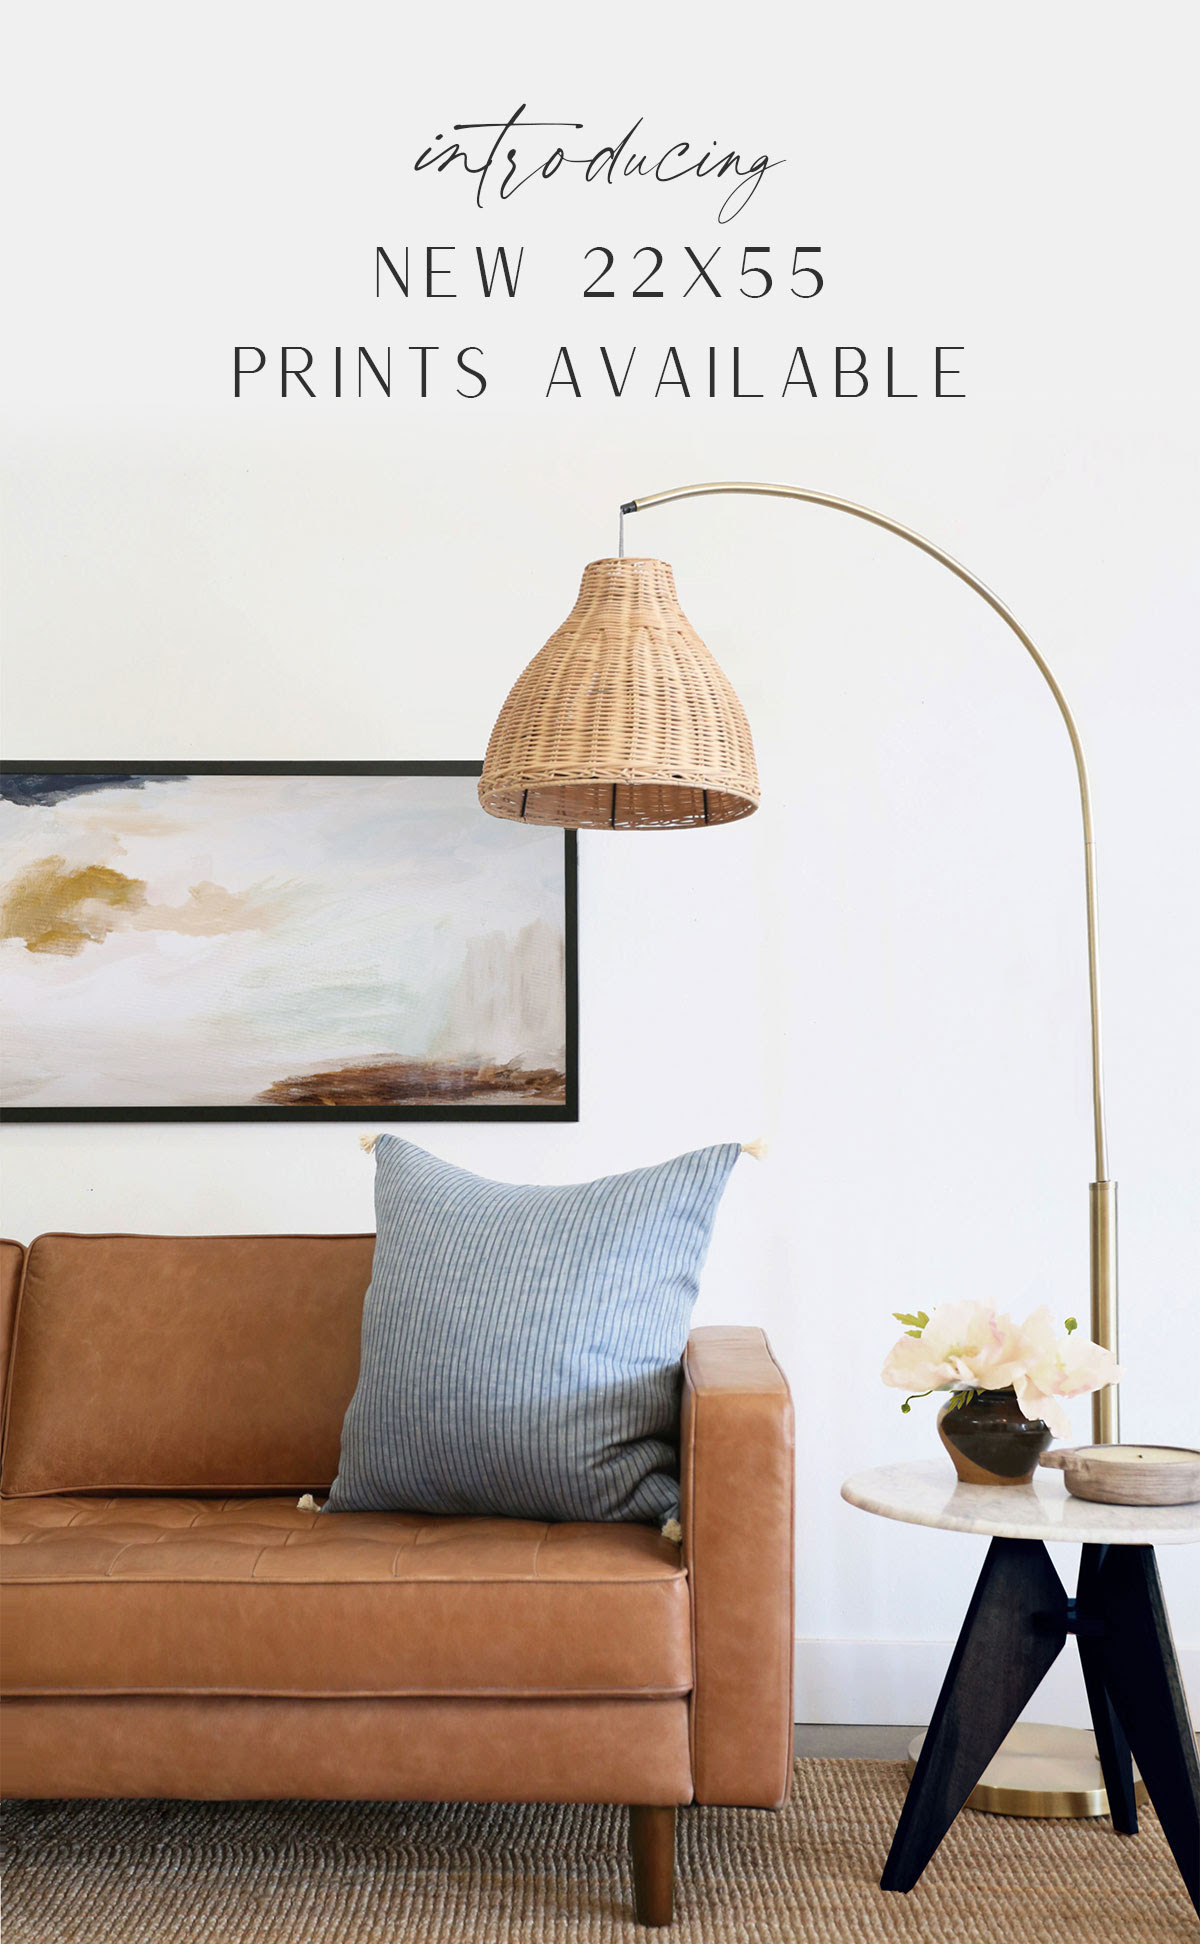
Today we’re breaking down some of the tips and tricks we’ve learned this year using our Juniper print downloads on the Samsung Frame TV! We have questions flooding our DMs and Customer Service inbox everyday with these exact questions below, so we’re excited to jump in and hopefully help you more easily navigate the wonderful world of Juniper Print Shop + the Frame TV!
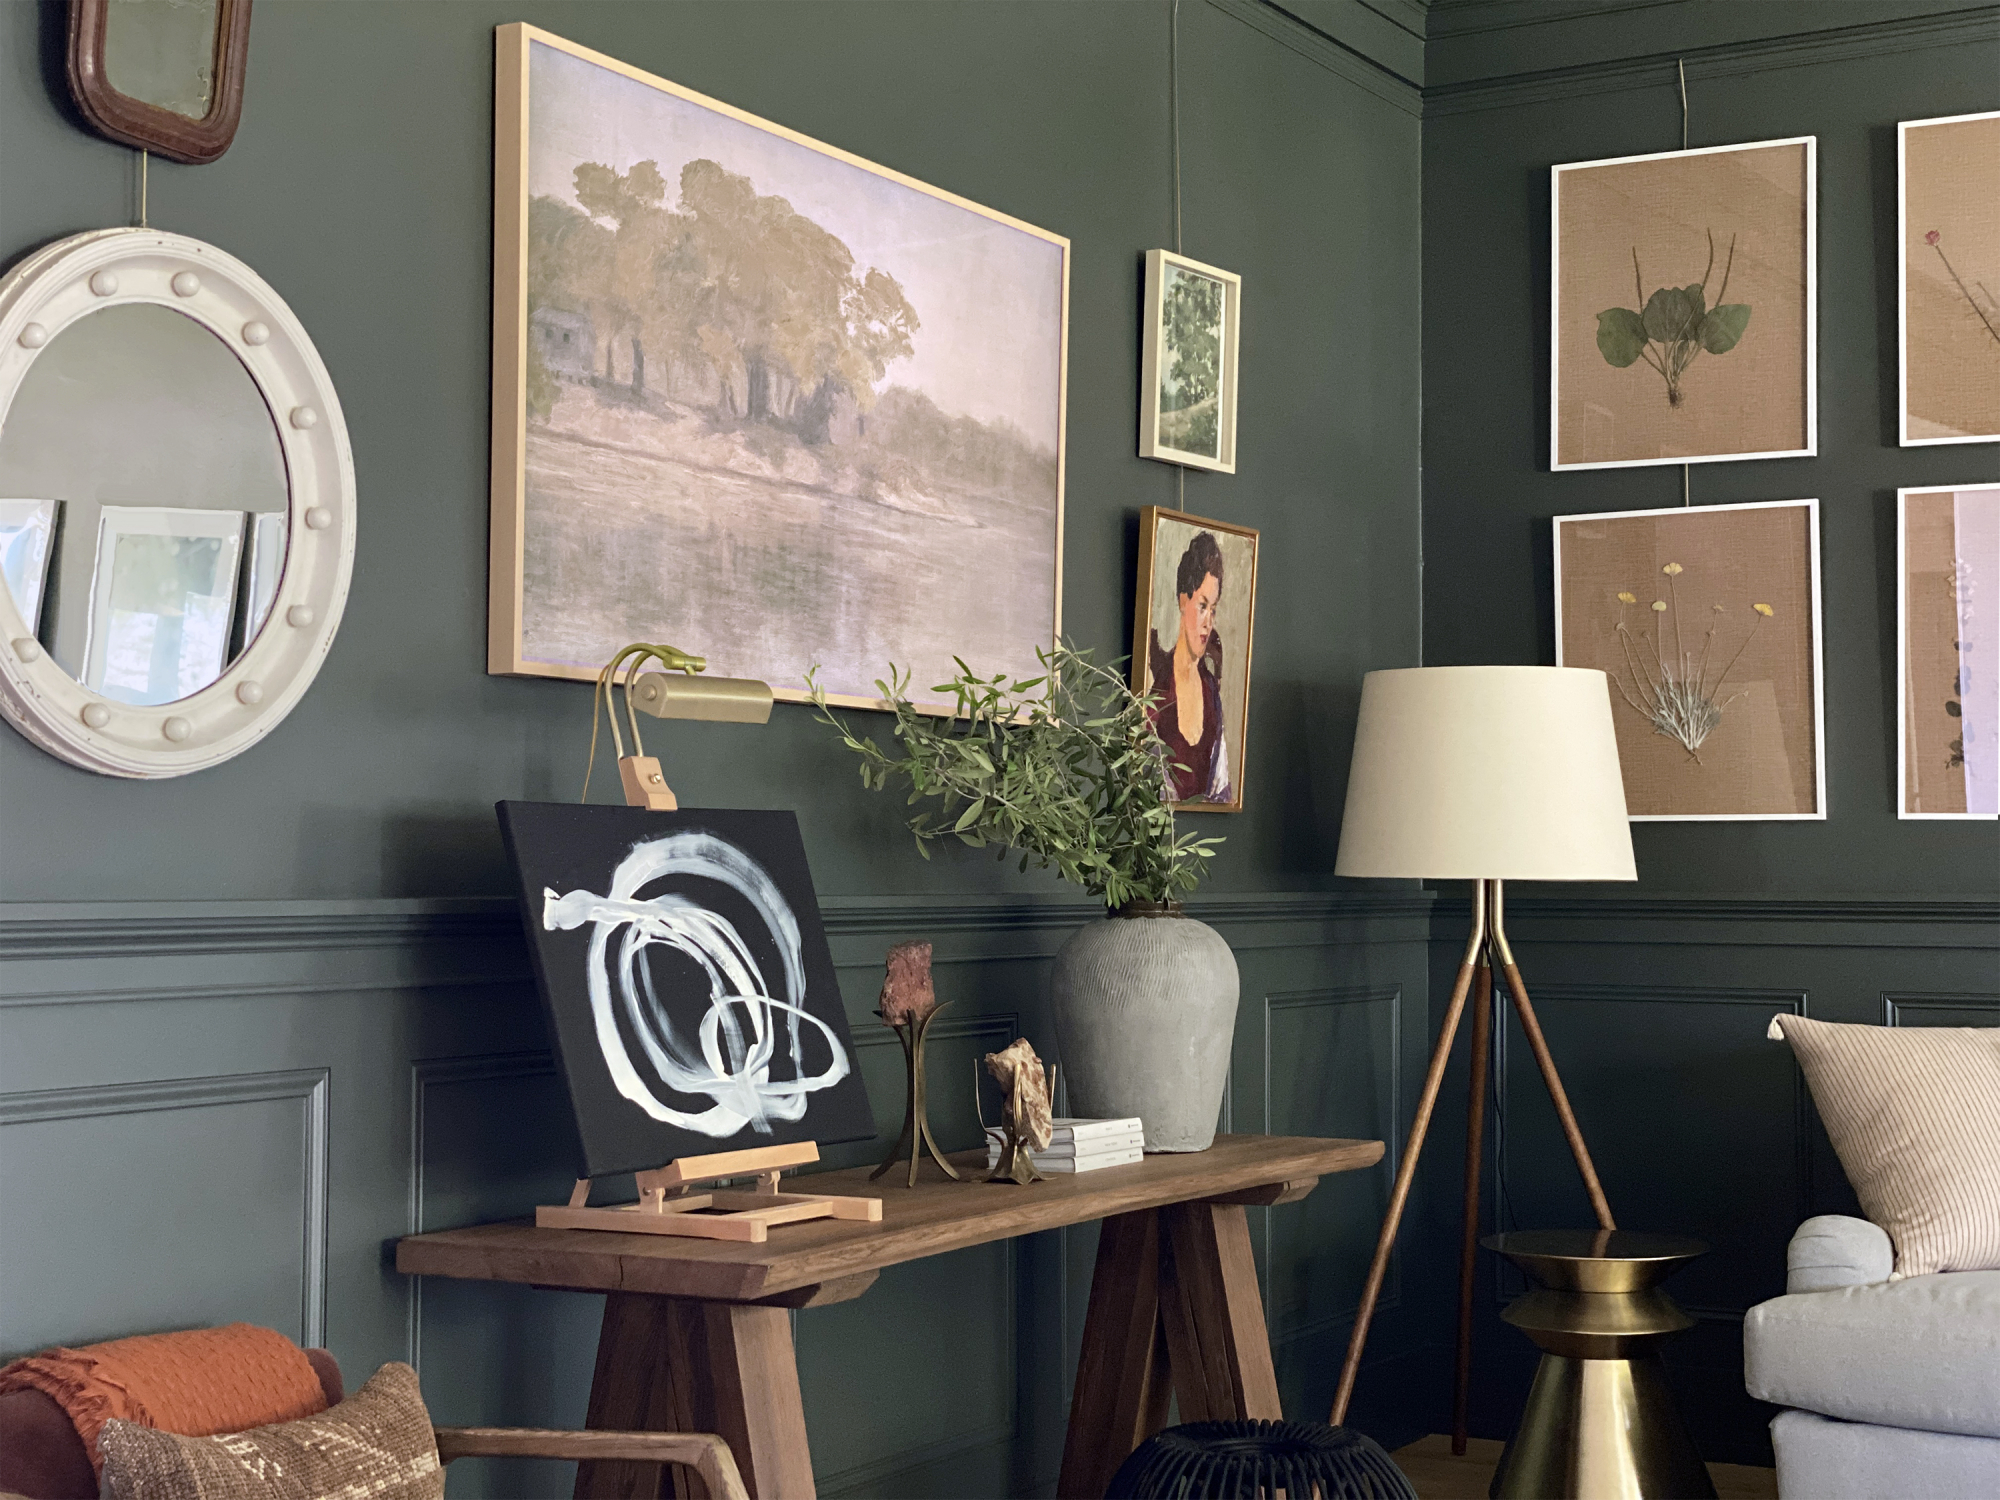
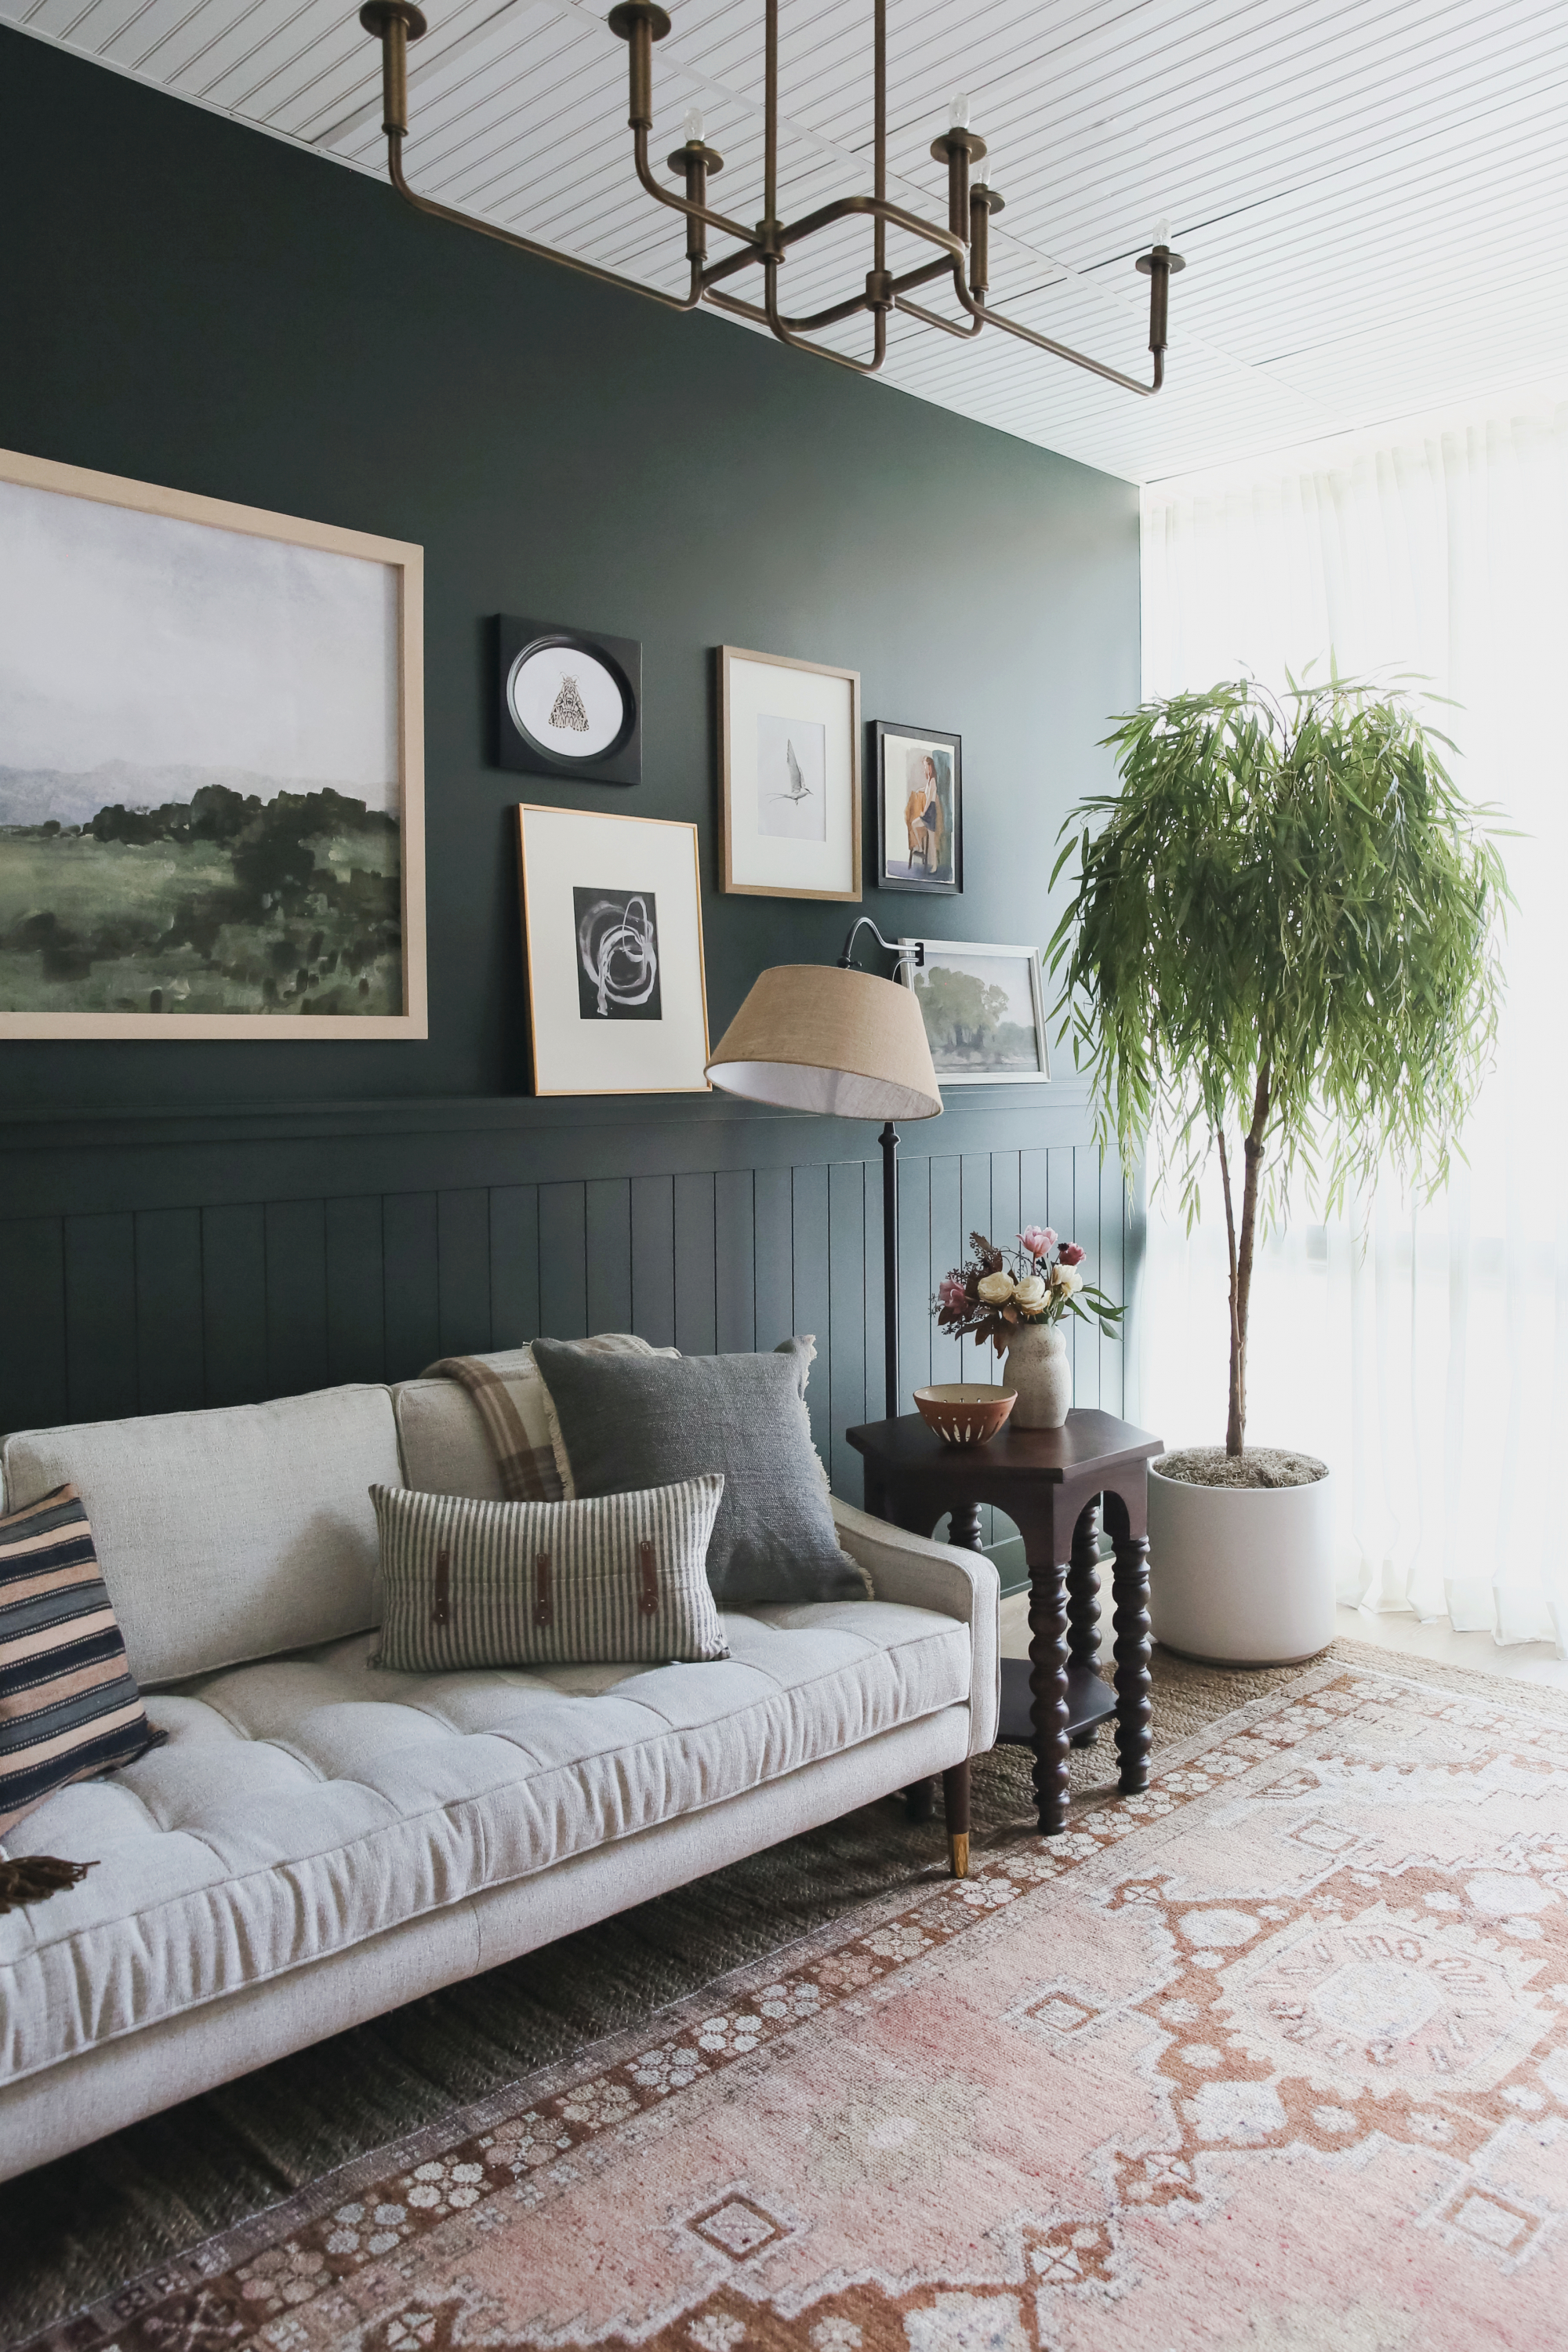
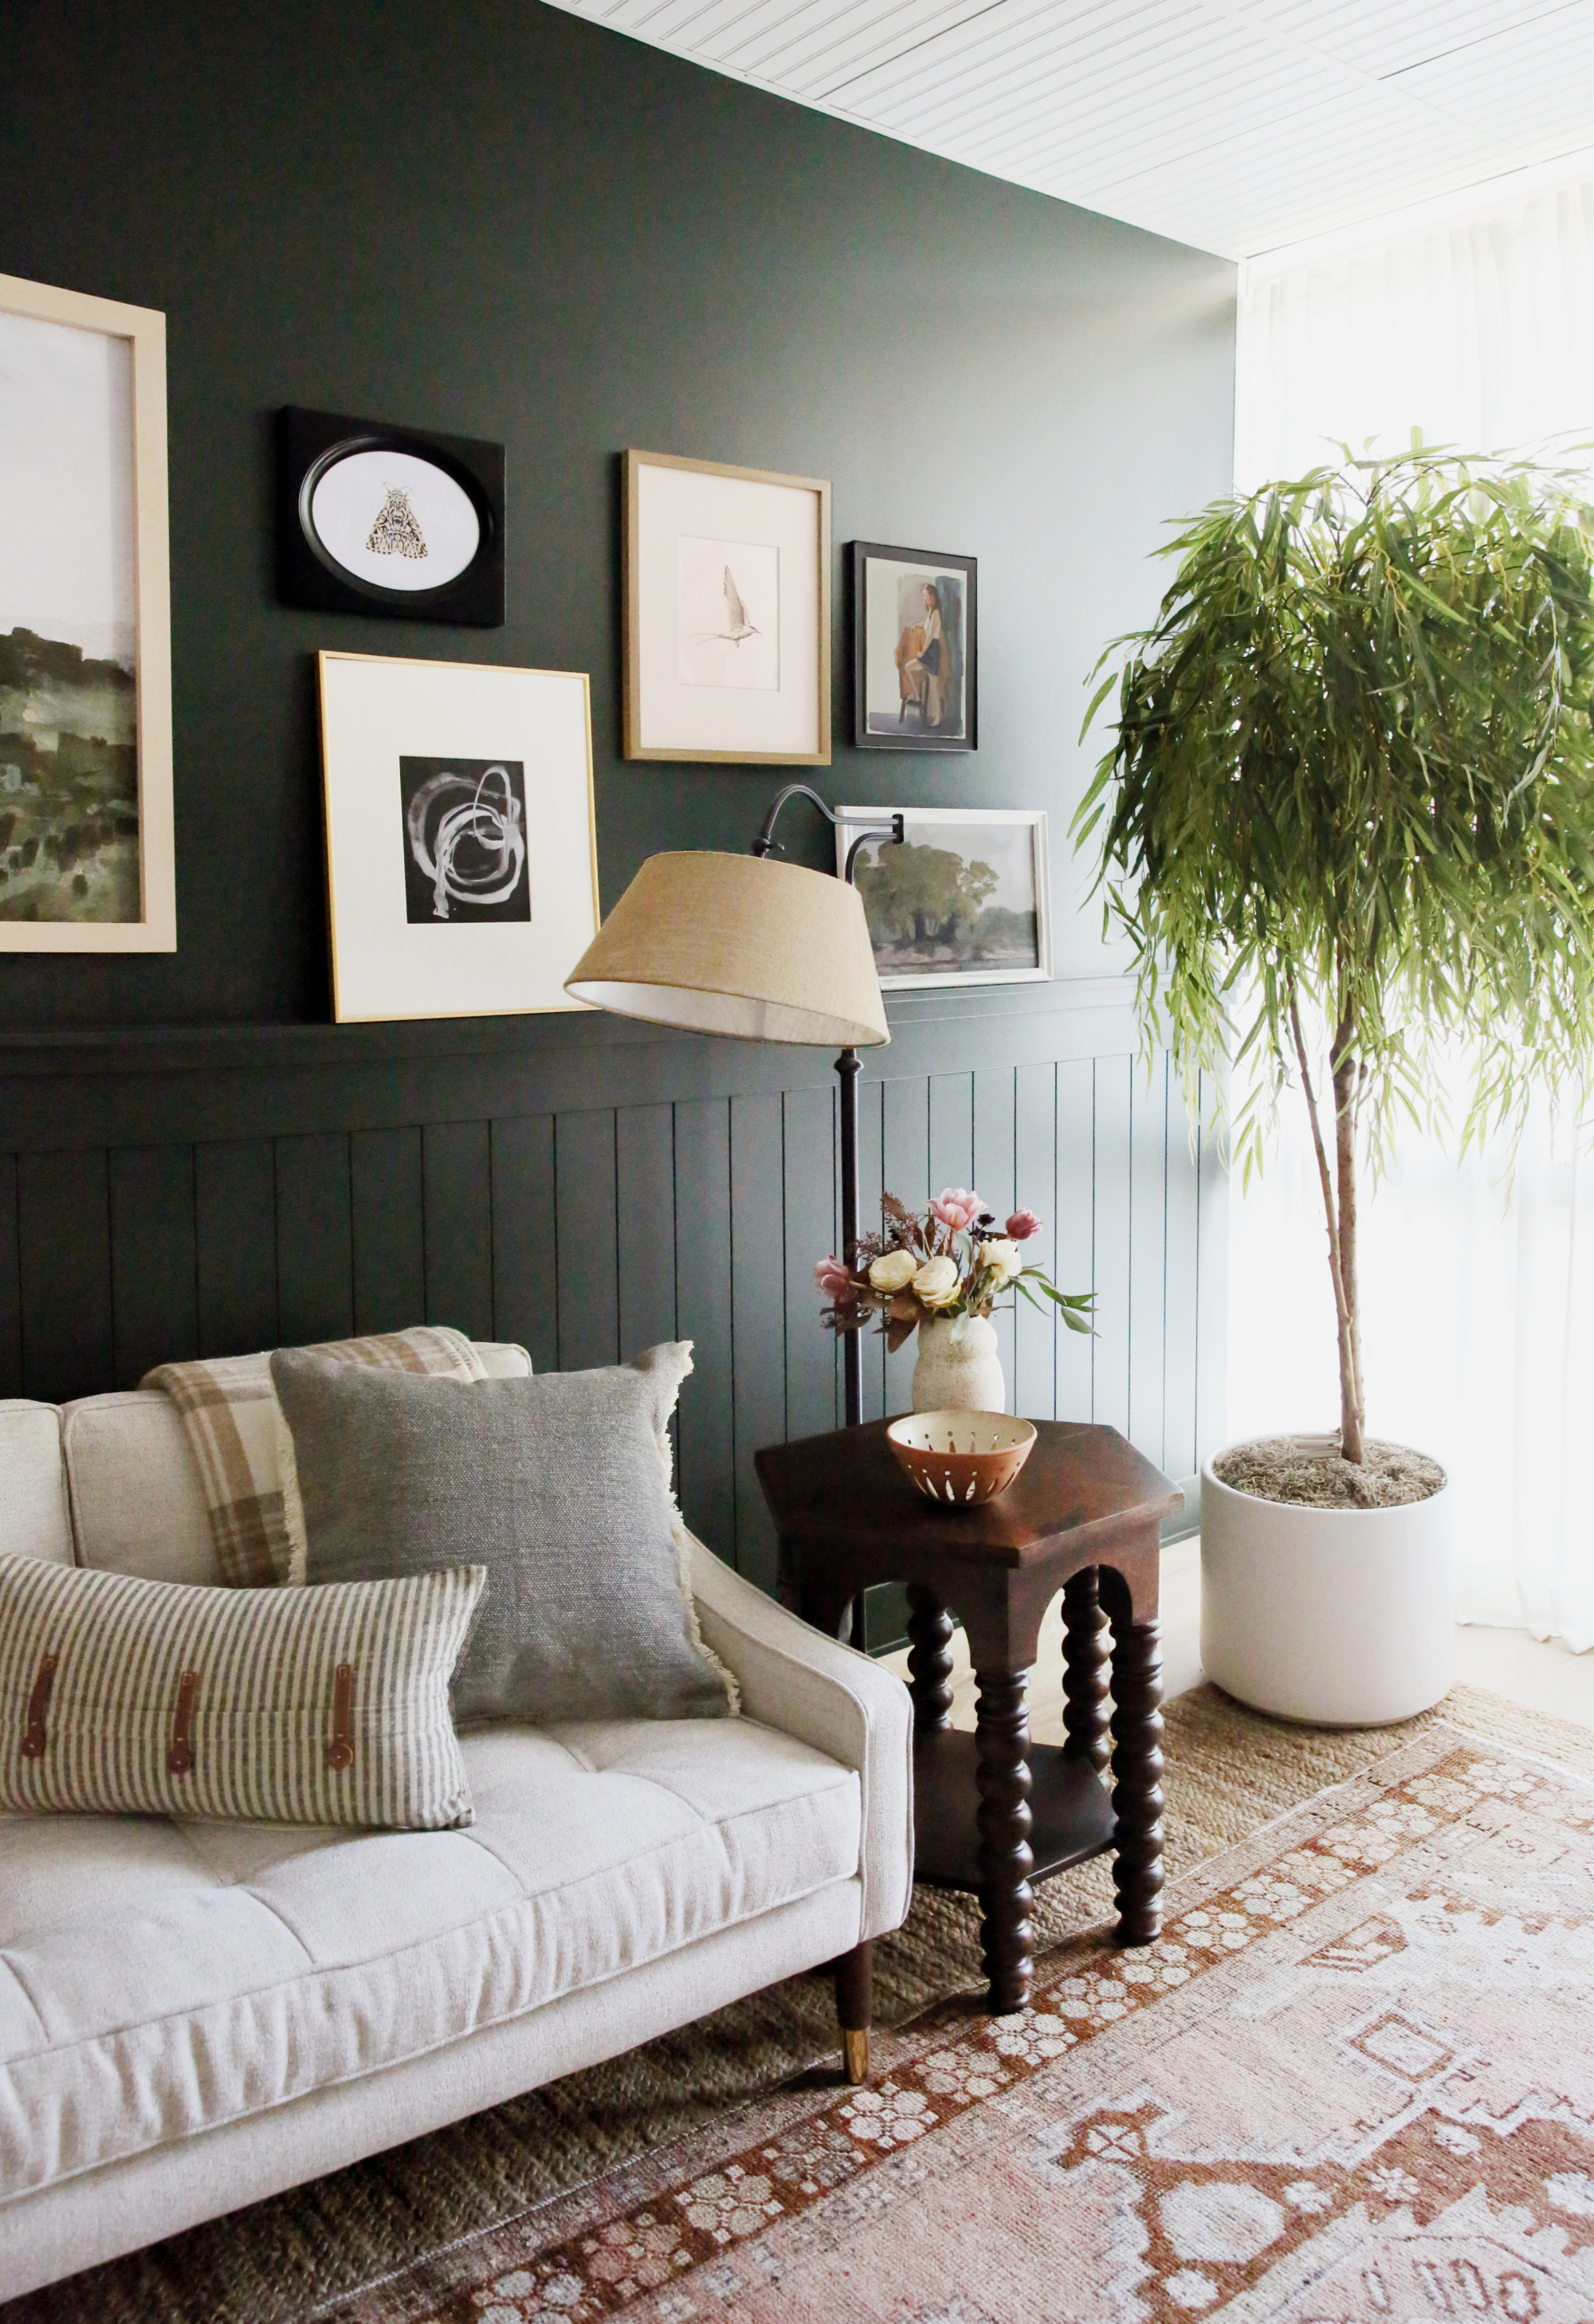
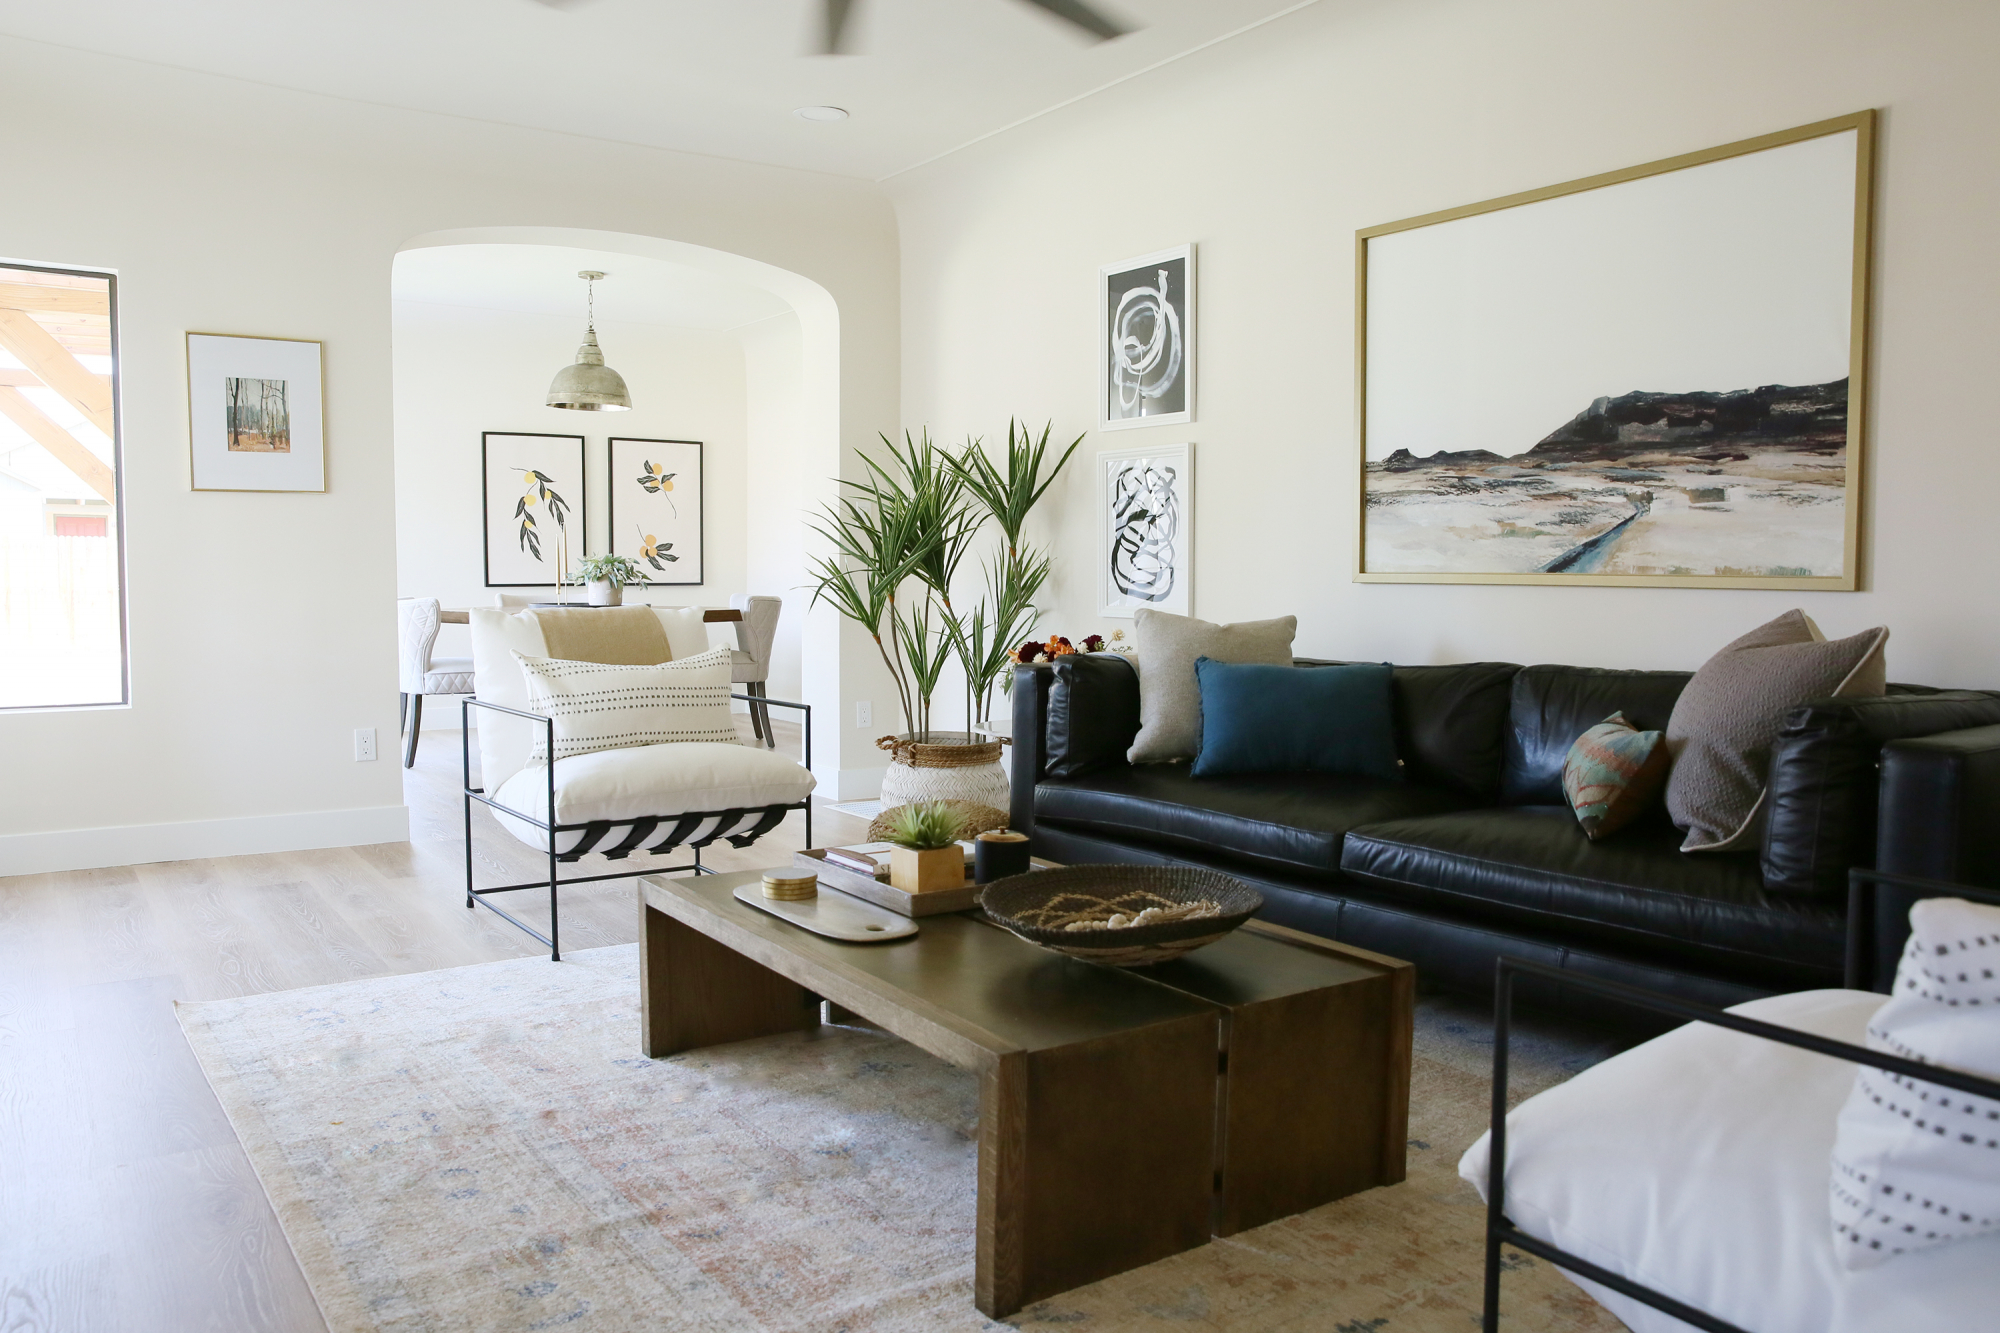
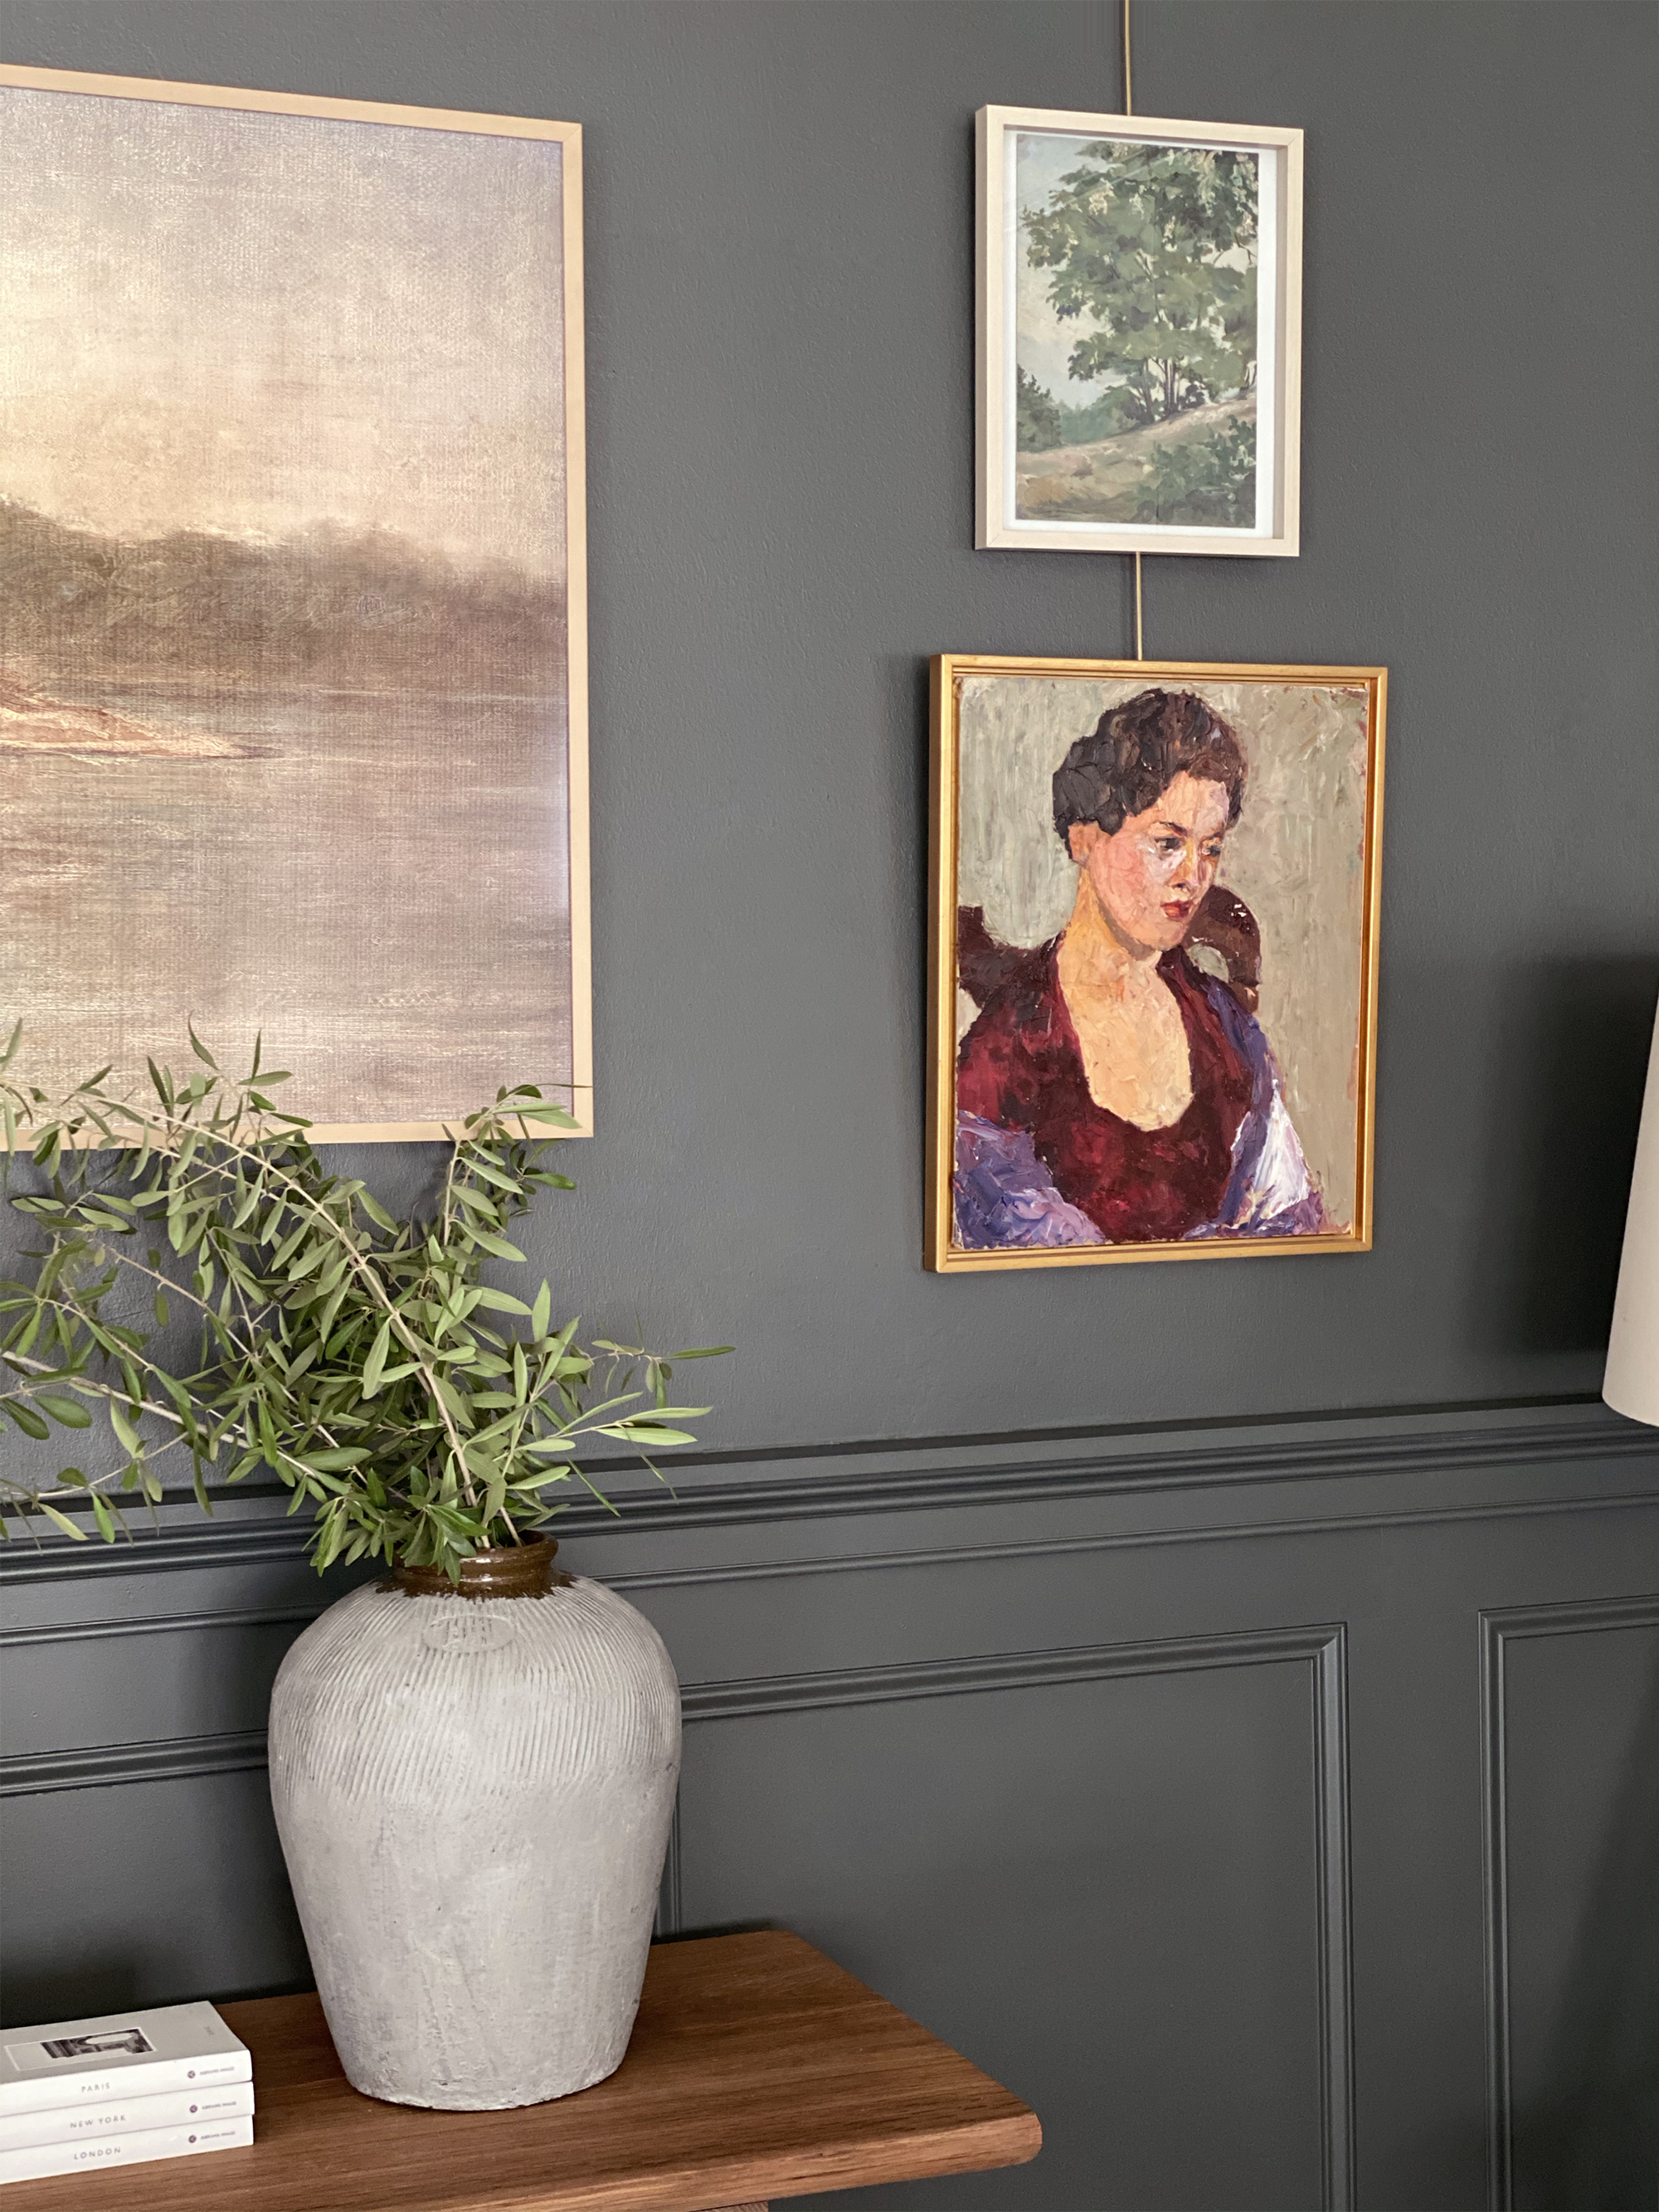
(check out my saved stories for more info on my in-progress living room decorating! The paint color here is Dunn Edwards Carbon Dating.)
When you order a digital download print through Juniper Print Shop, we send files to you in several aspect ratio options to make printing for different frame sizes more convenient for you, and so you don’t have to attempt resizing these yourself. We recently added an additional file to each of our downloads, which is perfectly sized to be displayed on any size of the Samsung Frame TV, with or without the mat option! More on that later in the post!
Below is a step-by-step tutorial of how to install our digital files in the most straightforward way. (And at the end of the post, we share sources of this space as well as a list of FAQs we’ve received about the Frame TV in general!) Feel free to add your questions in the comments section and we’ll update the post regularly!
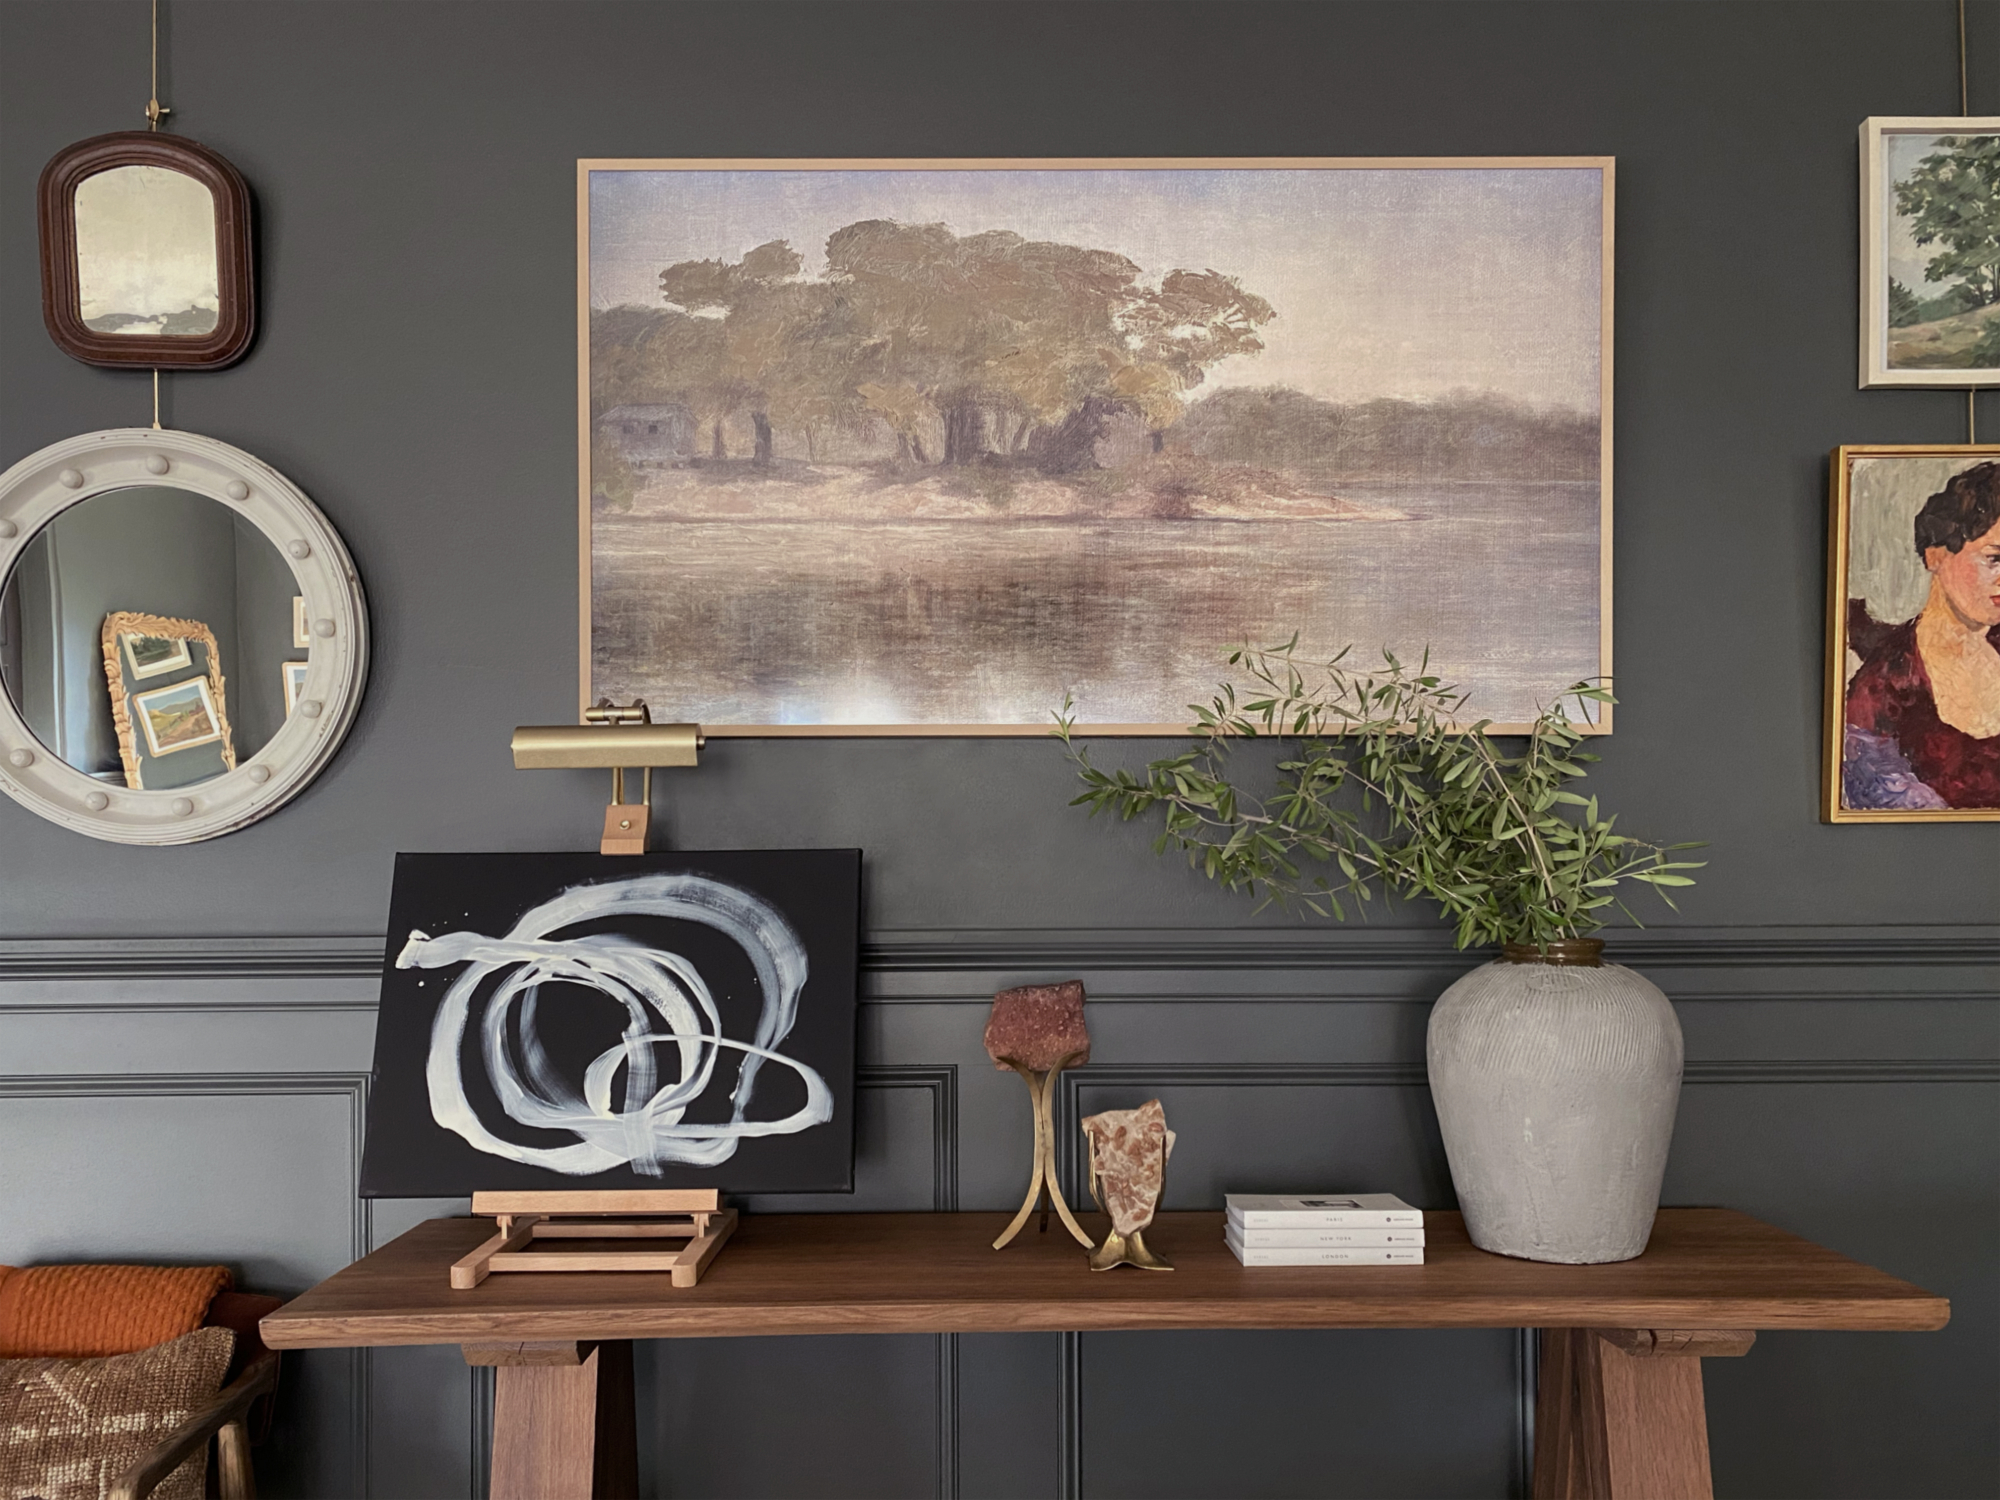
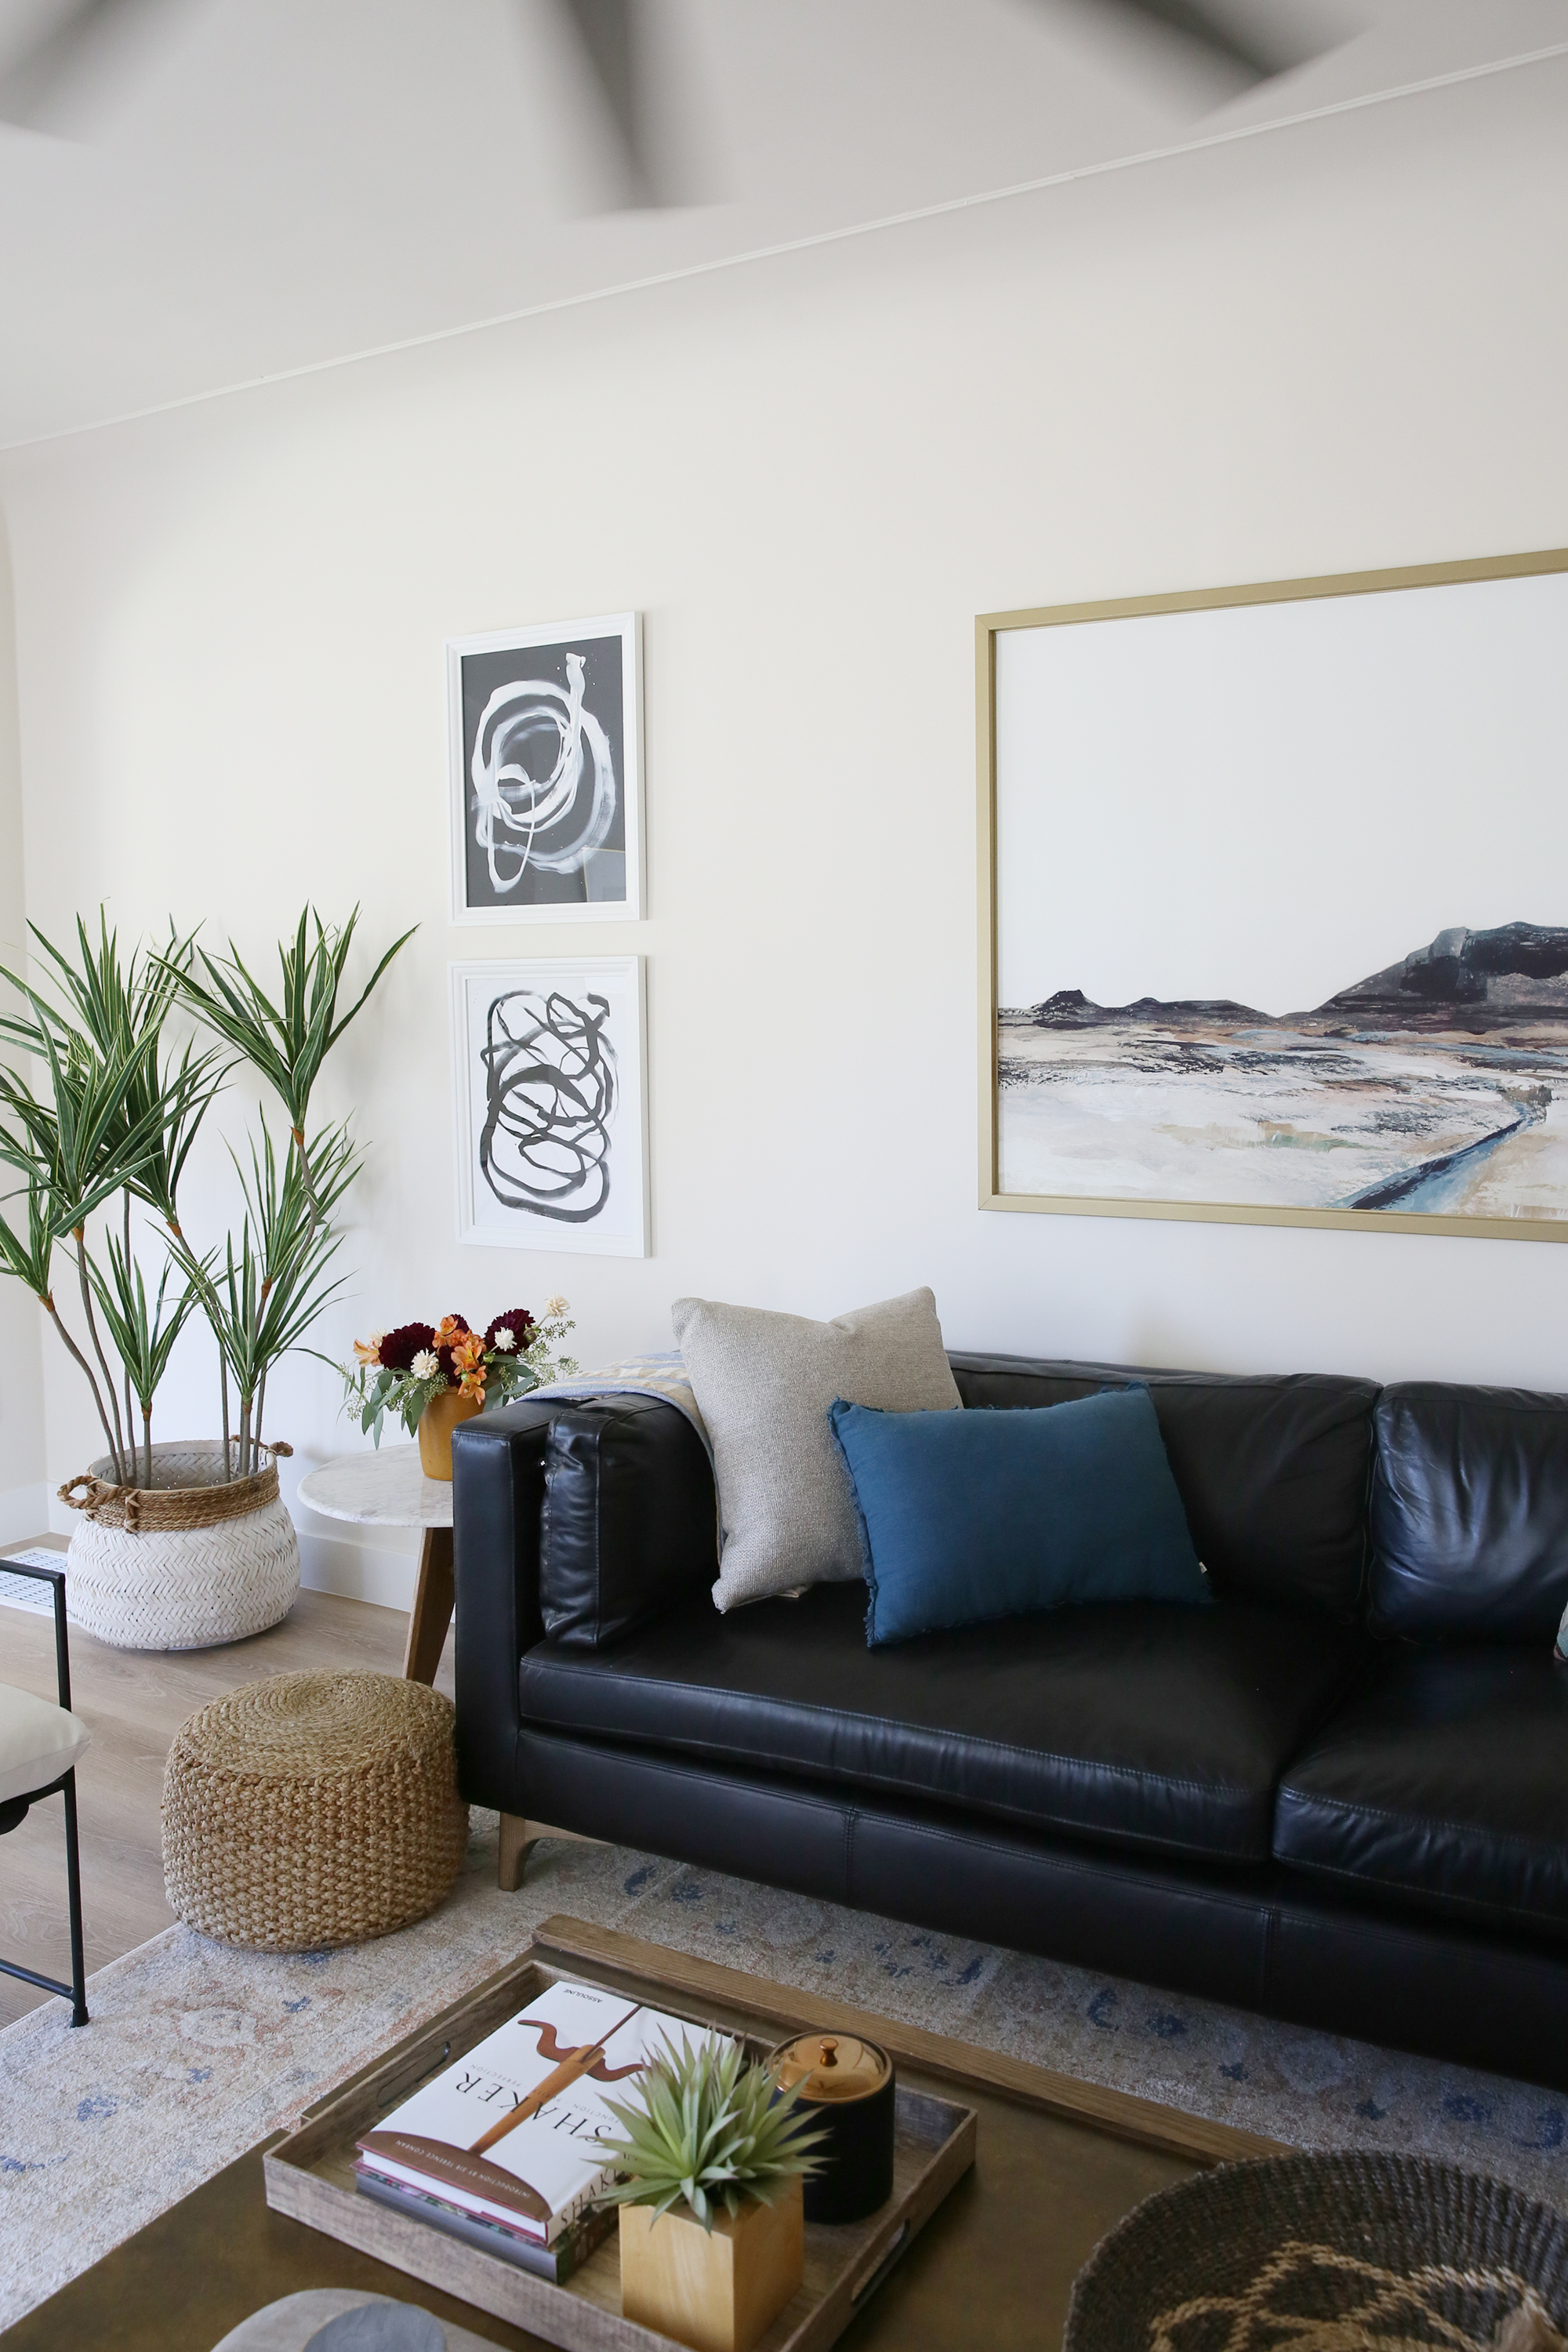
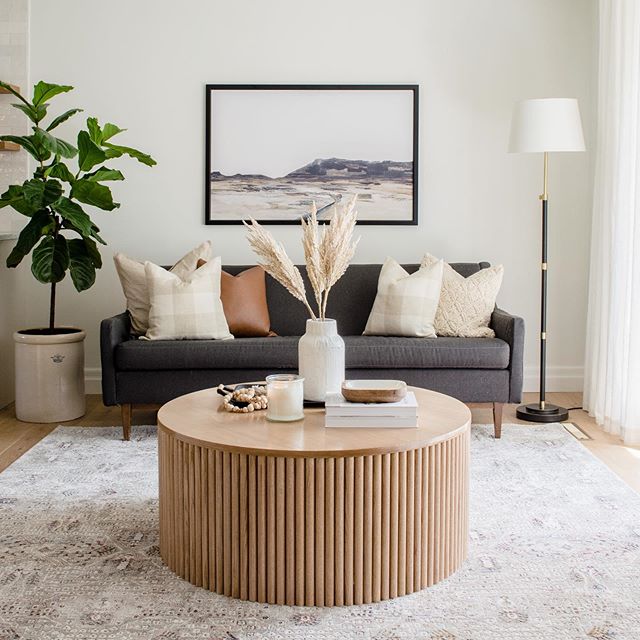
LAKESIDE print // KNOTS II print
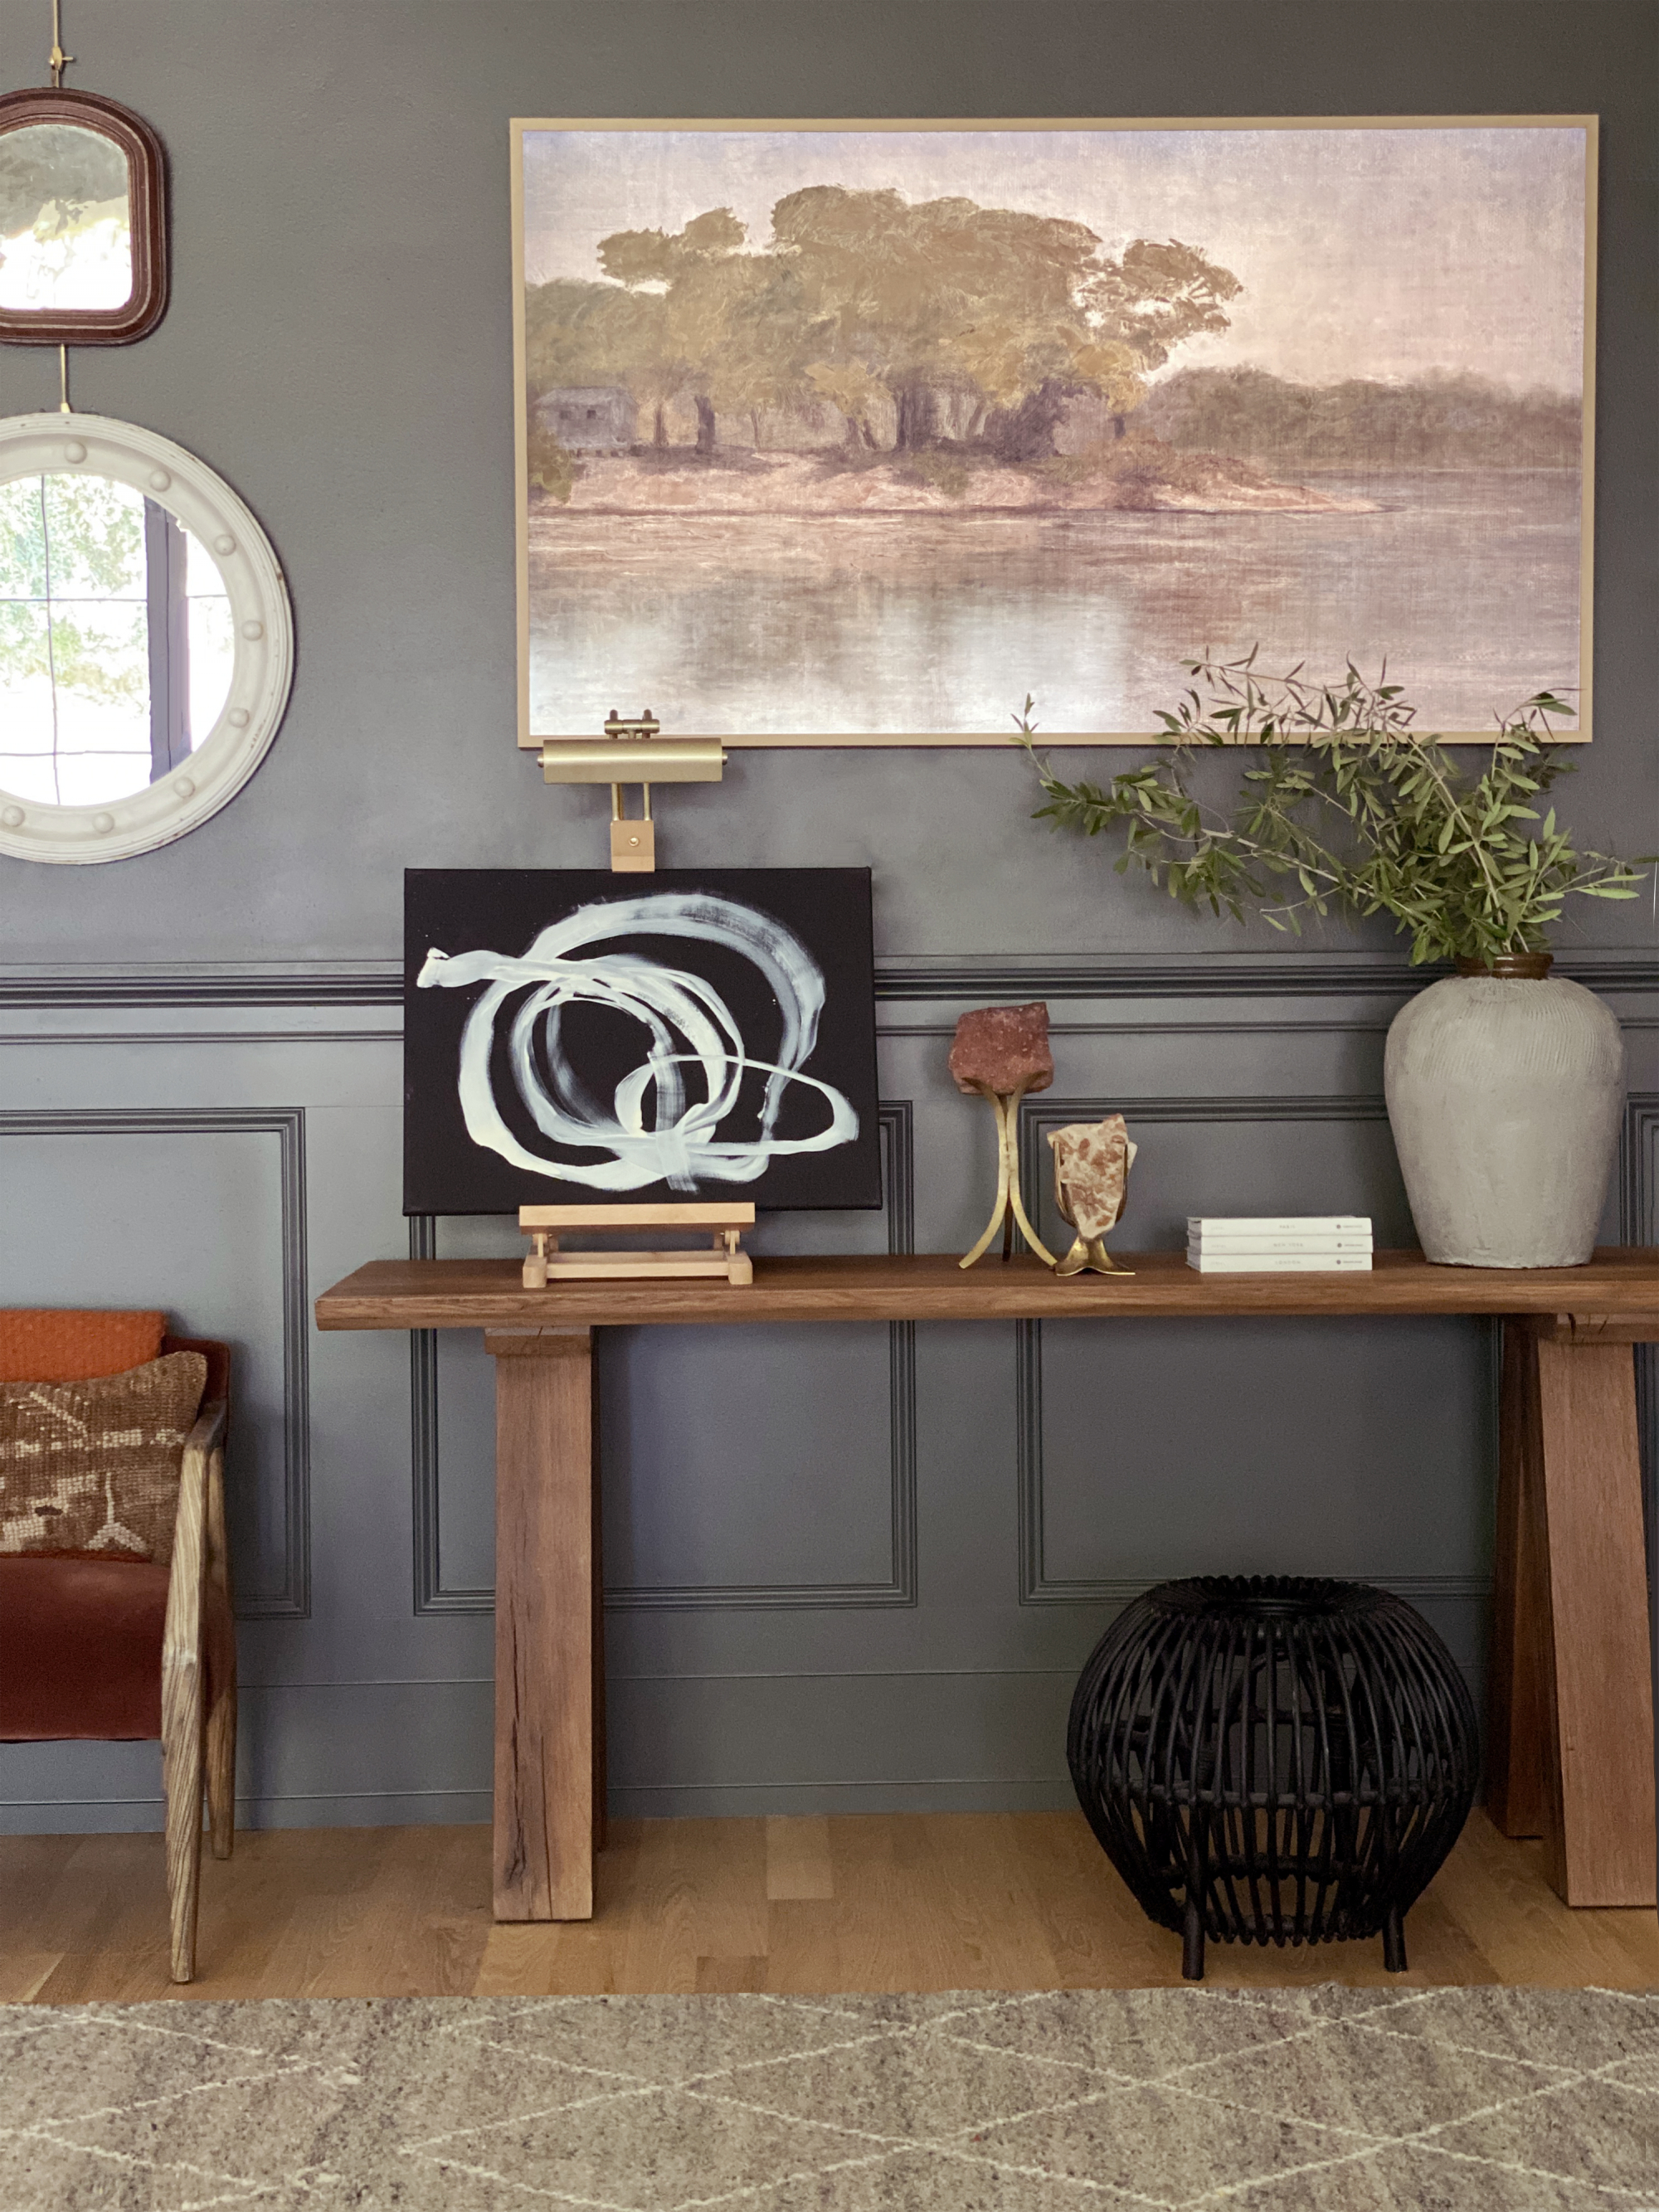
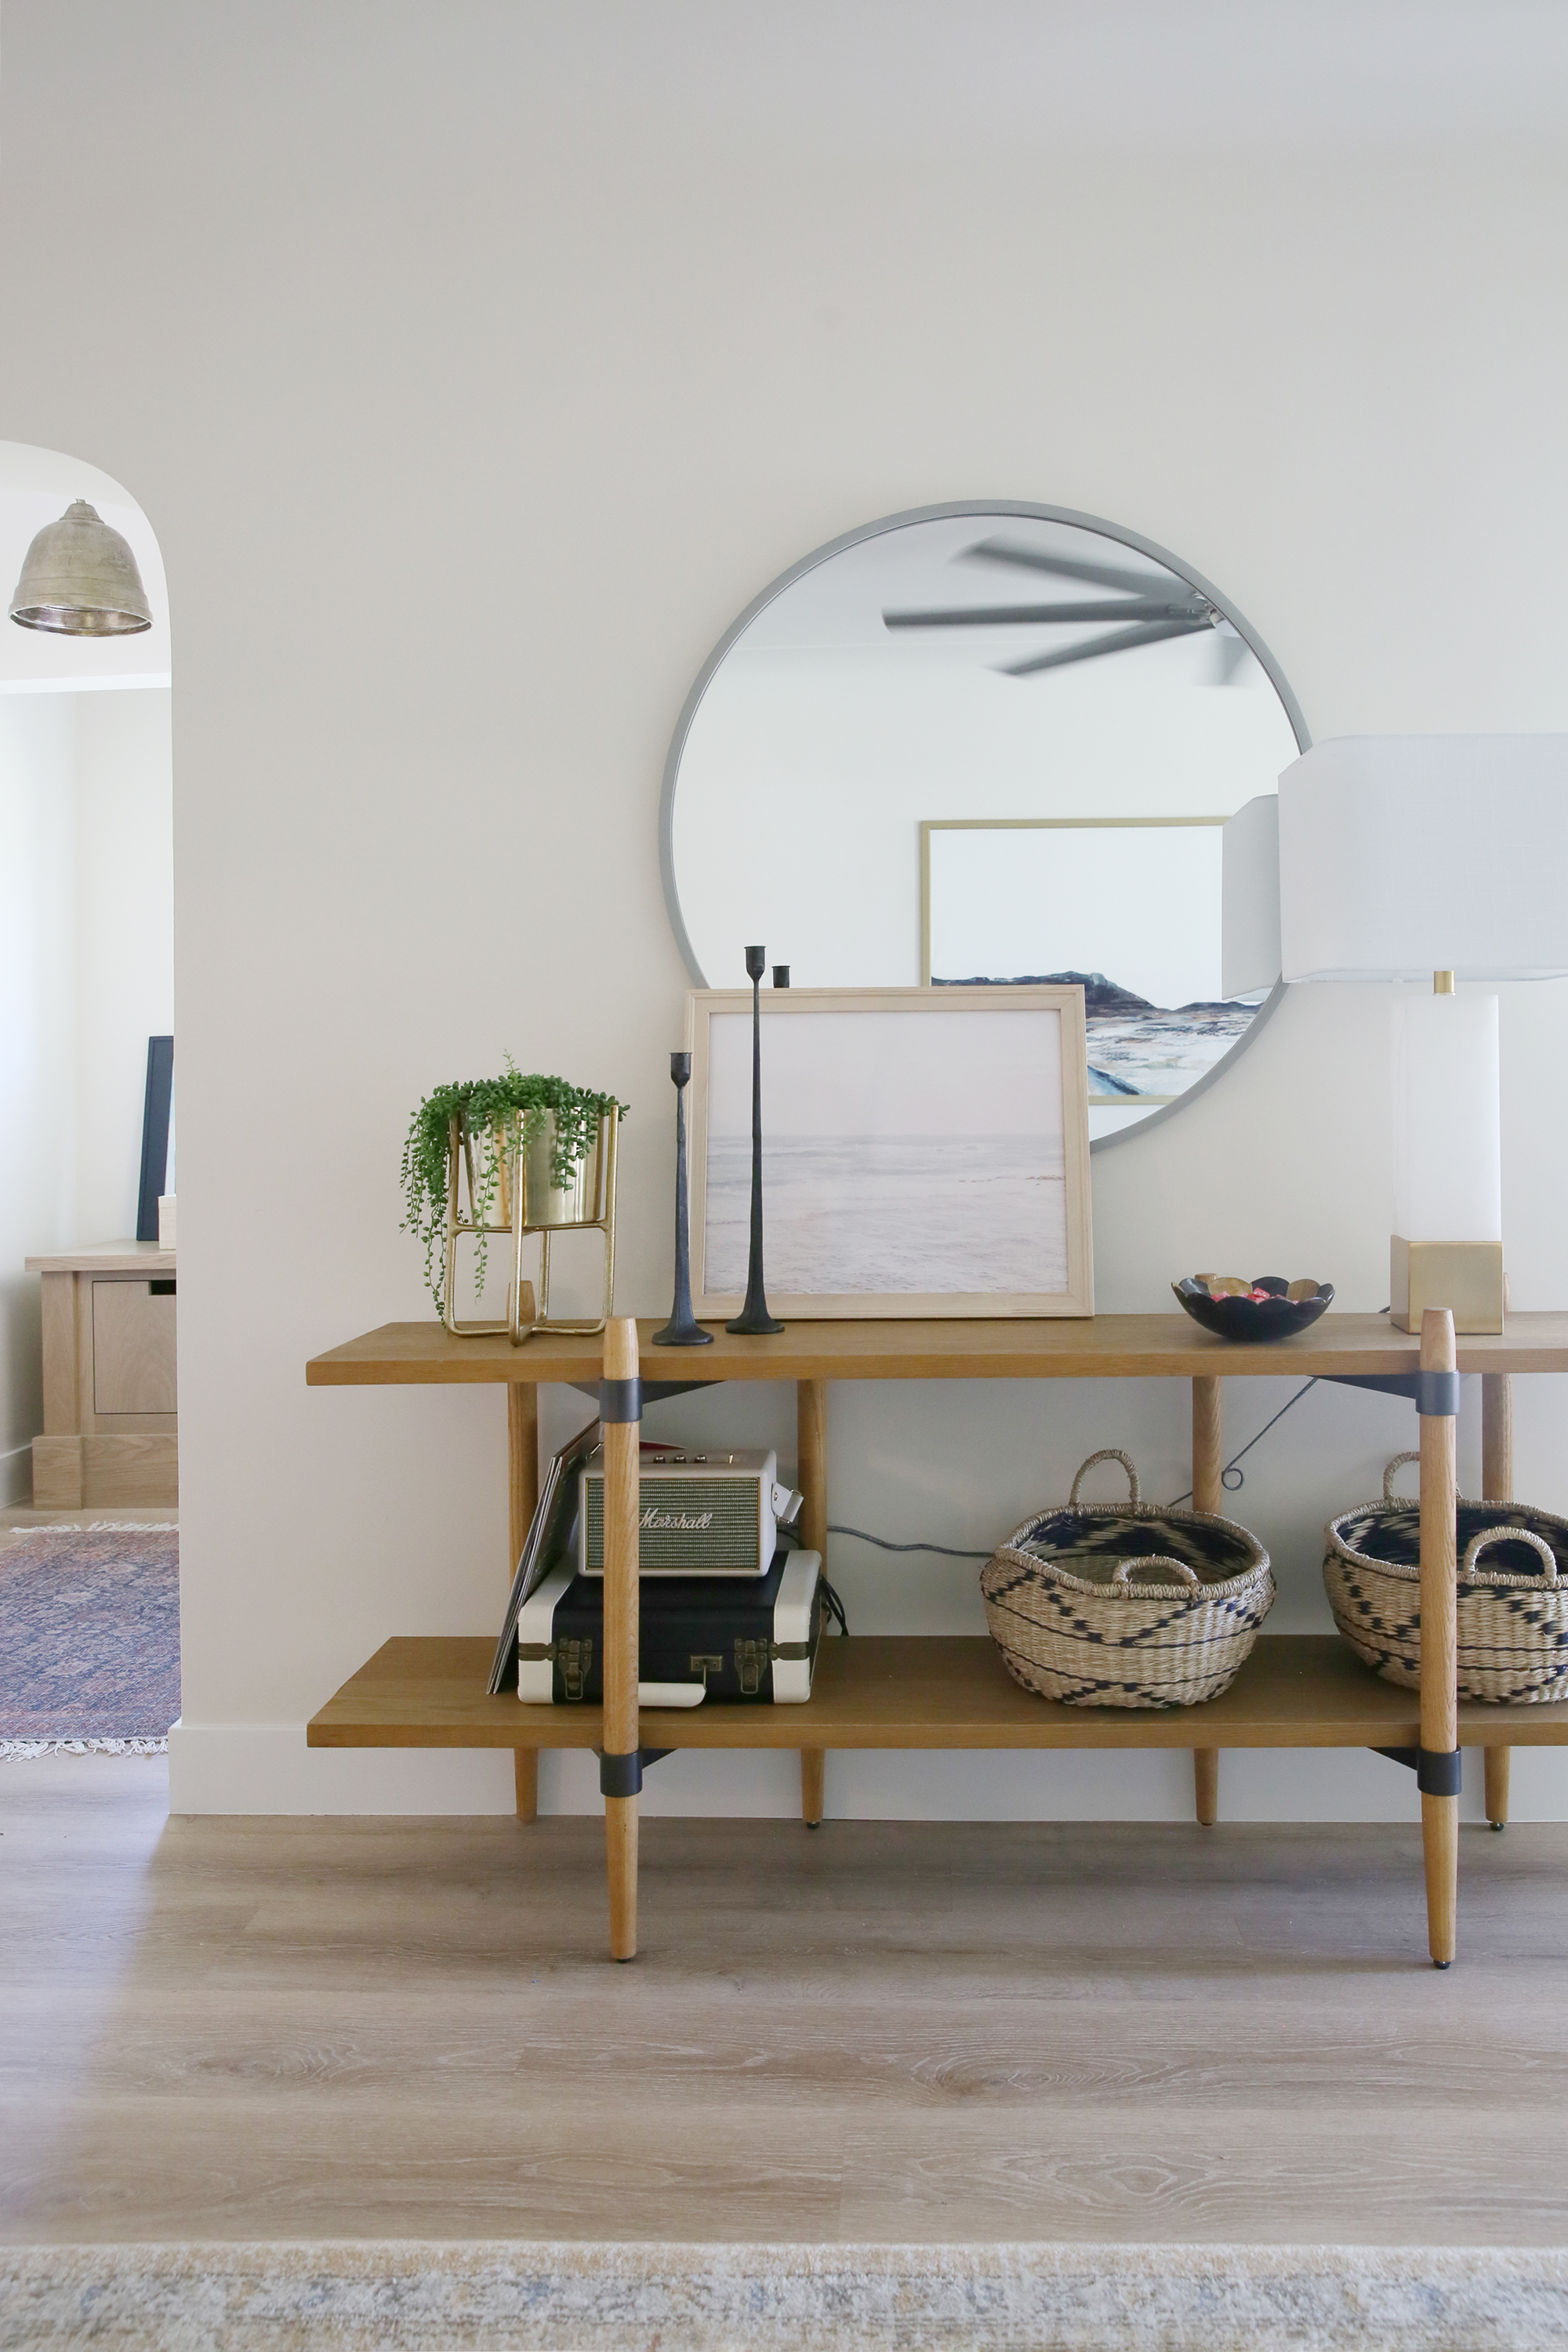
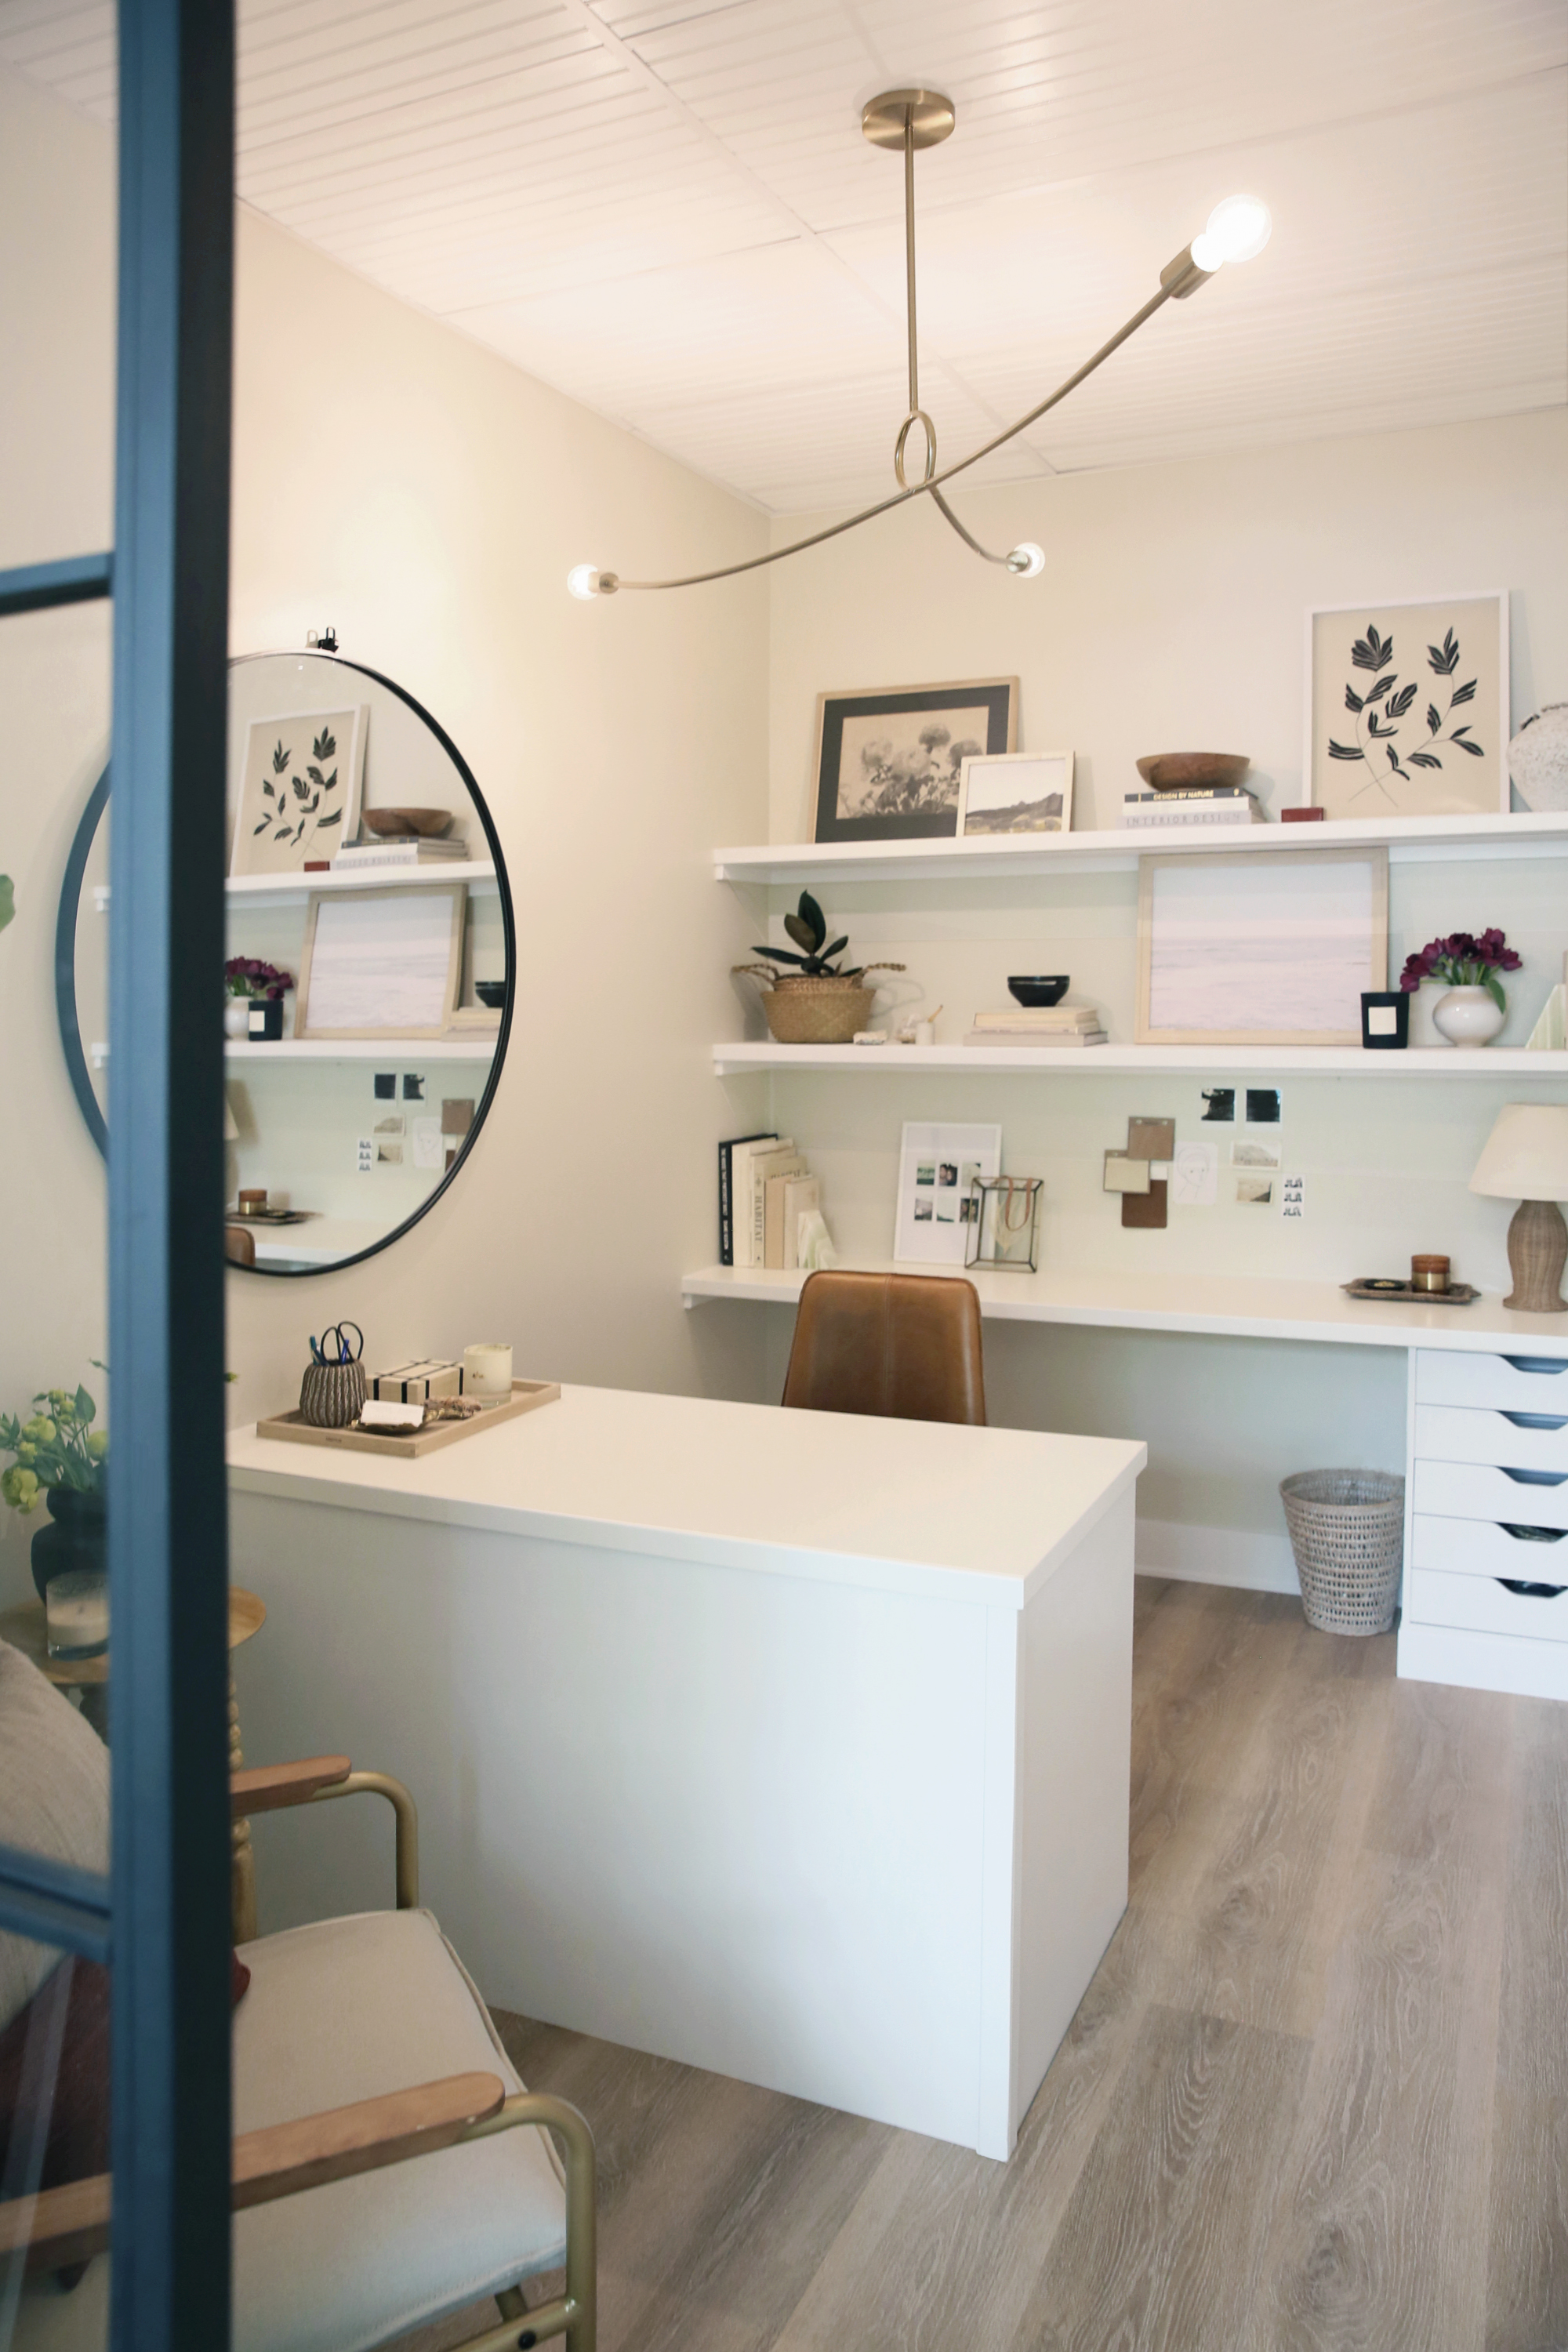
65″ Samsung Frame TV (Beige Bezel) // Rust Armchair // Wood Console (similar) // Gray Rug (similar) // Rattan Ottoman (similar)
Kilim Pillow (similar) // Wood Picture Easel // Brass Picture Light (similar)
STEP 1: Purchase any digital download on juniperprintshop.com that can be displayed horizontally/landscape. (And don’t forget to sign up for our email newsletter for a 10% off code!) Within a minute or two after receiving your order confirmation, you will receive a separate email from Juniper Print Shop with a link to download your files. (Tip: If you haven’t received the email within a few minutes, try looking in your spam or junk folders, just in case!) Download the file with “FrameRatio” in the file name as a photo to your phone. (Note: you can also download the files to a thumb drive using a computer and install the files directly into the TV itself through the USB port at the bottom of the screen, but we have found that once you’ve taken the initial steps of downloading the Samsung app and setting that up, the app approach is a WAY better method! More below.)
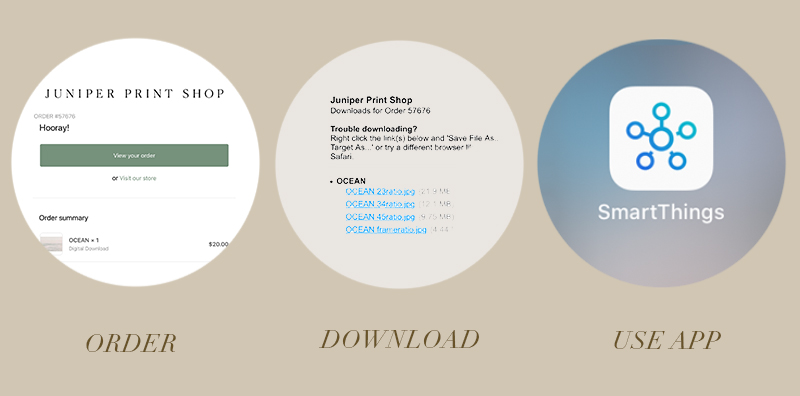
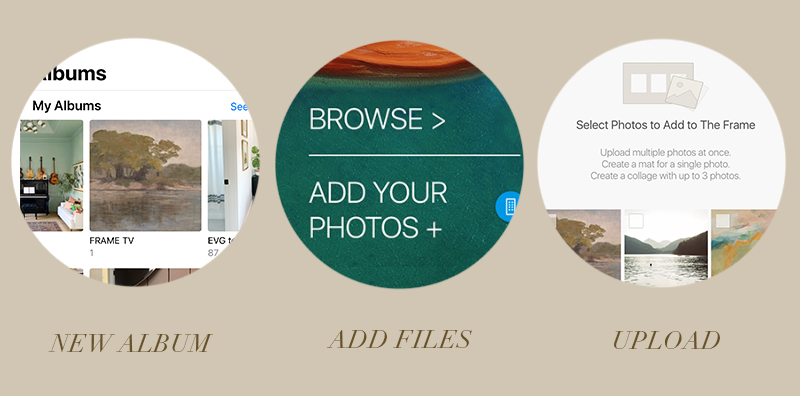
STEP 2: Create a new folder in your camera roll albums called Frame TV. In Samsung’s free SmartThings app, select your TV device and then select Art Mode. Make sure your Frame TV is on and connected to the same wifi network as your phone, and select Add Your Photos. From the album drop down menu in the upper left corner, find your new Frame TV album.
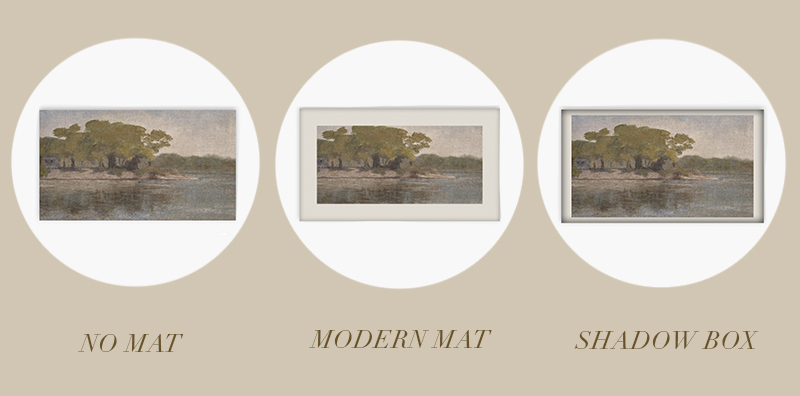
STEP 3: Select your print, which has been sized to the 16:9 aspect ratio. Our exact sizing in your digital download allows you to select the “No Mat” option, otherwise you will have to select a mat option. Click “Set On Frame” to display your print on the Frame TV.
Step 4: You can adjust the display appearance of the image (both color tone and brightness) in Art Mode Settings both on the Frame TV using your remote and in the app. We recommend using the app, which has slightly more adjustment settings (tap the three dots in the top right corner to access the Art Mode Settings). You can also further tweak the display appearance of the TV screen in the TV’s settings menu (select the gear icon with your remote). Depending on the natural and artificial light sources of the room your TV is hanging in, adjusting the brightness and color tone will really help the art mode display look more like a print and less like a monitor. To conserve energy at night or when you’re not home, in Art Mode Settings, you can adjust the length of time before the display goes to sleep when no motion or light is detected in the space.

Step 5: In the My Collection menu on the TV itself, select Options and then Start Rotations. This option allows you to select a group of your uploaded images that change automatically at whatever rate you’d like, from several times per day up to once per week! It’s so fun to walk into the room and see a new image on the display as a surprise! (Tip: You can Favorite each of the images you’d like to have in your rotation and use your favorites folder as a shortcut for setting up the rotations setting.)
FAQs about the Samsung Frame TV:
Is the Frame TV (available sizes: 32″ up to 75″) really worth the cost? (~$500-$2500)
- This is obviously a subjective question, but I’ve been really happy with my two Frame TVs (we have a 75″ one in our new office conference room too). I think if you are going to have a large TV hanging on your wall (vs hiding it in a cabinet, etc), I honestly think really anything is better than a big black box! But honestly, I have been really happy with the way our prints look on the wall in the Frame. I think if it’s in your budget, I would go for it! More thoughts below.
Is there a way to NOT have a mat around the art without buying the Samsung subscription?
- This seems to be the burning question most people have! There is no need to buy the Samsung Art Club subscription. But in order for the “No Mat” option to show, the file you upload in the SmartThings app has to be EXACTLY, like, to the single pixel, formatted to the 16:9 aspect ratio. If it’s off at all, the image will populate, but it can only have the mat options. All of our Juniper x Frame TV downloads are formatted to exactly 16:9 so you can choose the Modern Mat, the Shadow Box or the No Mat option (my favorite) for every one of our prints!

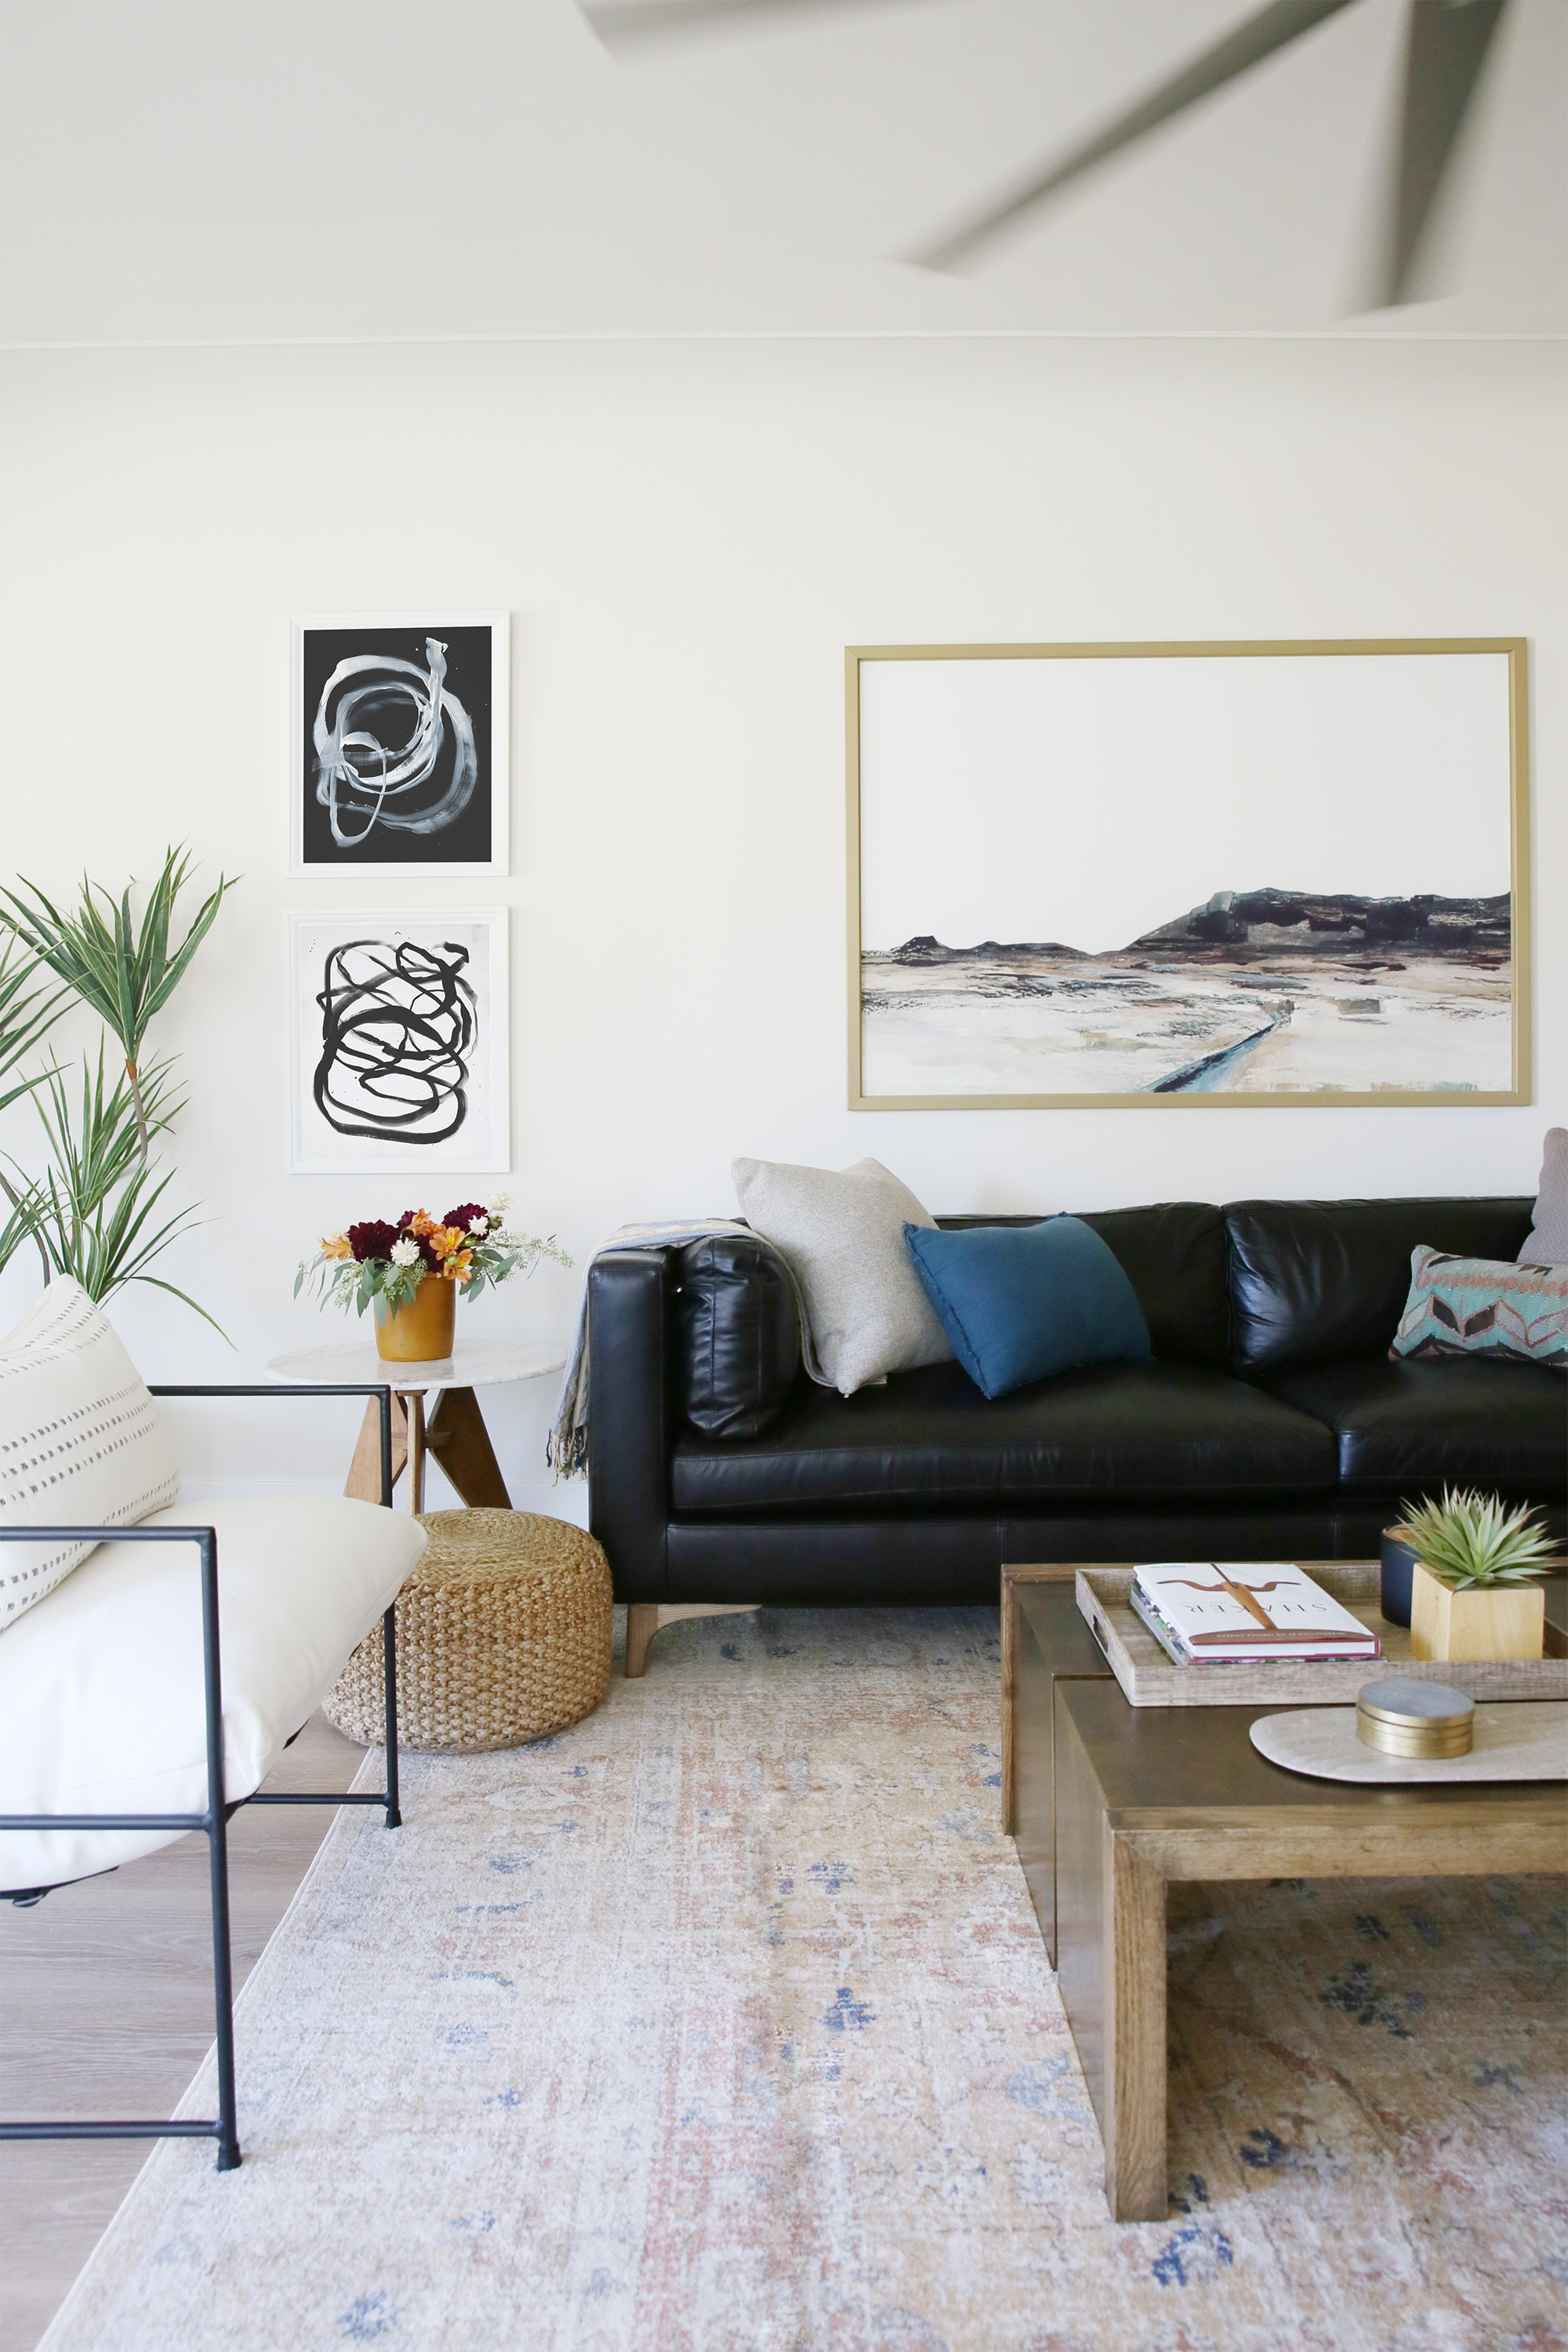
LAKESIDE print // KNOTS II print // ELEANOR print
Frame TV // Rust Armchair // Wood Console (similar) // Rattan Ottoman (similar)
Kilim Pillow (similar) // Wood Picture Easel // Brass Picture Light (similar)
How do you optimize the TV display so that the digital art looks more real?
- In 2019, Samsung released an updated model of the Frame TV, which made the actual TV viewing experience better, but I think, made the Art Mode less realistic and more screen-like. The visual difference is a lot like a Kindle vs and iPad. One is more matte and appears to be backlit and the other has a lot more of a general techy glow. THAT SAID, both of my Frame TVs are newer models, and I still very much so recommend them! I have found that turning down the brightness on the display helps to dial back that techy glow. I also have had to tweak a few images in the SmartThings app to be a little warmer in tone so the color matches the lighting in the room (I had to do this in our conference room so that the image didn’t look super blue). It is not hard to make adjustments that improve the look a lot, but for the most part, the tv is good at reading the lighting conditions in the room and responding on it’s own.
- As a general rule of thumb, I’ve noticed that paintings work better than photographs, and the mid to dark-toned images really work best! I especially love how this vintage painting called Lakeside looks! Although, I just downloaded our new Ocean print this week, which is a bright and light photo, and it looks awesome in here too, so who knows!? :)
- The TV itself looks really great with the gallery style thin frame and slim profile that sits flush up against the wall. It really doesn’t scream “I’M A TV!!” Yes, the display is a little brighter in general than I would wish for, in all honesty, and I’ve been tempted to try and hunt down one of the 1.0 Kindle-style models on eBay, but at the end of the day, I’d give the Frame a solid A or A- grade if I’m being picky. It’s pretty fun when new people come into our living room and express full disbelief when they realize our “painting” is actually a TV! :) And again, I’d rather have an A- Frame TV with my own images on my walls over a giant black box again, any day!
Does the Frame TV waste a lot of electricity with the art mode setting? Does it ALWAYS stay on?
- There are sleep mode settings you can turn on that use a motion and light detector to sense when the screen should turn off and on!
My JPS digital file is not showing up in my Samsung app and I’m not sure what I’m doing wrong! Do I have to pay for Samsung’s $5/month art club in order to be able to upload Juniper prints?
- You don’t have to sign up for their subscription at all! And we’d be HONORED to have any of our prints up on your walls! Thank you!! :) There are really specific instructions above that answer the question about not seeing the prints in your App – It will work great if you put the file in a separate folder in your camera roll. I named my album folder Frame TV for additional convenience!
Can I use your digital download prints with even the 75″ Frame TV?
- Absolutely! Our largest size of physical paper prints are 79″ wide, and we use that file size to create all of our Frame TV downloads. These images will be high resolution and perfect for all sizes of the Frame TV.
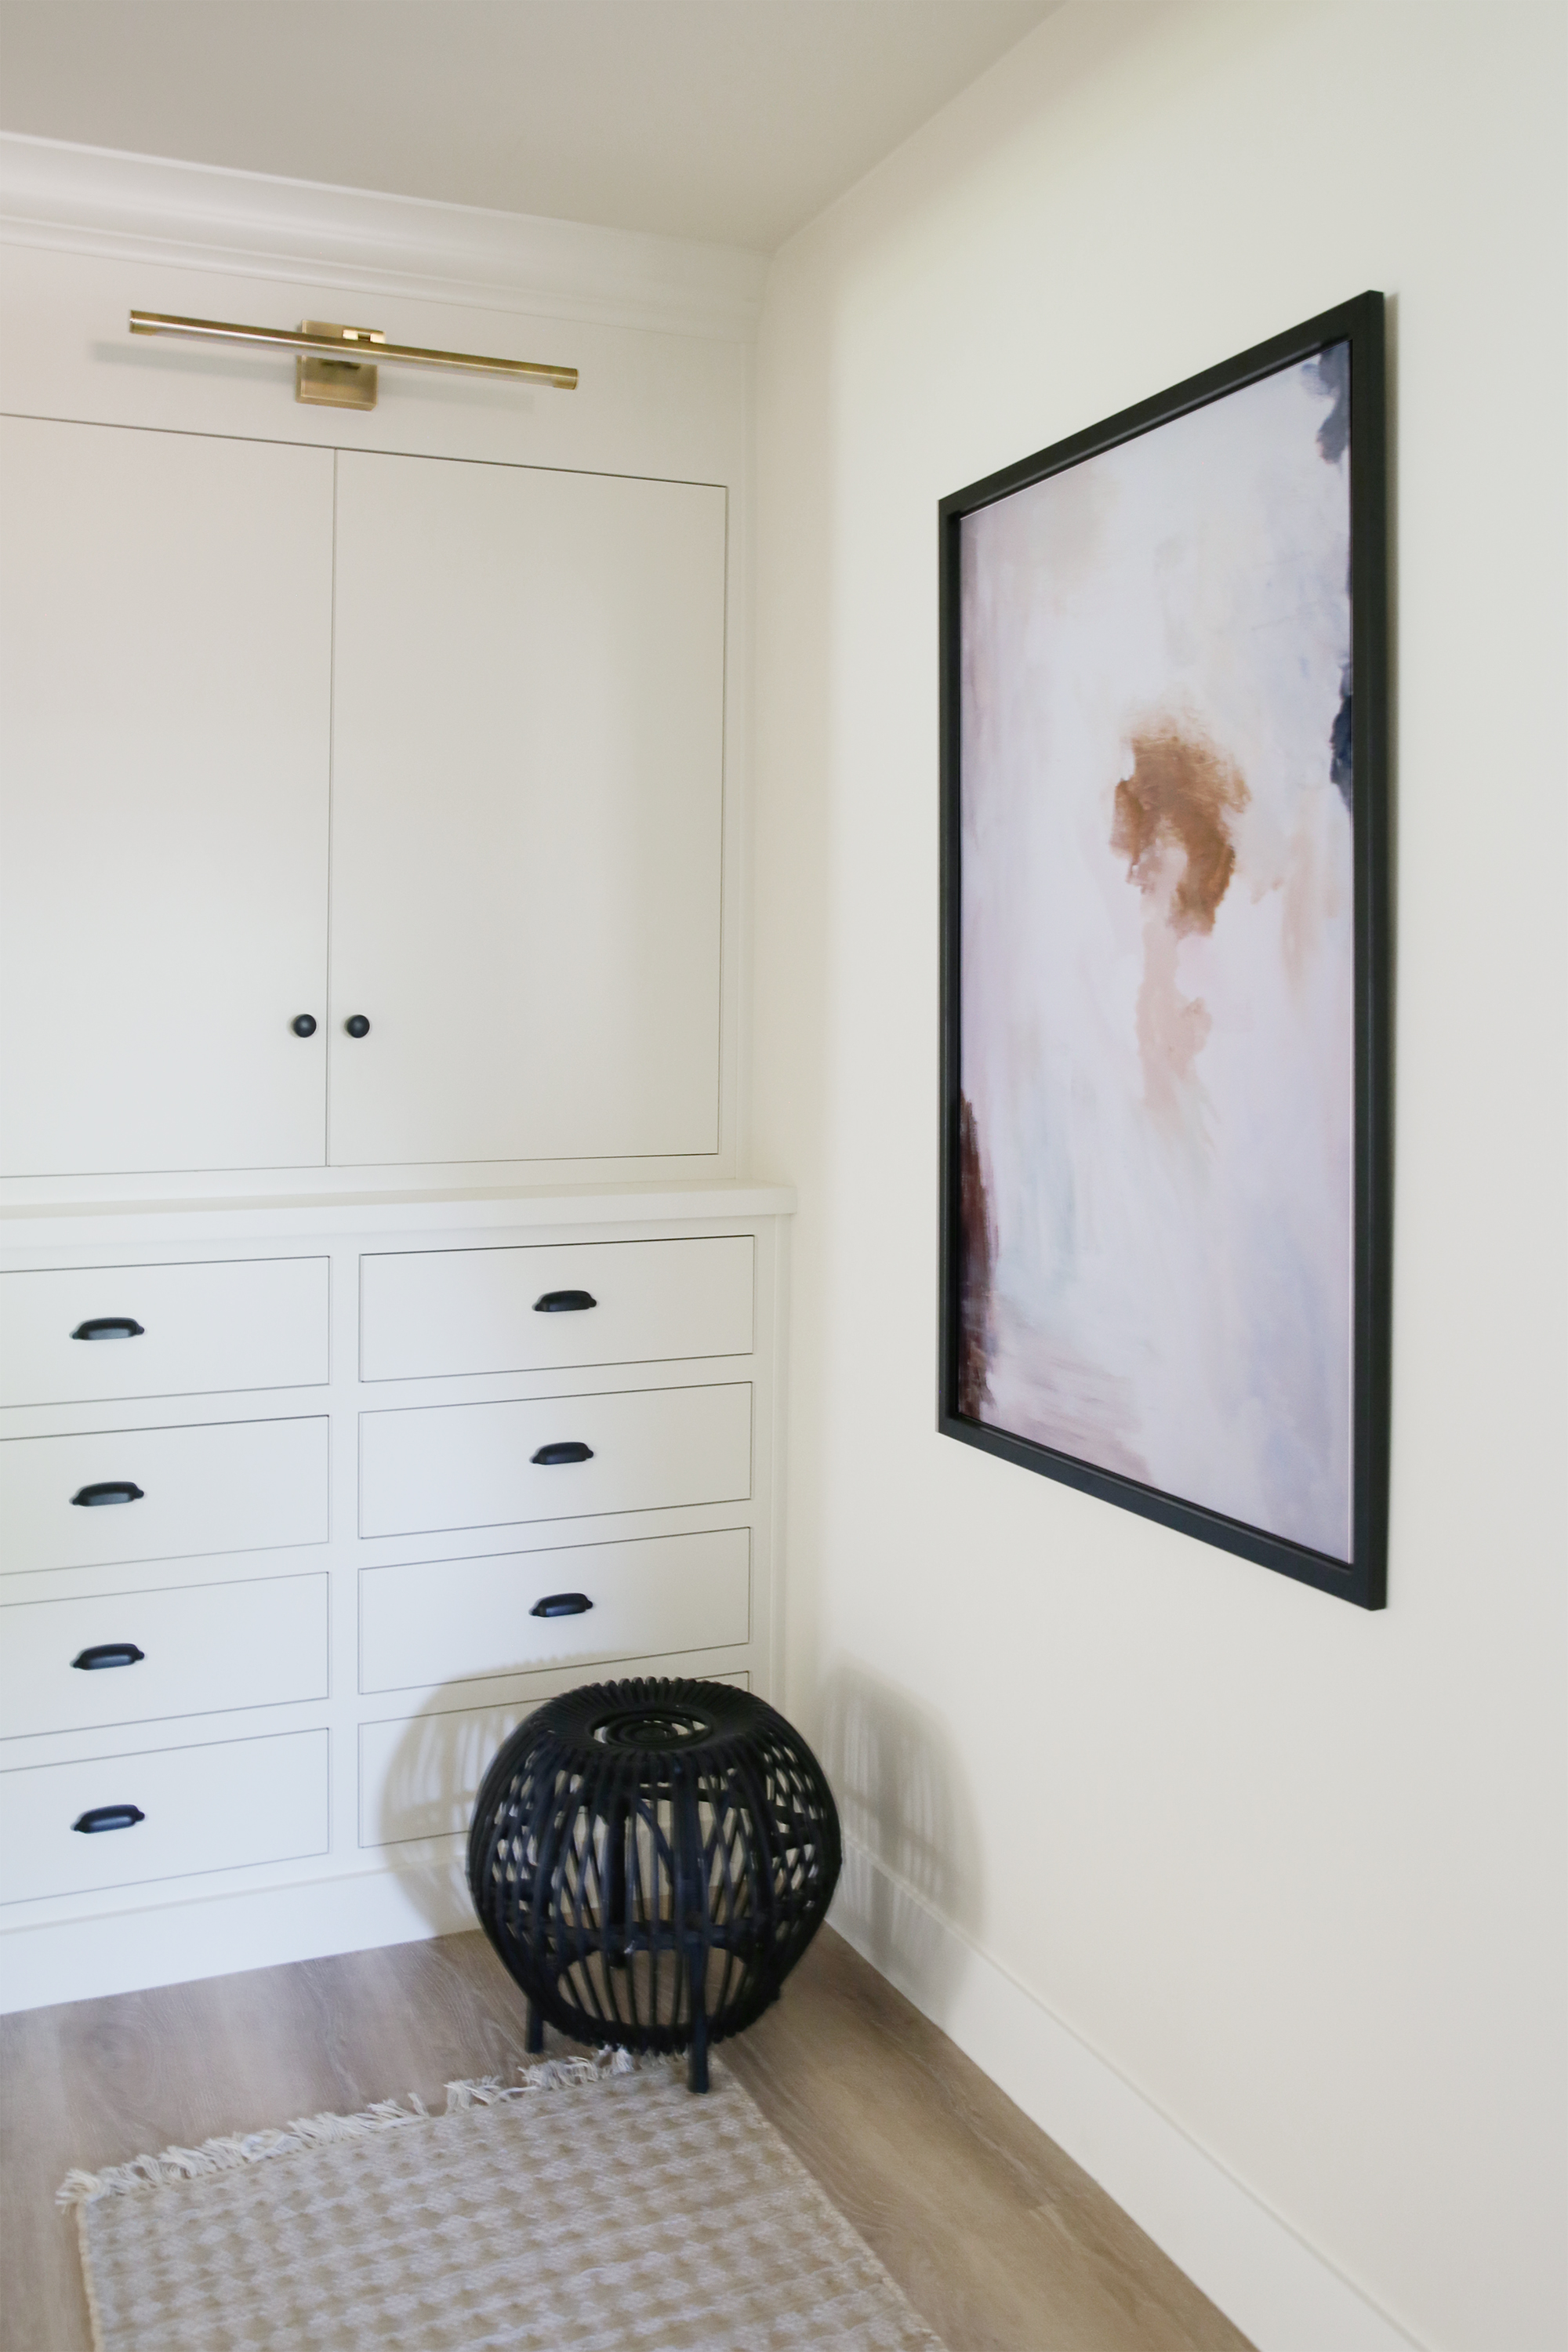
Are there different color options for the frame itself besides black?
- Yes! We have the beige (natural wood) option in here and the black metal in the office. There is also white and a darker, almost walnut wood stain option. You can also buy aftermarket bezels like this company makes, if you’re looking for something more ornate and less modern! Also – I’m considering painting the frame that came with our conference room Frame TV because I think a dark gold frame would be really cool in the space! I’ll let you guys know how that goes when we reveal the conference room soon, but I have heard it works well to paint the bezels yourself!
Does the box with the cords have to be installed behind the TV?
- The One Connect components box can be pretty much anywhere you can get the cord to reach and since it operates using radio frequency, the box doesn’t need to be out in the open for the remote to work! We have ours hidden in the cabinets in our library, on the other side of the wall! Michael made a small hole in the drywall behind the TV screen and in the back of our library bookshelf cabinets which allowed us to bury the cord and keep the box tucked away and out of site. It’s awesome to not have to have any media components sitting out on top of our console table!
Is the Frame TV renter friendly? Can the wall mount be moved easily? Is there a lot of drywall damage?
- I would say it’s renter friendly! You will have some screw holes from the slim mounting plate that is under the display against the wall, and if you bury the cord in the drywall, you’ll have two small holes to repair, but these should not be a big deal at all.
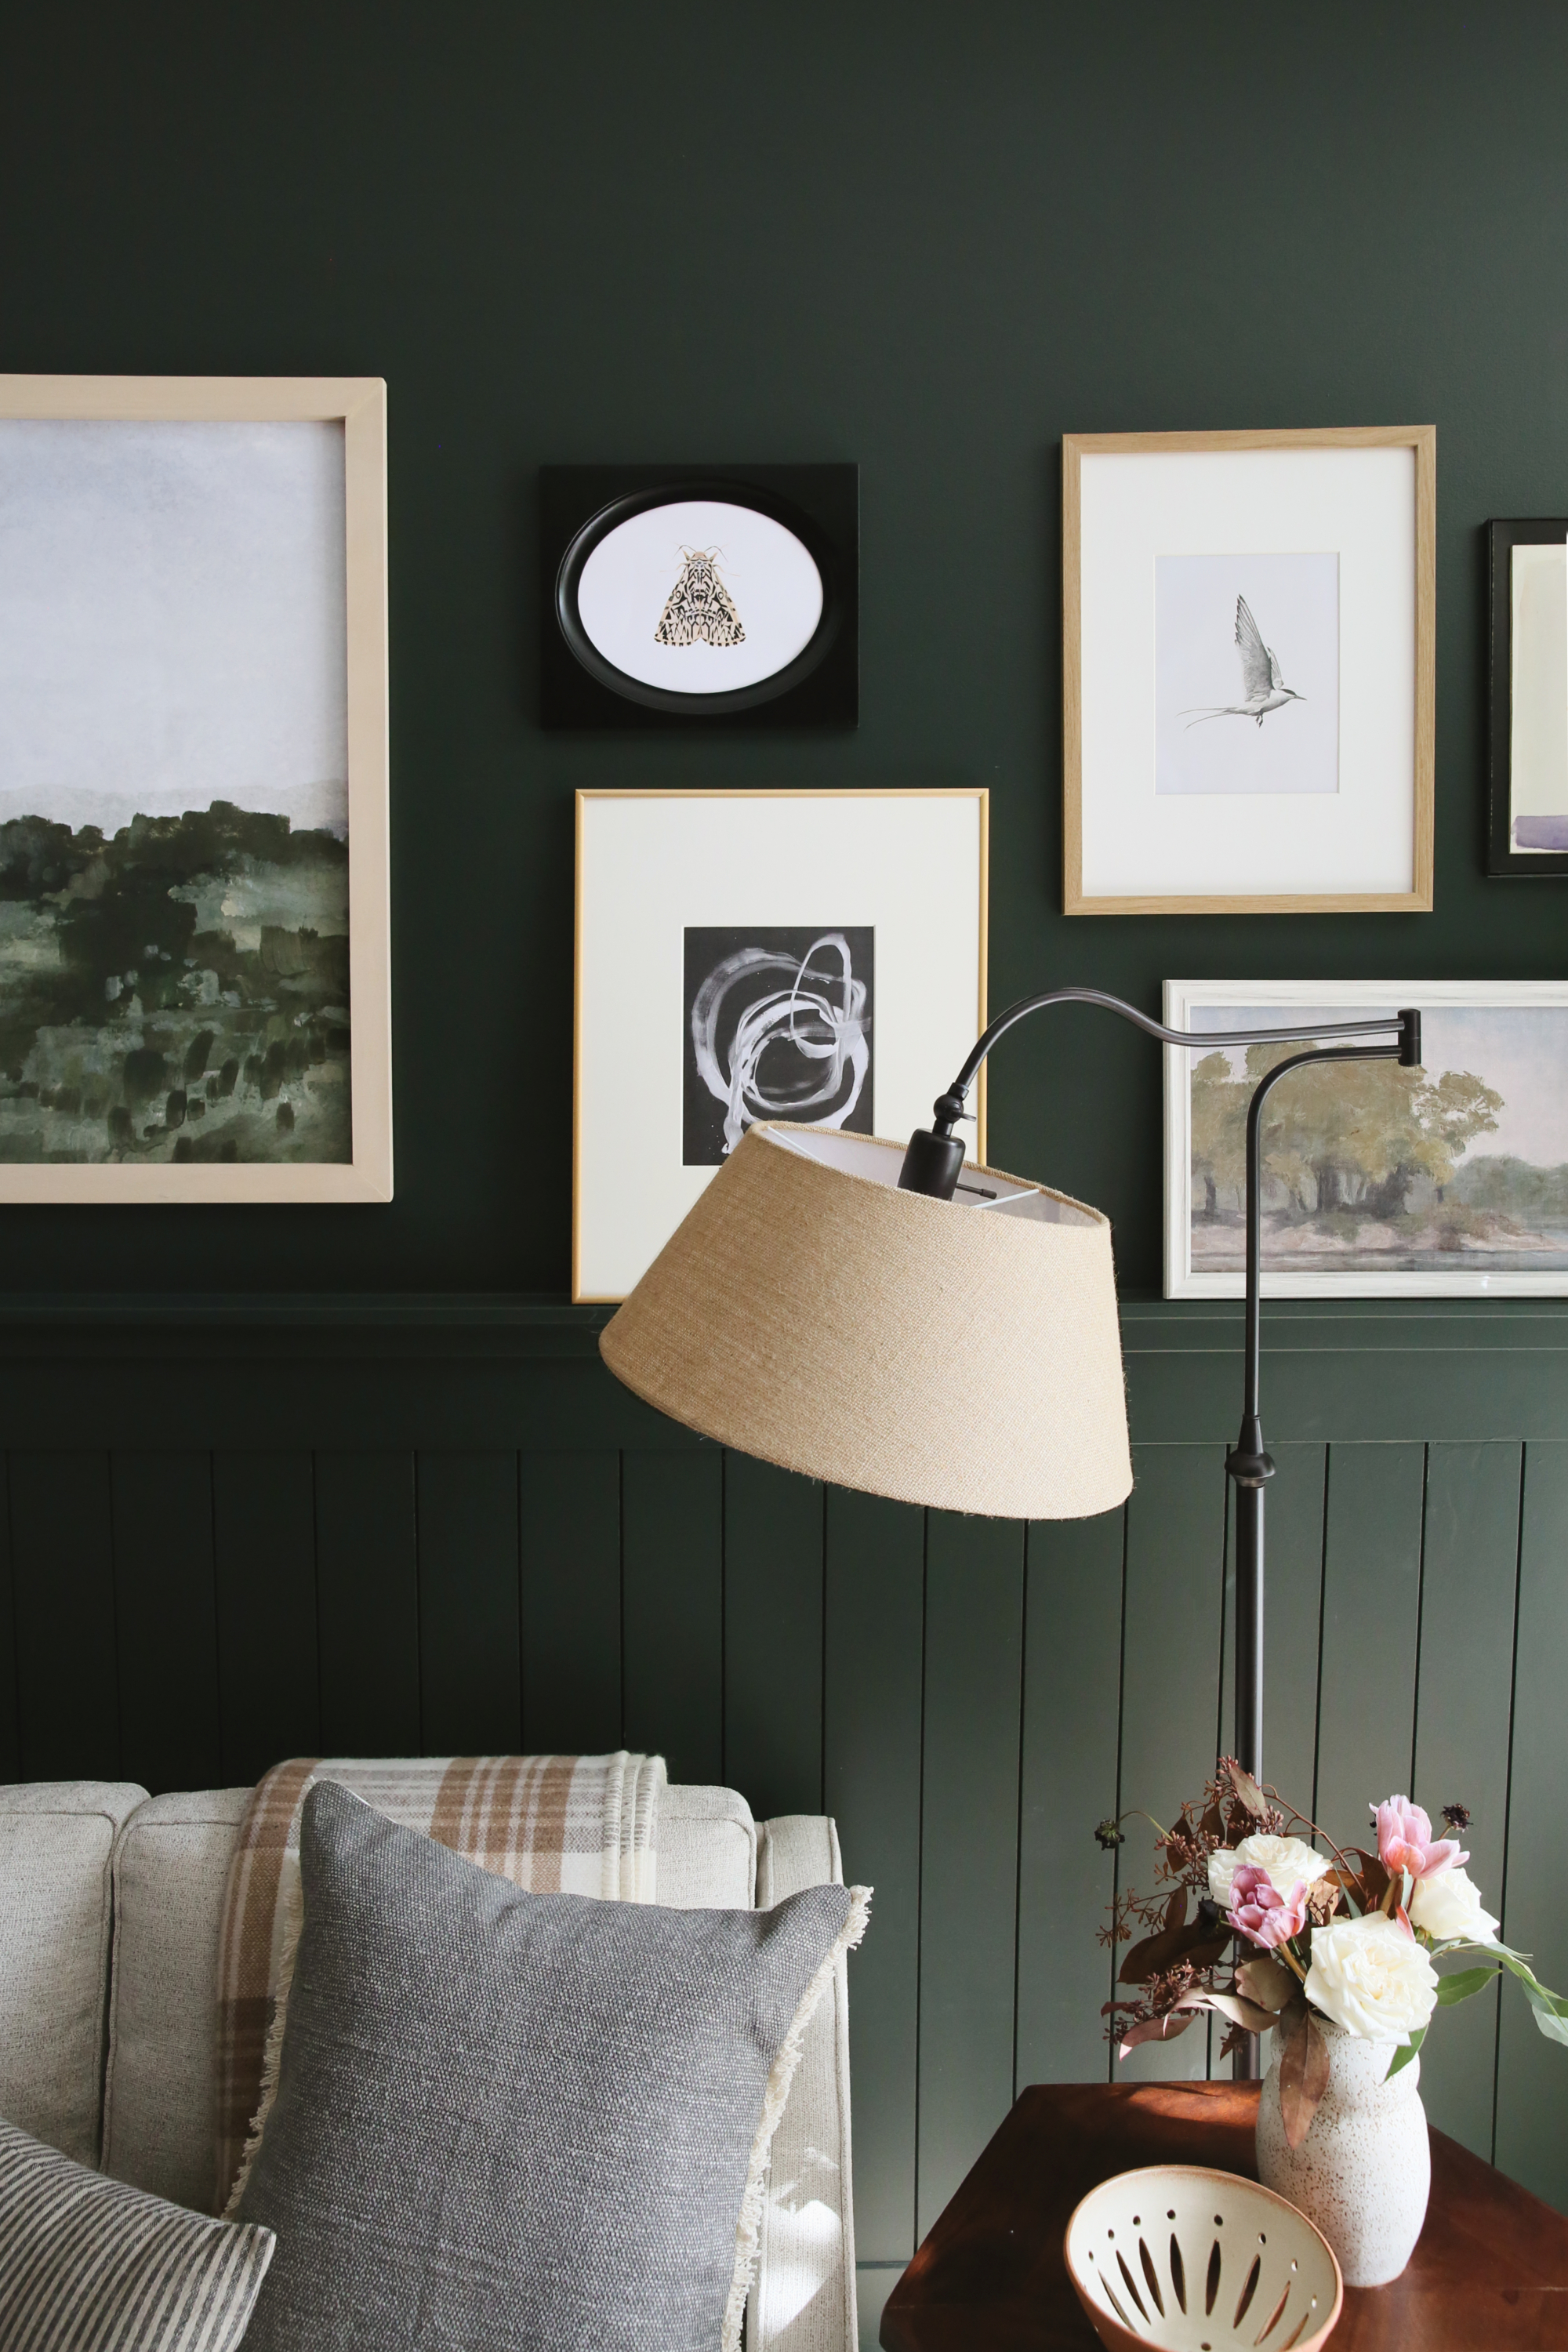
Tips for creating a gallery wall that incorporates a Frame TV? This feels difficult with a bigger TV size!
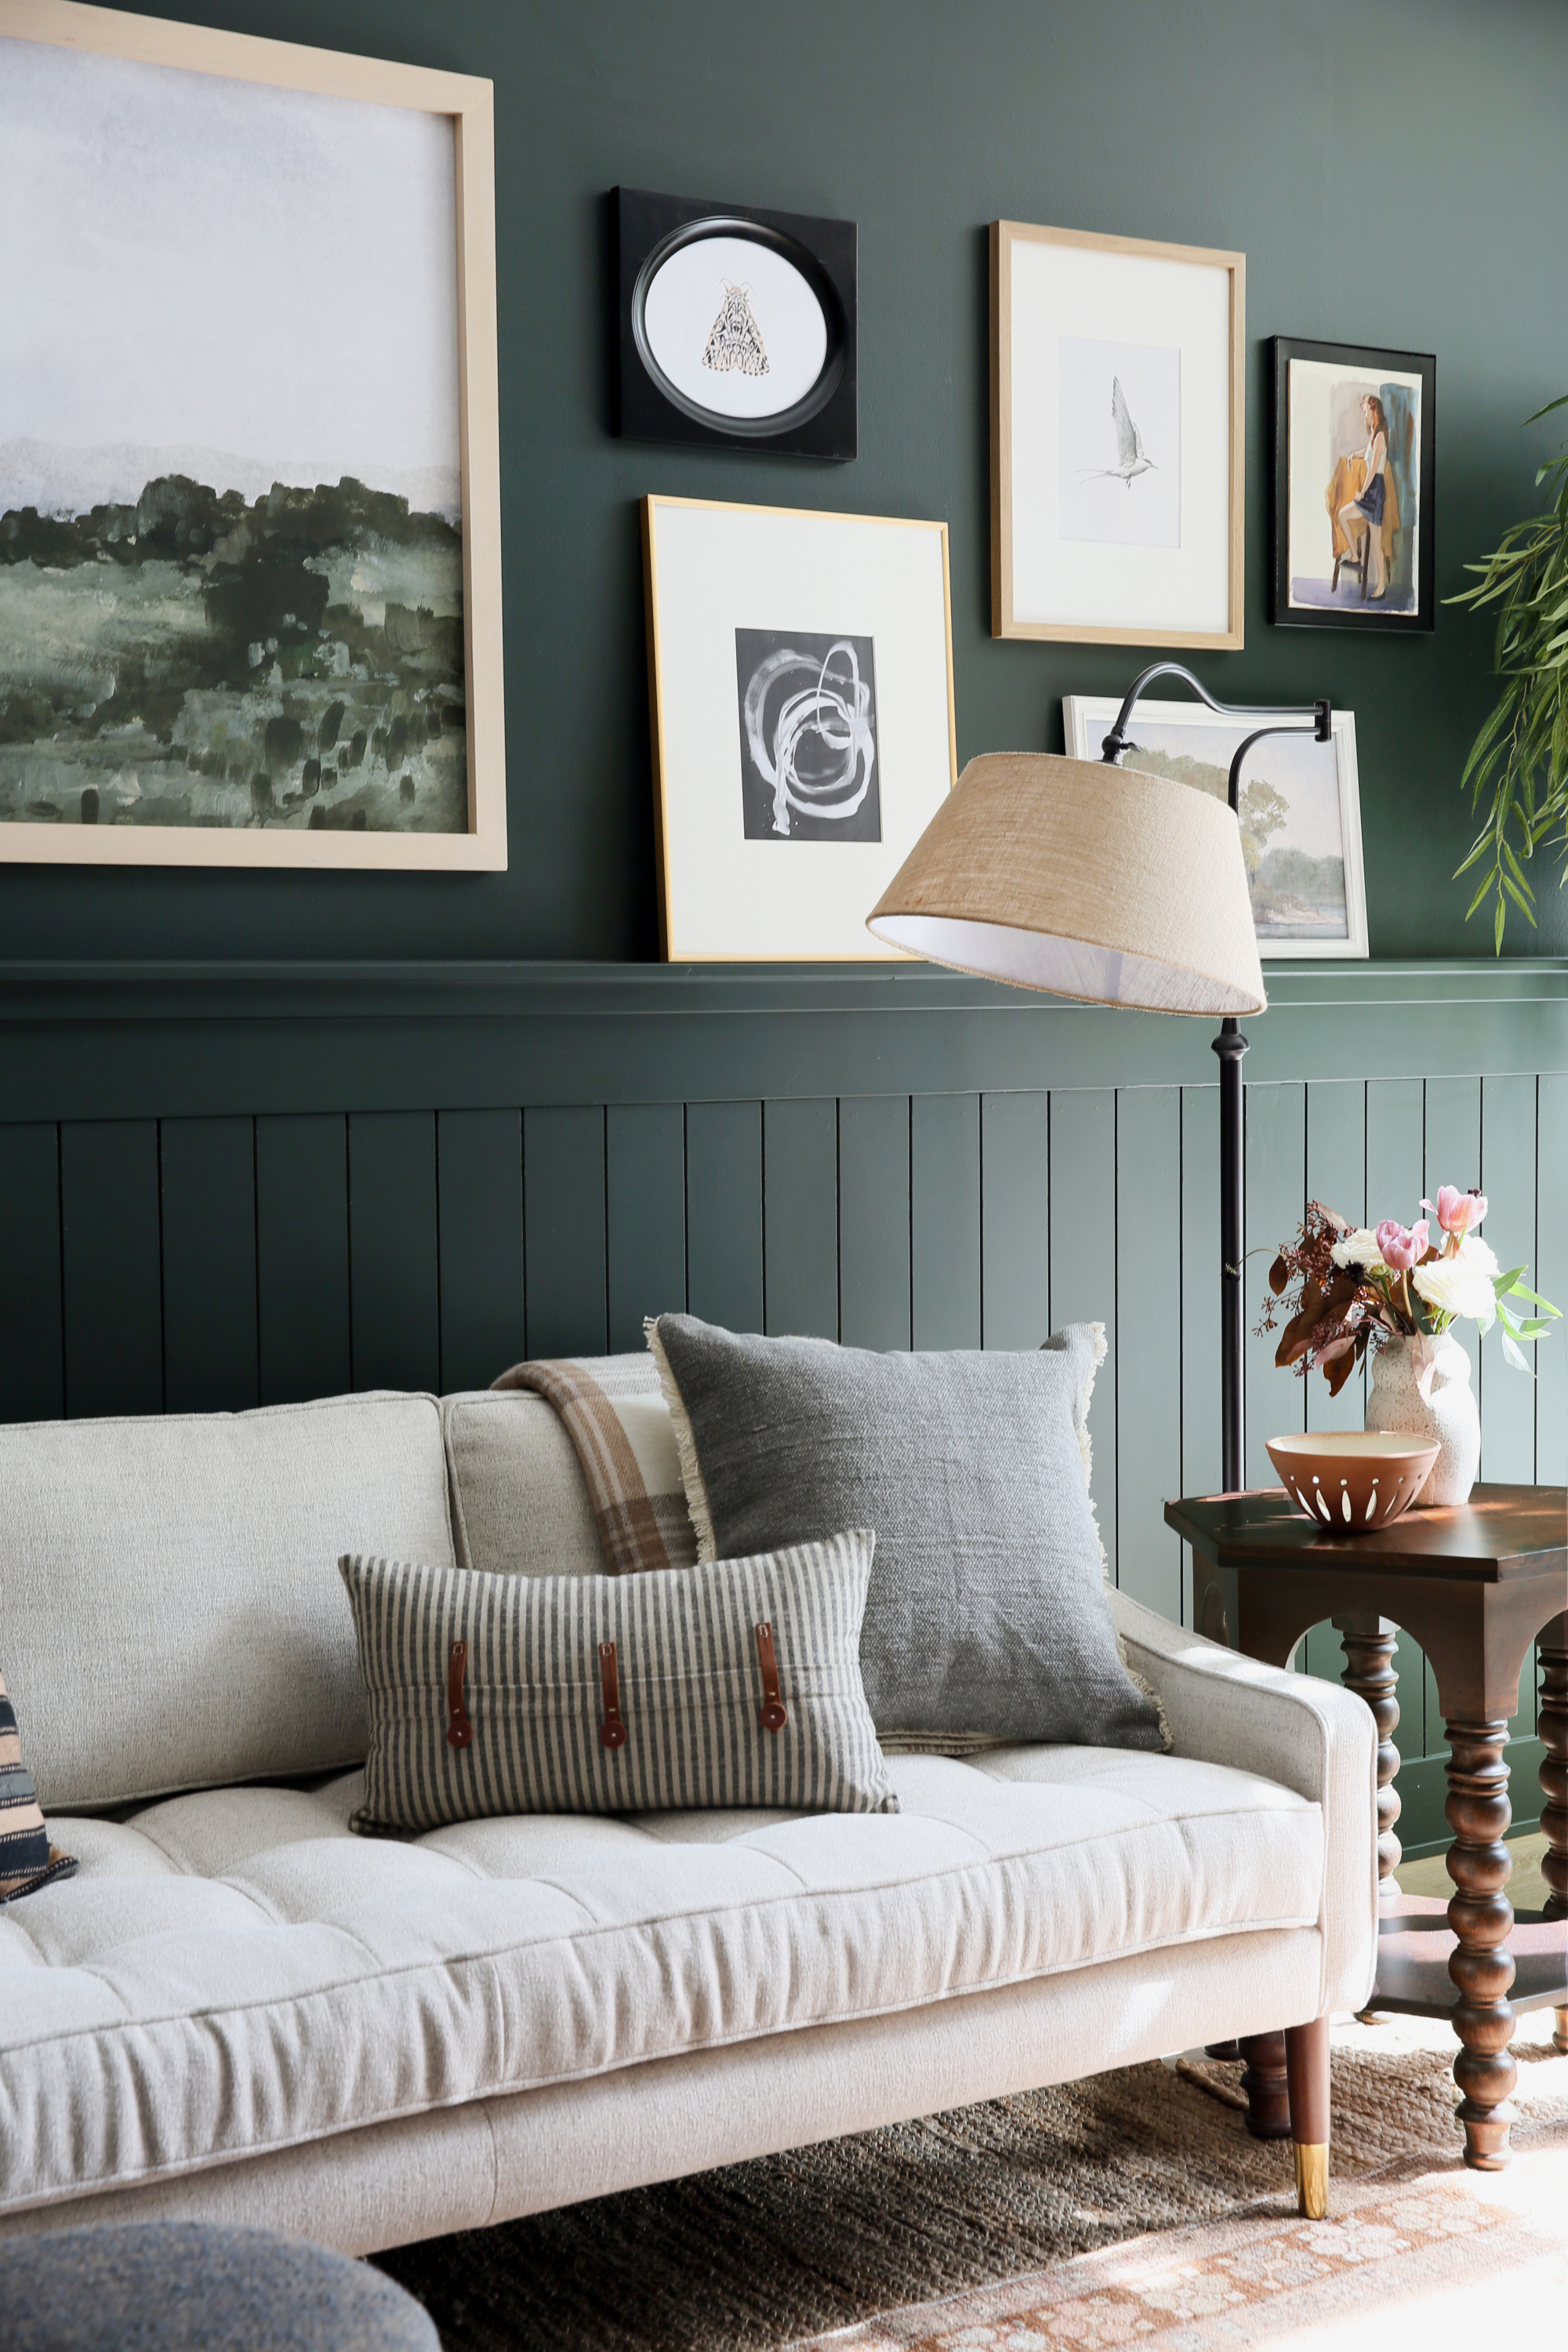
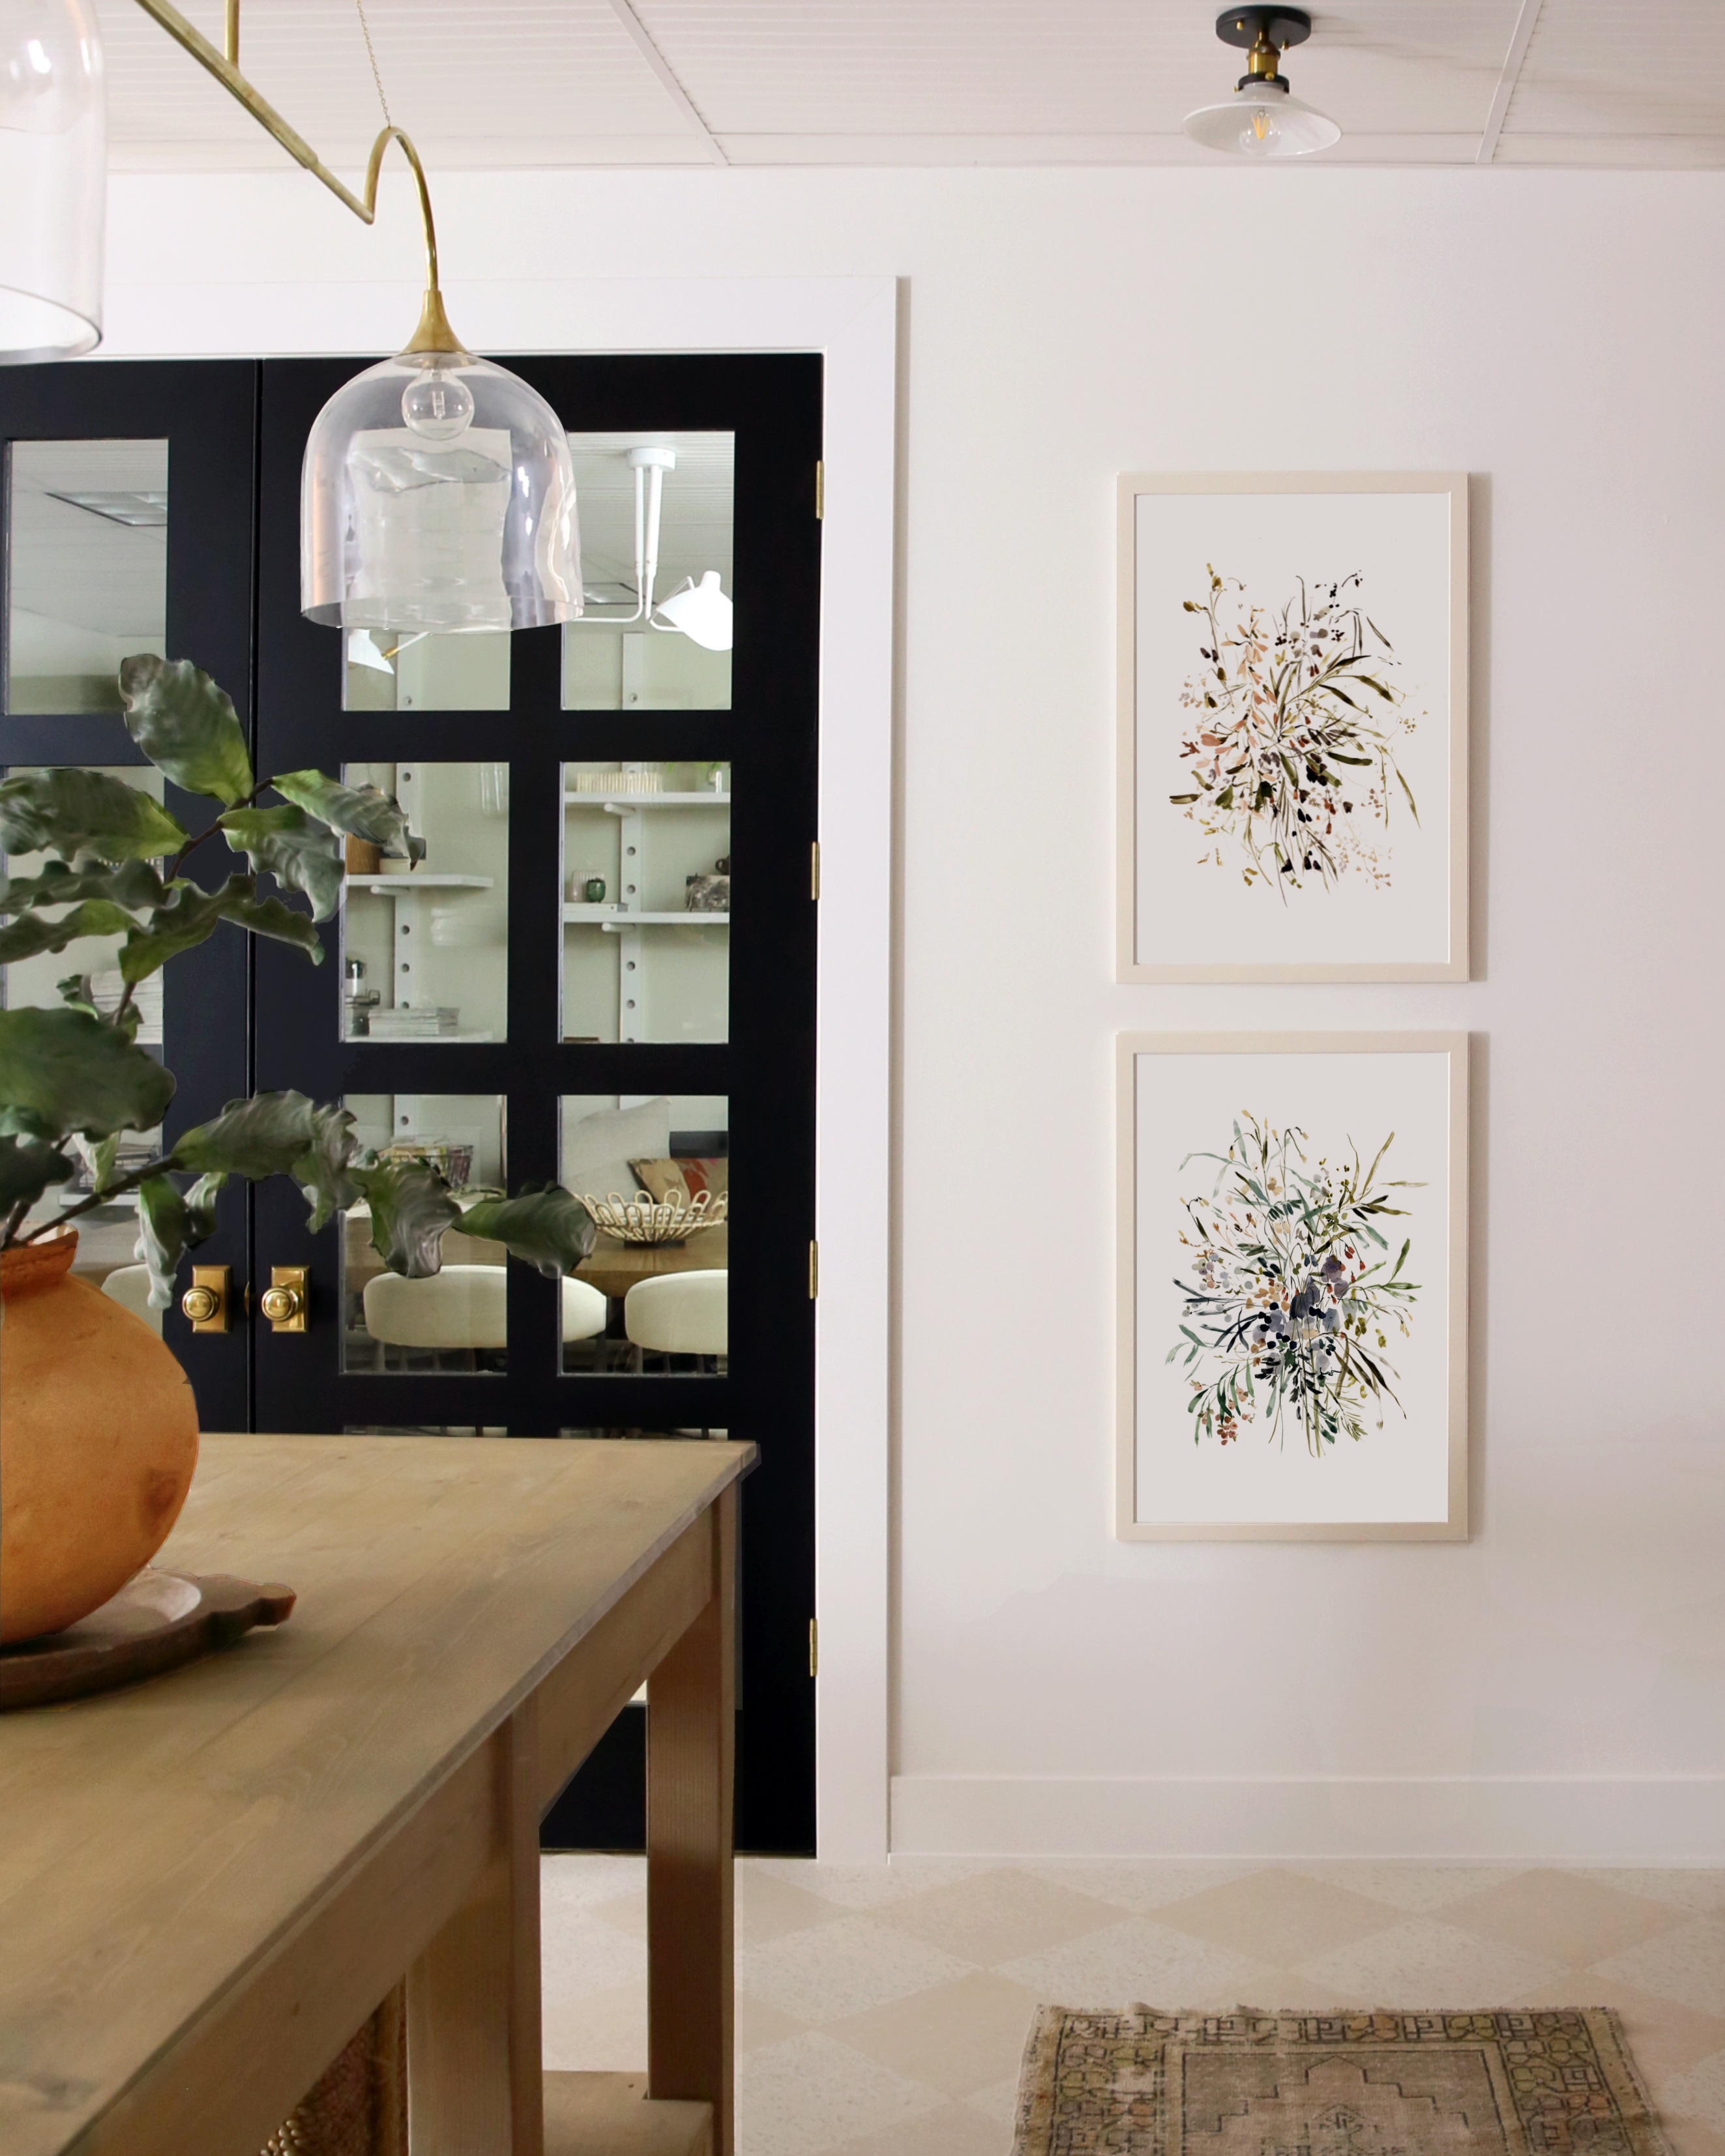
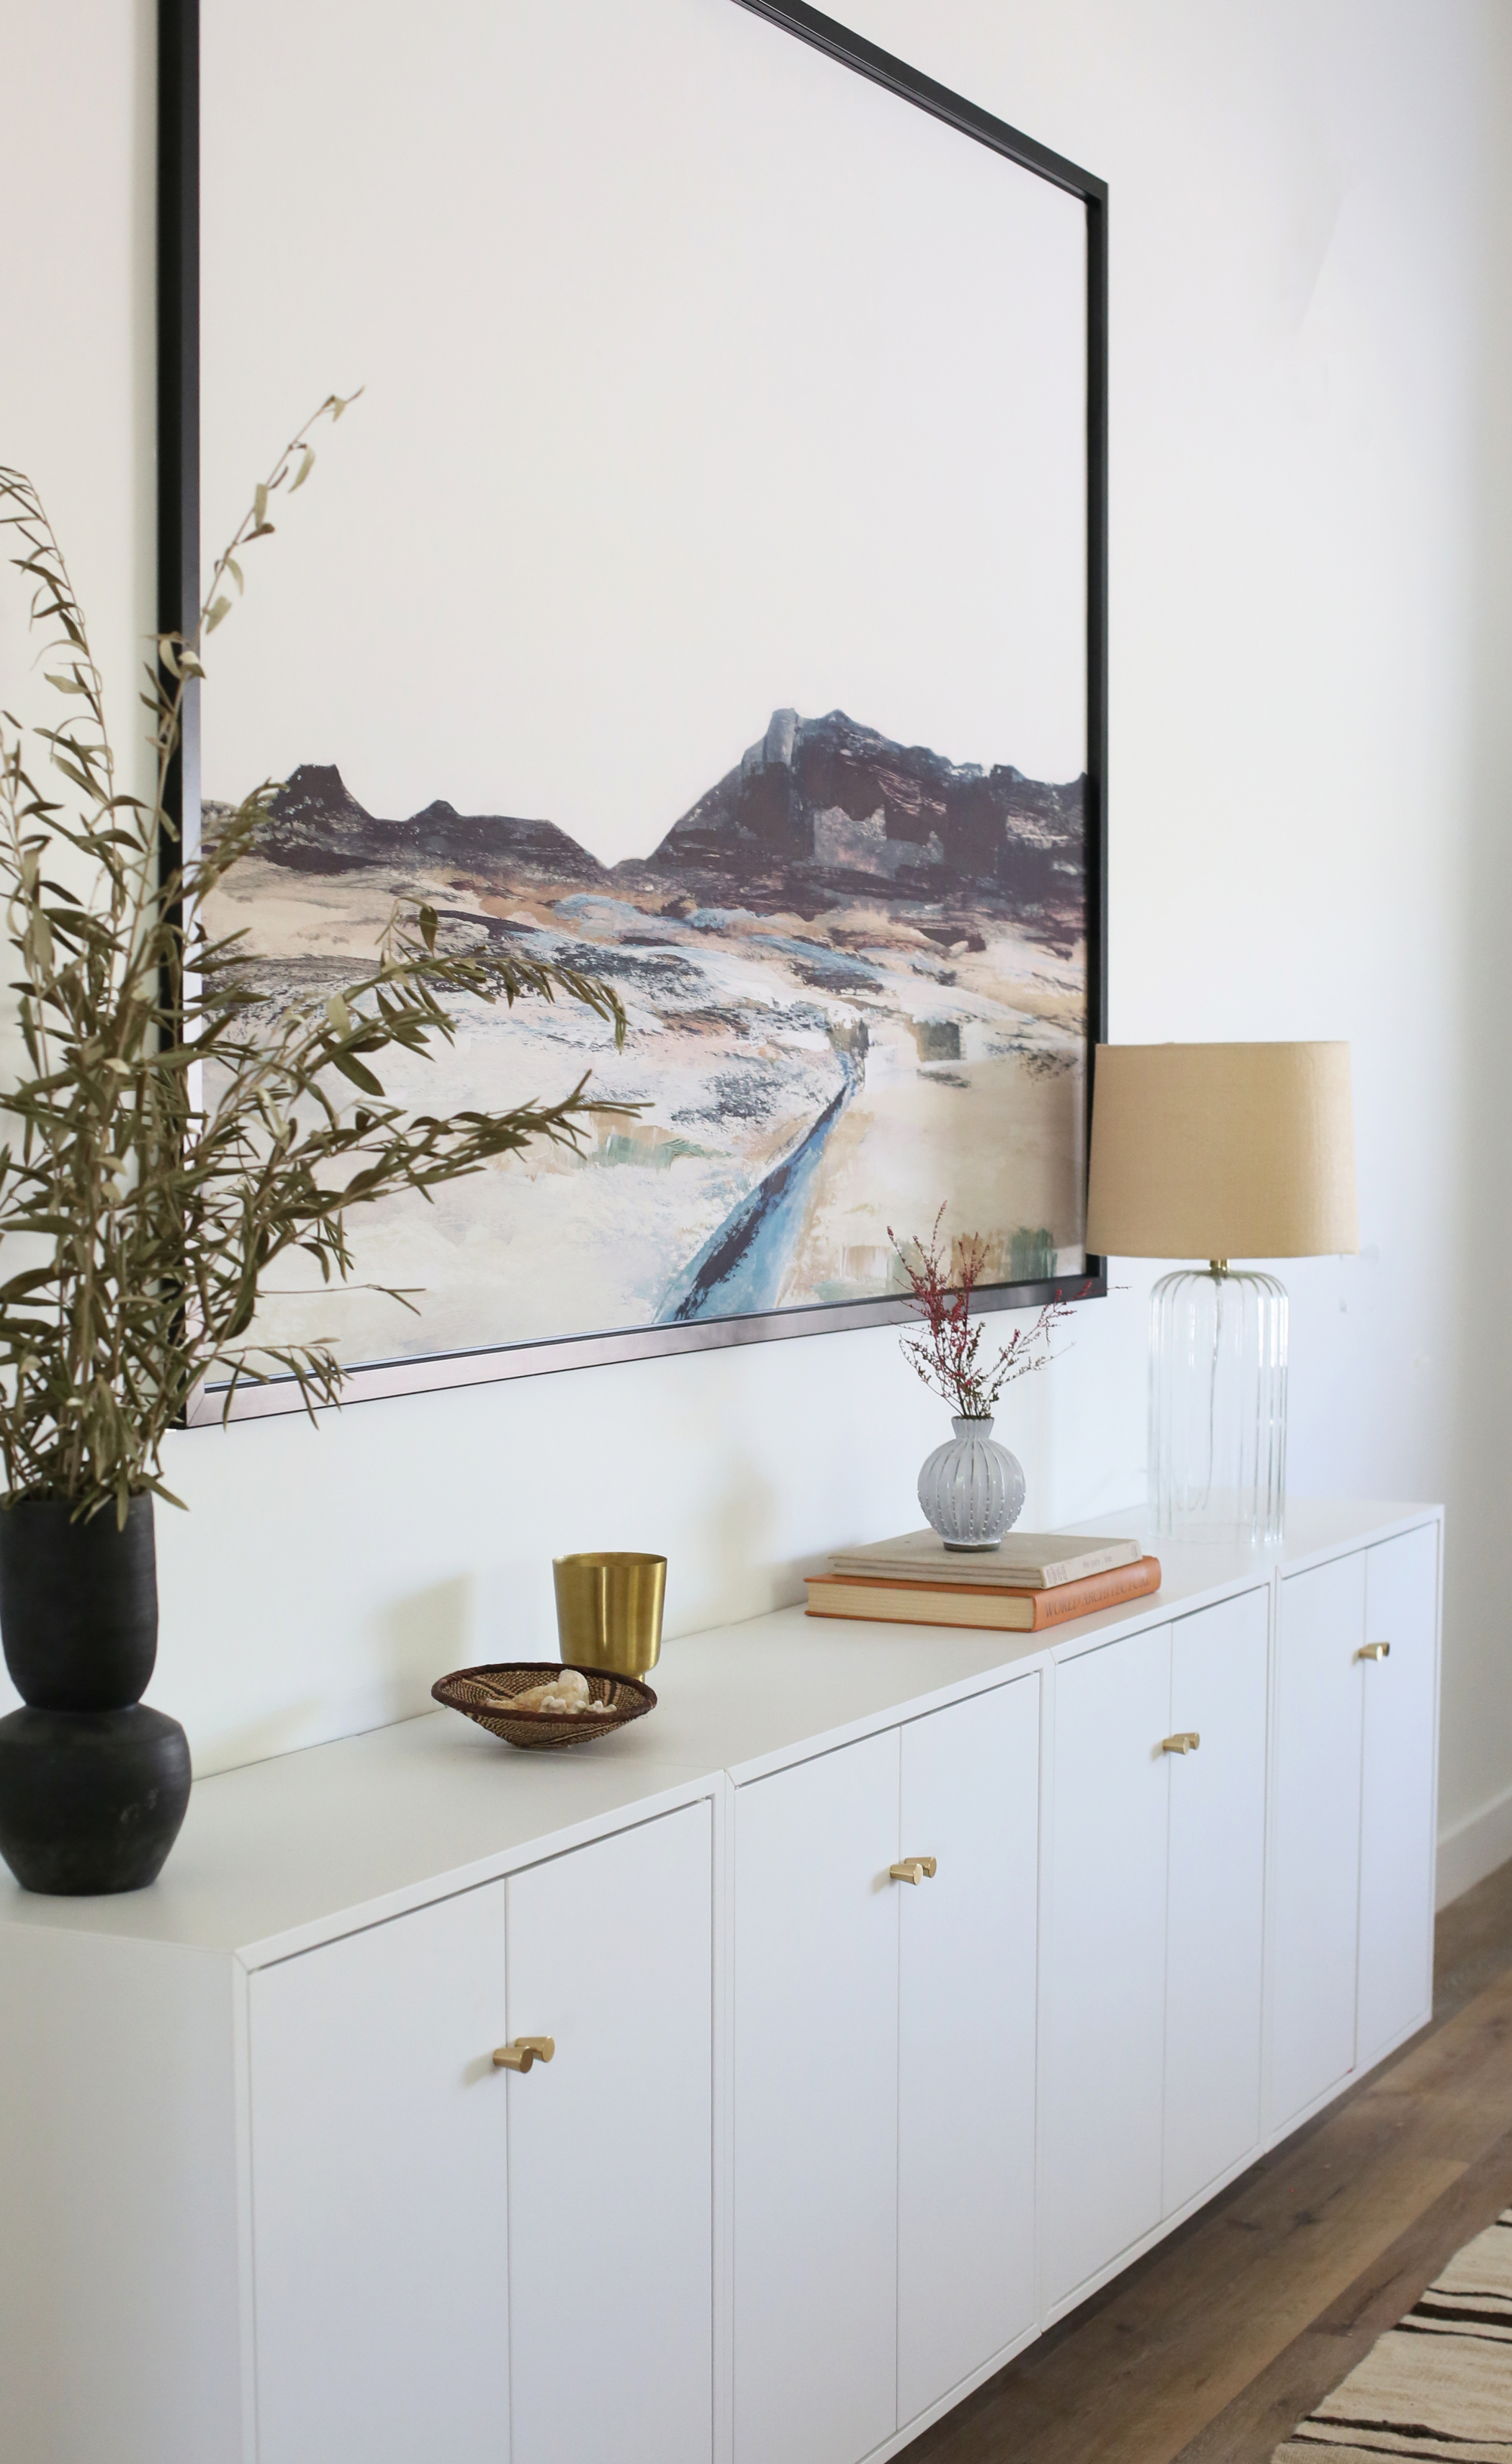
- If you’ve got the wall space, add another large scale piece of art or two. It’s fine if the TV is still the largest part of the arrangement, but the trick is finding some balance in scale. It’s better to have just a 75″ TV on your wall by itself I would say, if your wall isn’t enormous and you can’t fit another couple of pieces of framed art that are at least 20×30 or 24×36. A lot of 16x20s and 8x10s will only look silly surrounding that behemoth TV! That said, a large grouping of smaller frames on a nearby wall (either as a loose gallery wall or in a grid arrangement) can really help give some interest and visual balance to a room with a large Frame TV. I am working on a whole wall of 14 (!) pressed botanicals in 21×25 frames to the right of our Frame TV wall and I think that will end up being the big visual focal point in the room. Hopefully the TV just adds to the illusion of lots of layered art in the space, but doesn’t demand to be the full focus – at least that’s the goal!
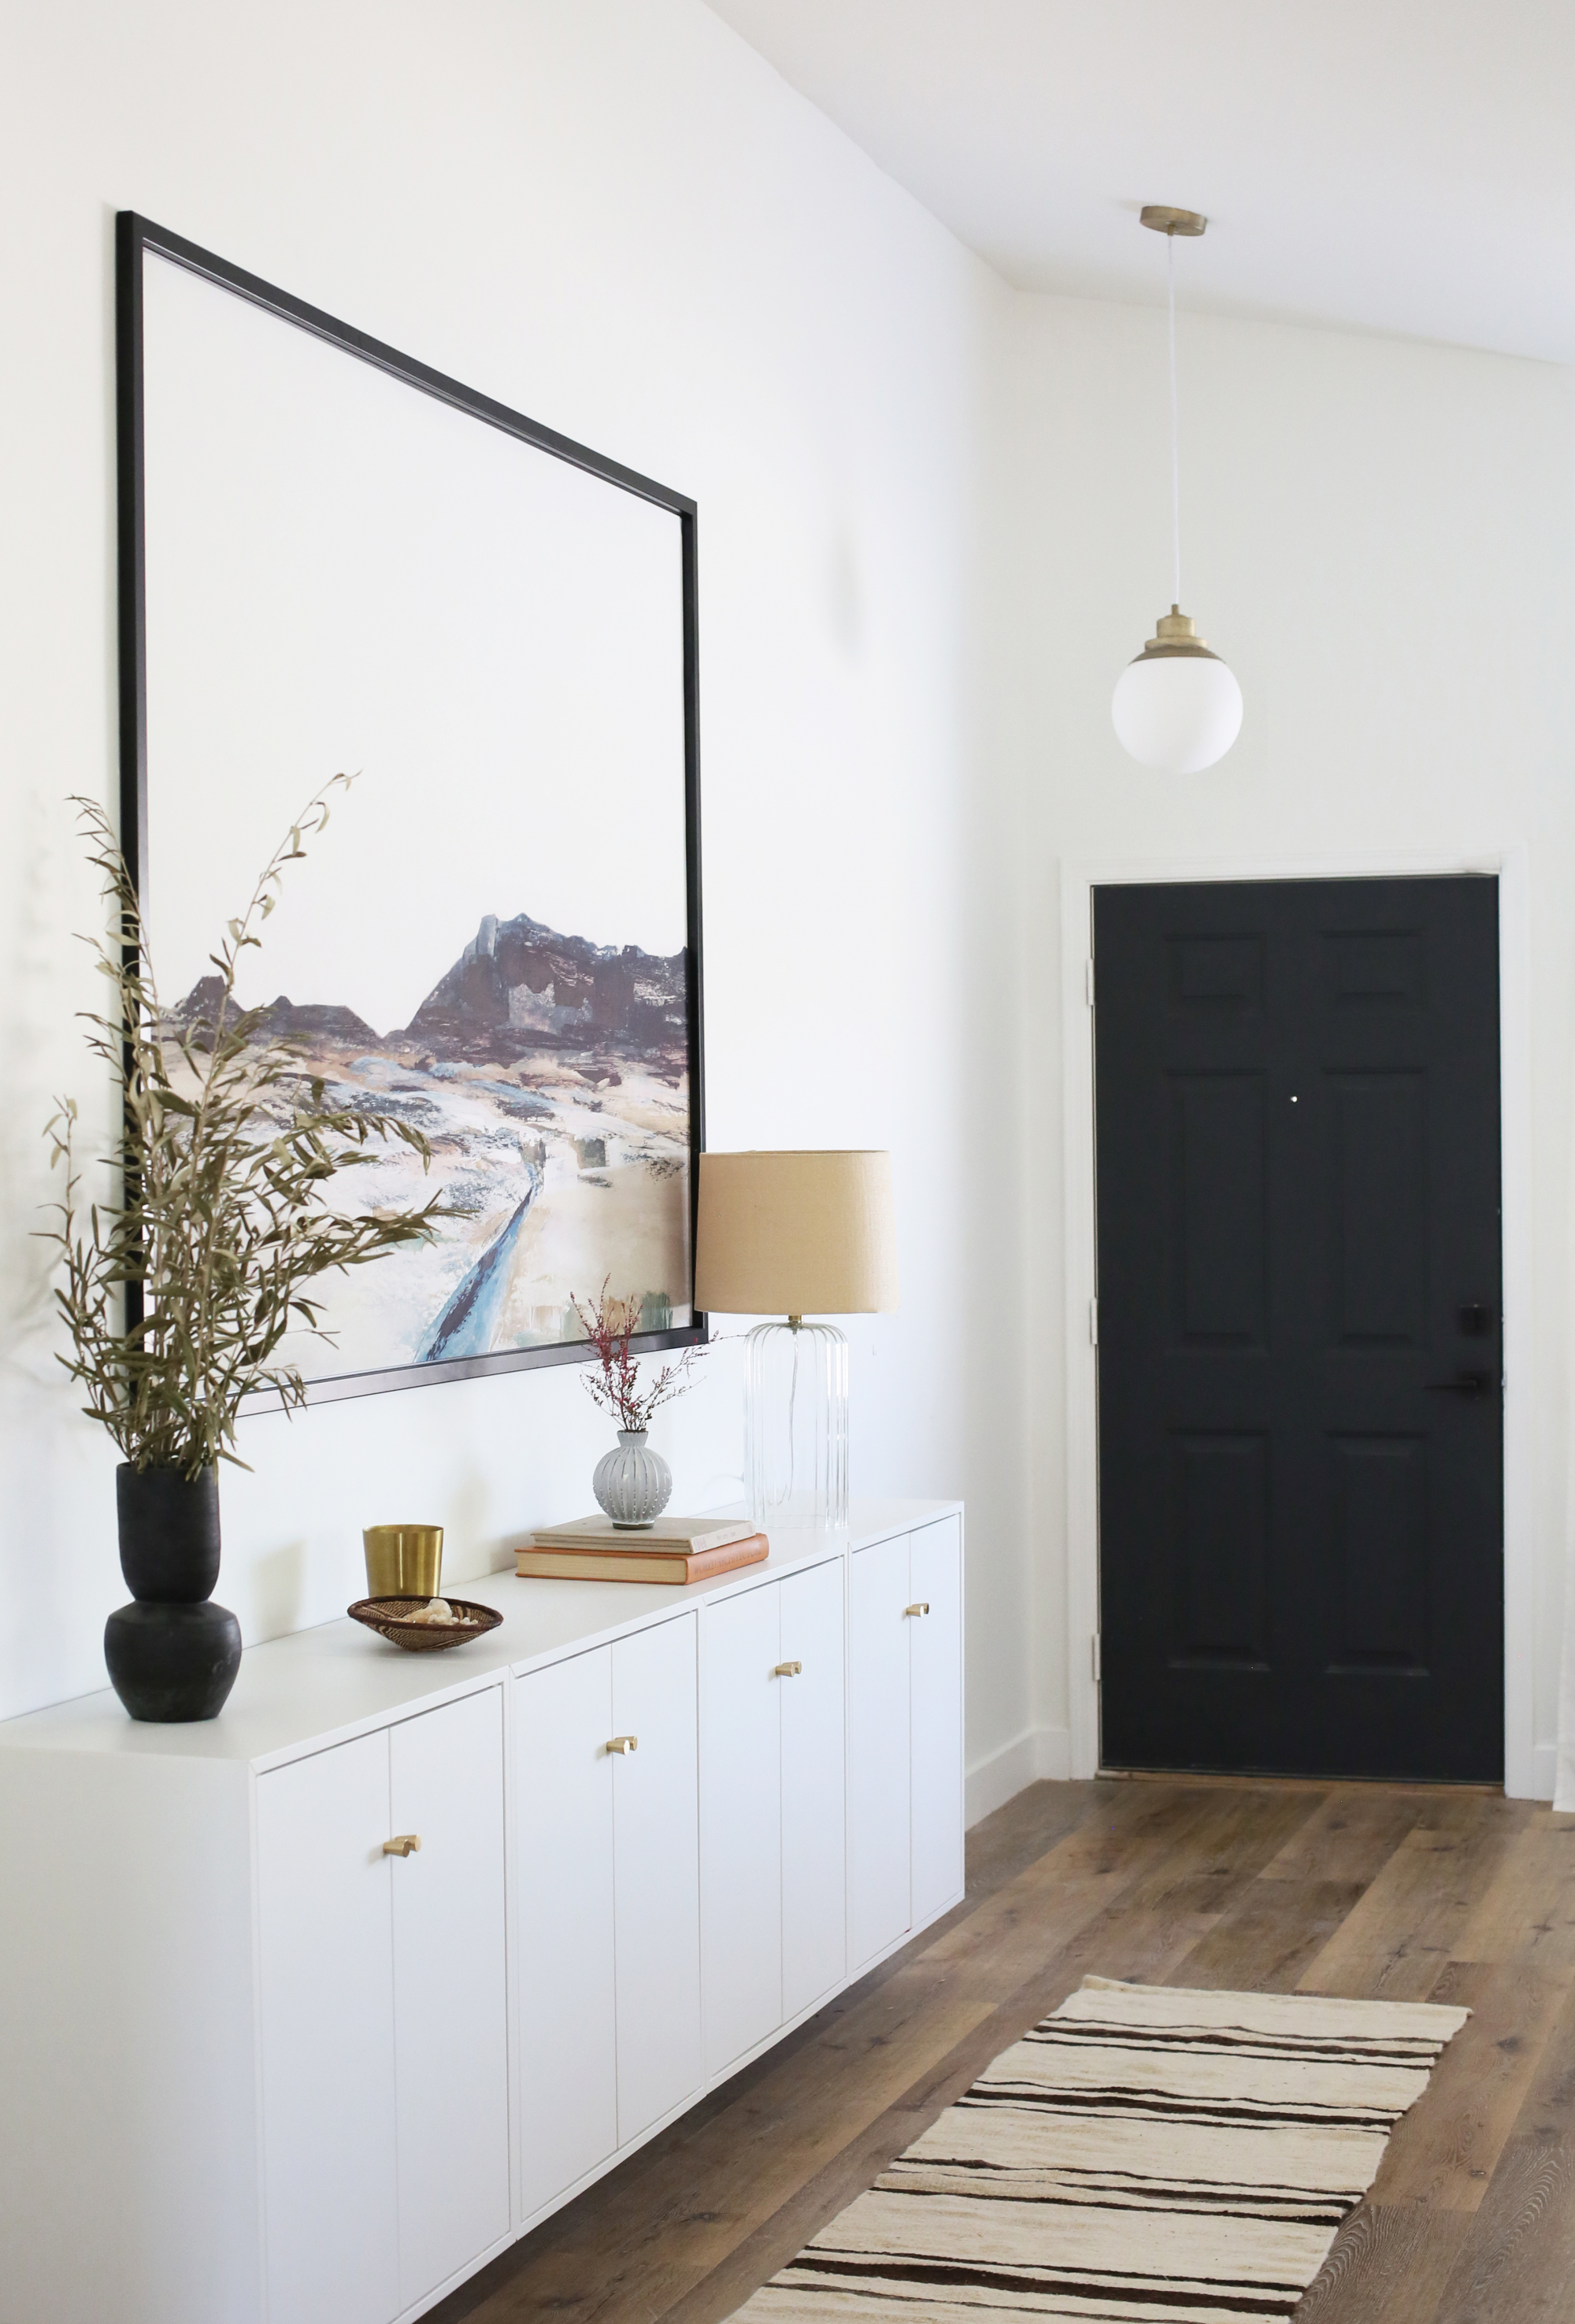
If I don’t have any furniture under my TV, what’s the ideal height to hang mine?
- This depends on a lot of factors, like your ceiling height, the scale of the room and your furniture, and how far away your main seating area is from the TV, but in general I hang TVs a little lower than average eye level (I usually hang regular centered around 57″ above the ground – though it’s more of an art than a science, so do what feels right for your space). Our TV is a little higher than I’d prefer with our wainscoting, centered at closer to 65″), but it’s still not bad and I think looks appropriately high for a room with 11′ ceilings.
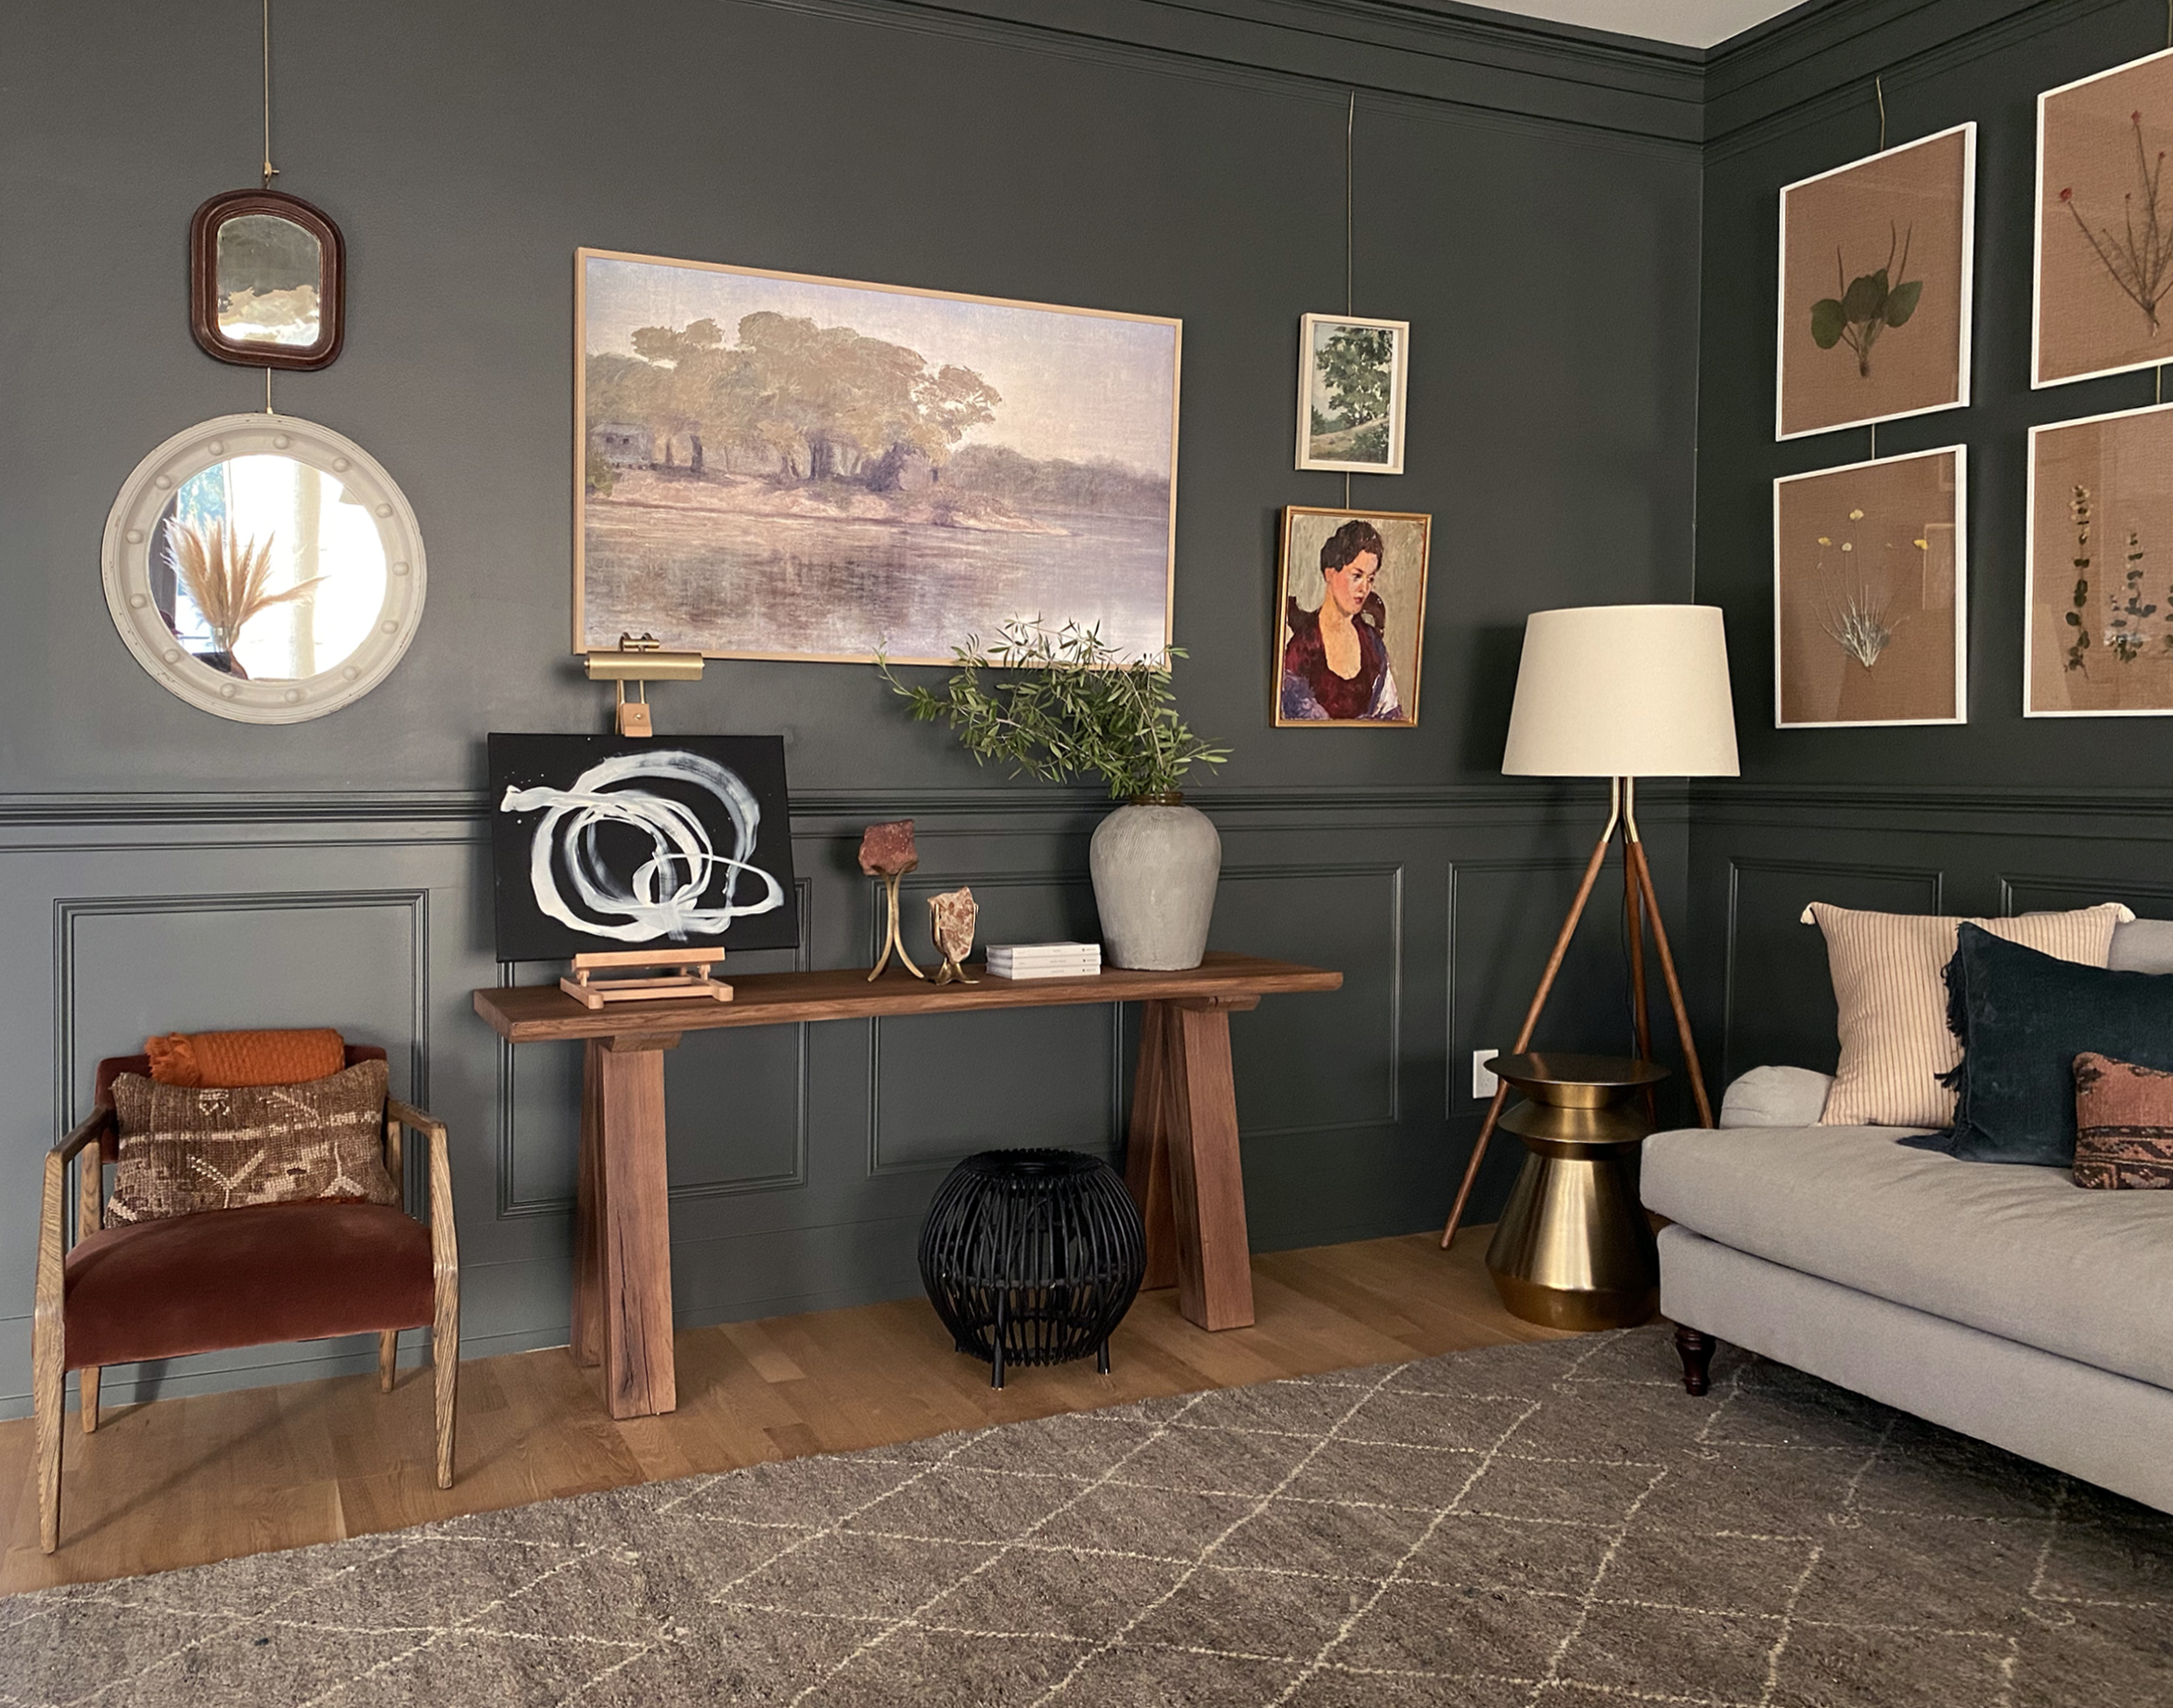
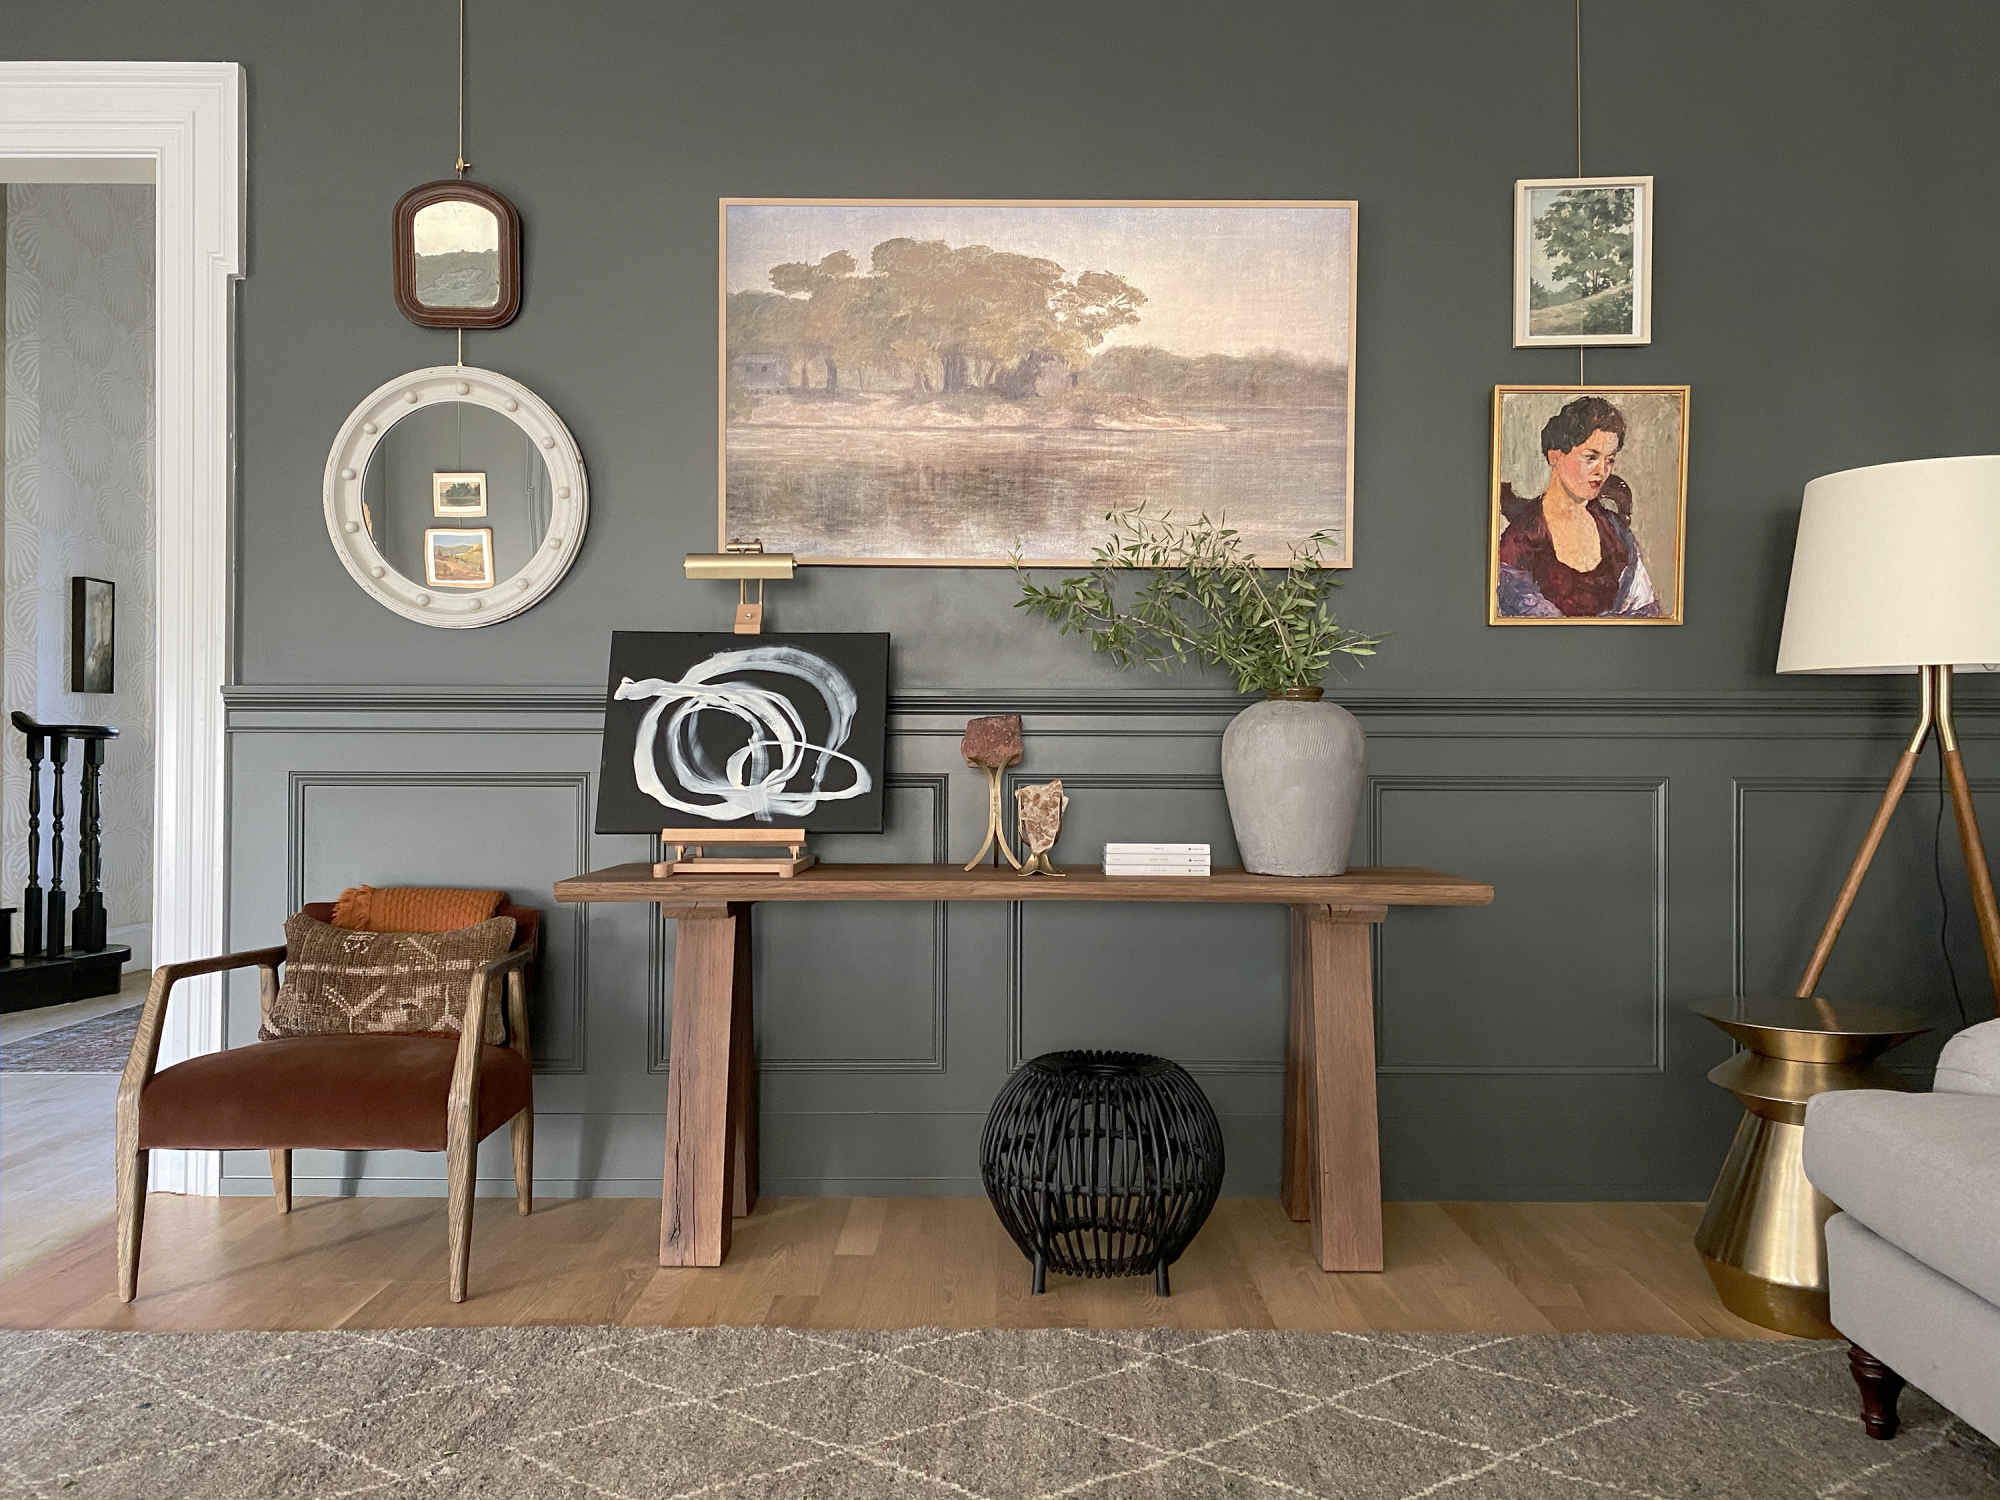
LAKESIDE print // KNOTS II print // ELEANOR print
Frame TV // Rust Armchair // Wood Console (similar) // Gray Rug (similar) // Rattan Ottoman (similar)
Kilim Pillow (similar) // Wood Picture Easel // Brass Picture Light (similar) // Gray Sofa // Floor Lamp (similar)
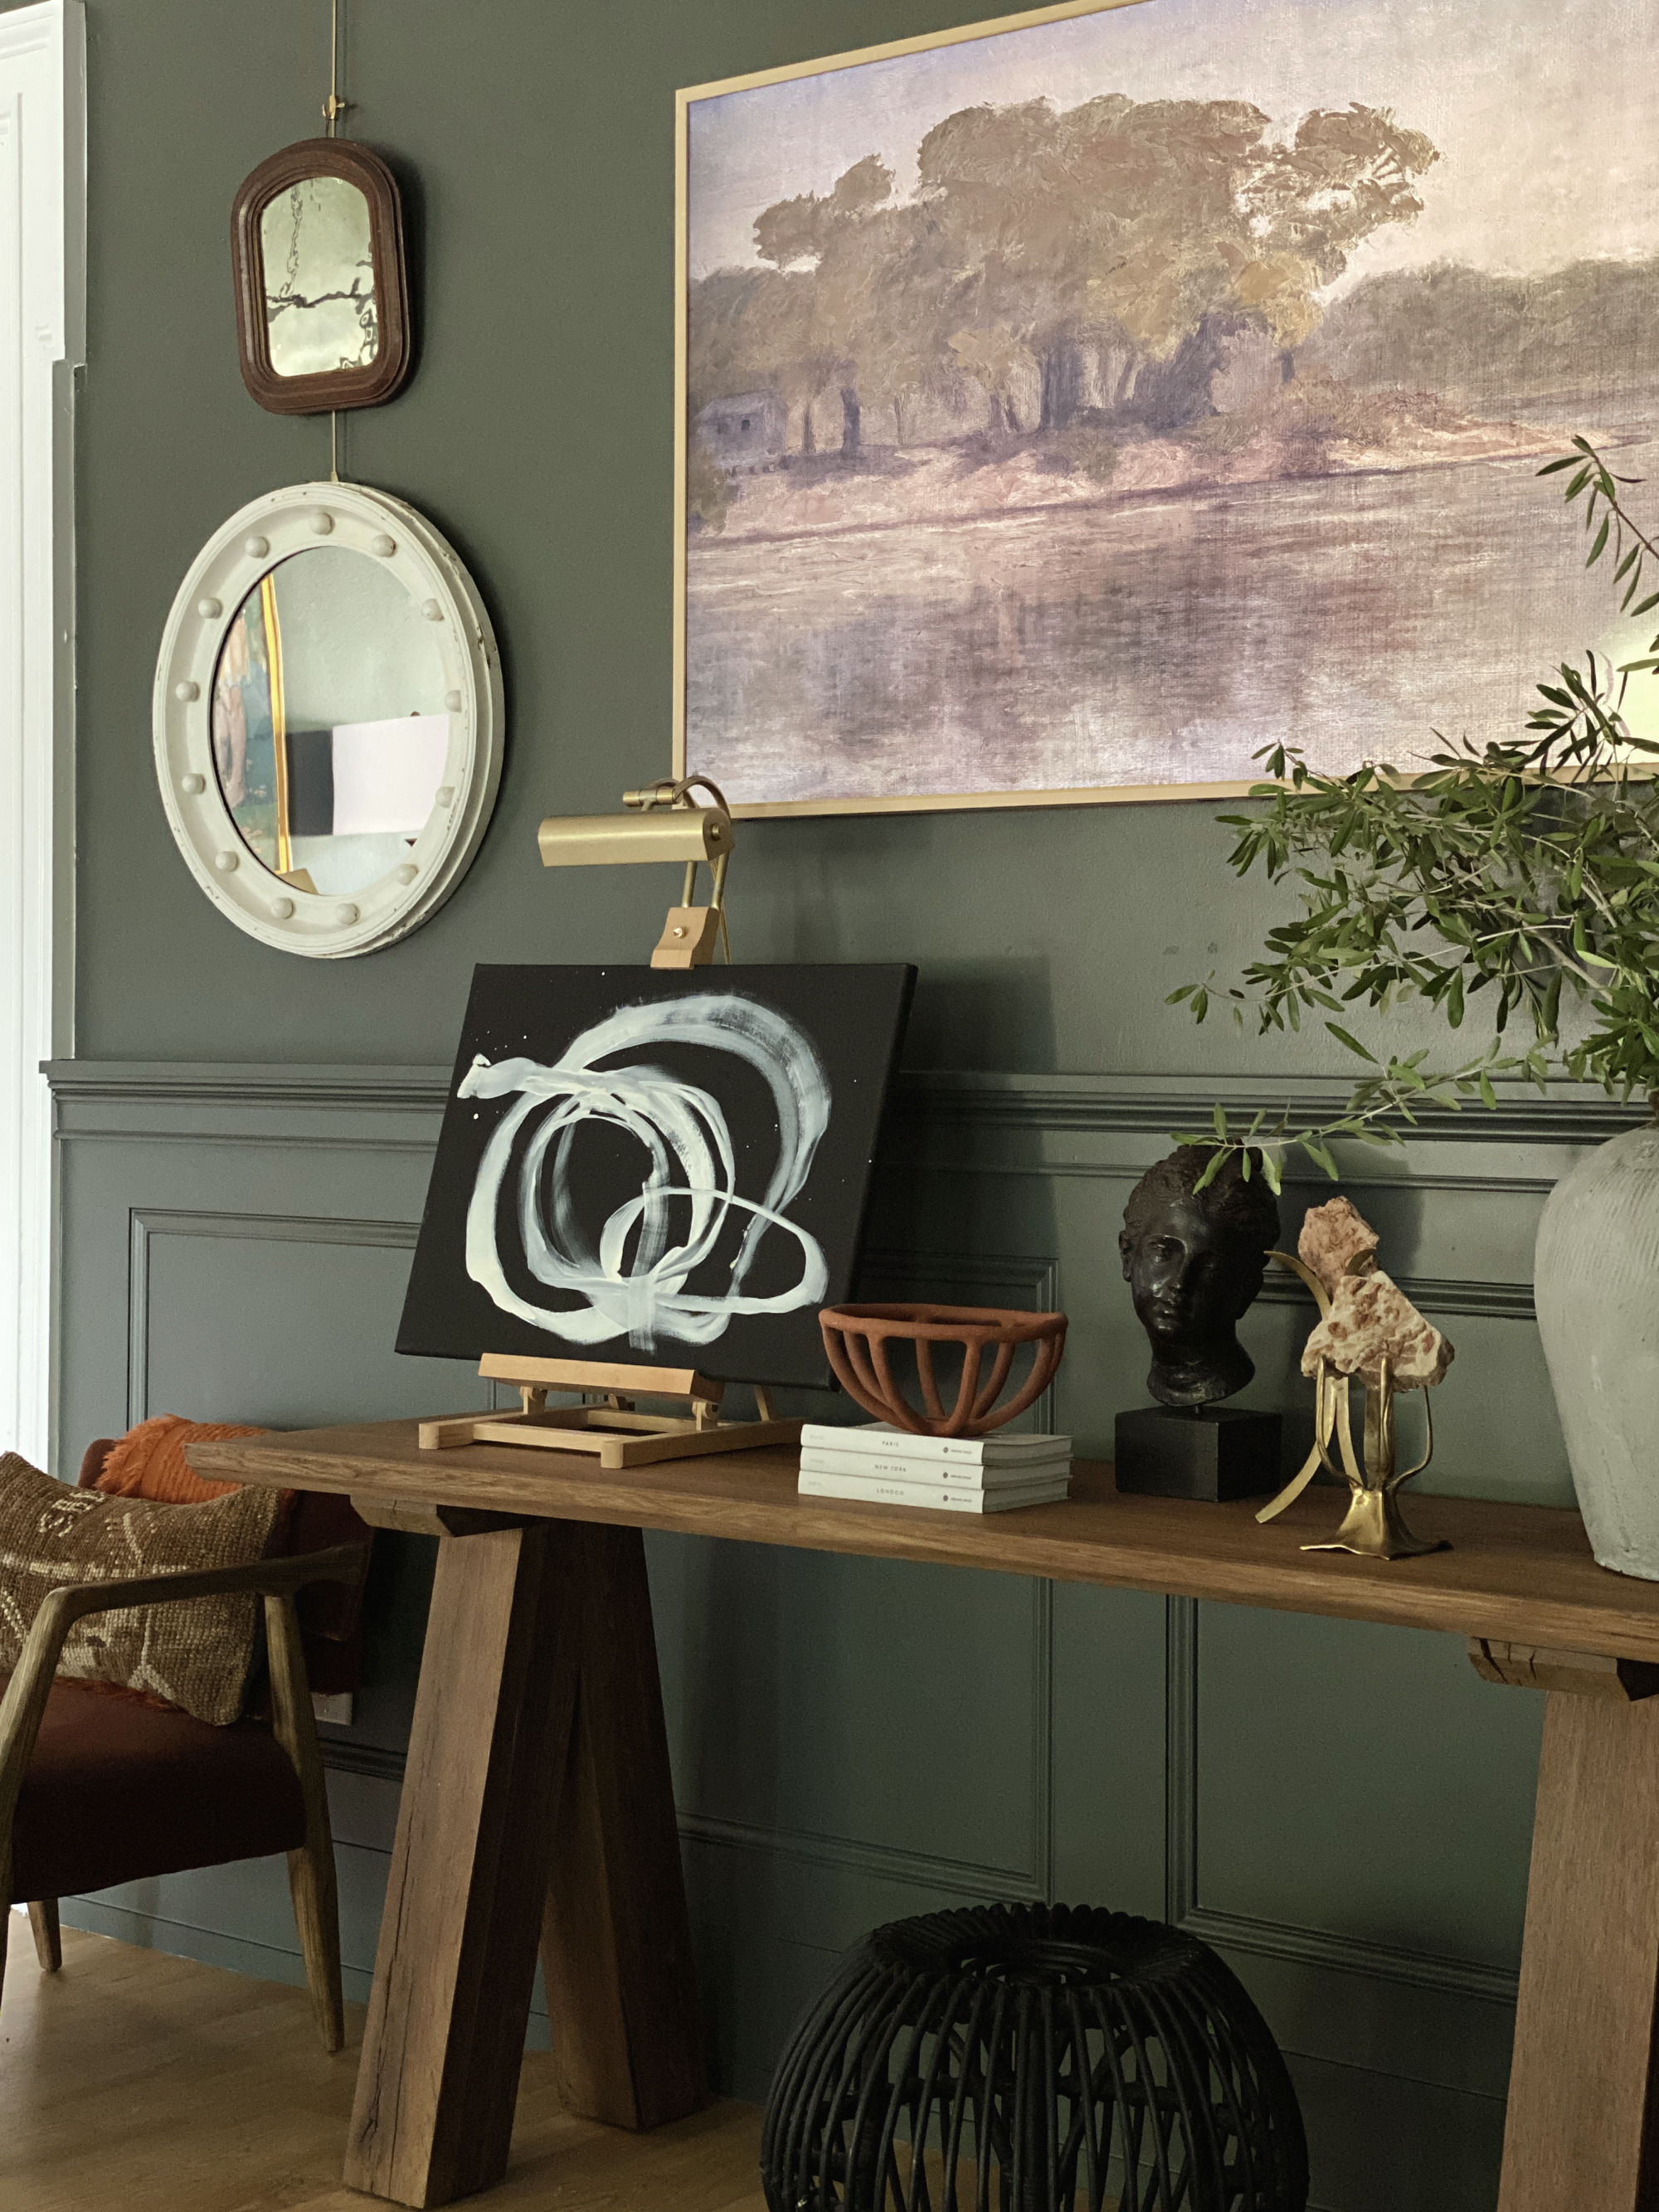
Gold Side Table (similar) // Vintage Wood Mirror (similar) // Vintage Round Mirror (similar)
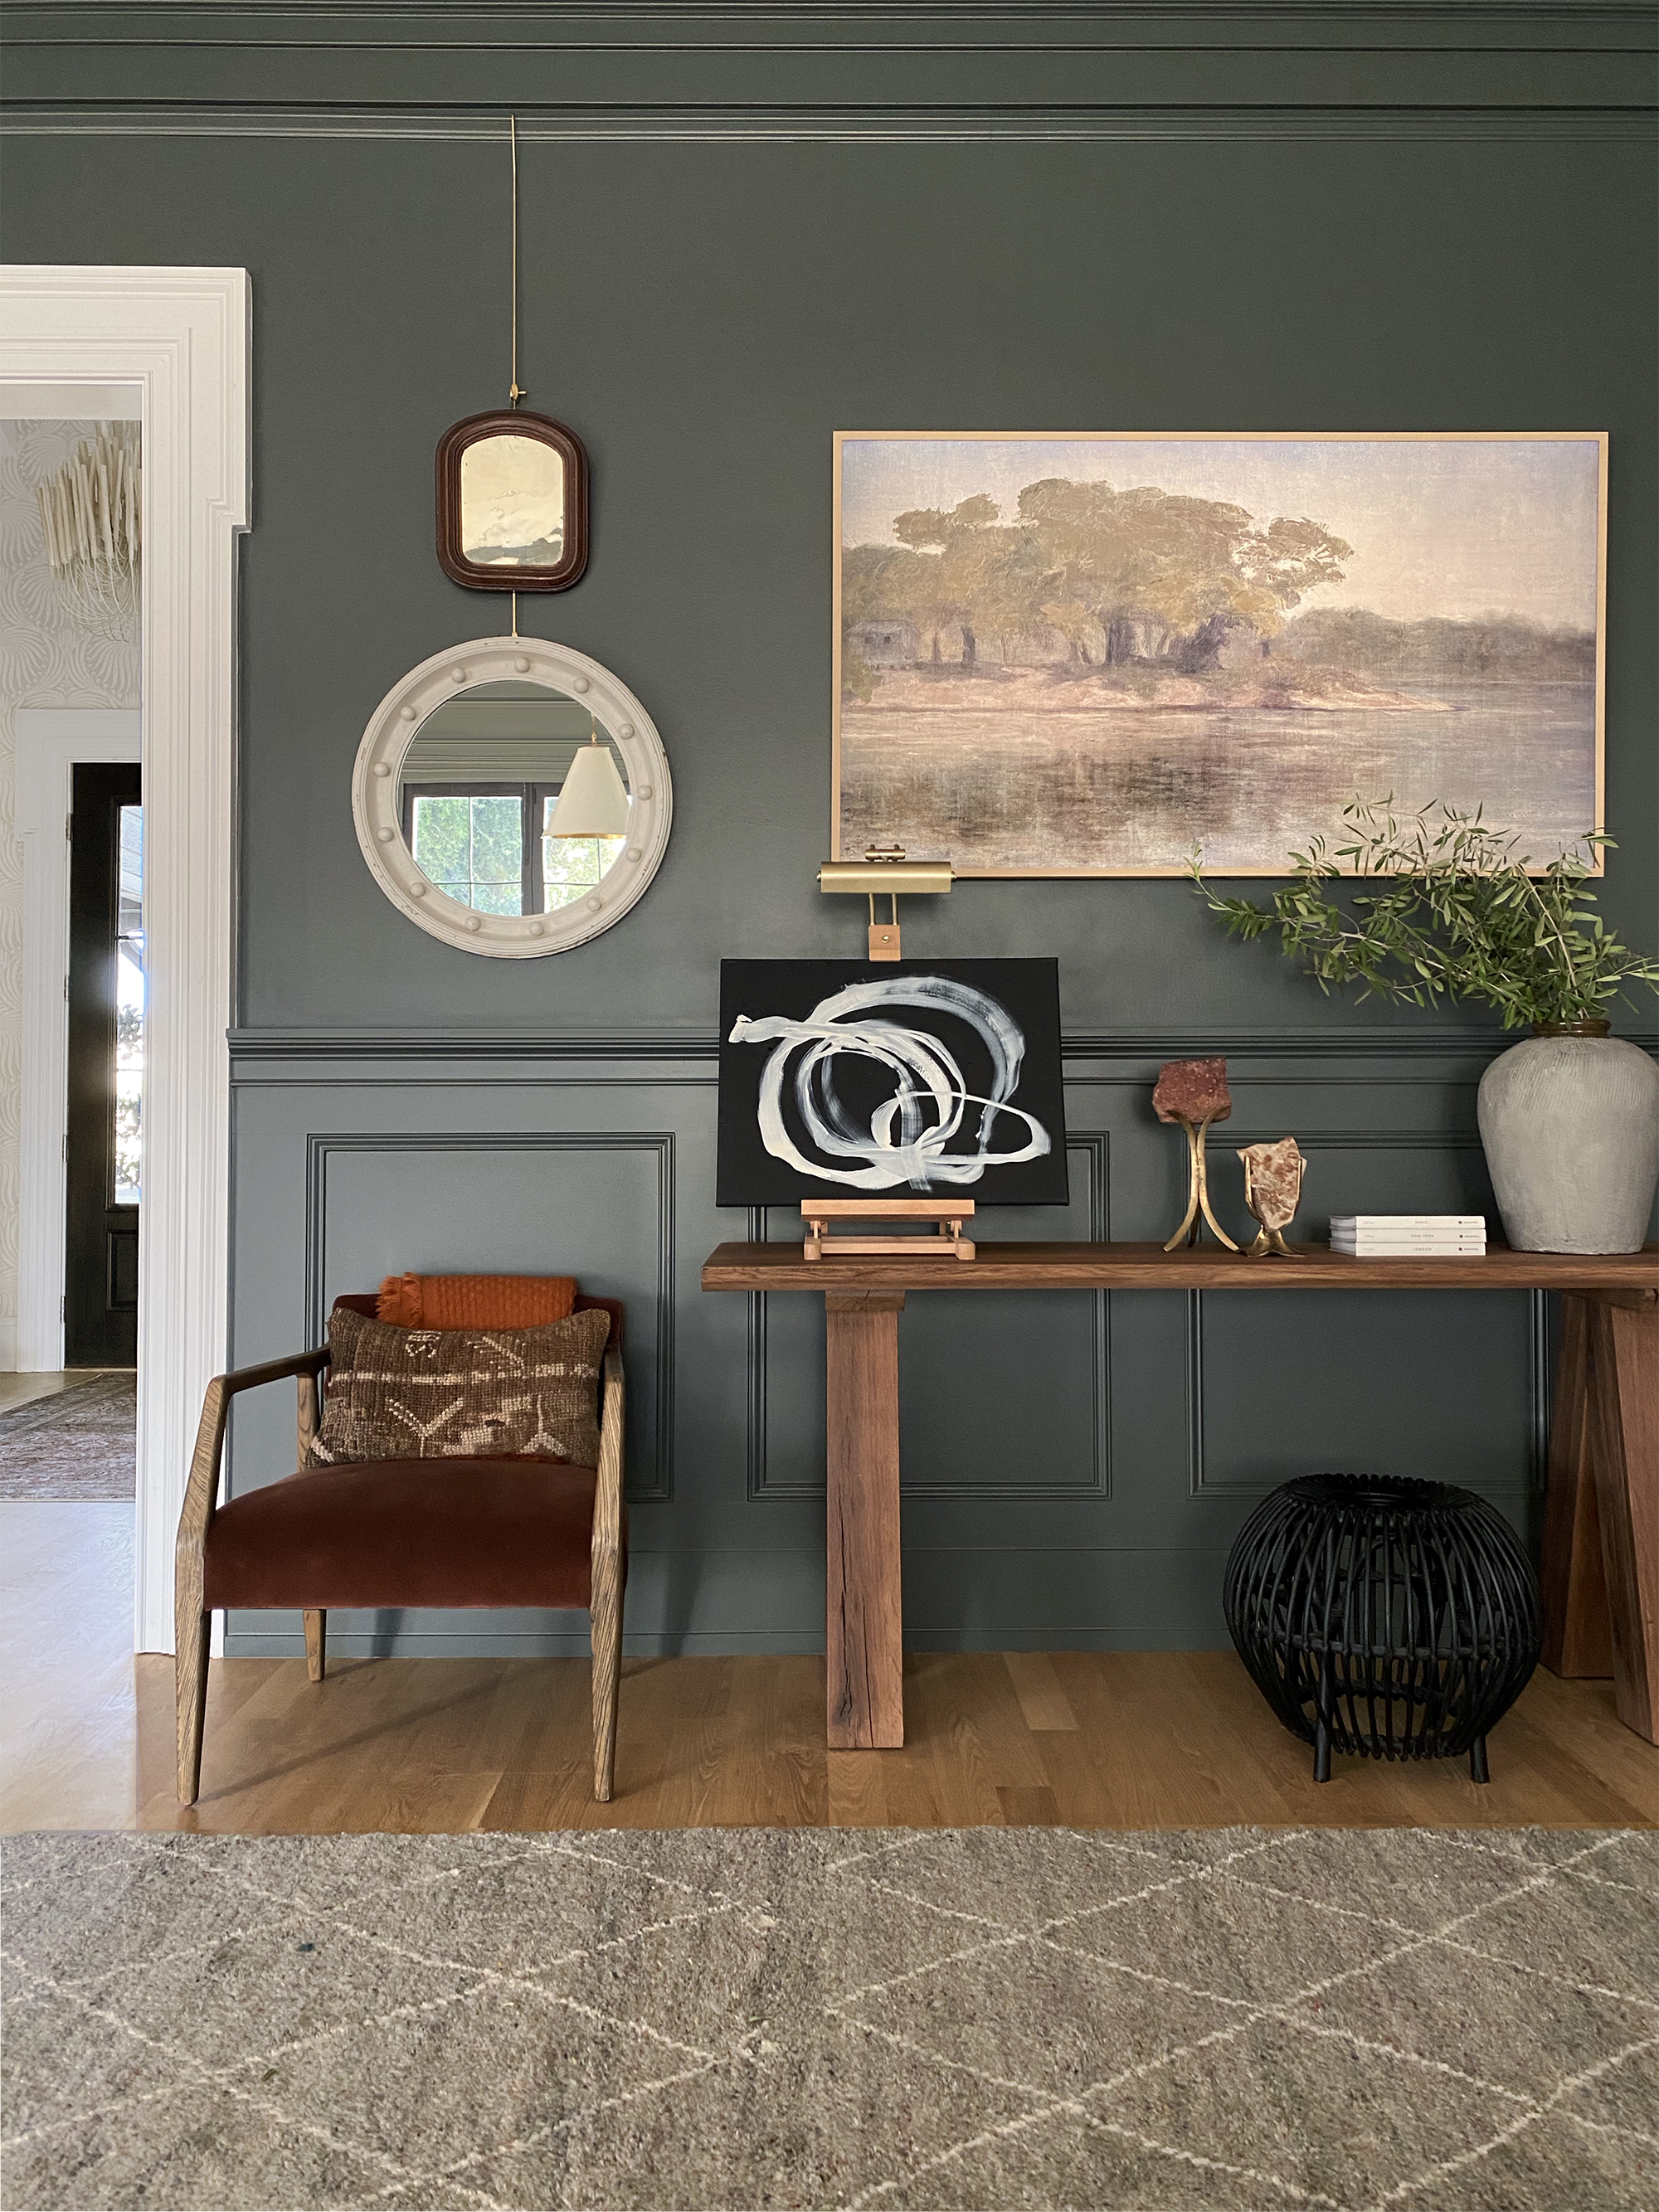
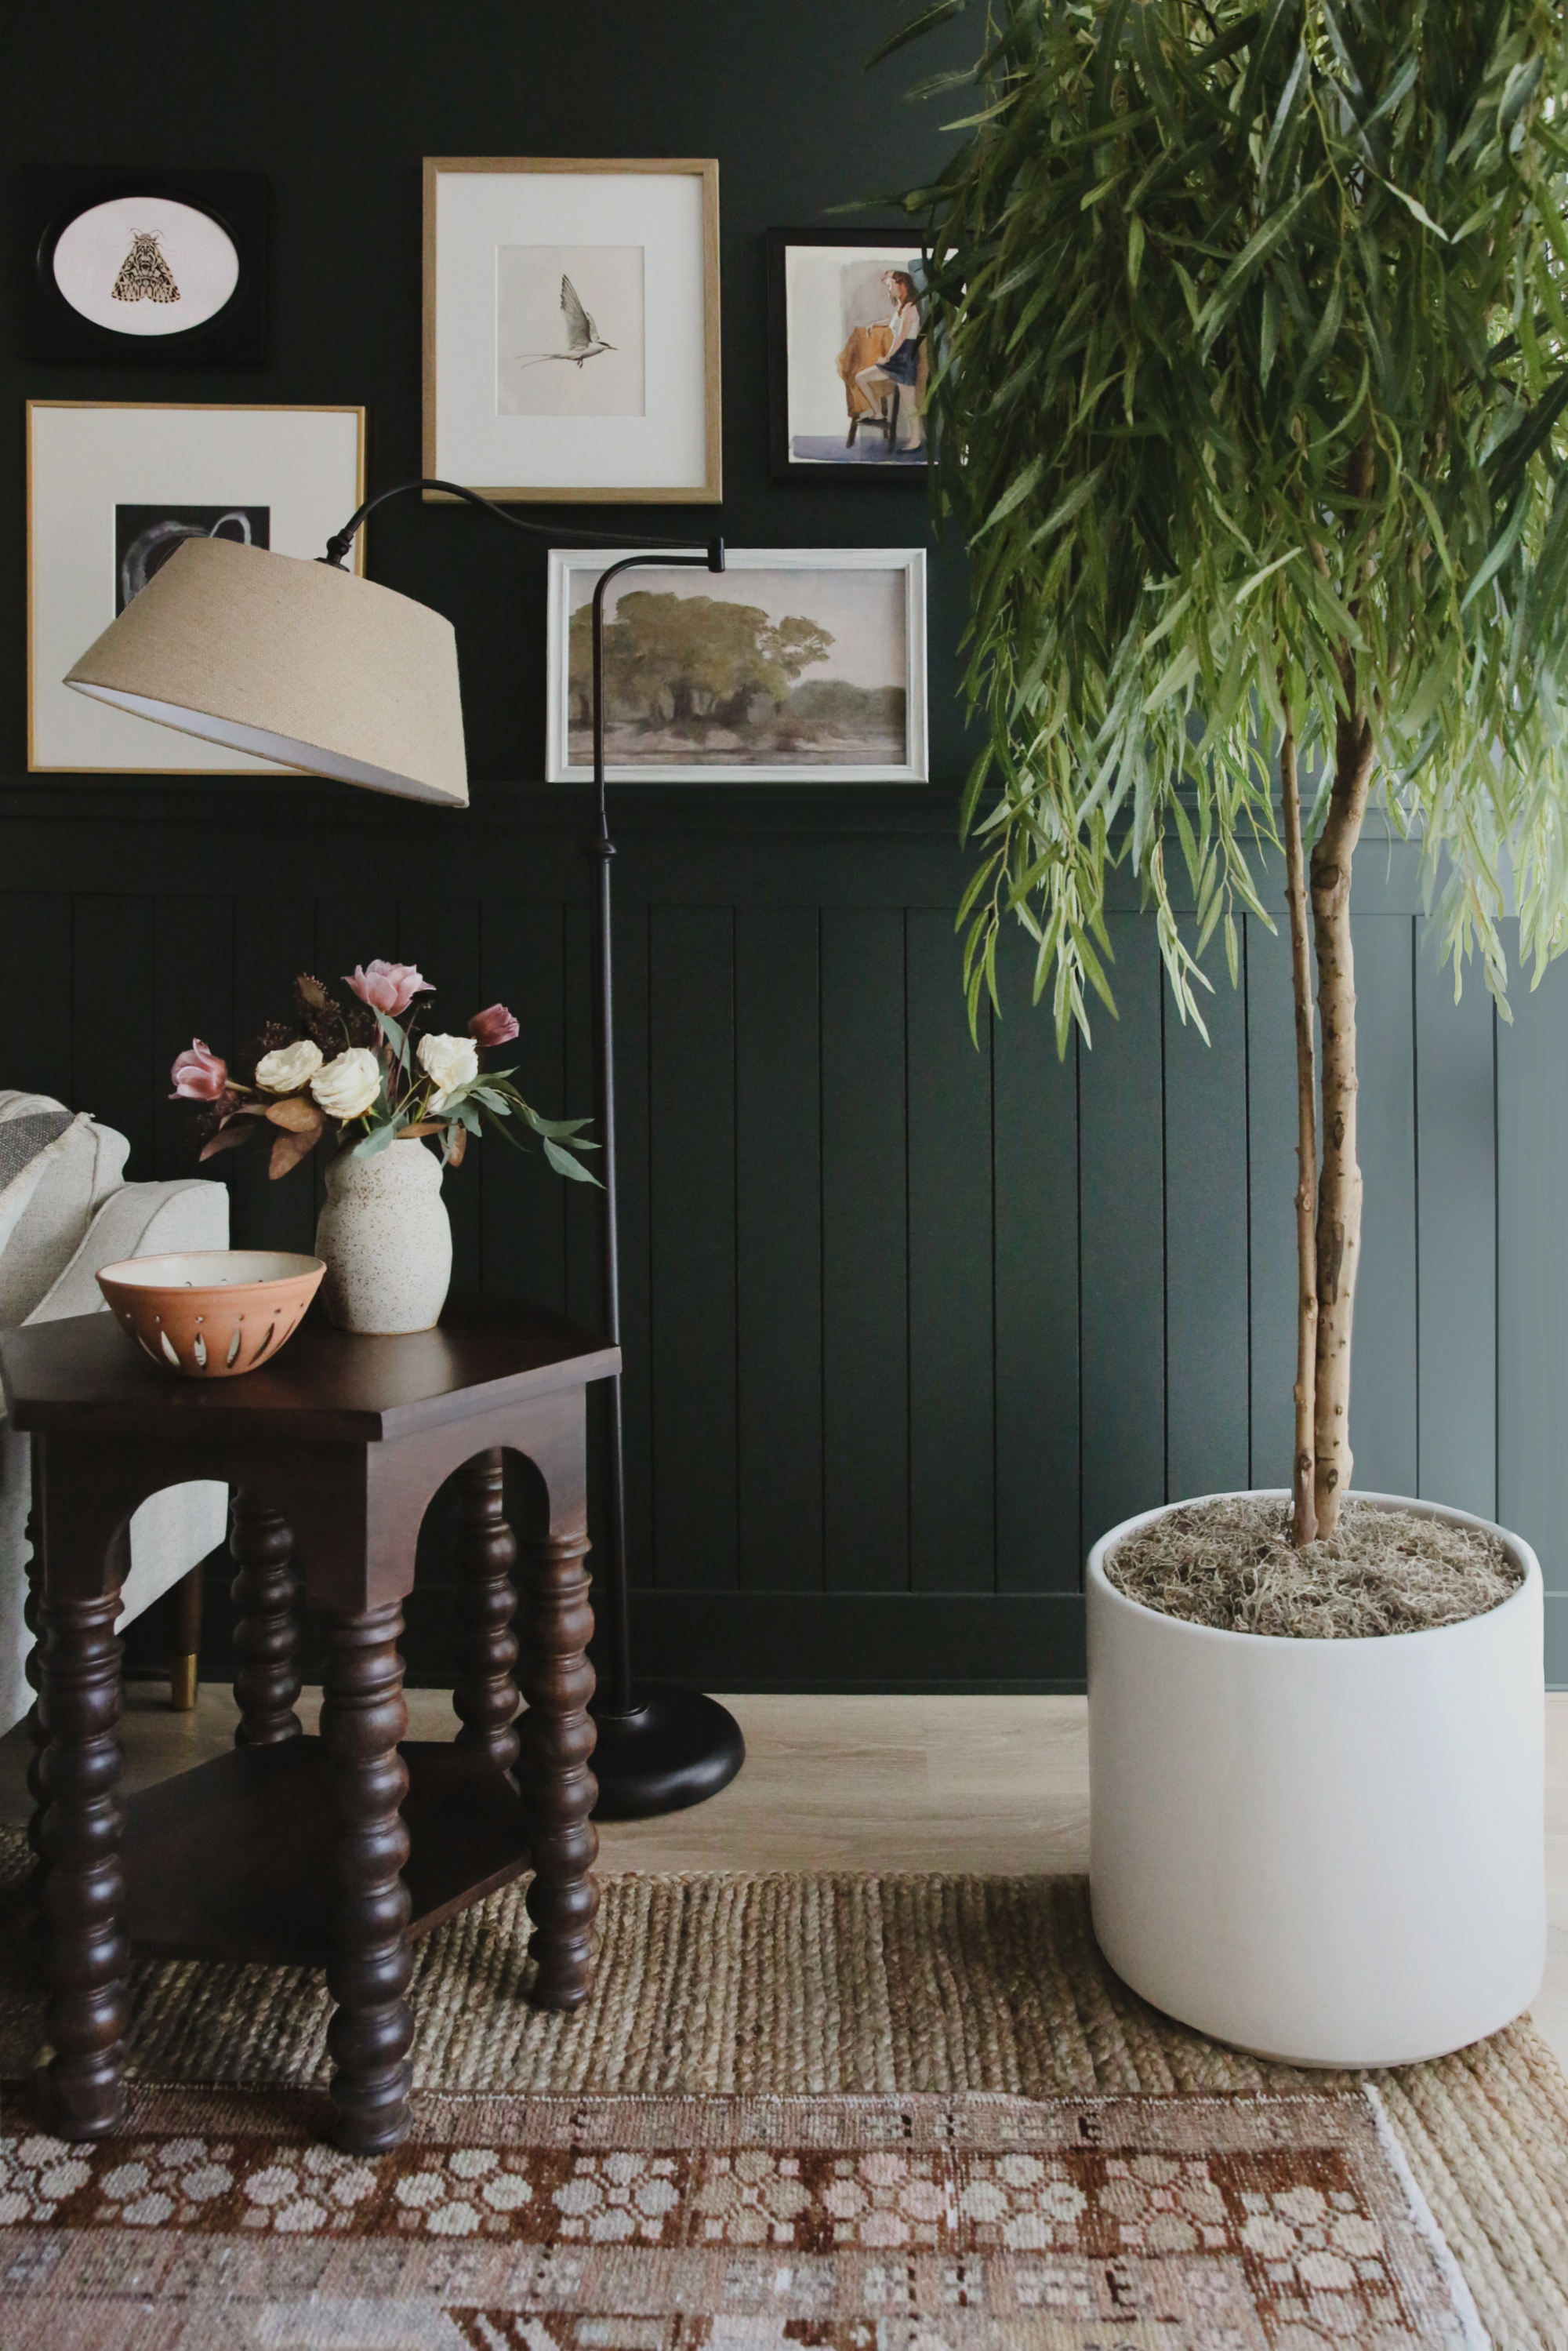
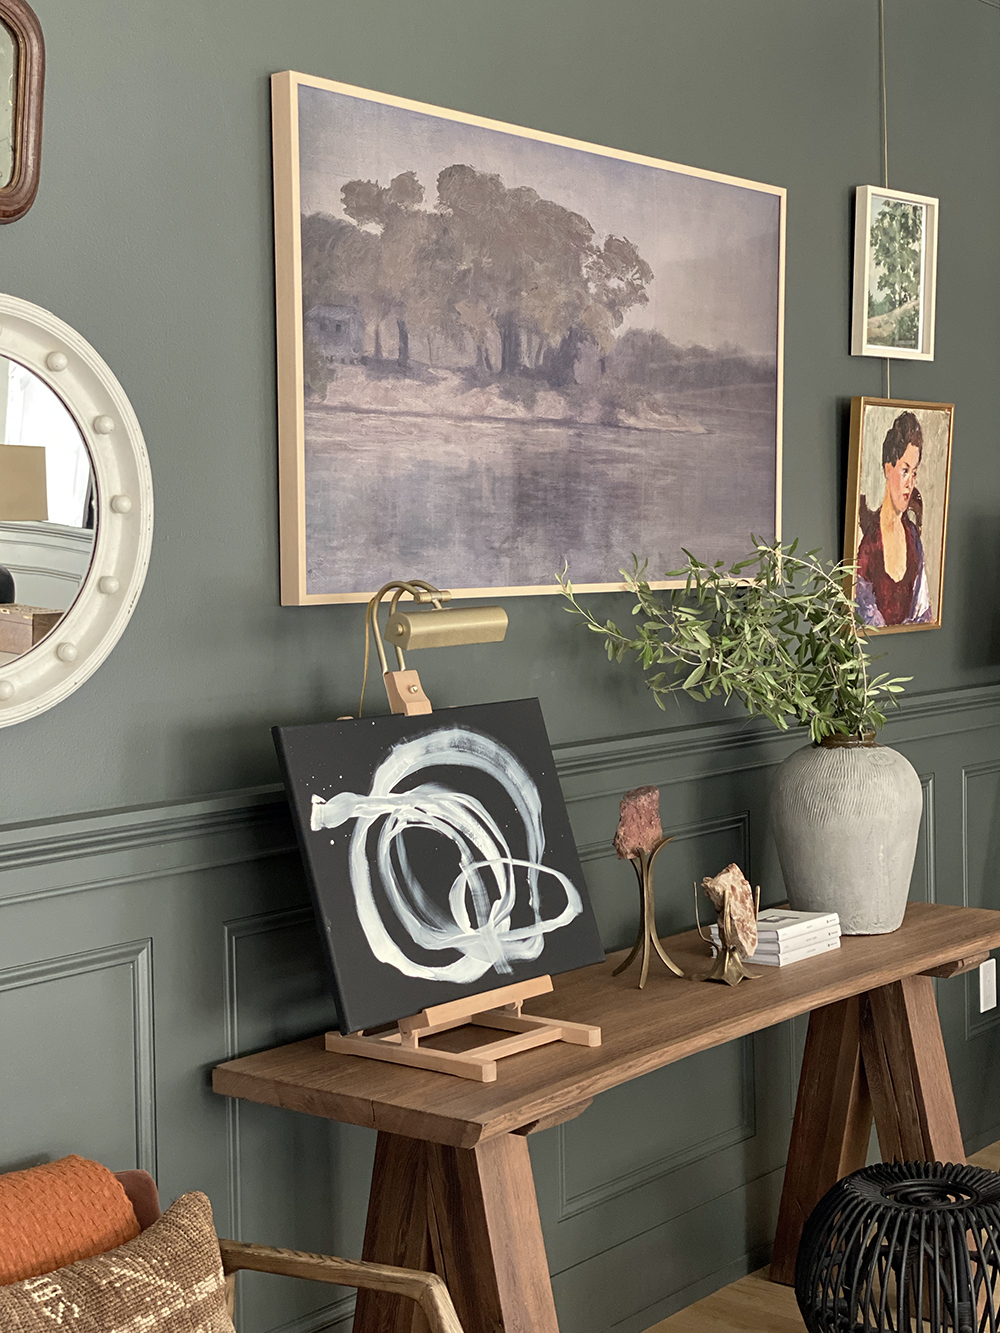
LAKESIDE print // KNOTS II print // ELEANOR print
Frame TV // Rust Armchair // Wood Console // Gray Rug (similar) // Rattan Ottoman (similar)
Kilim Pillow (similar) // Wood Picture Easel // Brass Picture Light (similar) // Gray Sofa // Floor Lamp (similar)
Gold Side Table (similar) // Vintage Wood Mirror (similar) // Vintage Round Mirror (similar)

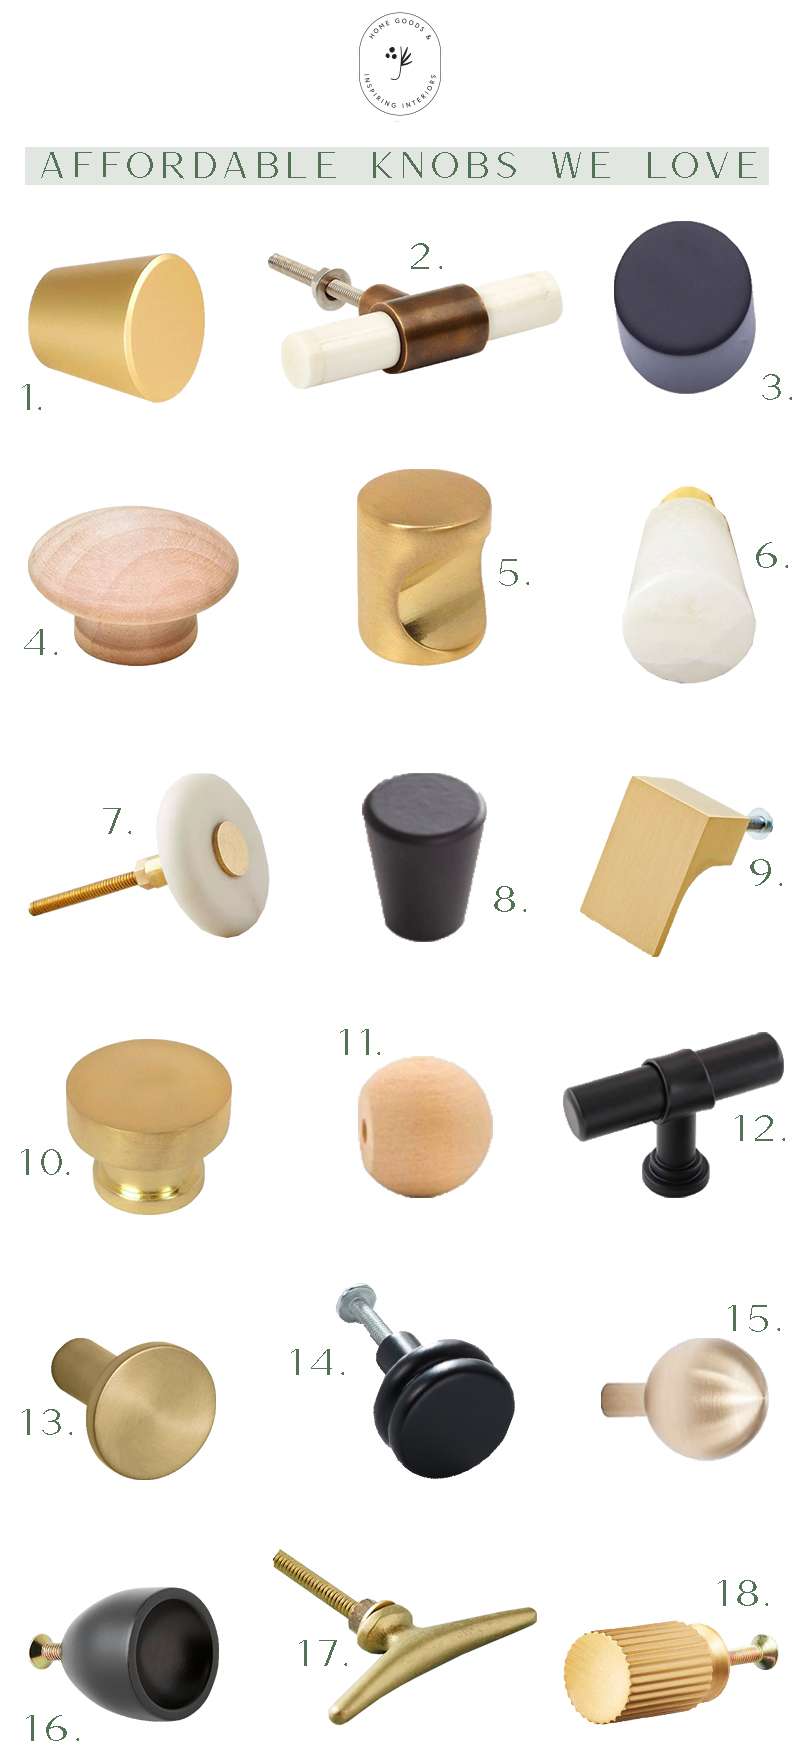
I hope this post helps clear up some questions about using our prints on your Frame TV, and our thoughts on the Frame TV in general, but please let us know if you have additional questions in the comments! And feel free to pin the graphic below to save this post for later!
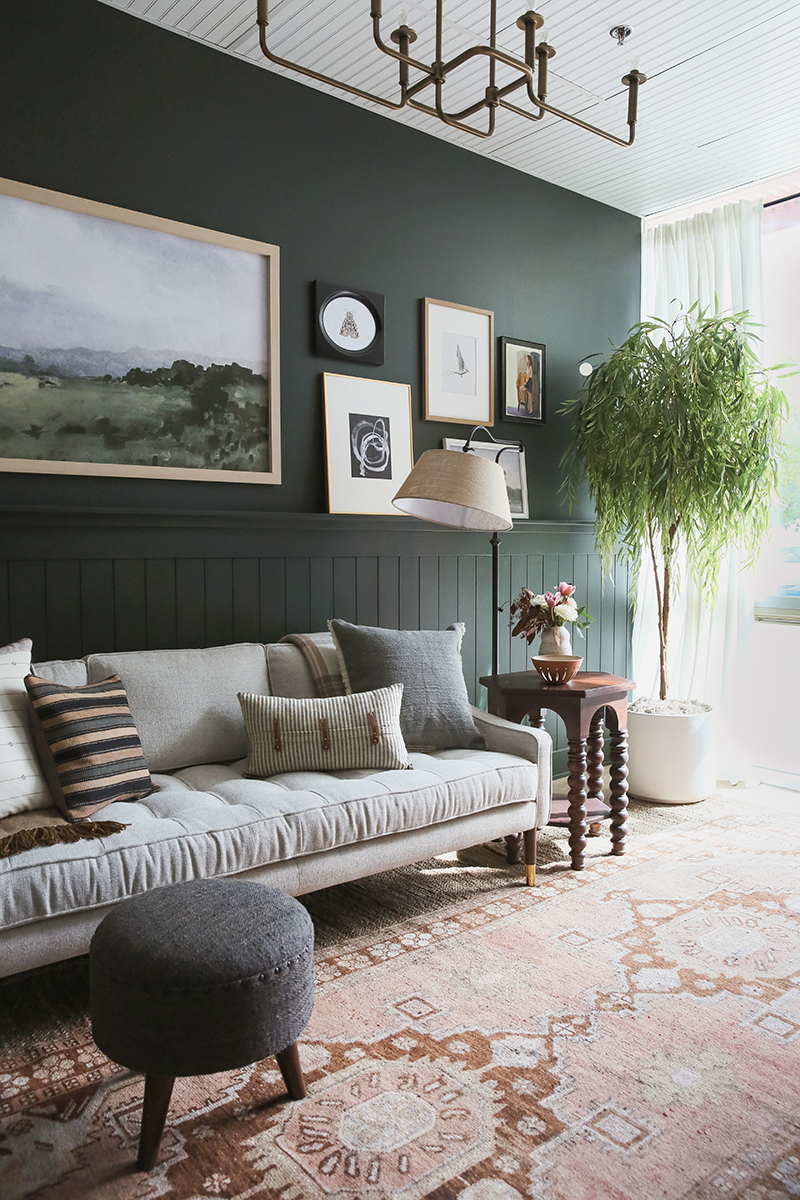
JENNY’S LIVING ROOM SOURCES:
Paint Color: Dunn Edwards Carbon Dating
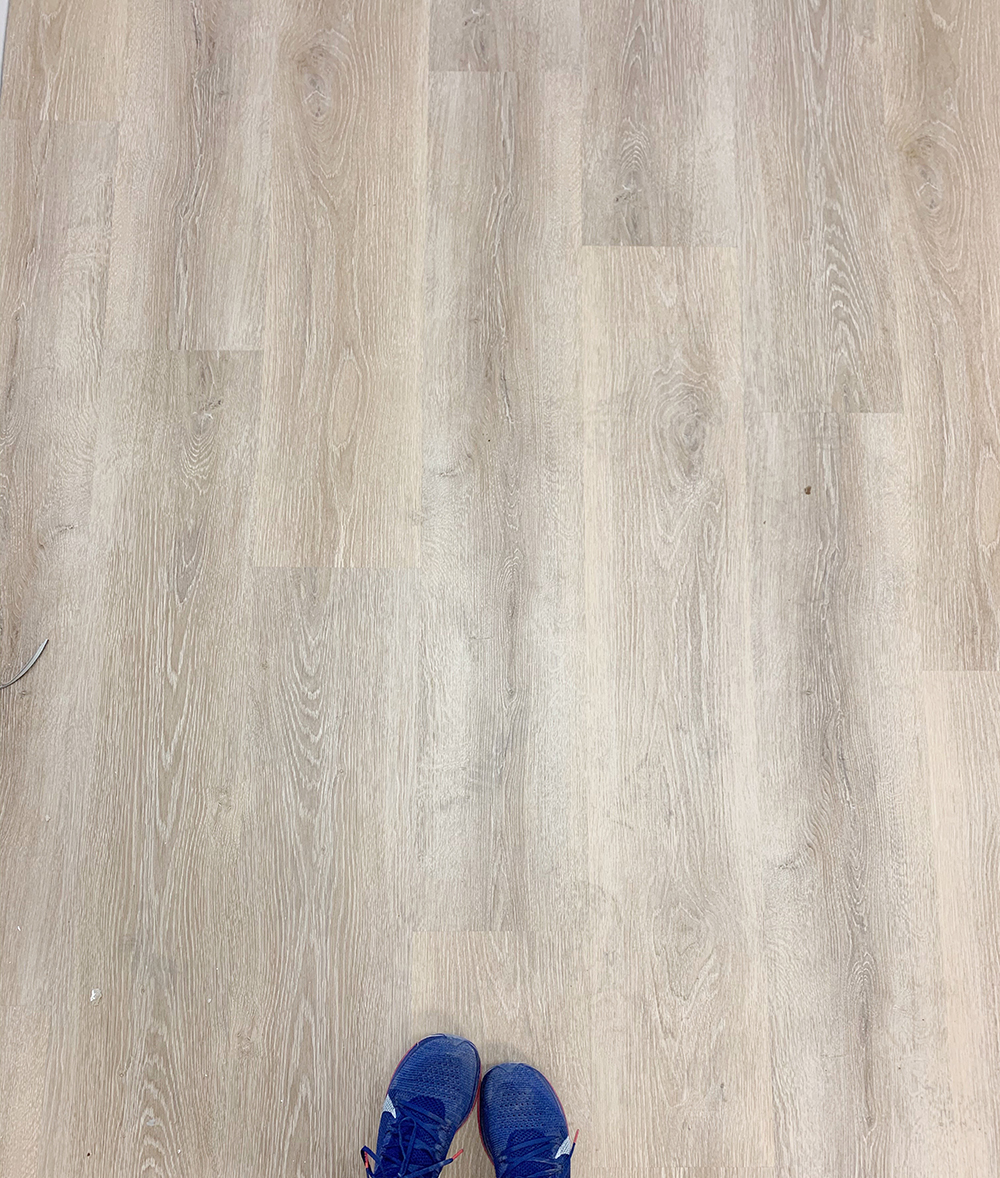
Flooring: Unstained white oak with Bona Natural matte sealer
65″ Frame TV with Beige Bezel
Rug: Jaipur Living (similar here)
Console table: Restoration Hardware (similar here)
Rust Chair
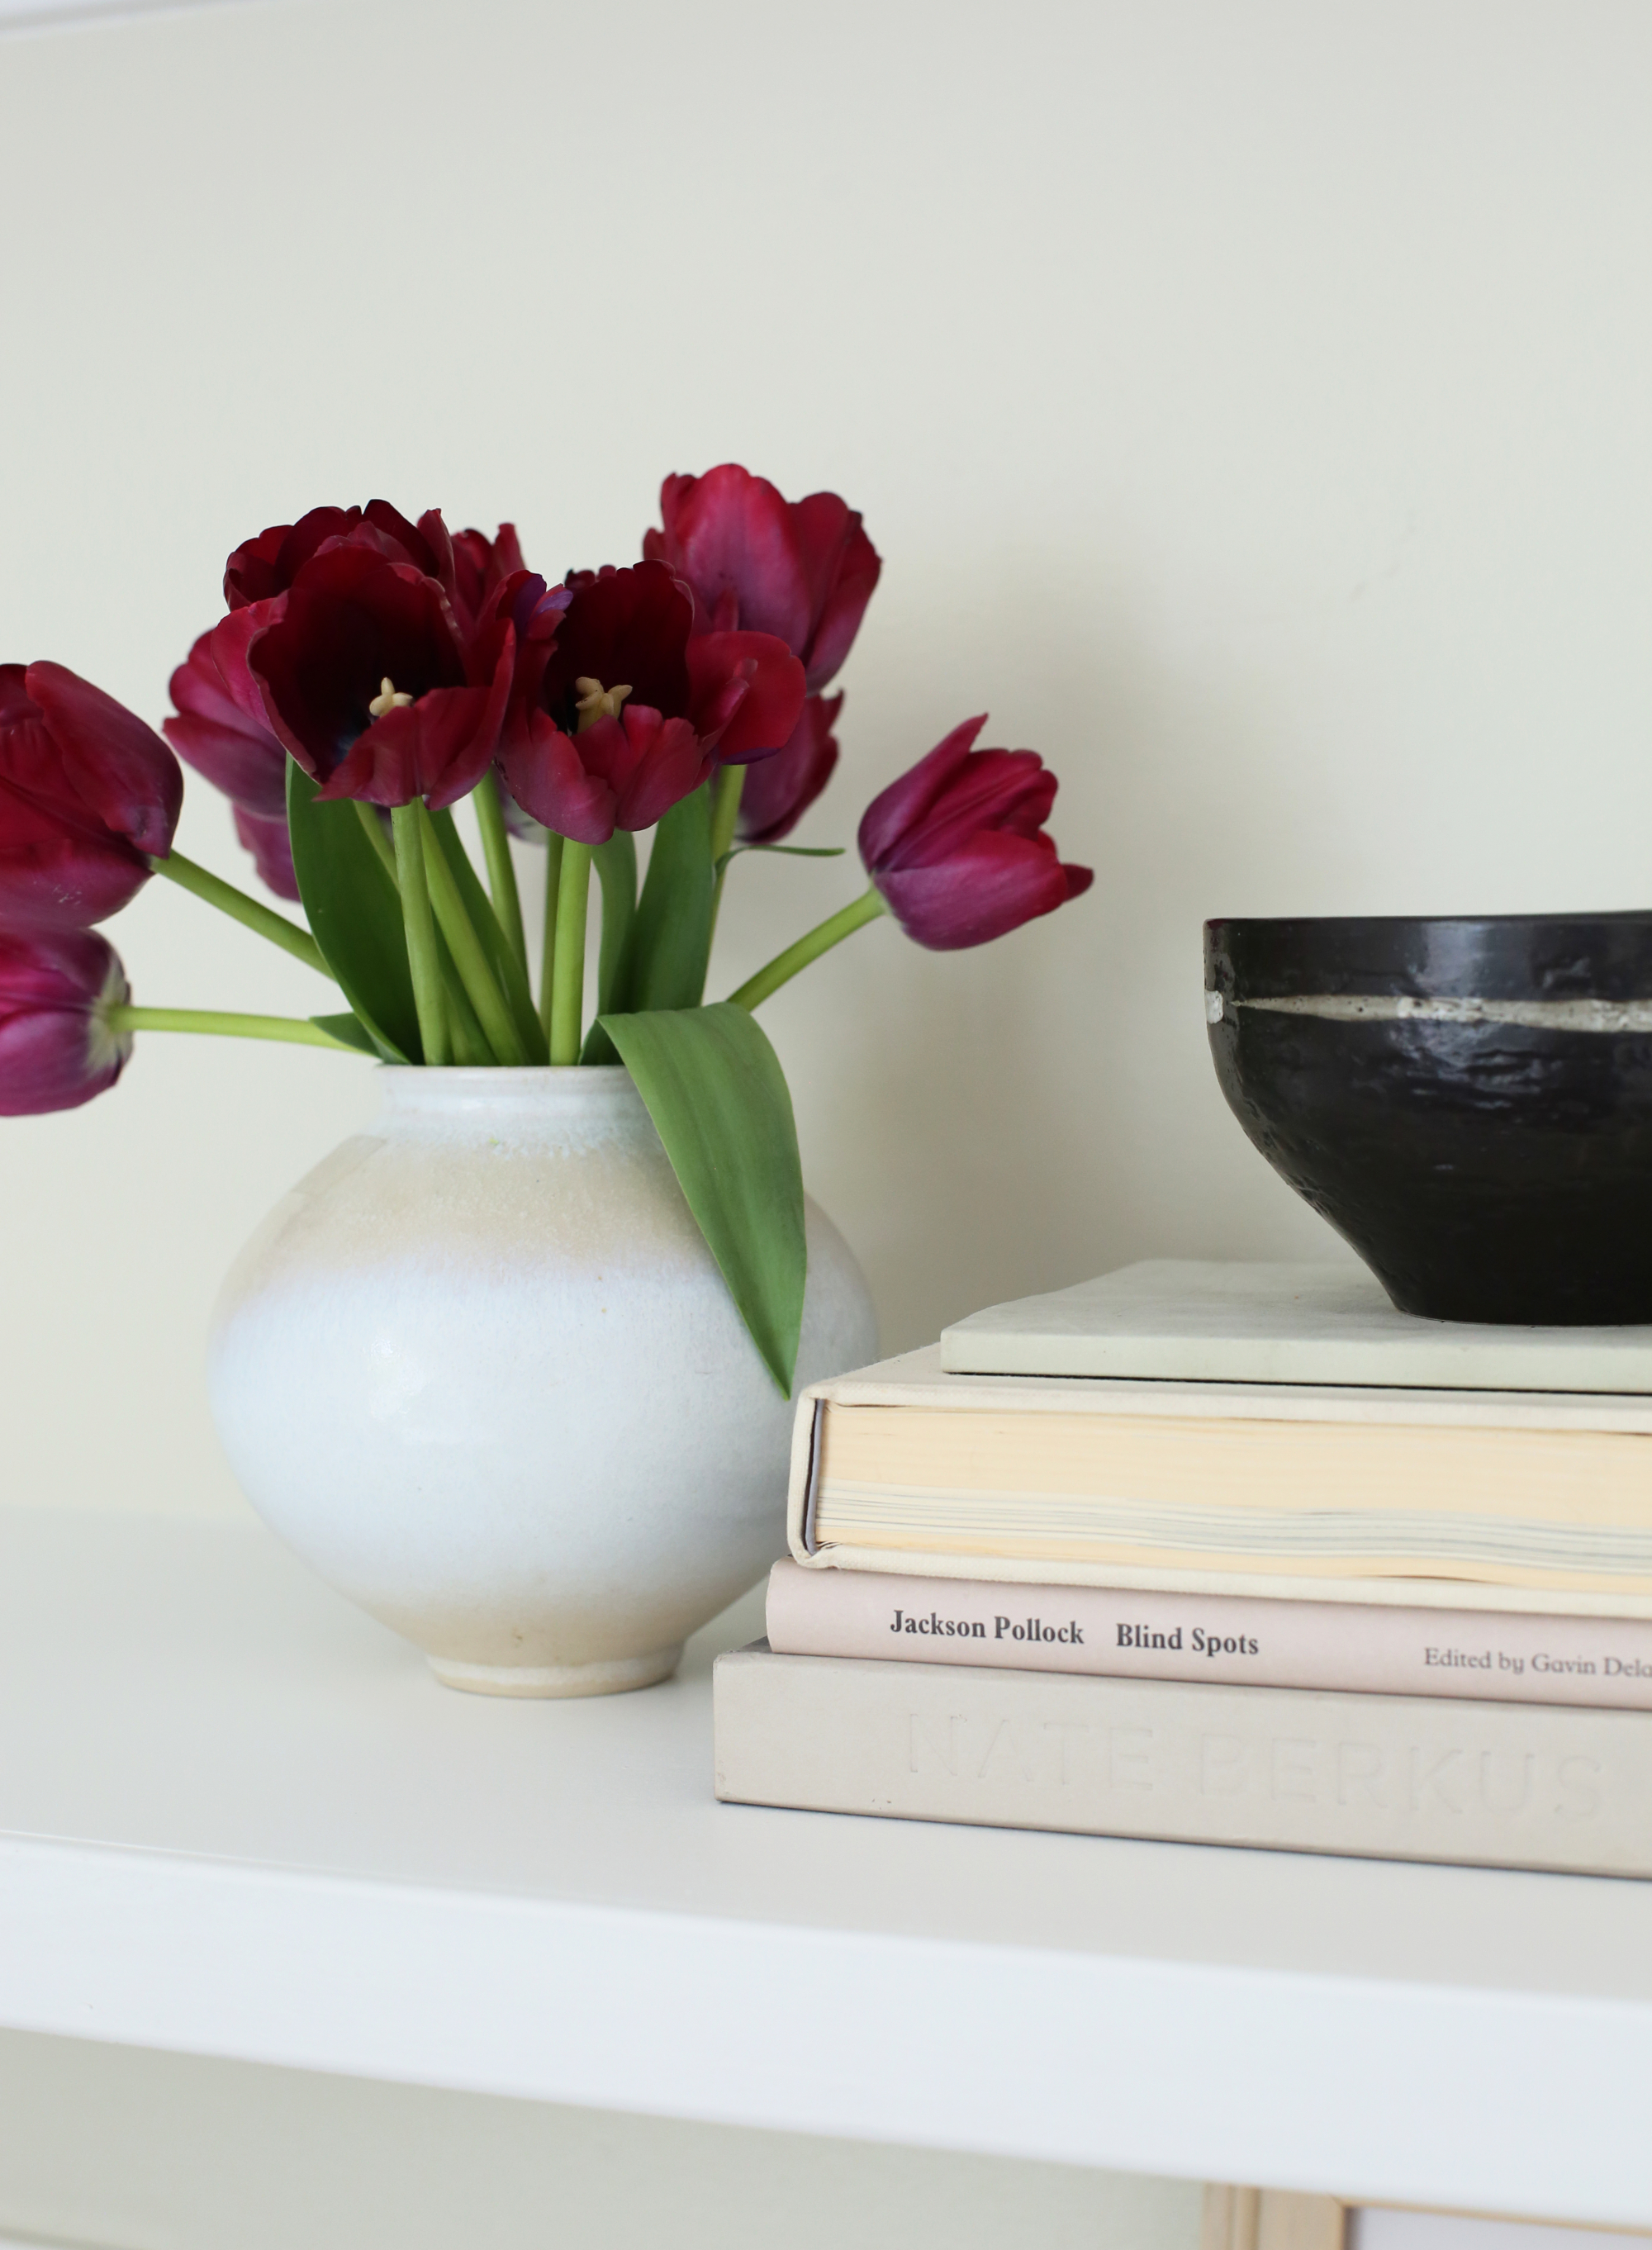
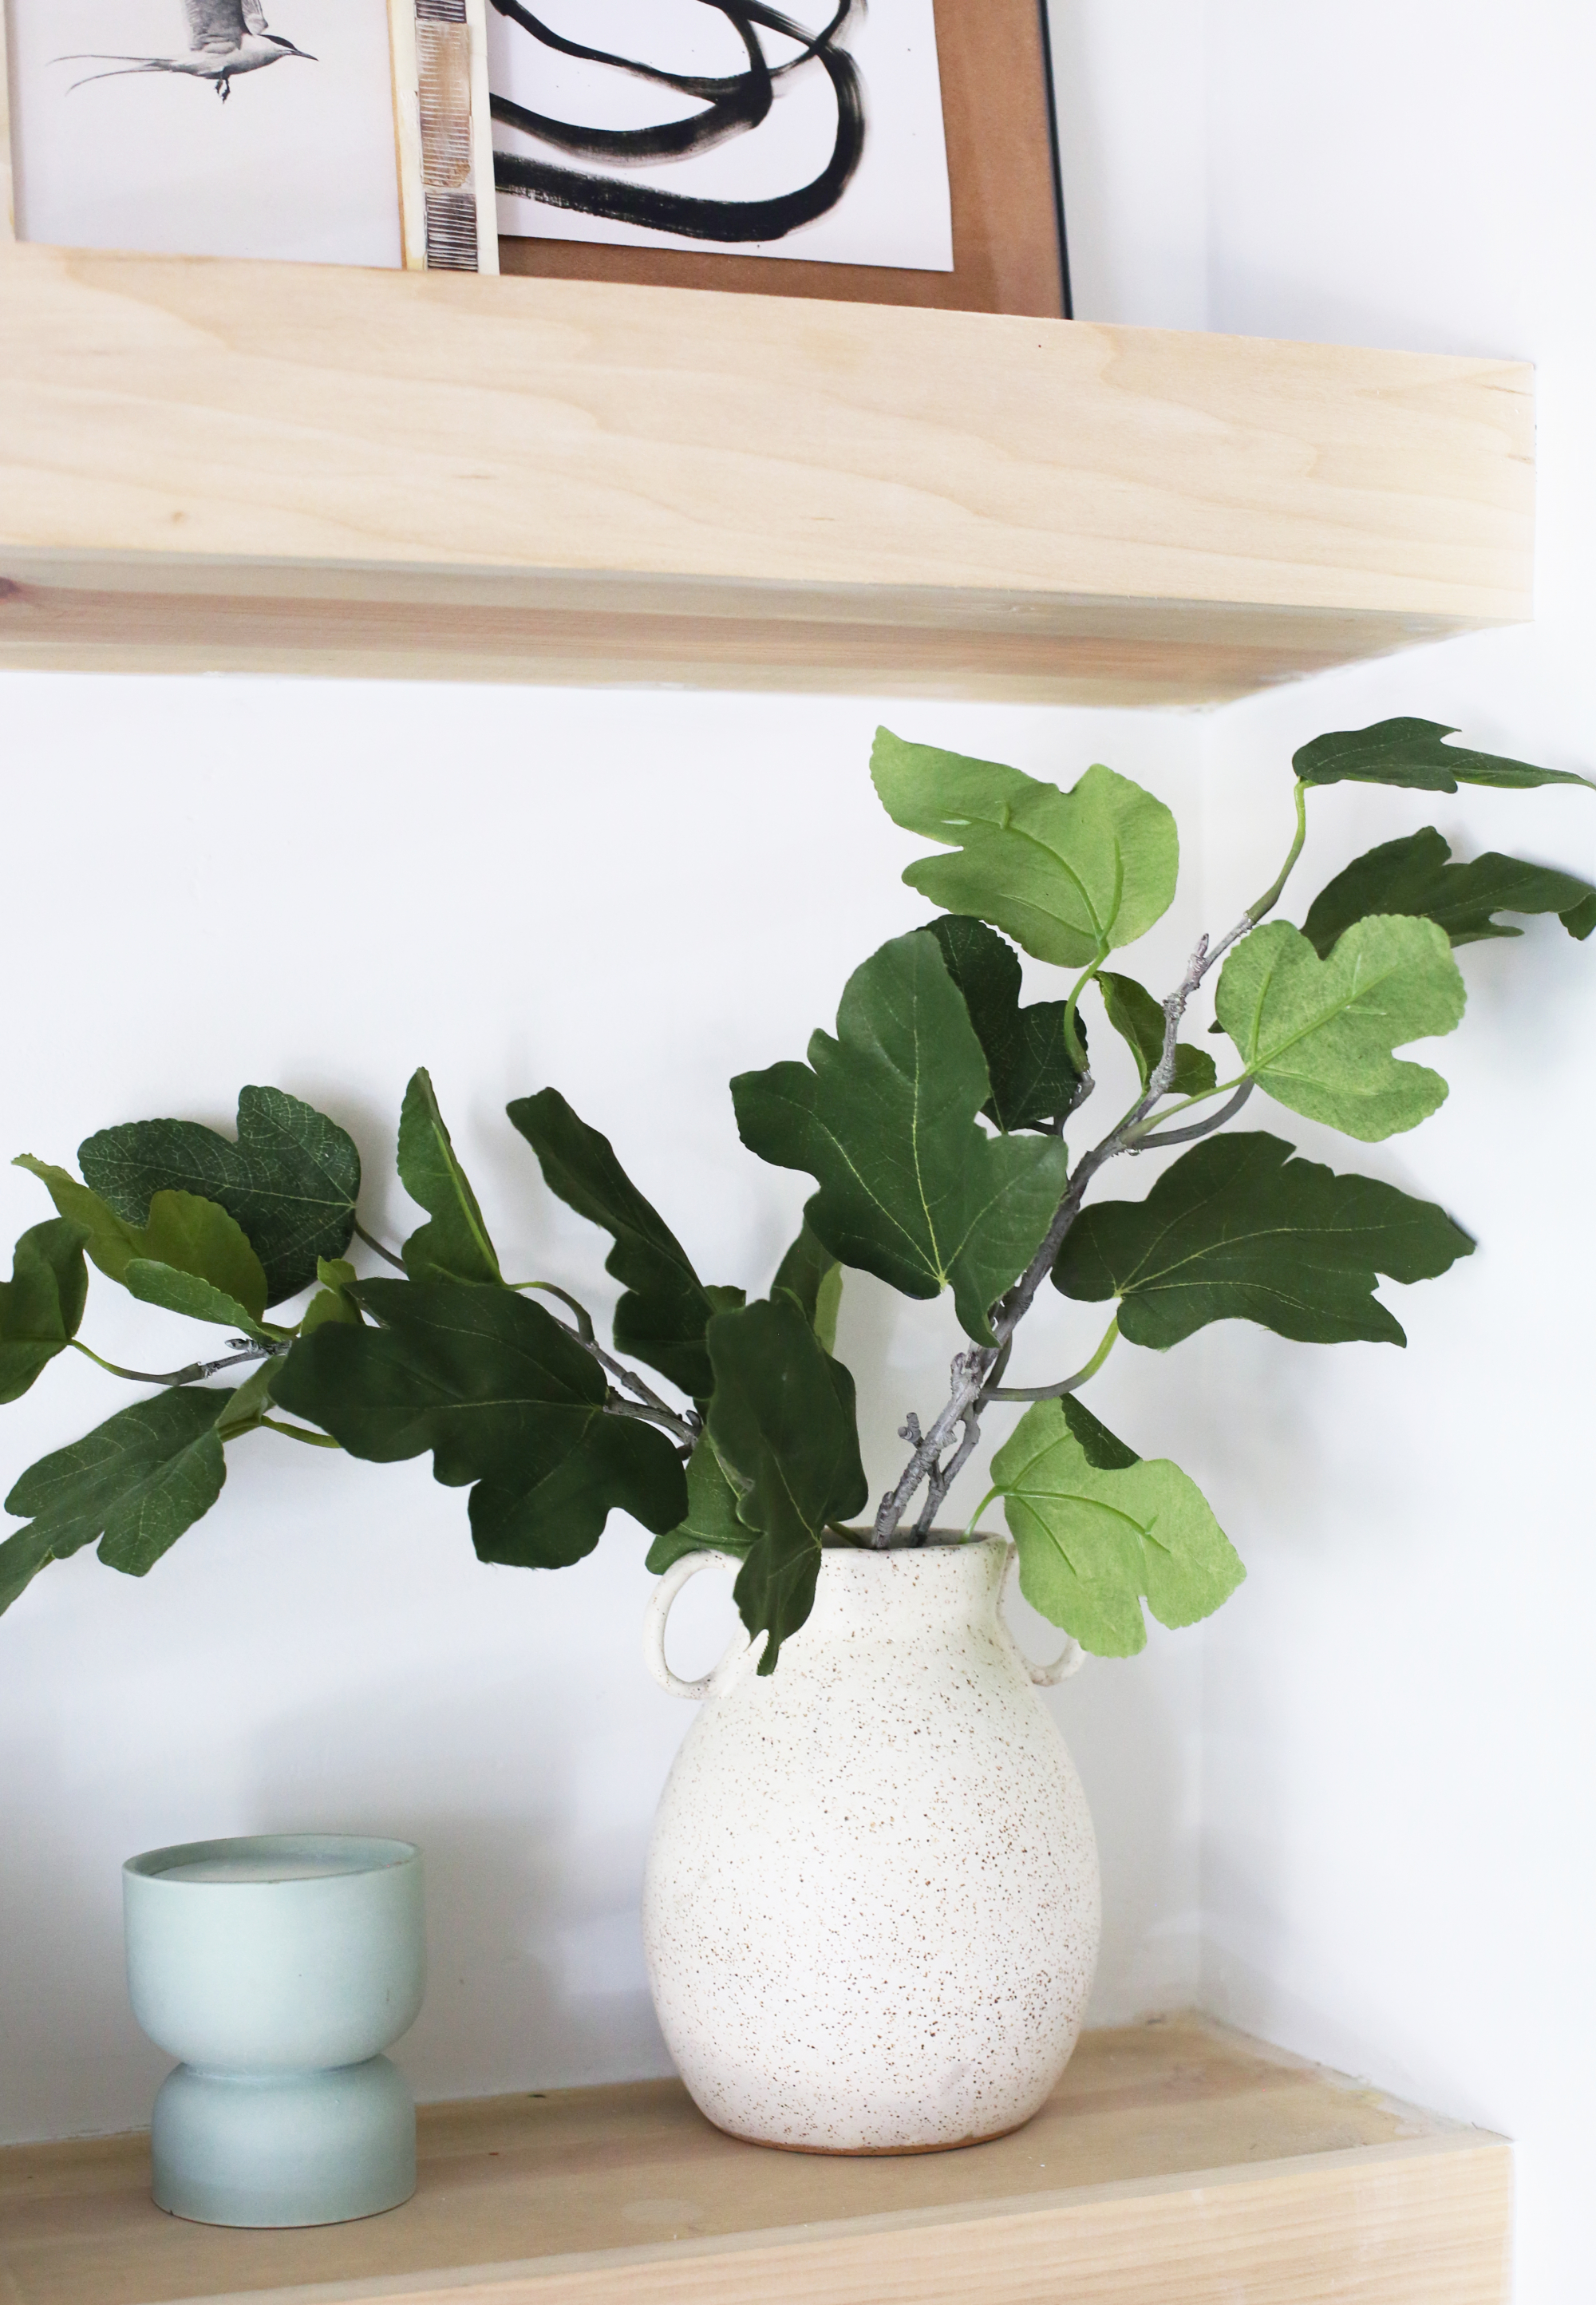
Large Vase (similar)
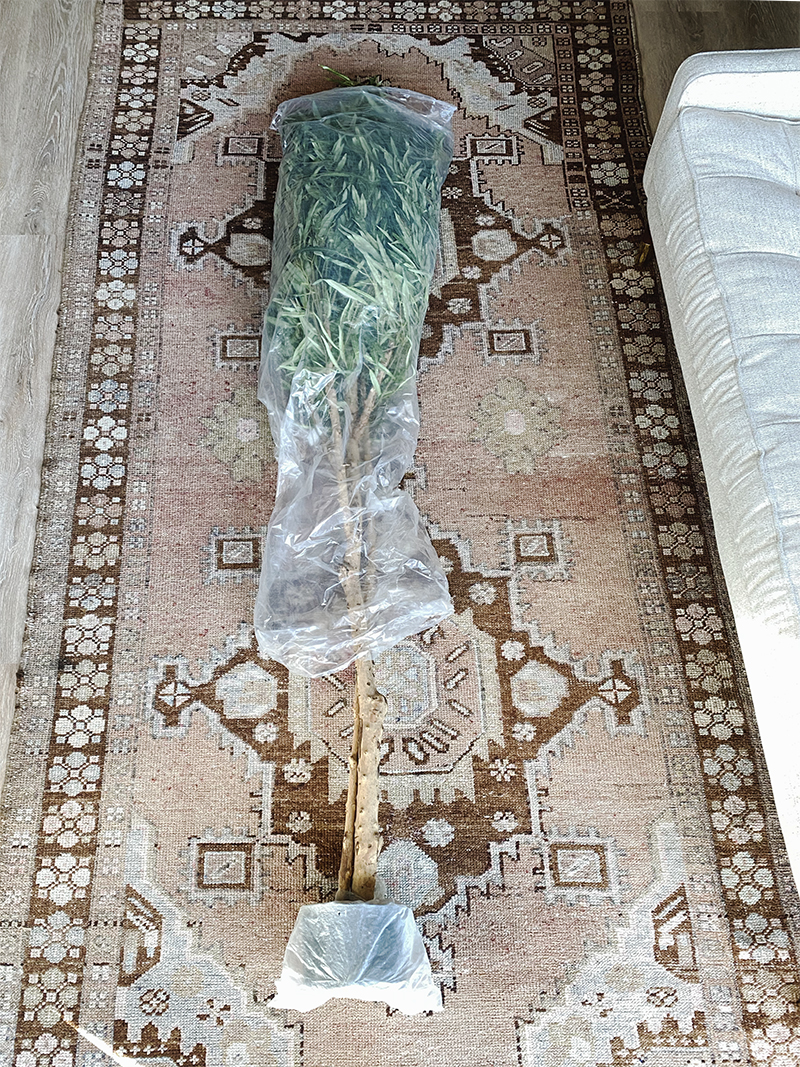
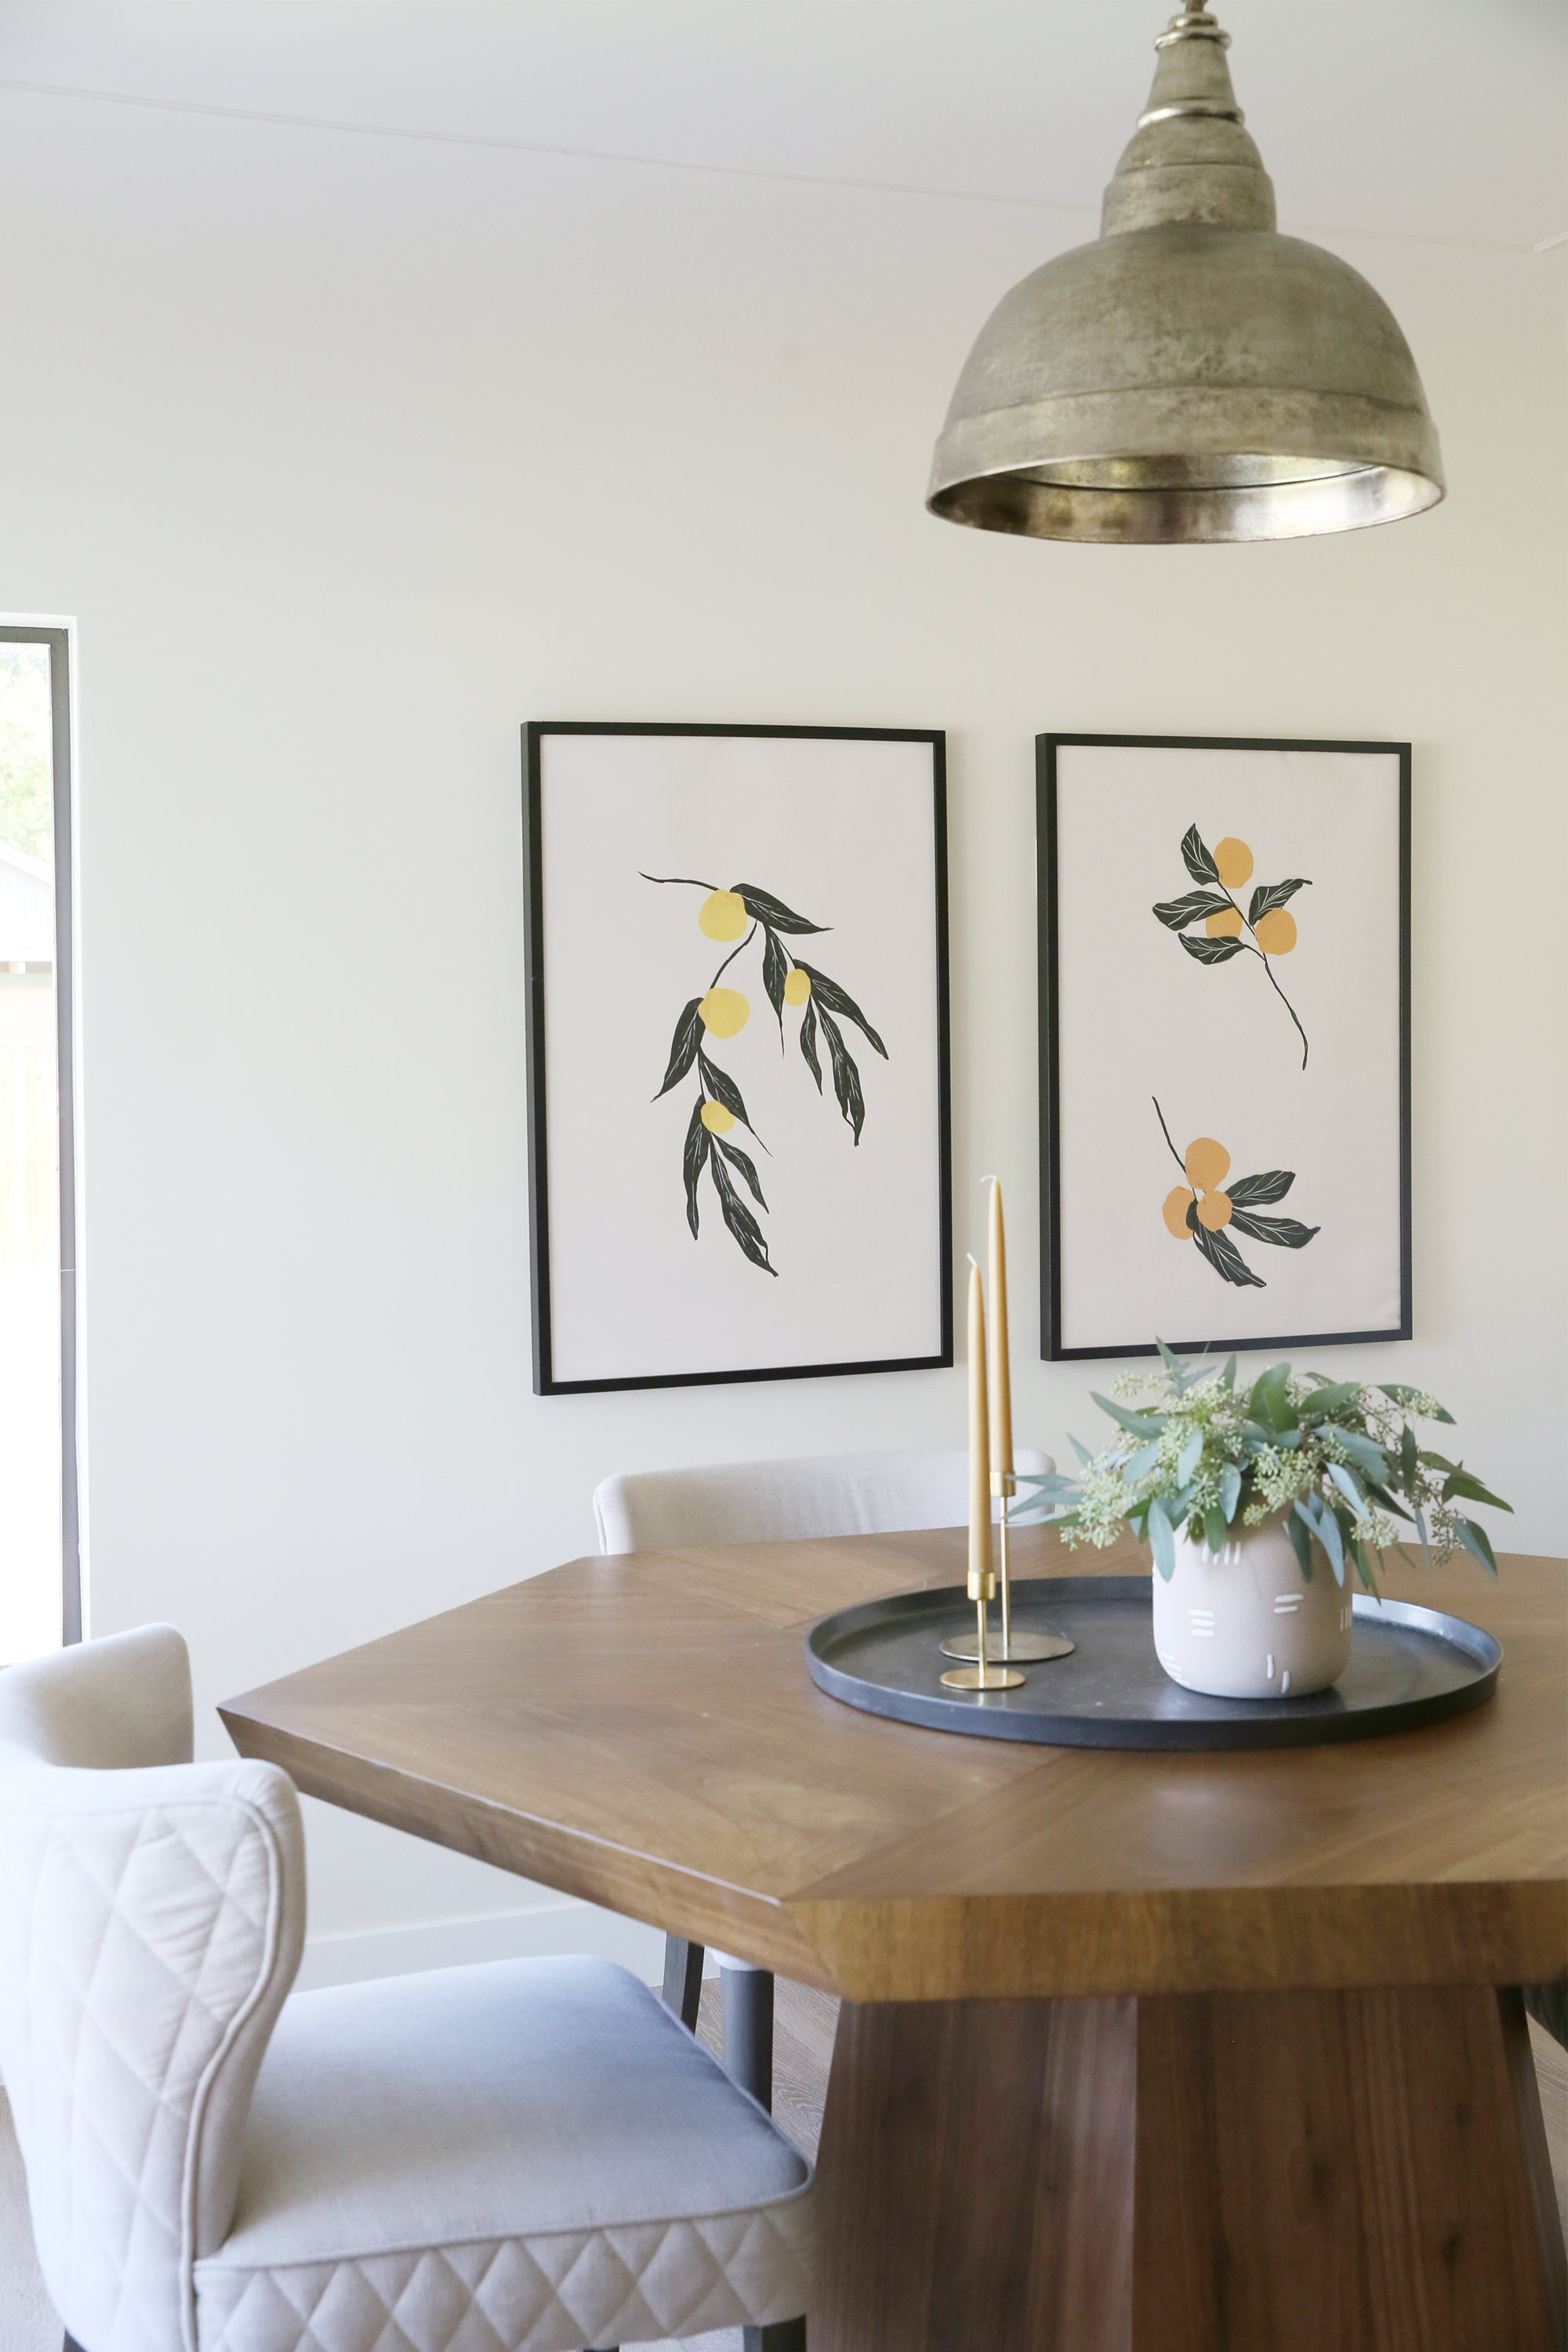
Olive Branches (faux option)
Art Easel
Brass Picture Light (similar)
LAKESIDE print
KNOTS II print
ELEANOR print
Rattan Ottoman (similar)
Kilim Pillow (similar)
Sofa
White Botanicals Frames
Floor Lamp (similar)
Brass Side Table (similar)
Brass French Gallery Rods
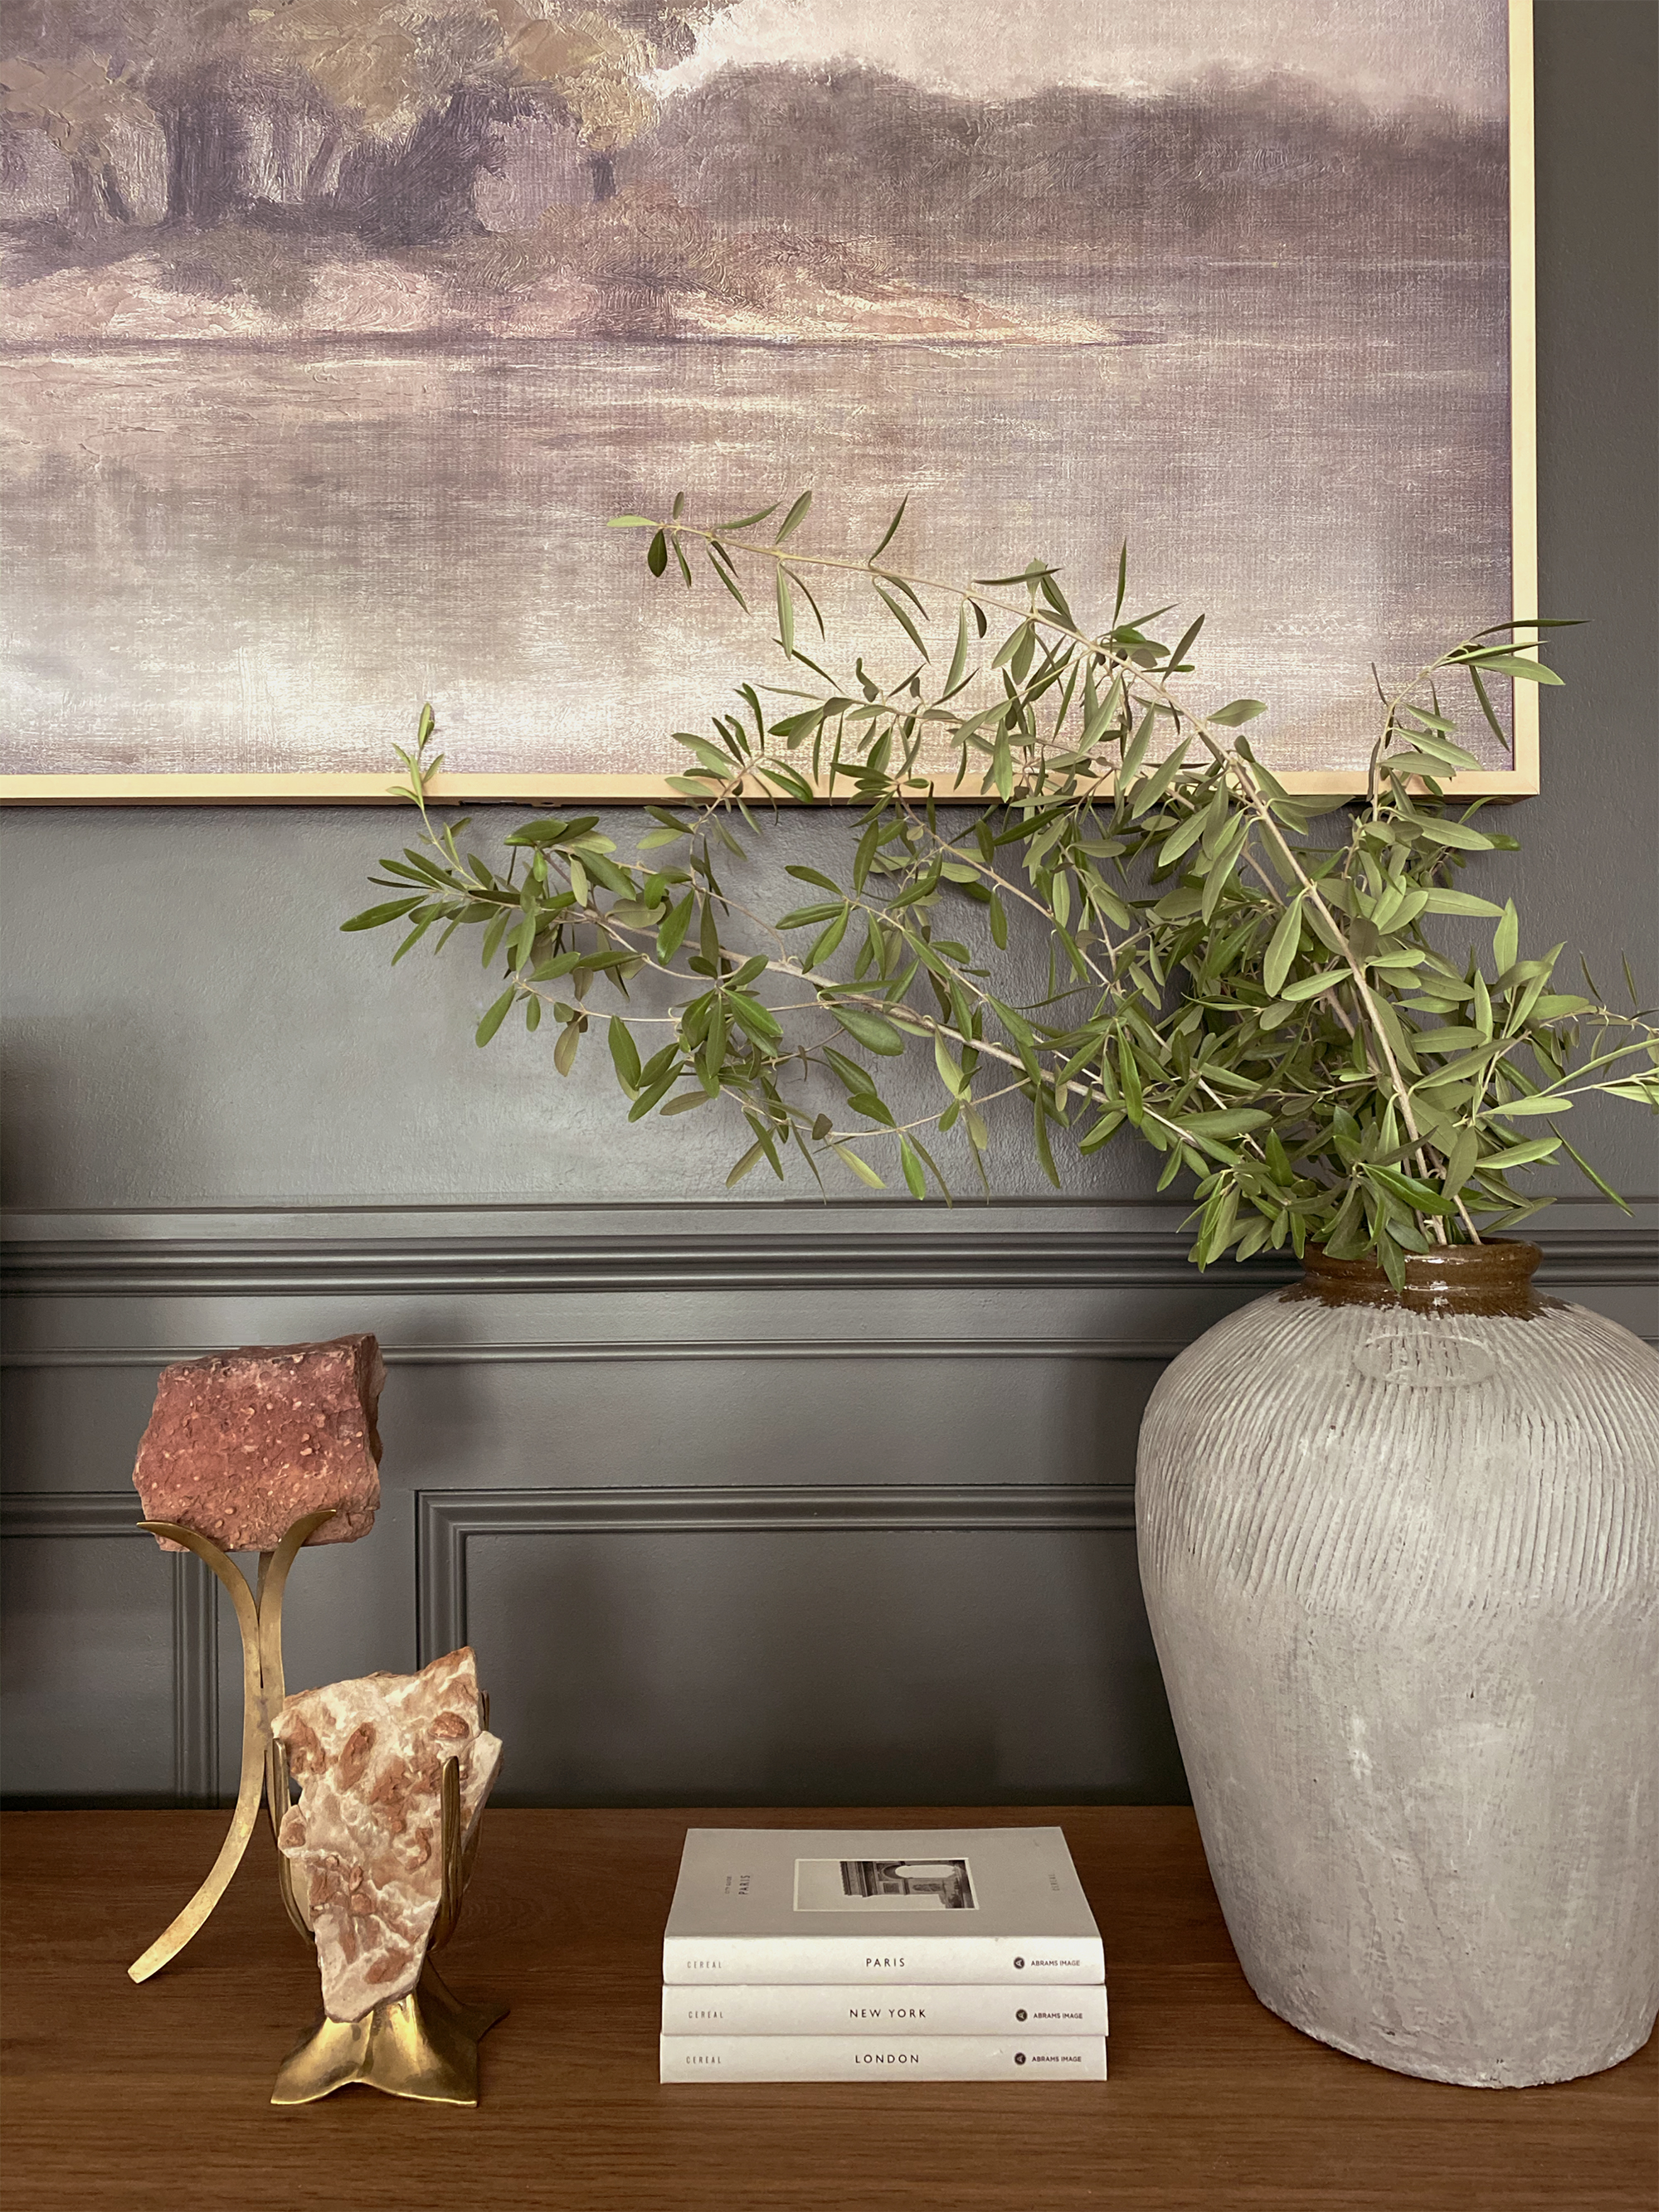
Paris, NYC, London Cereal Books
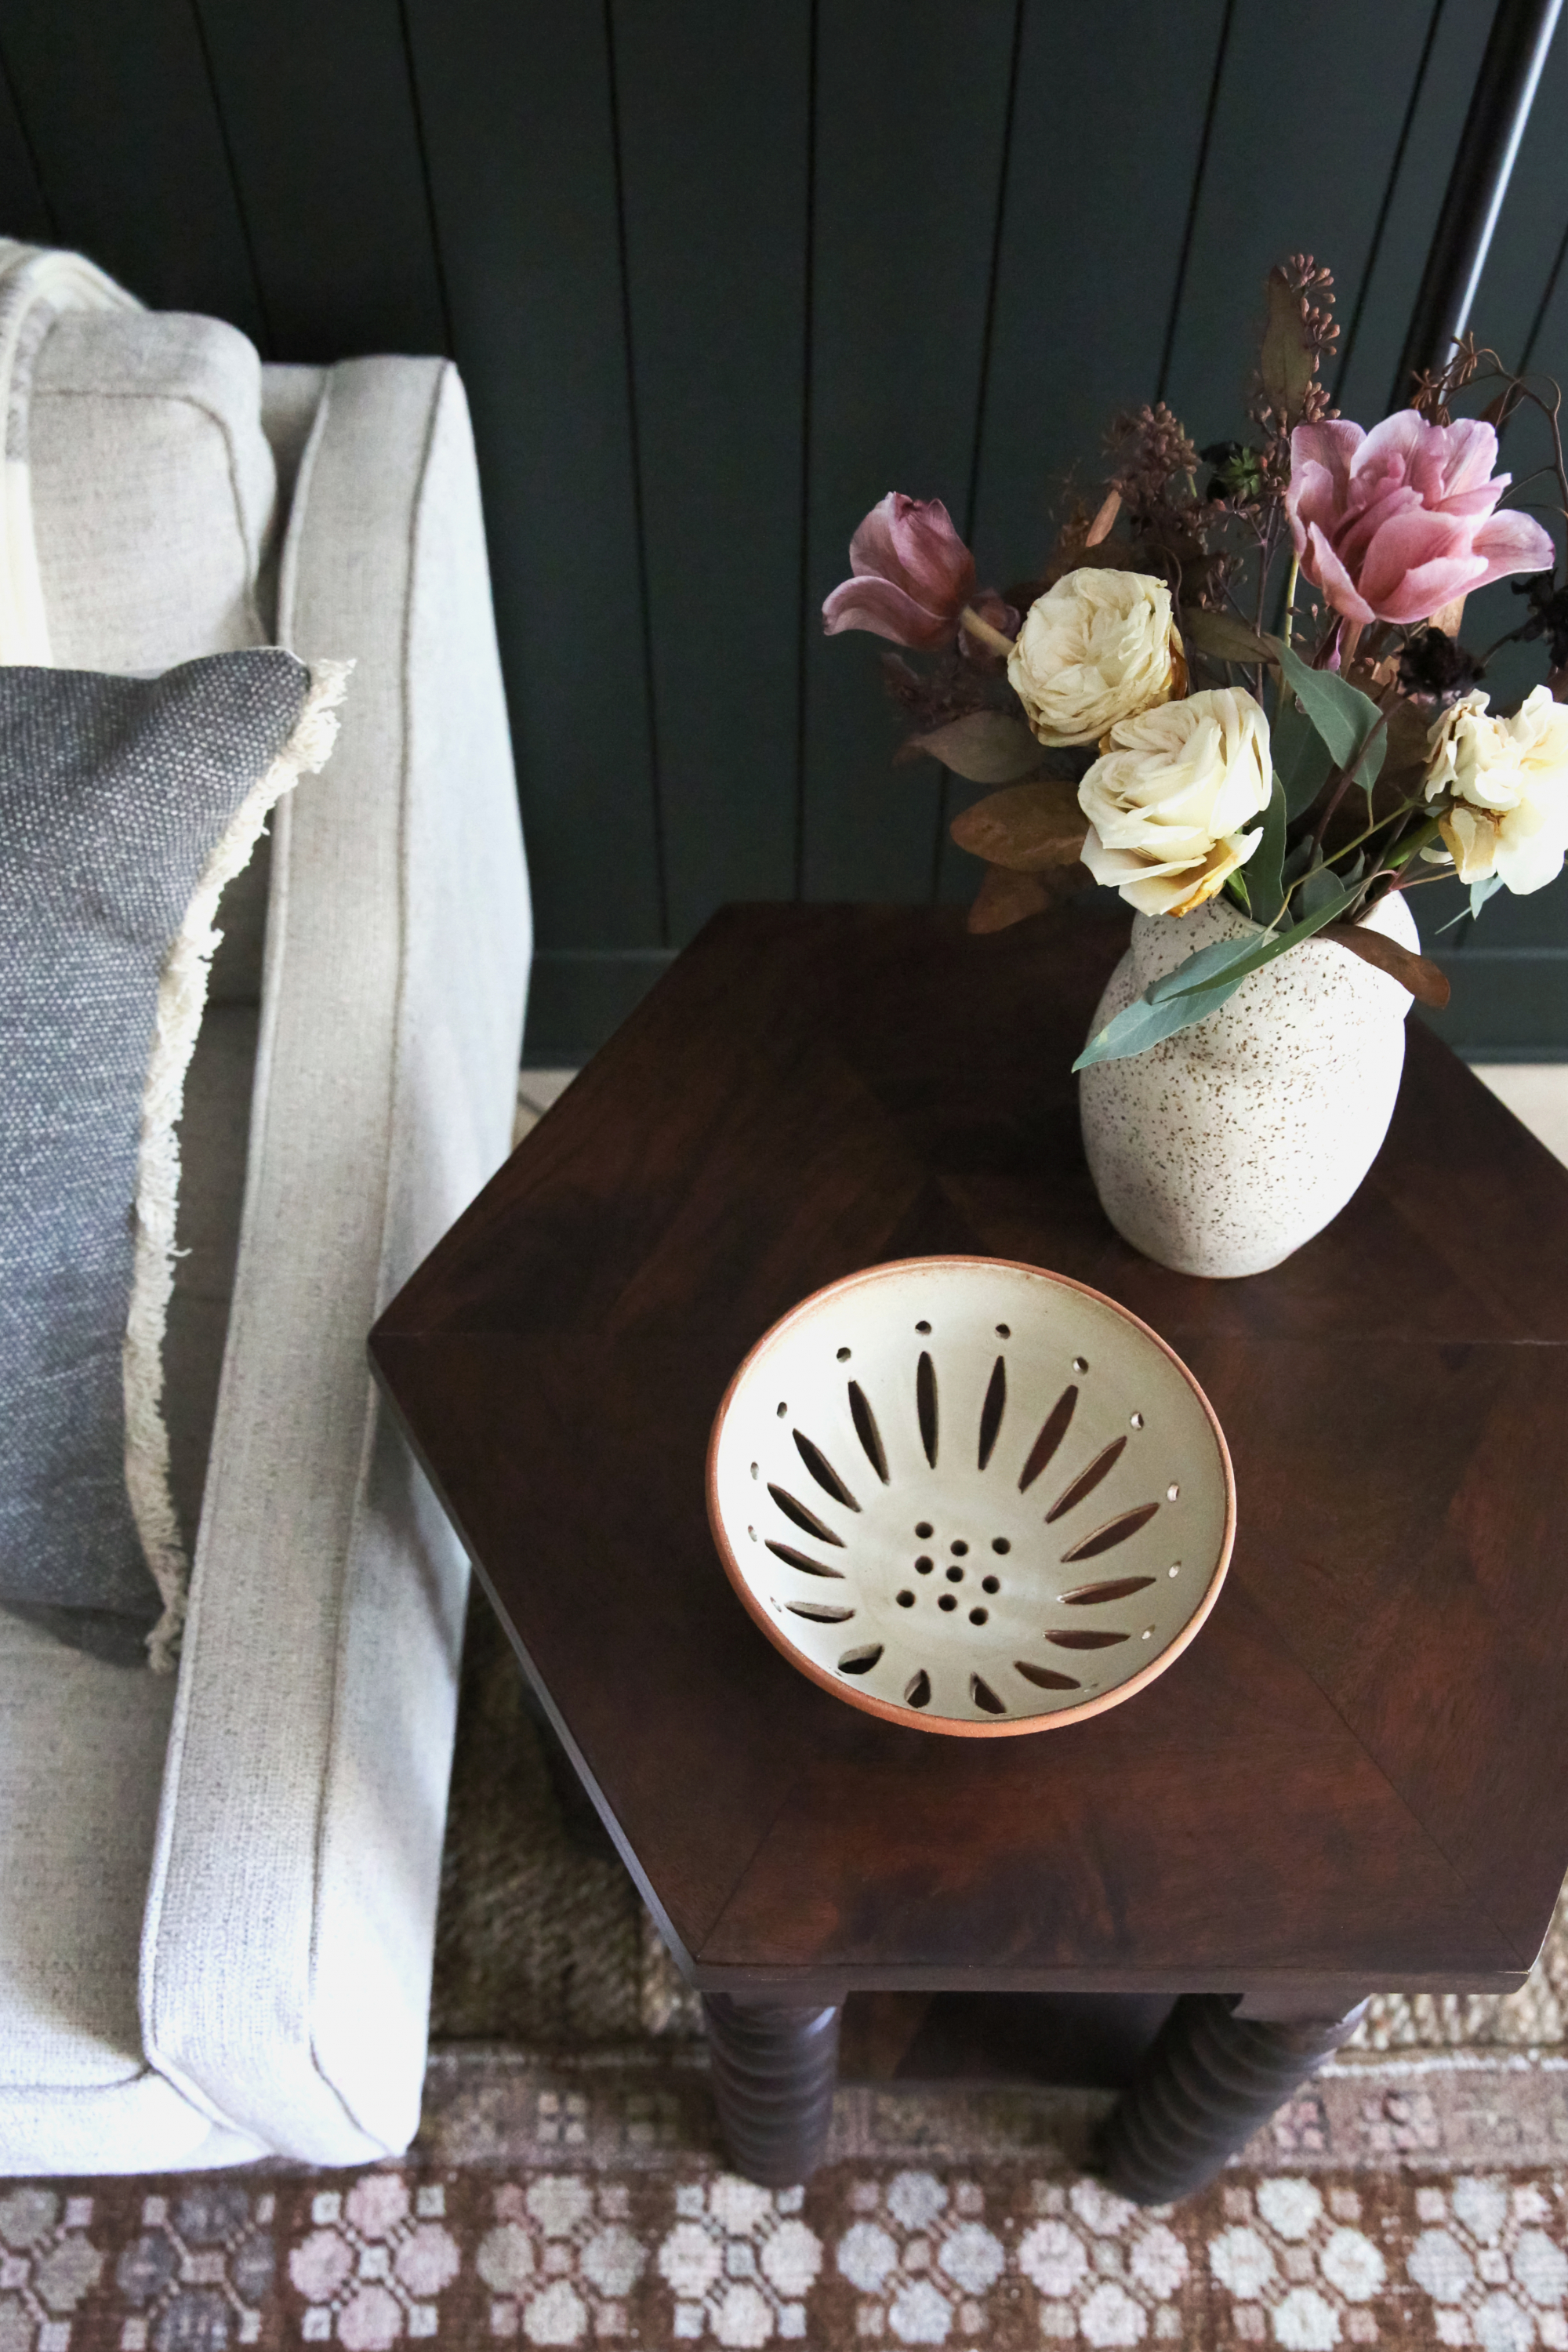
Rust Ceramic Bowl


 1.
1. 


