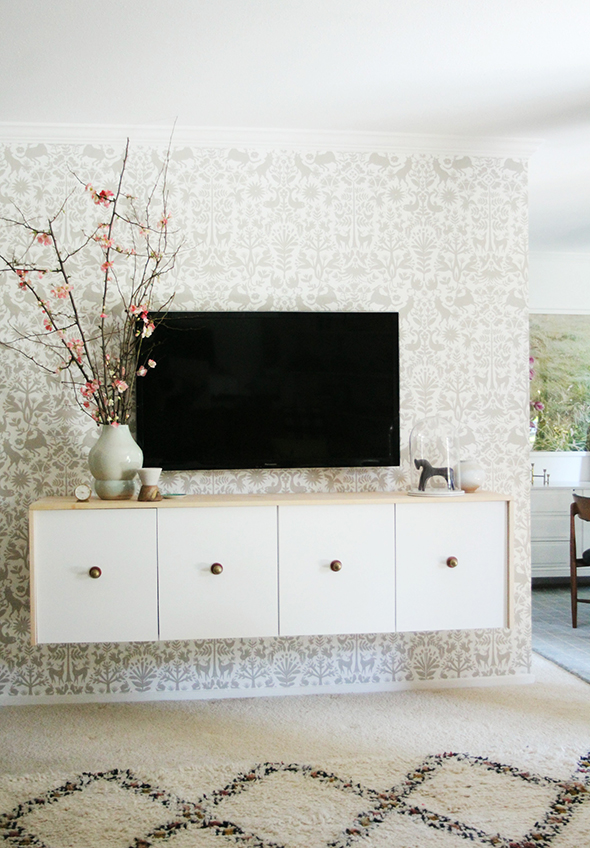
I’m sure you’ve seen all the tutorials for Fauxdenzas floating around the web the past few years. I love the concept of IKEA kitchen cabinet uppers being mounted directly to the wall at a traditional credenza height (30-36″ AFF). The no-leg look is clean and airy and perfect for small or awkward spaces that need a lot of storage but don’t have much of a footprint to offer.
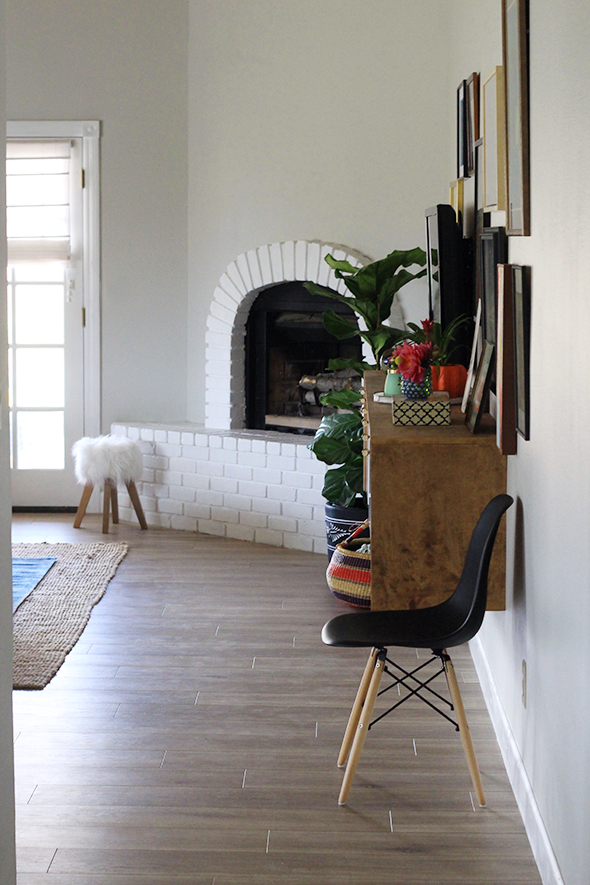
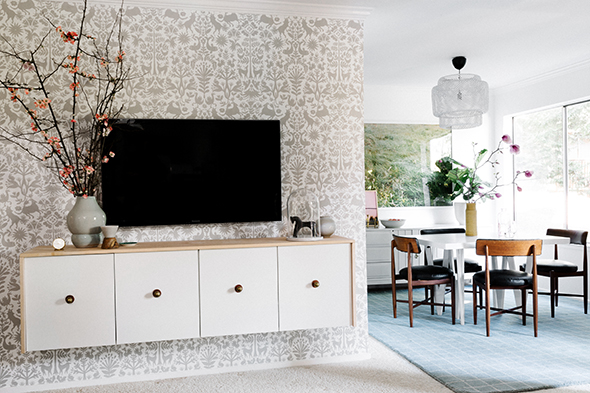
I made my first floating credenza for Lucy’s living room. Ali and I loved the project so much, we came home and made one for her family room! Her credenza was a little longer and we did a darker stain on the waterfall surround, but the concept is the same.
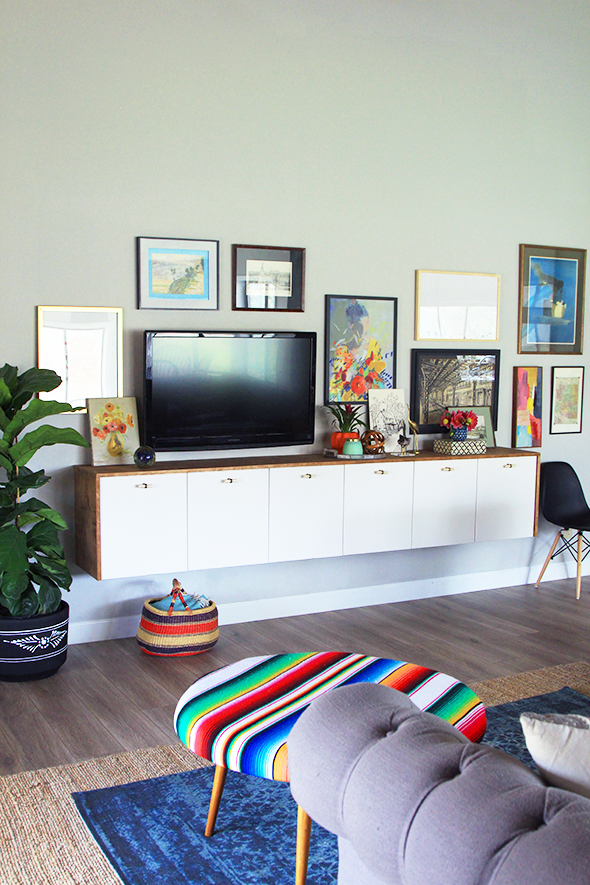
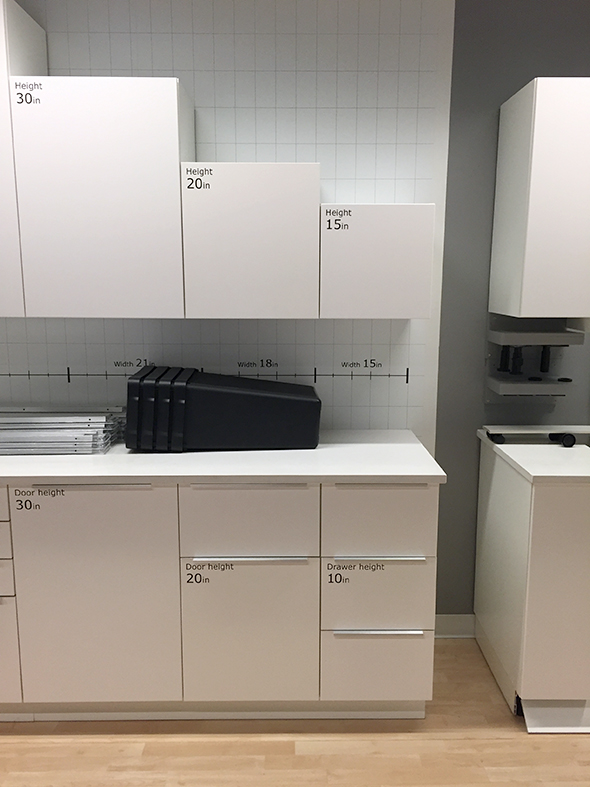
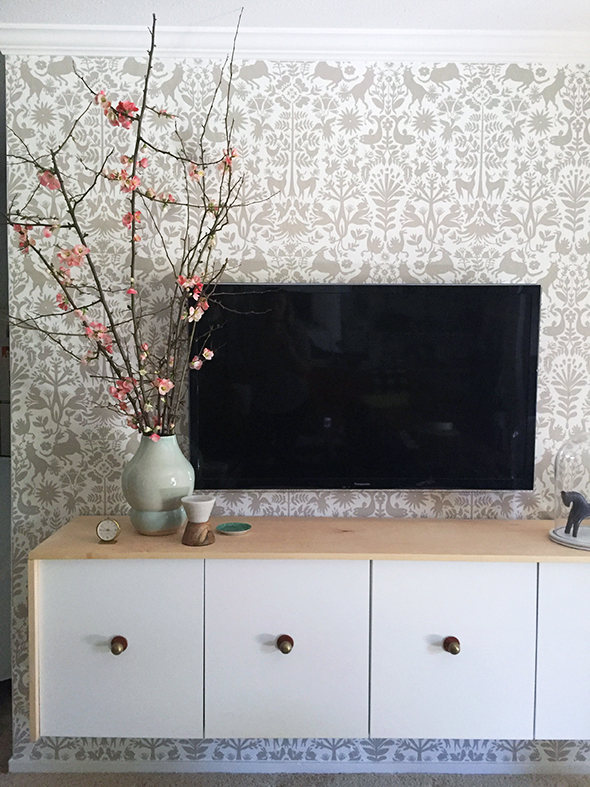
With both projects, I wanted the cabinet doors to be more of a square than a long rectangle, so we went with two 20″ high, 36″ wide cabinets and three for Ali’s.
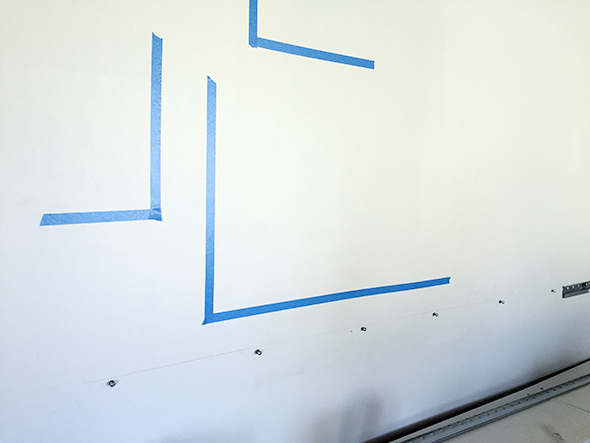
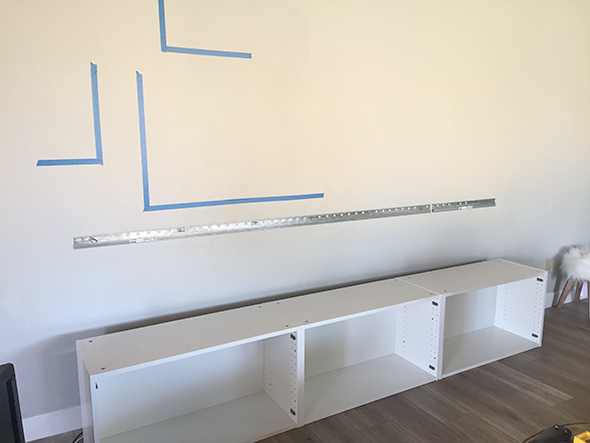
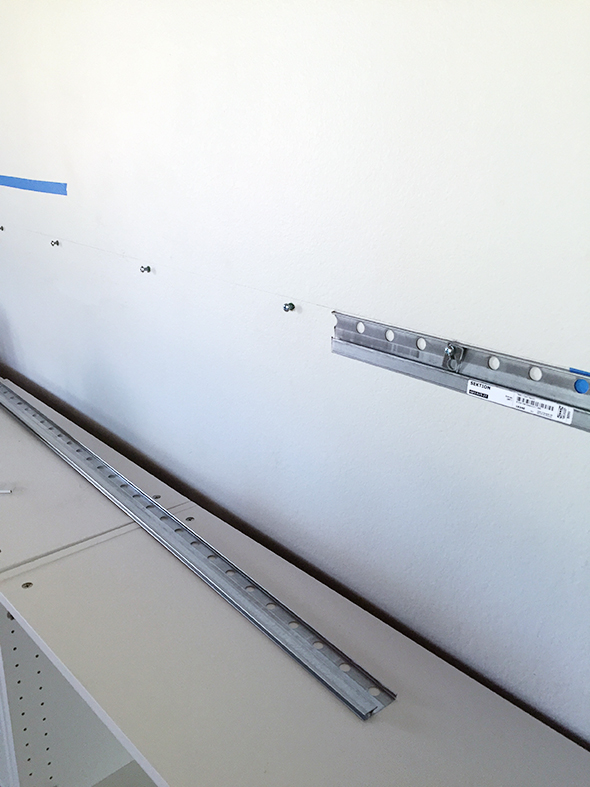
After building your cabinet frames using IKEA’s instructions, the process is super easy to hang these floating credenzas. You start by using a level to make a long straight line on your wall about an inch below where you want the finished top of your credenza to sit. IKEA’s Sektion upper cabinets come with a rail that the cabinets hang on. With a couple helpers, hold the rail up on the wall flush with your line and mark your screw placements that line up with the pre-drilled holes in the rail. It’s a good idea to find your wall studs and line up the holes with the studs to make the rail extra secure and to save you the steps involved with hard core wall mollies! (PS I used painters tape here to mark out the rough dimensions of Ali’s TV and some of her art before we chose a height for the credenza. Super easy and very helpful!)
Once the rail is installed, the cabinets can get hung right on the rail and screwed into place.
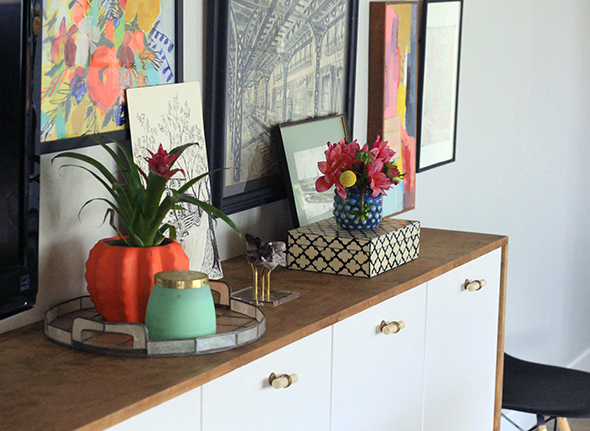
The tops of the cabinets are unfinished and you can sort of see the mounting rail from the side view so it’s necessary to make a waterfall edge.
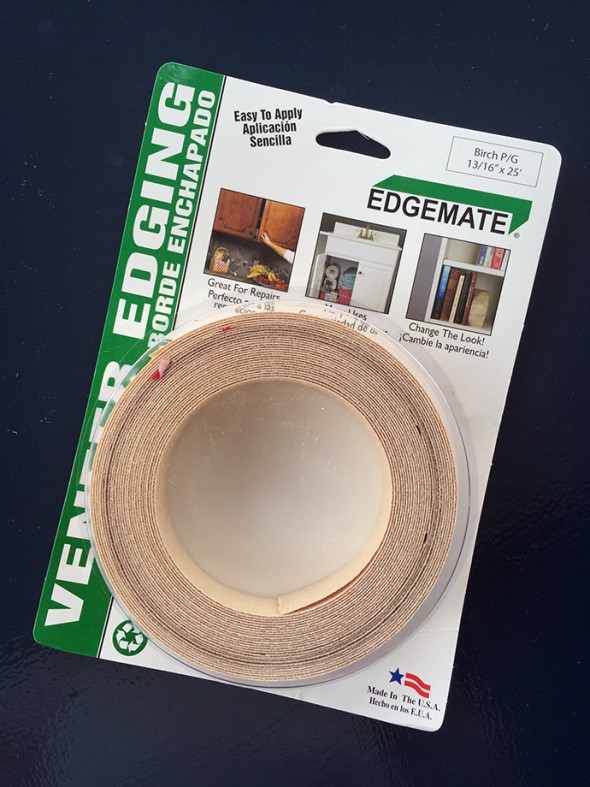
I had a piece of 3/4″ furniture grade plywood cut down to 16″ deep and 73.5″ long for Lucy’s credenza (which is the two 36″ boxes with 1.5″ of overhang on the side panels). Before staining the plywood, I used an iron to glue on veneer to cover the plywood look of the edges.
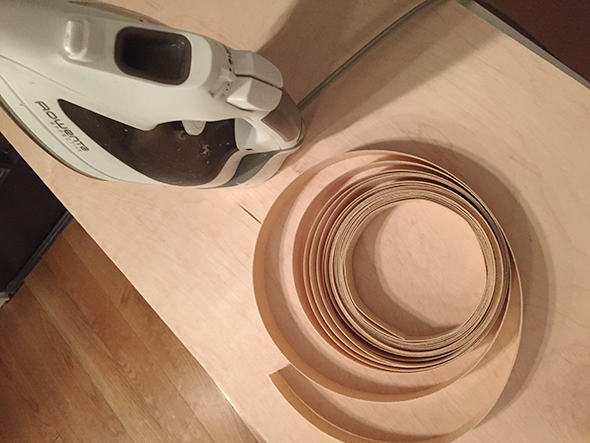
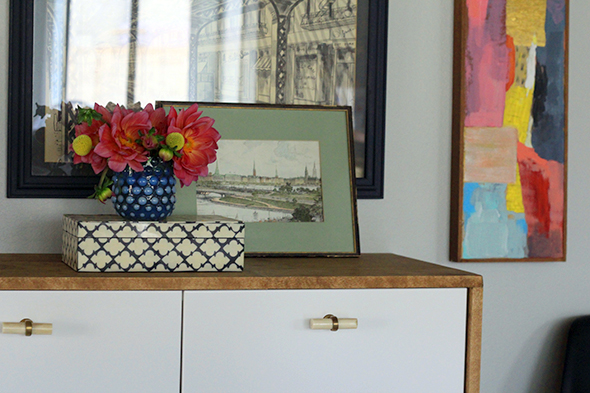
If your veneer needs to be trimmed, you can used a box cutter or razor blade after the veneer is glued down and cooled. Then it’s time to stain the wood. We stained Lucy’s credenza with Danish Oil and Ali’s with Minwax in Special Walnut.
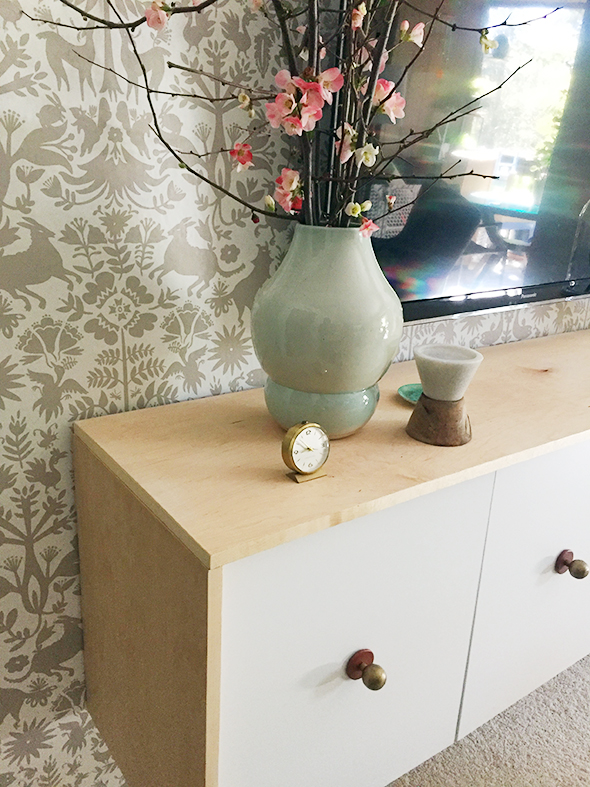
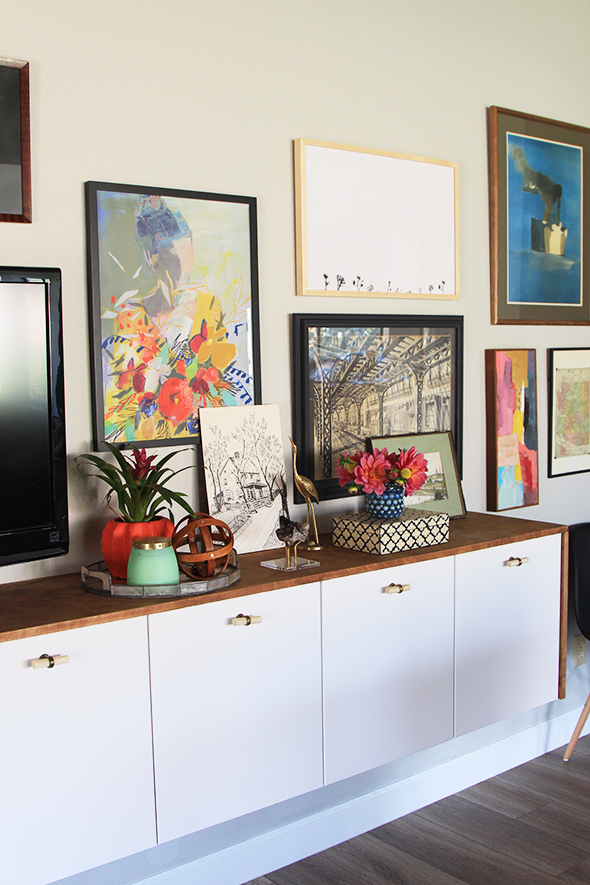
Pretty great, right? After the plywood is stained, you just run a few drywall screws (which are extra sharp and easy to use – I always have a few boxes in different sizes on hand) through the inside of the cabinet to hold the plywood top and sides in place.
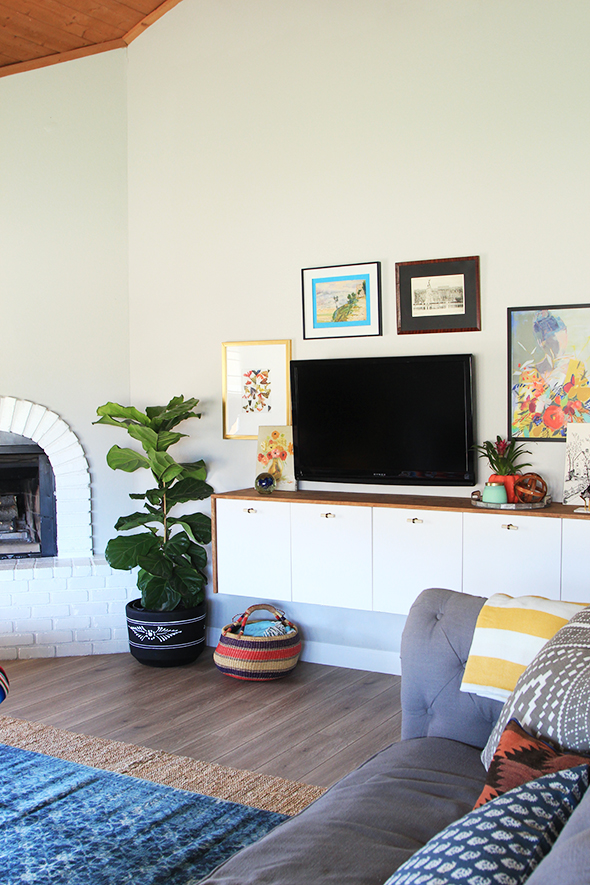
The cabinet frames cost about $150 I think and the plywood is about $40, so for less than $250 all in with hardware and miscellaneous expenses, you’ve got yourself a beautiful, functional, unique storage piece! You can hire an electrician to bury your TV wires or you can buy cheap cord covers and paint them your wall color. Both are pretty simple options!
SOURCES AT A GLANCE:
IKEA Sektion Cabinets – 15″ deep – all sorts of width and height options!


This looks so effective! Am bookmarking this page as I definitely want to give this a try in my home! x
http://www.curiouser-and-curiouser.co.uk
I am interested in how the components work on the inside. Did you cut out the backs to plug in a DVD player, cable box, etc.? Any chance to get a peek inside?? Thanks. I have been considering doing this for a while, but I think I will add faux legs to make it look like a piece of furniture rather than floating.
See the above for thoughts on the remote! We did cut a hole in the bottom of the cabinet so we could feed a power strip cord down to an outlet, but that’s it. :)
Nicely done! I sometimes add oak wood shelf on top of their cabinets. This also gives a great look
Recently John and Sherry over at Young House Love installed a wall mounted TV and wrote about this awesome in-wall power cord kit:
http://www.homedepot.com/p/CE-TECH-In-Wall-Power-Cord-and-Cable-Kit-A32-KW/204412643
It looks super easy to use and so much nicer than the cord covers! Here is the link to their post that details how the kit is installed:
http://www.younghouselove.com/2016/04/how-to-hide-tv-wires/
This is so cool, Caitlin! John and Sherry to the rescue again! :) Thanks for sharing the link! xo
I would love to know how you hide the cable box, blue-ray player, etc. etc. that go into the TV? Do the cabinets have to be opened to watch TV or is there another solution you’ve come up with?
Looks great – planning to recreate this fall in my house.
Hi Jenn!
With my cable box at least, you don’t need a direct line of sight for the remote to change the channel, so when my sister’s just watching TV she doesn’t need to open the credenza doors. When she is doing a DVD/Bluray, she just opens the cabinet to get it started and then shuts the doors again. She says it’s not a big deal for her. You could always keep the components on top too. Less cute for sure though!
Is wall-mounting the tv a style decision, or would you not recommend setting the weight of a tv on top of this?
Hi Chrysta! The cabinets are definitely sturdy enough to handle the weight of the tv! We just wanted to mount these. :)
LOVE this! Can’t wait to try. On an unrelated note, I loved your gift guide for Xmas. Can you do another one for mothers’ day?
Thanks Kathy! What a fun idea! I’ll put it on my post list! :) xo
Wow, beautiful job, and I love it.
This is awesome! I am not a big DIY person but am thinking I might give this a try. It looks awesome and we could definitely use more storage and space in our apartment. Thank you for sharing.
Hi Jenny,
I love this idea! Would you mind telling me which Sektion cabinets these are? I can’t find the cabinets with the link you provided.
I think I found the cabinets she used, they are the above the fridge 2 door cabinets. Here’s the link http://www.ikea.com/us/en/catalog/products/S19040510/#/S39040670
Thank you, it took me awhile to realize that those were individual cabinets : )
I am difficulty finding the 36″ wide cabinets as well. Can you please send the direct link to the base cabinet that you used? Thanks!
My attempt at a hack on our old IKEA entertainment center to get the same look (white interior, wood exterior) has failed. I tried painting the entire thing white–even with good primer–and the paint peeled right off when I went to install the shelves. This is the solution! Going in the basement, so our “studs” are metal beams…thinking of solving with very strong mollies or putting some legs on the credenza. You’re coming to the rescue, YET AGAIN, Jenny! Thank you!
Just curious, why did you choose the Ikea kitchen cabinet bases over the cabinet boxes designed for TV/entertainment (Besta) at Ikea? We are getting ready to finish our basement and I am trying to decide which product to use…
Hi Thanks for the awesome hacks! I also love the flower art print with the lady in the background! Could you please tell me the name/source of this print? Thanks
Hi! Ali’s “fauxdenza” is amazing and is exactly what we are going to do. So glad I found this.
A couple of questions about the furniture-grade plywood. What species did you use for Ali’s fauxdenza? Also, the plywood at the top would need to be 109.5″ long (36″ x 3 +1.5″), right? Did you have difficulty finding the plywood in that length?
And the plywood for the side panels would be 20″, right?
Thanks so much! This will be my first DIY furniture project, so I’m a little nervous.
Hi!
I’m also wondering about the length of plywood for Aly’s fauxdenza…..where did you find a piece larger than 8′?
There is a seam on right side! We filled it with wood filler. :)
Did you have to cut down one of the suspension rails? Curious?
Hi! I love your IKEA floating shelf idea, but really want to know where the animal print wallpaper came from. Searched everywhere. Please help!
Thanks so much!
Sanda
Hi Sandra! You can find the wallpaper at Hygge and West!