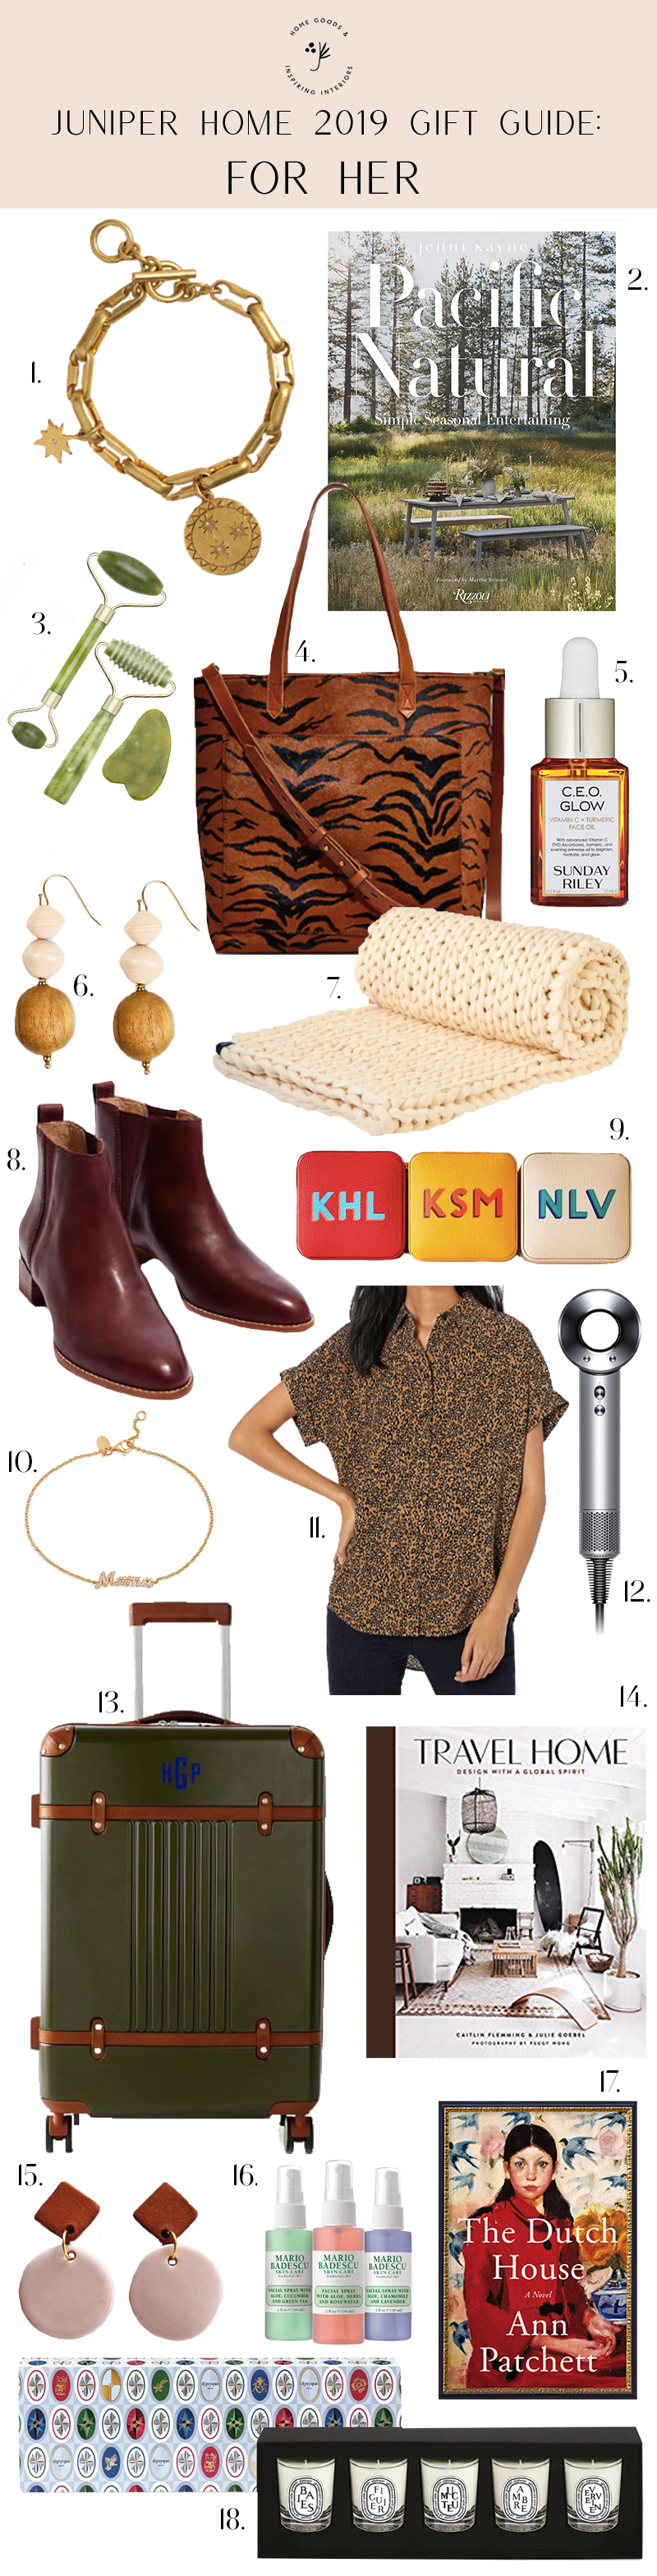
Holiday

Holiday Roundup

The holiday season is finally upon us! It is one of my favorite times of the year to host family and friends. Below I rounded up some of my favorite go-to items for both decorating and hosting holiday events! We want to see your holiday spaces! Use the tag #juniperhomespotlight on Instagram in your stories…

The holiday season is finally upon us! It is one of my favorite times of the year to host family and friends. Below I rounded up some of my favorite go-to items for both decorating and hosting holiday events!

We want to see your holiday spaces! Use the tag #juniperhomespotlight on Instagram in your stories and photos!

wreath  //  brass bells  //  cedar candle  //  black & brass flatware  //  placemats

green linen napkins  //  cream linen napkins  //  wood and marble cheeseboard  //  horn bowls

gold wrapping paper  //  craft paper gift tags  //  rust velvet ribbon  //  black swirl ornament

iridescent ornament  //  pearlescent ornament  //  wood bead garland  //  Baby’s First Christmas ornament

mini ball ornament set  //  wood snowflake ornament set  //  mini faux potted tree  //  stocking

marble & brass stocking hanger  //  faux branches  //  pom pom garland 

Gift Guide

2019 Holiday Gift Guide!

  FOR HER: 1. Charm Bracelet – I have a bunch of brass/gold vintage charms and charms from necklaces that I don’t often wear and I’ve been wanting to put them together on a charm bracelet. This one is a great price point and I’m sure will last long enough to see if I really…


FOR HER:

1. Charm Bracelet – I have a bunch of brass/gold vintage charms and charms from necklaces that I don’t often wear and I’ve been wanting to put them together on a charm bracelet. This one is a great price point and I’m sure will last long enough to see if I really actually want a charm bracelet. :)

2. “Pacific Natural” Book – I bought this book earlier this year and it is stunning. Not surprising at all, since everything Jenni Kayne touches is perfection! I am so inspired by her choices and her commitment to her aesthetic.

3. Jade Face Rollers – Yes, we all have and love our jade rollers – but have you tried Gua Sha for lymphatic drainage?! I put on my face oil below and roll out a tension headache at the end of the day or smooth out the puffiness in the morning! If I’m watching a show, I’m usually rolling my face. :)

4. Tiger Print Bag – Animal print is classic and neutral in my book. I like that this tiger print feels a little more unique than leopard (which I also love) and the rust tones are so on-trend right now!

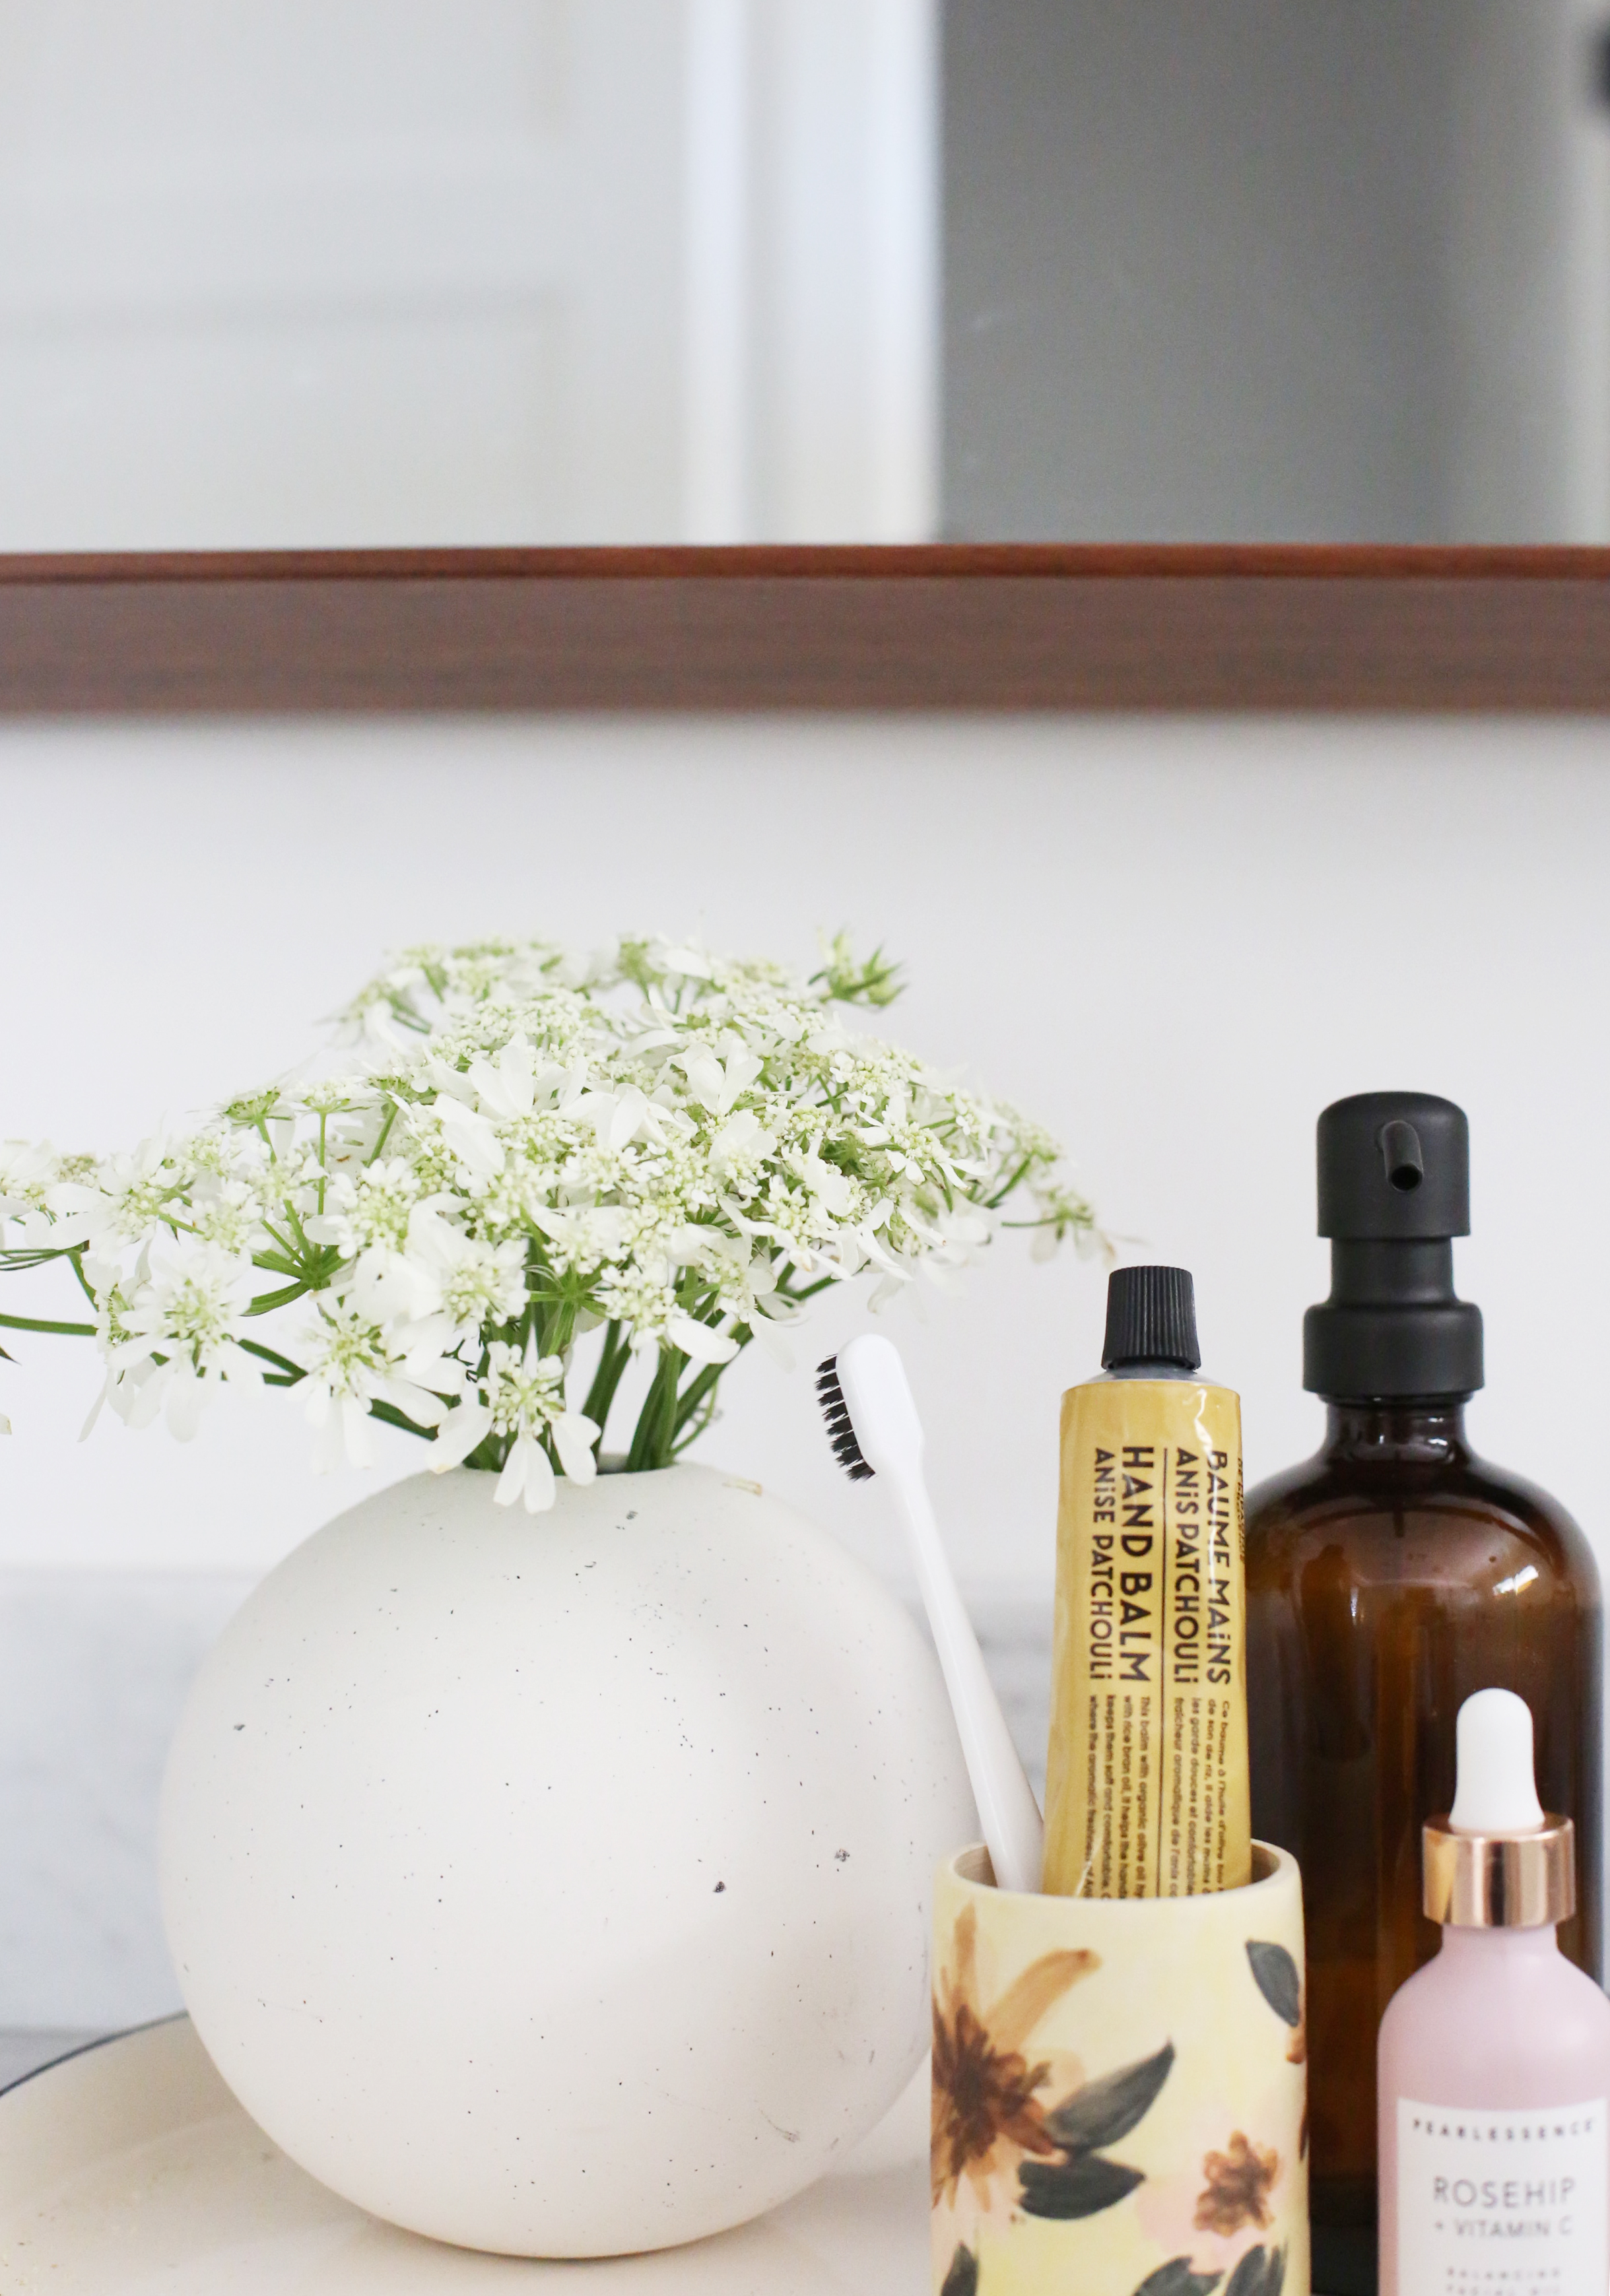
5. Face Oil – I love the natural anti-aging properties of this Vitamin C oil and also that it smells like an orange grove in the early spring – not too sweet and very earthy. I love the glow it gives my skin so much that lately I skip foundation altogether and just throw on a little concealer under my eyes and my favorite bronzer and call it good.

6. Wood Earrings – I love statement earrings in organic shapes and materials! These wood bead earrings are on my list!

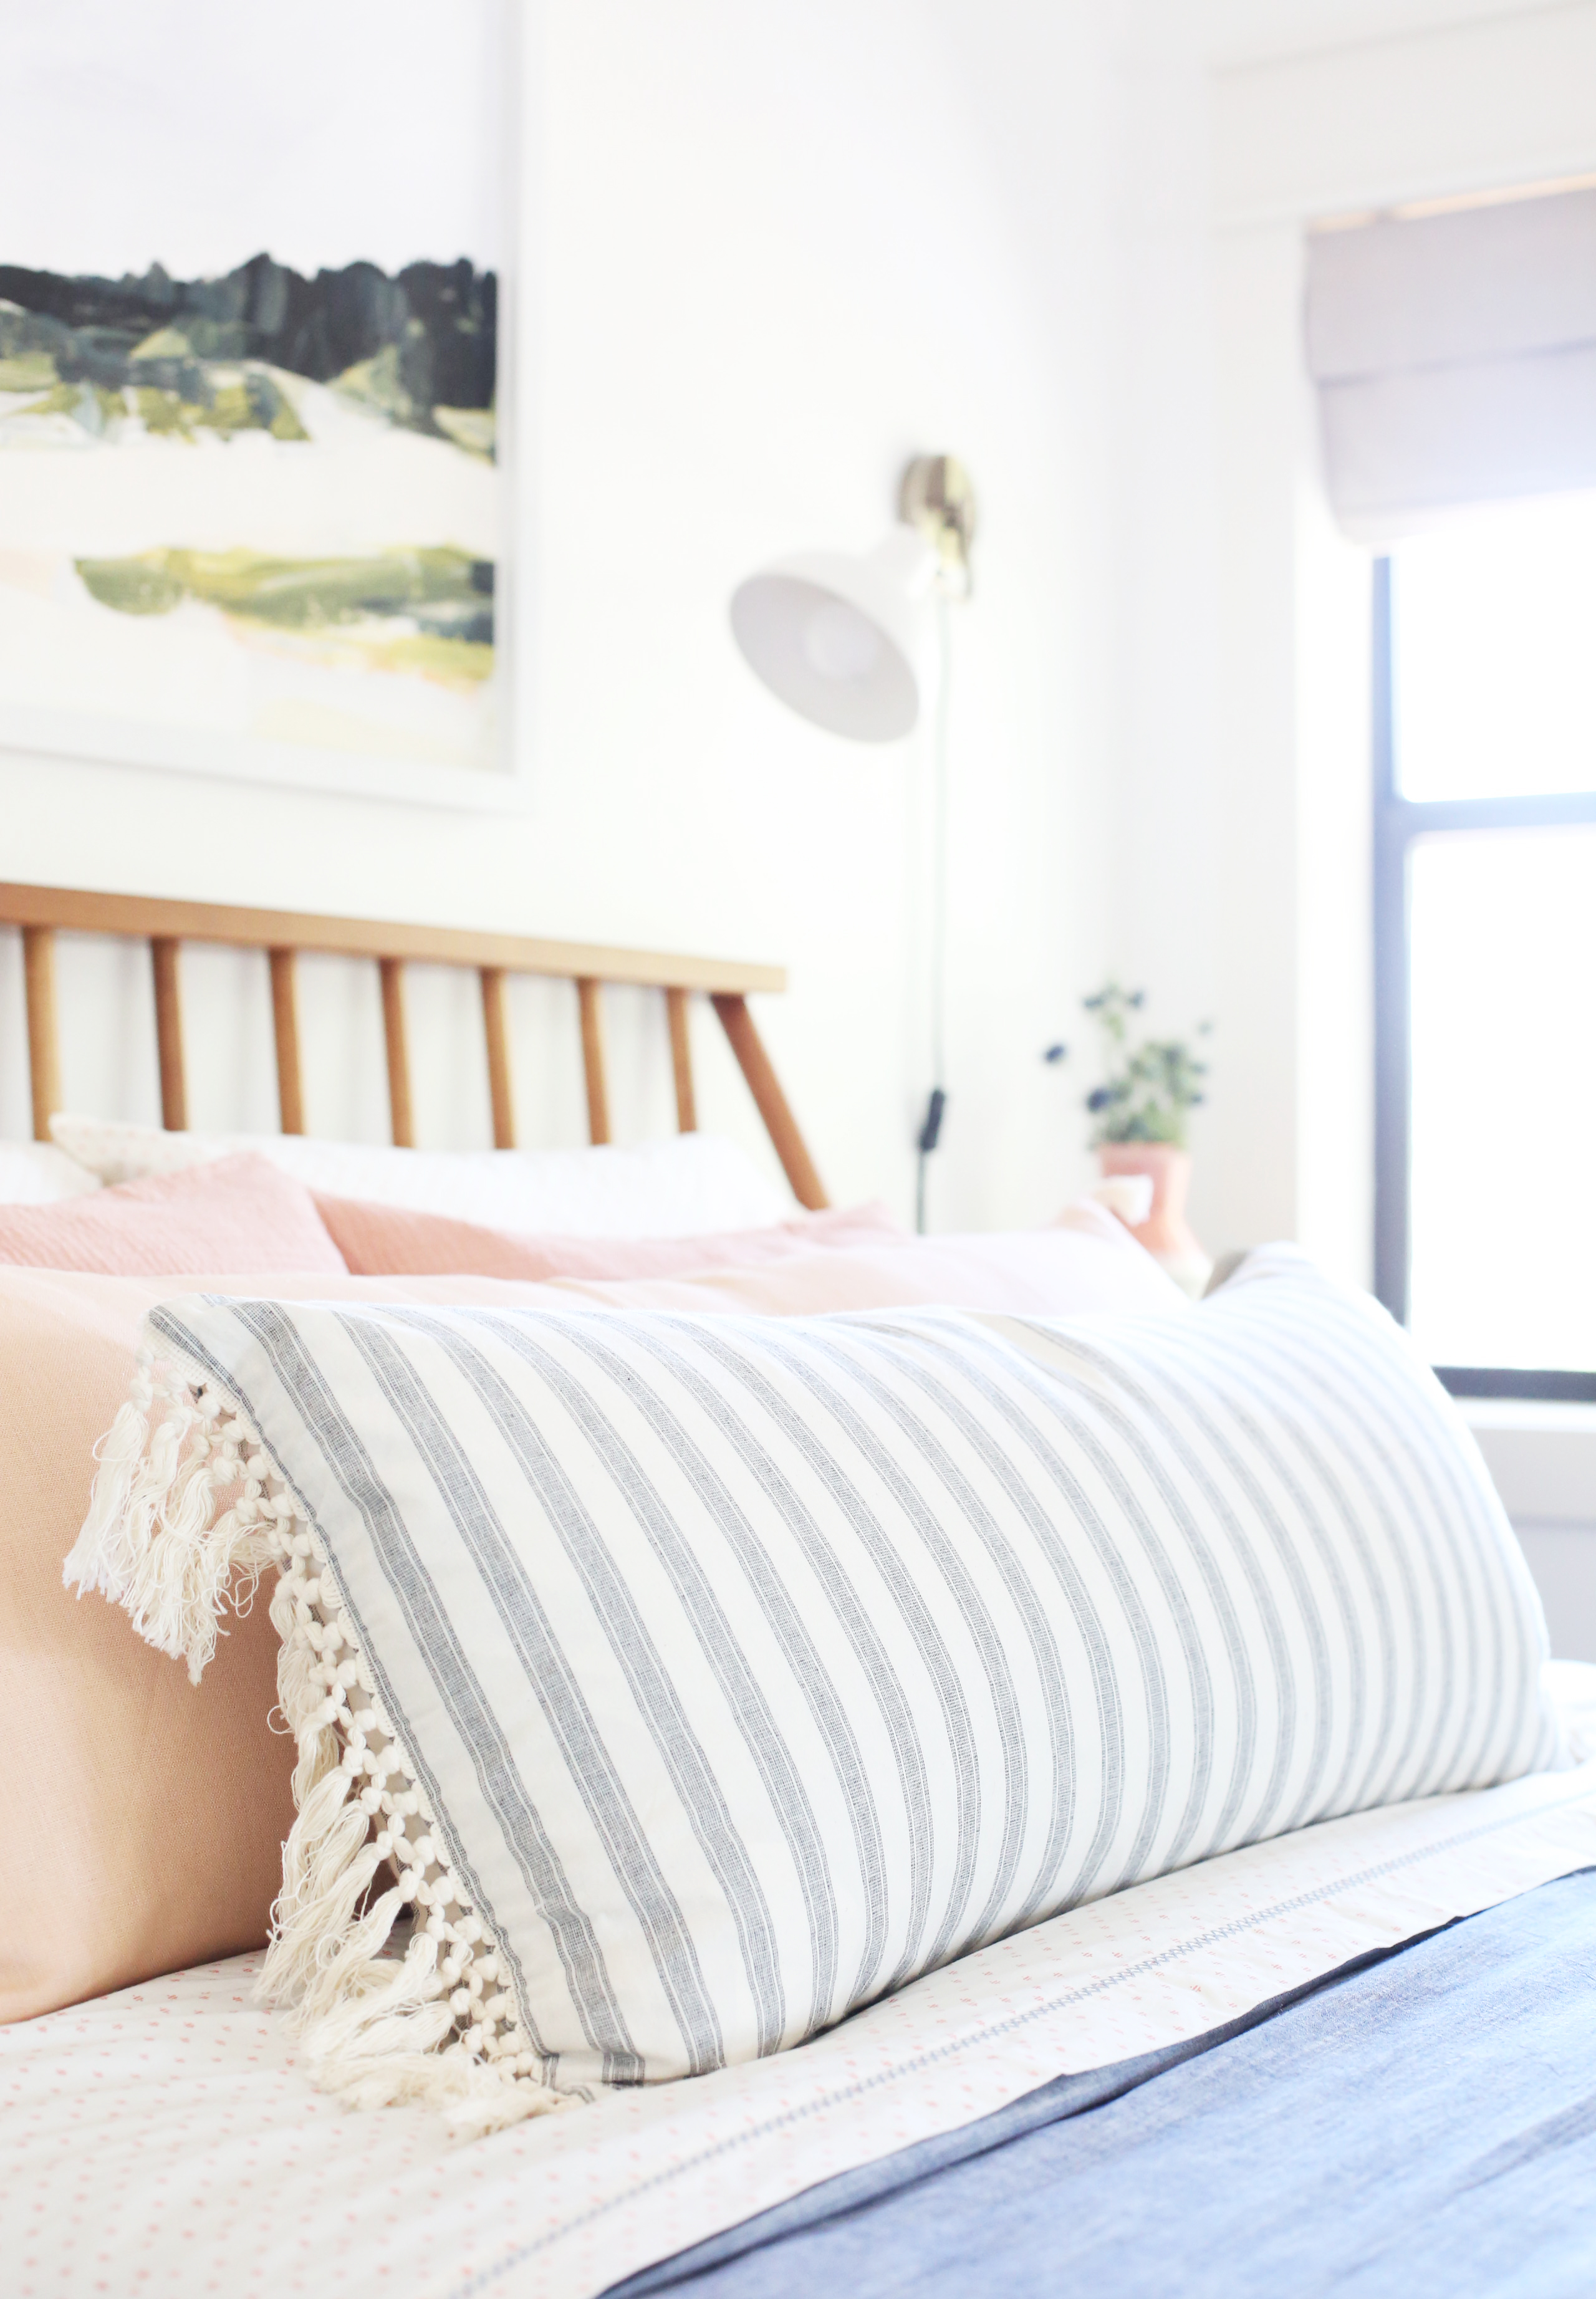
7. Weighted Blanket – Three of my friends have and swear by this weighted blanket. Yes, it is an investment, but they all swear it is life changing. I struggle to sleep through the night and they all keep telling me I MUST get a weighted blanket. I love that this one is actually pretty though! I’d be happy to have it draped at the foot of my bed!

8. Boots – While I love caramel color leather for bags, I think I prefer a merlot (or black)  leather for boots. I had a pair of boots in a really similar shape and color years ago and I loved them to death. They bit the dust a few seasons back, but I think I’ll be replacing them for myself this year!

9. Travel Jewelry Case – I love monogramed pieces that are small and for personal use. These Wes Anderson-esque travel jewelry cases are right up that alley! LOVE.

10. Gold “Mama” Bracelet – This bracelet would make an excellent gift for baby showers, the first time mothers in your life or for your own mama. I know I would love to get one from my girls!

11. Leopard Print Shirt – Amazon has really cute and super affordable new clothes every time I think to check in. This leopard shirt looks amazing under a blazer and is such a great price point!

12. Dyson Hair Dryer – The hype is real! I have terrible breakage from years of using a really hot blowdryer and curling iron. My hair stylist recommended this hair dryer, which is more powerful but uses less heat. I’m obsessed so far!

13. Olive Green Suitcase – All I really want in life is to travel the world with my family and to have a set of truly gorgeous suitcases. Not that tall of an order, right?! These olive green suitcases, with the leather accents, is just about perfection.

14. “Travel Home” Book – Speaking of traveling the world, my designer friend wrote this book that was released earlier this year, and let me tell you, it was INSANELY INSPIRING, both from a travel perspective but also from interiors. I wanted to jump right into the pages!

15. Handmade Earrings – My friend Krista makes the most beautiful ceramics including jewelry, ornaments and housewears. This pair of earrings has been a favorite of mine this year.

16. Face Spray Set – I love collecting holiday gift sets at this time of year! There are so many deals to be had. I love Mario Badusco’s products and his face sprays make for a super luxe gift!

17. “The Dutch House” Book – I’m not ashamed to admit that the cover first caught my eye with this book, but when I saw Ann Patchett was the author, I knew I had to have it. I finished the book in two days and loved every word. Like all great novels, the story is subtle and the layers continue to peel back as I think about the characters.

18. Diptyque Gift Set – Diptyque candles will always be a SUPER special gift item for me! The scent really stays in a space, long after burning. I like this gift set for trying scents that normally I wouldn’t think to buy in a full candle. Often I’m surprised by how much I love those lesser-known scents and this is a great way to discover!
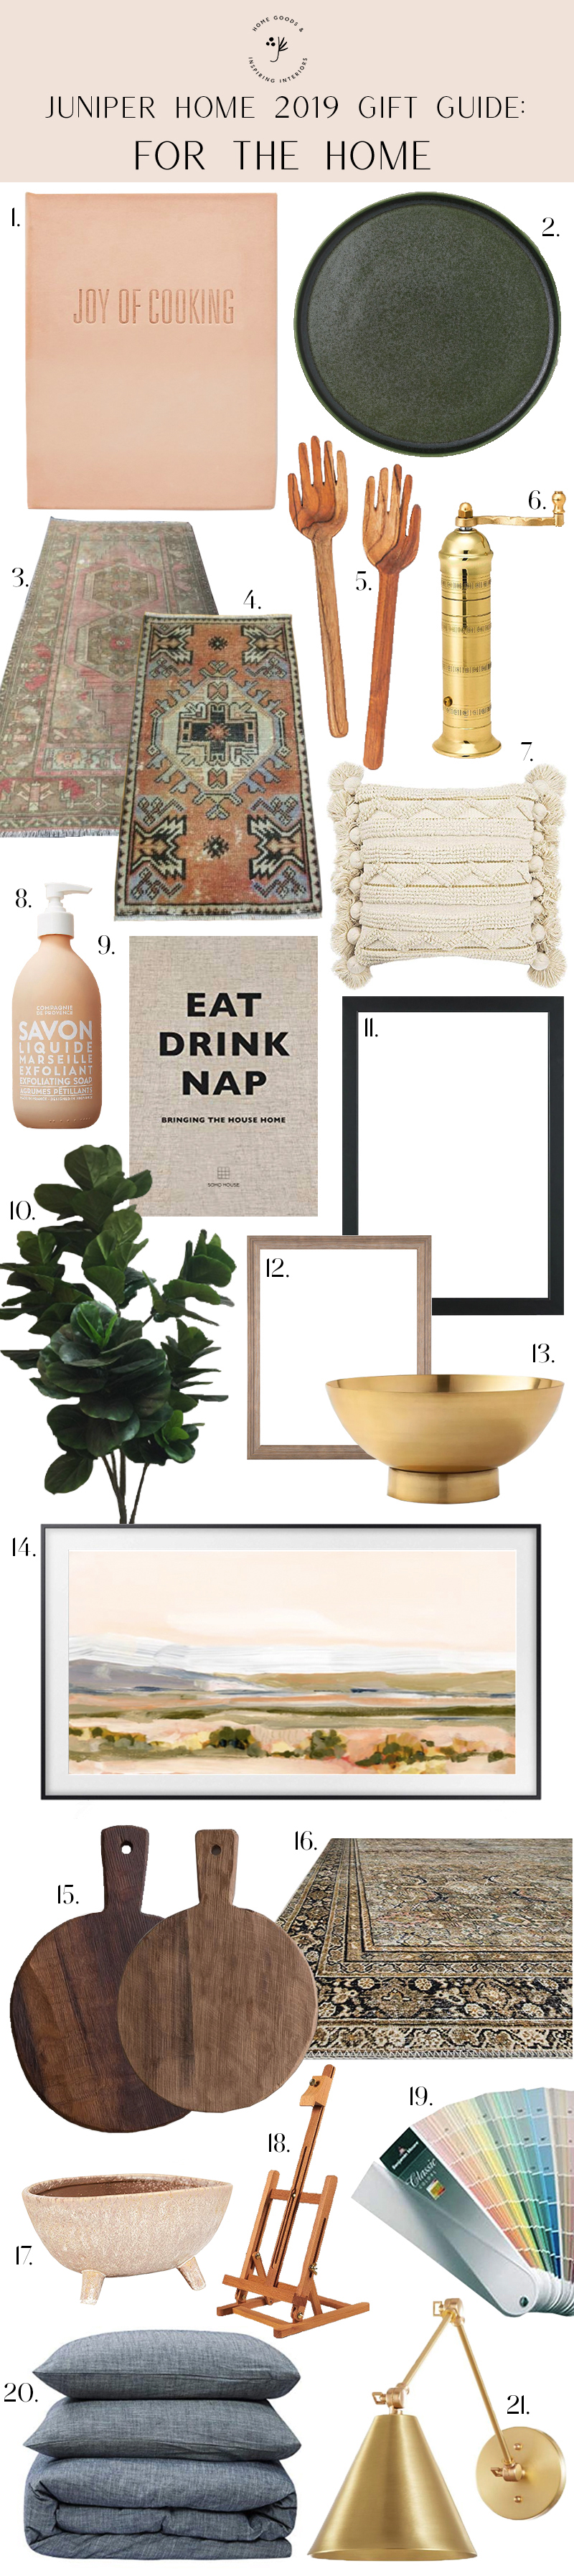
FOR THE HOME:

 1. Leather “Joy of Cooking” Book – I saw this GORGEOUS book at an interior design trade market recently and knew I needed it for my new kitchen shelves. The leather binding is perfection and they updated the graphic design of the pages inside of the book. It is a truly special gift!

2. Green Plates – I love these moody green dinner plates with the perfect little lip.

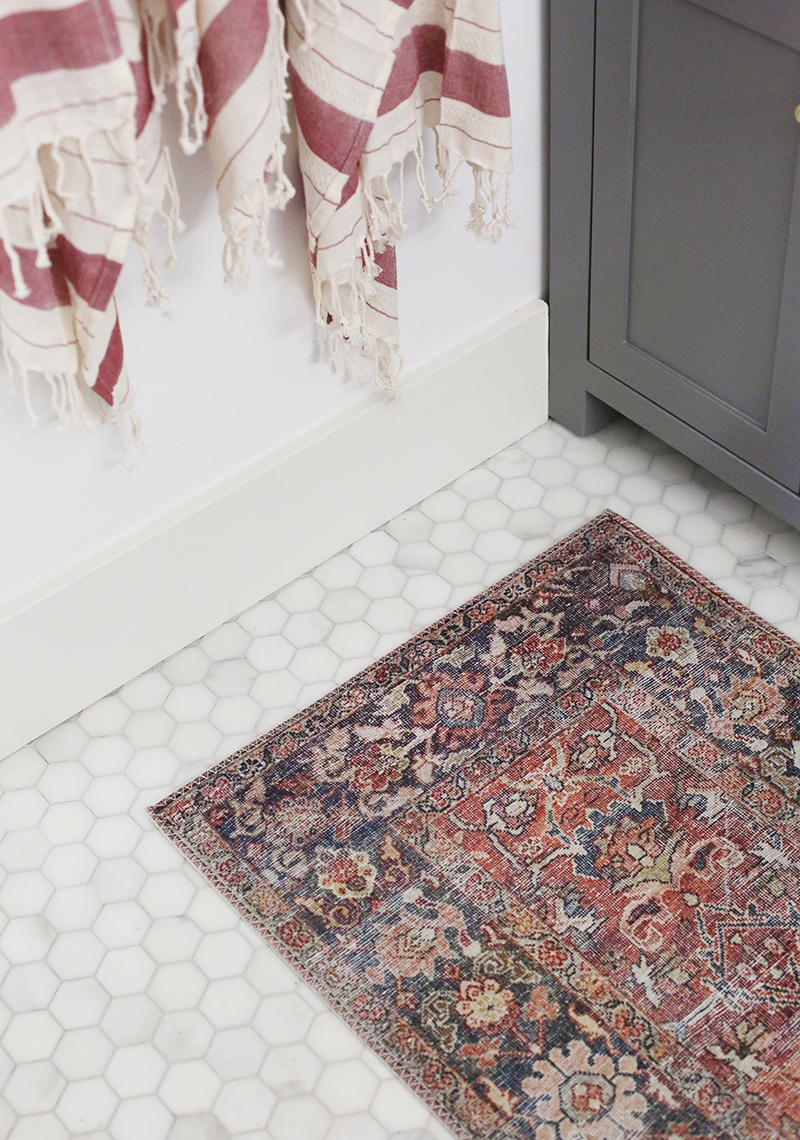
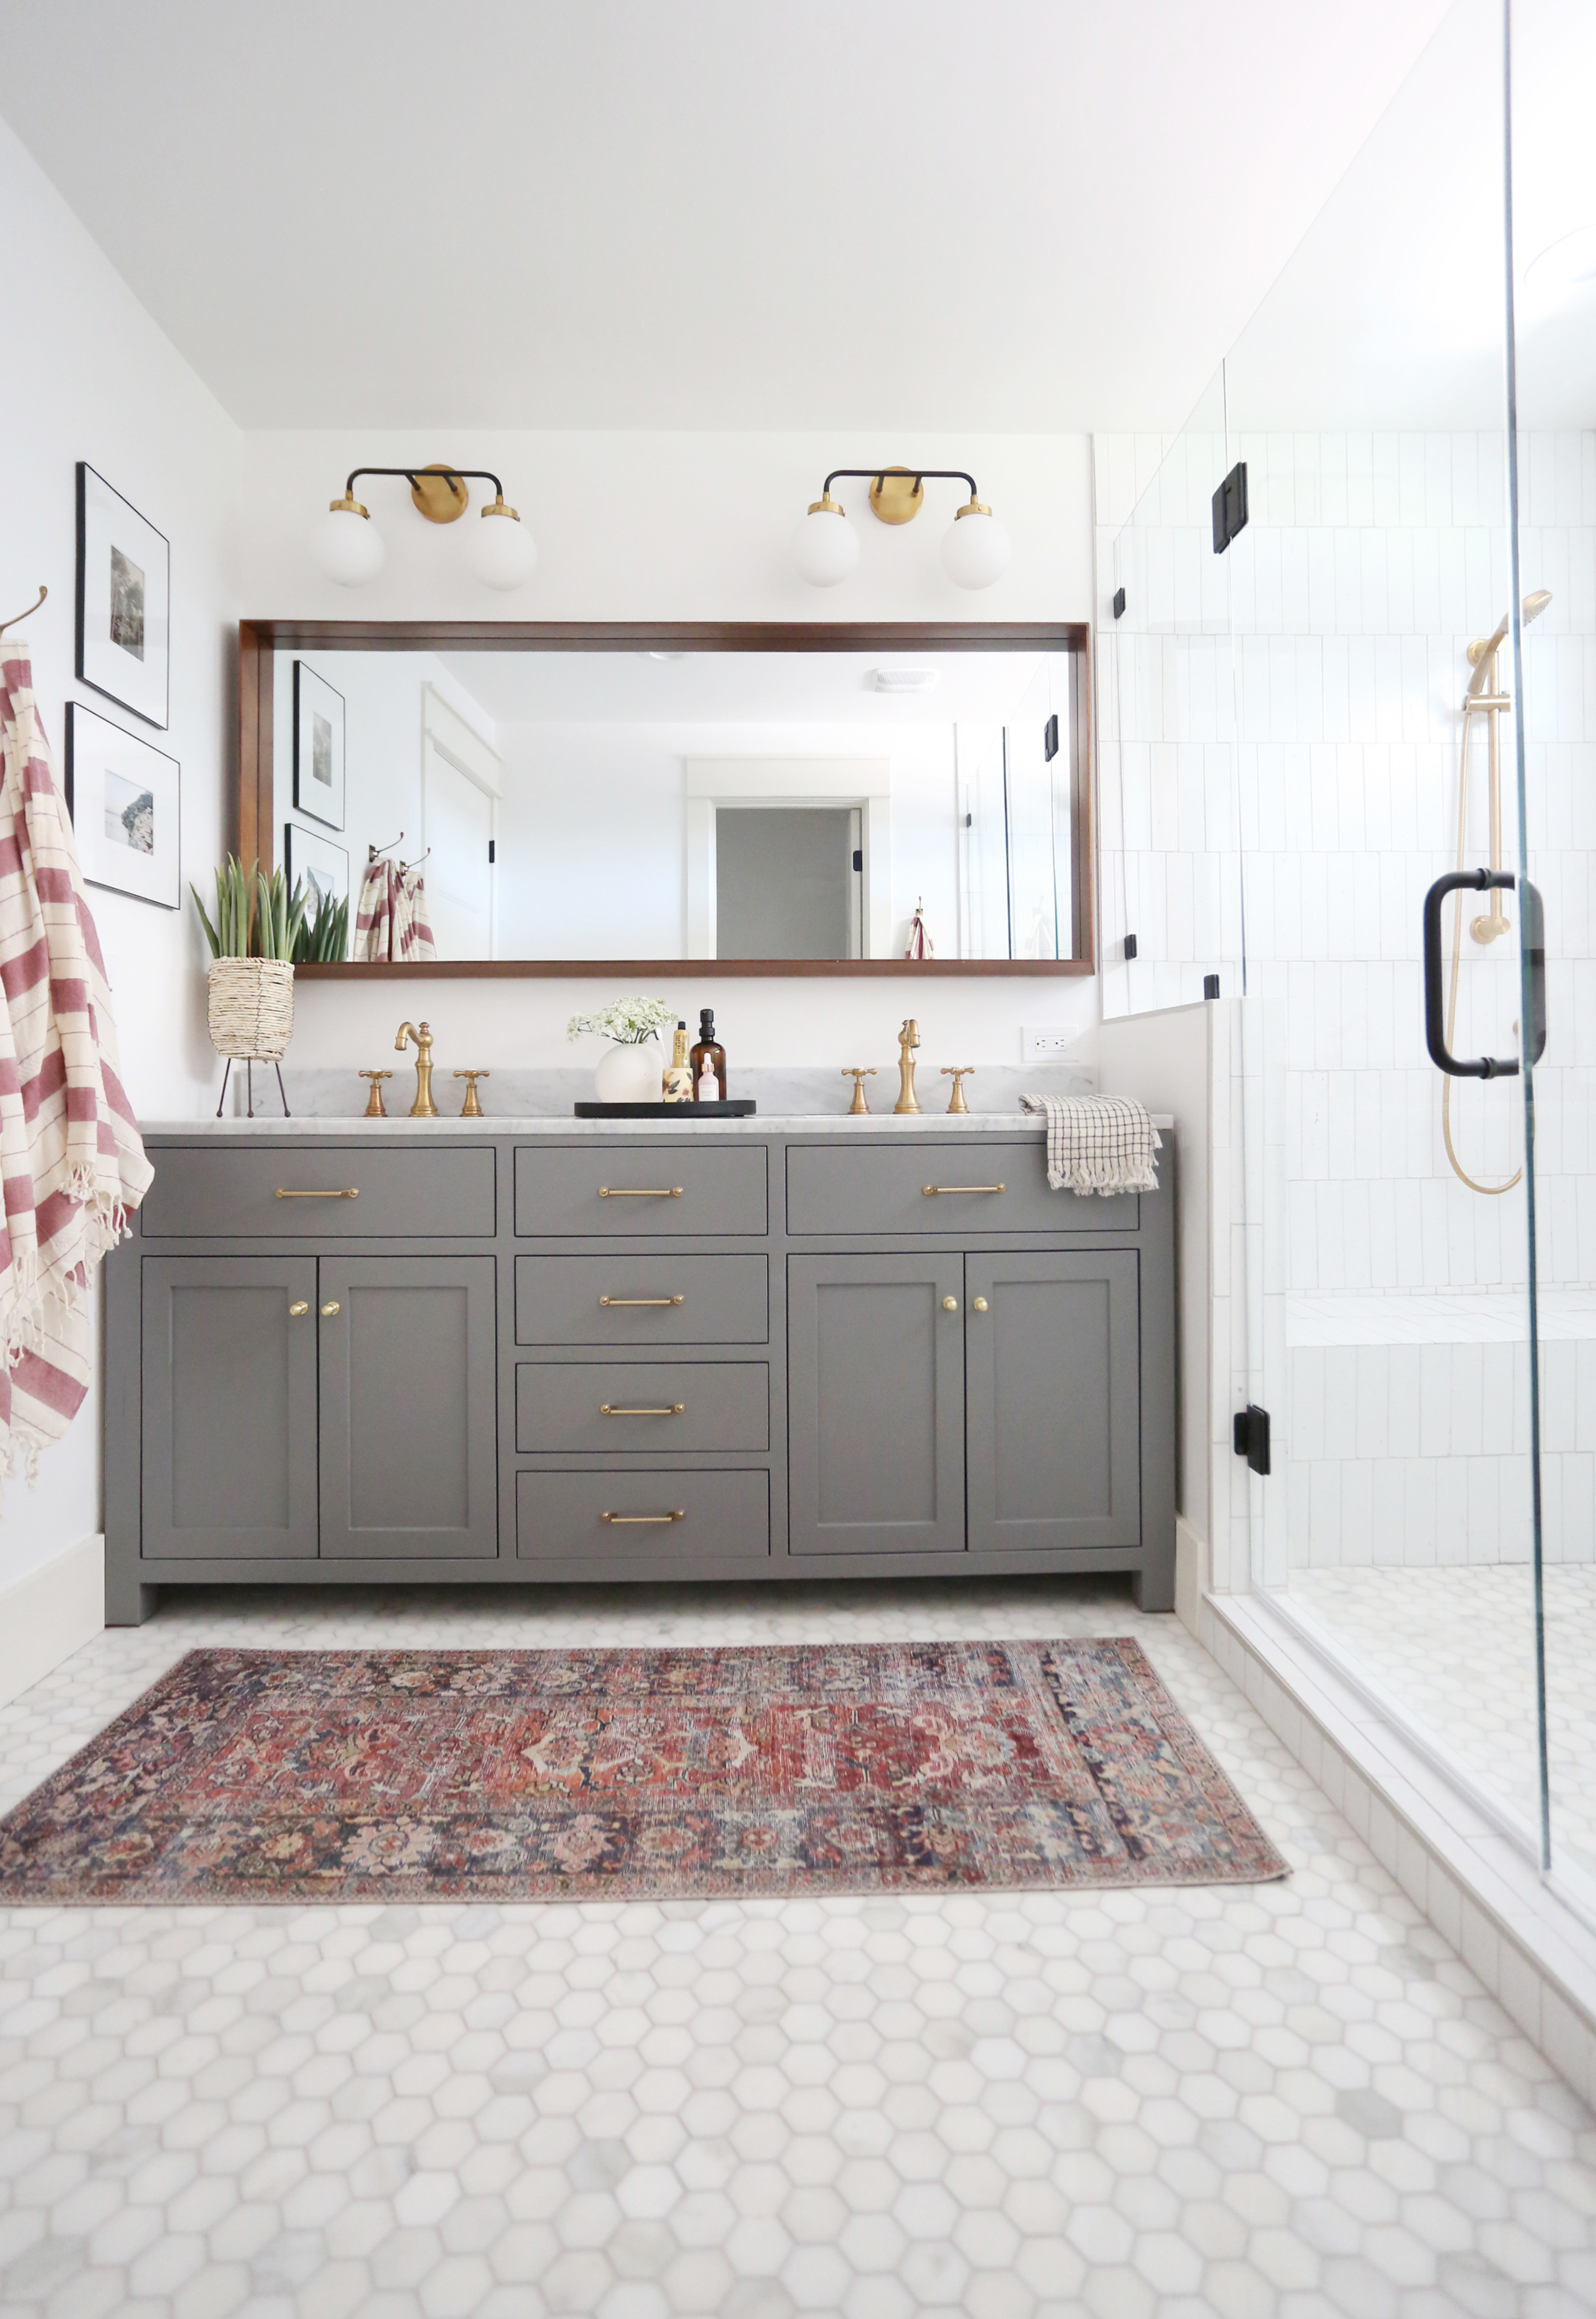
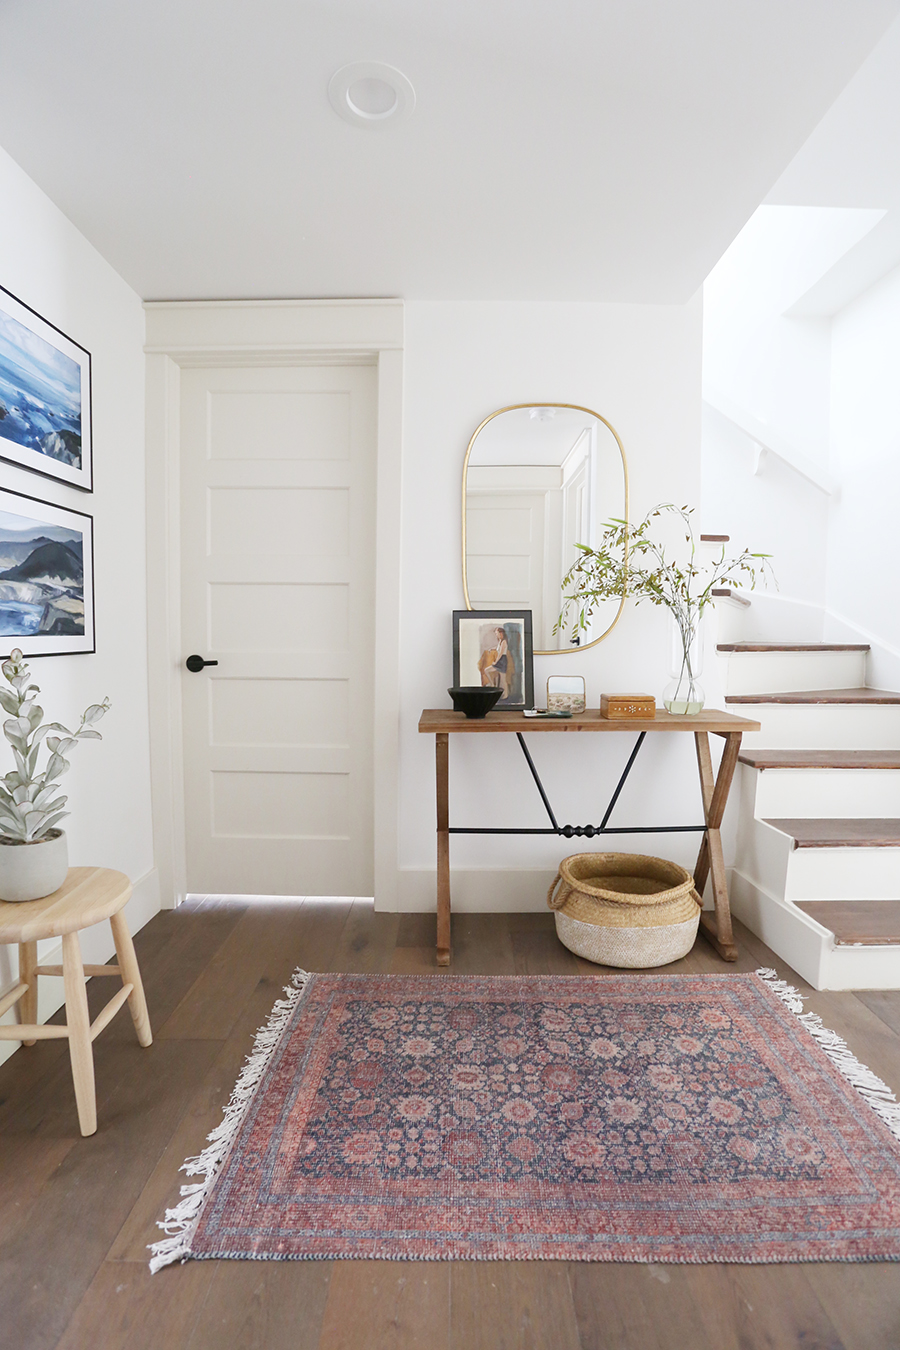
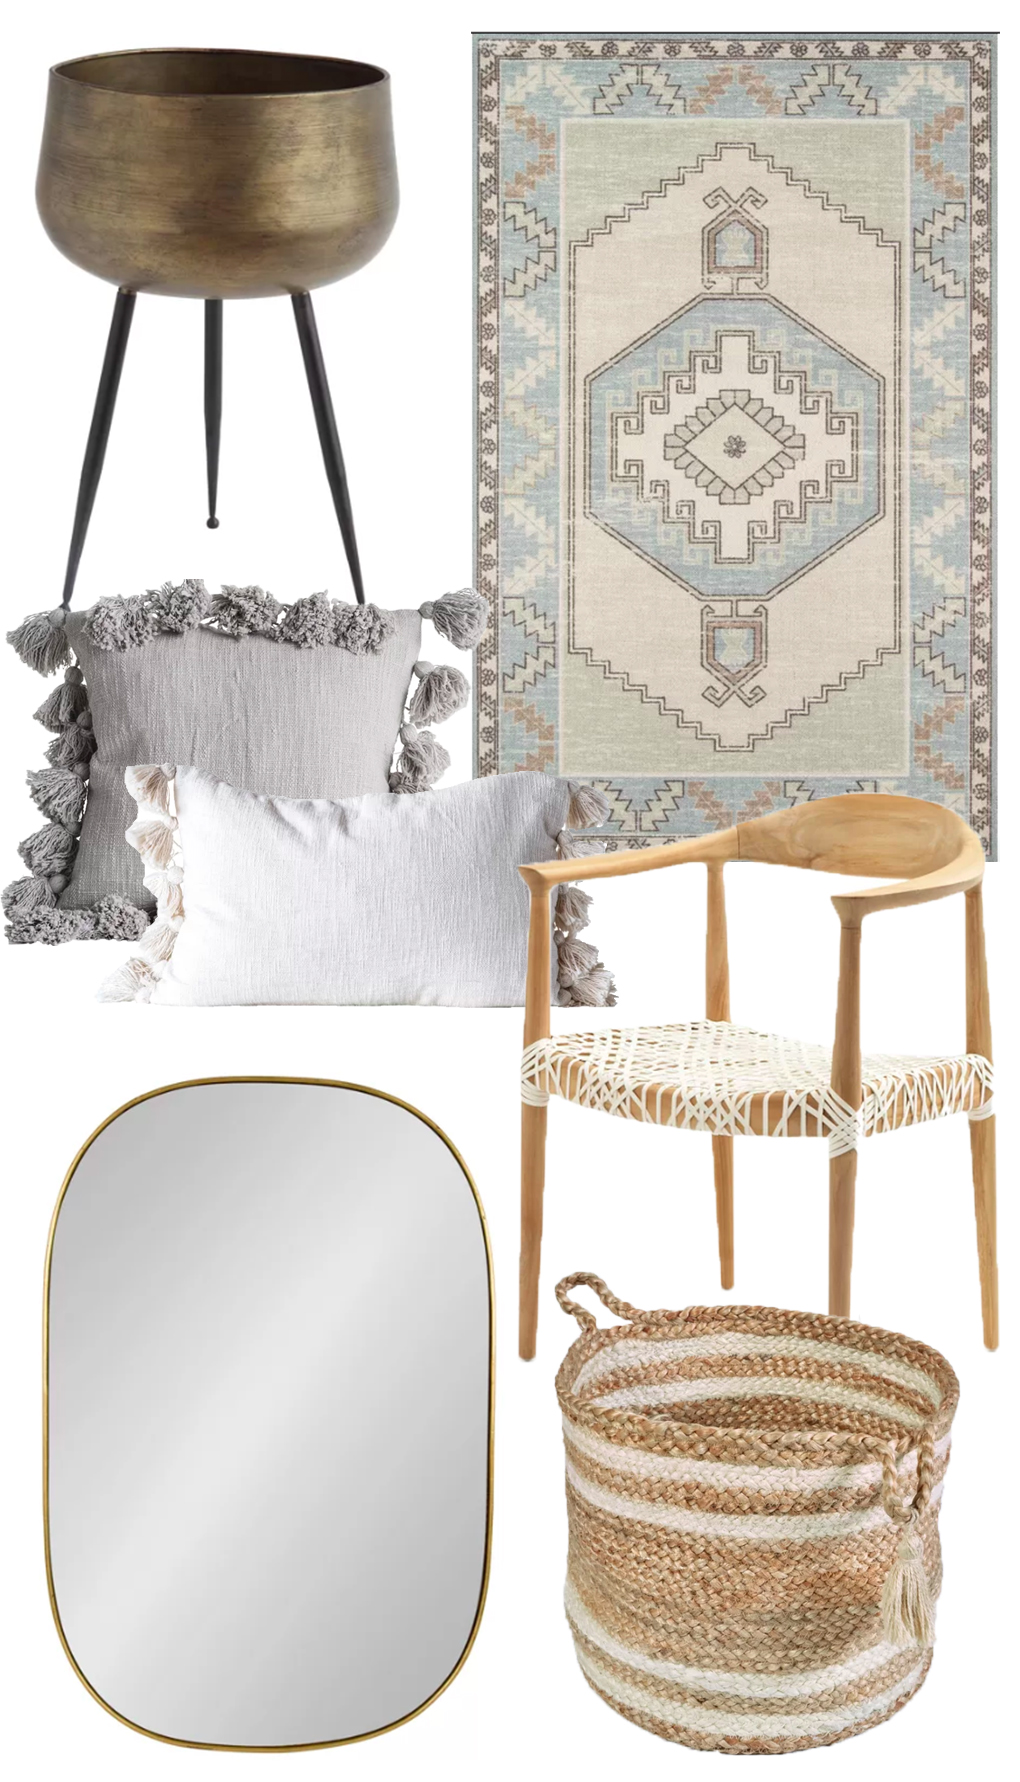
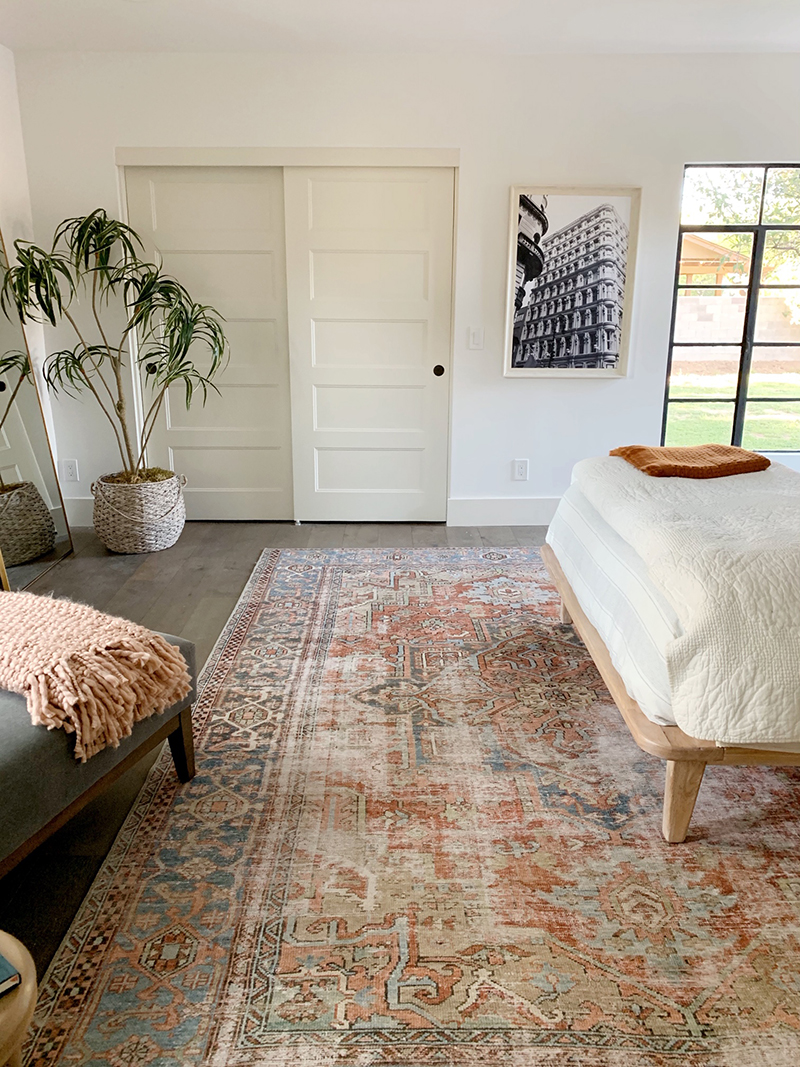
3. Vintage Distressed Pink Turkish Runner – I re-shared my favorite eBay search for finding great vintage rugs recently on stories and so many of you shared the beauties you found! I love it! Here is the search again and a couple of runners I saw on the first page of the search!

4. Small Vintage Rust Toned Rug

5. Wood Hand Salad Servers – I love a cheeky gift! These wooden hand salad servers are beautiful and super fun.

6. Brass Pepper Mill – This pepper mill is my go-to hostess gift. It’s affordable and looks SO expensive! It’s a gorgeous additional to any kitchen!

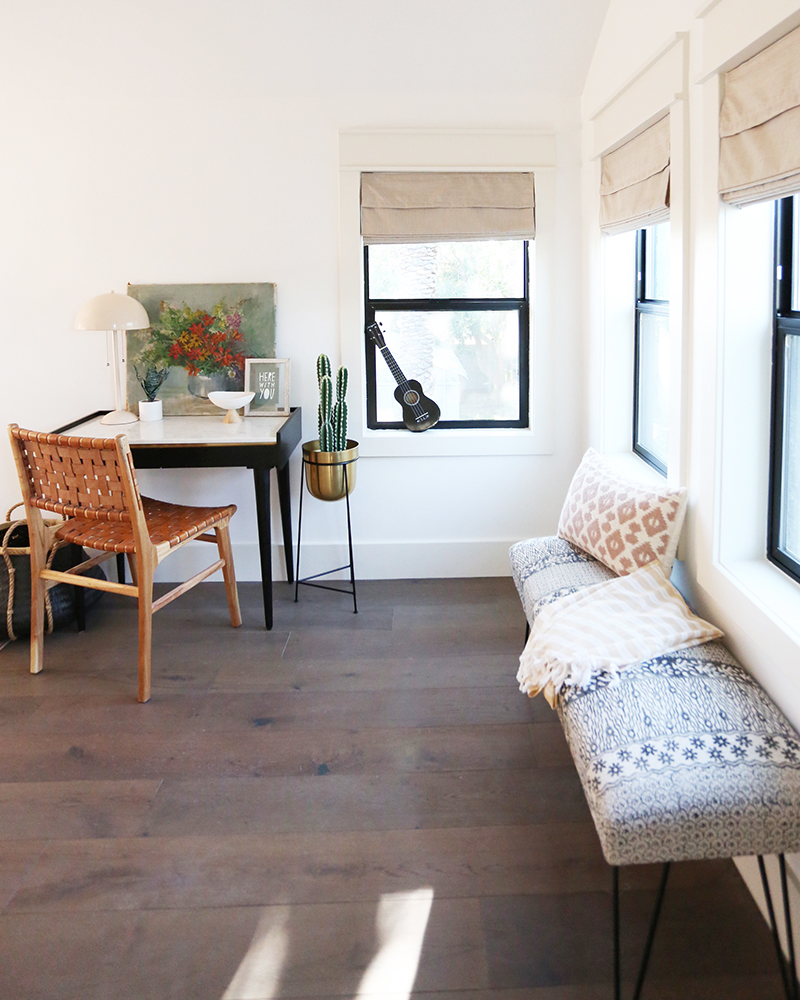
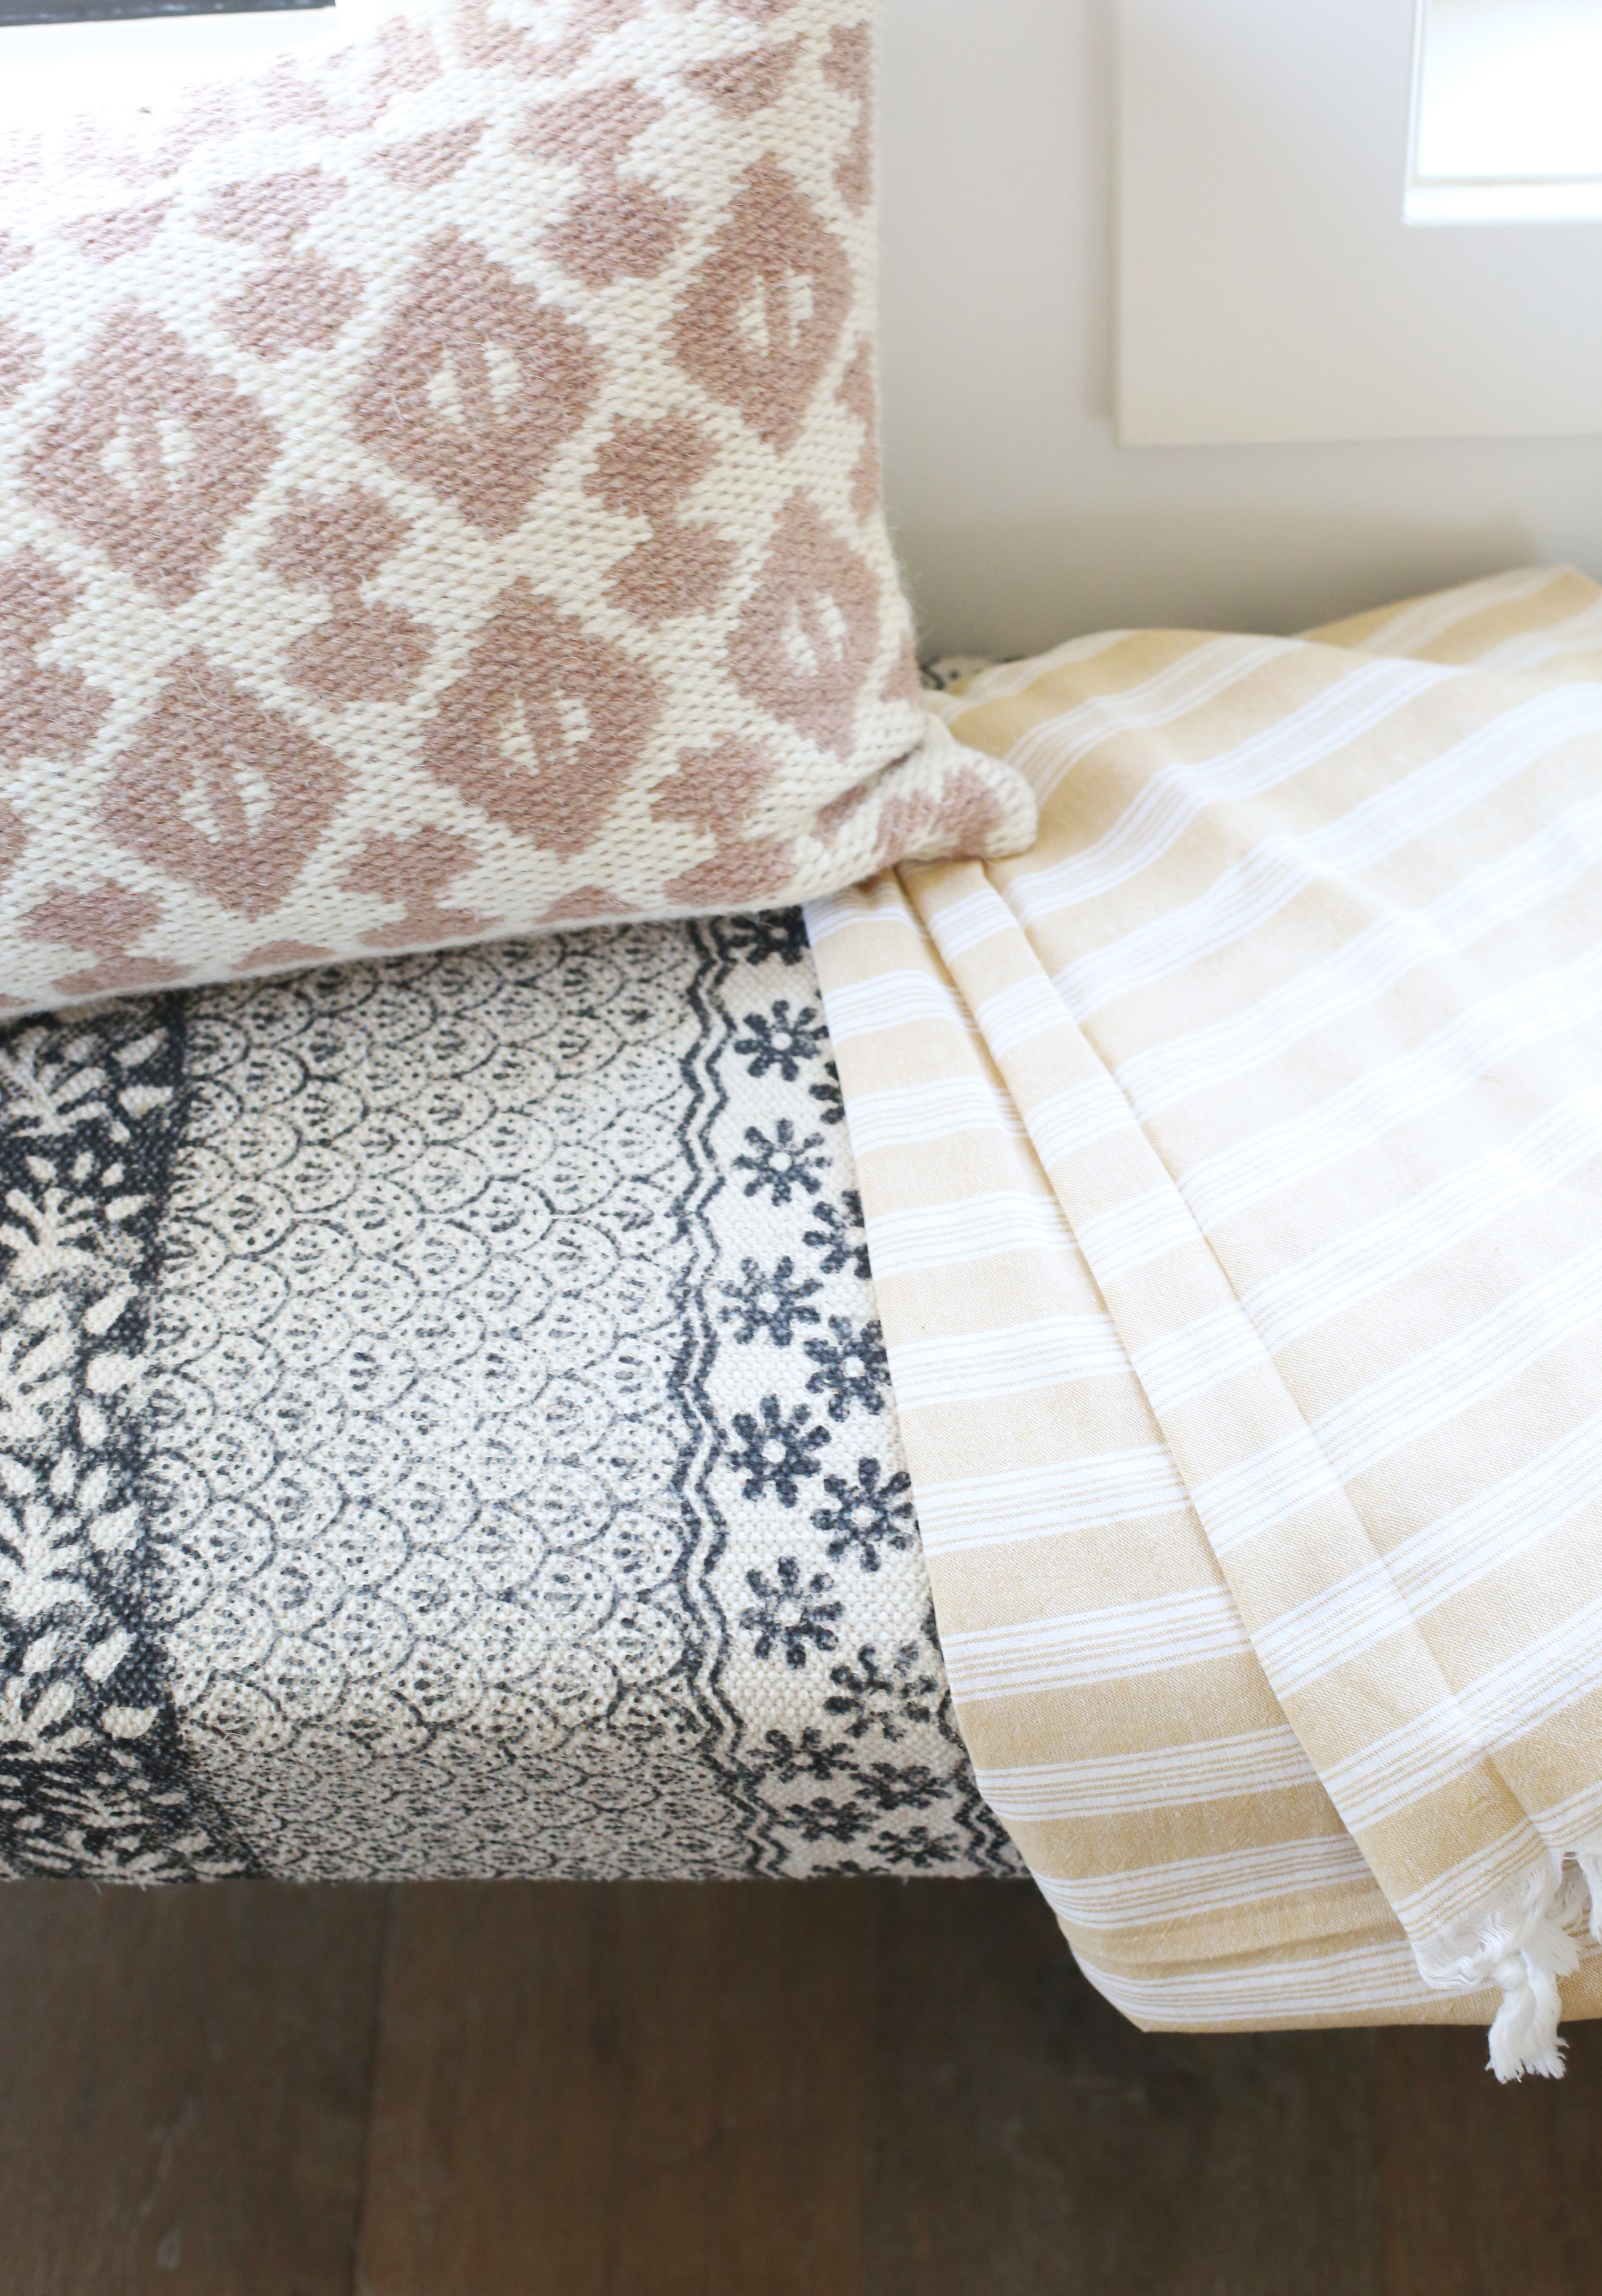
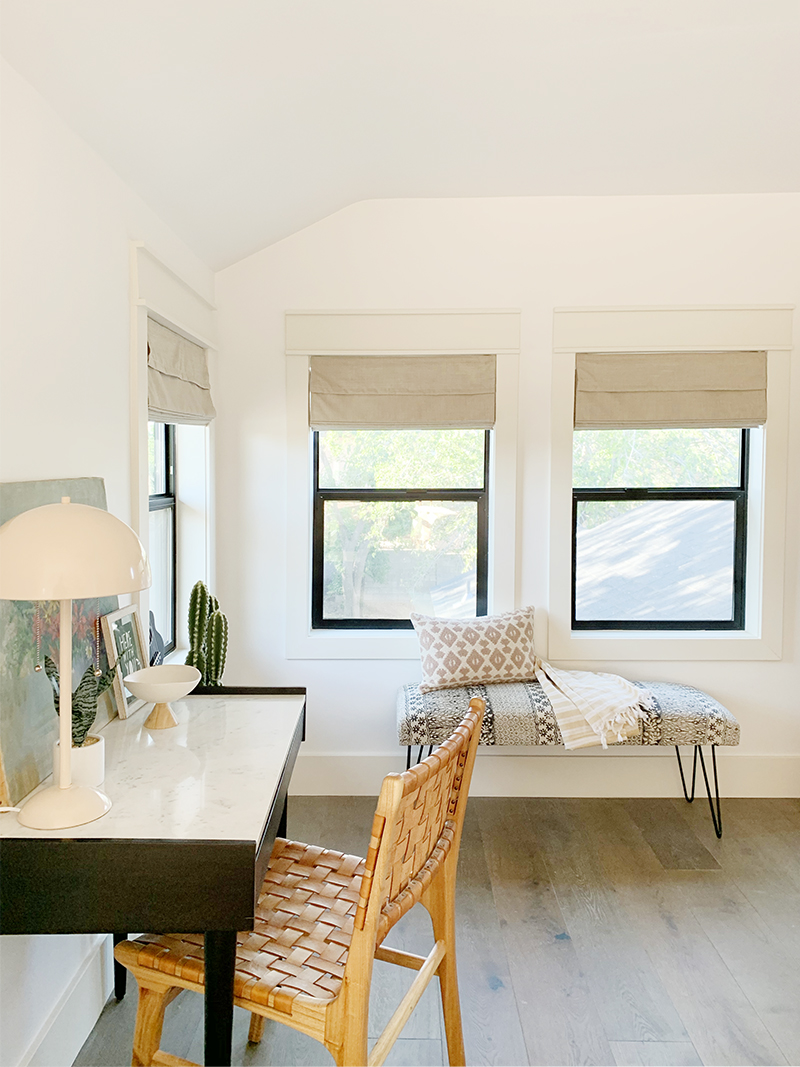
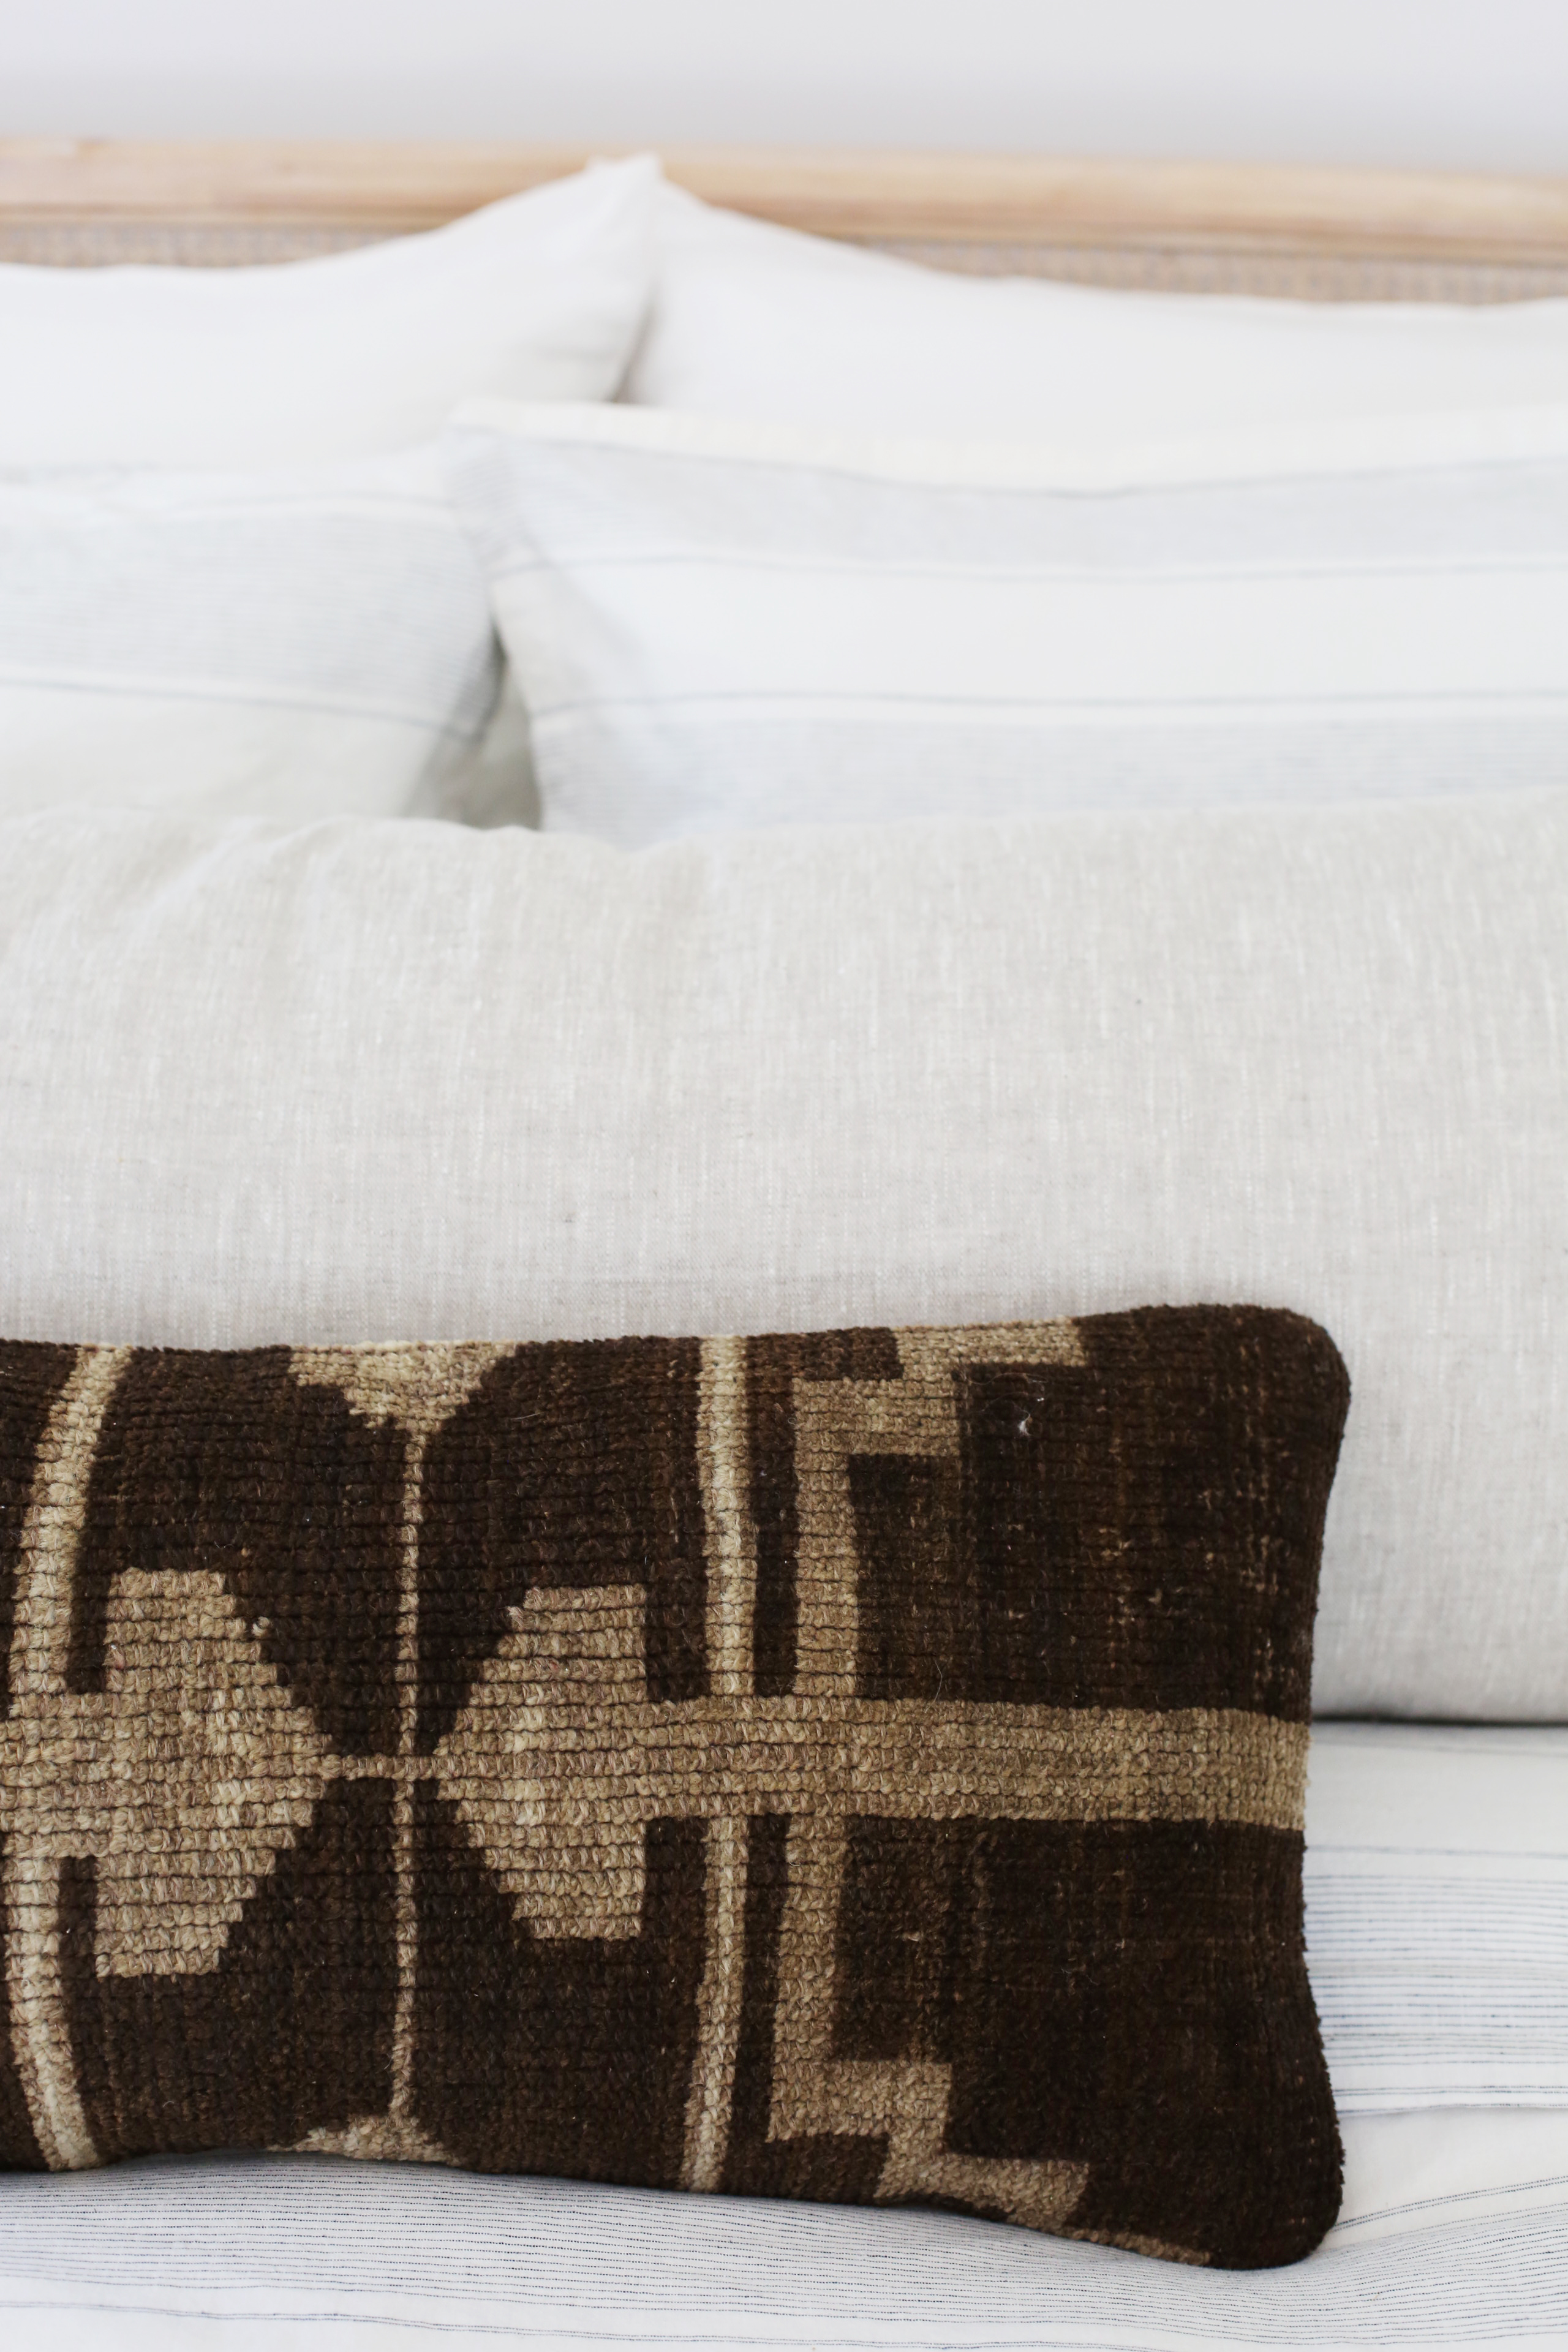
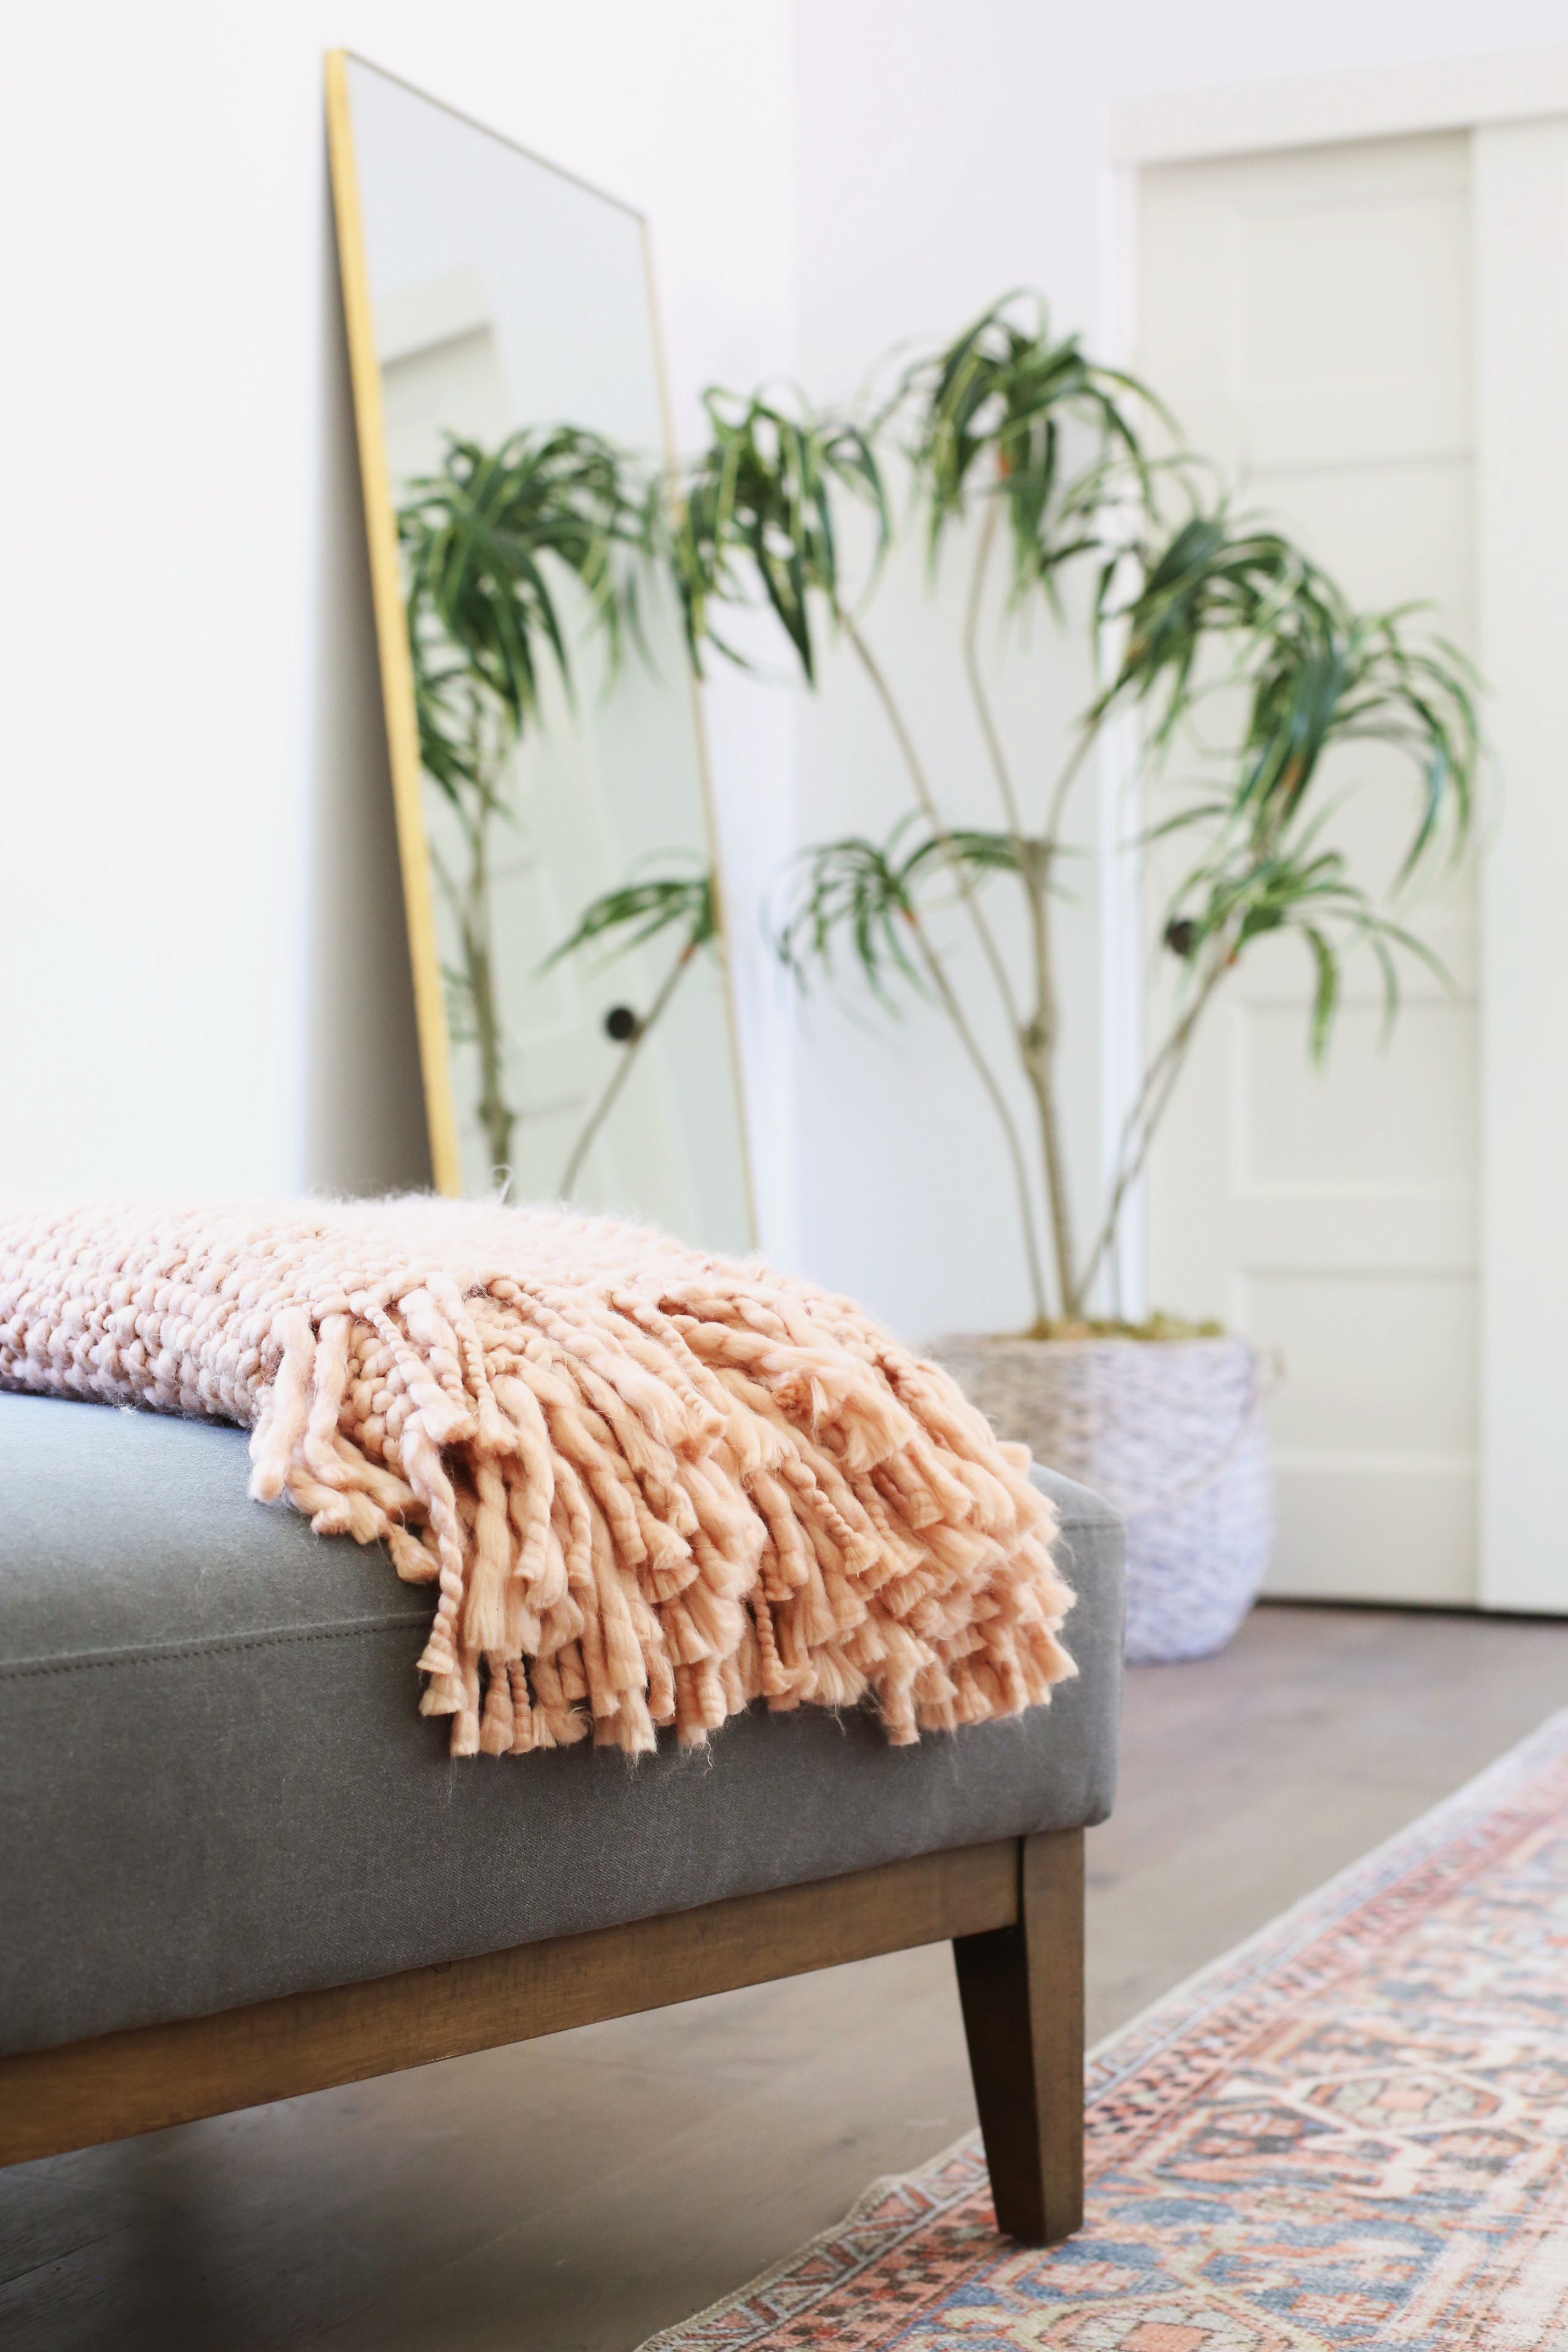
7. Sweater Pillow with Tassels – You guys know how much I love a tassel pillow! This one is the perfect seasonal addition for colder months!

8. Exfoliating Hand Soap – I have pretty dry skin and I loved discovering this exfoliating hand soap that smells delicious!

9. “Eat Drink Nap” Book – This coffee table book is beautiful, inside and out! The photography is really special and the cover is worthy of putting at the top of your coffee table book stack!

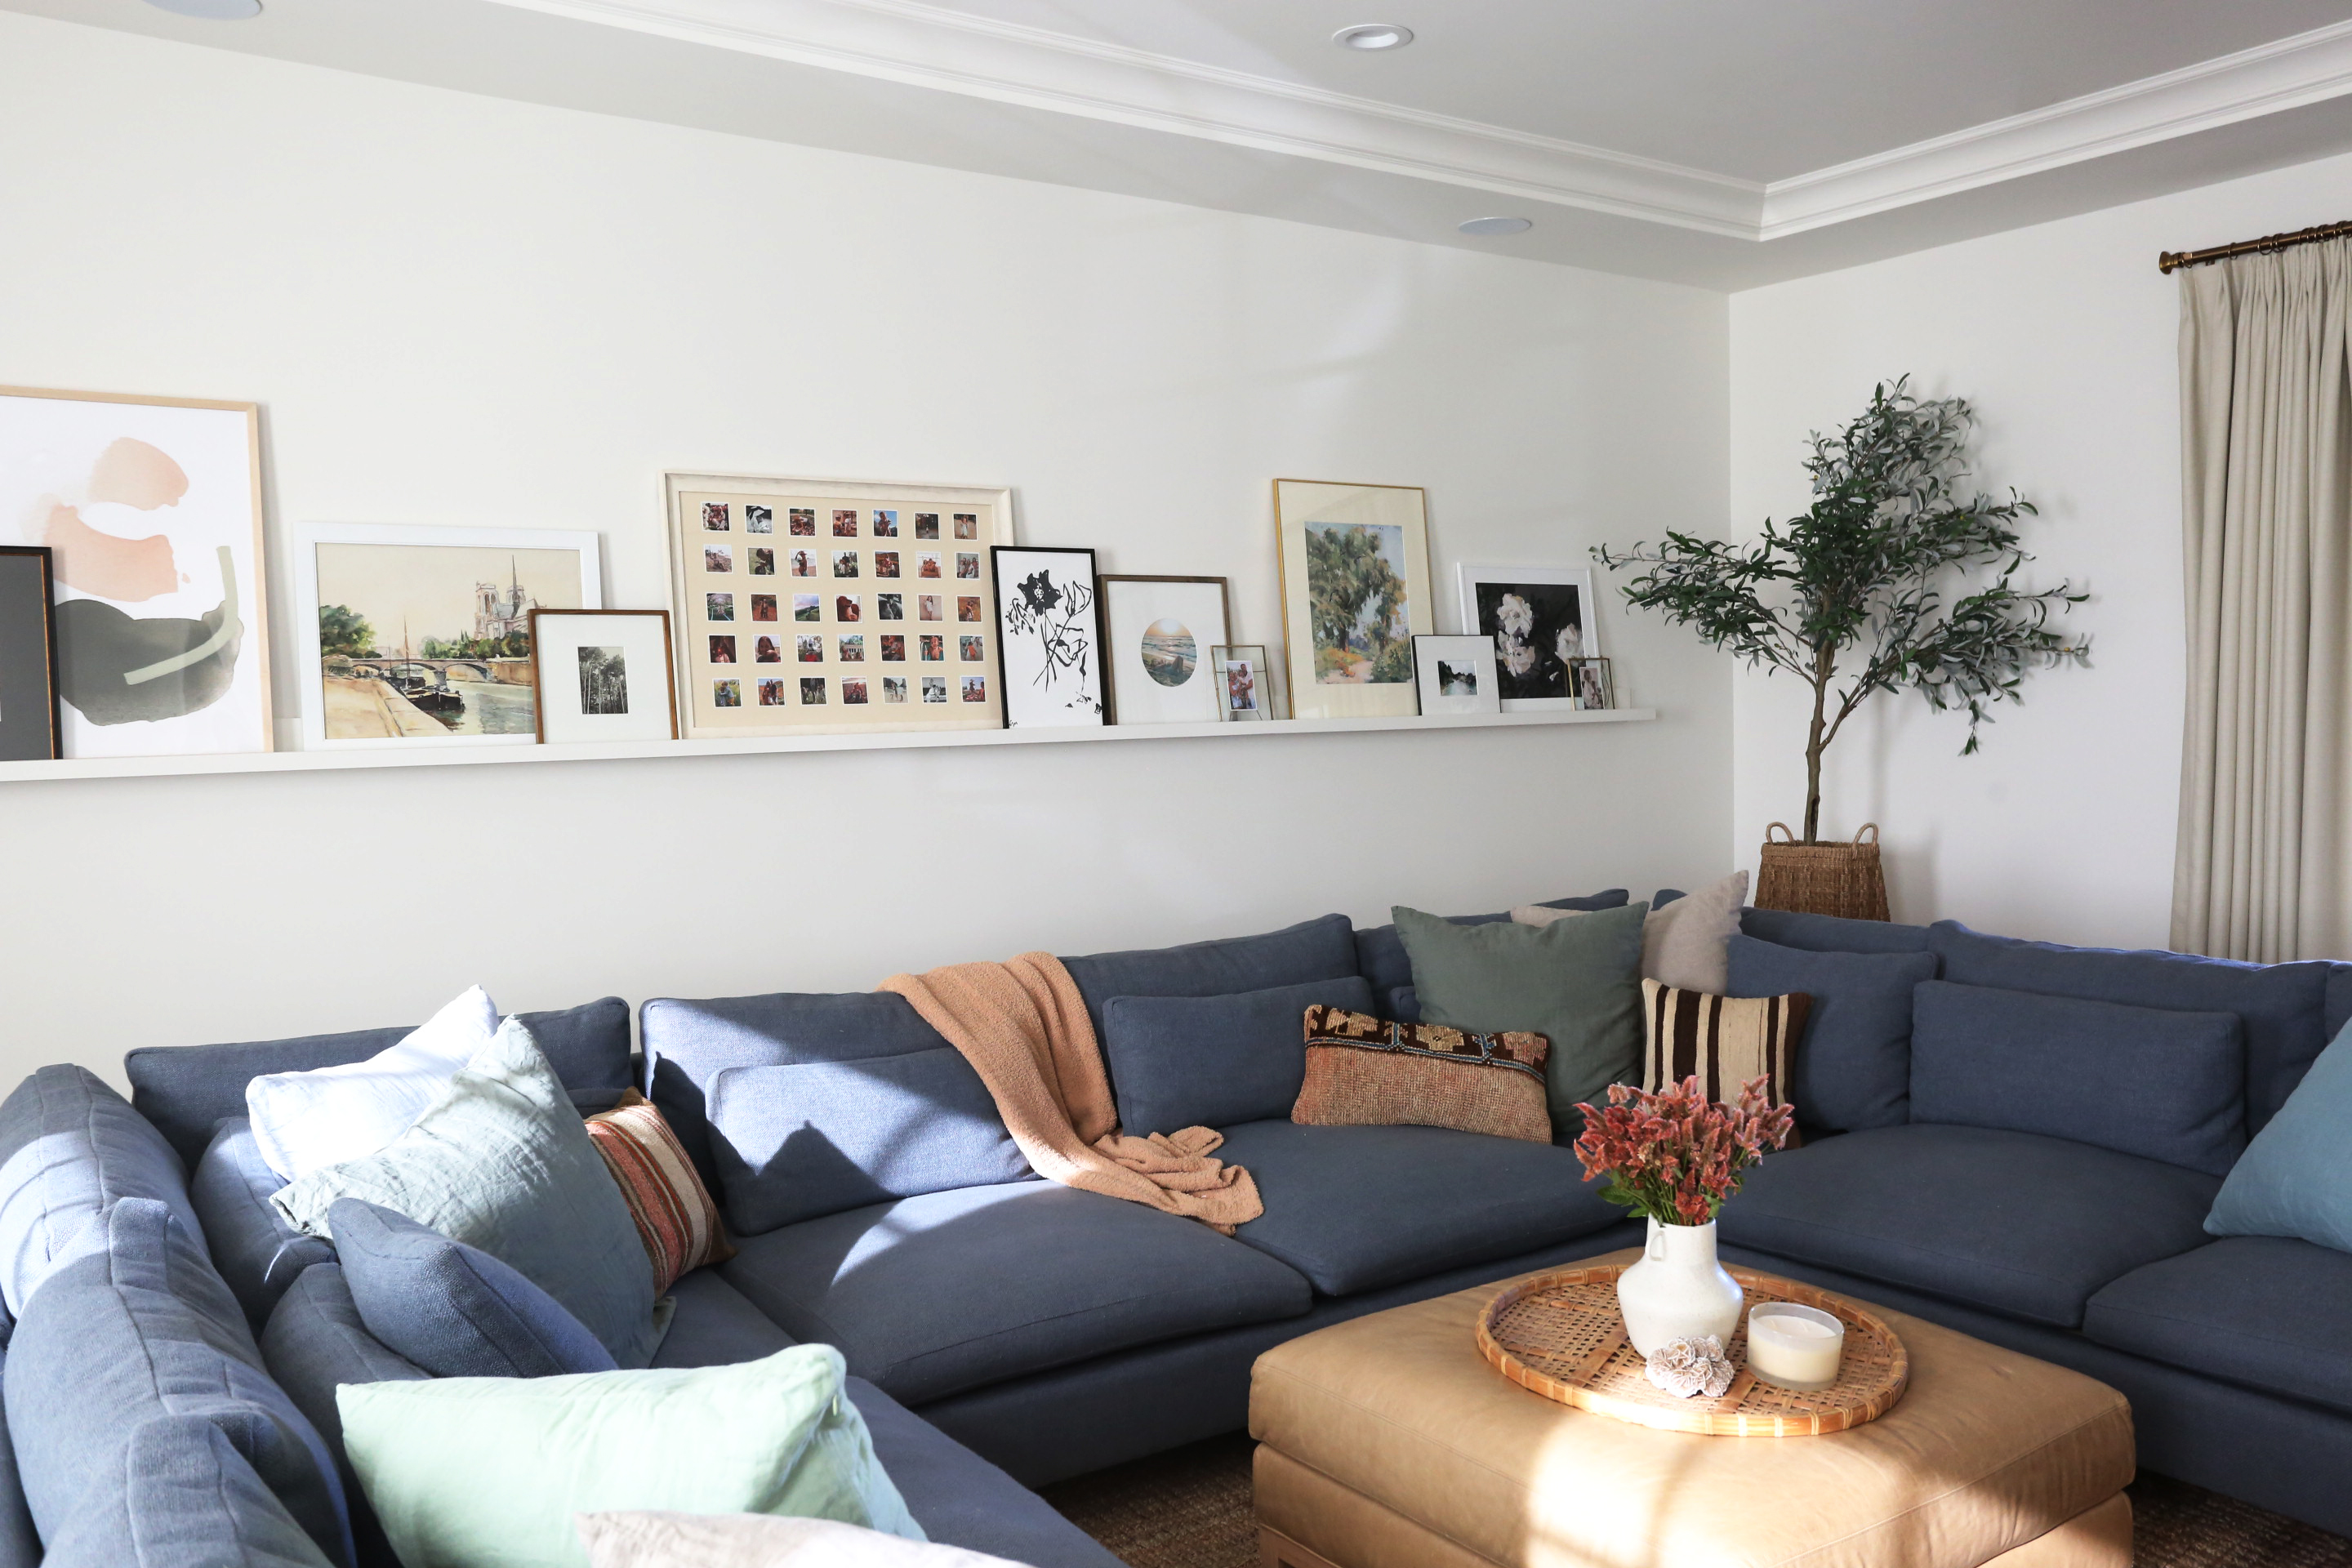
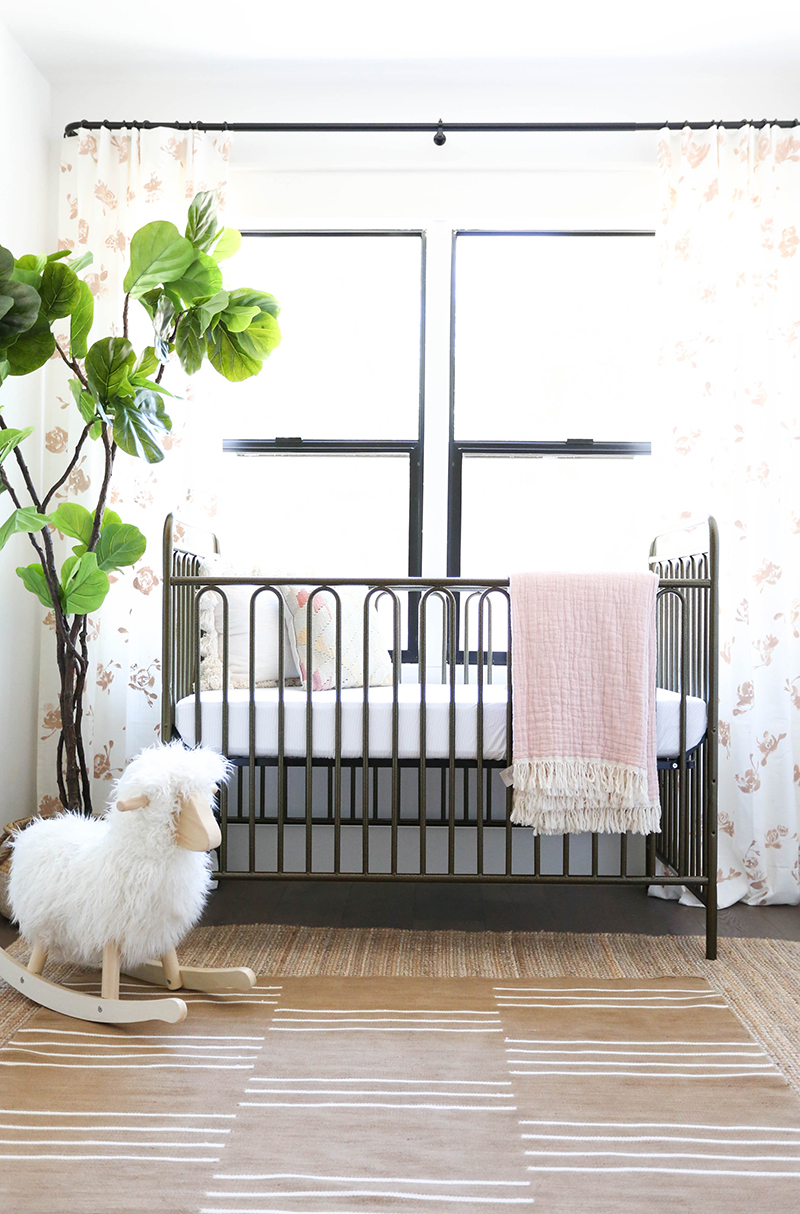
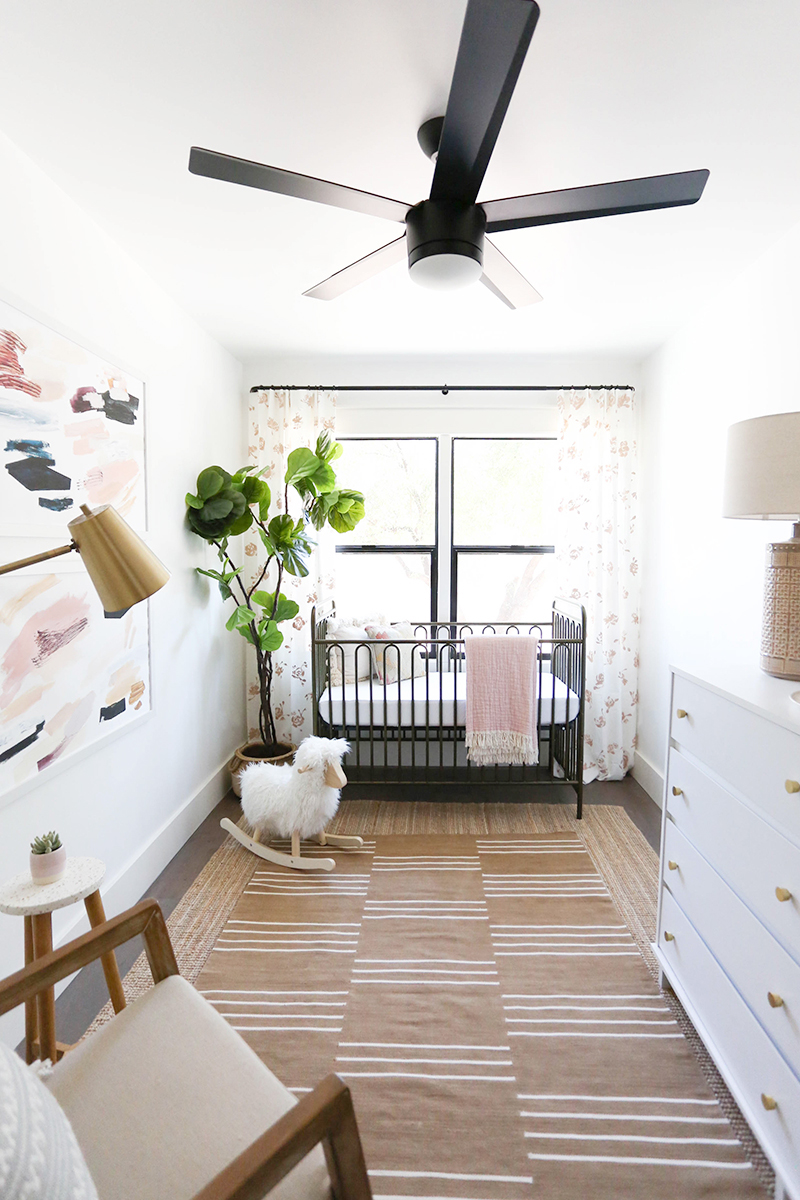
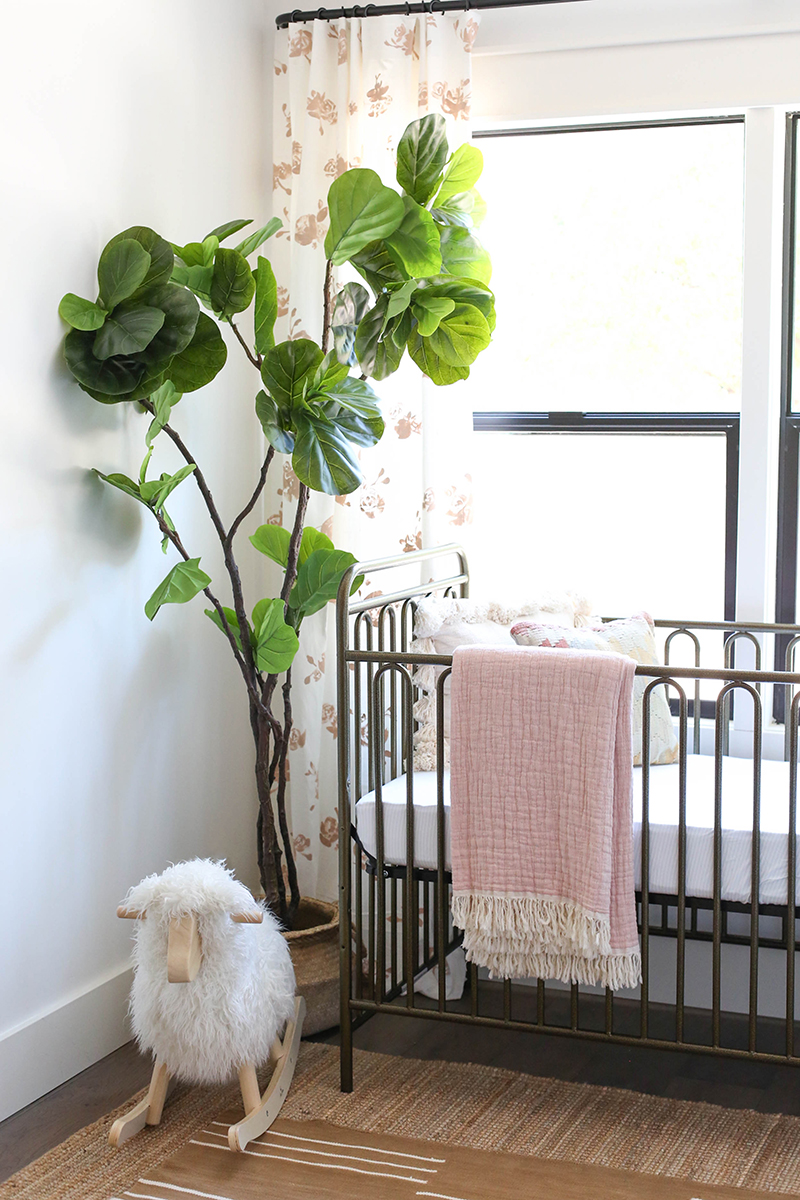
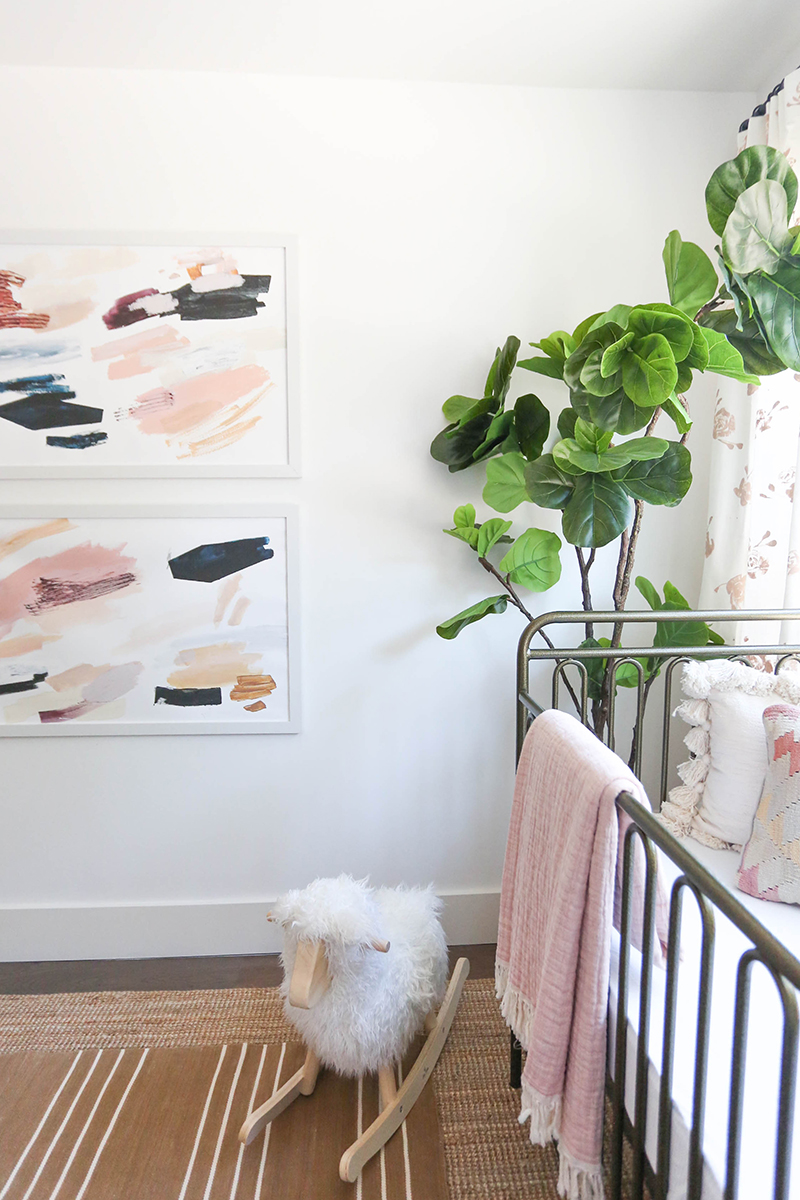
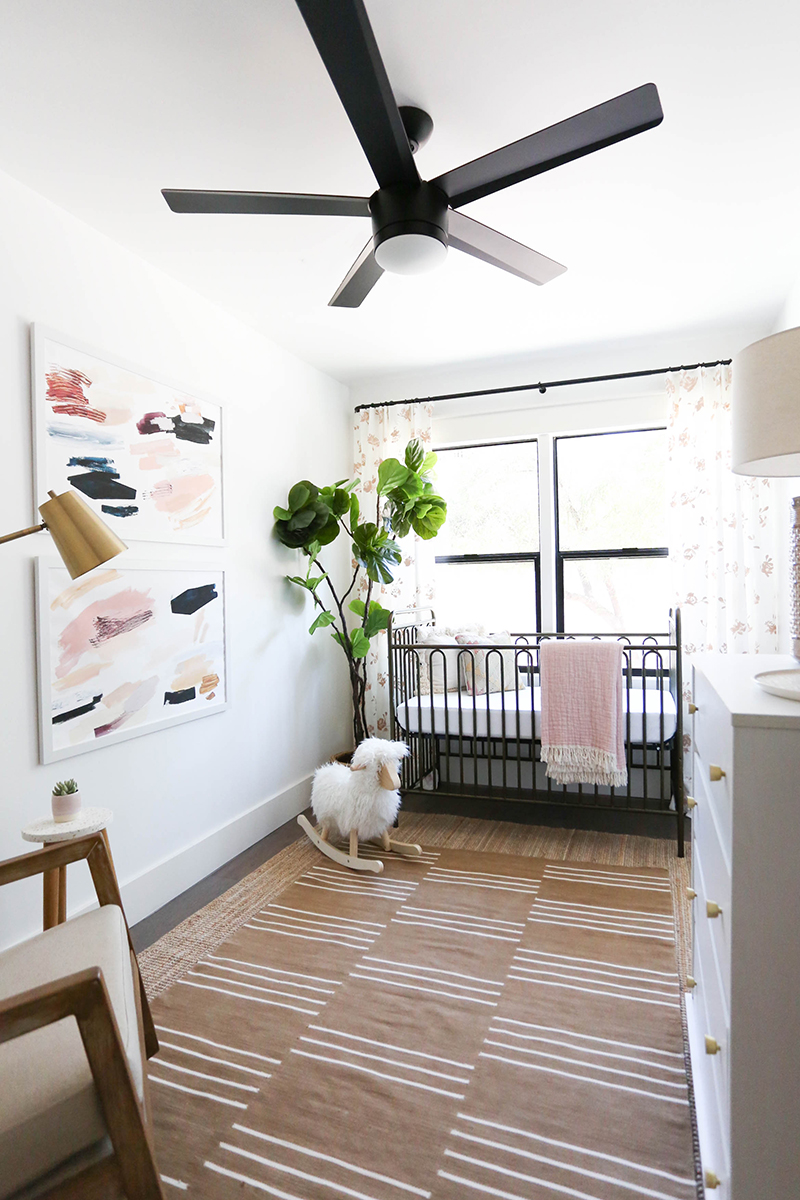
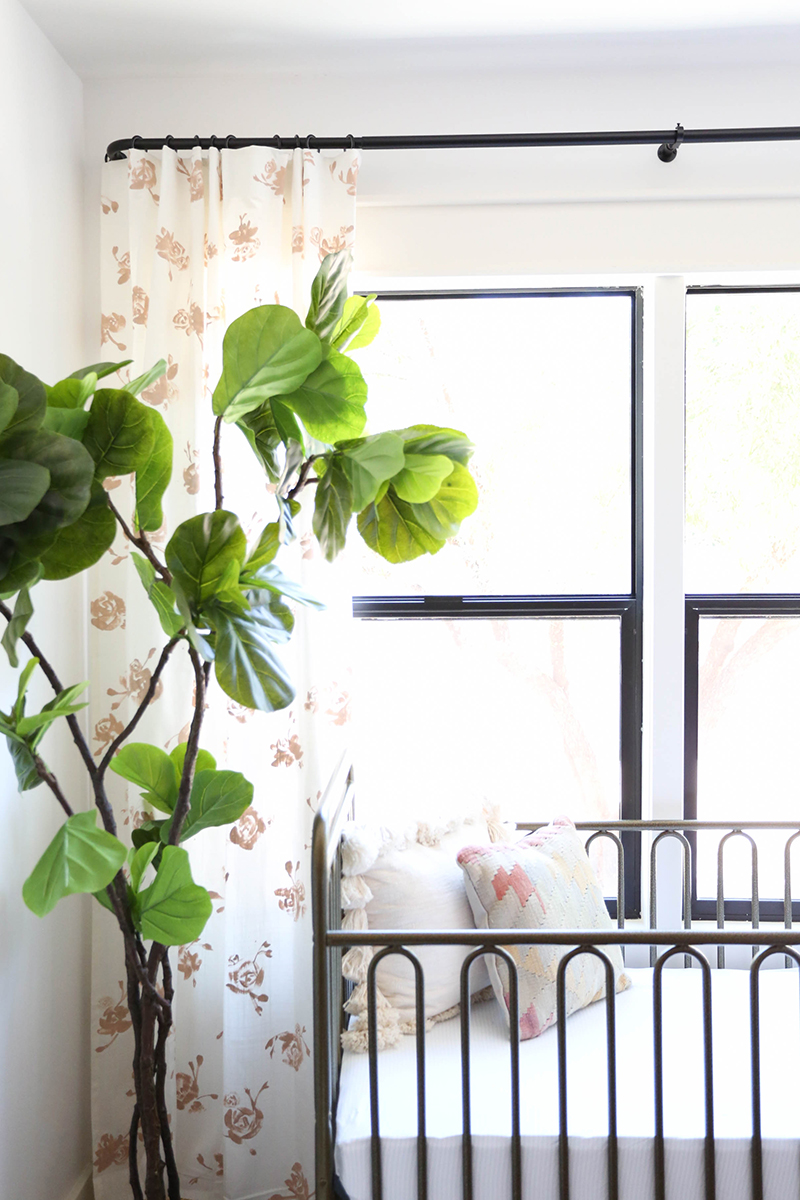
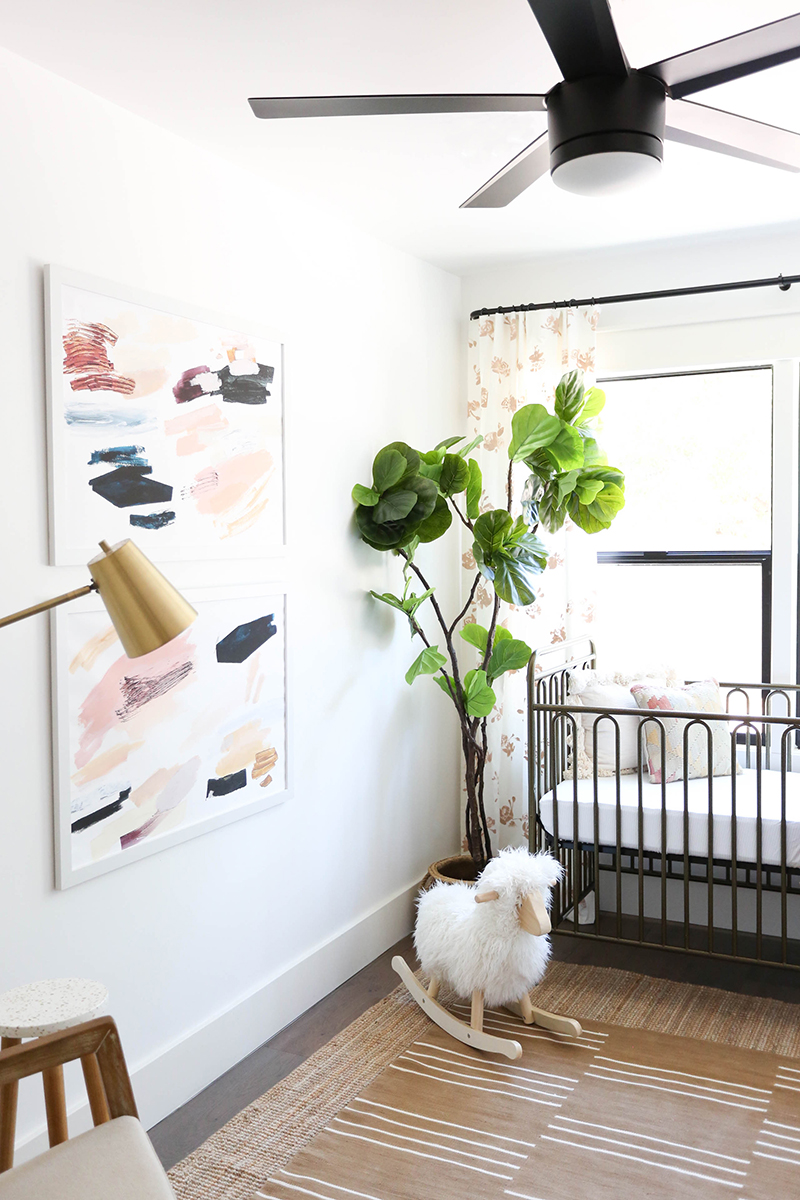
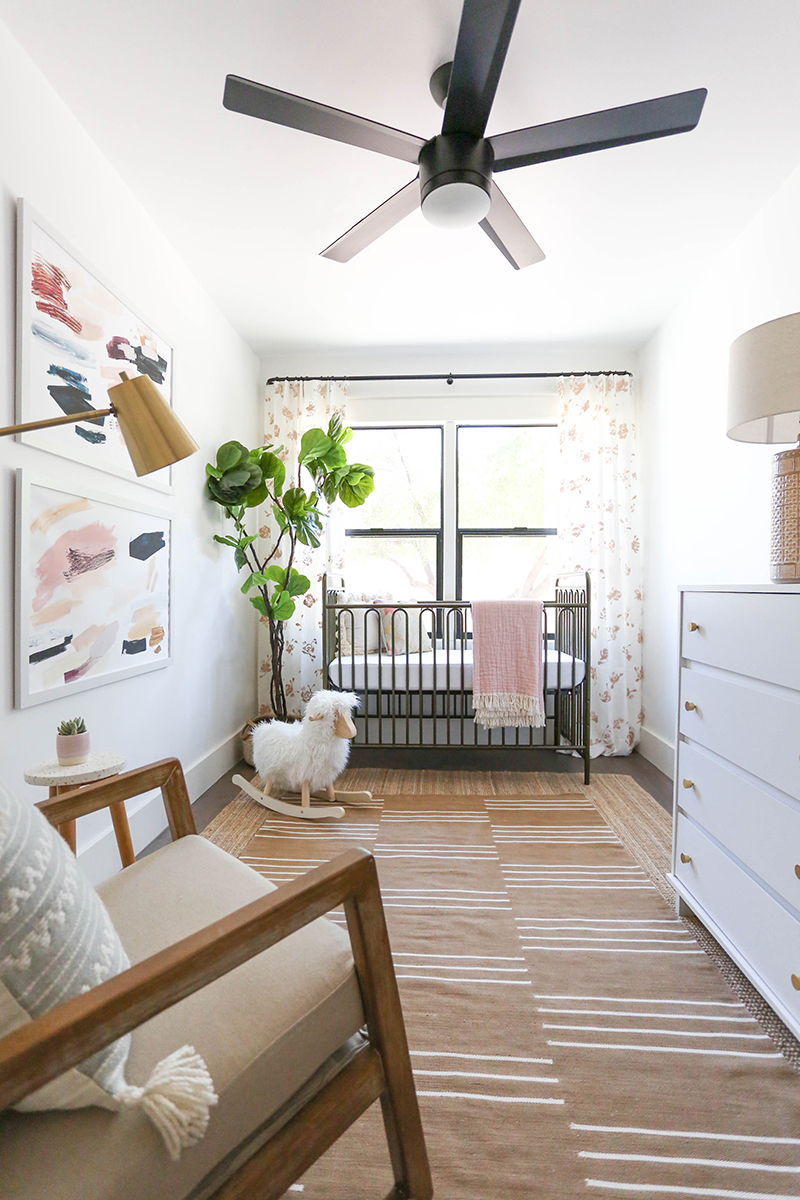
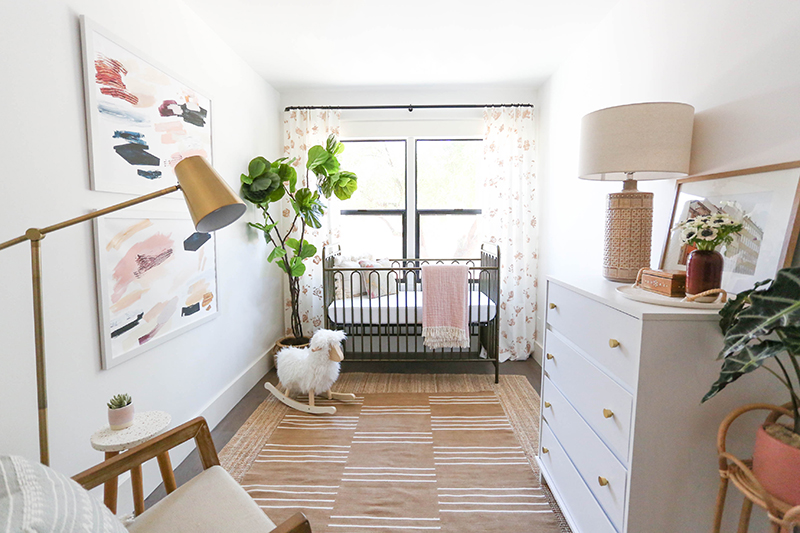
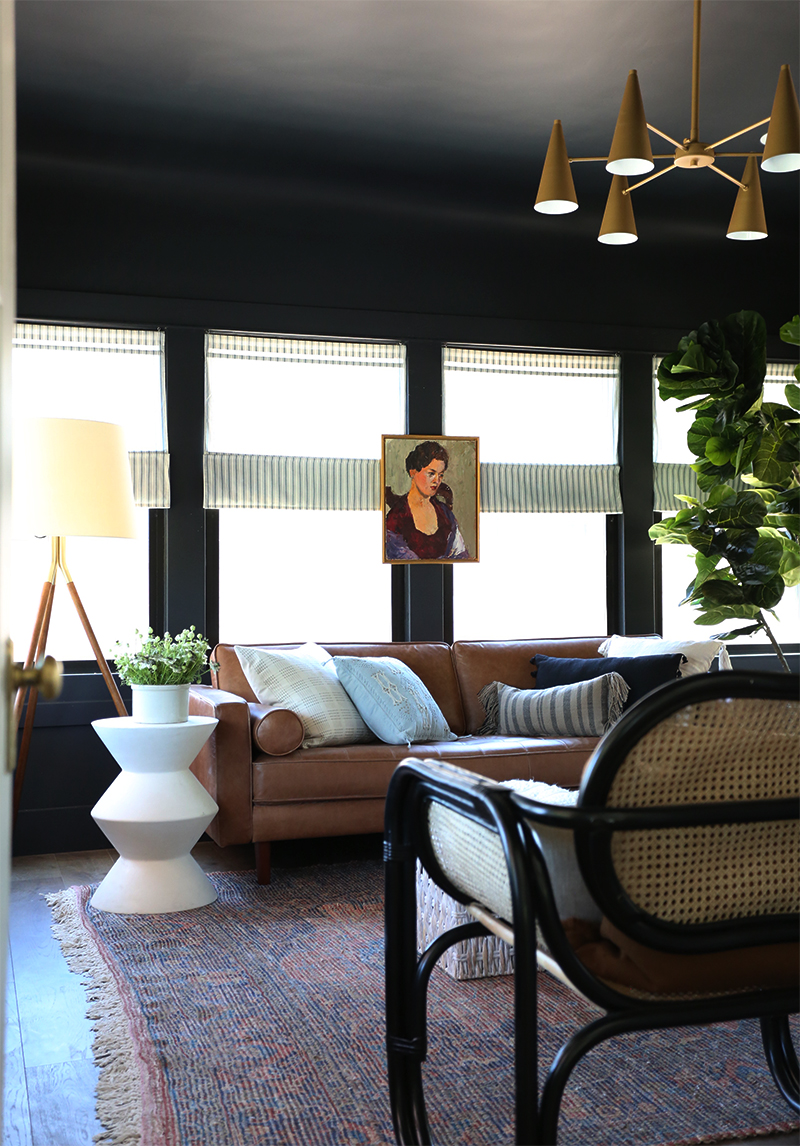
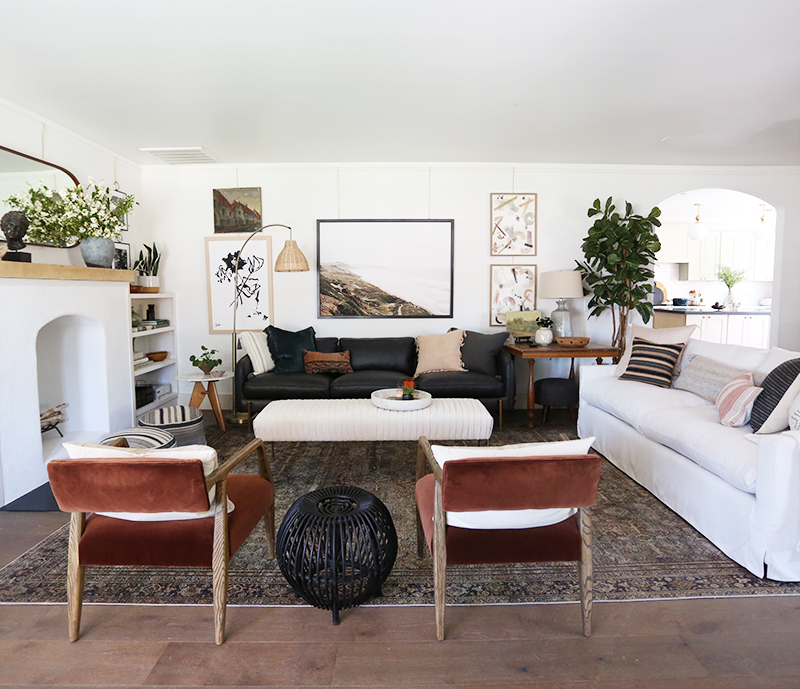
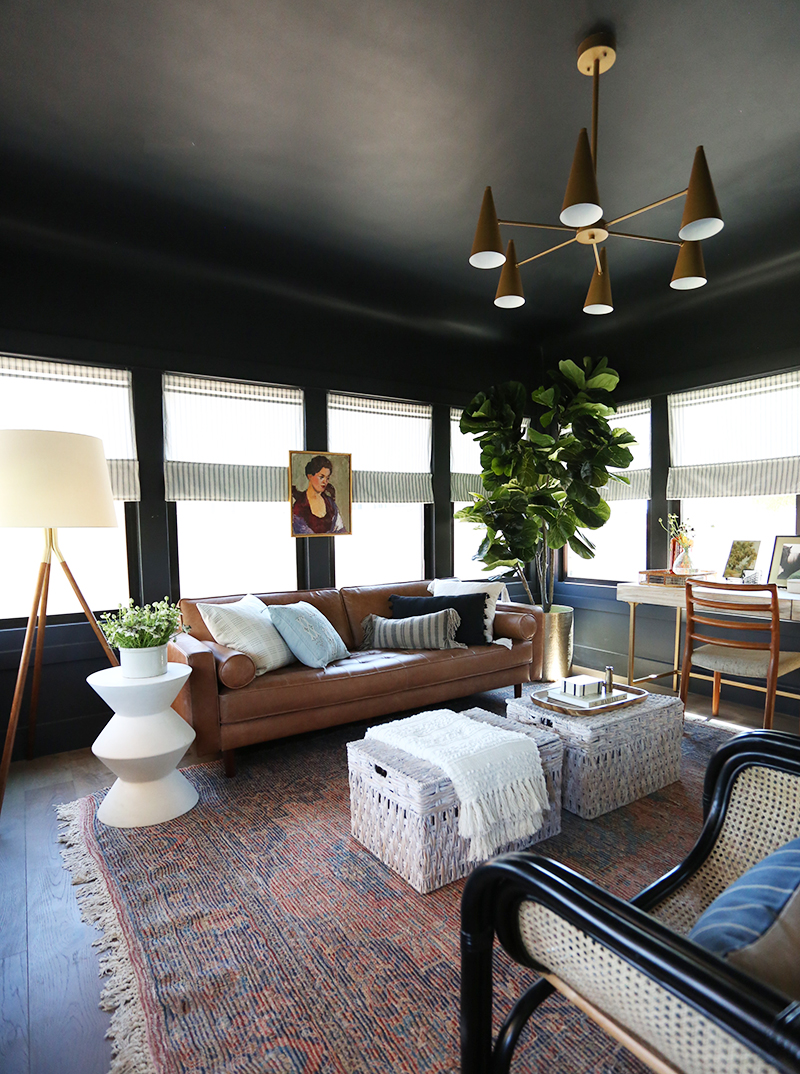
10. Fiddle Leaf Fig Tree – You guys sold out this gorgeous, full faux fiddle leaf tree earlier this year but the great news is its re-stocked and is 30% less than it was before! You can see what the tree looks like in our Evergreen Sunroom reveal.

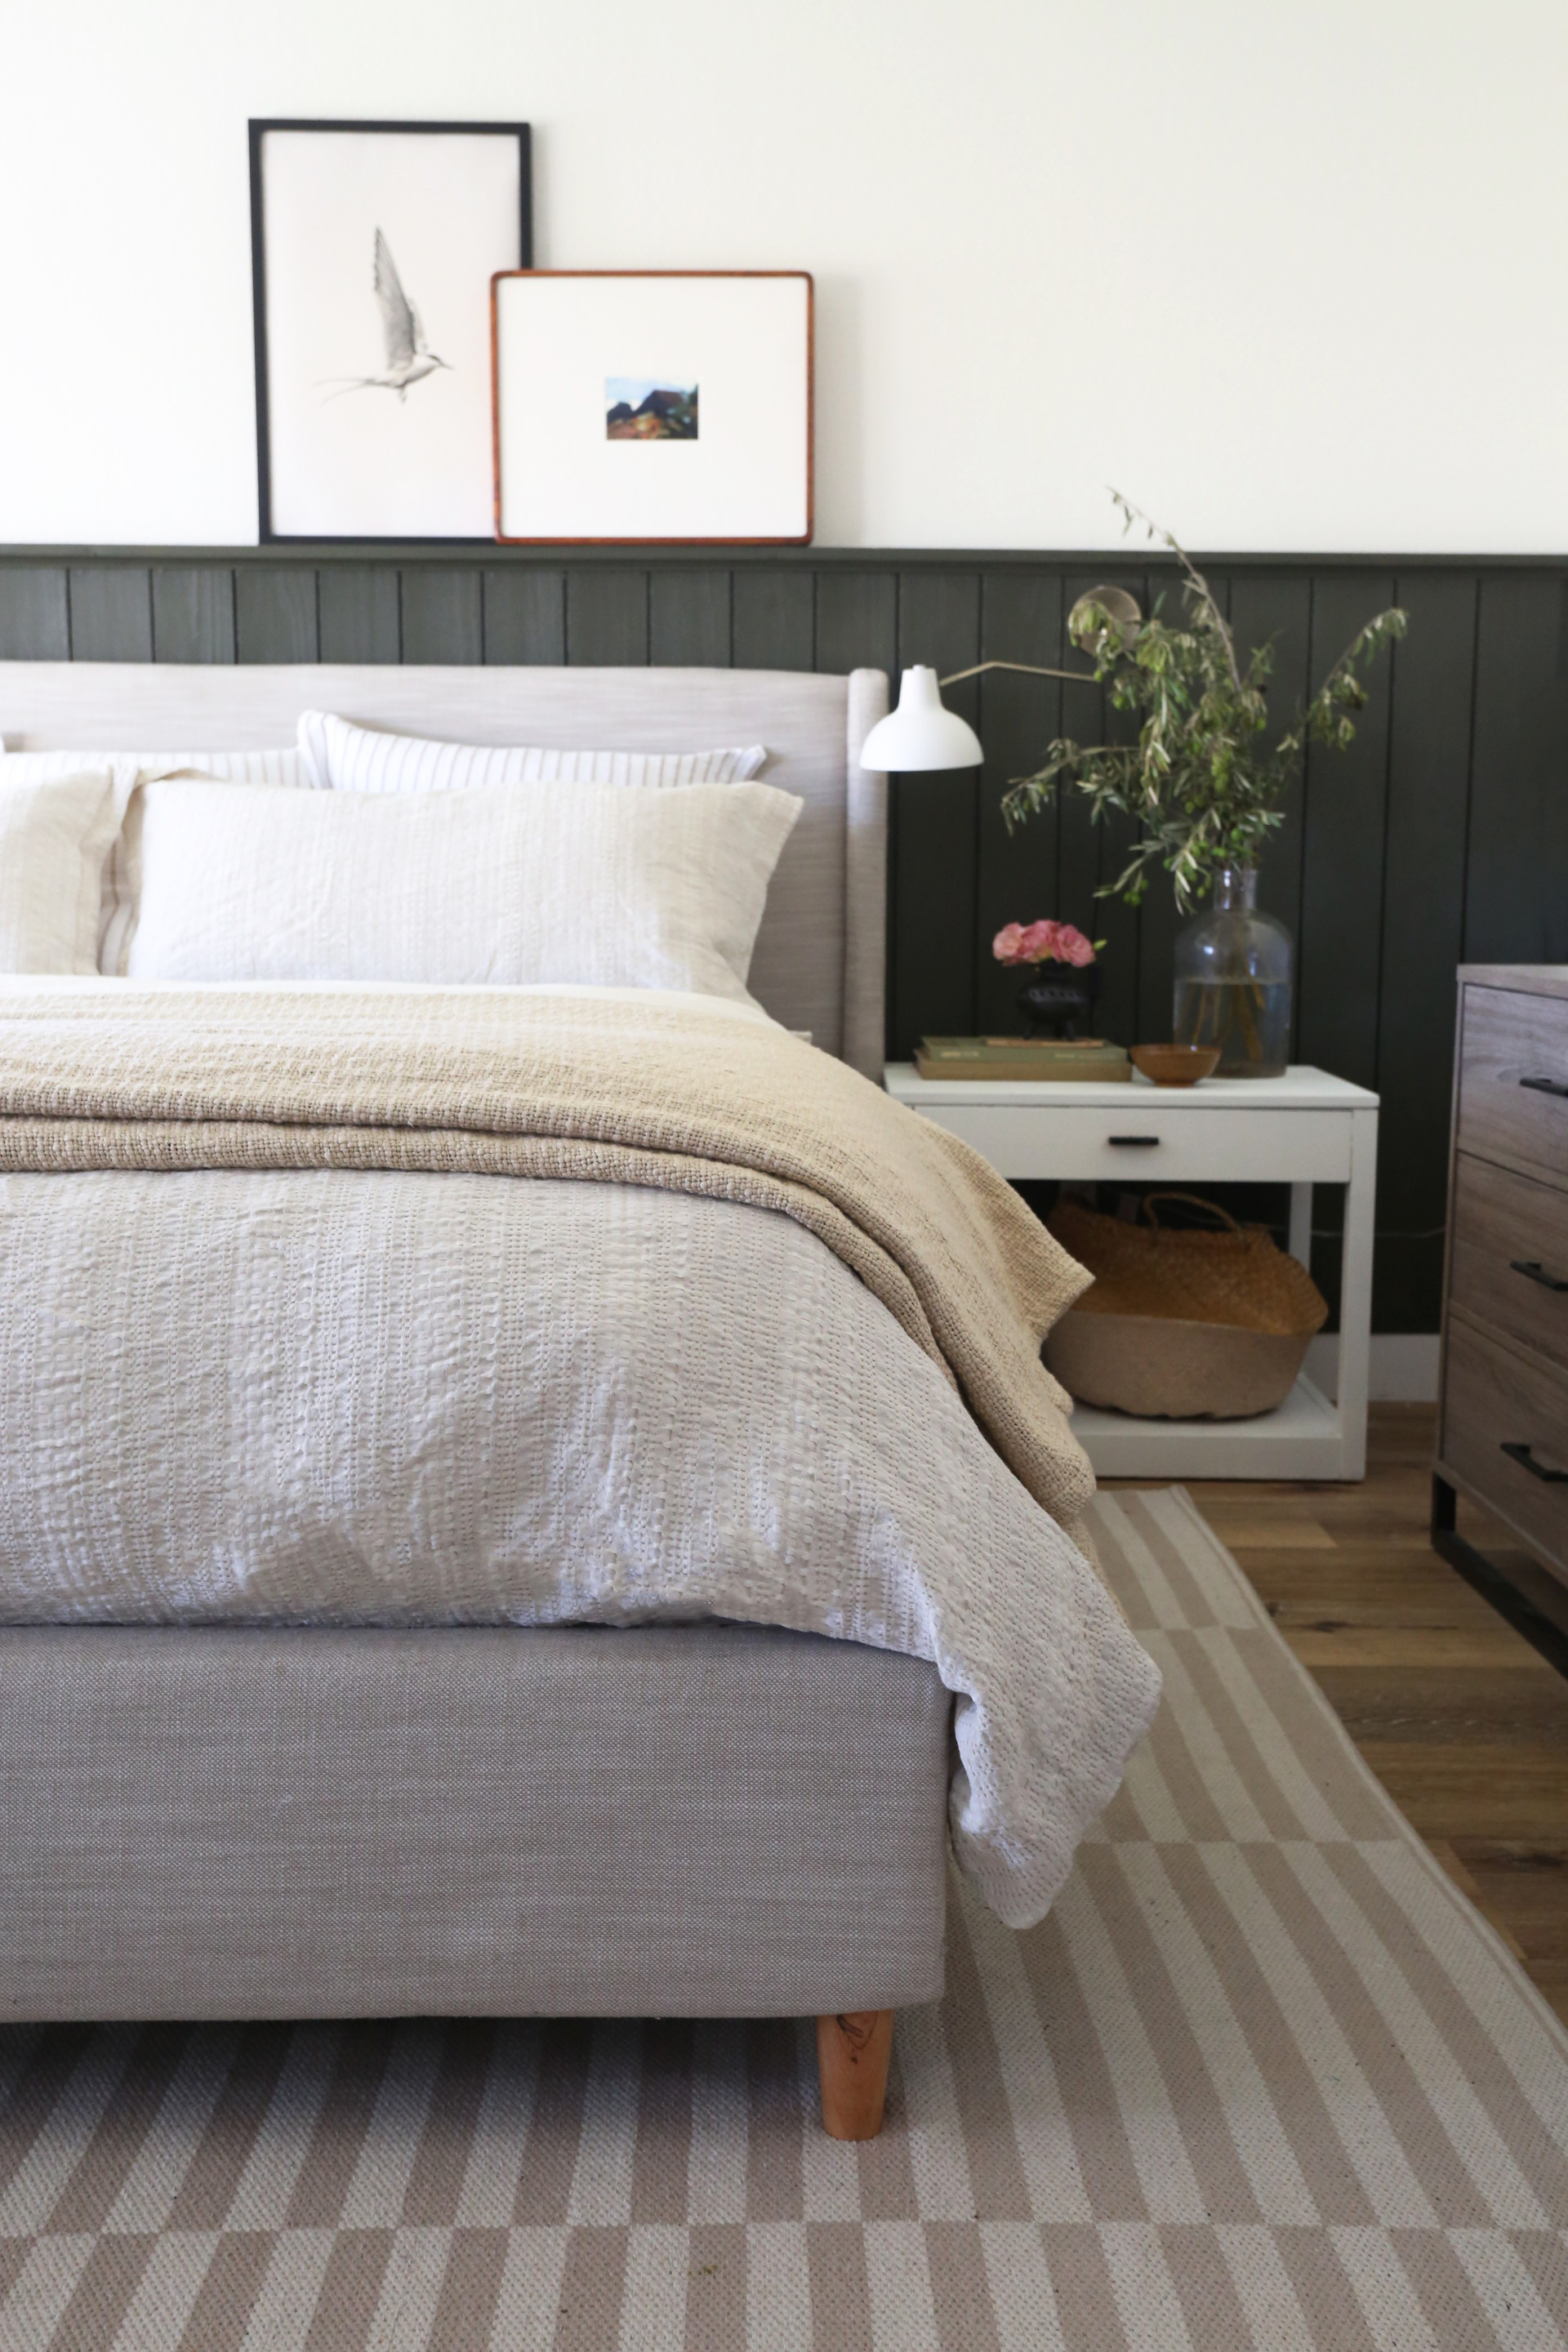
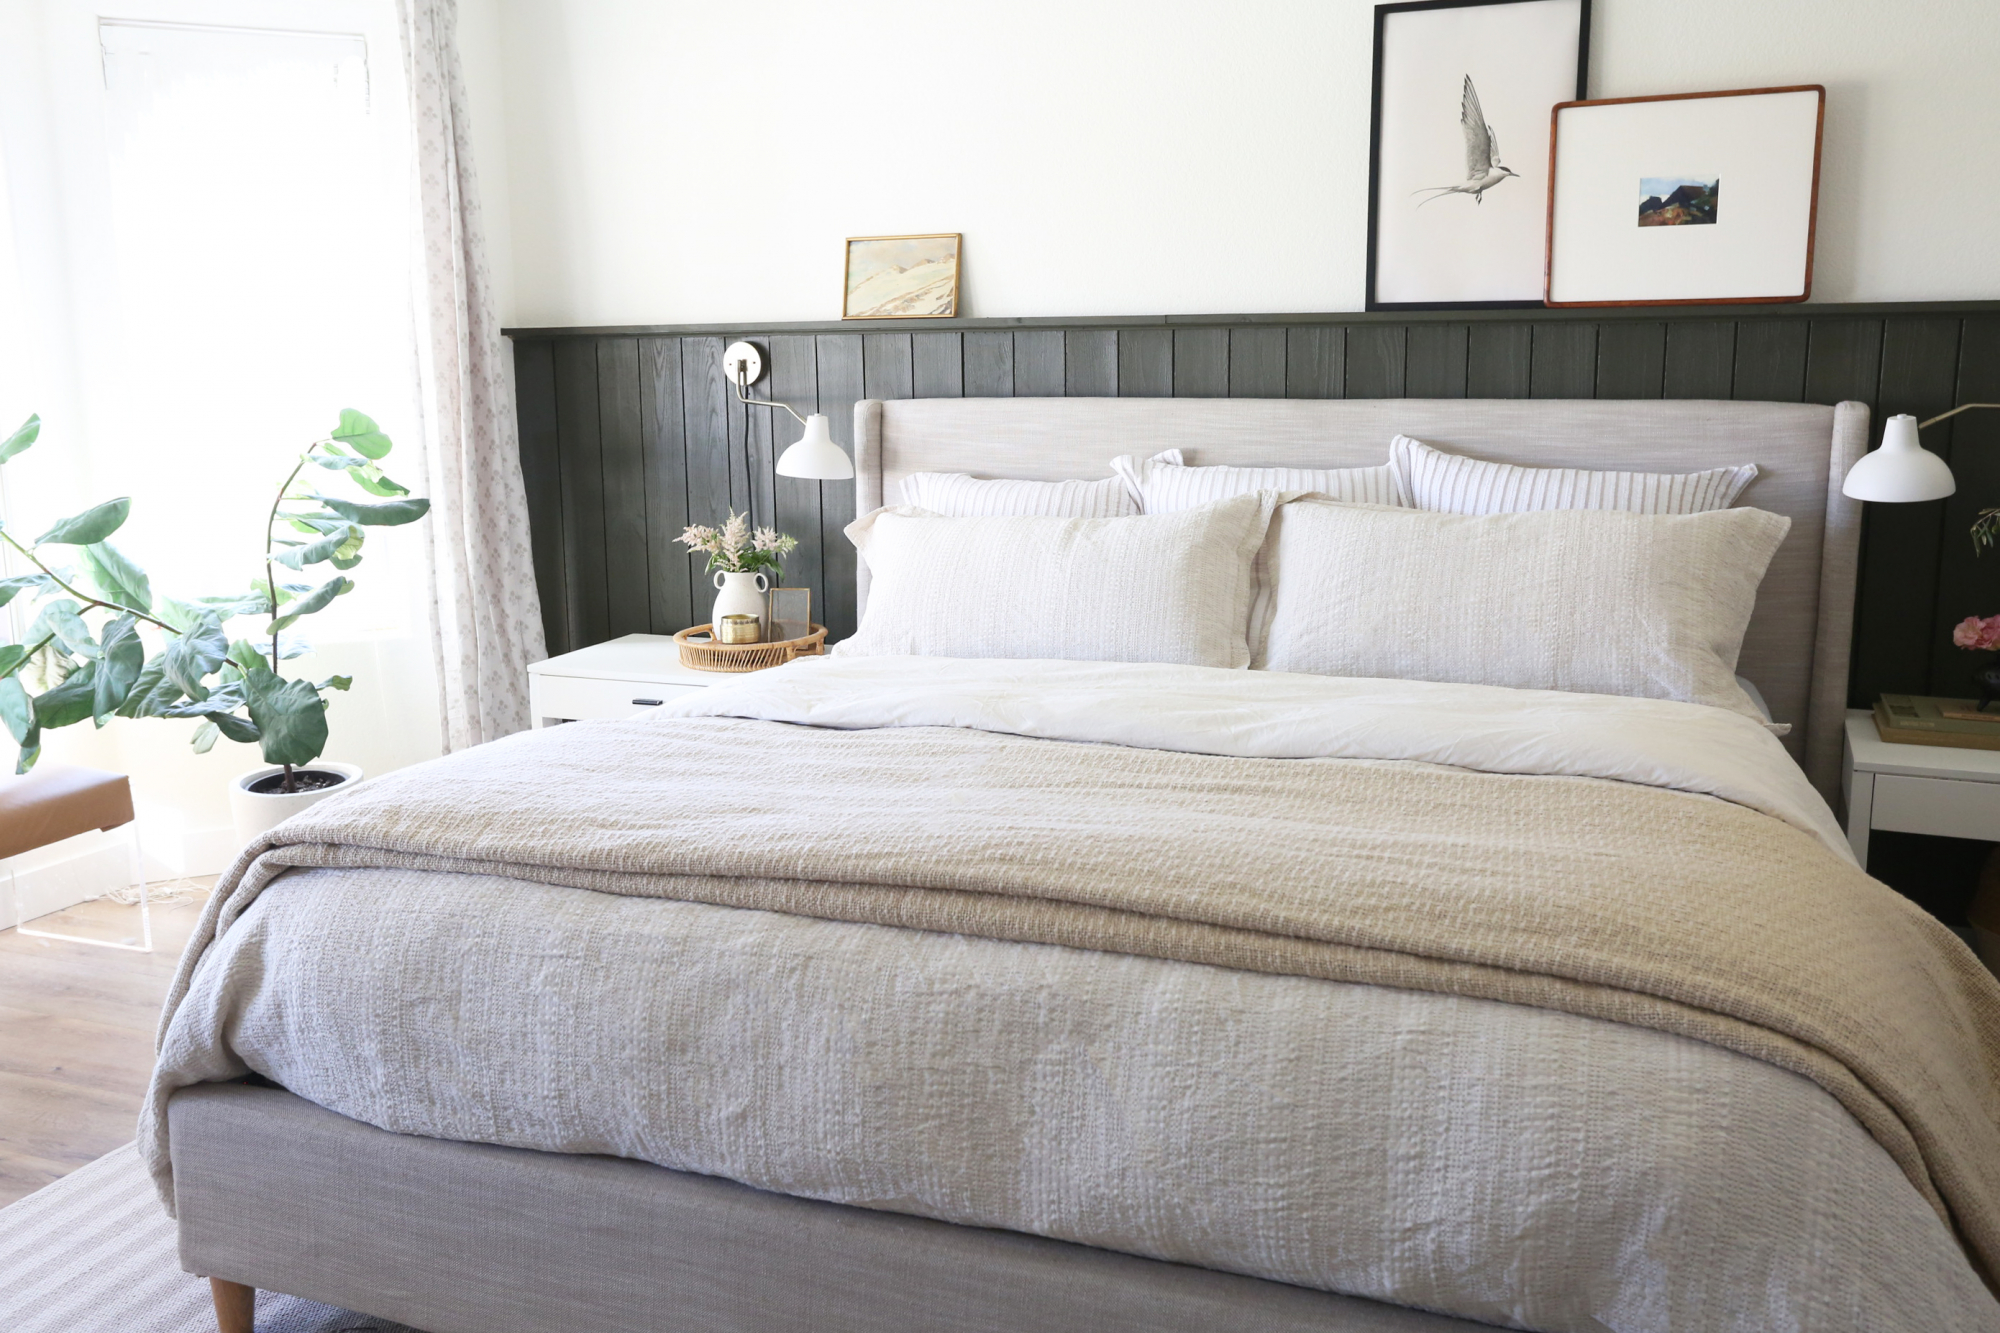
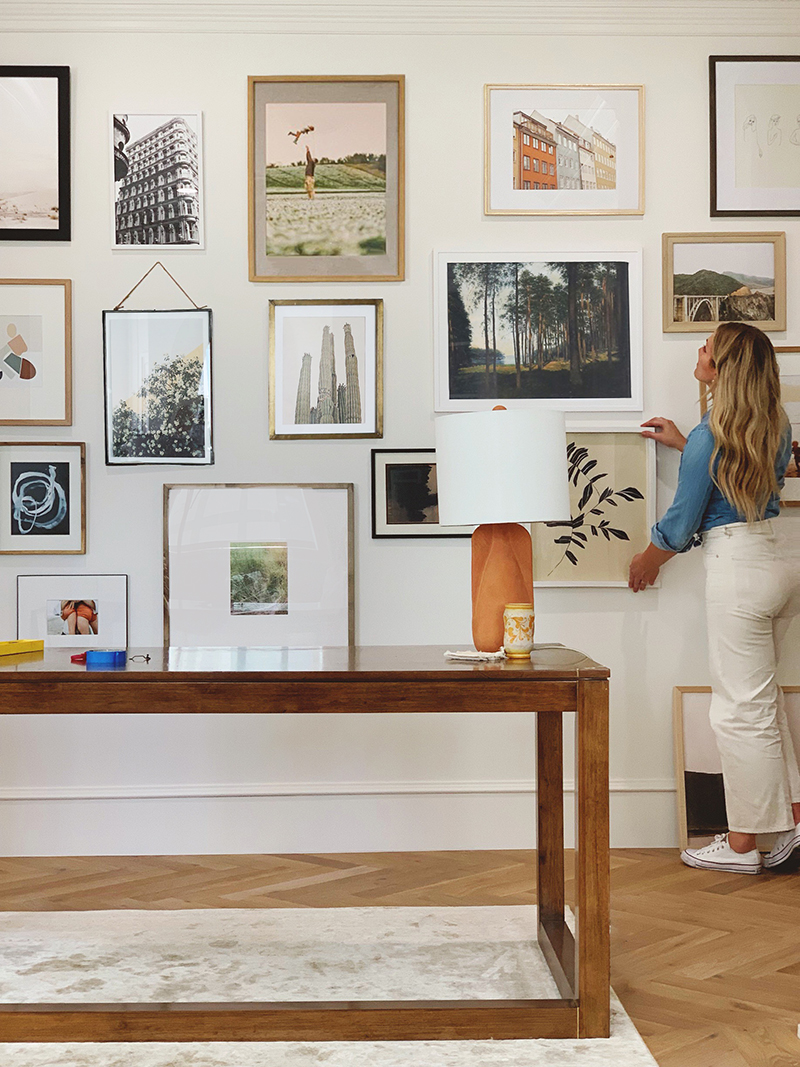
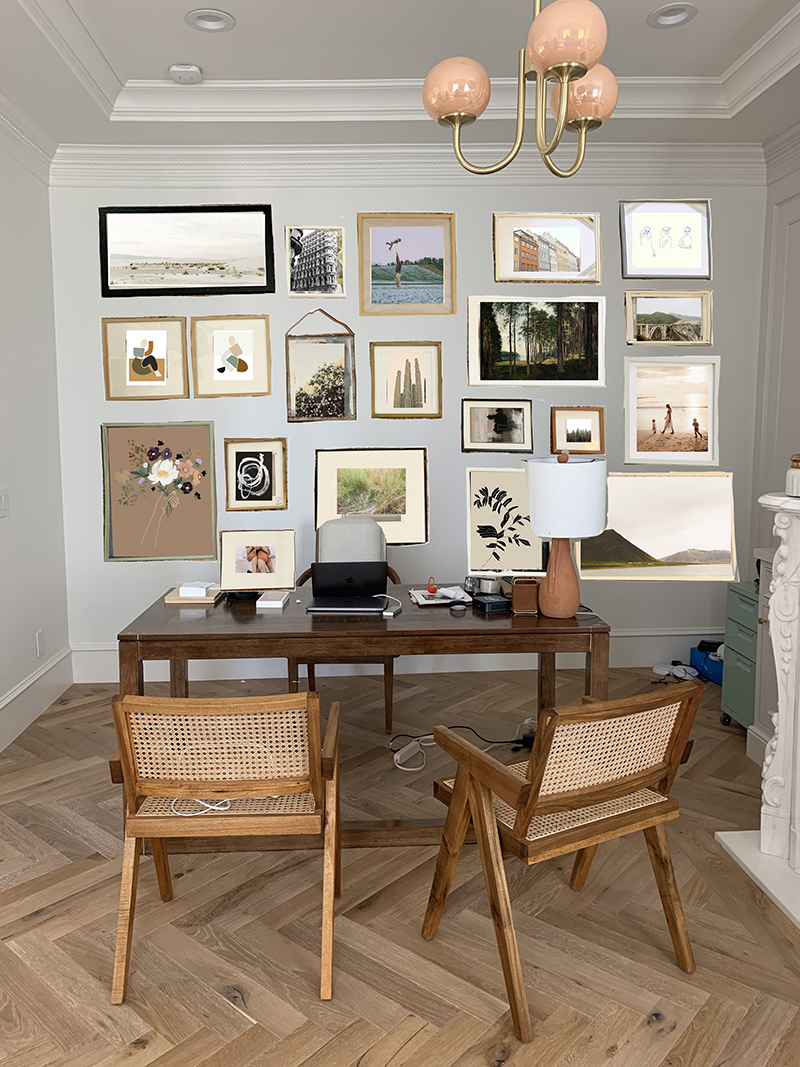
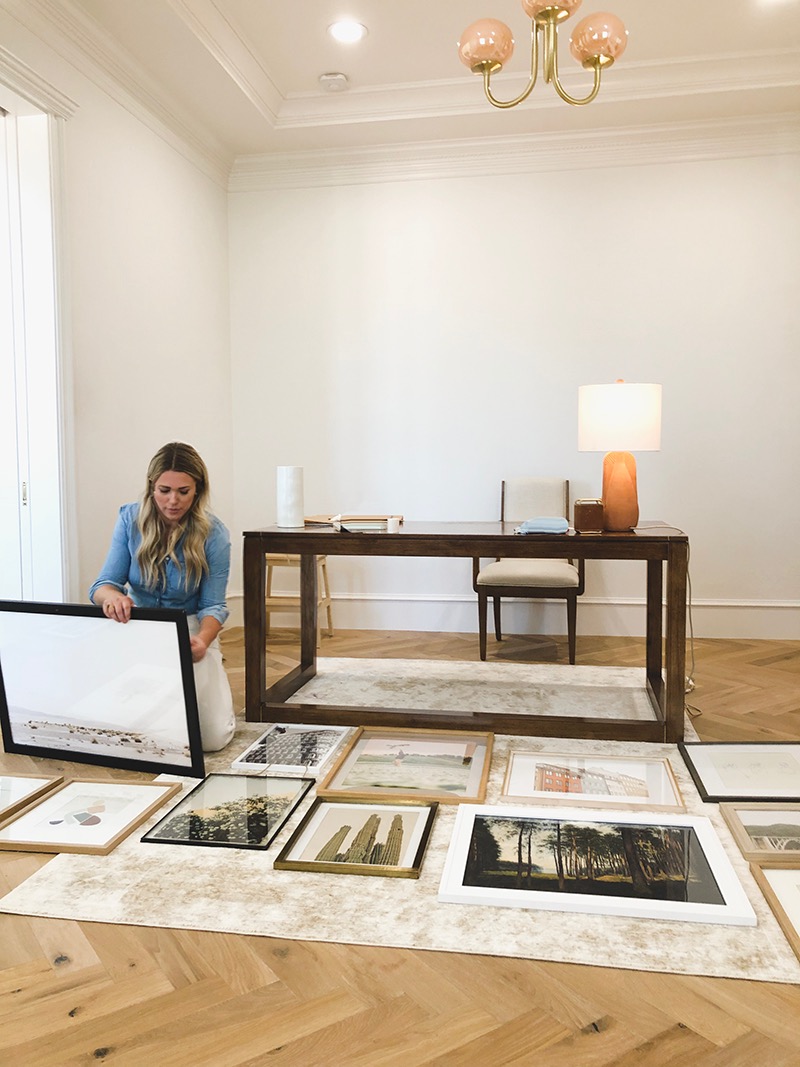
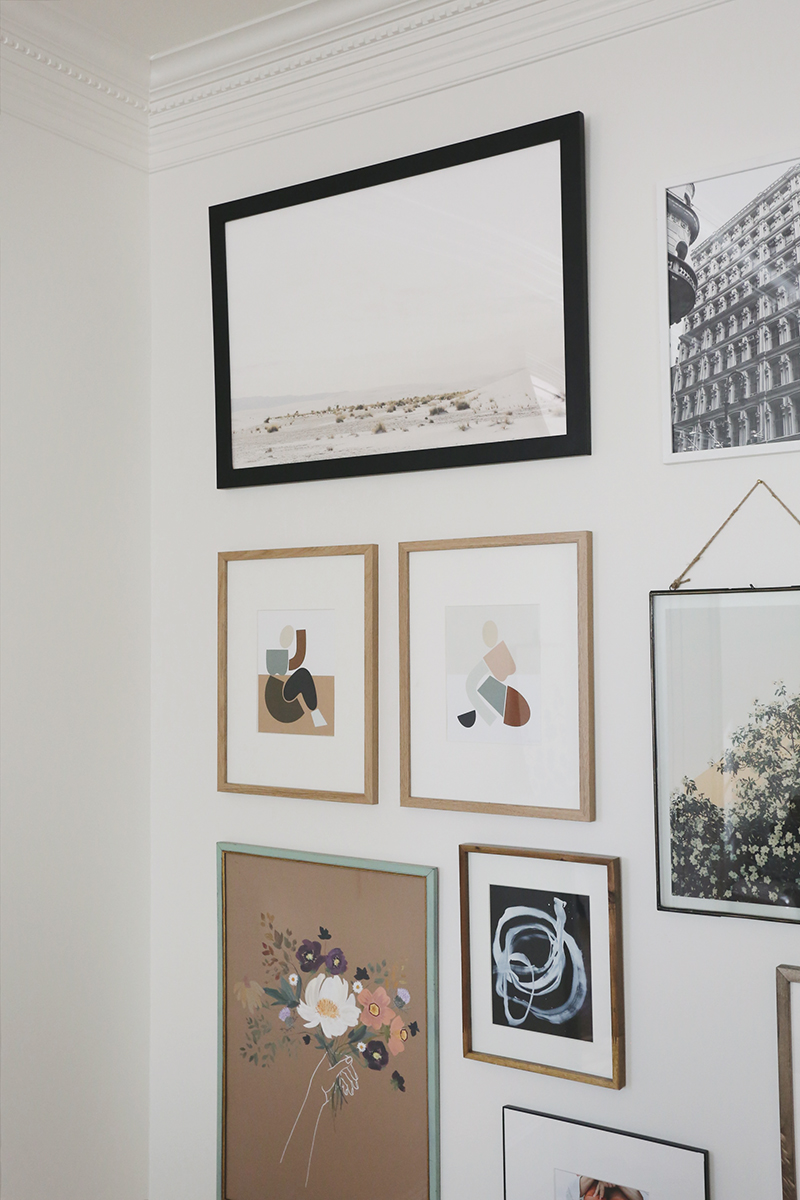
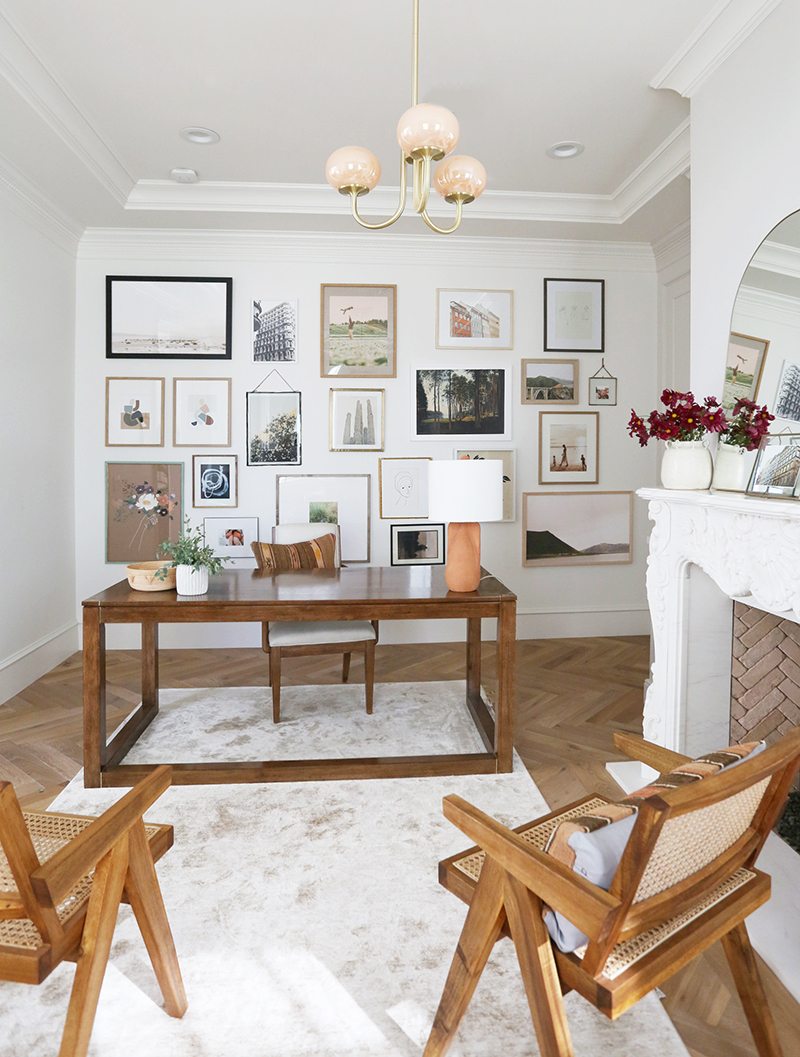
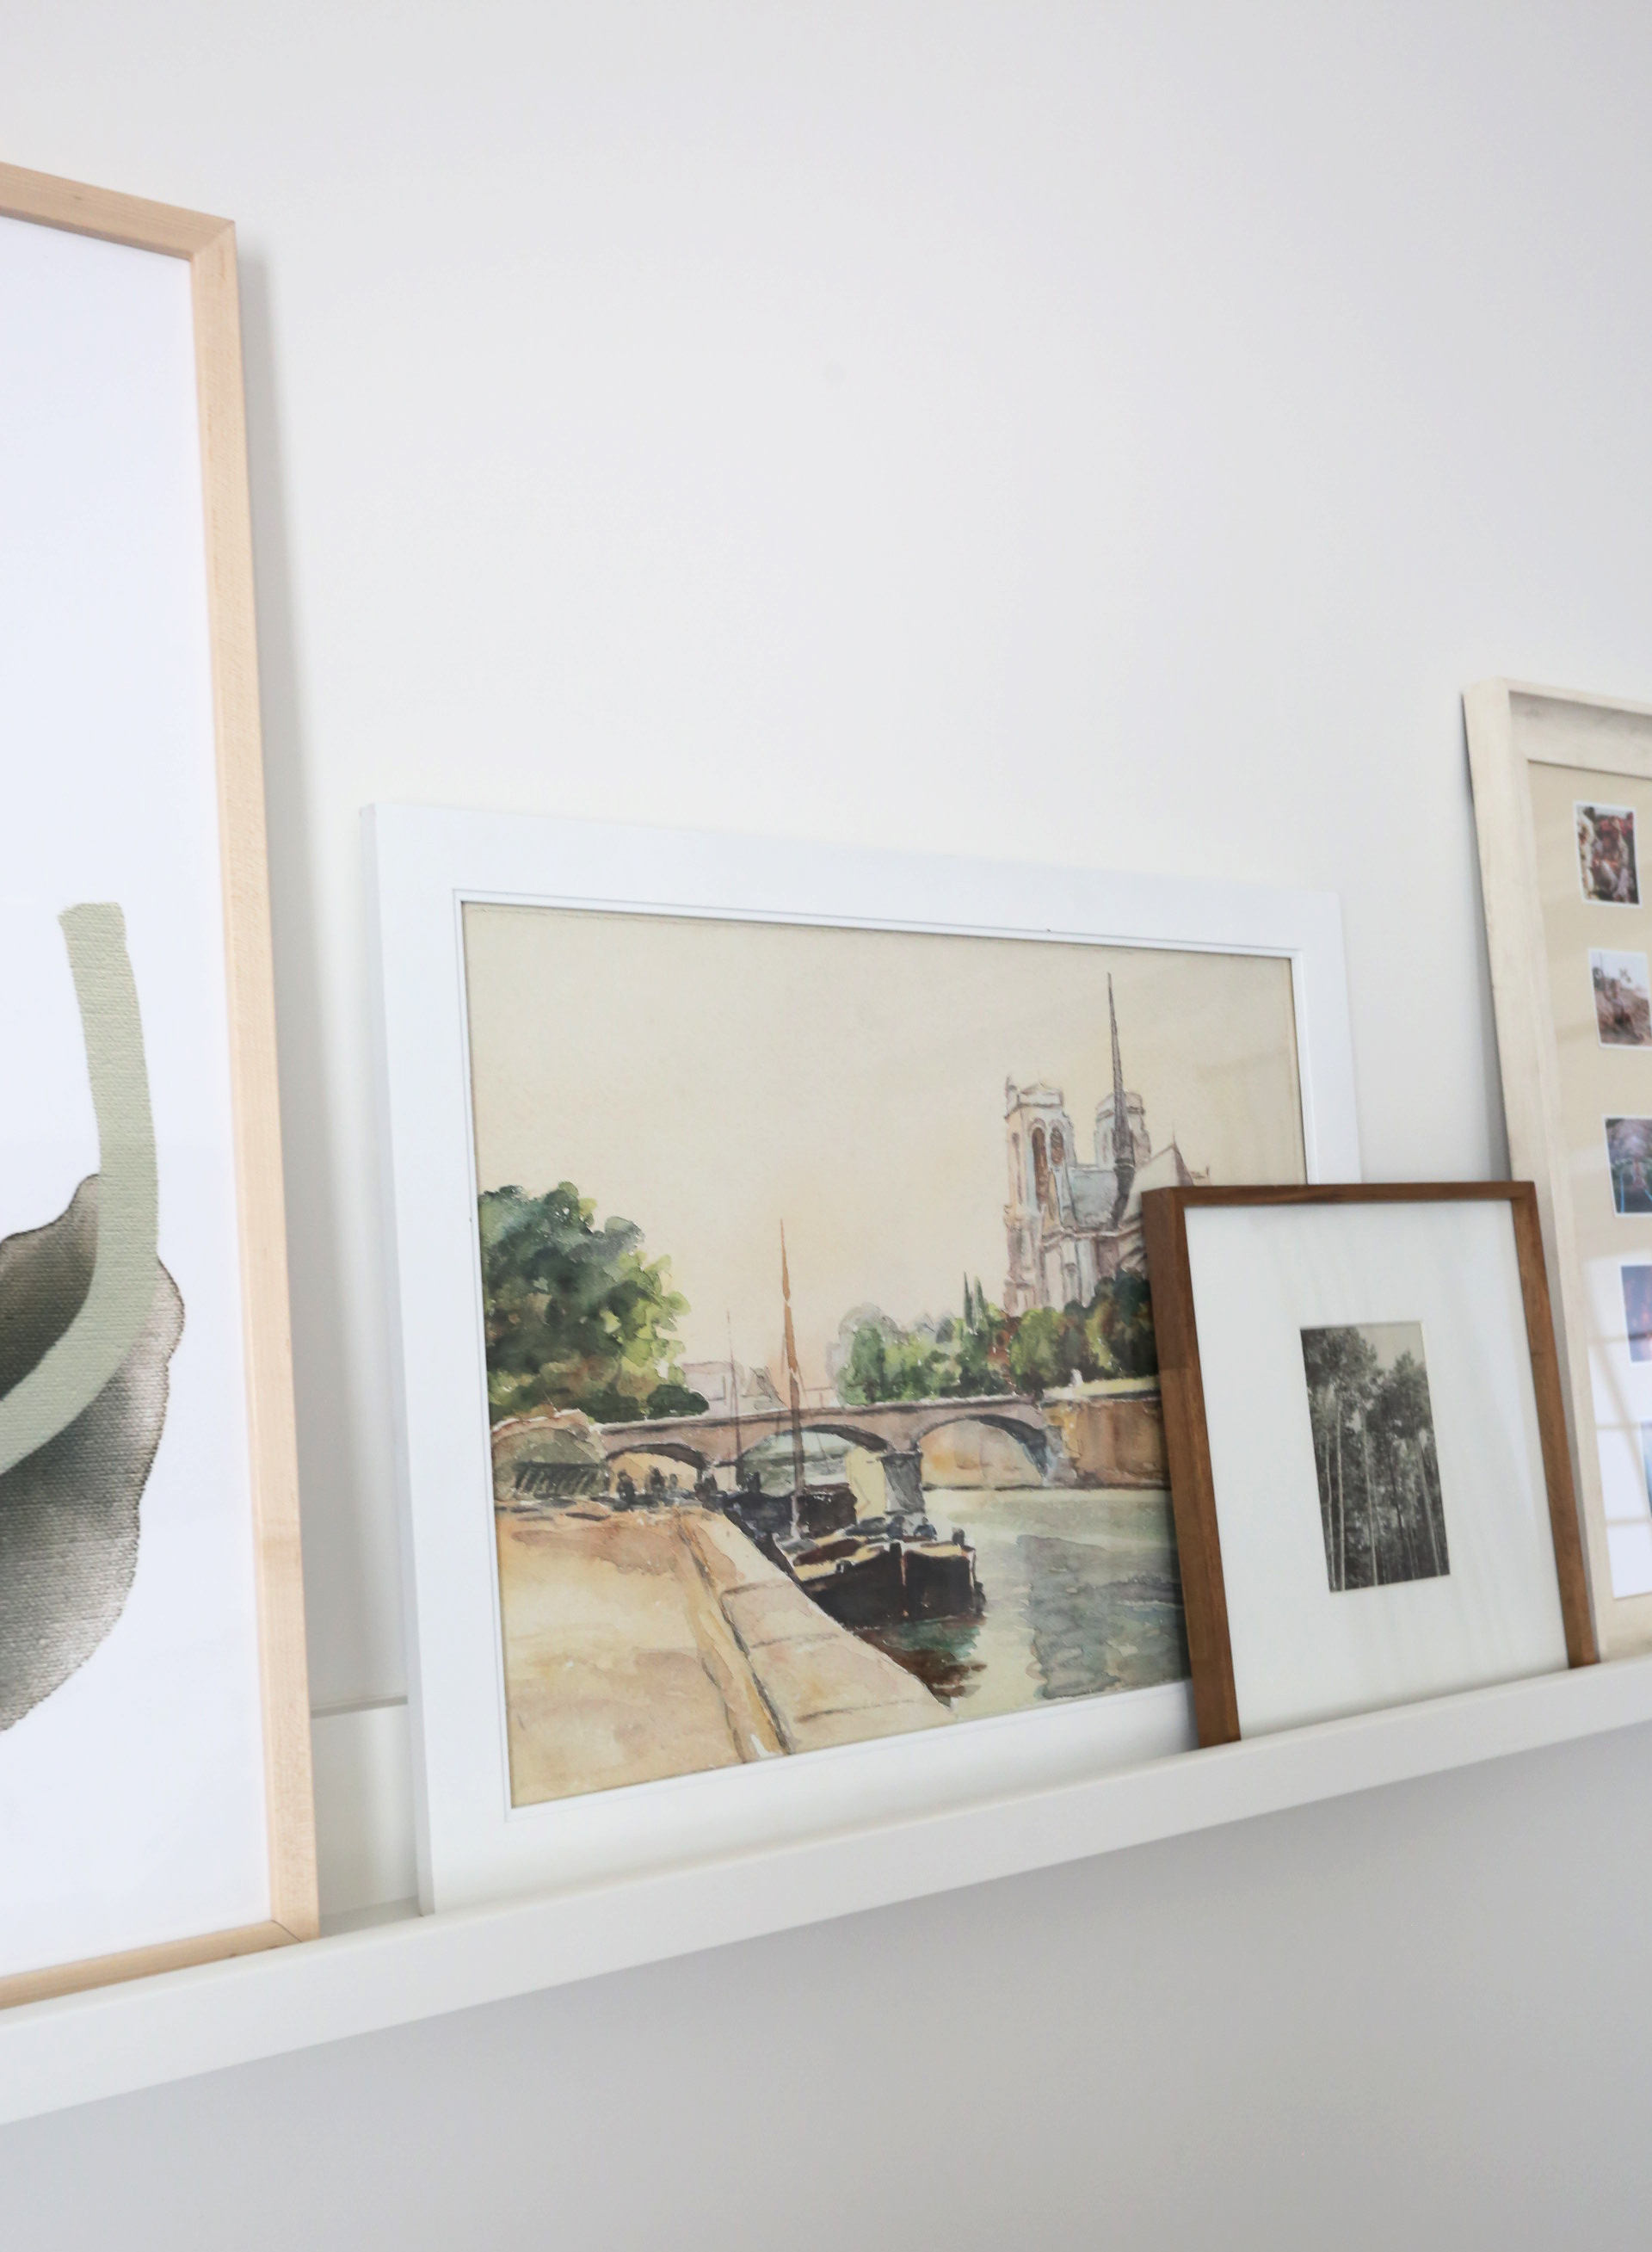
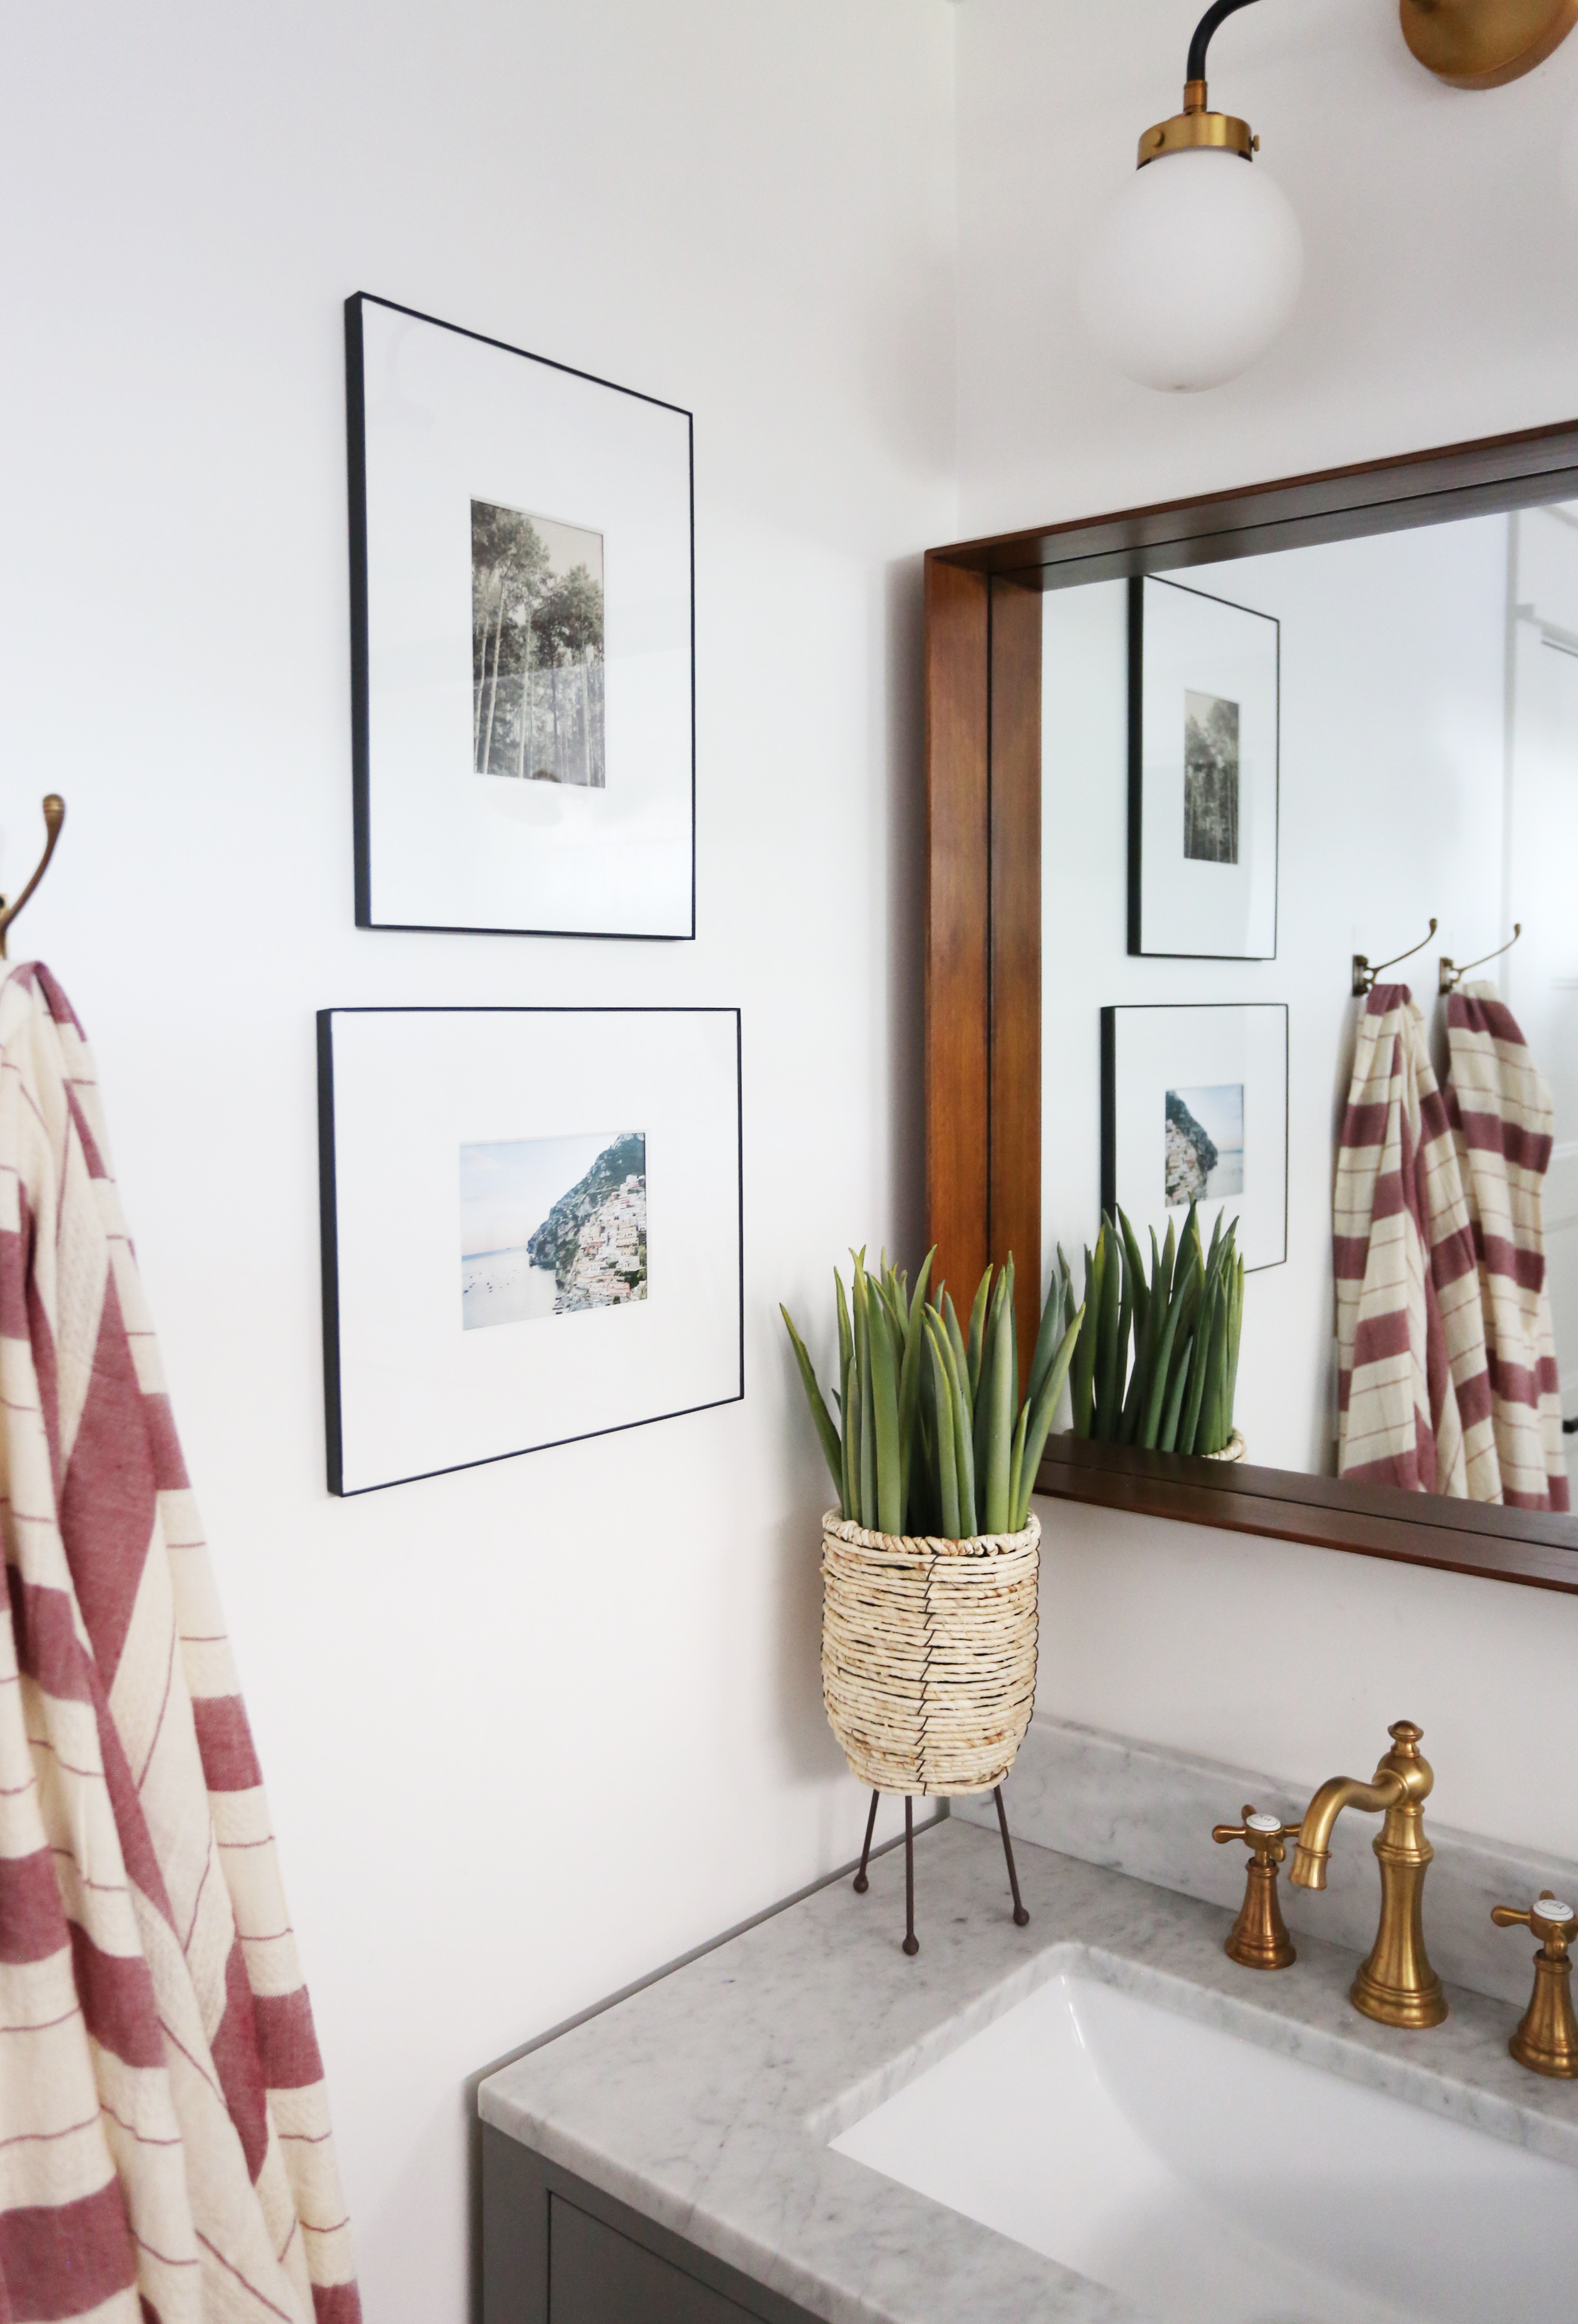
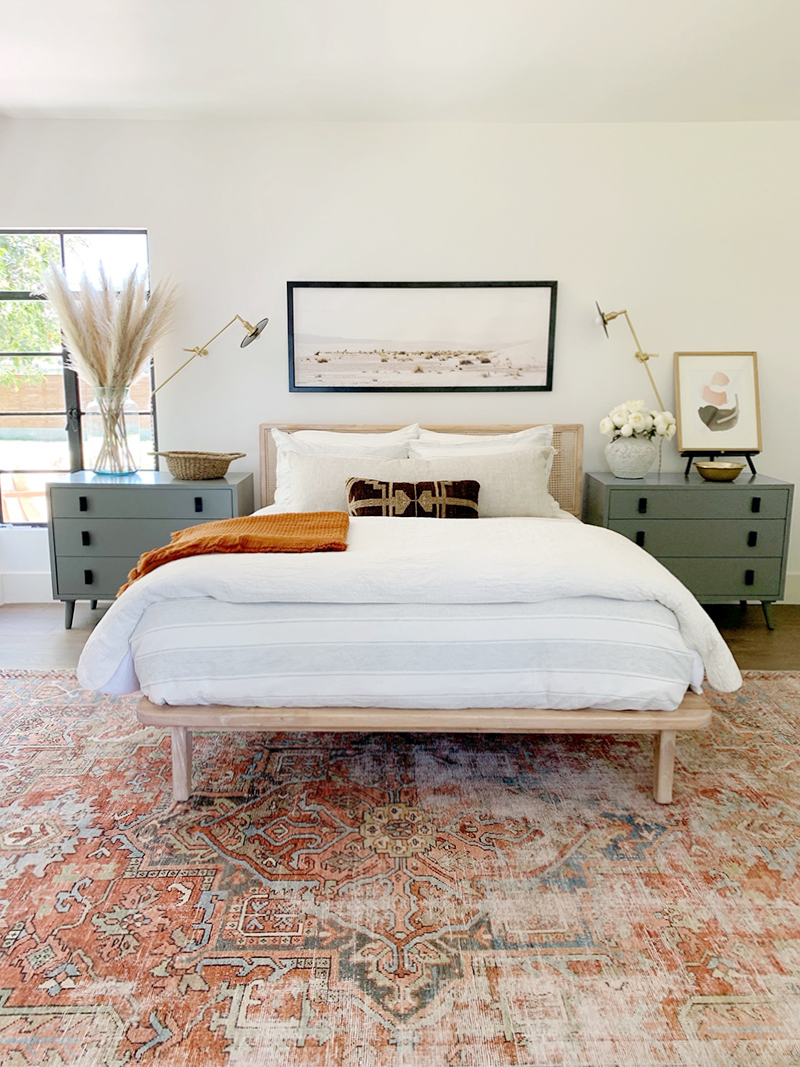
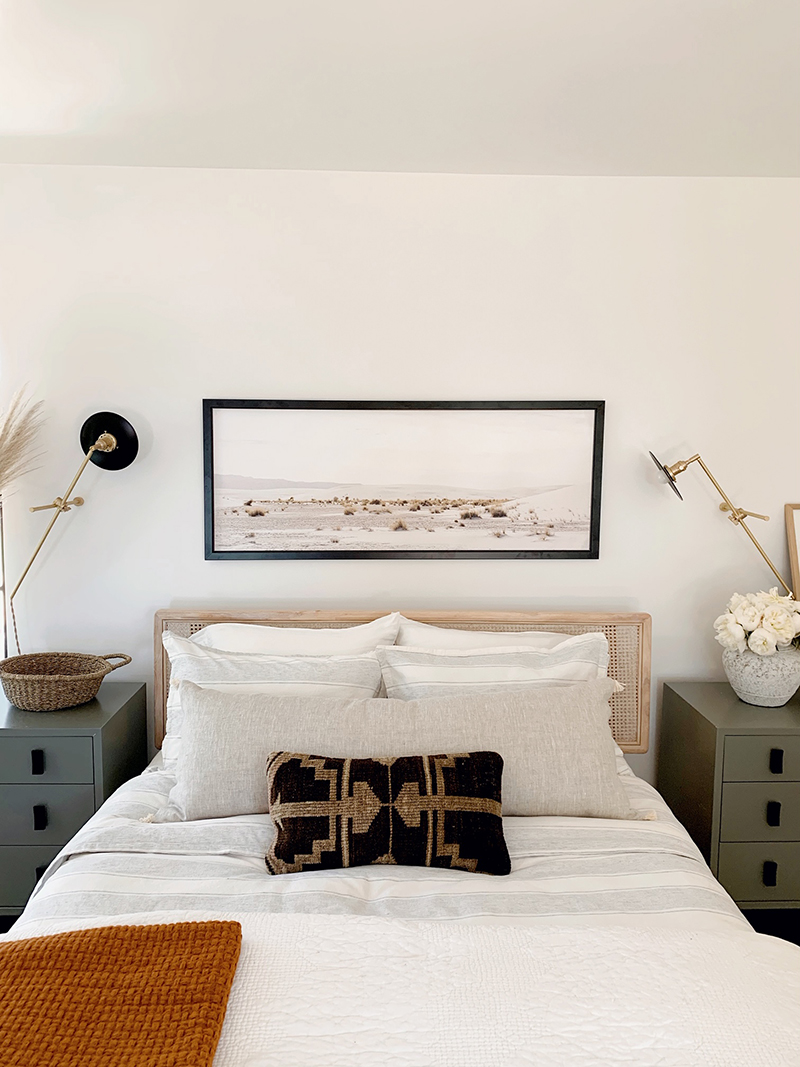
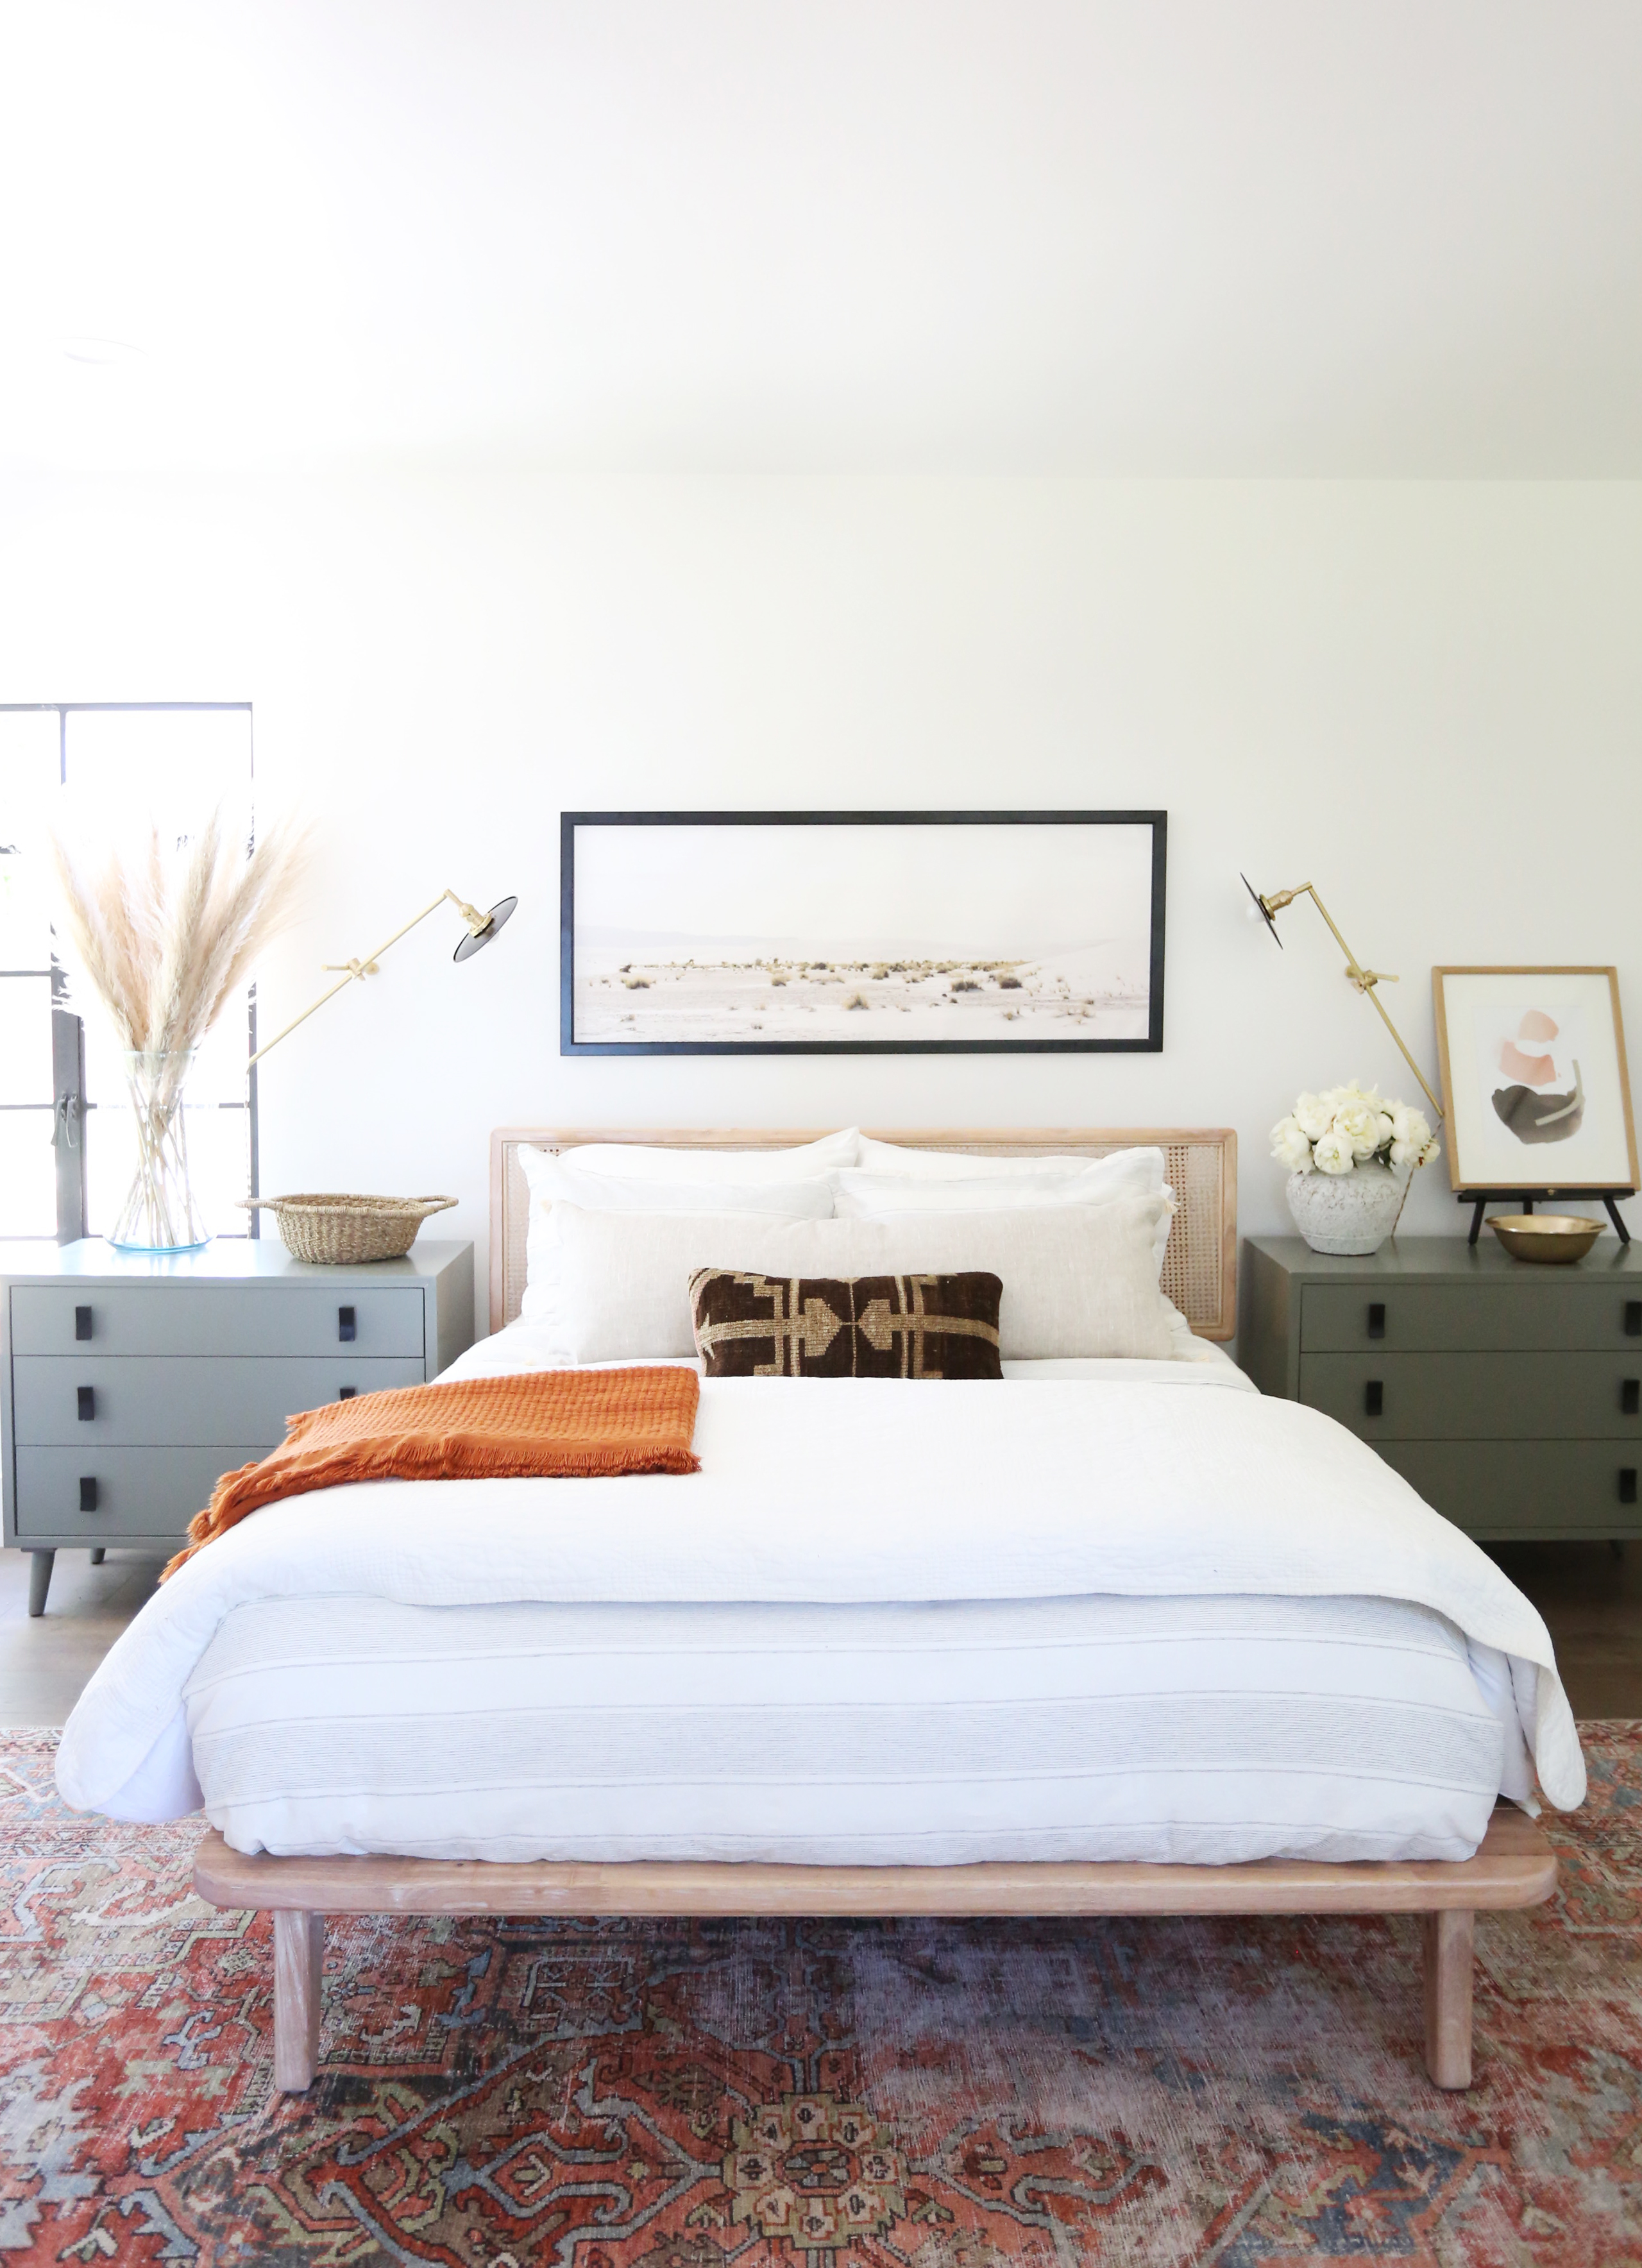
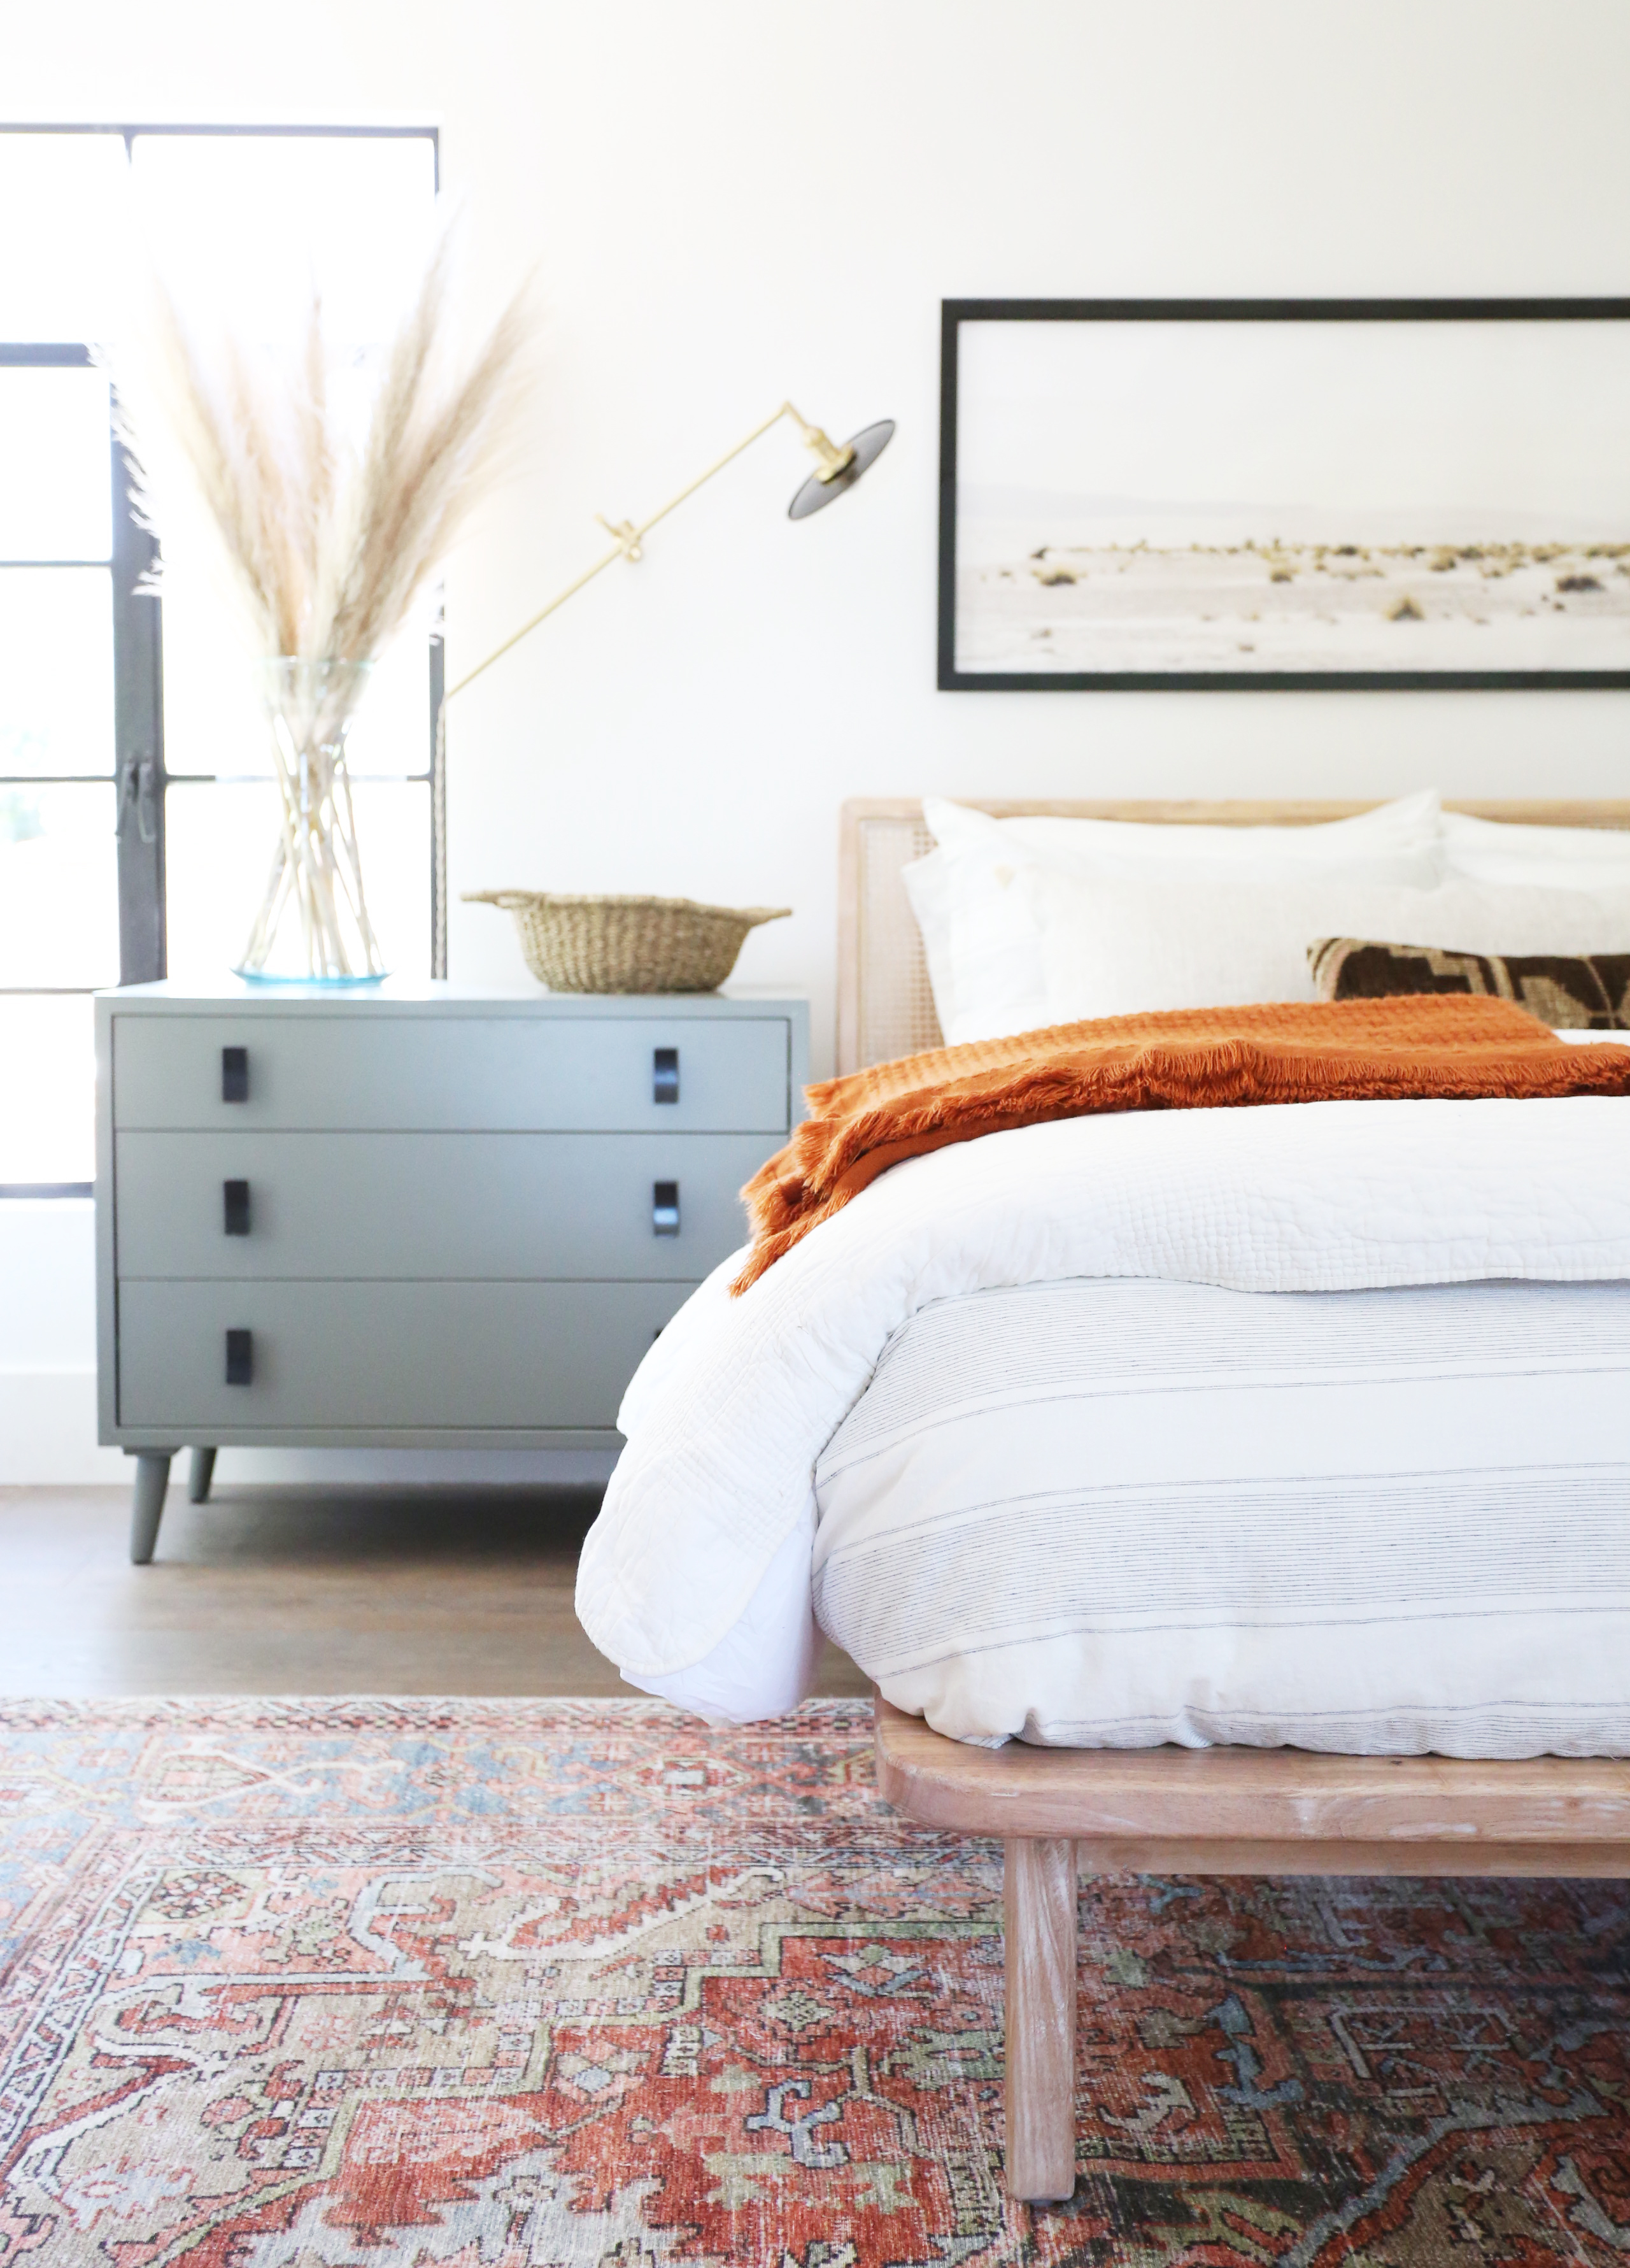
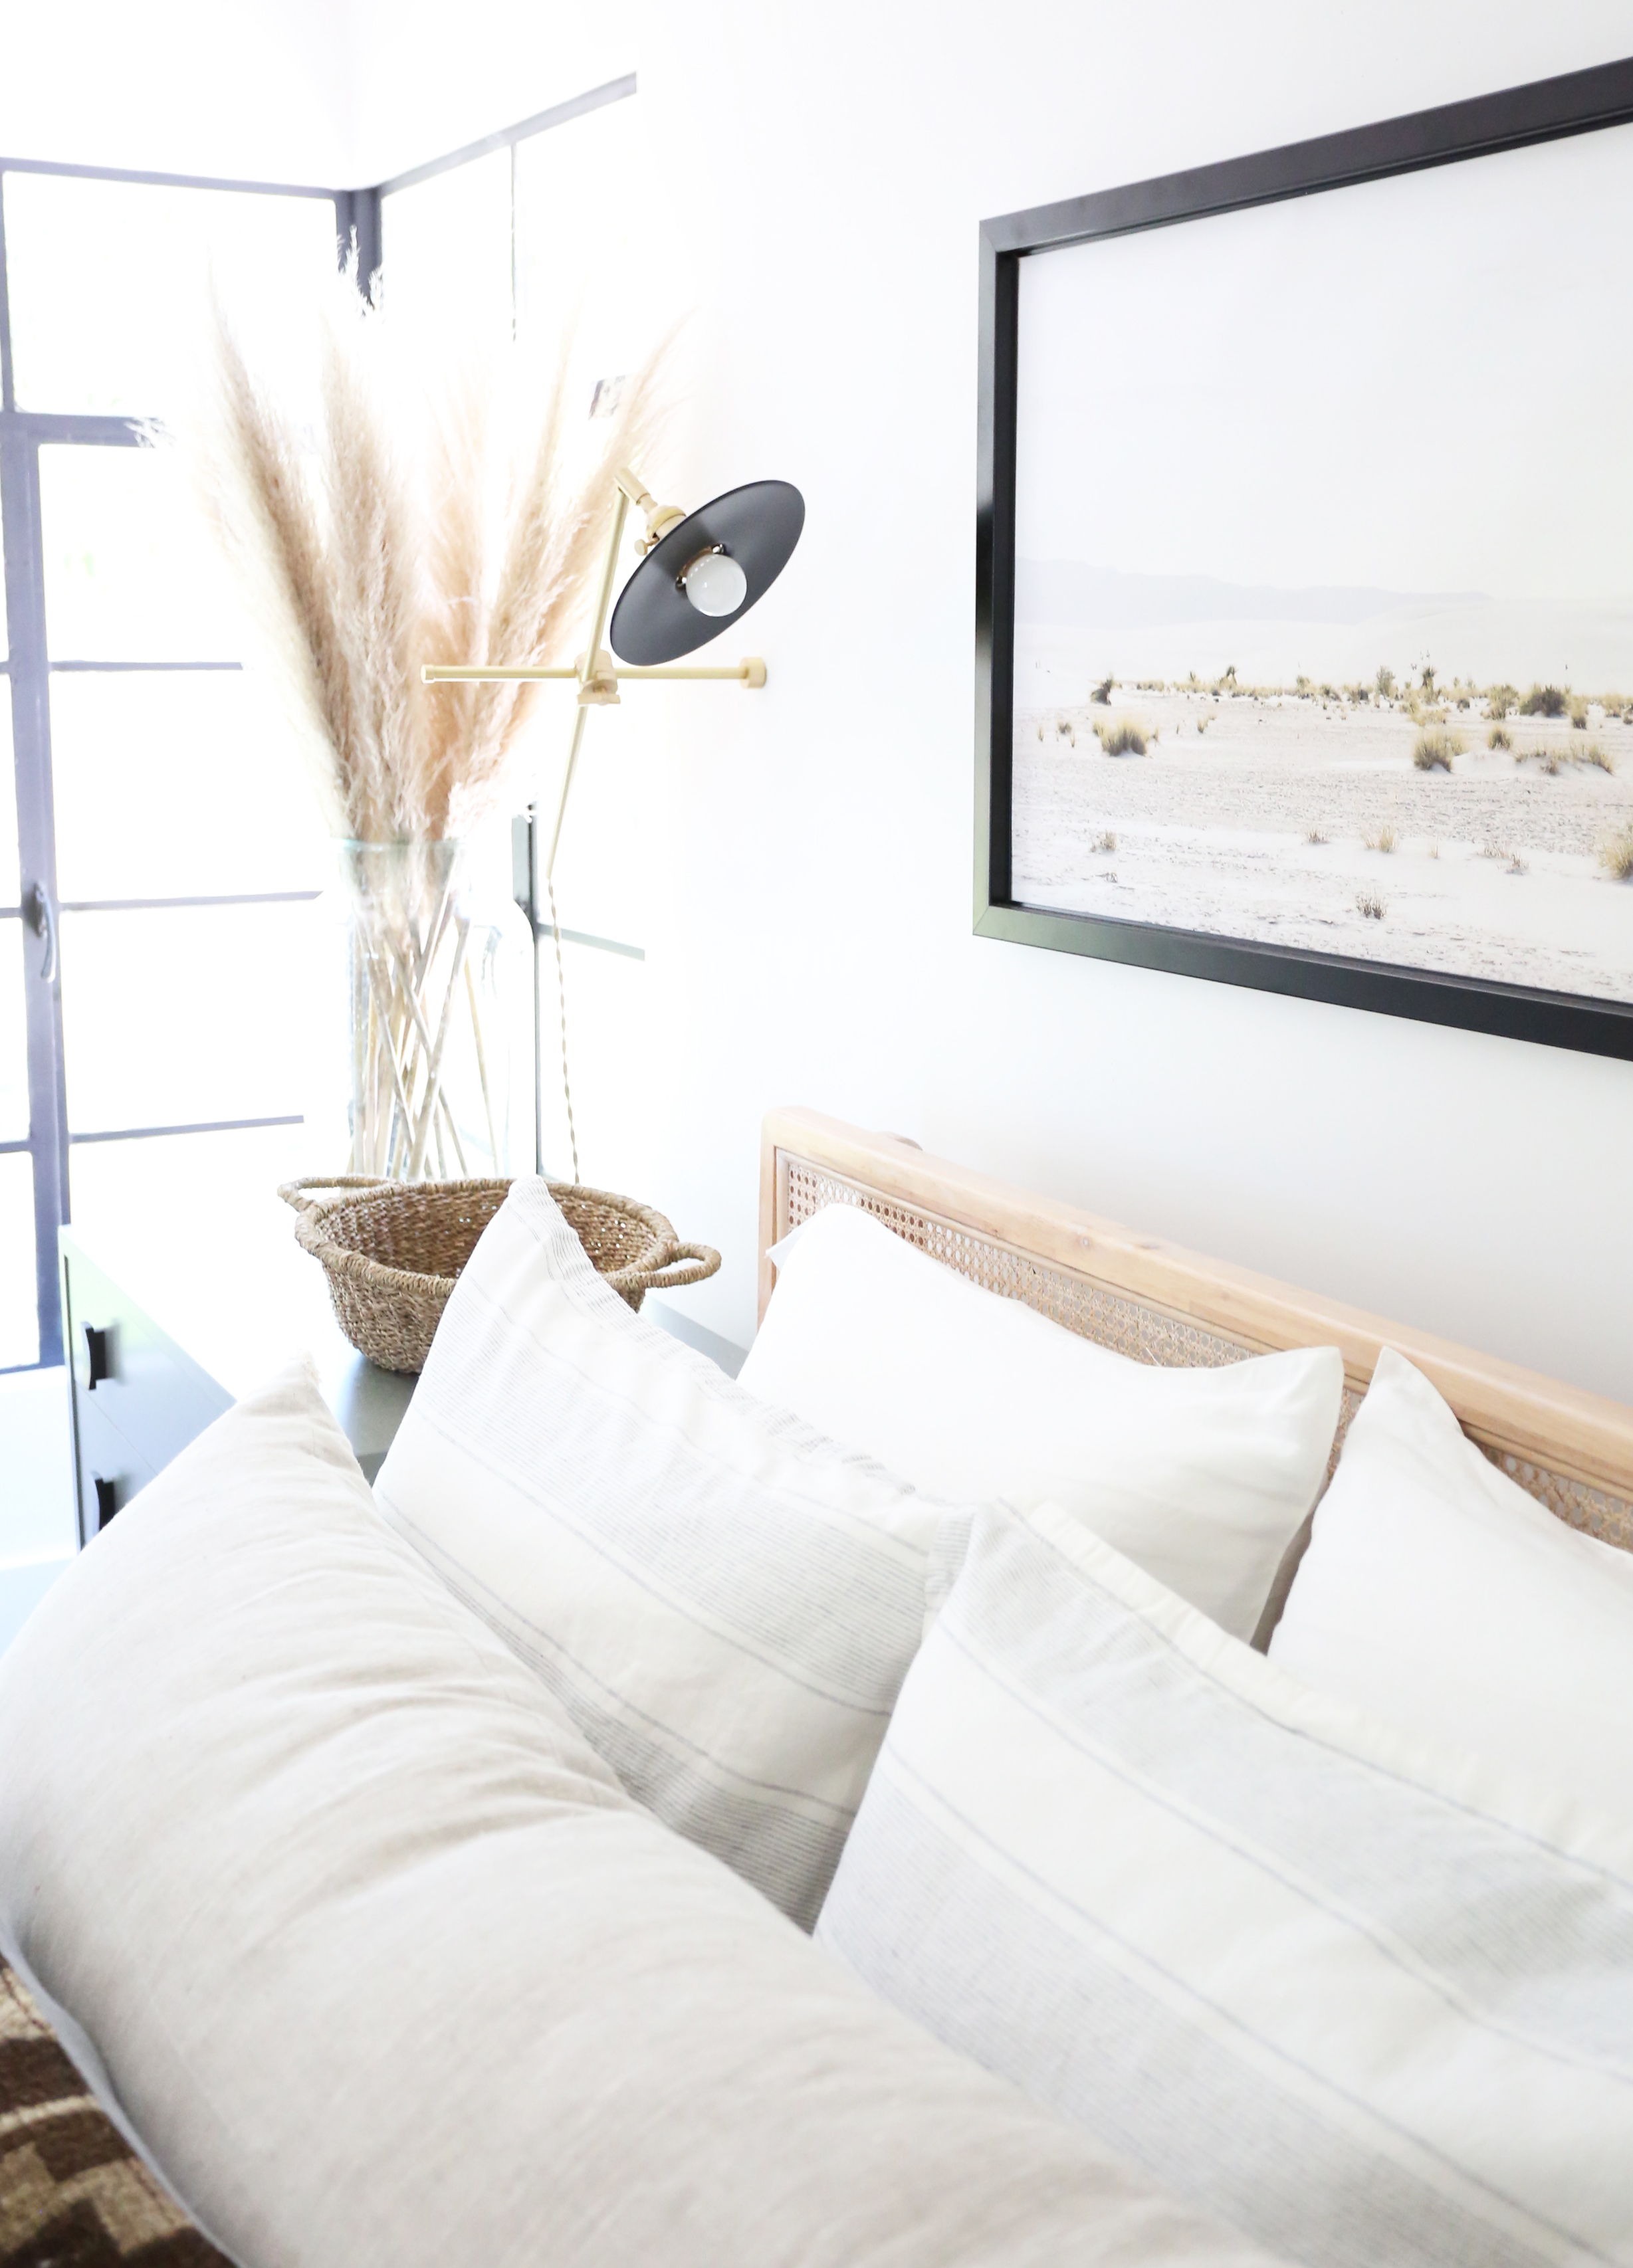
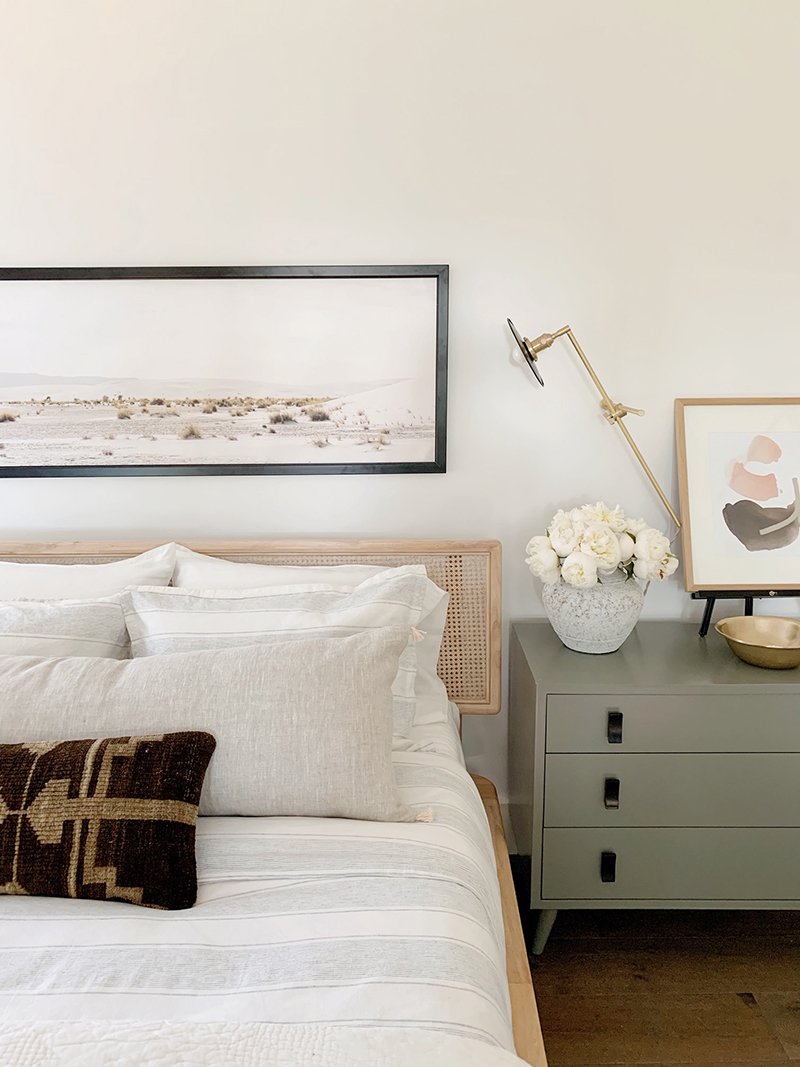
11. Black 20×30 Frame – We get asked a lot about our favorite frames to pair with our prints. We have many (and you can check them all out here!) but this black gallery frame is consistently one of our favorites!

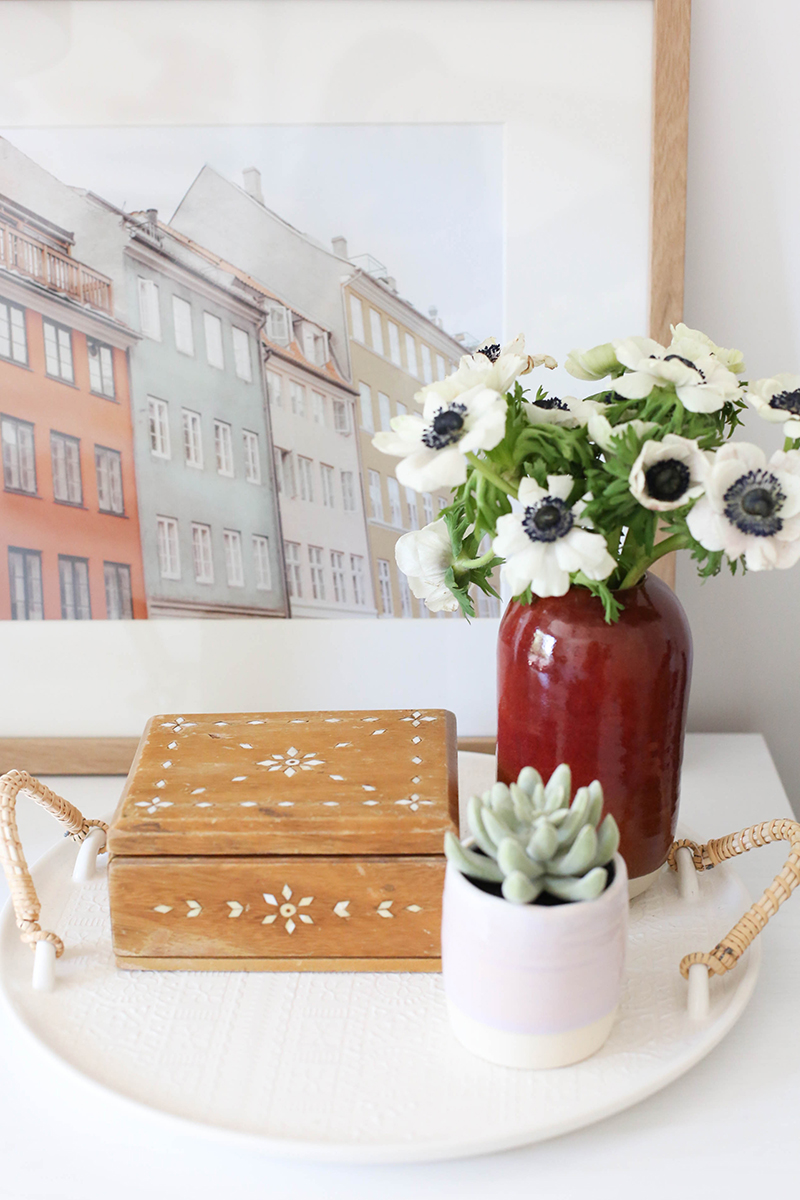
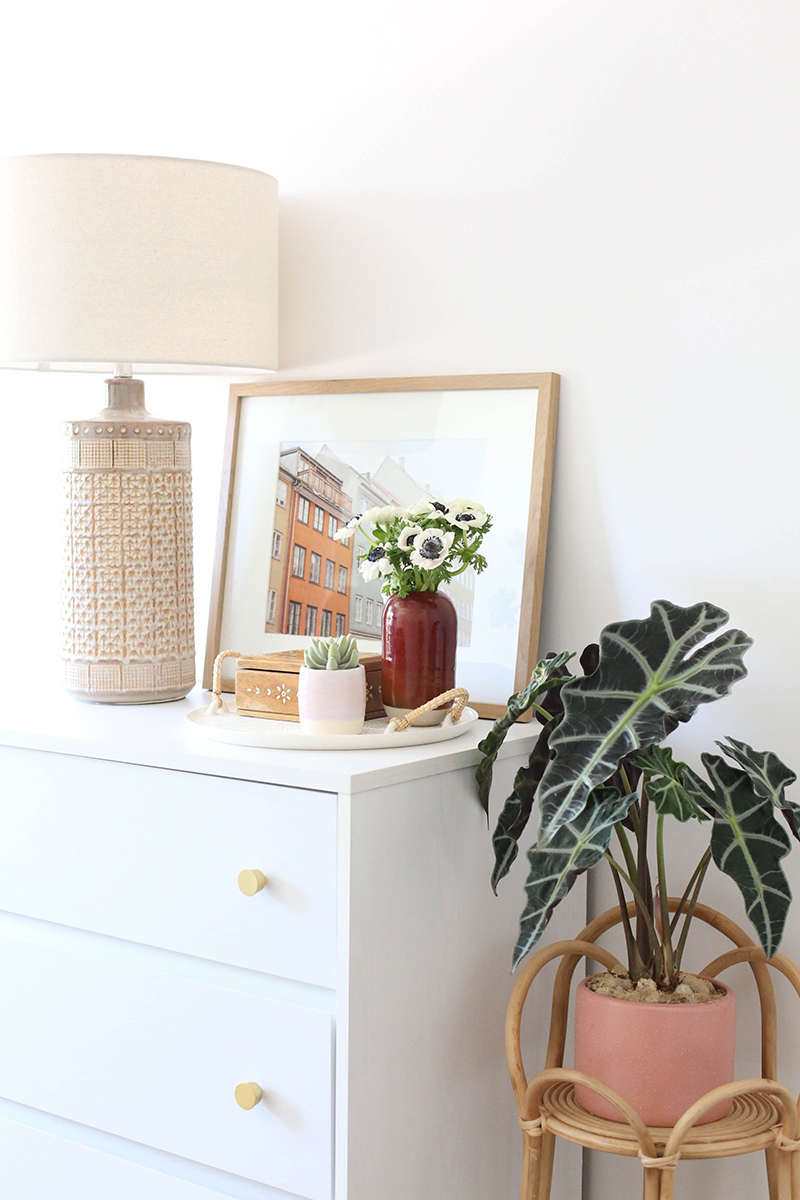
12. Brushed Oak Wood 16×20 Frame – This frame is my personal favorite. The size and tone is perfection, especially with vintage style prints!

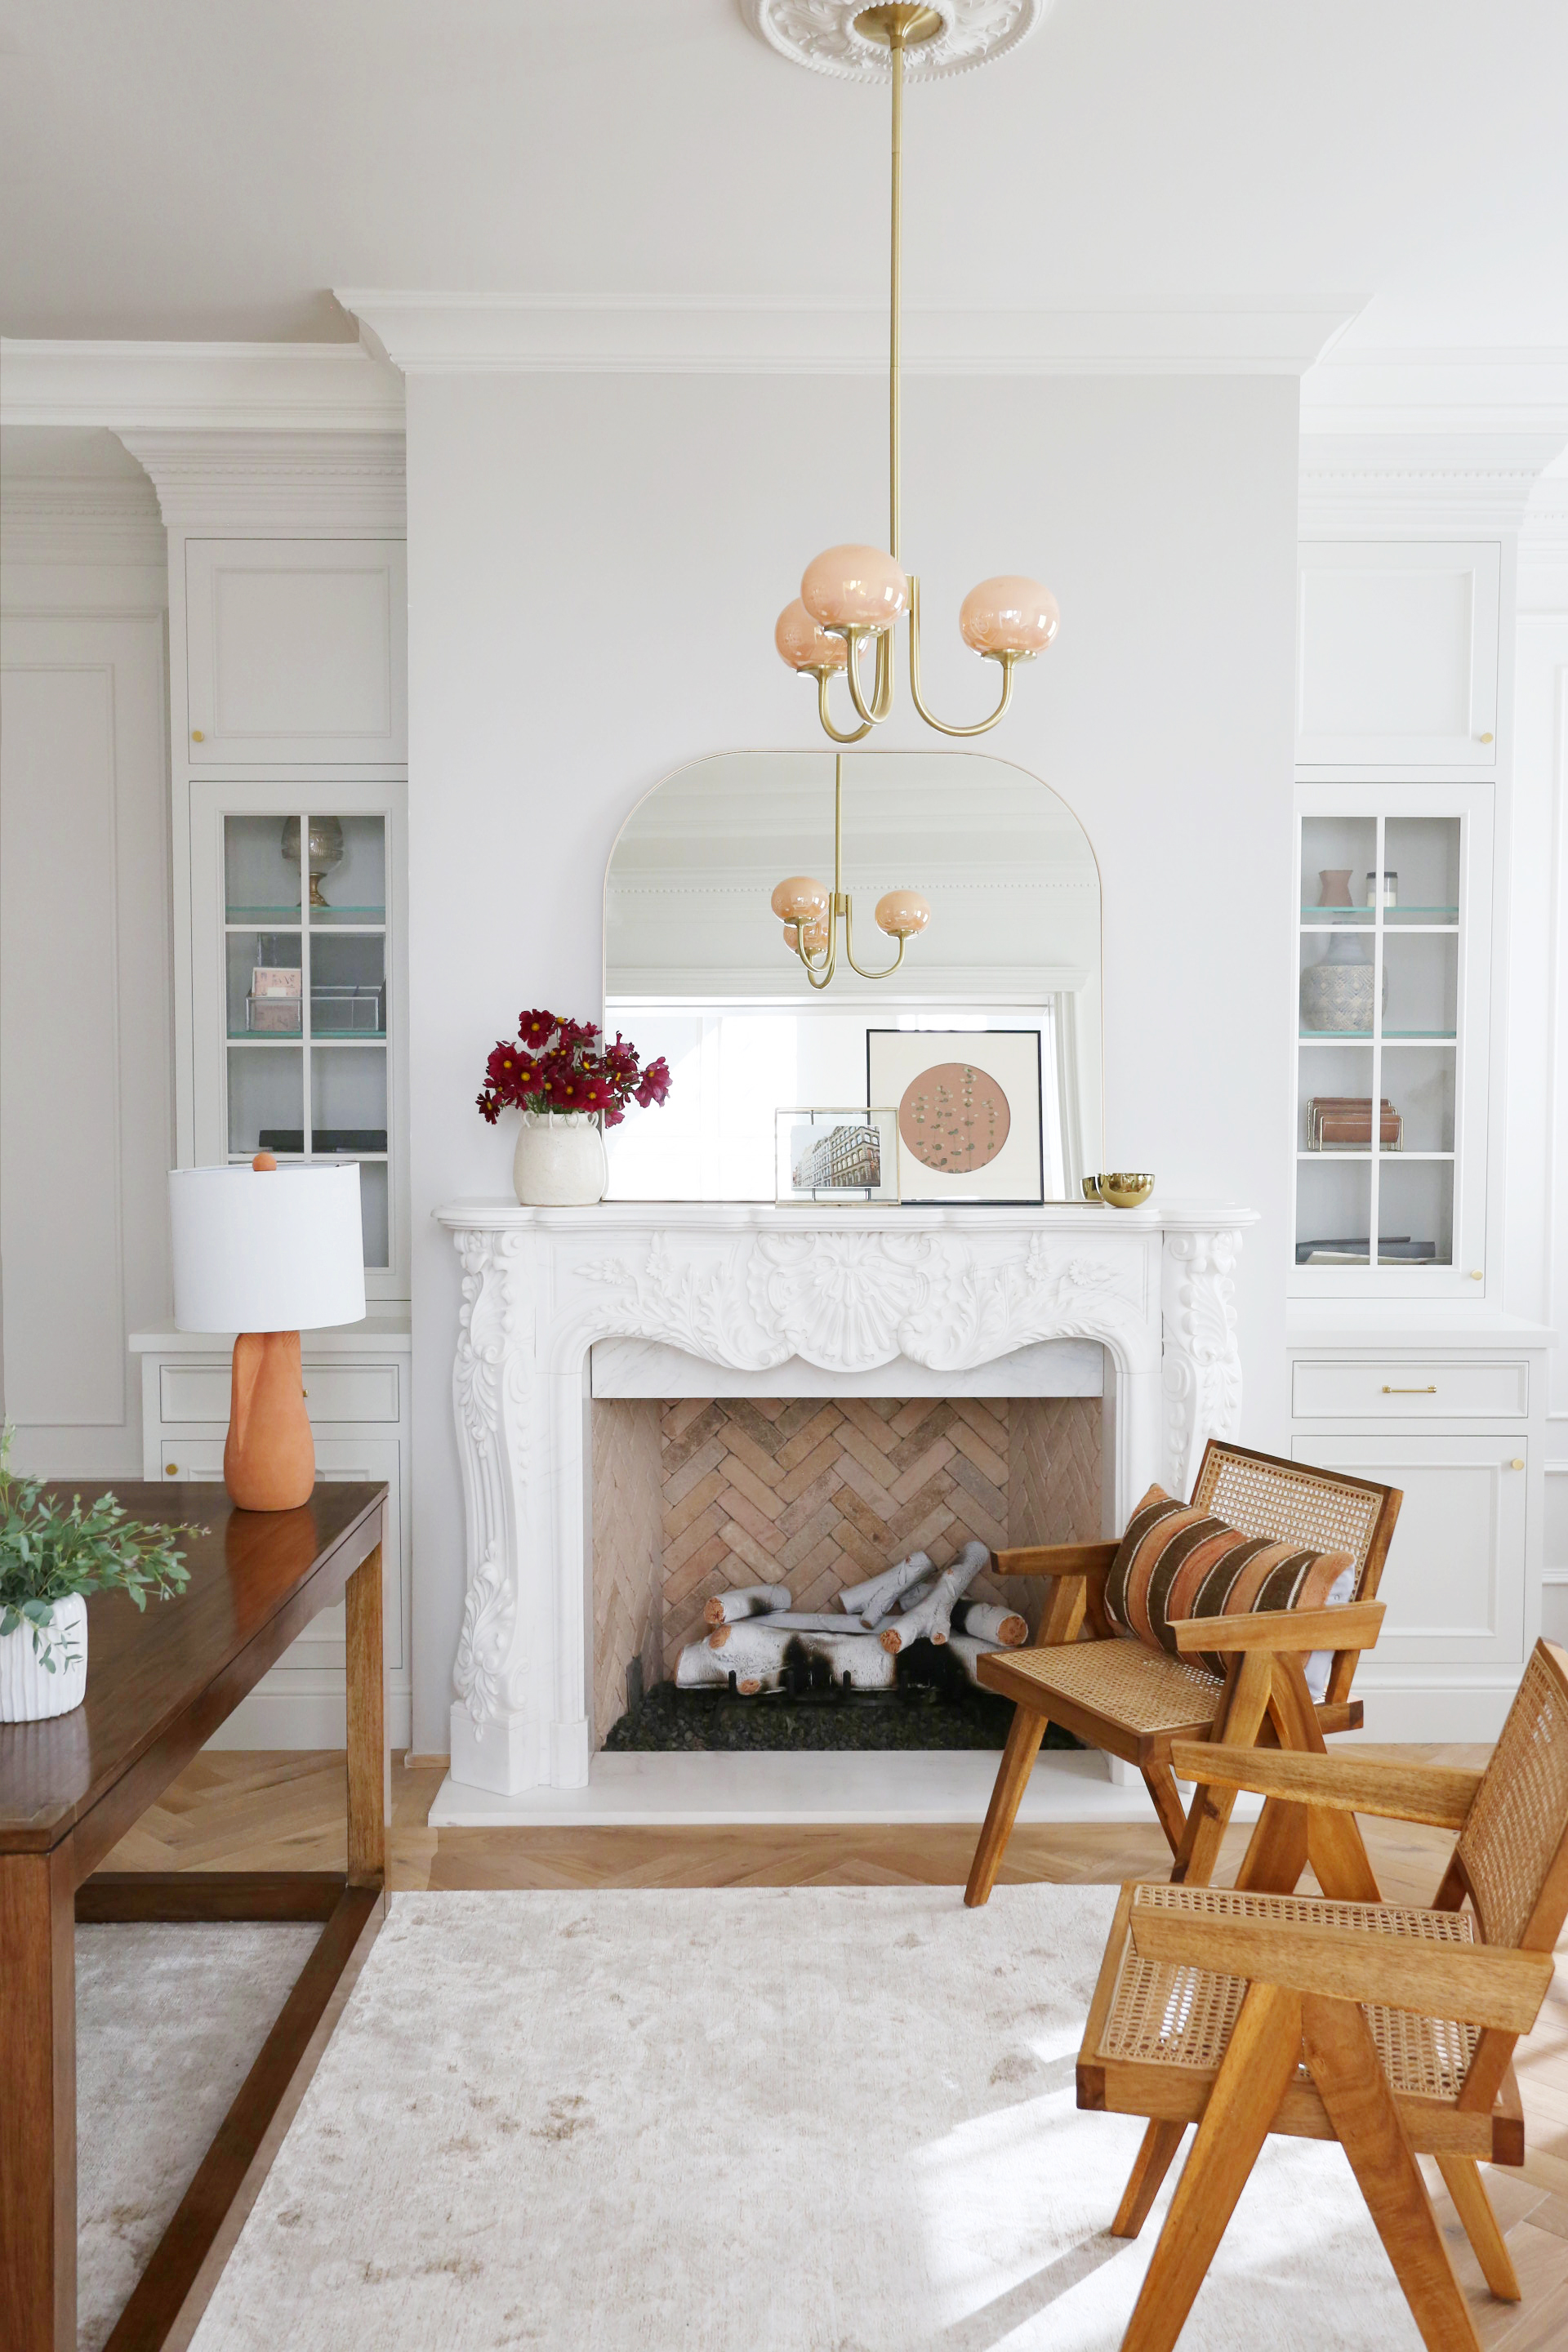
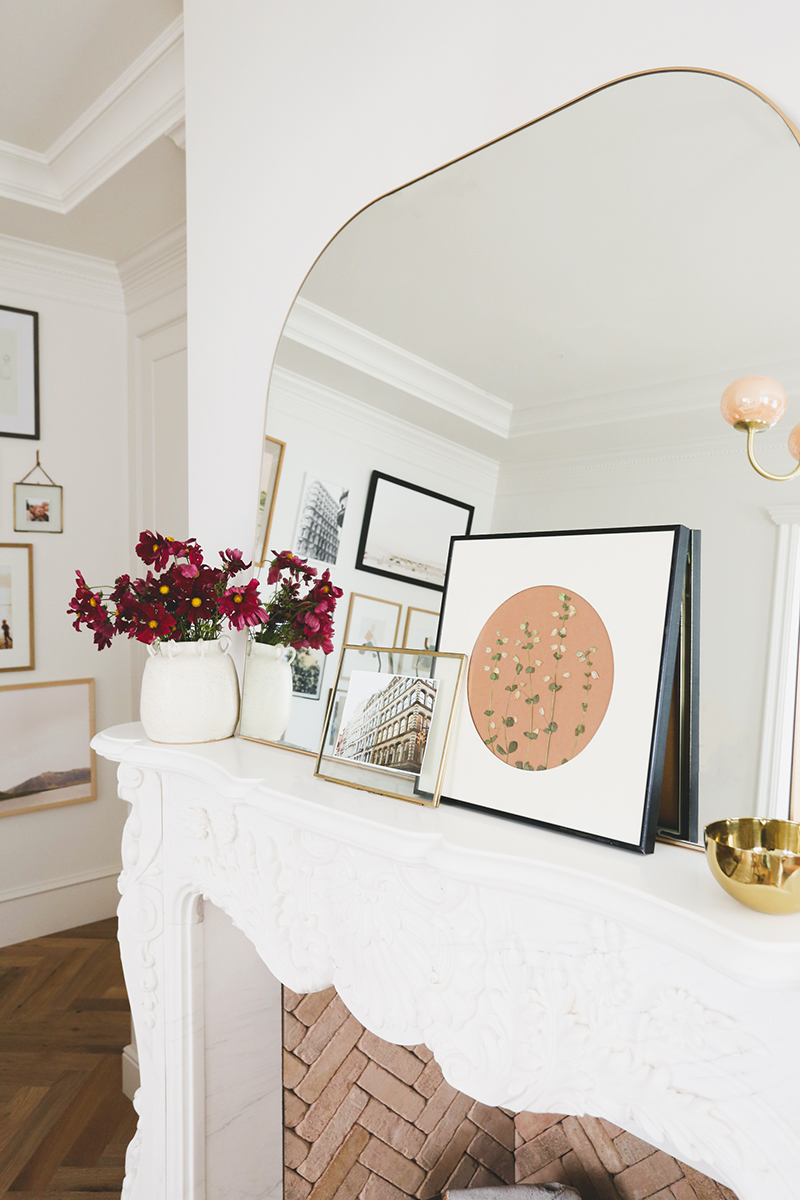
13. Brass Footed Bowl – I love this oversized footed brass bowl for putting on a console or dining table or a kitchen island as a chic fruit bowl.

14. Frame TVLowland Print

We’ve had the Frame tv for a while now and I’m SOLD! It really looks like art hanging on your wall (did you know our digital prints work with the Frame TV? Check out the step by step here in our story highlights) and I love the frame finish options. We got the natural wood color and love it with our floors and white walls. Since the TV screen itself is never black, it doesn’t feel like we even really have one.

15. Bread Boards – I love these handmade breadboards made from 200 year old Beech wood! What a lovely and special gift to give, maybe with these cute cheese spreaders.

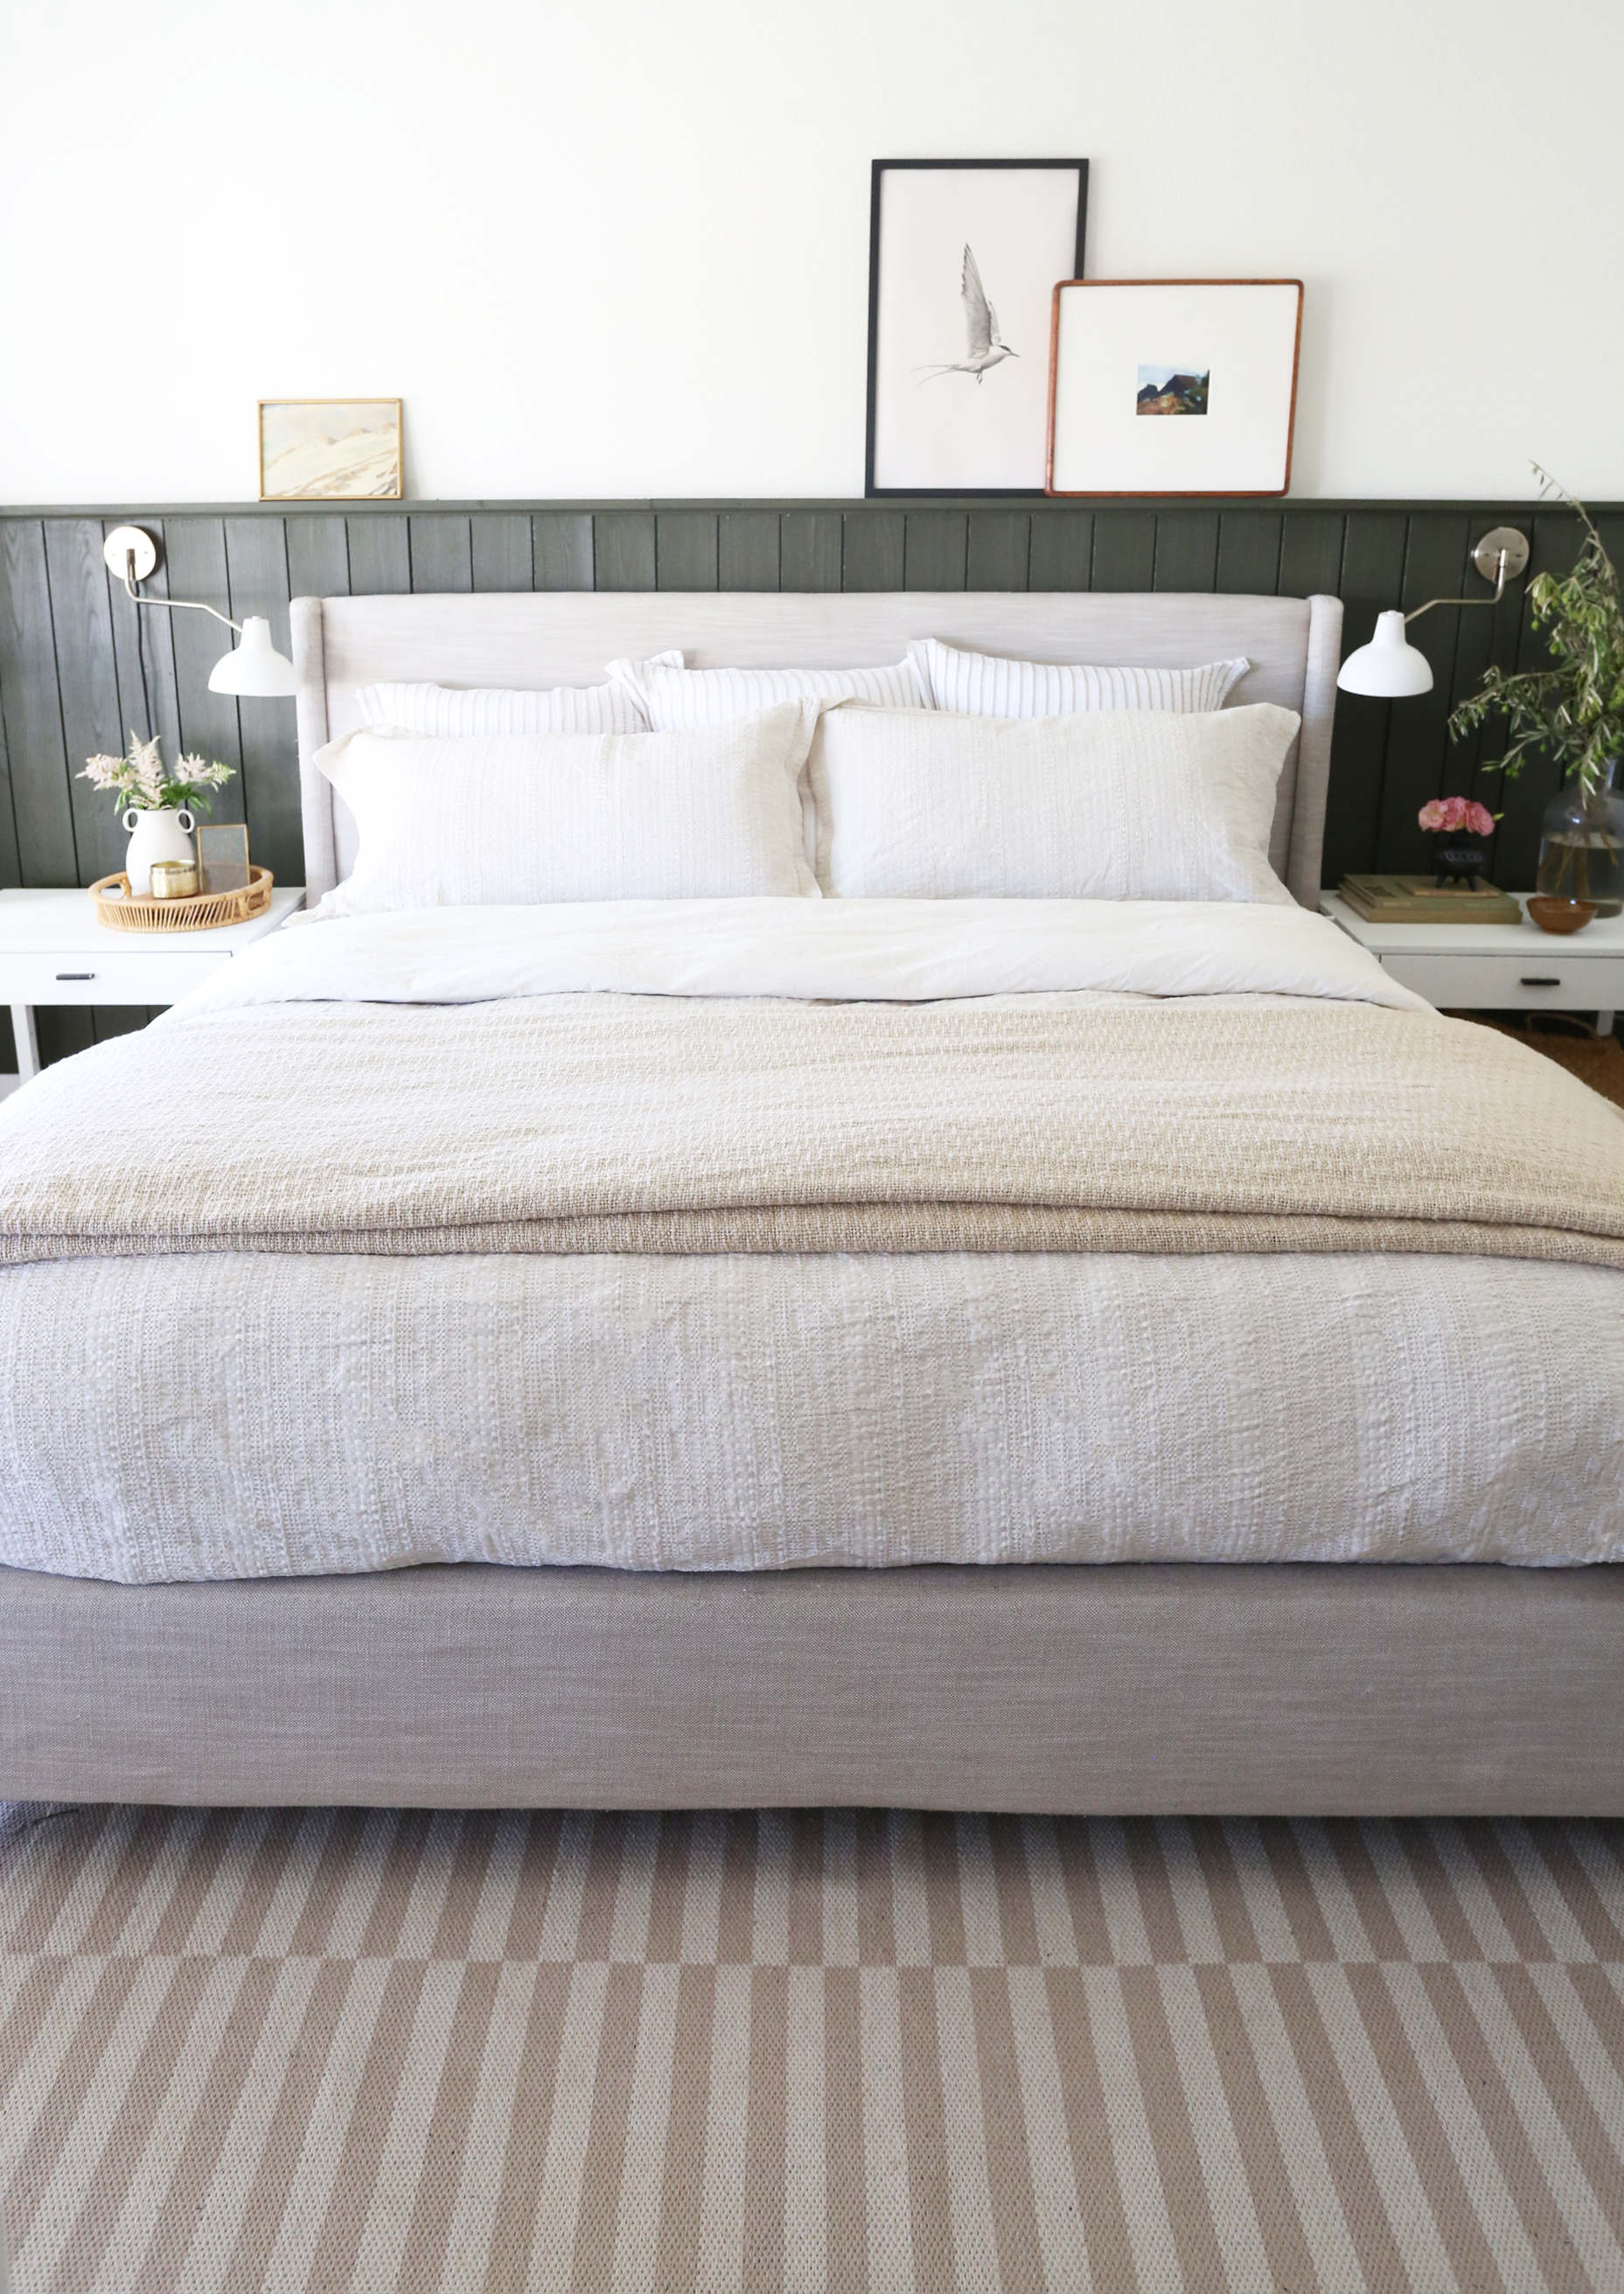
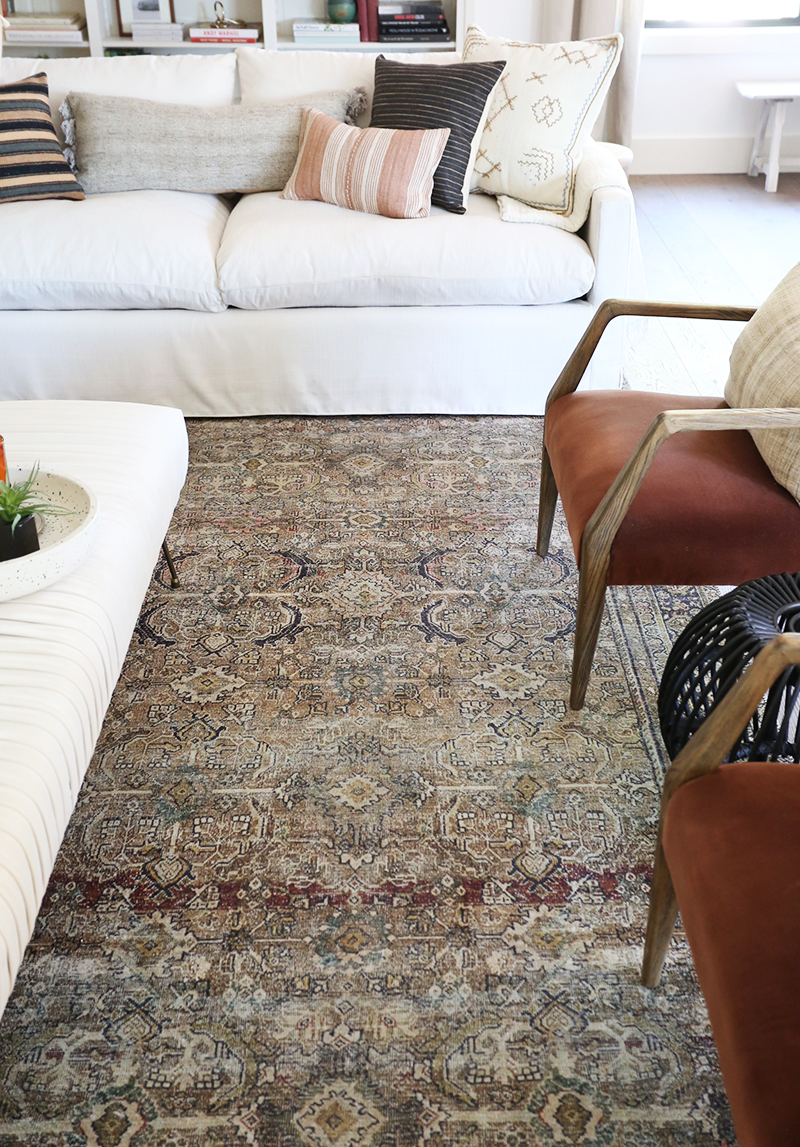
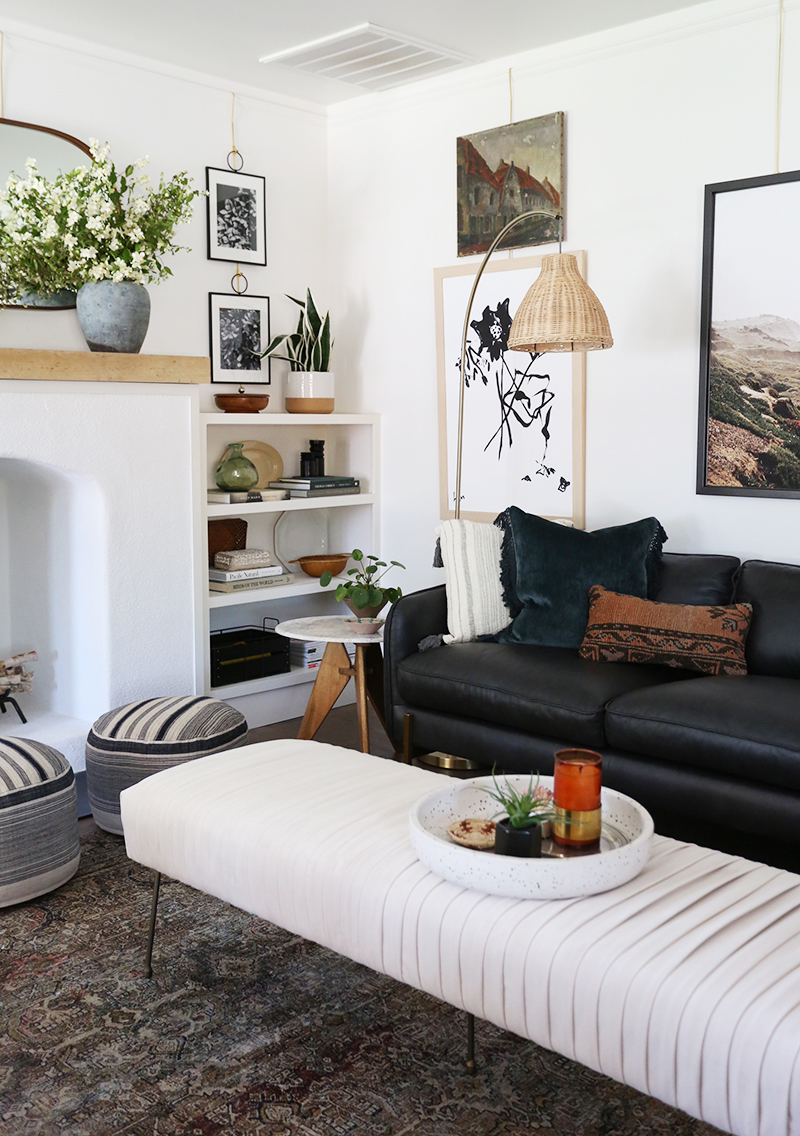
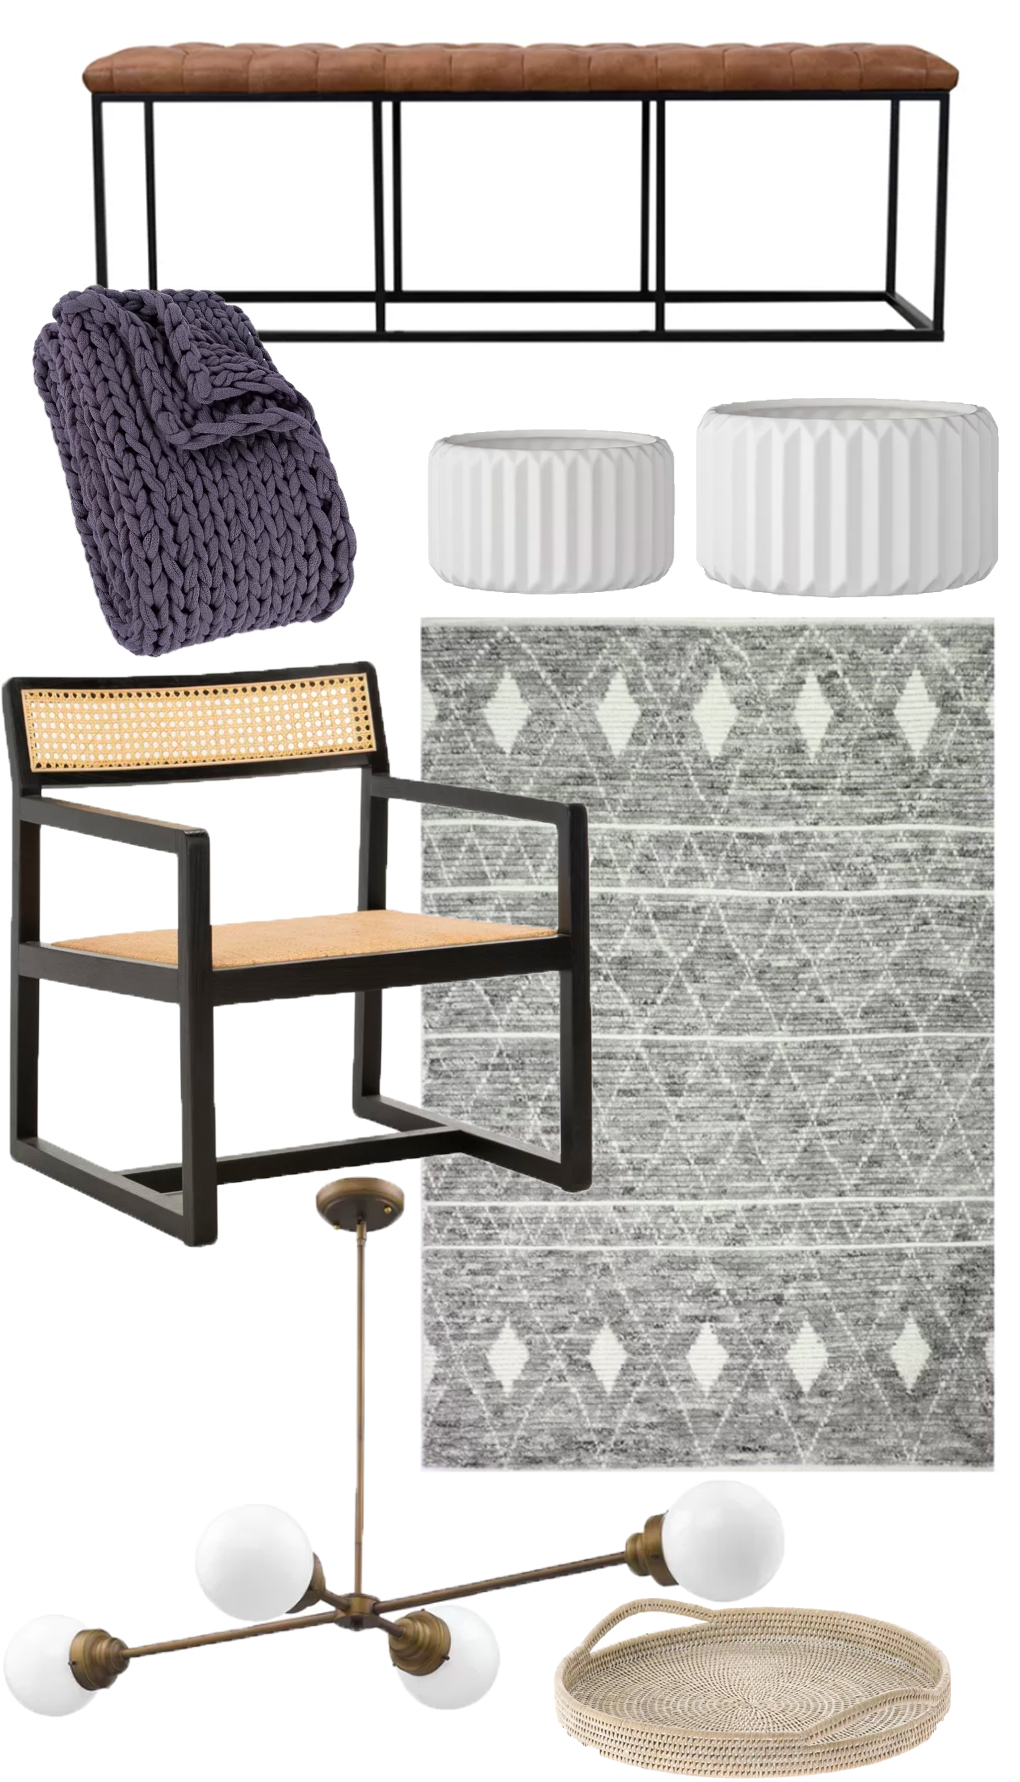
16. Olive & Charcoal Rug – This rug was one of the most popular home items we shared with you this year, and for good reason! If you’re looking for a still neutral but not boring rug with a super convincing vintage look at an incredibly affordable price point, look no further! I only wish it came in sizes bigger than 9×12! I could really use a 10×14 in my living room…

17. Footed Bowl – I love weird little bowls and this one is perfectly wonky with its three little feet and beautiful chalky finish.

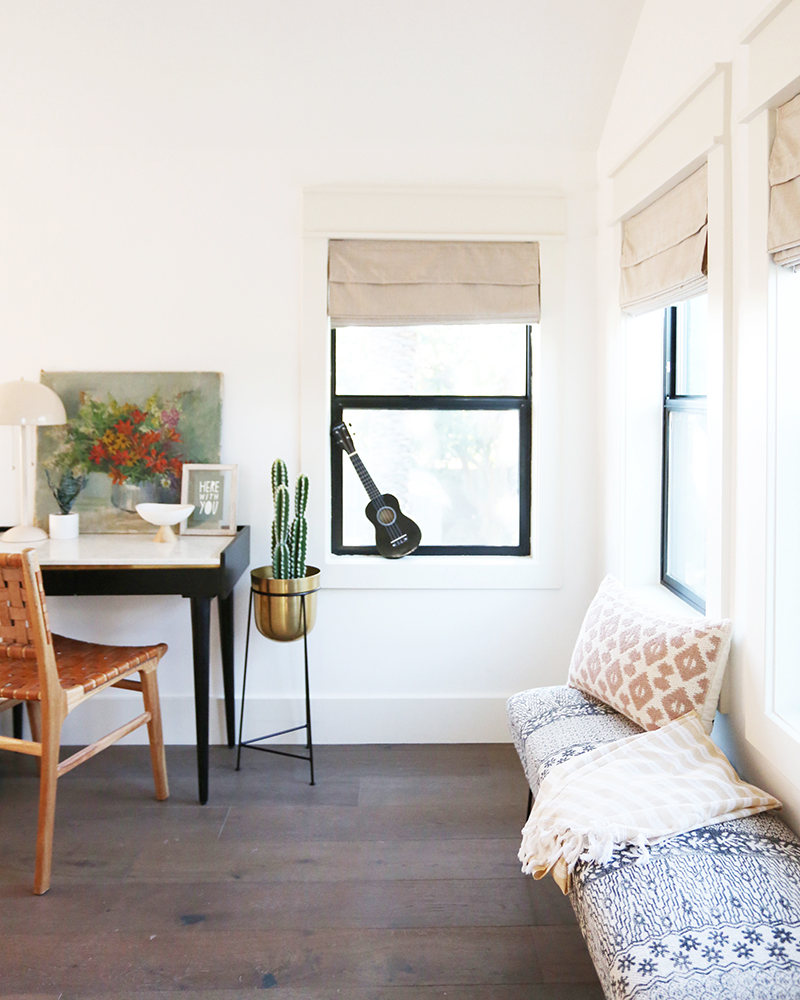
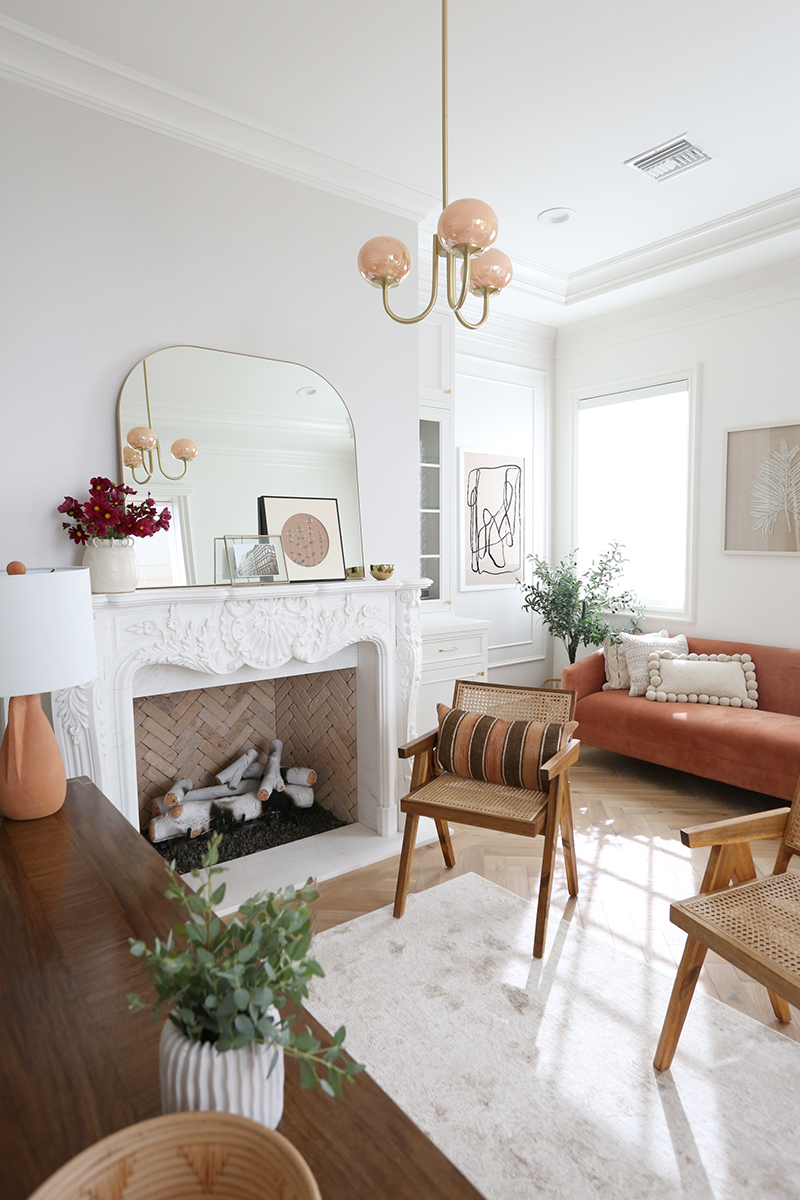
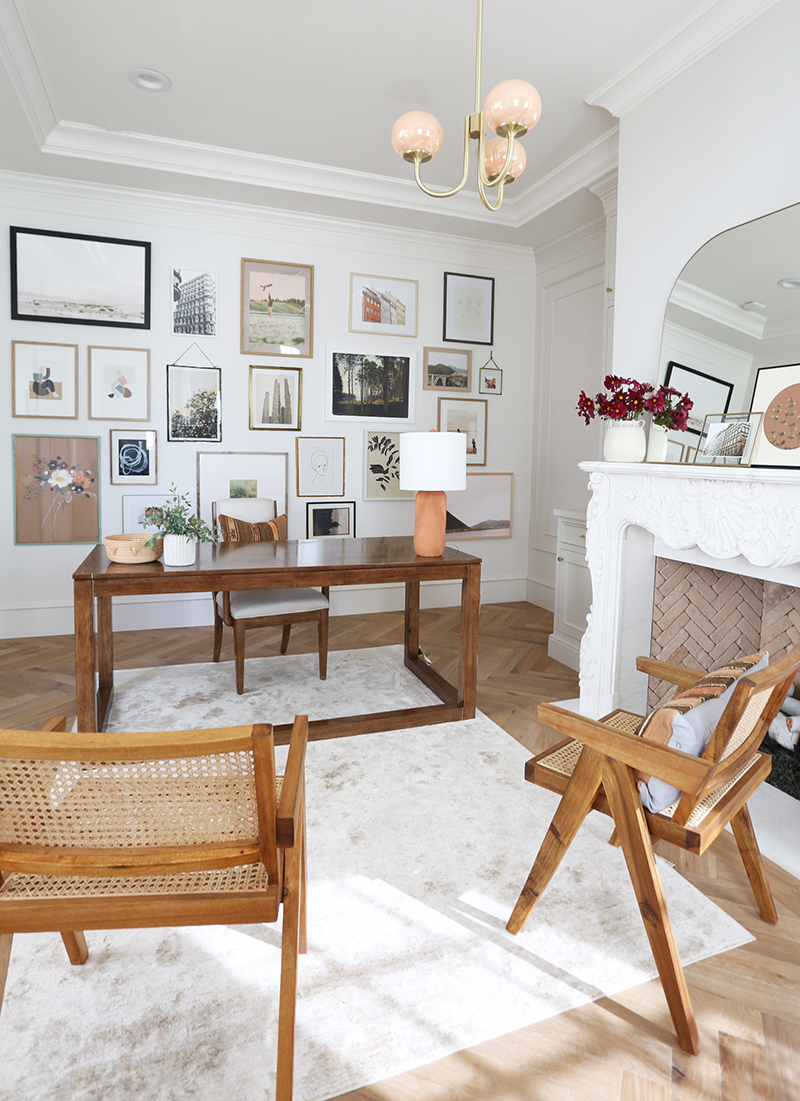
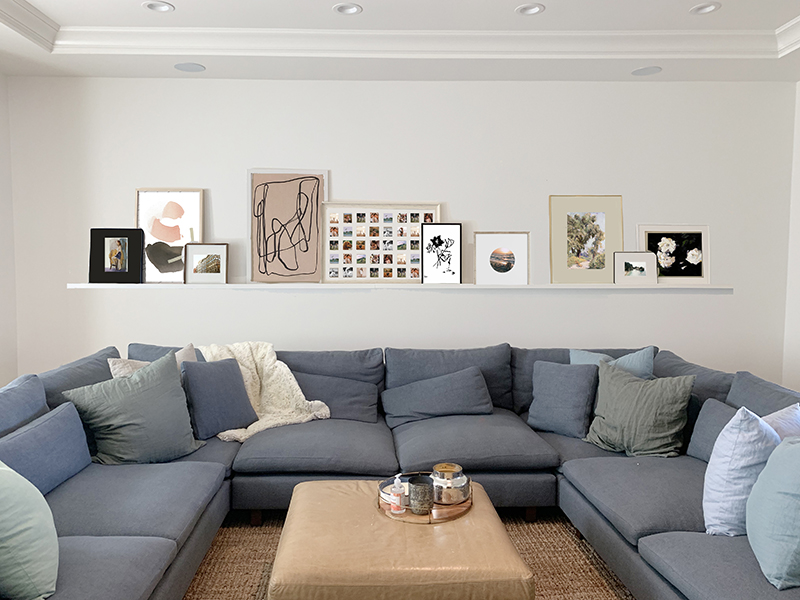
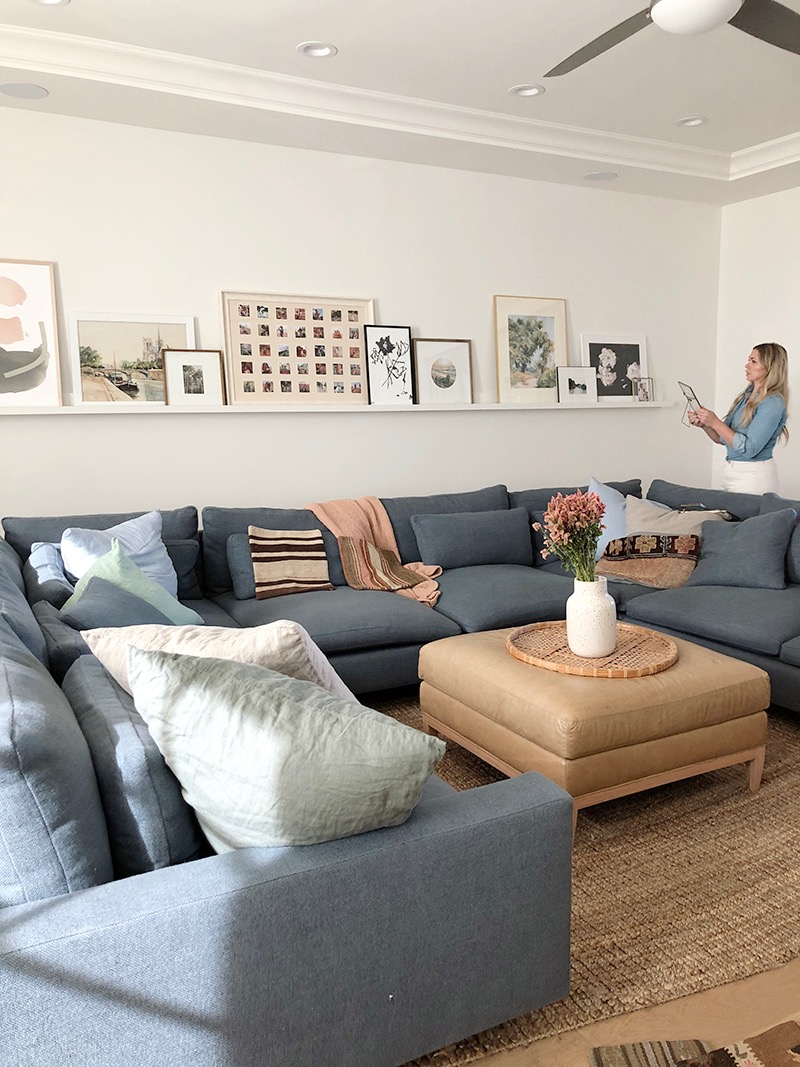
18. Art Easel – For years I’ve been singing praises of using wooden easels like this one for displaying smaller pieces of art on console tables and shelving. Good interiors for me have a lot to do with finding the right mix of enough stuff and not too much. Little tricks like this one help add visual layers in an interesting way without adding a lot of needless visual clutter.

19. Benjamin Moore Color Preview Paint Deck – I posted about my favorite Benjamin Moore paint deck recently and so many of you were interested in having one for yourself! I find myself using the Color Preview version more than the Classic Colors deck. It might seem like a strange thing to put in a gift guide for most people, but I think we aren’t most people. I’m definitely the type of person that would love a new paint deck in my stocking! :)

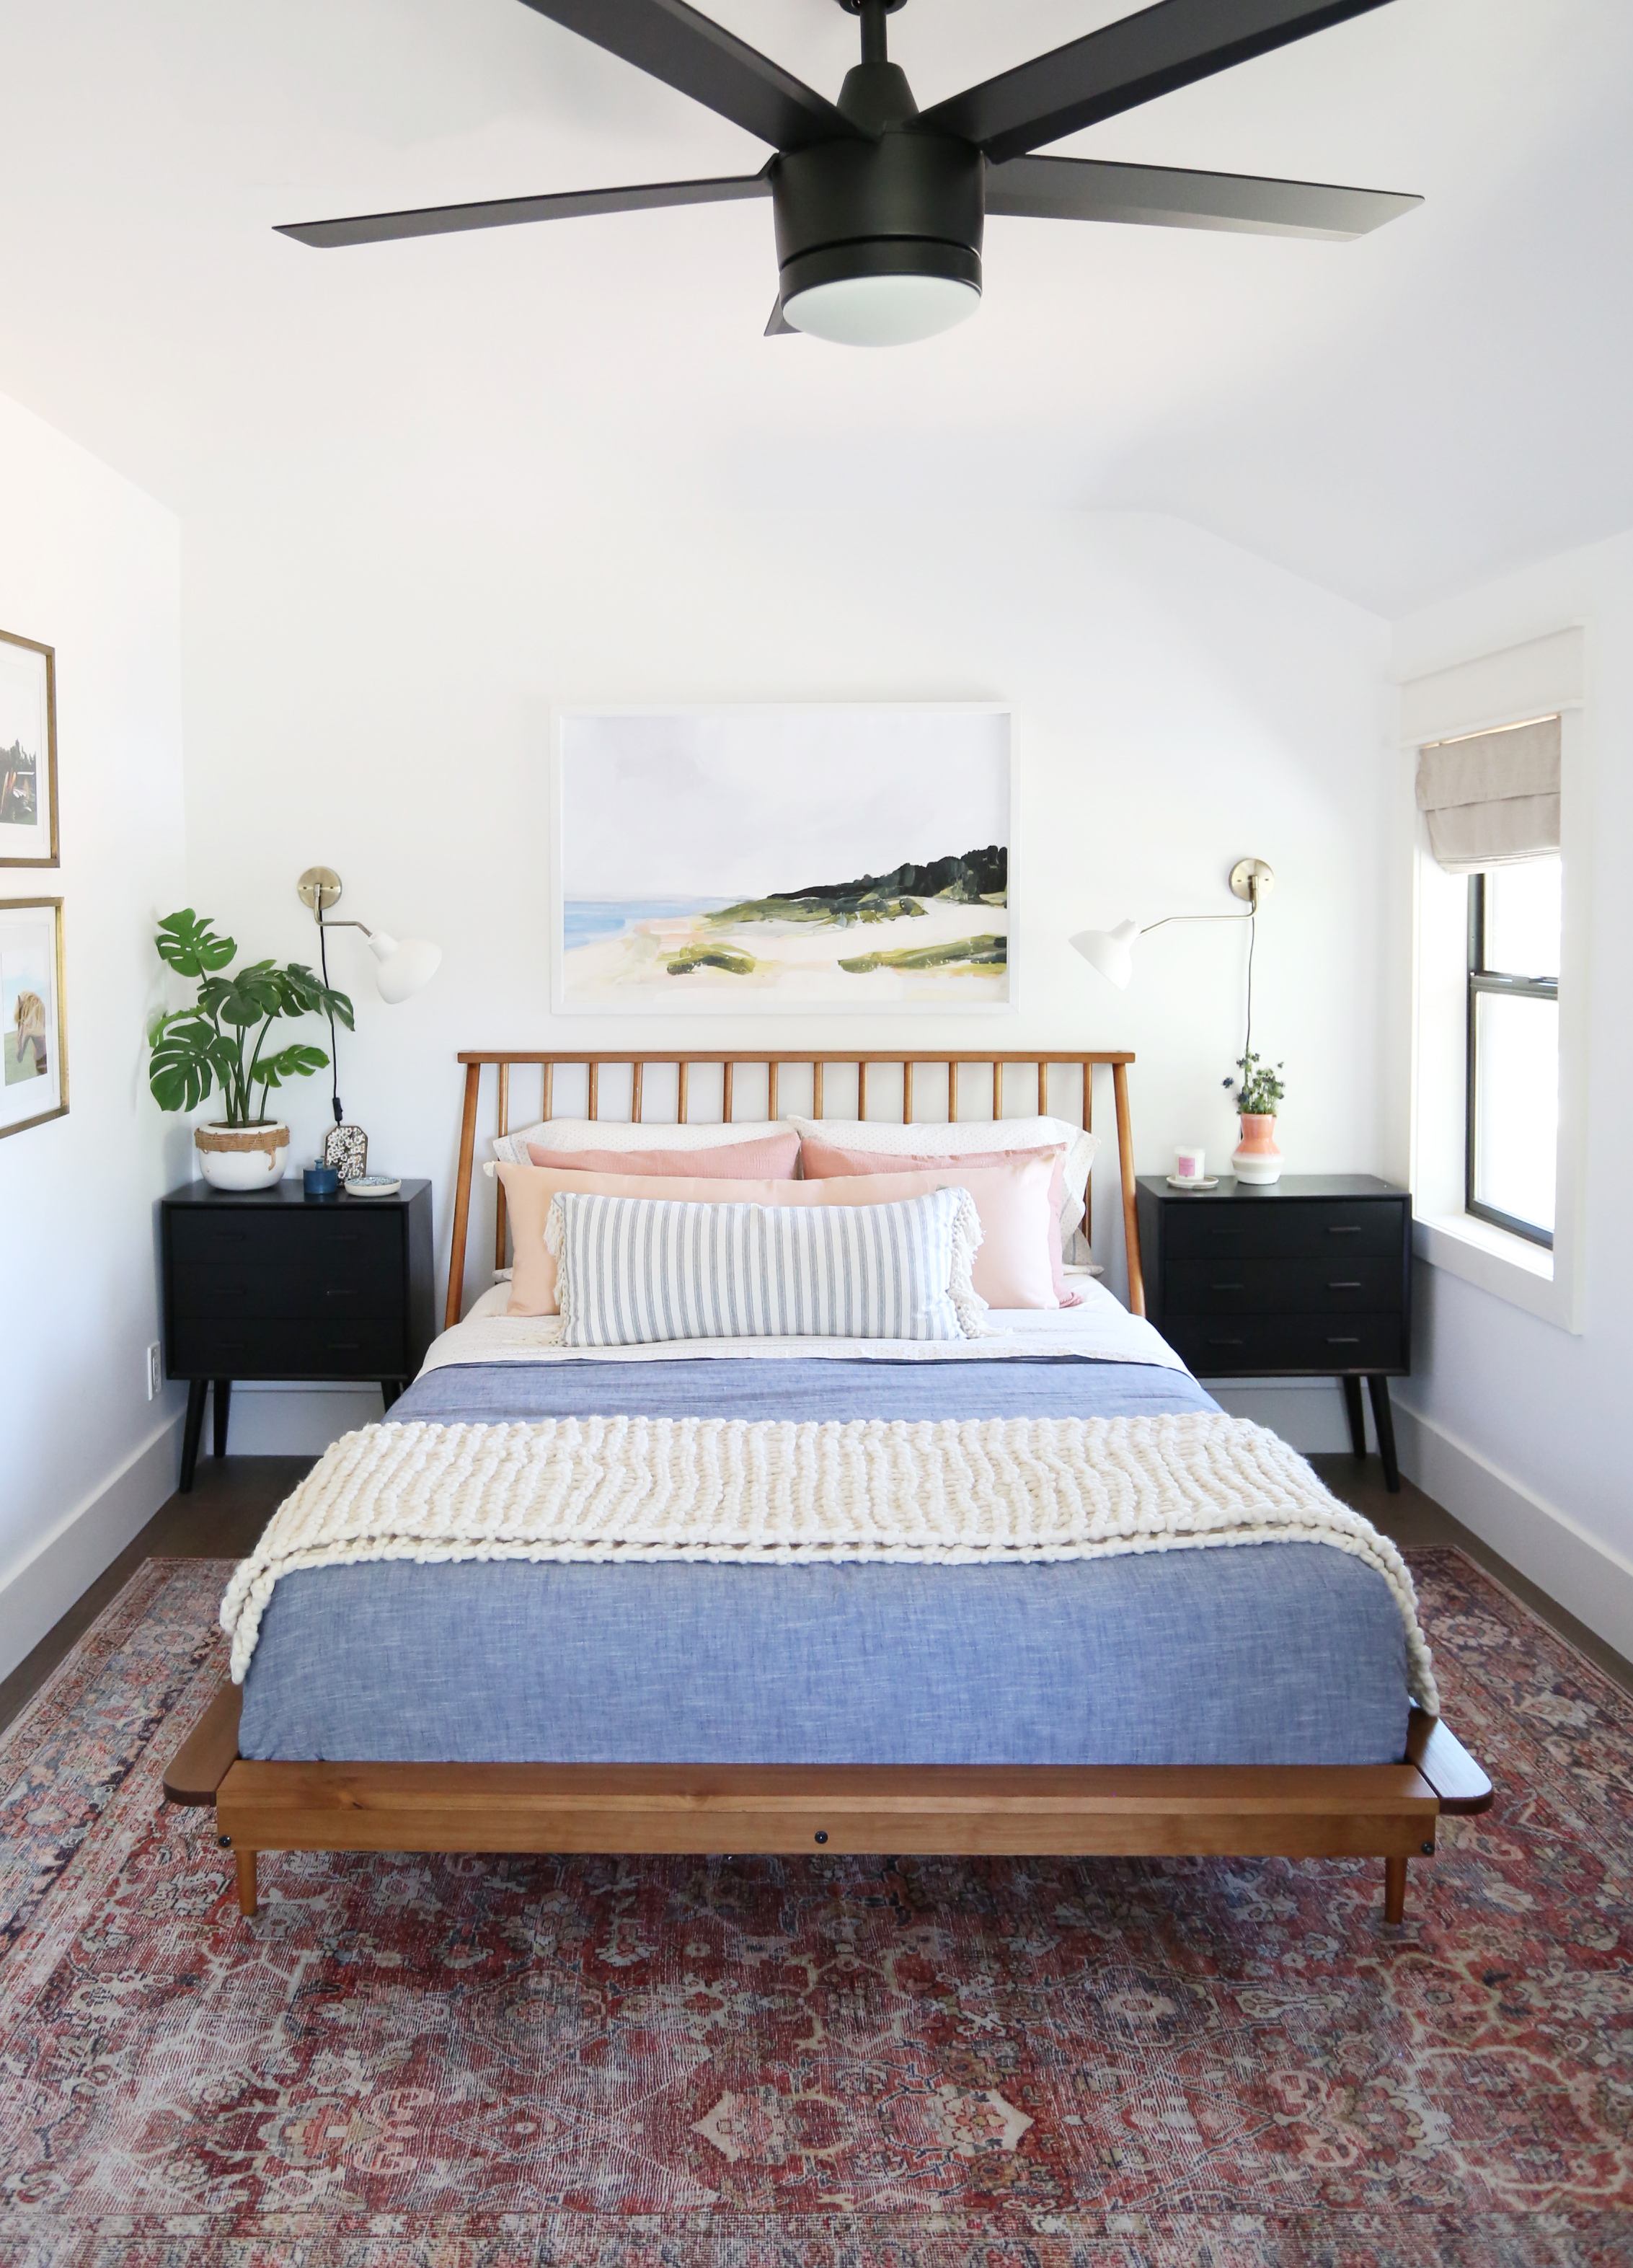
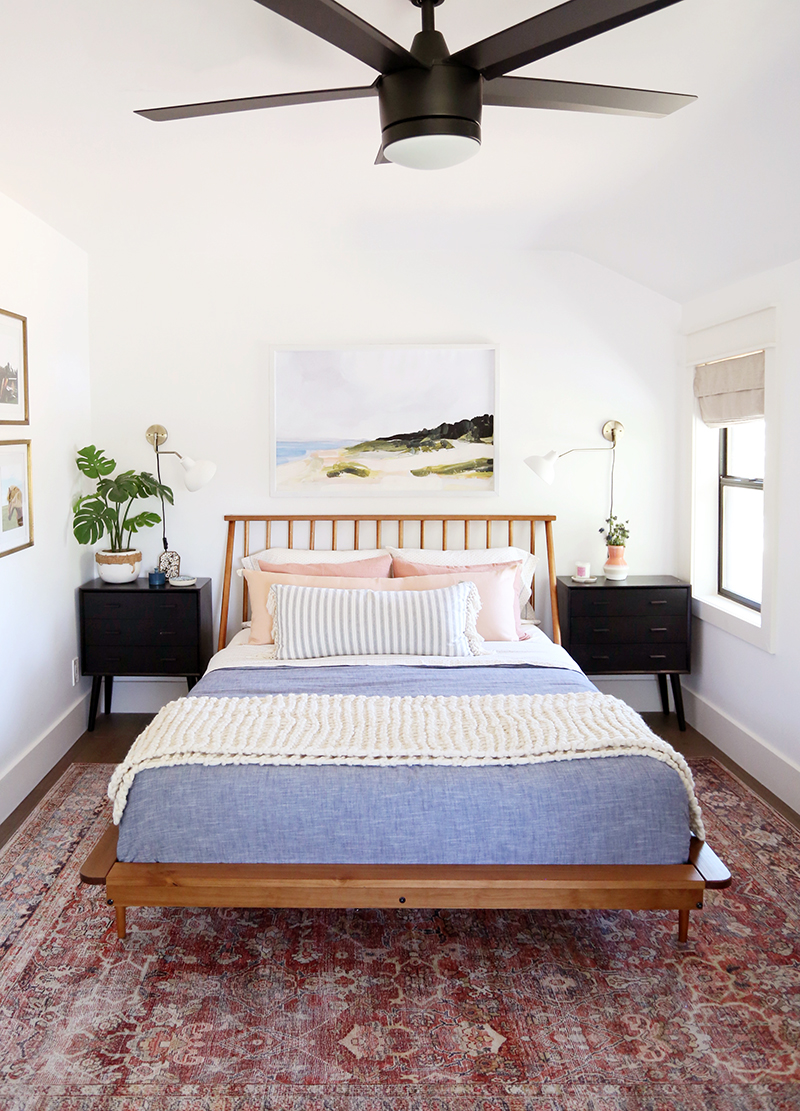
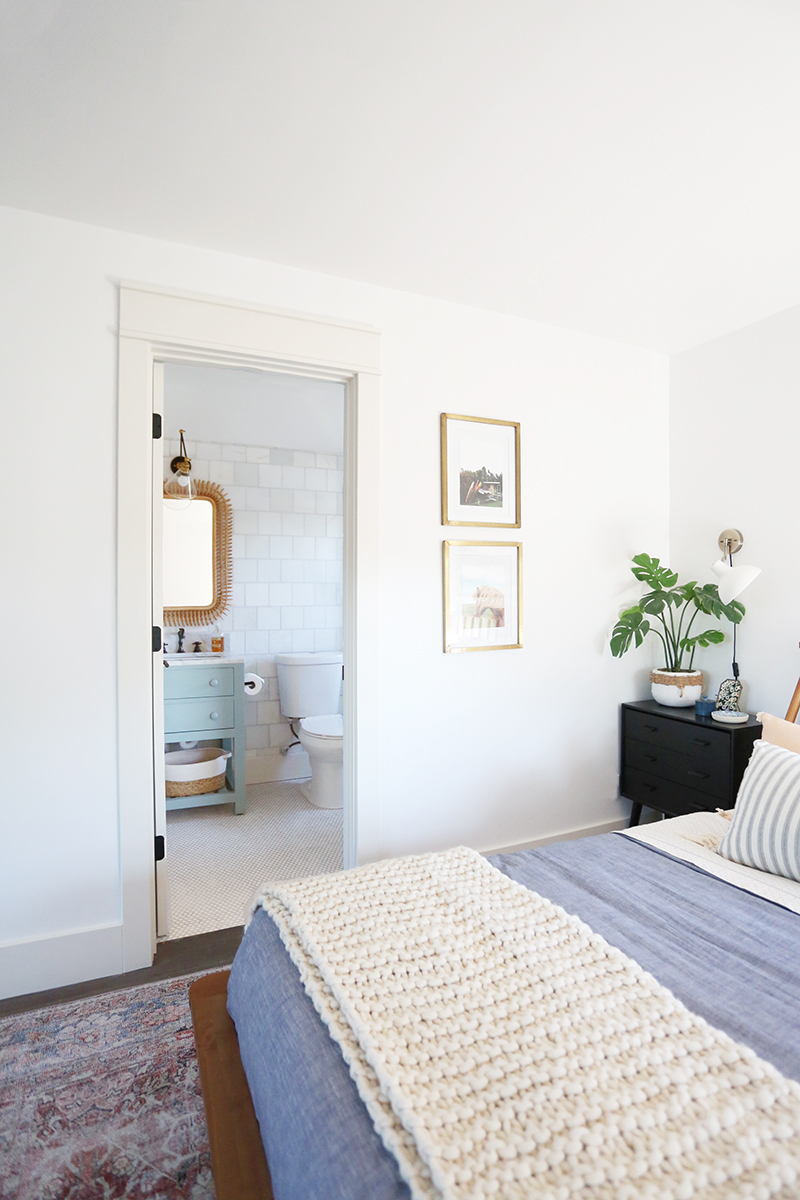
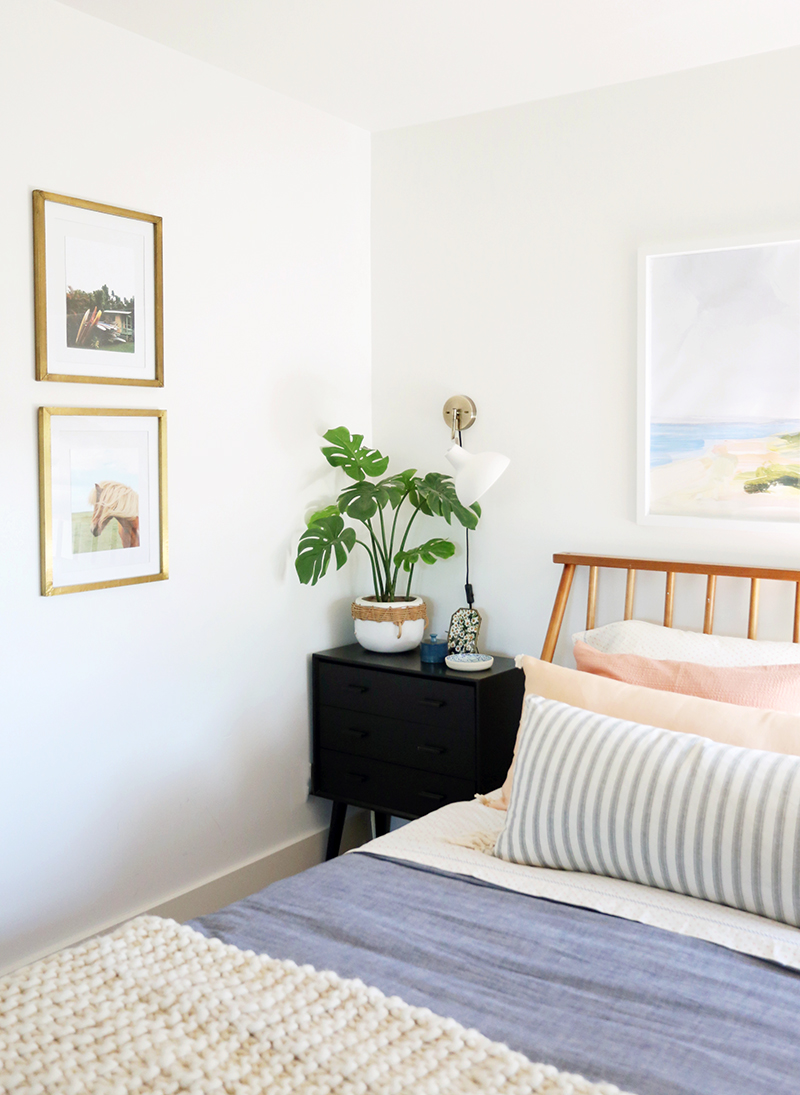
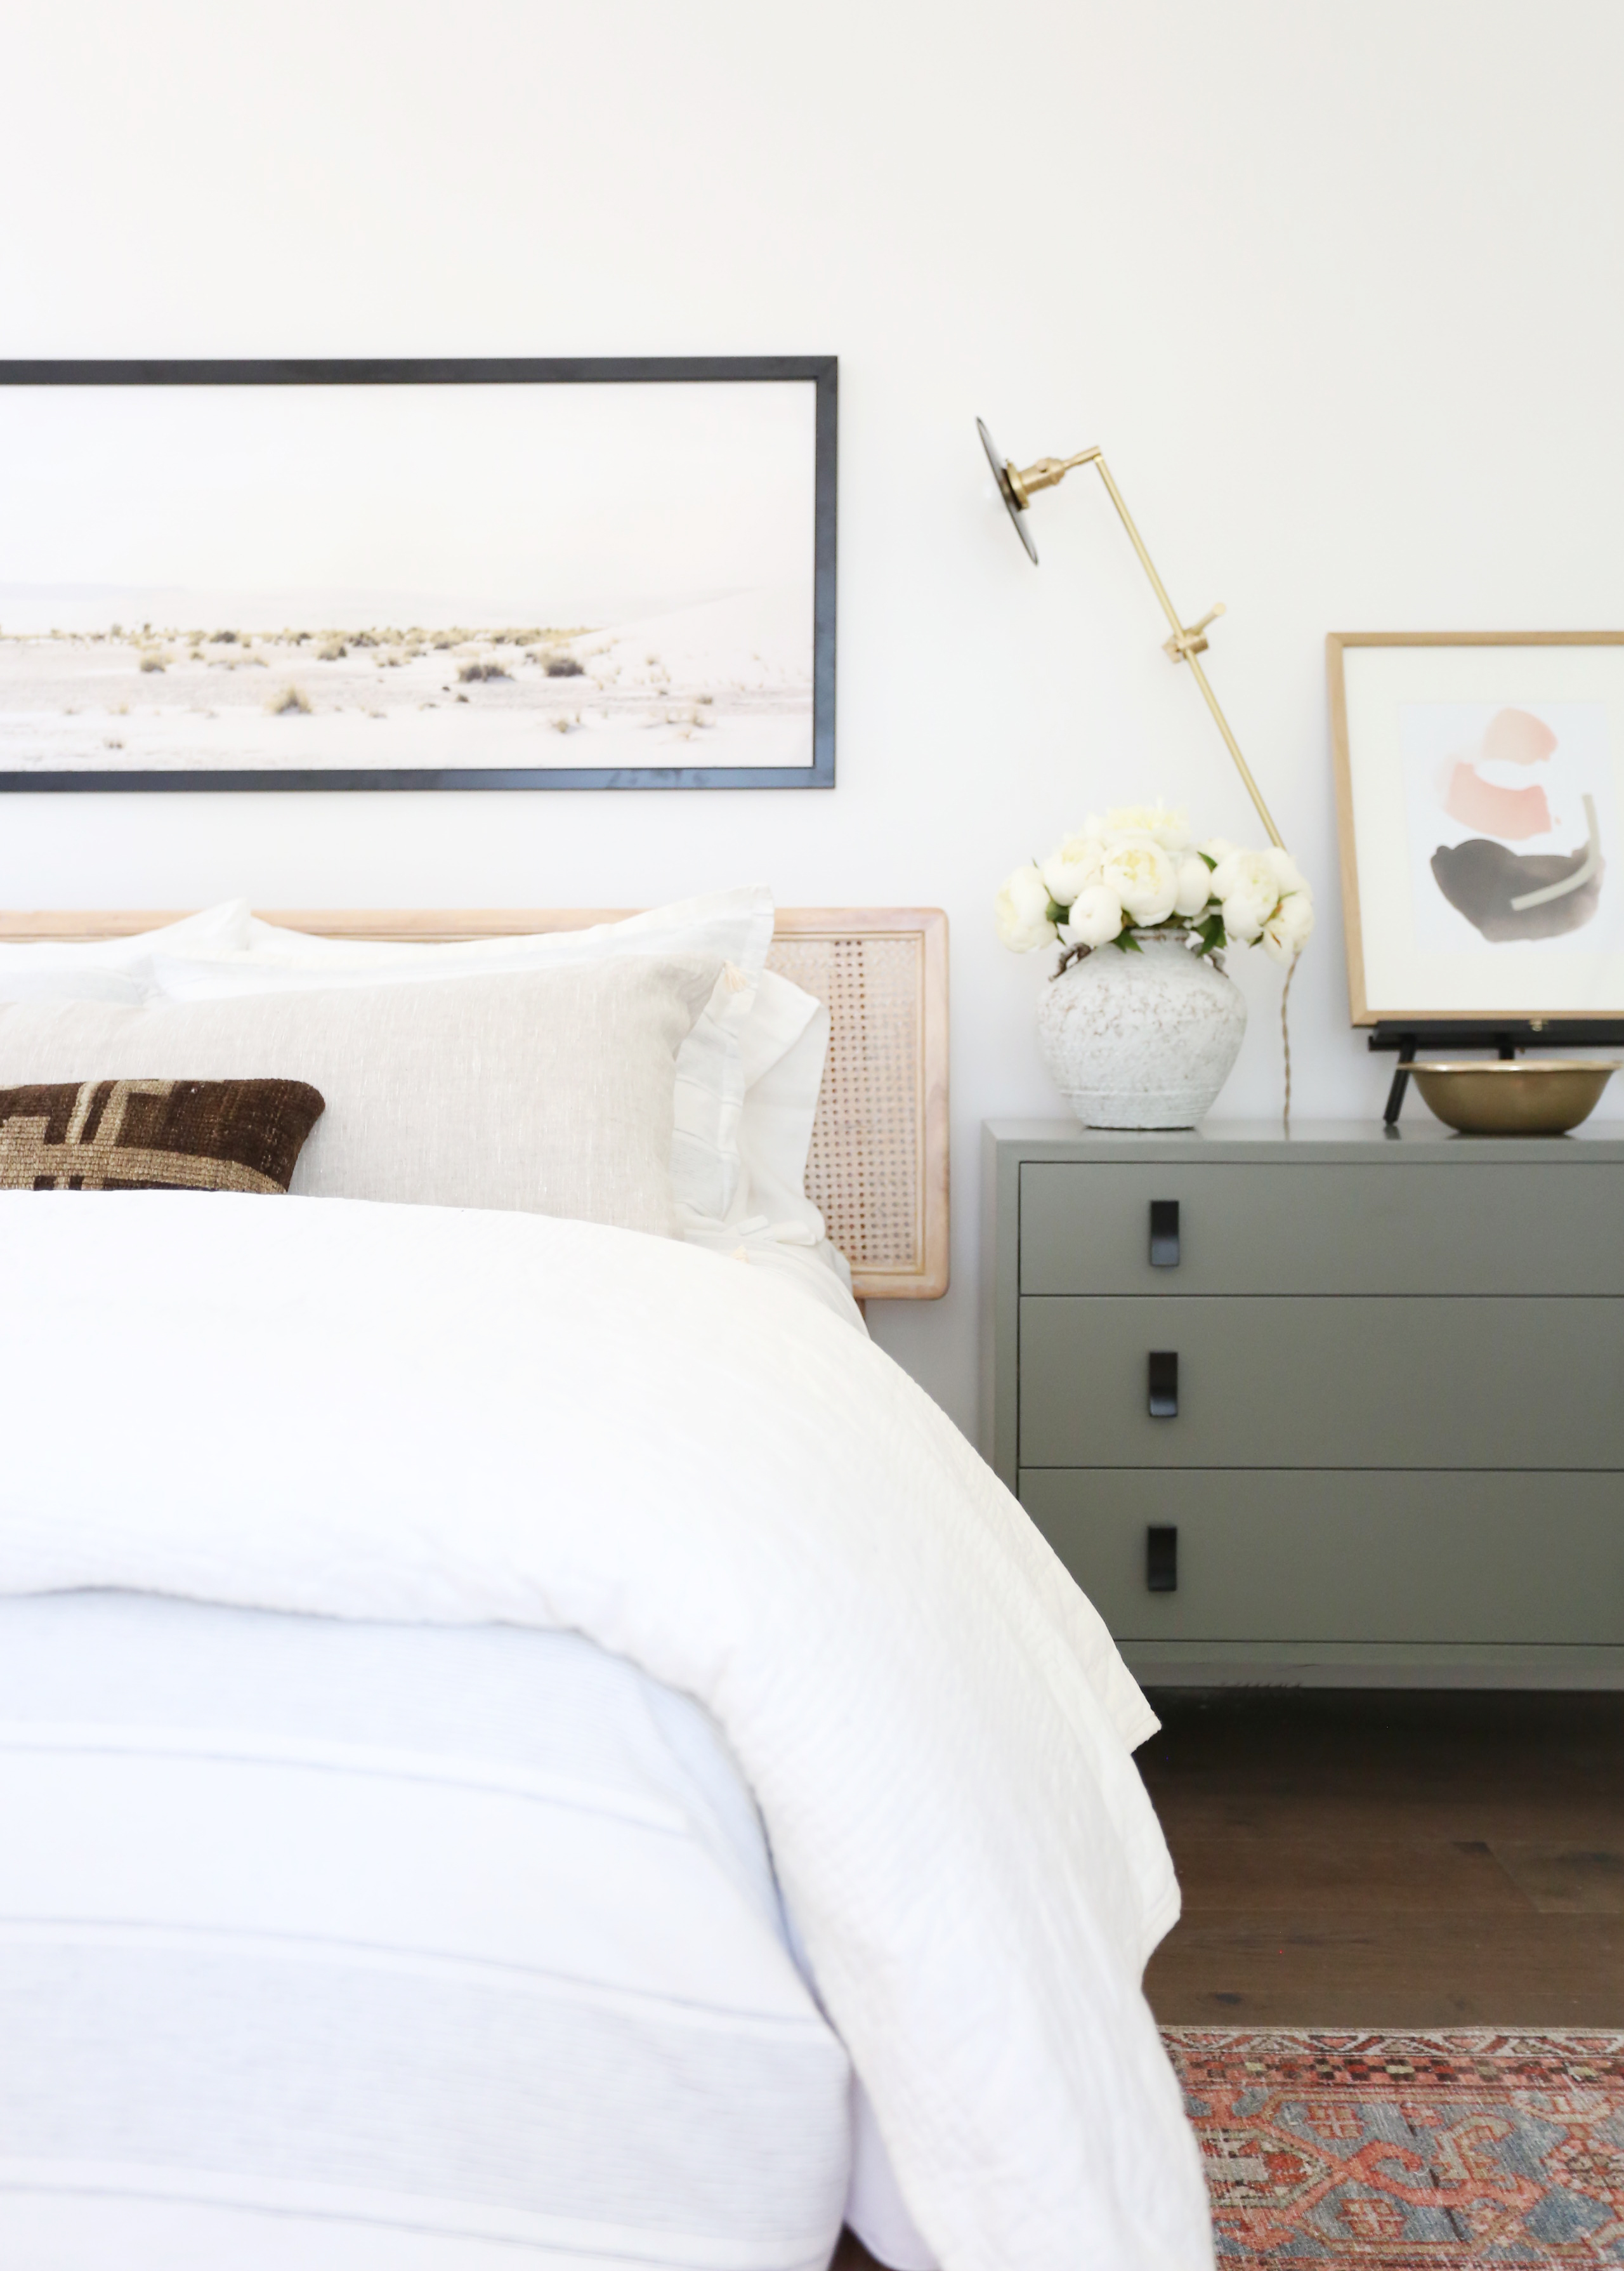
20. Chambray Linen Duvet Cover – Chambray is such a great neutral in fashion and also in interiors! I love this great and affordable chambray linen bedding we discovered on Amazon this year and so many of you loved seeing this bedding in our Evergreen Teen bedroom reveal!

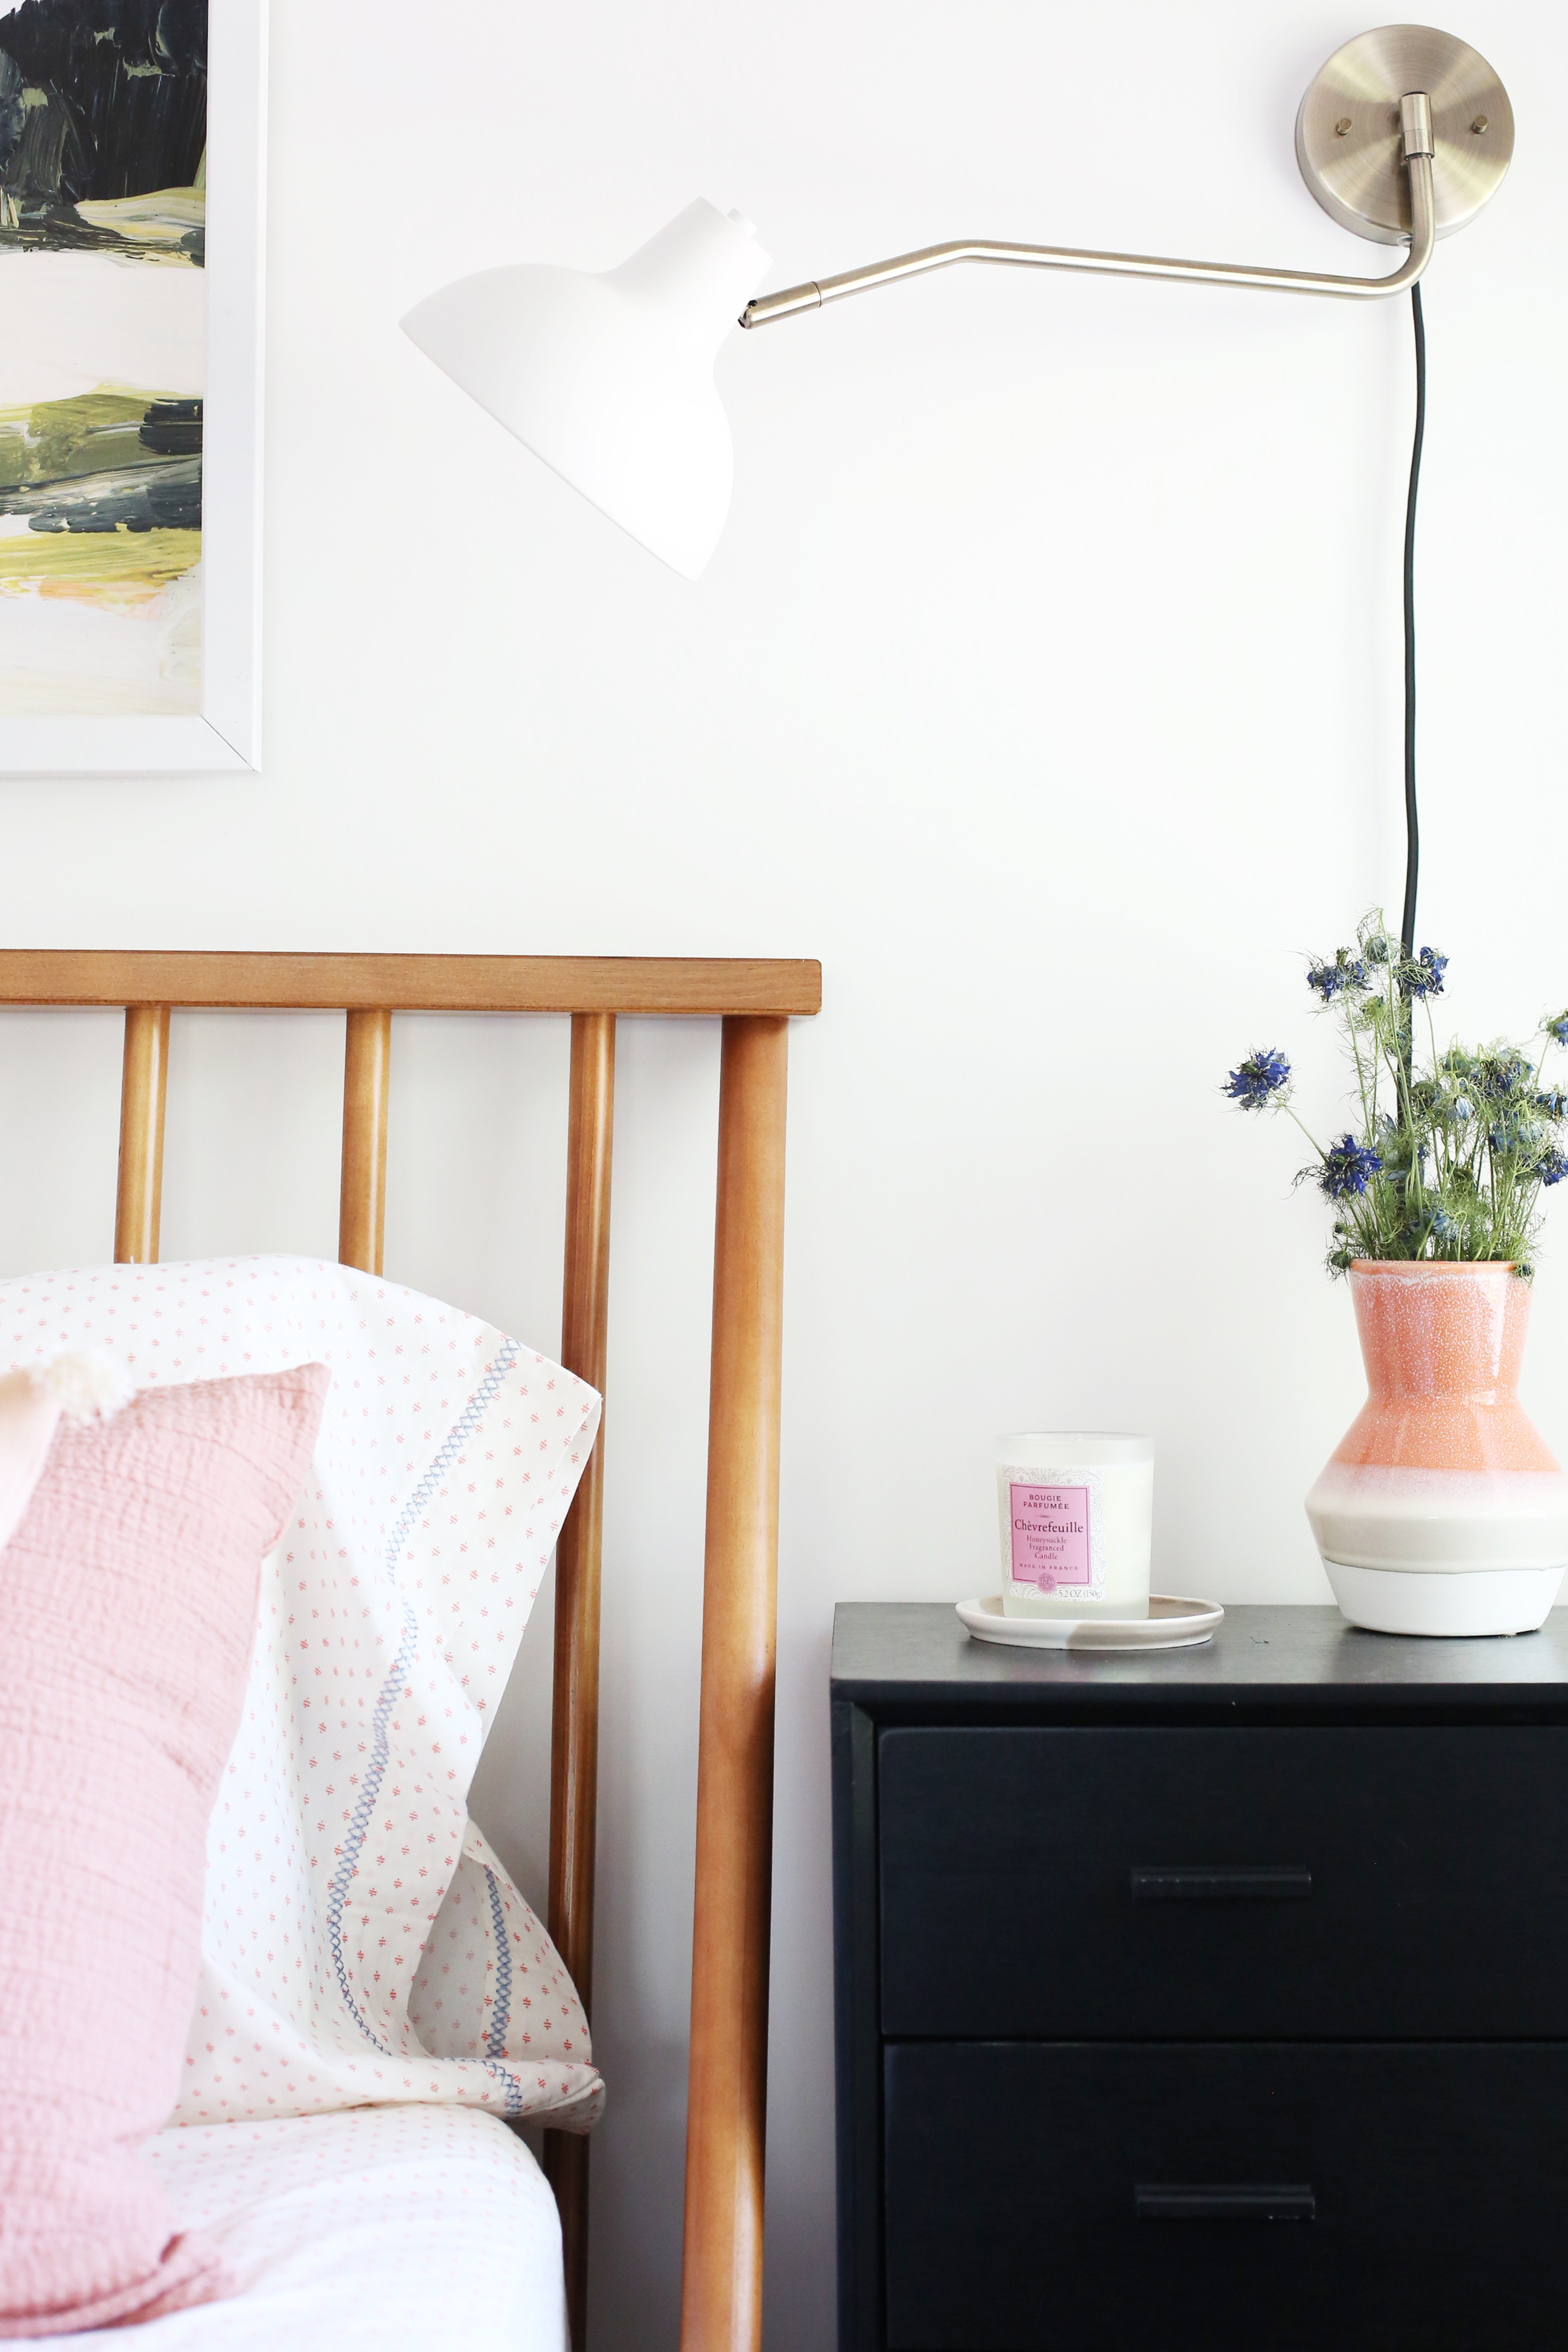
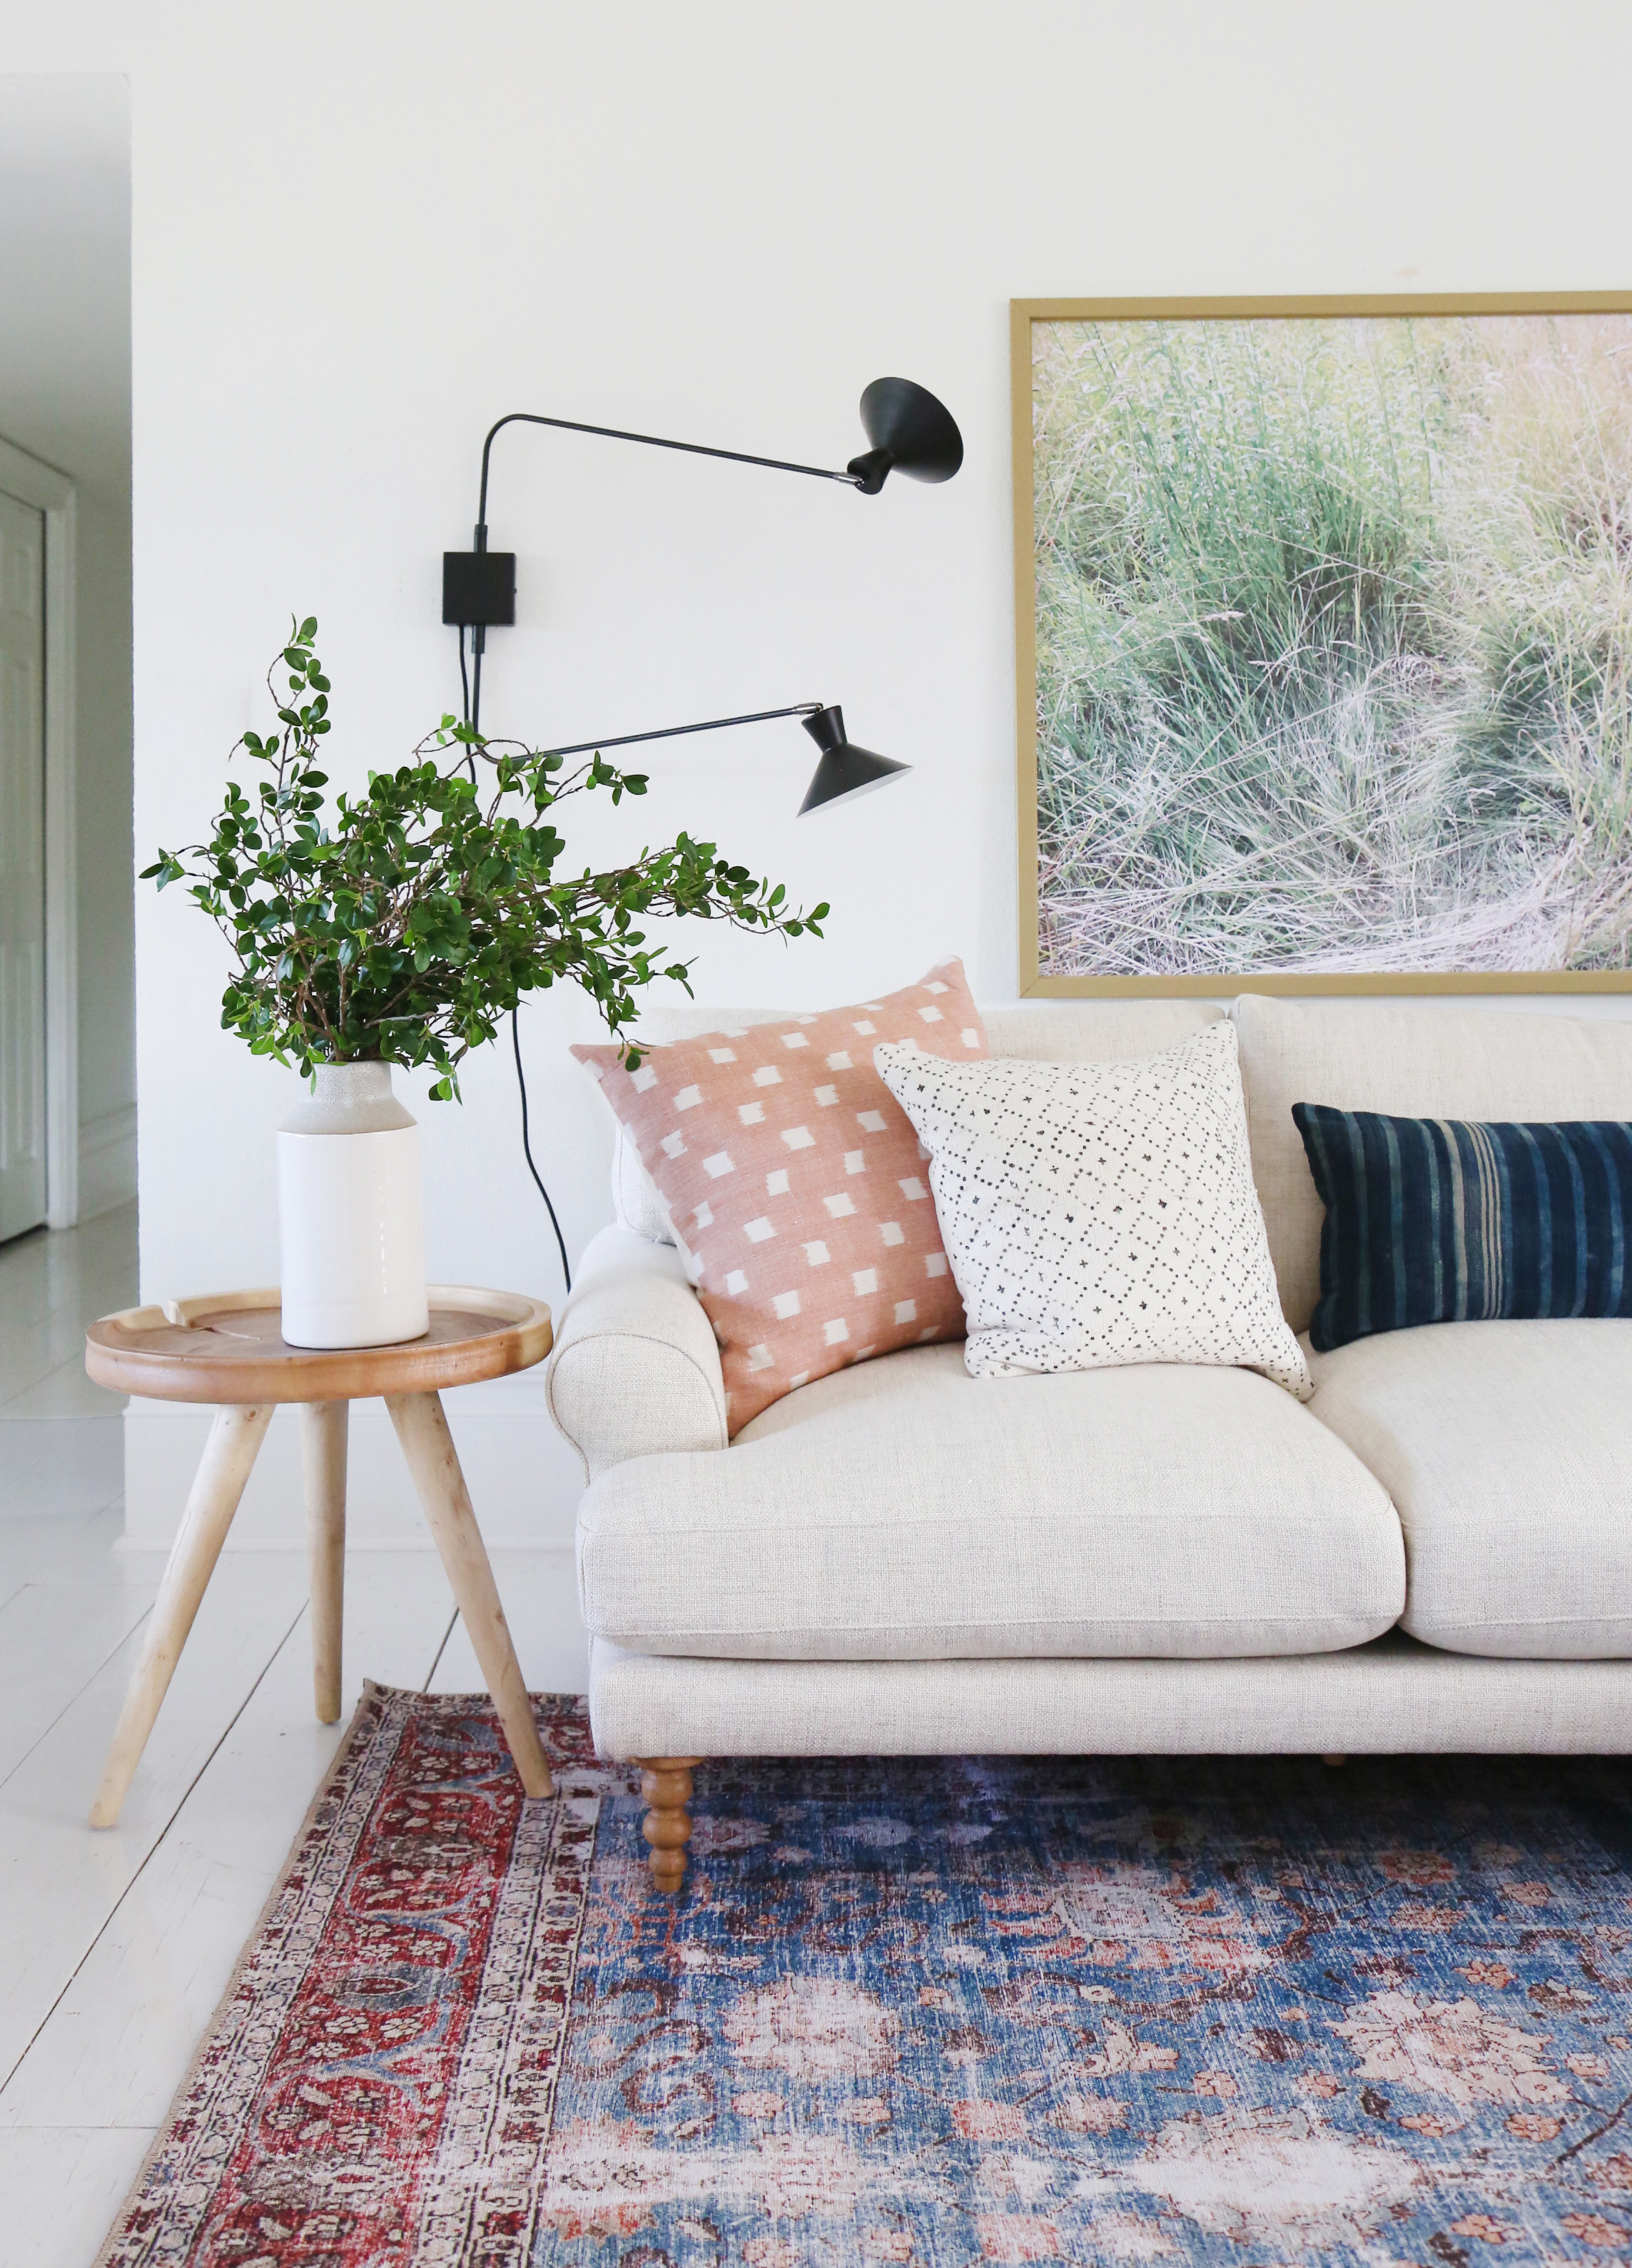
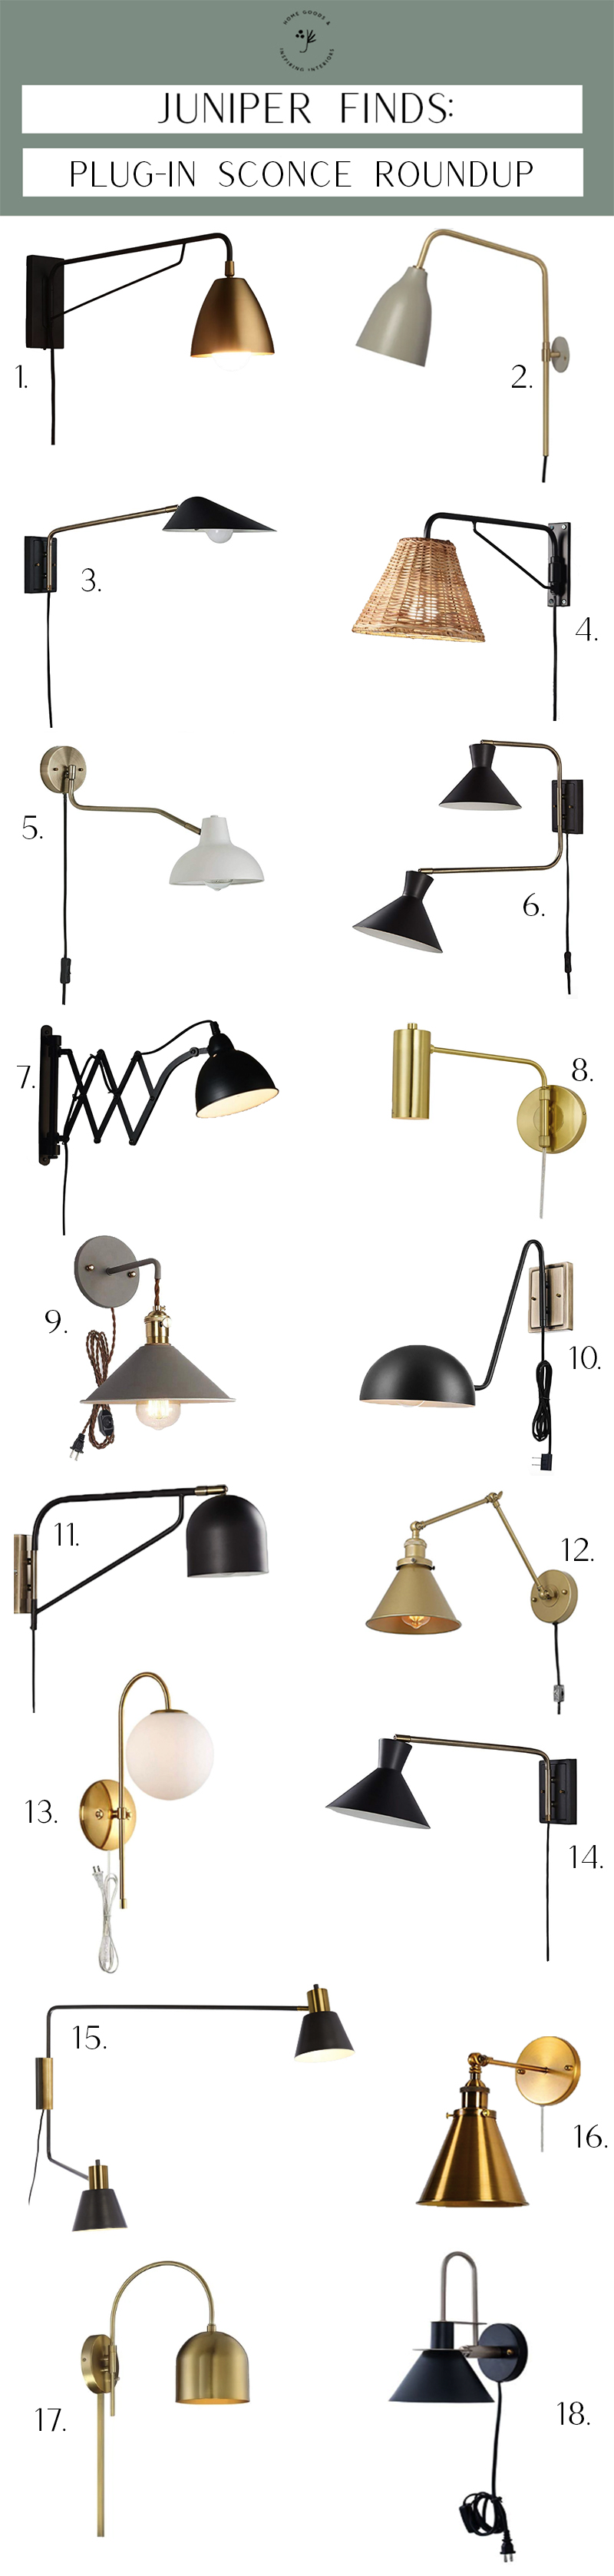
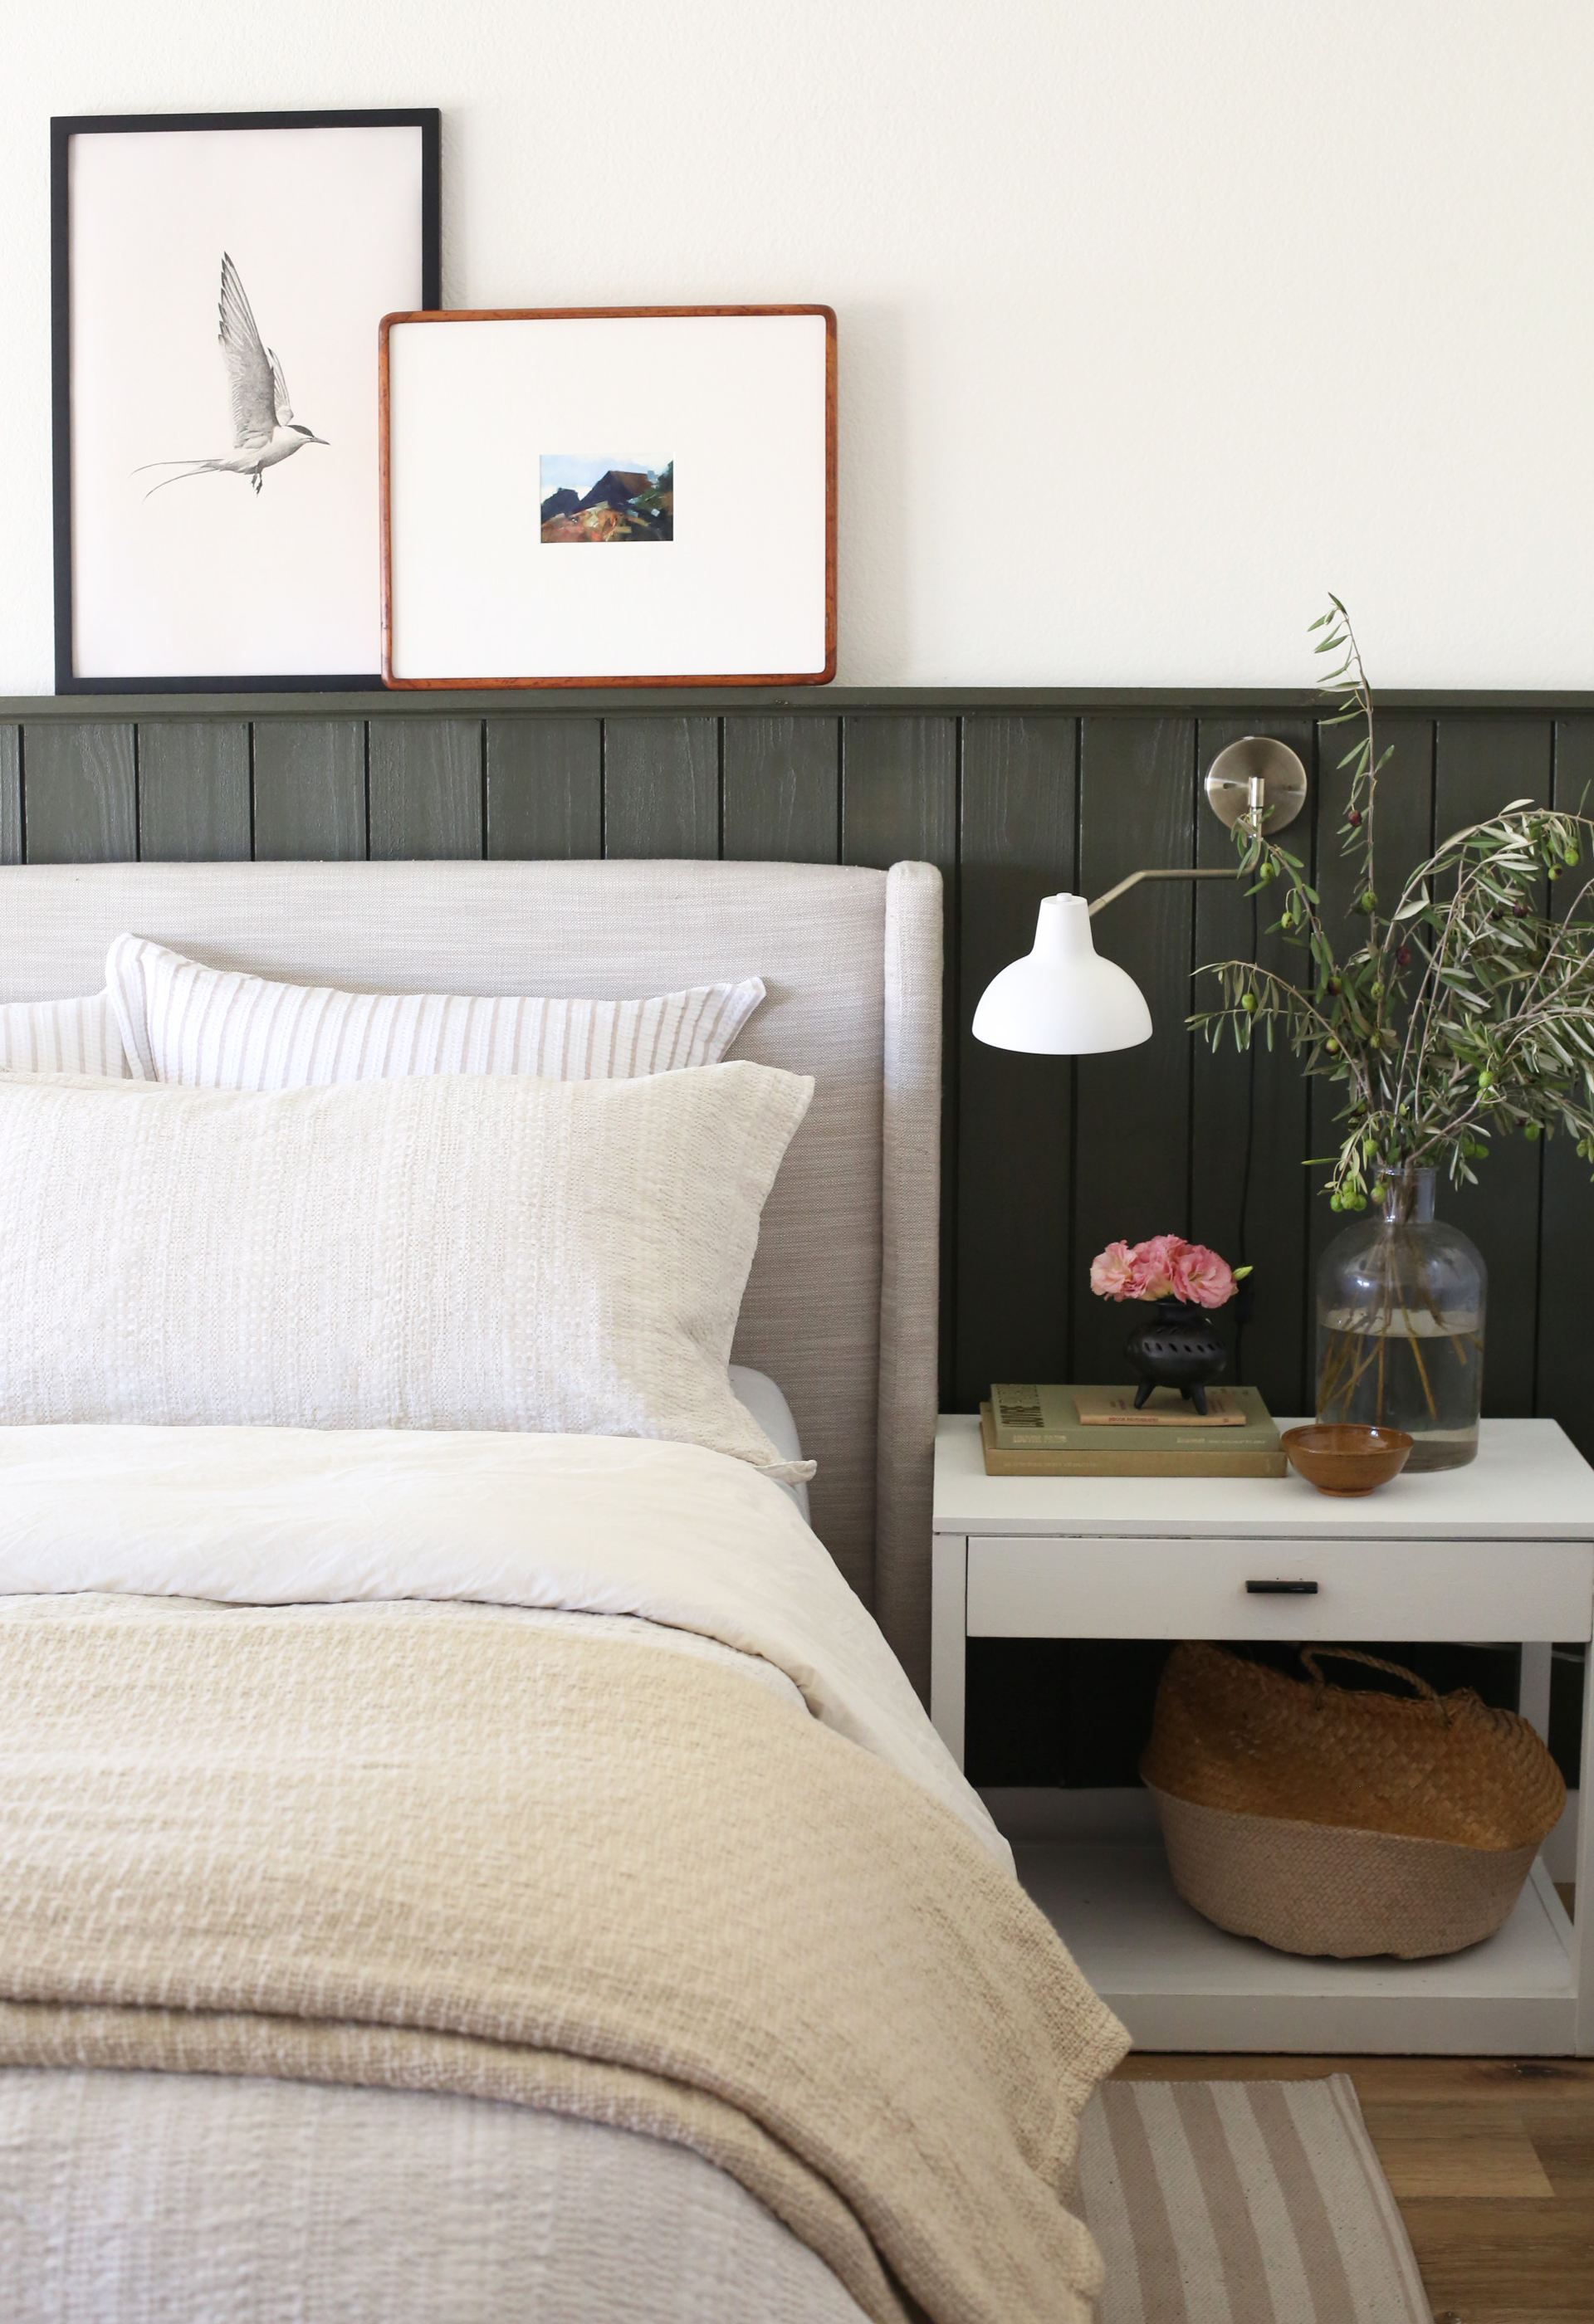
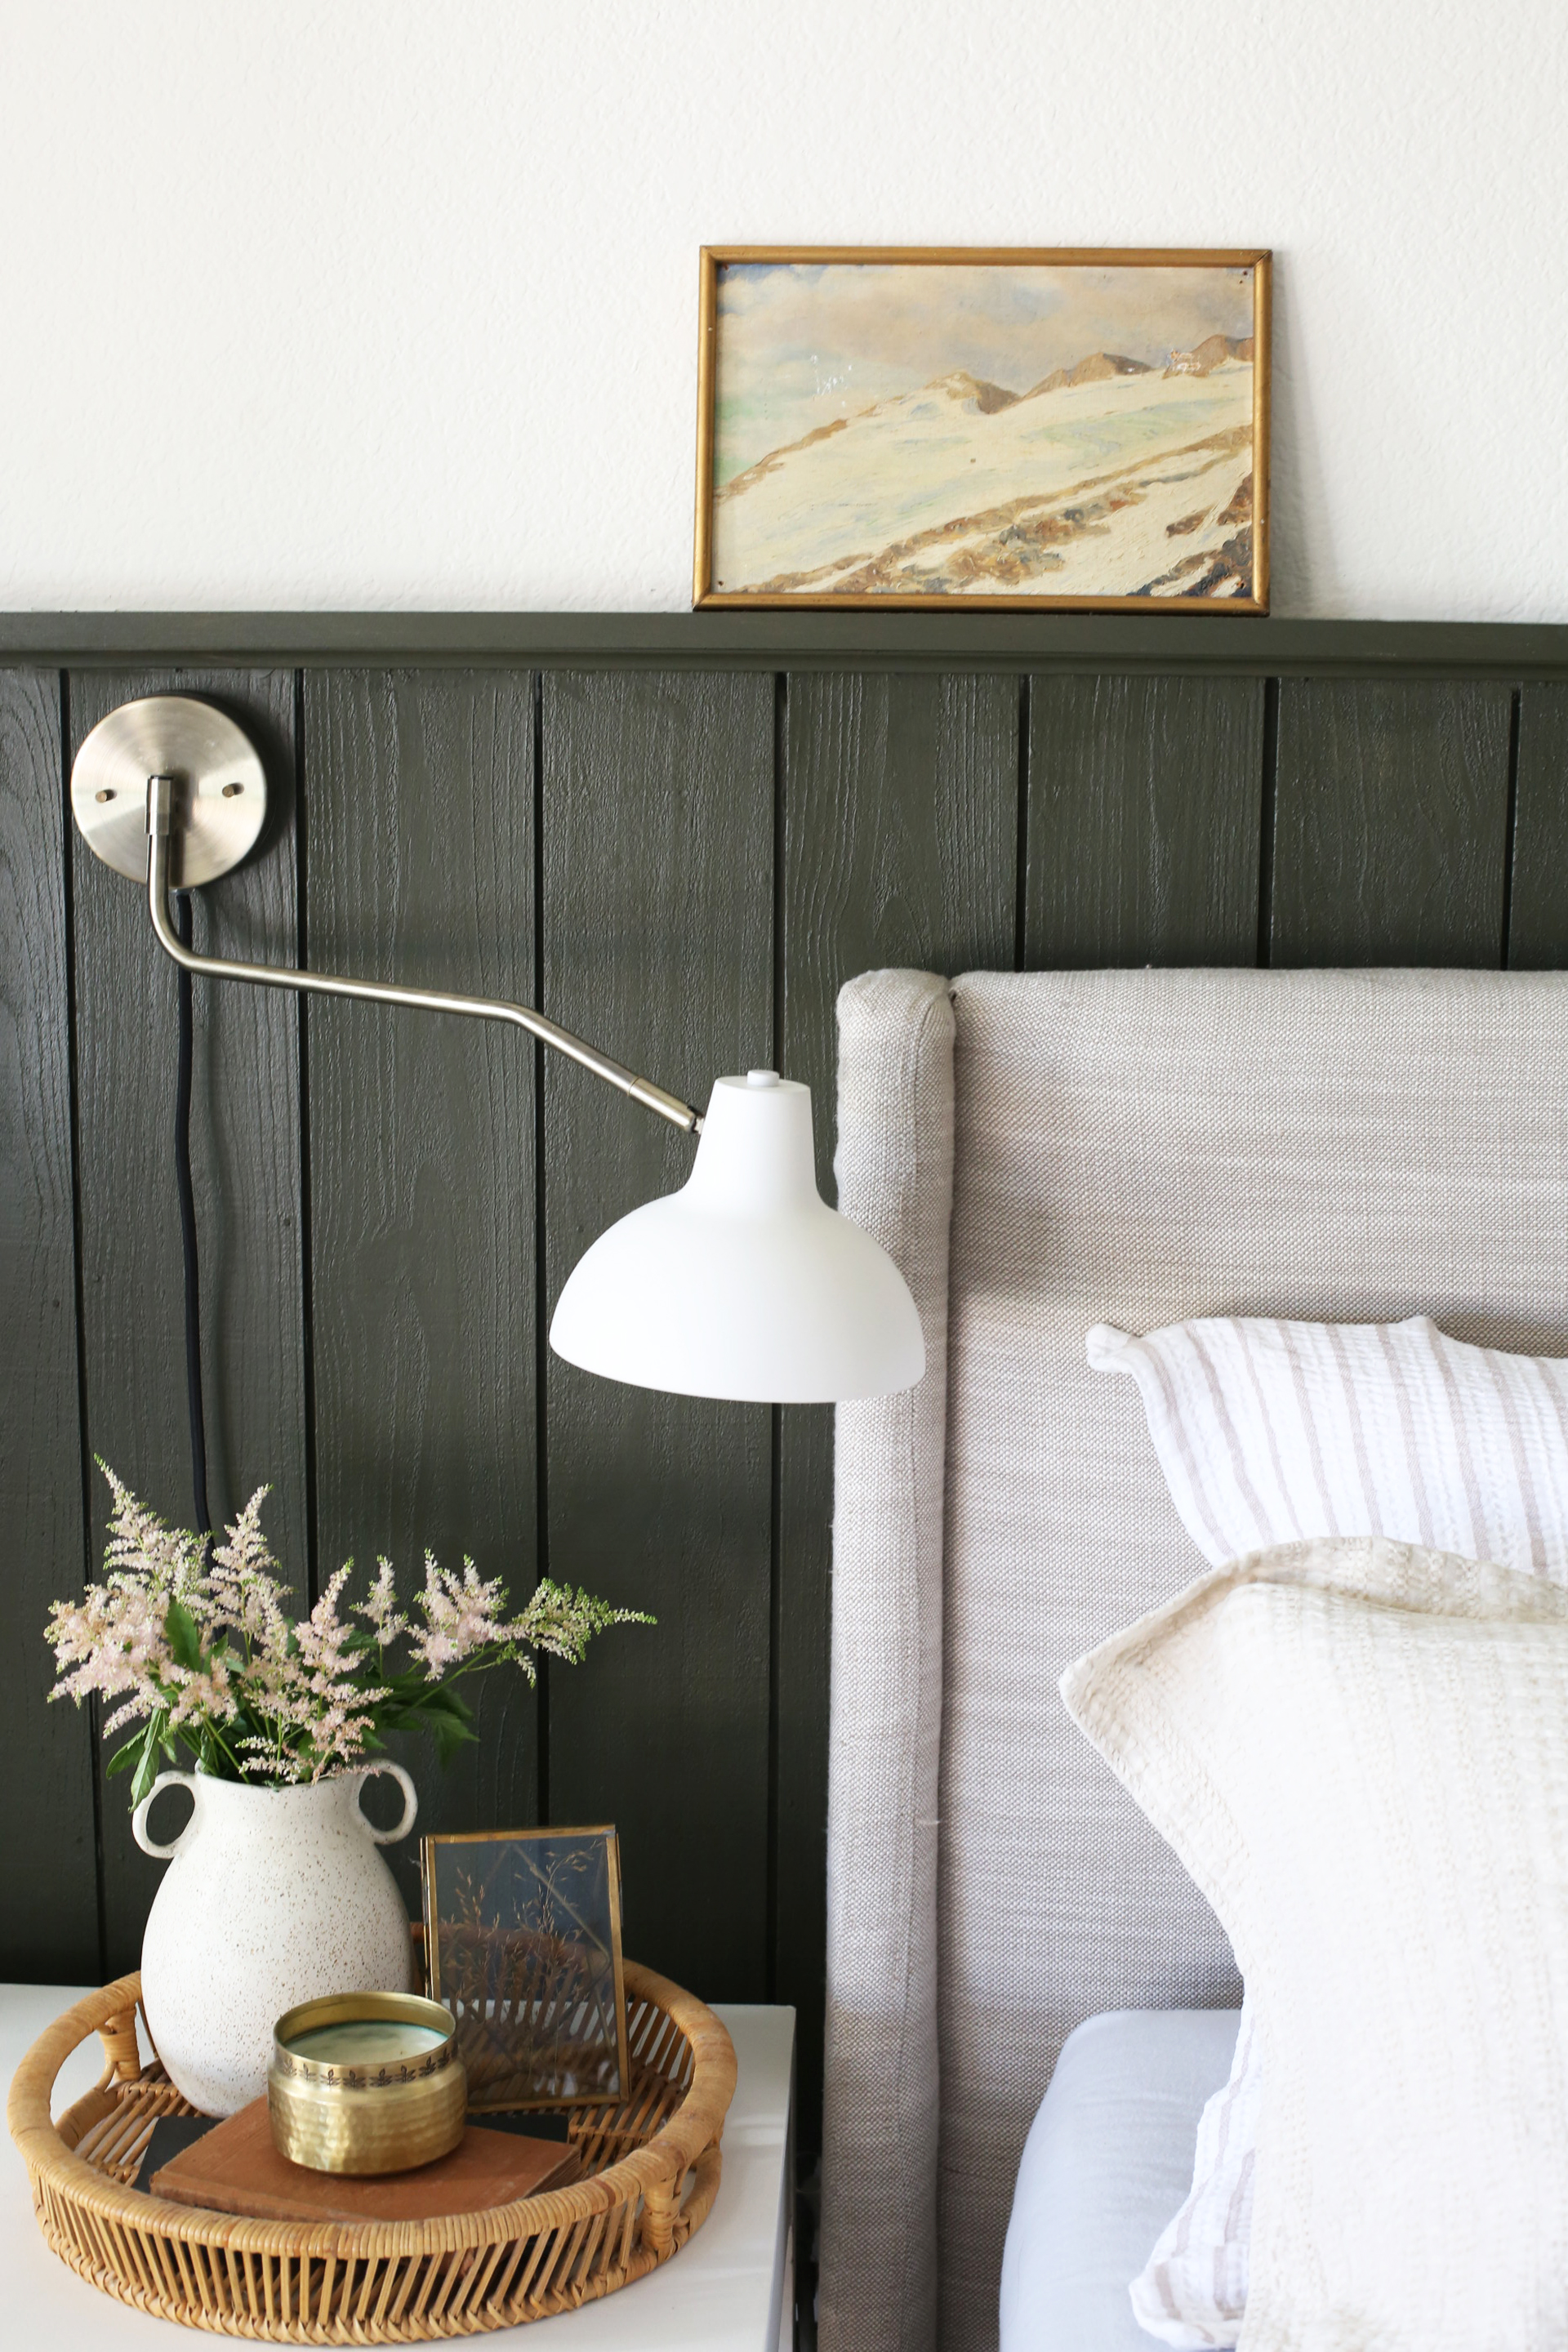
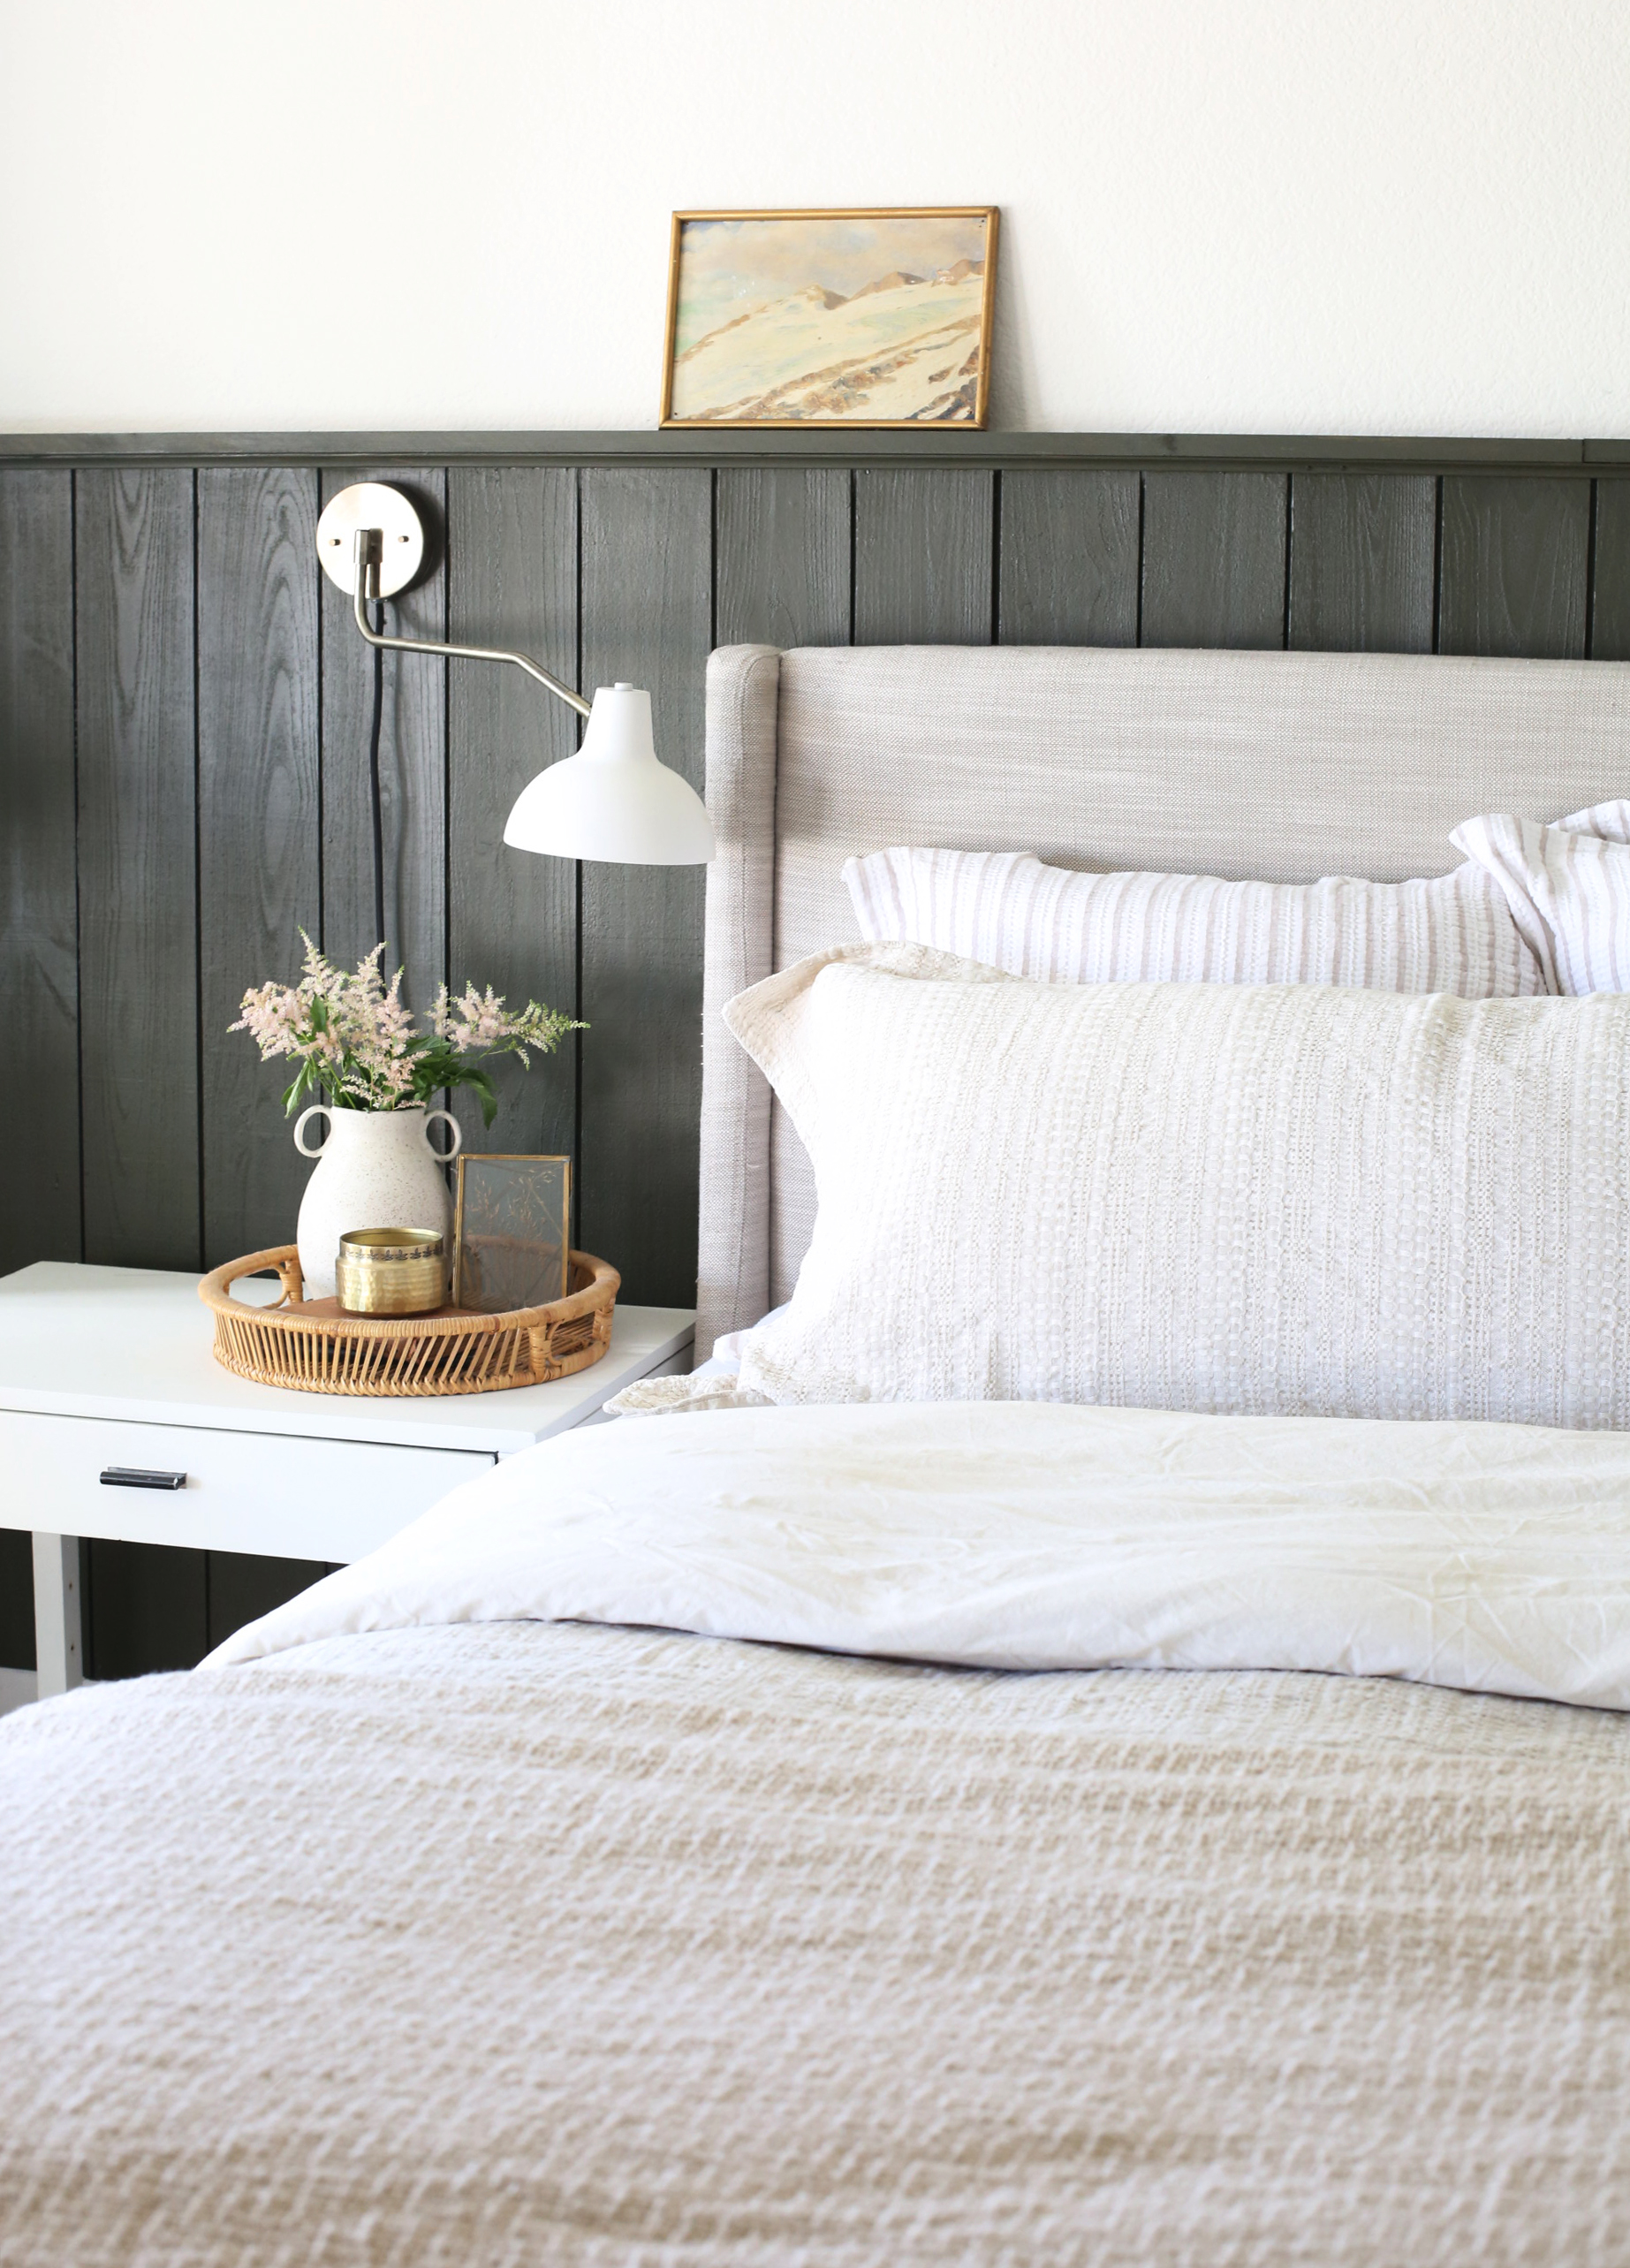
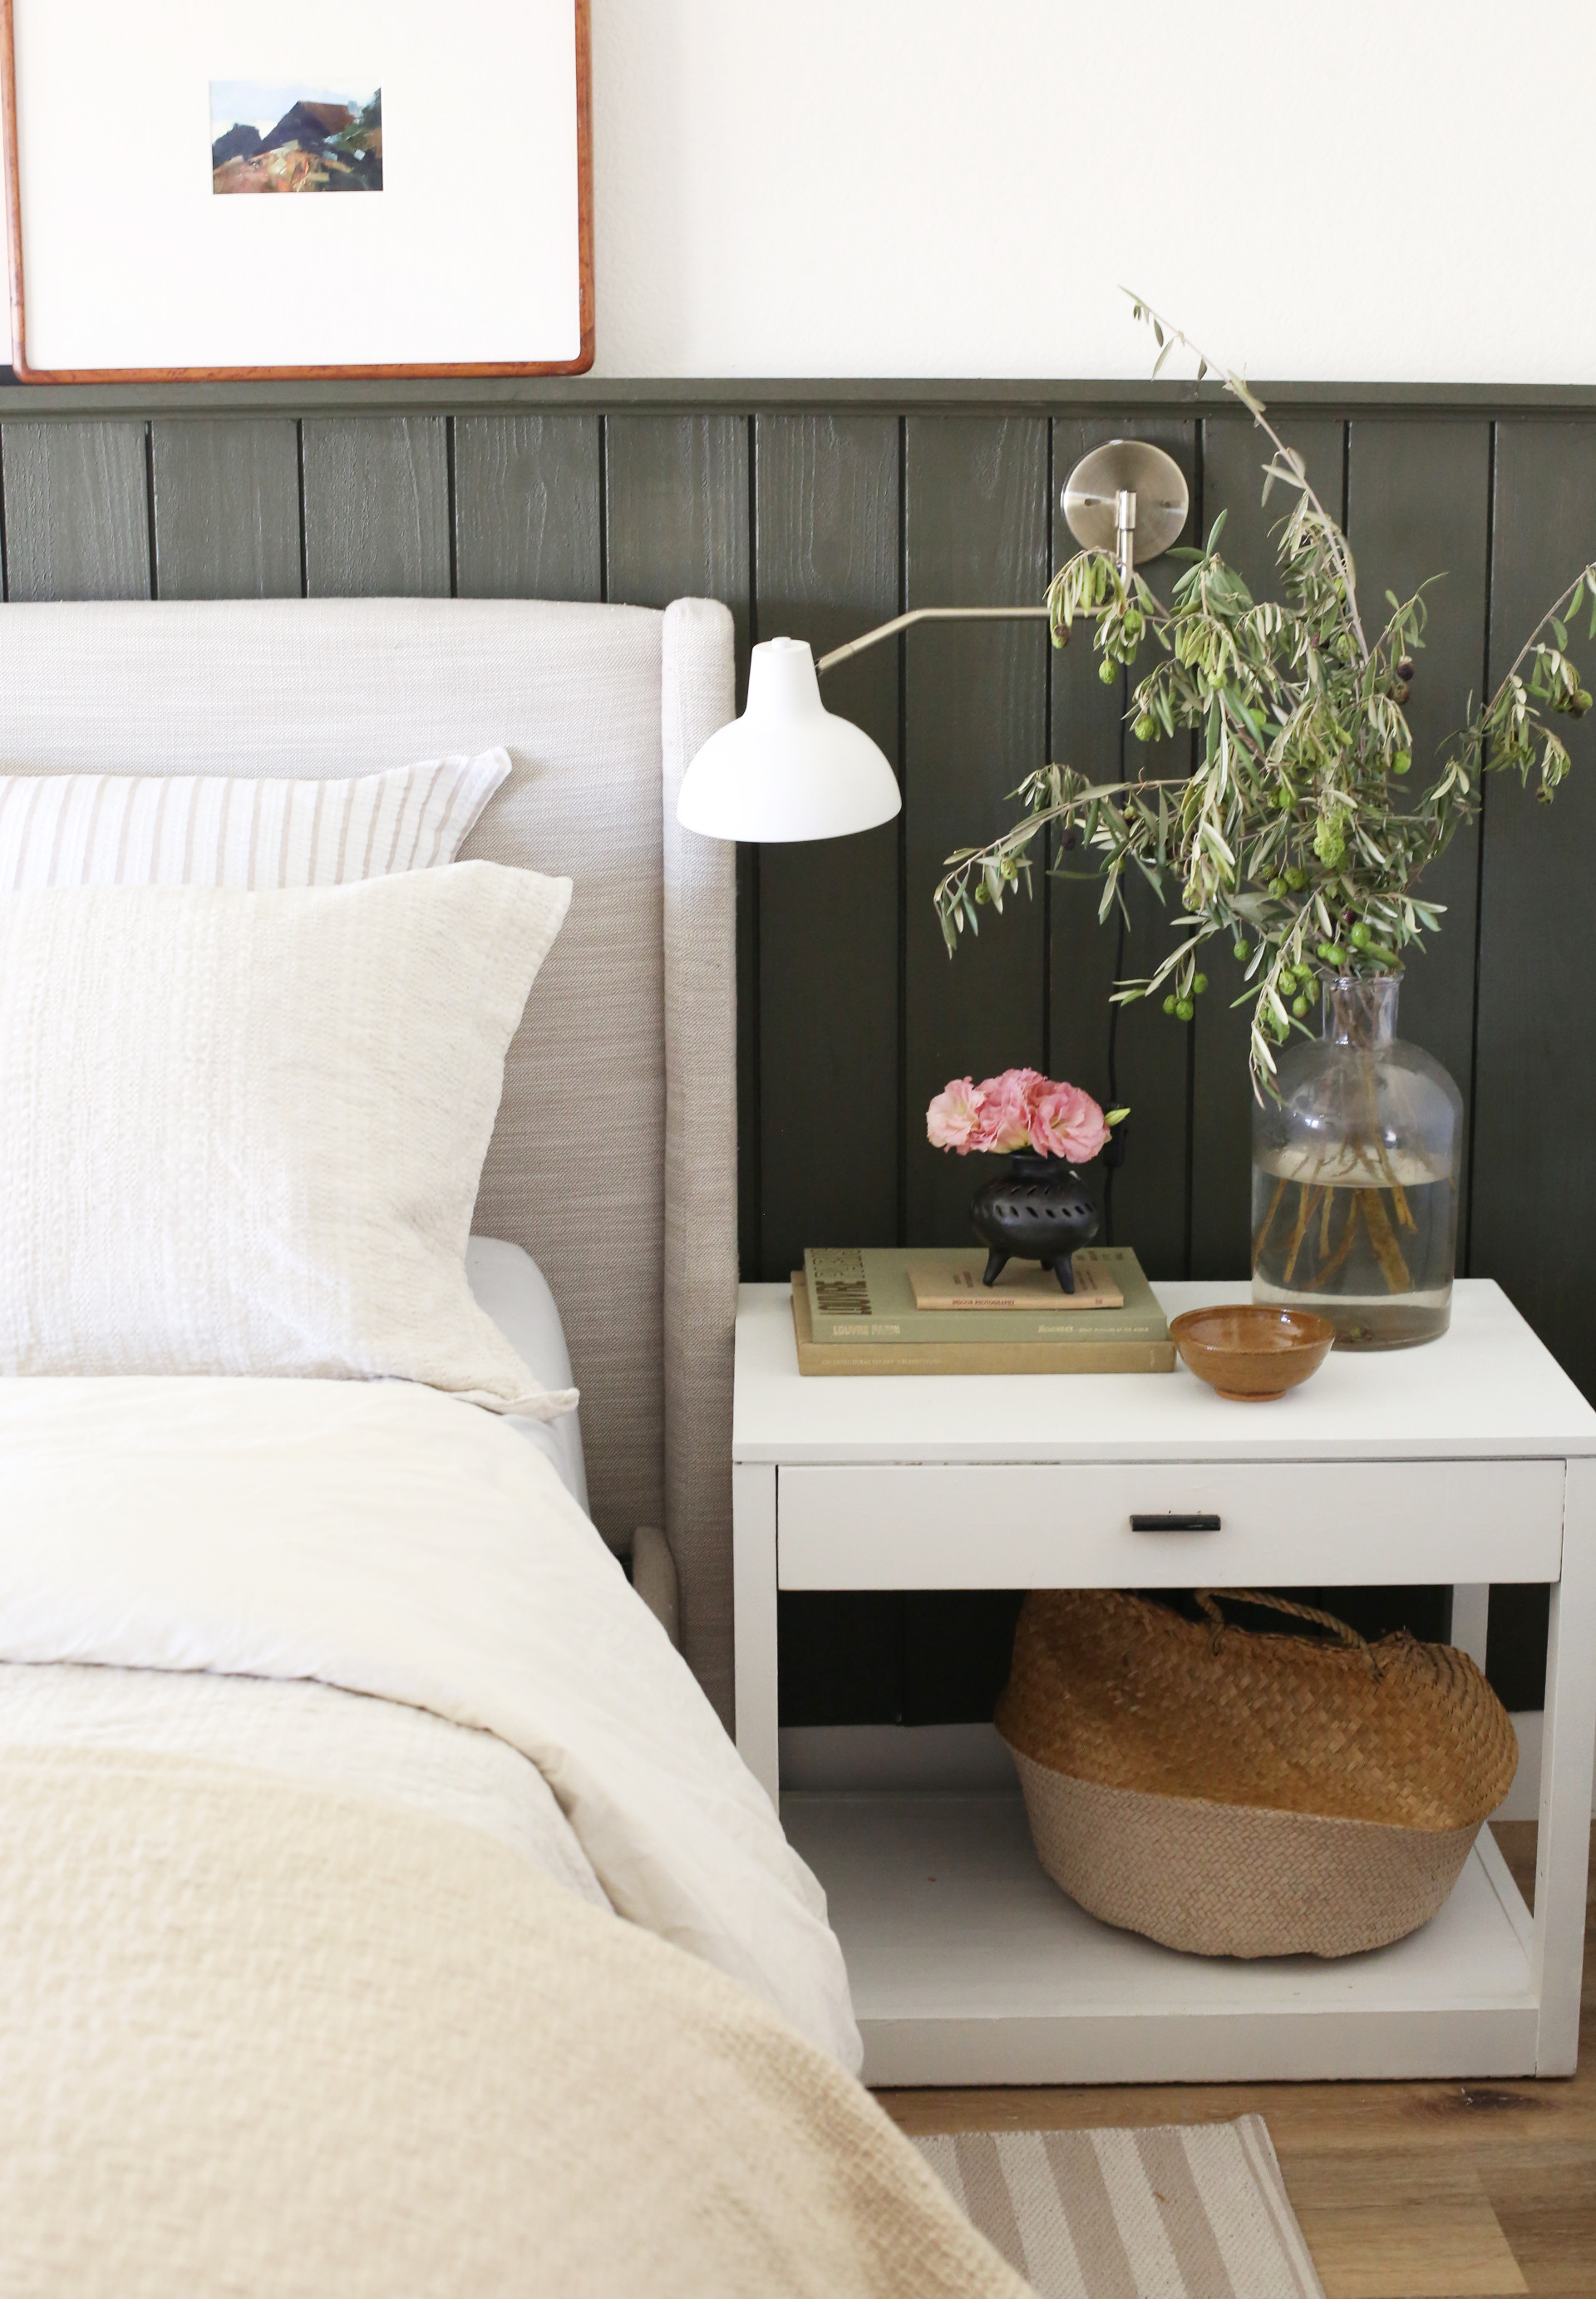
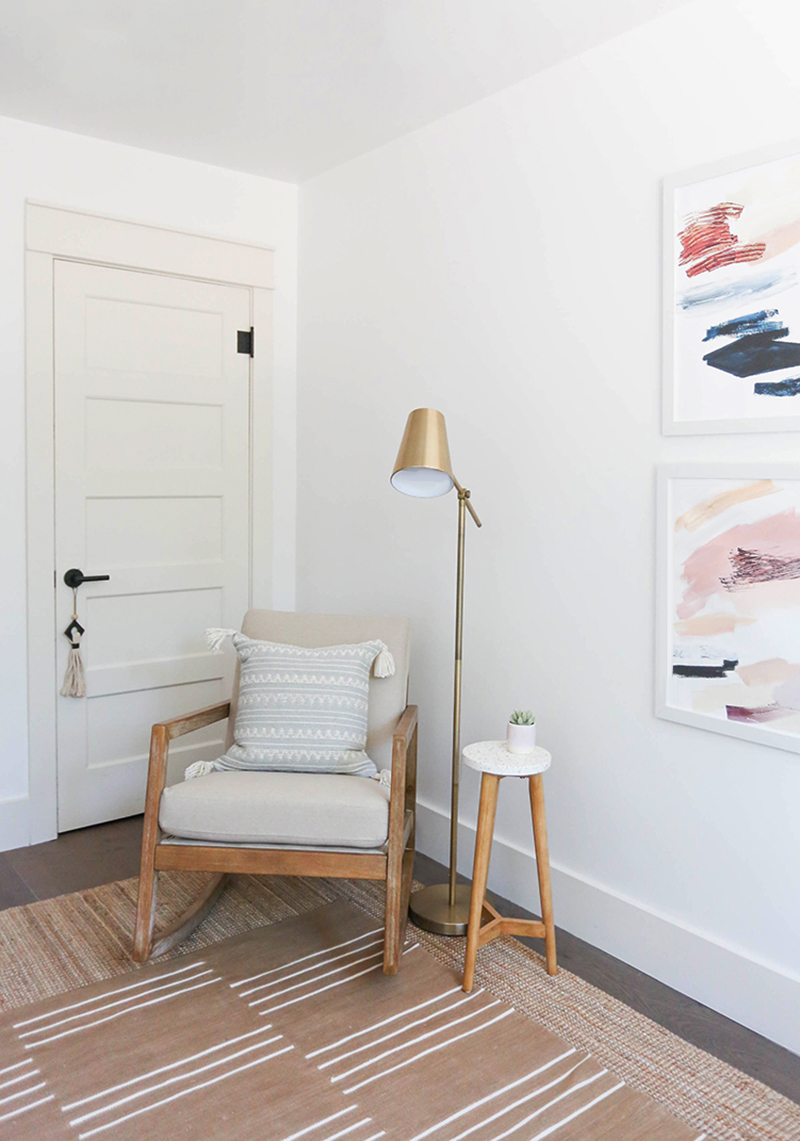
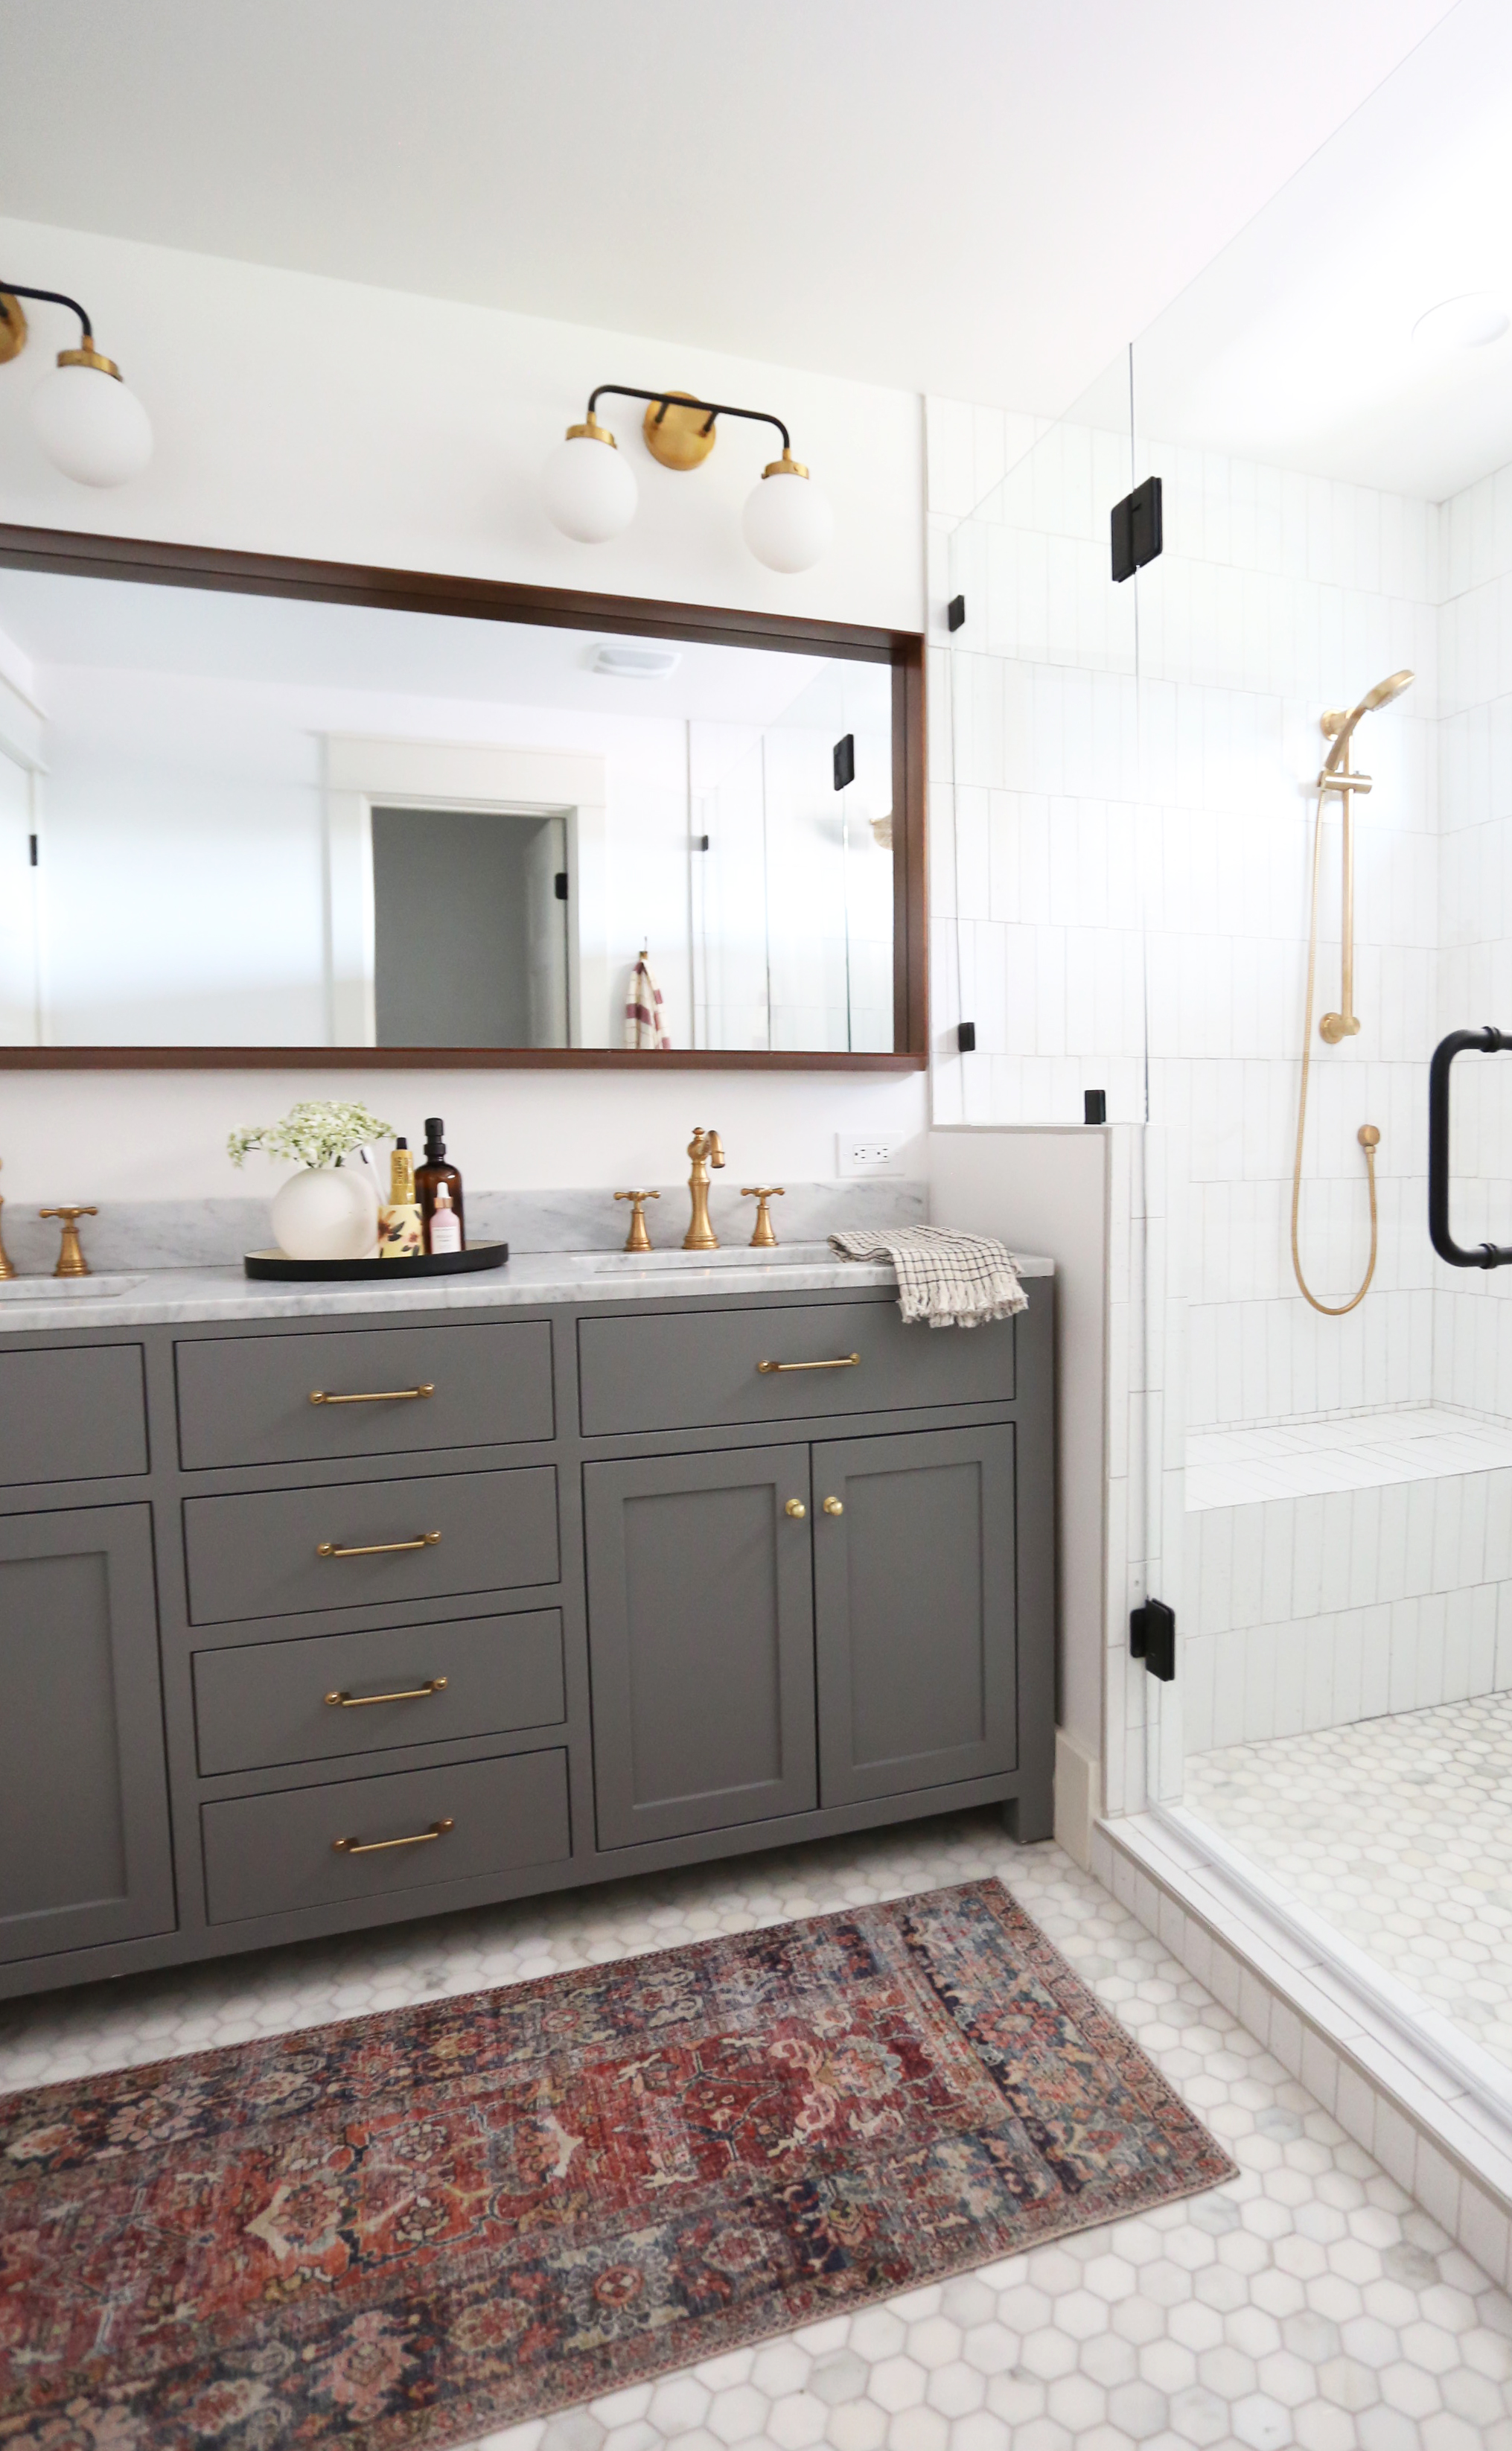
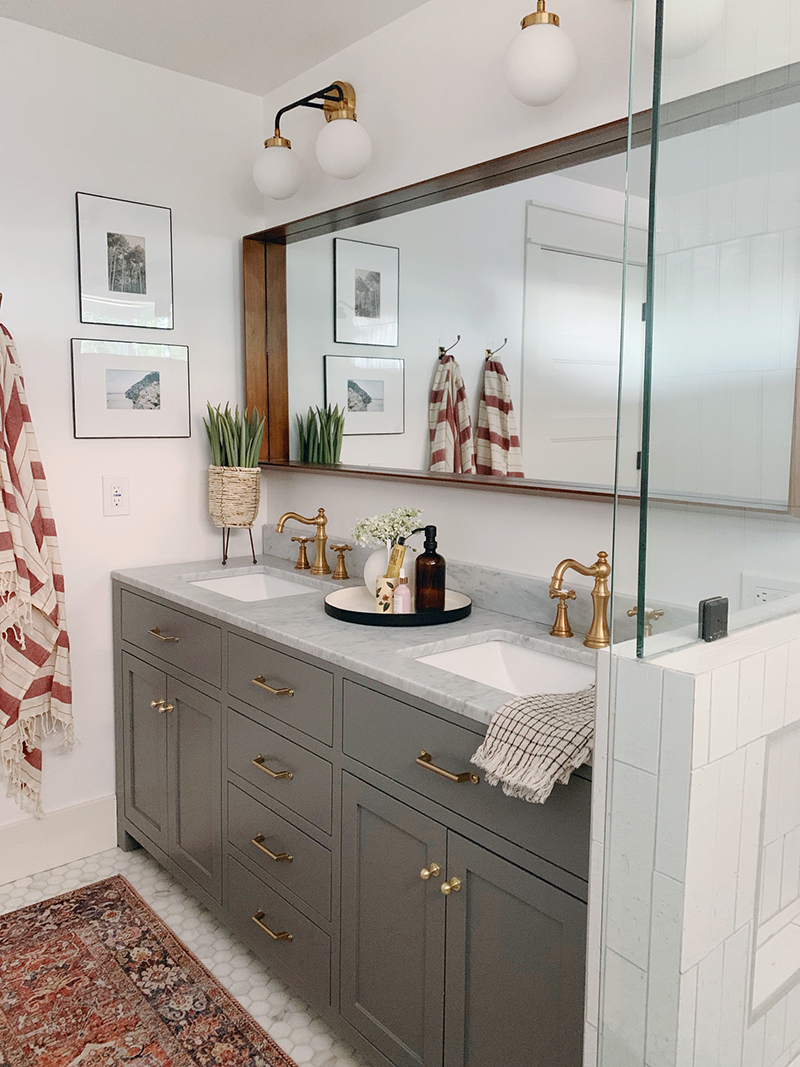
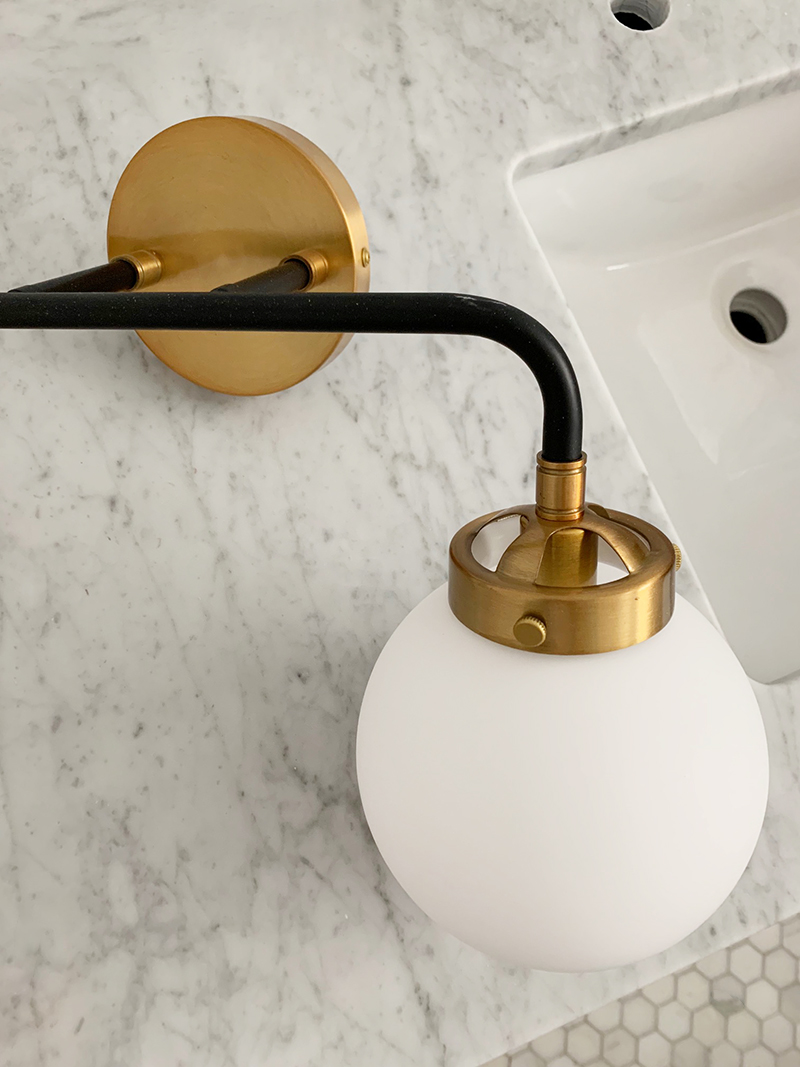
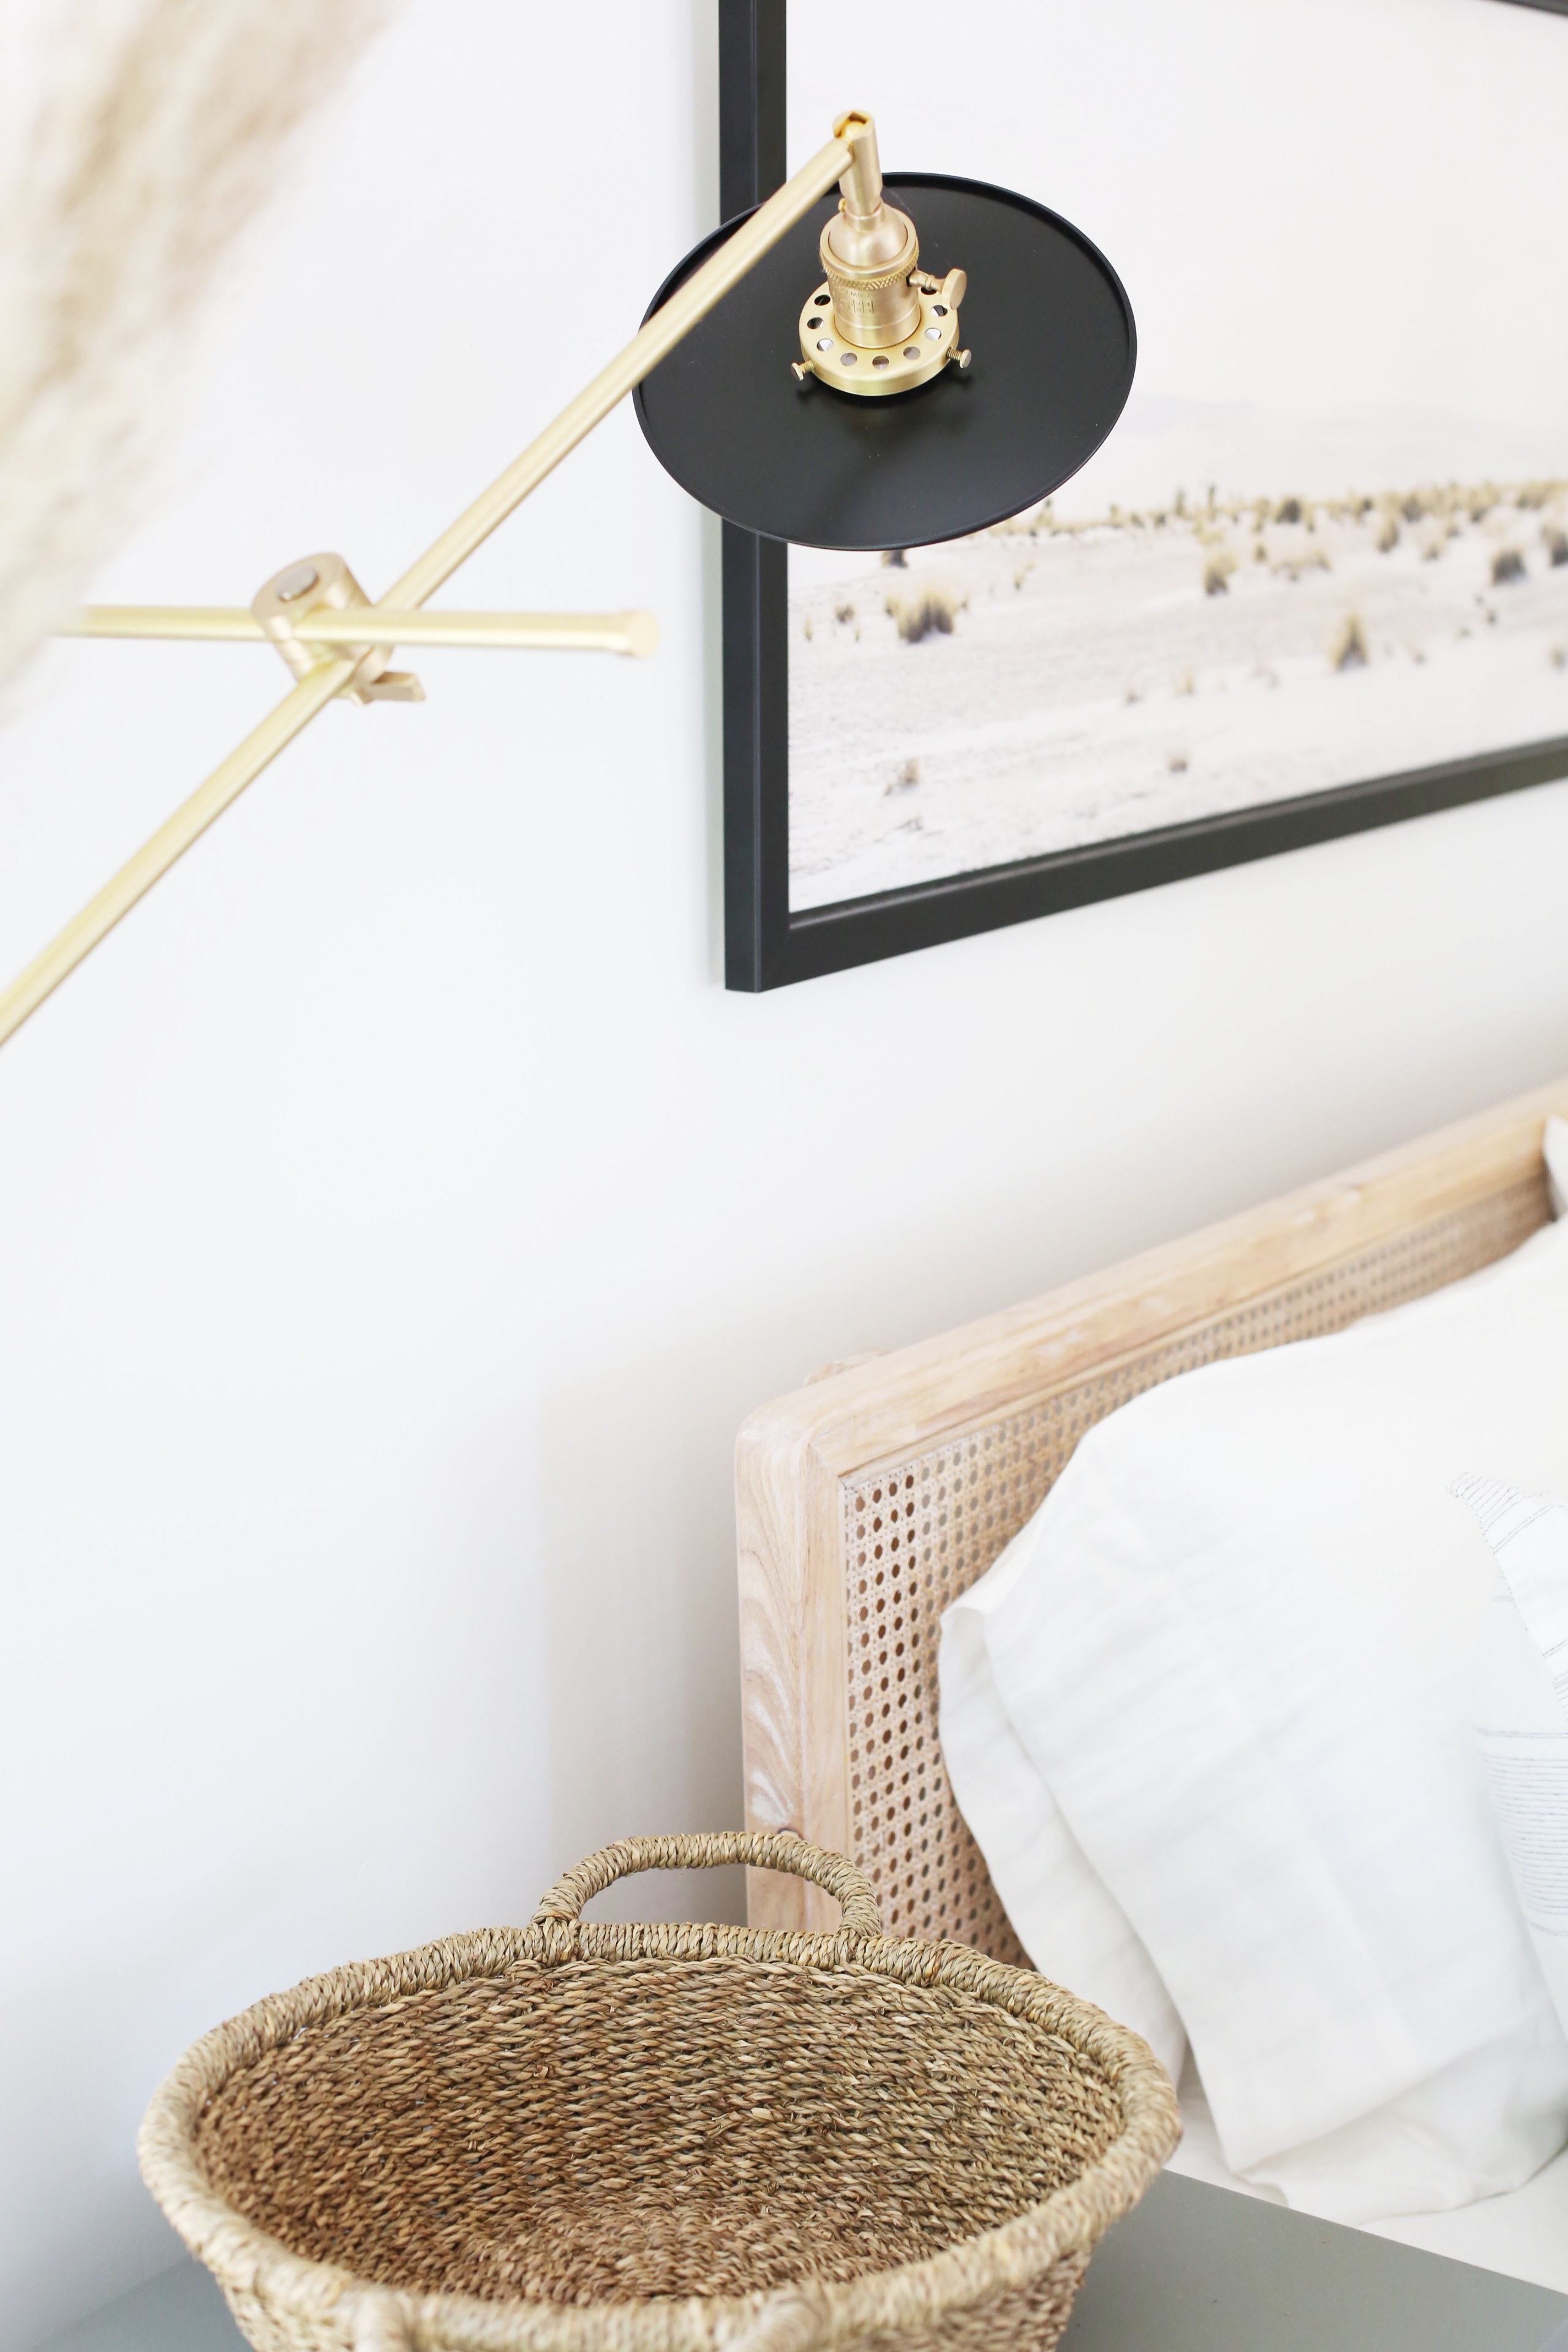
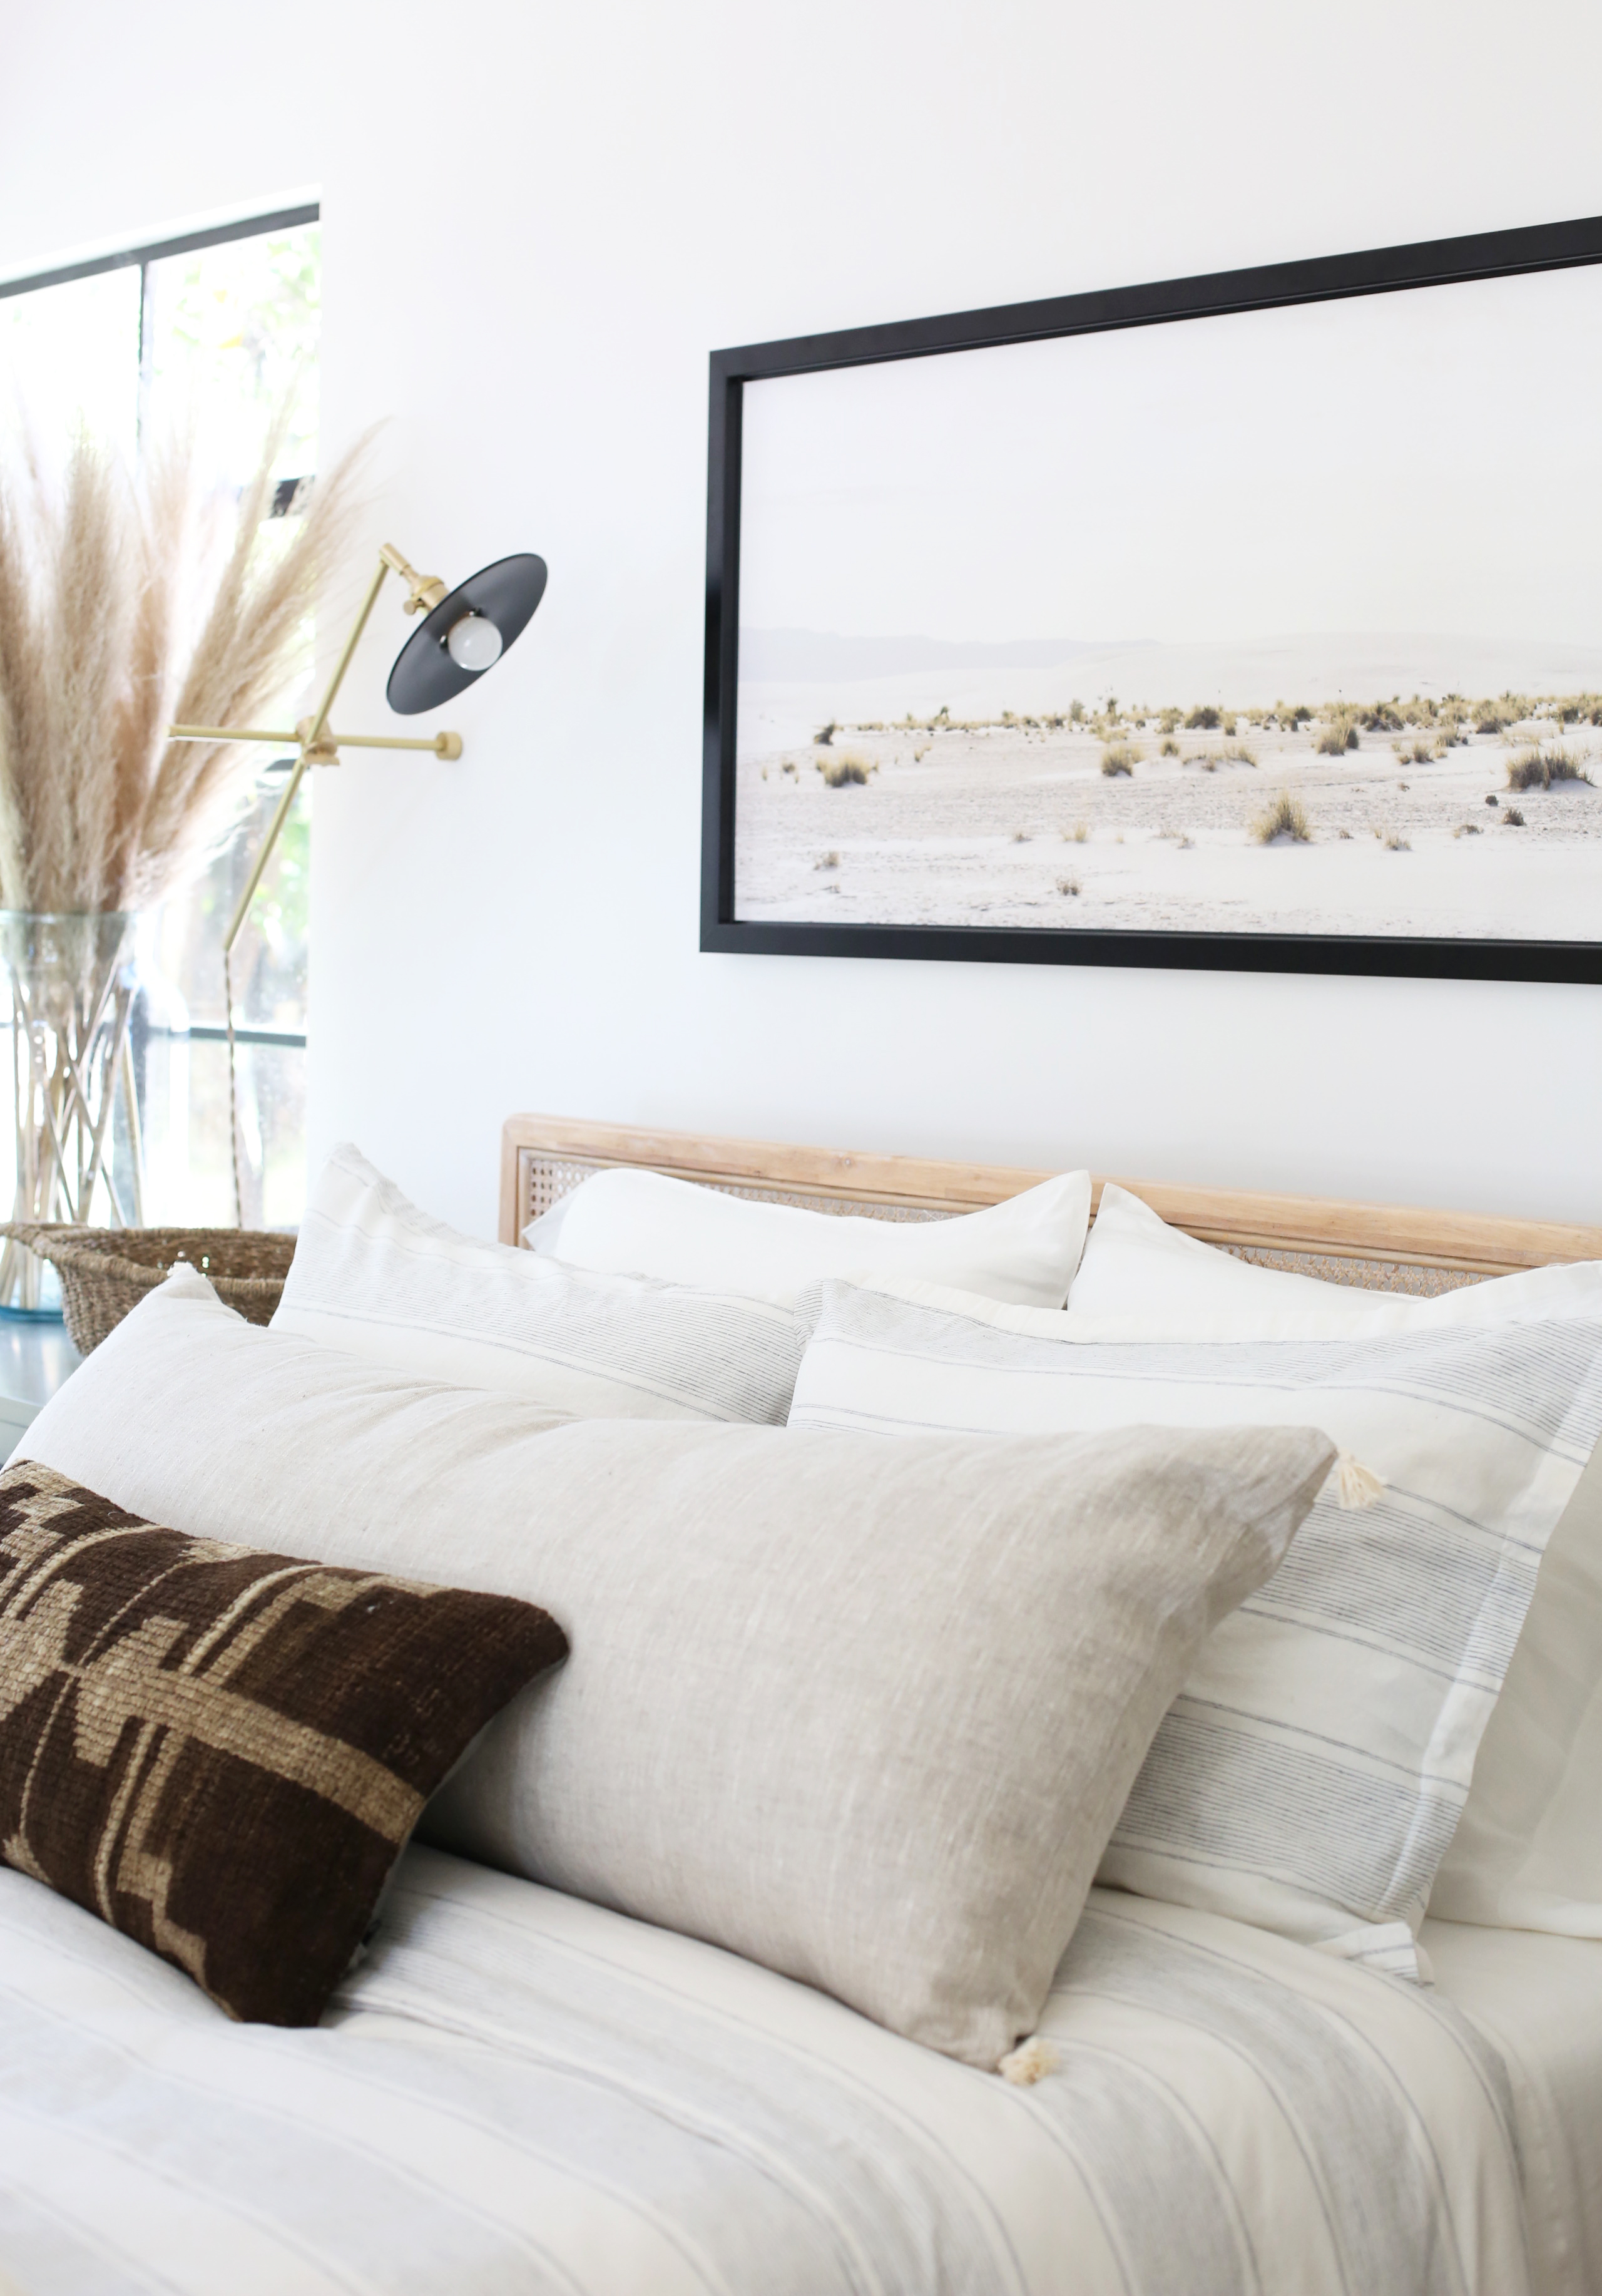
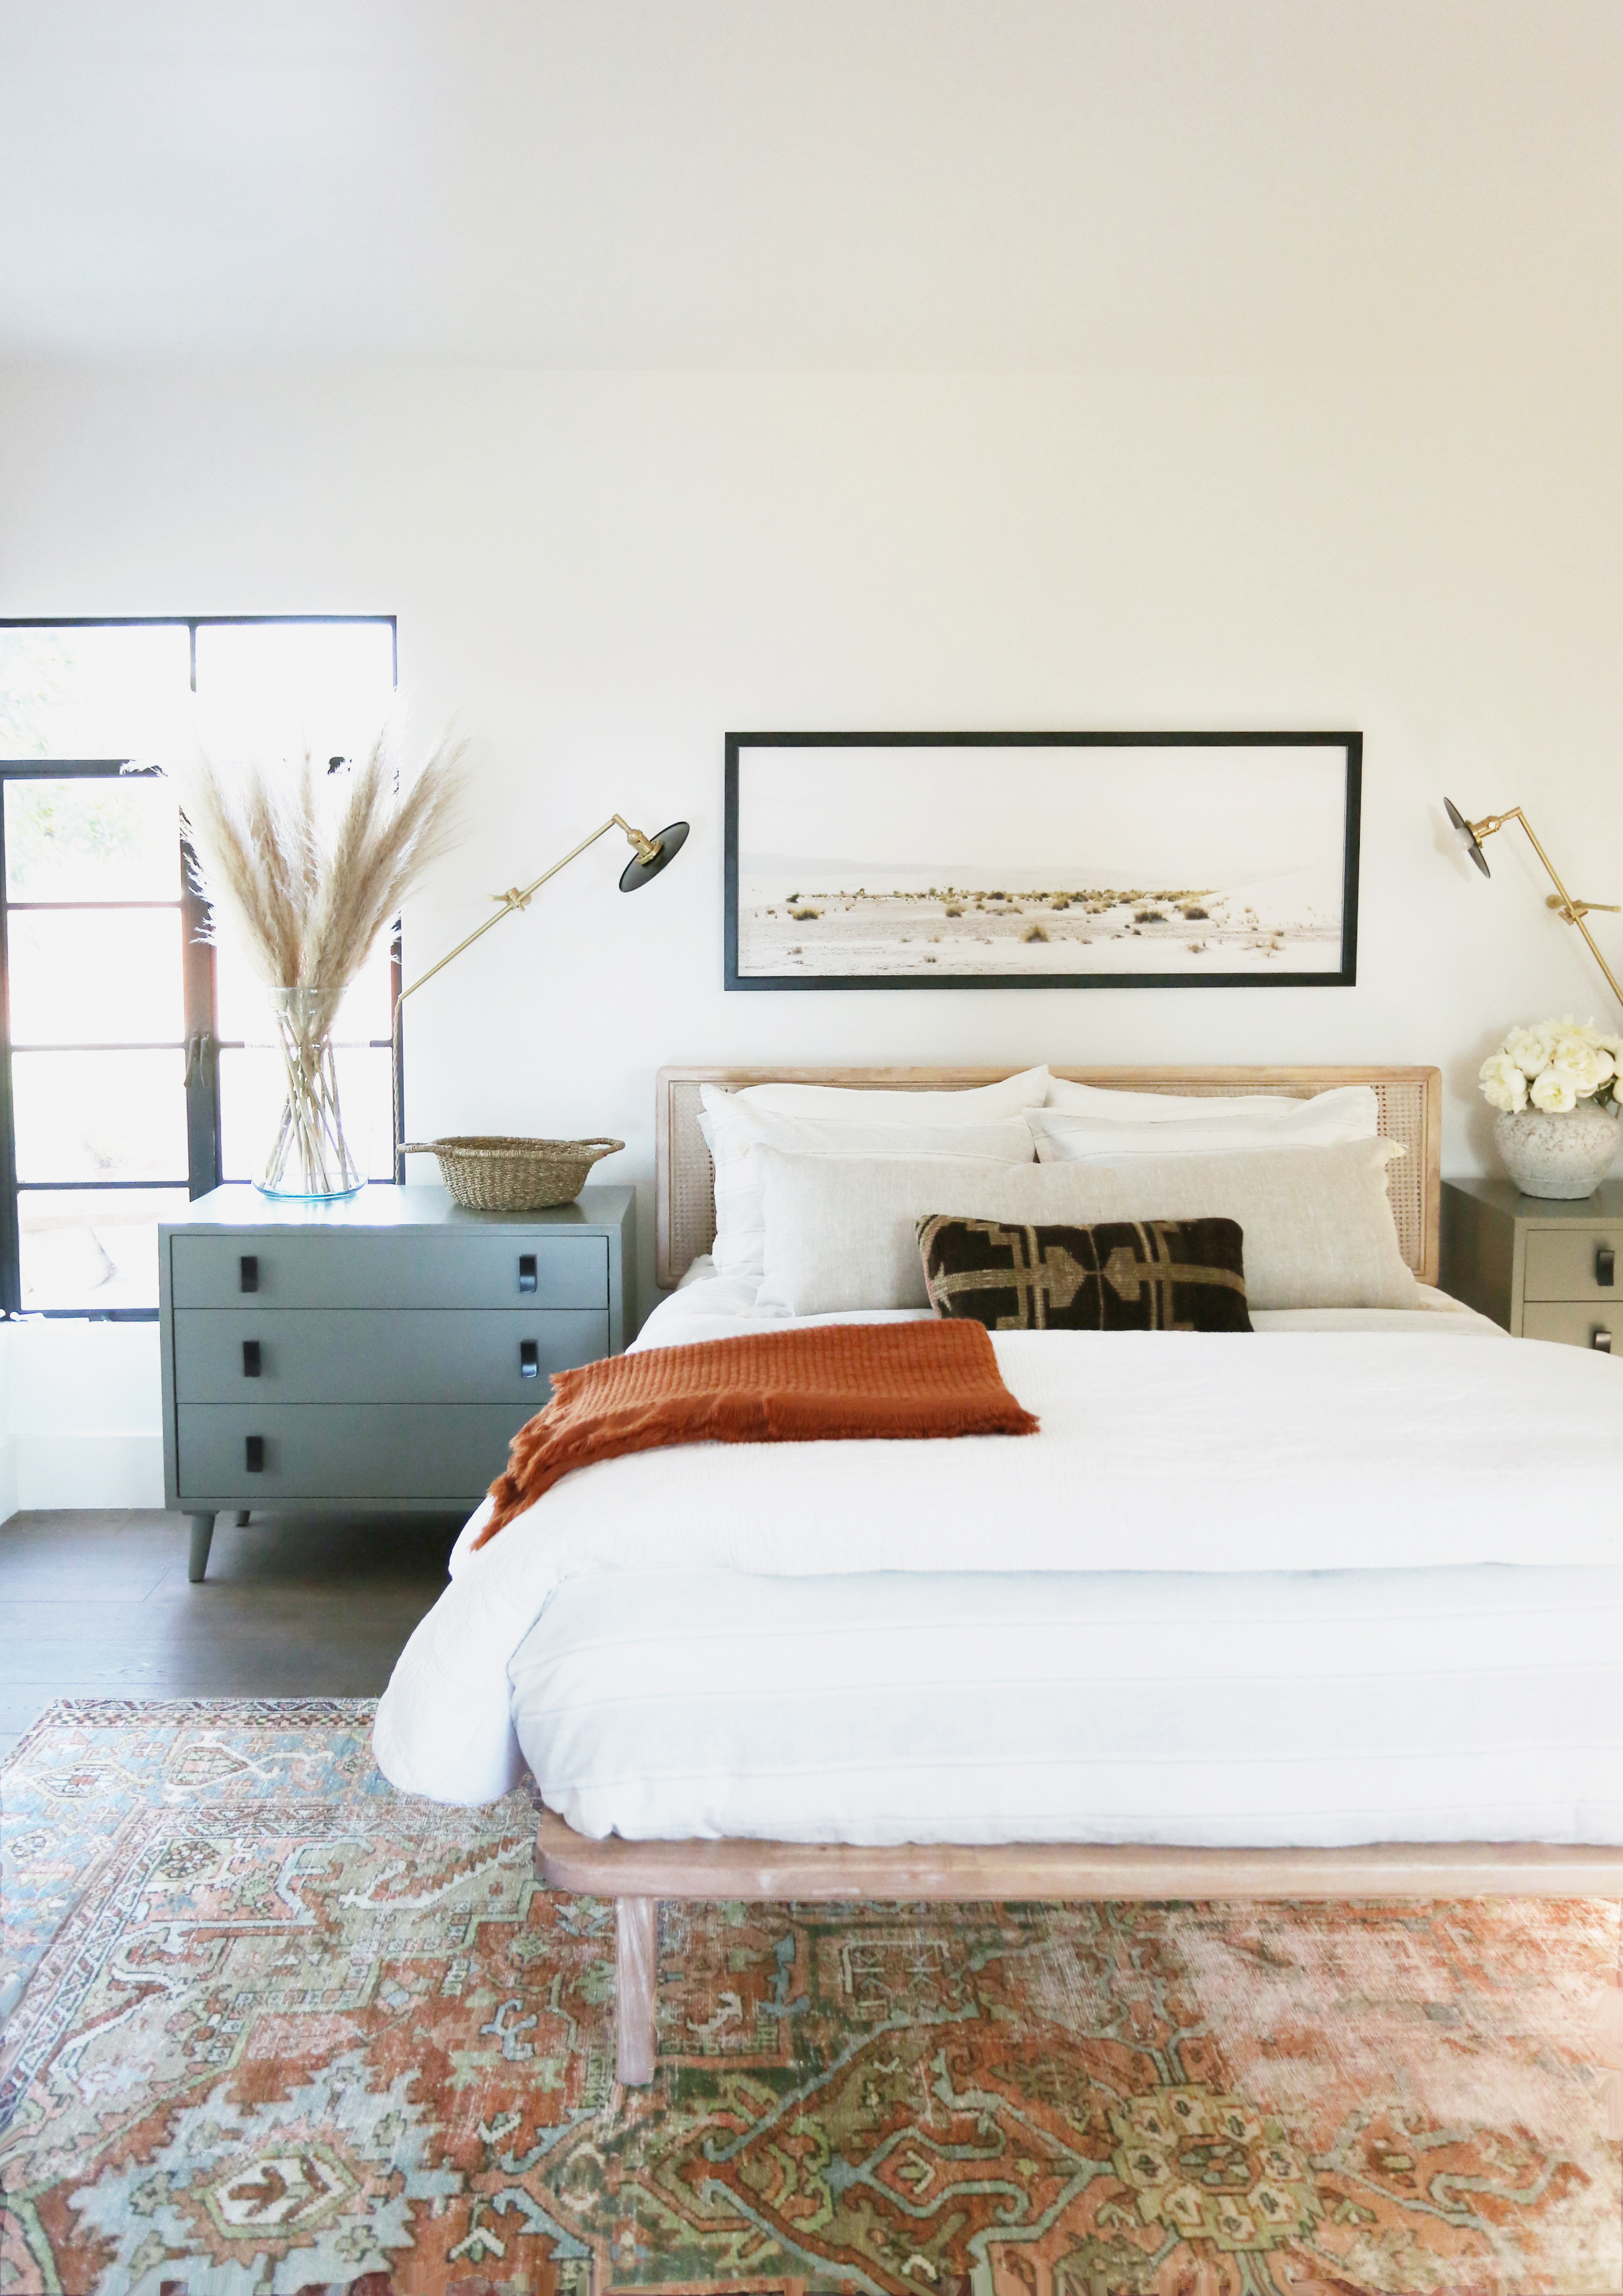
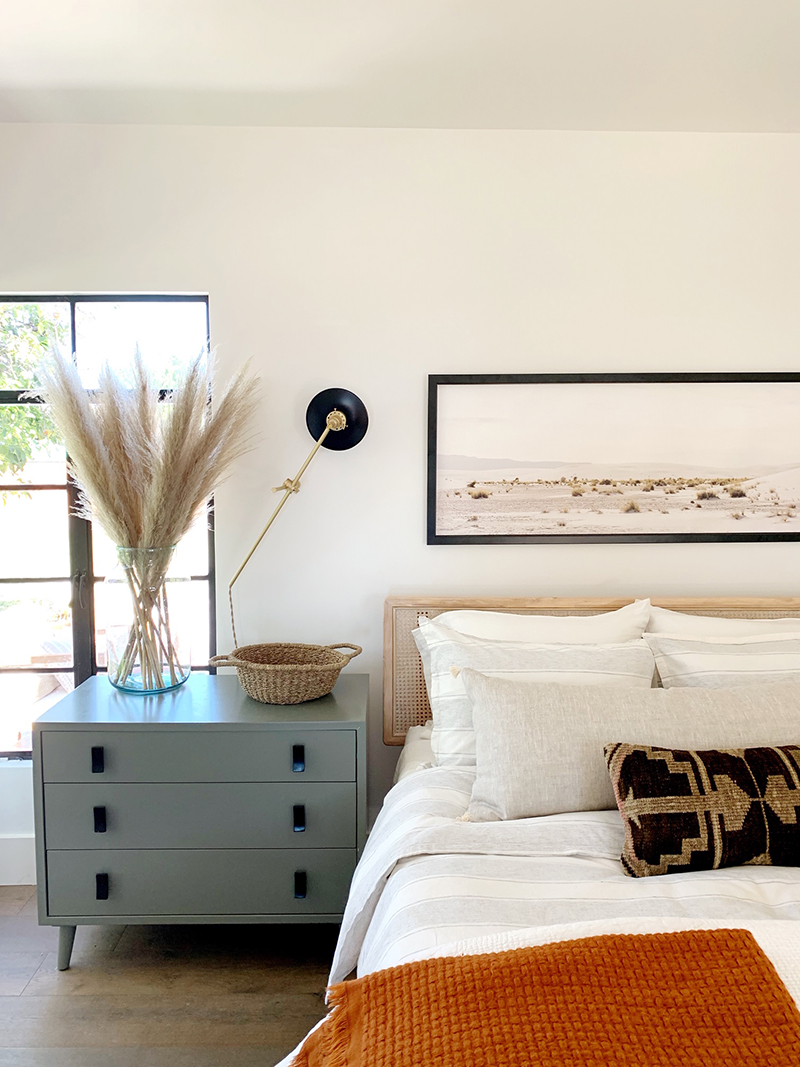
21. Brass Sconce – Lucent Lightshop is a local company we love to support! Their products are beautifully designed by wonderful people! Every project I’ve done in the last few years has at least a few of their pieces and I can’t wait to continue working with them in the future! This brass articulating arm wall sconce is one of their best sellers – and for good reason! It’s a stunner!


FOR HIM:

1. Passport Cover – We’re hoping to do a lot more traveling this next year. I love the idea of a prettier passport cover and I know Michael would love this one with the super subtle monogram in the bottom right corner.

2. Gym Kit – Get a jumpstart on New Years resolutions with this affordable gym kit that is small enough to keep in your car or gym bag and helps you out in a pinch with things like deordarnt wipes, extra headphones, blister bandages and a spare pair of socks.

3. Record Player – We are record-obsessed in our family! It makes for really fun gift gifting around the holidays! I love this beautiful record player that is pretty enough to keep out on top of a storage cabinet, rather than hidden in a closet.

4. Vinyl Records – Amazon makes record collecting and gifting SO easy and fun with their new vinyl storefront. We like to shop for used records at local record stores like Zia and Revolve, but new albums are easy to shop for online!

5. Wallet Tool – How cool is this 10-in-1 wallet tool?! It’s a screwdriver, a can opener, a wrench, a ruler, even a saw! It make me think of the movie Castaway and Tom Hanks’ character using that ice skate blade for just about everything.

6. Ring Doorbell – Do you have one? We’re obsessed and don’t know how we lived without a Ring doorbell before!

7. Theragun – Michael had shoulder surgery earlier this year and he’s still working on healing and strengthening. His physical therapist recommended this deep tissue massager to help with the pain and stiffness around his shoulder and back. He also uses it after leg day or a long run and swears by it’s effectiveness!

8. Leather Keychain – We have a lot of keys with the new warehouse and I’ve been on the hunt for a super simple but effective leather and brass keychain. This is the one!

9. Commuter Bag – Michael has to travel to NYC and LA for his job pretty regularly and since he wears a suit most days he loves this commuter bag with a built in garment bag that protects his shirt and suit from his shoes and dopkit bag, but folds into an easy to carry and tuck into an overhead compartment duffle bag.

10. “Don’t Be A Tourist In New York” Book – Even though we lived in NYC for five years, I still love picking up books about off-the-beaten-path things to do in the city. There’s so much we never did! This book is beautiful and has lots of cool suggestions!

11. Keto Snackschocolate protein bars & chocolate peanut butter almonds

Michael and I have been doing a version of keto-turned-low carb diet for the past two months or so and we’re feeling great! We try to focus our meals on protein and veggies, but sometimes you’re just in a time crunch and you need a snack. These are our two favorites.
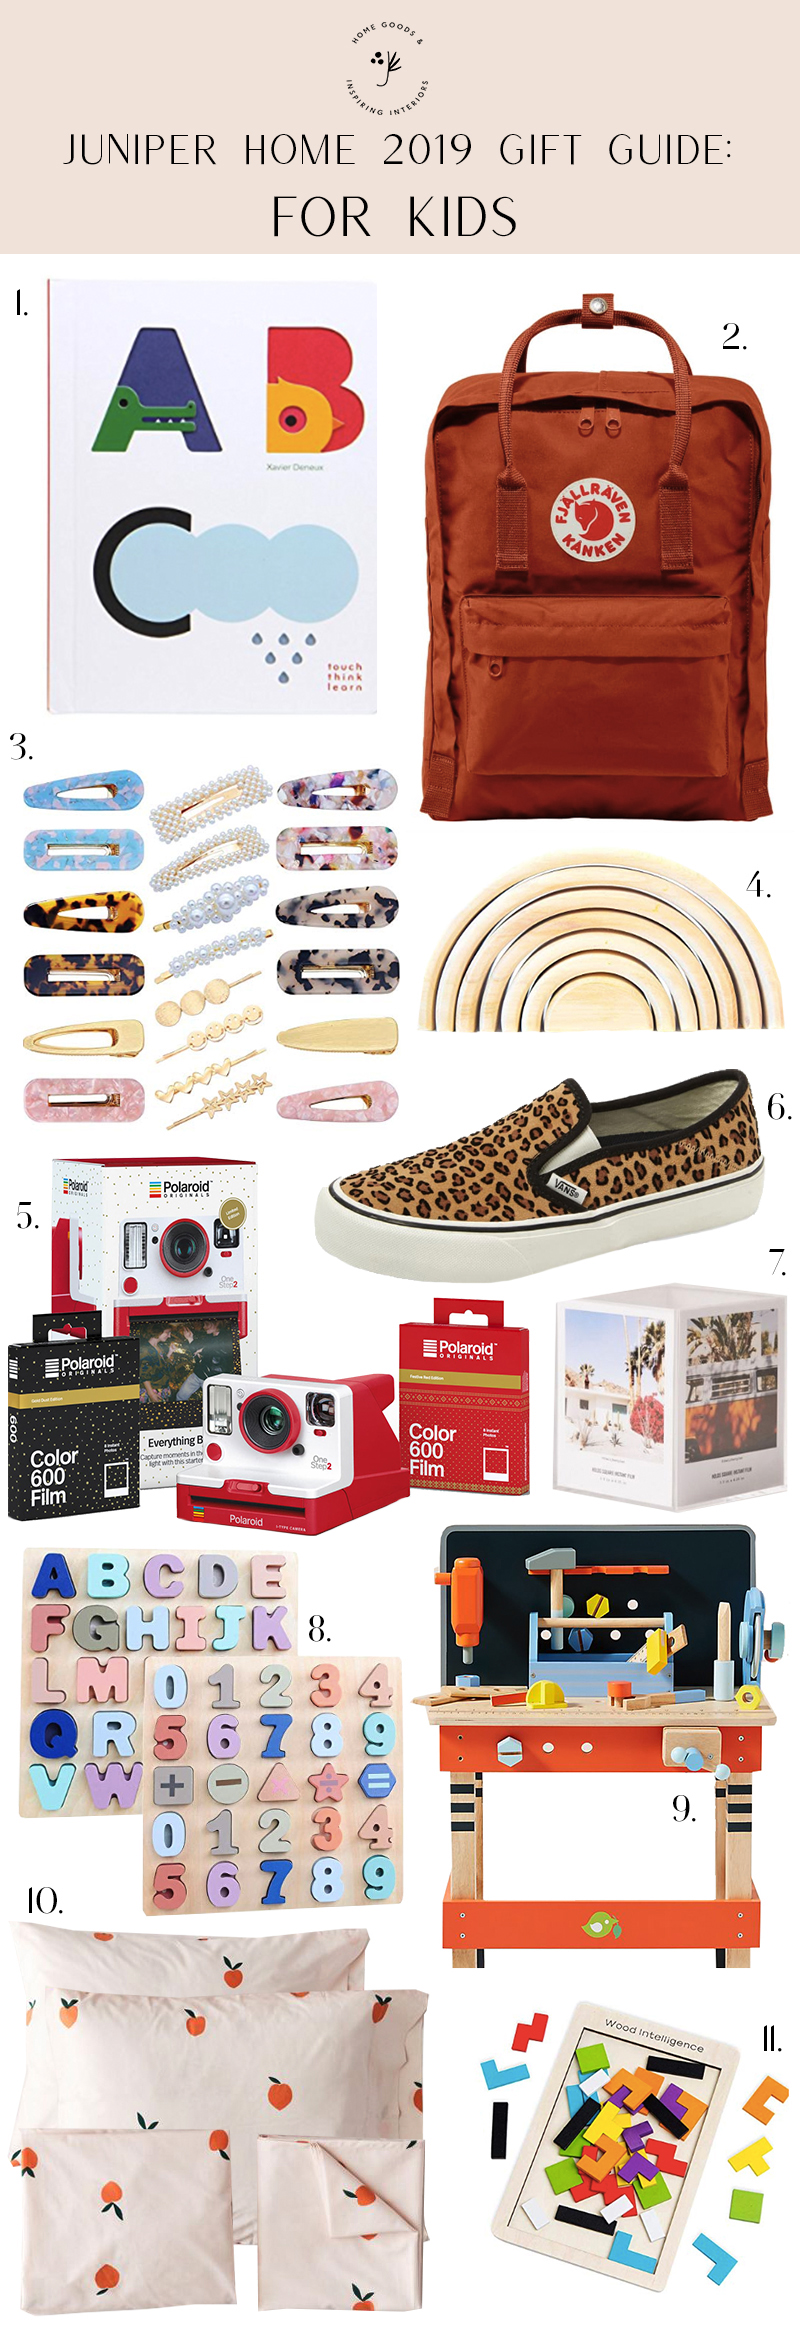
 

FOR KIDS:

1. “Think Touch Learn” Book – This book series for toddlers is beautifully designed and kids LOVE to read them!

2. Rust Fjallraven Backpack – Fjallraven backpacks were trendy at my kids schools before we went to Iceland last summer, but after our trip and seeing those backpacks in every store, my girls extra love them. Grace just asked for the rust color for Christmas, which I can’t blame her on. The color is gorgeous!

3. Hair Clips – With four girls in my house, we go through a lot of hair accessories! I love this affordable and REALLY CUTE set for my daughters and occasionally for me! I’m planning on getting this one and a couple others for stocking stuffers!

4. Wood Rainbow – A forever favorite puzzle that looks beautiful on a shelf and ends up inspiring a million imagination games!

5. Polaroid Set – The original Polaroids are BACK and my older girls are both dying to get one! Instax started the revolution but I think Stranger Things and all the 80s obsession put the focus back on the good old original instant photo!

6. Leopard Vans – Vans must be making a killing the last couple of years especially – they are so, so trendy with young teens. If you walk down the halls of my girls junior high, it’s mostly Vans. Claire wants these leopard print version so she can “branch out from the checkered ones everyone has” and I can’t blame her! They’re super cute.

7. Polaroid Cube Frame – A cute way to let your teens display their new polaroids!

8. Wood Puzzle Boards – Wood toys are always the way to go and these alphabet and number puzzles are a favorite at my house. Margot is learning her letters and how to spell short words, so she’ll bring me little letter combos like MOM or CAT and my heart breaks with the cuteness.

9. Play Tool Bench – Another adorable wooden toy set that kids are obsessed over but isn’t plastic and tragic looking! Keep it up toymakers! More beautifully designed toys please!

10. Peach Sheet Set – My two older girls asked for a room makeover this year and this bedding set was on Claire’s wishlist! CUUUTE!

11. Tetris Puzzle – This wooden tetris puzzle is another one of Margot’s favorites! We have a few different wooden puzzles so I grabbed this storage rack and it has helped us keep all of the pieces organized and not just thrown in the toy box!

Bedroom

Evergreen House: Teen Bedroom & Bathroom Reveal

One of the spaces that changed the most at our Evergreen House project was the en suite bedroom in the upstairs addition! MONTAUK print bed  //  nightstand  //  sconce  //  blue duvet  //  cream throw chambray duvet  //  planter (similar)  //  faux monstera plant  //  fan WILDFLOWER print  //  HERE WITH YOU print chair(similar)  // …

One of the spaces that changed the most at our Evergreen House project was the en suite bedroom in the upstairs addition!

MONTAUK print

bed  //  nightstand  //  sconce  //  blue duvet  //  cream throw

chambray duvet  //  planter (similar)  //  faux monstera plant  //  fan

WILDFLOWER print  //  HERE WITH YOU print

chair(similar)  //  pink lamp  //  bench(similar)  //  ukelele  //  brass planter(similar)  //  roman shades(similar)  //  desk (similar)

To give you a little more context, I want to show you what this room looked like from the exterior view first. The en suite bedroom takes up the whole upstairs area. At one point, a balcony with a door in the bedroom going out over the back porch had been added and then fell into disrepair over the years. When we started the renovation, we knew that it made the most sense to demo the falling down porch, close off that upstairs door and reconfigure the window placement in a way that looked balanced on the exterior and minimized harsh southern exposure light on the right side of the house.

Here’s where we landed! We came so far!

The long skinny window is in the master bathroom and the back door leads into the mudroom and on into the hallway before the kitchen.

Here are a few photos of the inside of the bedroom, which was a pretty decent size. The old layout required you to walk through a large closet to get into the tiny bathroom. We reworked the floor plan a little and made separate doors to the walk-in closet and to the now-larger bathroom.

And here’s how the room turned out! We painted the walls Benjamin Moore Chantilly Lace and the trim is Seapearl. We styled this room as a teen girl’s room – a little more grown up, but still youthful. I love it!

MONTAUK print

bed  //  nightstand(similar)  //  sconce  //  blue duvet  //  cream throw

chambray duvet  //  planter (similar)  //  faux monstera plant  //  fan

The bed was an amazing Amazon find. I can’t not mention though that it was a beast to put together with all of those spindles! :) That said, it was really sturdy when we got it assembled and the price is pretty unbeatable! I definitely recommend it!

MONTAUK print

bed  //  nightstand(similar)  //  sconce  //  blue duvet  //  cream throw

chambray duvet  //  planter (similar)  //  faux monstera plant  //  fan

I love that even though we took out quite a few windows, this room still feels amazingly light and bright!

WILDFLOWER print  //  HERE WITH YOU print

chair(similar)  //  pink lamp  //  bench(similar)  //  ukelele  //  brass planter(similar)  //  roman shades(similar)  //  desk (similar)


WILDFLOWER print  //  HERE WITH YOU print

chair(similar)  //  pink lamp  //  bench(similar)  //  ukelele  //  brass planter(similar)  //  roman shades(similar)  //  desk (similar)

WILDFLOWER print  //  HERE WITH YOU print

chair(similar)  //  pink lamp  //  bench(similar)  //  ukelele  //  brass planter(similar)  //  roman shades(similar)  //  desk (similar)


WILDFLOWER print  //  HERE WITH YOU print

pink lamp  //  desk (similar)


I chose a 5×5″ square honed marble tile for the walls and shower surround in the bathroom. I wanted something classic in a brick lay pattern, but I didn’t want to do subway tile in here. I was hoping for something with a little more movement and this marble tile did just the trick! I love this line of vanities because they come with a marble top and a sink for a VERY decent price! Once we had this vanity installed though, I knew I wanted to paint it blue and change the hardware! The white and chrome was feeling a little too cold in here.

Before painting, I quickly cleaned the whole vanity with TSP, which is sort of like a liquid sander – it helps to degloss and prime the old paint. I went with a milk paint, which is a lot like a chalk or mineral paint in that it covers beautifully and has super smooth finish! I love this affordable line on Amazon and the pre-mixed colors are amazing! I chose a color called Persian Blue because I thought it would be pretty with the tones in the penny tile and marble!

krud kutter tsp  //  milk paint in persian blue  //  wood filler  //  paint brush  //  microfiber cloth

The old hardware had two holes, so I overfilled one side with wood filler, and sanded that down after it had fully dried and before painting. For a more traditional look and for a little wink to the hardware in kitchen, I chose a painted wood knob for the drawers. I’m still so obsessed with this look!

I love how this painted vanity looks with the veining in the marble! The blue-green color and painted wood knobs were such an easy change but really helped to add a custom feel.

vanity  //  mirror(similar)  //  sconce  //  faucet  //  towel  //  wall hooks  //  basket (similar)

And isn’t this rattan mirror amazing?! It’s so sculptural and adds so much personality to this space!

vanity  //  mirror(similar)  //  sconce  //  faucet  //  towel  //  wall hooks  //  basket (similar)

vanity  //  mirror(similar)  //  sconce  //  faucet  //  towel  //  wall hooks  //  basket (similar)

MONTAUK print

bed  //  nightstand(similar)  //  sconce  //  blue duvet  //  cream throw

chambray duvet  //  planter (similar)  //  faux monstera plant  //  fan

I hope you love this bedroom as much as we do! We will link to all the products we used here below, but as always, please let us know if you have any questions in the comments! And be sure to check out all the behind the scenes video footage in my instagram highlight!

SOURCES:

Paint Colors: Chantilly Lace and Seapearl

Wood floors: Grand Pacific engineered wood in color Sea Lion

Ceiling Fan

Wood Spindle Bed

Black Nightstands(similar)

Rug

Chambray Duvet

Blush Dot Sheets

Knit Throw

Sconces

Montauk Print above bed

Bench(similar)

Desk (similar)

Leather Desk Chair(similar)

Linen Roman Shades(similar)

Pink Desk Lamp

Wildflower print

Brass planter(similar) and faux cactus(similar)

Black Shower Curtain Rod

Black Shower Trim Kit

Shower Curtain

Rattan Mirror(similar)

Glass Shade Sconce

Vanity

Black Faucet

Milk Paint

Wood Knobs

Striped Towels

Basket under Vanity (similar)

Round Up

Plug-In Sconce Roundup

We love wall sconces here at Juniper! They make every space look more designed, more expensive and more layered. While hardwire sconces look great, they usually require hiring an electrician to run wiring for permanent installation. Plug-in sconces give you the same look, but with less commitment and way easier installation!! sconce  //  bed  // …

We love wall sconces here at Juniper! They make every space look more designed, more expensive and more layered. While hardwire sconces look great, they usually require hiring an electrician to run wiring for permanent installation. Plug-in sconces give you the same look, but with less commitment and way easier installation!!

sconce  //  bed  //  rug

rug  //  wall sconce  //  faux greenery

From bedrooms to living room, sconces can easily elevate any space and are a nice change from floor or table lamps!

bed  //  nightstand  //  sconce

sconces  //  bed frame  //  rug

There are so many great, budget friendly plug-in sconces available right now. Below we have rounded up some of our absolute favorite options!!

1  //  2  //  3  //  4  //  5  //  6  //  7  //  8  //  9

10  //  11  //  12  //  13  //  14  //  15  //  16  //  17  //  18

Looking for something hardwired? Check out our Lighting section of Shop Our Finds for more options!

Bedroom

Cozy Bedding for Fall

This post is sponsored by The Company Store. Fall is officially and finally here in Arizona! The crisp air that so many of you have been enjoying for the last two months is creeping in and I LOVE it. I’m a layers person – I love wearing layers and sleeping in them! So one of…

This post is sponsored by The Company Store.

Fall is officially and finally here in Arizona! The crisp air that so many of you have been enjoying for the last two months is creeping in and I LOVE it. I’m a layers person – I love wearing layers and sleeping in them! So one of the first things I like to do when the temperatures drop is swap out my summer bedding for warmer, cozier layers. This year I am really drawn to calm tones and cozy textures to help create a super layered look. We partnered with The Company Store to give one of my team members, Jenna, a bedding makeover and to share my best tips for transitioning bedding from warm weather to cool! We are both OBSESSED with the gorgeous quality of these incredible bedding basics!

Ready to jump in with my tips?

Tip #1: Start with high quality sheets!

This is the part of your bedding that you interact with the most, so this is a great place to invest. When the temps start to drop, you might want to switch out your cool cotton sheets for something a little cozier. We went with The Company Store’s 100% organic flannel sheets and they are by far the softest flannel sheets I’ve ever found. And Jenna says they add just the right amount of warmth, without being too hot.

flannel sheets  //  woven linen duvet  //  king pillow inserts

Tip #2: Pick a neutral duvet

I like having a duvet cover that can take me from season to season. Picking something neutral and textural means that you can switch out your sheets and throws to create a unique look, without having to change every piece. This woven linen duvet fits the bill perfectly! It is SO pretty!

duvet insert  //  woven linen duvet cover  //  cotton throw blanket

flannel sheets  //  woven linen duvet  //  king pillow inserts

Tip #3: Use a warmer duvet insert

I keep two duvets on hand, one that is rated cool for our hot summers, and one that’s warmer for fall and winter. The Company Store is known for their down duvet inserts and has a great selection to choose from. (And if you’re looking for a down alternative, they have an amazing selection for you HERE!) The inserts range from super-light to ultra-warm so you can choose the right insert for your preferences and climate. I usually opt for a medium weight insert for fall and winter.

TIP #4: Upgrade your pillows!

Everyone obviously has their own threshold for how often they get new pillows. I usually swap mine out as soon as they start to get tired and lose their loft after several washings, which is usually every couple of years. I prefer a down head pillow, and usually go with a medium or firm option to avoid it sinking in too much!

down pillow insert  //  down euro insert

Tip #5: Finish with a cozy throw

I feel like you can get away with only neutral bedding where you’re really adding on the layers. I love a good throw for that exact reason! The cloud cotton throw is not only beautiful and textural,  it provides perfect weight and warmth for extra chilly nights! We sleep with the fan on, even when it’s freezing outside, so those extra layers really come in handy for me! I feel like this blanket could easily transition into a summer coverlet too! (I also sort of want one for my sofa?!)

flannel sheets  //  woven linen duvet  //  king pillow inserts

We kept it pretty simple in here with the bed styling and skipped the decorative pillows because we thought the texture of the bedding against Jenna’s gorgeous green paneling was perfect on its own. I love making my bed every morning and less pillows keeps things simple with that chore!

We’d love to hear about your cool-weather bedding must-haves in the comments! And as always, please let us know if you have any questions about the sources!


Gallery Wall

Amber Fillerup’s Home Styling (and GALLERY WALL TUTORIAL!)

Putting the top layer of art and accessories in a space is pretty much my favorite type of project. I mean, I love tile shopping and space planning as much as the next designer, but there’s nothing like that near-instant gratification that comes with hanging a gallery wall and adding some throw pillows to finish…

Putting the top layer of art and accessories in a space is pretty much my favorite type of project. I mean, I love tile shopping and space planning as much as the next designer, but there’s nothing like that near-instant gratification that comes with hanging a gallery wall and adding some throw pillows to finish off a space! The talented lifestyle blogger and entrepreneur Amber Fillerup Clark recently reached out about me coming over to help add some finishing touches (mostly art) to a couple of rooms in her beautiful new house. Amber worked with Becki Owens to design the finishes of this incredible home and she absolutely NAILED IT. (That fireplace!!!)

Amber was hoping we could put up a gallery wall in her office, which is always a fun project for me! I’ve probably hung a hundred gallery walls in my twelve years of blogging and client work, so I can basically do it in my sleep at this point. :) I thought it would be high time to share my best tips and take aways with you all! I’ll share a couple of photos of her new space first, and then let’s just jump right in to the tutorial!

HIDDEN HEART print  //  SCARLETT print  //  BOSSEN print

BOTANICAL II print  //  SAHARA print

TRAILS print  //  faux olive tree (similar)  //  rust sofa (similar)

pom pom pillows  //  cream textured pillows

STEP 1: GET INSPIRED

We have lots of gallery wall inspiration saved in our Pinterest boards. When you’re ready to get started, I’d poke around and find a few images that show the vibe you’re going for. Take note of how many frames are in the arrangement. Seven frames? Or more like 25 frames? Does the arrangement go floor to ceiling or is it mostly at eye level? Is the arrangement dipping down and asymmetrical? Or is it centered and level? Figure out both what you’re drawn to and then get realistic about how you can make that work in your space and then use a tape measure to determine the space you want your arrangement to fit on your wall. We wanted Amber’s arrangement to be almost floor to ceiling in her office – about 7′ high x 9′ wide.

STEP 2: TAPE IT OUT

Use painter’s tape or two tape measures to create a rectangle on your floor to help you map out your arrangement. It’s easier and faster to lay out frames on the floor than to go with the trial and error approach on your walls! You’ll be glad you won’t have a million extra nail holes in your drywall too! I laid out her arrangement at the studio when I pulled frames the first time and then again as we were hanging the gallery wall at Amber’s house.

STEP 3: ARRANGE BY FRAME FIRST, NOT ART

Most people try to arrange their gallery wall by the art inside the frame first. While the art inside the frame is obviously very, VERY IMPORTANT, the frame and mat holding the art is also critical to the overall look! Gather up alllllll your frames and art (if you’re like me, you hoard piles of frames in a spare closet. Ha). If you need some additional options, check out our Shop Our Finds frame section, Michaels, Hobby Lobby, Target, and, my favorite option, your local thrift store! Some of my very favorite frames were Goodwill purchases that cost just a few dollars! Most of the Goodwill frames I’ve bought don’t hold art prints that are exciting to me, so I usually recycle those and keep the frame and glass!

I like to use at least 25% vintage frames in my gallery walls, and usually that means a few carved wood or gilt frames. These few special frames found at thrift stores, antique malls and flea markets add so much soul to a collection and instantly make the gallery wall feel collected and layered rather than cheap and purchased all new, all in one day.

Then arrange all your frame options by size, leaning up against a wall, so you can pull from them easily. Start with your largest pieces and spread them out across the arrangement. Fill in with medium and then small pieces. Be thoughtful about mixing frame materials, styles and thicknesses. The more varied, the better! And remember, if you get stuck while working on the frame layout, don’t be scared to pull everything out of your taped out mock up and just start fresh. That is the beauty of these floor practices, it’s easy to play and try a few different versions! I usually like the second fresh try the very best anyway!

(PS Obviously, if some of your pieces are antique or custom framed and you’ll want to keep the same frame, but so many of our prints and paintings can be moved to new frames! So remember that this first arranging exercise is all about the frame!)

STEP 4: SELECT ART FOR YOUR FRAME ARRANGEMENT

Once you have the frame layout you are happy with, it’s time to pick art for your frames! Like with all decorating projects, I suggest starting with what you love. Do you have treasured vintage oil painting? Or a favorite print that reminds you of a special trip? Put those pieces at eye level, so you can enjoy them often and see them up close. Save the bottom and top rows for prints and paintings that help convey an overall mood or help balance out the colors of your arrangement.

One tip that I think many people don’t think about is getting custom mats cut for your frames. That way, even if you have a beautiful 8×10 print that you’d like to put in a 20×30 frame, for only about $15 you can get a beautiful mat (in any number of colors and textures) cut at a craft store or custom frame shop – often while you wait! My very favorite frame pieces are prints in thrift store frames, with big custom mats and awesome prints or originals! This trick allows you more flexibility to lay out your art in a way that is firstly pleasing to the eye, has balance in color and texture and pattern and isn’t all about size.

As you arrange your art, try to mix the medias. Put a traditional oil painting landscape next to a modern abstract, next to a travel photo. Hang a pressed flower arrangement next to a candid family snapshot. Throw in something unexpected that makes you smile like an old silhouette portrait from Disneyland or a drawing your three year old made for you at preschool!

Be careful about using both enough black and not too much of it in one part of your arrangement. Remember that black is SUPER important in every space. It keeps the eye moving around – so spread it around evenly in your gallery wall art and frames!

If you are at all tech savvy, I highly, highly recommend taking a photo of your frame arrangement and then using photoshop or even powerpoint to digitally try on prints in your frames! It’s not totally necessary, but it does help take a lot of the guesswork out of the thing! I used photoshop to help us lay out Amber’s office gallery wall and her family room art ledge. (PS these same rules for frame and art arranging work for art ledges as well as gallery walls!)

STEP 5: HANG YOUR ARRANGEMENT!

Before hanging your art, while you’re assembling each frame with the new art, do a quick assessment of the frame condition (and take a quick minute to windex the glass -front and back! Is there anything worse than putting a print and frame (especially a vintage one!) all the way together and then flipping it over to see finger prints on the inside of the glass?!

You can grab one of these kits that has extra D rings and other hanging hardware so you can make sure your frame goes up easily and stays put. I also keep these rubber and felt pads handy for putting on the bottom corners of frames. They help the frames to stay in place. I also like to use 3M picture hanging velco strips on the bottom corners of frames that are within reach of little hands. :)

I hang gallery walls starting at the top left. I usually work row by row on down to the bottom right. Use a level to make sure that first frame is hung straight and then you can generally hang the rest of your art off that piece as the anchor. This is where are your planning on the floor comes in handy. You’ll be able to hang a frame and know that the frame next to it is hung exactly X” to the right and Y” lower. No guessing and hoping that it looks good in the end! And no extra holes in the wall (or at least a LOT less of them!).

I have shared my painter’s tape trick for hanging art about a million times, and you can see the video on my stories for this post. But essentially when I’m hanging medium or large sized prints that have two hanging mechanisms (like D Rings or alligator teeth), on the floor, I stretch a piece of painter’s tape across the hanging hardware so it’s the exact width of the frame. I use a nail to make holes centered over the hardware pieces. I make a note of the distance from the top of the frame to the hanging hardware – this helps me know how far down to hang my tape on the wall. I use a level to put the tape up on the wall if I’m feeling fancy (tbh usually I just eyeball it!) and then I tap in nails through the holes I made in the tape. Et Voila! I would say a good 85% of the time, the nails are in the perfect spot and the frame is hanging exactly where I want it to on the first go! Every now and then, especially with cheaper frames, the hardware on the frame will not be installed evenly and so the frame hangs a little crooked and you have to adjust one of your nails. No biggie!

mirror  //  chandelier (similar)  //  chairs (similar)  //  lamp (similar)

Here is another space we helped Amber style – her family room! We hung the 18′ long art ledge that my contractor made and arranged the art. I love that art ledges have a lot of the same visual benefits of a gallery wall, but are really easy to switch out!

sofa  //  leather ottoman (similar)  //  picture ledges (similar)  //  jute rug

blue linen pillow (similar)  //  basket tray (similar)  //  faux olive tree  //  kilim pillow (similar)

PEACHY III print  //  PARIS print  //  POPPIES print  //  WILD OAK print

PINES print  //  BIG SUR print  //  GARDEN ROSES II print

PEACHY III print  //  PARIS print  //  POPPIES print  //  WILD OAK print

PINES print  //  BIG SUR print  //  GARDEN ROSES II print

sofa  //  leather ottoman (similar)  //  picture ledges (similar)  //  jute rug

blue linen pillow (similar)  //  basket tray (similar)  //  faux olive tree  //  kilim pillow (similar)

sofa  //  leather ottoman (similar)  //  picture ledges (similar)  //  jute rug

blue linen pillow (similar)  //  basket tray (similar)  //  faux olive tree  //  kilim pillow (similar)

PEACHY III print  //  PARIS print  //  POPPIES print  //  WILD OAK print

PINES print  //  BIG SUR print  //  GARDEN ROSES II print

sofa  //  leather ottoman (similar)  //  picture ledges (similar)  //  jute rug

blue linen pillow (similar)  //  basket tray (similar)  //  faux olive tree

We also hung a 55″ MONTAUK print in Amber’s mudroom. We had the walls painted Benjamin Moore Templeton Gray so that the cabinets and trim would pop a bit more. We love this color and the print looks perfect in here!

MONTAUK print  //  jute runner

Ten points to you if you made it all the way through this monster sized post! I hope you love this home refresh as much as I do. Here are some links to get the look sources below. As always, please let me know in the comments if you have any questions! xo

1  //  2  //  3  //  4  //  5  //  6  //  7  //  8  //  9  //  10

11  //  12  //  13  //  14  //  15  //  16  //  17  //  18   //  19

20  //  21  //  22  //  23  //  24  //  25  //  26  //  27  //  28

1  //  2  //  3  //  4  //  5  //  6  //  7  //  8  //  9

10  //  11  //  12  //  13  //  14  //  15  //  16  //  17

18  //  19  //  20  //  21  //  22  //  23  //  24

Kids Room

Nursery Roundup

Click here to see the Evergreen Nursery reveal!   Last week we revealed the nursery in our Evergreen Project! There were two small back rooms in the Evergreen House and we considered combining them into one large bedroom, but ultimately decided that two smaller, cozy spaces would be perfect for kids room or a nursery!…

Click here to see the Evergreen Nursery reveal!


Last week we revealed the nursery in our Evergreen Project! There were two small back rooms in the Evergreen House and we considered combining them into one large bedroom, but ultimately decided that two smaller, cozy spaces would be perfect for kids room or a nursery! It is the perfect size for the nursery essentials.. a crib, small dresser, rocker, and plenty of floor space for playing!

source

When we started looking for nursery items we were so shocked at how many cute options there are that all came in under budget!

source

Did you know we have a Baby & Kids section on our “Shop Our Finds“? We are always updating it with our latest nursery and kid’s room finds!

source

From cribs and bassinets, to rugs and art, we have rounded up some of our favorite nursery finds!

mobile  //  rattan bassinet  //  white dresser  //  wood toy

rug  //  throw pillow  //  rocker  //  alphabet print 


green crib  //  lilies I print  //  lilies II print  //  rug (similar) 

wood animal blocks  //  kids table & chairs  //  woven pouf  //  storage basket

crib  //  rattan lamp  //  rug  //  white rocking horse (similar)  //  wood rattle

blue & white sheets  //  green dresser  //  storage baskets (similar)  //  wood stacking rainbow  //  counting sheep print

crib  //  wood bead mobile  //  wood rainbow hanging  //  toy basket  //  rug

sheep ottoman  //  bassinet  //  white dresser  //  wall hooks  //  wood rattles


Evergreen House

Evergreen House: Nursery Reveal

When we first bought the Evergreen house, there were two smaller bedrooms on the first floor, sort of across from the kitchen and toward the back of the house. We considered combining them into one large bedroom, but ultimately decided that two smaller, cozy spaces would be perfect for kids room and what we would…

When we first bought the Evergreen house, there were two smaller bedrooms on the first floor, sort of across from the kitchen and toward the back of the house. We considered combining them into one large bedroom, but ultimately decided that two smaller, cozy spaces would be perfect for kids room and what we would want for our own families. When one of my team members walked the house and declared this room needed to be a nursery, I thought YES! It’s further back in the house, where it’s a little quieter and it’s right next to the master bedroom. Plus I’ve been wanting an excuse to use this cute and affordable crib!

DASH I print  //  DASH II print

crib  //  crib mattress  //  jute rug  //  striped rug(similar)  //  white dresser  //  ceiling fan

rocking chair  //  faux tree (similar)  //  lamp  //  rocking sheep (similar)

crib  //  crib mattress  //  jute rug  //  striped rug(similar) 

rocking sheep (similar)  //  faux tree (similar)


DASH I print  //  DASH II print

crib  //  jute rug  //  striped rug(similar)  //  white dresser  //  ceiling fan

rocking chair  //  faux tree (similar)  //  lamp  //  rocking sheep (similar)

Here’s what the space looked like when we bought the house. Rough, right? We had to close up the window to the right for the guest bathroom we added, but there is still plenty of great light in here!

The walls throughout the house are painted Benjamin Moore Chantilly Lace and the trim and doors are Seapearl. The flooring is engineered wood from Grand Pacific in the color Sea Lion.

In the bedrooms, we used this really great ceiling fan. I like that it is clean and modern, but also just sort of goes away. Here’s a picture of where we started with the decor. It’s always a process guys! Start with what you really like, get it in there and then adjust! I knew pretty quickly we were going to need a bigger rug and different curtains and textiles. Decorating should take time so all the layers can be thoughtfully built. It was hard to do that with the tight timeline on this project to be honest, but I love this sweet little room!

One way we added some interest and layering was to paint a loose floral pattern on my favorite white linen Ritva curtains! I used this craft paint and watered it down by about half in a bowl. Then just eyeballing it, I made a row of little marks about 8″ apart. I continued making the marks all the way down the curtain, offsetting the rows. (Also, make sure your heights and spaces roughly match on both curtain panels, so that the pattern rows continue in the same line!)

I’ll share a video of how I painted the loose roses in my stories and save them as a highlight. I basically started with the mark as the center of the rose and did 4-6 slightly curved, loose lines, building out from the center. I tried to make every one a little different, but all similar in scale and feel. You can see here too that there are little bits of splatter in some places. I tried to avoid that but in the end, they weren’t too noticeable and in a way added to the painterly quality of the pattern! (Wishful thinking??) :)

I used my favorite affordable matte black French rod and rings to hang the curtains. I also used these pronged curtain hooks to get a subtle pleat in the Ritva curtain header.

I love how the organic pattern of the curtains balances the graphic pattern of the rug. I have always loved this rug(similar) and was able to snag it on super sale a few months ago. They only had the 5×7′ size left, but I knew I could find a good place for it – and this nursery space was just right! The room is about 8×14′ – so super narrow. I layered this long and narrow jute rug from IKEA(similar) under the striped dhurrie rug to give it a little more presence in the room. With smaller rooms, I always think a bigger rug is better than a smaller one! Just give a couple inches of clearance around the perimeter of the room.

crib  //  crib mattress  //  jute rug (similar)  //  striped rug

rocking sheep (similar)  //  faux tree (similar)

We found a simple white dresser at Target for the room and added these cute and affordable brass knobs to dress it up a bit!


SUNSHINE ROW print

white dresser  //  brass knobs(similar)  //  lamp  //  rattan plant stand(similar)

With the room being pretty long, we were able to squeeze out a nice sized closet and still have plenty of room for a rocking chair in here. This one was an Amazon find and it was beautiful!!

rocking chair  //  brass floor lamp  //  side table(similar)

The prints in this room are all from our printshop! To add to the layers of pattern in the space, I went with these two DASH prints from NYC artist Lauren Packard. I love the color and texture in these!

DASH I print  //  DASH II print

crib  //  jute rug  //  striped rug(similar)  //  white dresser  //  ceiling fan

rocking chair  //  faux tree (similar)  //  lamp  //  rocking sheep (similar)

And that’s it for this small but sweet space! As always, please let us know if you have any questions about this room in the comments!

Source List:

Crib

Crib Mattress

Crib Sheet

Pink Gauze Throw Blanket

Curtain Rod

Curtain Rings

Curtains

Drapery Hooks

Dash I Print

Dash II Print

Tassel Pillow

Kilim Pillow(similar)

Faux Tree (similar)

Jute Rug

Striped Rug(similar)

Rocking Chair

Side Table(similar)

White Dresser

Brass Knobs(similar)

Ceramic Lamp

Brass Floor Lamp

Sunshine Row print

Wood Frame

Rattan Plant Stand(similar)

Ceiling Fan

Bathroom

Evergreen House: Main Bathroom Reveal

Next up on the Evergreen house reveal tour is the Main Bathroom! Our goal was for this space to feel as big and open as possible – light, bright and clean. I love what we accomplished in here! Wayfair partnered with us on a lot of this product, which was SO appreciated! I love using…

Next up on the Evergreen house reveal tour is the Main Bathroom! Our goal was for this space to feel as big and open as possible – light, bright and clean. I love what we accomplished in here! Wayfair partnered with us on a lot of this product, which was SO appreciated! I love using Wayfair as a resource for furniture and decor as well as renovation items like lighting and hardware and vanities.

vanity  //  brass handles  //  brass knobs (similar)  //  faucets

marble hex floor tile  //  shower tile (similar)  //  sconces  //  mirror (similar)

You can see more about this floor plan changes in this post about the main bedroom, but essentially, we gave up a small bedroom at the back of the house for this bathroom and a separate mudroom/laundry room. It was COMPLETELY worth it from a resale stand point to have a better main bathroom with a double vanity, large walk-in shower and a separate water closet.  Here’s what the room looked like during framing. I wanted to incorporate ledges, shelves and benches in the shower for more storage and some interesting movement so the shower wouldn’t look like a big white box.

When you’re designing a space, you have to think about the details as much as possible. One of the exercises I like to do in my design process is sketch before I put designs into CAD. I have a hard time getting creative in drafting programs, but sketching helps my brain loosen up a bit!

One of my favorite sketching techniques (this works especially well for tile layouts or gallery walls) is after drywall is up, take a photo of the space with your phone, brighten it in your phone or in photoshop so the image itself it really, really light and then print it out in black and white. Here is the photo I took of the shower area with my phone before lightening and printing.

I use my very favorite erasable pens to sketch right on the printed image. This exercise forces me to think through almost every detail of the tile install. Grout color (PolyBlend Warm Gray). Corner edge detail (matte gray schluter). Glass shower door and panels size and swing. Direction of pattern, especially on the top of the pony wall and valve ledge. Etc, etc, etc.

I chose this gorgeous terra cotta brick subway tile (similar) from Wayfair that we had installed in an offset vertical pattern, which is one of my favorite patterns for a large shower.  We chose a marble hex tile for the floors and I think the two are so pretty together!


The vanity is also from Wayfair and I’m obsessed with the cabinet color (a beautiful blue-gray) and the flush inset drawers and doors. This cabinet would be $2500+ to have made be a cabinet maker, and this one came WITH the marble countertop and the sinks!! Such an amazing value! (And it’s on MAJOR sale right now!)

We ended up changing the hardware to these brass pulls and these knobs to better match the brushed gold faucet finish. I like the smaller scale of these a little better too!

Painter’s tape is one of my favorite design tools. I basically have a roll and a tape measure in my bag or car at all times! Before we ordered the mirror, I taped out the ideal size to my eye and then measured the dimensions. I’ve mentioned this before, but Wayfair has an incredibly accurate search function. I put in a range for my desired dimensions and searched for floor mirrors and found several that worked for us! Sometimes I prefer one long mirror over two smaller if I’m trying the make the room look brighter and bigger! The bigger the mirror, the more light is spread around!

I also used painter’s tape to figure out electrical placement for the sconces. Can you believe how affordable these sconces are!? I was PUMPED when I saw they were really beautiful in person too. Such a great buy!

vanity  //  brass handles  //  brass knobs (similar)  //  faucets

marble hex floor tile  //  shower tile (similar)  //  sconces  //  mirror (similar)

I don’t have any photos of the water closet but it’s behind the door to the right you can see here! Also check out that cool floor drain that incorporates the tile pattern!

We also got a lot of the accessories in here from Wayfair as well! Like the striped Turkish towels (similar), the brass wall hooks and the rug in front of the vanity (similar).

striped Turkish towels (similar)  //  wall hooks

I hope you love the way this space turned out as much as I do! As always, here are the links to the sources for this project, and we’d like to thank Wayfair for partnering with us on this room!

Evergreen Master Bathroom Source List:

Vanity

Marble Hex Floor Tile

Shower Tile (similar)

Brass Shower Trim (similar)

Mirror (similar)

Sconces

Brass Handles

Brass Knobs (similar)

Faucets

Wall Hooks

Striped Turkish Towels (similar)

Hand Towels (similar)

Rug (similar)

Wall Art

White Vase (similar)

Wicker plant stand (similar) on vanity (plants are faux from local craft store)

Evergreen House

Shopping for the Evergreen House

This post is sponsored by Wayfair. I was shocked when the Evergreen house sold before it even had a chance to go to market. We only had a couple weeks to stage the house for photos, which we use for marketing for the print shop. I wanted the rooms to look homey, cozy and collected,…

This post is sponsored by Wayfair.

I was shocked when the Evergreen house sold before it even had a chance to go to market. We only had a couple weeks to stage the house for photos, which we use for marketing for the print shop. I wanted the rooms to look homey, cozy and collected, but I had a REALLY tight timeline and budget. We used a lot of Wayfair purchases throughout the house, so I was excited when they reached out to ask me to share some of my favorite purchases – there are a LOT. :)

I’m always after a higher quality look for less and Wayfair and their partner sites like All Modern (I’m obsessed with their Scandinavian pieces!) make it easy with always super fast and free shipping over $49 and super helpful user reviews (with PHOTOS! YES!). My fave.

Wayfair has over $10 million products (!) but their site search function is so dialed in. Remember this hallway table(similar)? I wanted something that was exactly 42″, which I could specifically search for on the Wayfair site! (I just saw the table(similar) is on sale for Labor Day too!)

Console Table(similar) //  Throw Rug(similar)  //  Brass Mirror(similar)

Glass Vase(similar)  //  Faux Branches(similar)  //  Brass Mirror(similar)

The Evergreen living room rug is still my favorite! I’ve had SO many questions about this rug line in general, I’m thinking of doing a whole post to dig a little deeper – what do you think? In a nutshell, I don’t think you can come close to getting a rug this size, that is this pretty, for anywhere near this price. TOTAL RECOMMEND.

Living Room Vintage Inspired Rug

We talked a little bit about this idea in the Living Room reveal post, but I LOVE using an ottoman or bench as a coffee table! It works especially well in more narrow spaces. We had two large side tables and with a big tray on the bench, there’s still plenty of places to put down a drink. I love the pleated upholstery detail on our bench(similar) in here. And those gorgeous metal legs are KILLER!

The marble and wood side table(similar) is also from Wayfair. I kept this one for using in my own house! :)

Pleated Ottoman(similar)

This rug was another lucky Wayfair find that really helped to pull our sunroom together. I always suggest starting with a rug when you’re decorating a room from scratch. The rug colors and pattern helped me decide the direction for everything else in the space!

Flat Weave Vintage Inspired Rug

We also bought a lot of our plumbing hardware on Wayfair! I wanted to use warm satin brass fixtures in the house for a traditional look, but I wanted cleaner lines. But also not too modern! Ha! Tall order, right? But I found this line on Wayfair(similar) and it was PERFECT for the house.

Brass Shower Trim

So many of you asked about the nightstands in the Main bedroom and if we had painted them. Nope! They come in this greeny gray color. It is beautiful together with the colors in the rug! You can find them on the All Modern site.

Green Gray Nightstand // Vintage Inspired Rug

Here are some additional product picks we are loving from the Wayfair and All Modern sites. Many of these are on sale for the holiday weekend, too!

brass footed planter(similar)  //  rug  //  gray tassel pillow

white tassel pillow  //  woven wood chair  //  brass mirror  //  basket

leather bench  //  knit throw(similar)  //  planter set(similar)  //  black caned chair(similar) 

gray patterned rug(similar)  //  chandelier(similar) //  woven tray

Bedroom

Evergreen House: Main Bedroom Reveal

The main bedroom at the Evergreen house was small and cramped before! We had quite a bit of rearranging to do. The main bathroom used to be in here too, but we were able to use some of an adjacent bedroom to gain more closet space and to make this bedroom feel a little more…

The main bedroom at the Evergreen house was small and cramped before! We had quite a bit of rearranging to do. The main bathroom used to be in here too, but we were able to use some of an adjacent bedroom to gain more closet space and to make this bedroom feel a little more spacious.

Check out that weird little pass through that goes to the kitchen! We think it was for plumbing access. We closed it up though!

Here you can see where we kept one of the old closets (on the left) and we gave up the old closet on the right for the water closet in the new en suit bathroom.

We also had quite a bit of restoration work to do on this original steel corner window. The previous homeowner had retrofitted the window to accommodate a window air conditioning unit. We added central air during the renovation and restored the missing steel pieces and window panes.

These windows, even after restoration, are not the most energy efficient, but the two we kept in the house (the other is in the kitchen breakfast nook) were luckily on the north east corners, so they don’t really ever get that burning hot direct sun. We replaced the rest of the windows in the home with more energy efficient windows that matched the black steel corner windows.

These corner windows are SO pretty! They are a little tricky to dress though, so we left them bare for the staging, but recommended outside mount flat shades to the new homeowners, or custom corner curtain rods. You can hire metalworkers to make these for you. I would show them a photo of these rods as my inspo!

I always start with a rug when decorating a room. Like truly 99% of the time, I won’t pick anything until I have the rug decided on/in the space. Rugs are HARD. They are usually a big investment and the colors aren’t usually represented accurately in listing photos. I found this Loloi rug on Amazon, and while I really do love it, the colors were punchier in person than I expected based on the listing photos. I was glad I waited on selecting other items until I had the rug in the space. The rug was begging to be the star of the space, so we went a little softer on the other decorative elements, like the bedding and the art.

nightstand  //  vase (similar)  //  art easel  //  gold bowl (similar)

You guys I AM OBSESSED WITH THIS LINEN BEDDING. It is also from Amazon and it is amazing! The homeowners bought a lot of our staging pieces, including this bedding, but I loved it so much I bought a new set (in the king size – both the duvet set and the linen sheets) for my own bedroom.

GARDEN ROSES I print  //  GARDEN ROSES II print

rug  //  chaise lounge (similar)  //  side table (similar)  //  pink throw (similar)  //  rust pillow (similar)

side table (similar)  //  chaise lounge (similar)

We found this chaise (similar) on Amazon too! The upholstery is a gorgeous washed and brushed canvas in a blue-gray color. I love the wood base!

GARDEN ROSES I print  //  GARDEN ROSES II print

rug  //  chaise lounge (similar)  //  side table (similar)  //  pink throw (similar)  //  rust pillow (similar)

I don’t have any photos of the inside of the closets (haha – there’s a TON of staging stuff hidden in there!), but behind those sliding doors is a really big closet with tons of storage. I was so happy with the new layout of this space. There’s a smaller, but still good sized closet on the other side of the room to the right of the bed.

ANN STREET print

floor mirror (similar)  //  faux tree (similar)  //  rug

floor mirror (similar)  //  faux tree (similar)  //  rug

The art above the bed is called White Sands from photographer Sarah Ellfeson that we sell in Juniper Print Shop. This is the 55″ print size, that we cut down to fit in the 22×55″ IKEA Bjorksta frame. I love this look for over a queen or king sized bed!

bed  //  nightstands  //  rug //  mattress  //  duvet  //  down insert 

The caned bed was one of my favorite purchases for the space. I love the color and the texture! The nightstands look PERFECT next to the bed. That blue-green-gray color is my forever favorite color and I love the black pulls!

bed  //  nightstands  //  rug //  mattress  //  duvet  //  down insert 

bed  //  nightstands  //  rug //  mattress  //  duvet  //  down insert 

The arrangement on the nightstand is dried pampas grass we bought at our local flower wholesaler, but you can buy it online here too! We found the giant green glass jar on sale at Arhaus (similar).

ANN STREET print  //  WHITE SANDS print

bed  //  nightstands  //  rug //  mattress  //  duvet  //  down insert 


duvet & shams  //  linen sheet set

bed  //  nightstands  //  rug

bed  //  nightstands  //  rug

bed  //  nightstands  //  rug

The sconces were made by local friends Lucent Lightshop. I love how you can twist the sconce head to face different directions. So sculptural!

What other questions can I answer for you?! I love this pretty space and am so glad the new homeowners love it too!

Here are all the sources in one long list:

Wall Color – Benjamin Moore Chantilly Lace (flat)

Trim Color – Benjamin Moore Seapearl (satin)

Closet doors

Rug (9×12)

Rug Pad

Nightstands

Pampas Grass

Sconces

Art Easel

Bed

Linen Duvet Set

Linen Sheet Set

Vintage Lumbar (similar)

Pink Throw (similar)

Mattress

Print above bed

Frame

Chaise (similar)

Rust Pillow (similar)

Garden Roses Print

Wood Side Table (similar)

Gold Bowl (similar)

Gold Floor Mirror (similar)

Yucca Tree


Evergreen House

Evergreen Exterior Final Reveal and Q&A

This post series is sponsored by Lowe’s The Evergreen house exterior has been one of our favorite transformations to date! Check out this amazing before and after, all made possible with wonderful, affordable and easy to source products from Lowe’s! I collected some of your frequently asked questions about this exterior makeover project on my…

This post series is sponsored by Lowe’s

The Evergreen house exterior has been one of our favorite transformations to date! Check out this amazing before and after, all made possible with wonderful, affordable and easy to source products from Lowe’s!

I collected some of your frequently asked questions about this exterior makeover project on my Insta stories, and here are the answers to some of your burning questions:

  1. What are the house paint colors and how is the dark color holding up?
  2. Can I put tile outside in colder climates?
  3. Why a pergola instead of a full porch?
  4. How expensive is it to install pavers? Do you think someone could DIY install these?
  5. Did you replace all the windows in the house?
  6. Where did you get the brass house numbers?

Okay, ready to jump in?

Q: What are the house paint colors and how is the dark color holding up?

From day one of this home rehab project, I was pretty excited about doing a two-toned exterior, but I first envisioned more of a mid-tone gray green. Once we got the samples up though (I can’t stress the importance of samples enough!!), I realized a mid-tone color really washed out the exterior and the landscaping – everything looked just BLAH! We needed some high contrast! It sounds pretty silly, but I had a dream that we painted the exterior a dark, almost black color and it looked so great in my dream that I literally changed the color on the day the painters came!! Such a last minute switch, but it was the best call!

We picked Nocturnal Green from Valspar for Lowe’s for the board and batten siding (made from HardiPlank and Board) and Gilded Linen for the stucco. The Valspar Duramax paint is specifically formulated to hold up to extreme exterior conditions and the manager at the paint desk, who was very helpful, told us this would be our best option! So far so good.


Q: Can I put tile outside in colder climates?

Since Arizona doesn’t ever really freeze, we were able to install this tile, but as long as the tile you choose is rated for outdoor use, you can install it on slab outside anywhere in the country! Like the brick tile I bought at Lowe’s on clearance for my kitchen walls? Totally rated for outdoor use too! I bought a bunch for the exterior of my own house!

Here are some tips for choosing and installing tile that is suitable for outside use in colder temperatures:

  • Look for a tile rated for outdoor use with a little more texture to help with slip-resistance. Our tile at the Evergreen house was slightly textured, but I would say it was about the same as concrete when it was wet.
  • Porcelain tile absorbs less water than ceramic tile and it is more durable.
  • Before installing the tile on your slab, give the concrete a really good cleaning with a pressure washer. (I like this one!) You might also want to consider painting on a waterproofing sealer like this one, especially if you live in a colder climate. This helps with expansion/cracking.
  • Use a thinset mortar and a grout that are both rated for outdoor use!

Q: Why a pergola instead of a full porch?

Our front porch is east facing and the front of the house never really gets that INTENSE afternoon sun. The house had a full porch before when we first bought the house and it really darkened the living room a lot. The pergola offers shade but still allows sun to get inside. If the house were west facing, we definitely would have put a full roof on the porch. Side note: Here is the stain and sealer we used for the wood on the fence and pergola! I went with the Autumn Brown color, which I thought looked great with the siding color.

Q: How expensive is it to install pavers? Do you think someone could DIY install these?

In my experience, the labor cost for installing pavers is about the same as hiring out floor tile installation. In Arizona, it’s usually $3-5 per square foot. We ordered about 700 sq feet of these beautiful brick pavers, so the total with material and installation for our front walk and side patio came out to about $3000. That said, with the material costs coming in closer to $400, if you are comfortable with using a tile saw for cuts and a couple of days of labor, laying pavers is most definitely a DIY option and is an easy way to save money! Here is a really great tutorial that will help give you a sense of what’s involved.

Q: Did you replace all the windows in the house?

We replaced all of the windows in the house but the the two steel corner windows, which we painted black with this amazing spray paint. We both wanted to save money and keep some of the original charm of this historic home! We had to have a glass company come and repair and replace some of the broken panes but for the most part, the original windows looked and worked great! We chose these Jeld-Wen windows for the rest of the house and I really liked them!

(PS Here are some sources for our outdoor living area on the side porch!

Safavieh Wood Patio Set  //  Patio Life Pot Hangers  //    Kaleen Outdoor Rug  

  All Things Teak Dining Chairs  //  Safavieh Outdoor Dining Table  //  Pennington White Terracotta Planter

 Portfolio Ellicott Galvanized Outdoor Sconce  //   All Things Cedar Trellis (similar)  //  Dark Gray Bench  (similar)

 I/O Black & White Lumbar Pillow (similar)  //   Jordan Sisal Pillow (similar)  

 Round Black Table  //  Safavieh Gray Side Chair Set 

 I/O White Fringe Lumbar Pillow (similar)  //   Majestic Home Goods Black & White Striped Pillow  

 Concrete Look Garden Stool (similar)  //   Mayne Black Resin Planter (similar)  //  Terracotta Bowl (similar)

Q: Where did you get the brass house numbers?

I knew as soon as the board and batten siding was painted dark that I really wanted brass house numbers, but I didn’t want to spend more than $100 on them! I found these modern house numbers for just a few dollars each and used this Satin Bronze spray paint with built in primer to paint them the prettiest color of brassy gold before mounting them to the wall. My tip with spray paint is always to do many light coats with drying time in between coats. I love how the brass numbers pop against the inky black paint color of the siding!

Do you have any other questions for me? I’d love to answer them here in the comments. As a recap, here are all the posts on the Evergreen exterior projects. A huge thank you to our sponsor, Lowe’s for helping us bring this exterior to life!

Initial Exterior Design Plans

Side Porch Plans

Exterior Paint Reveal

Porch and Pergola 

Side Porch Reveal 

Dutch Door DIY

This error message is only visible to WordPress admins
There has been a problem with your Instagram Feed.
© Jenny Komenda. All Rights Reserved.
Site by