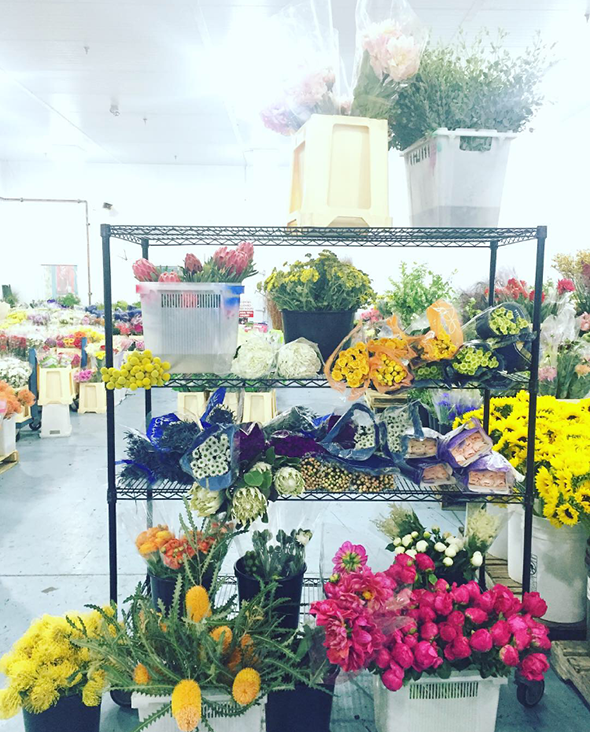
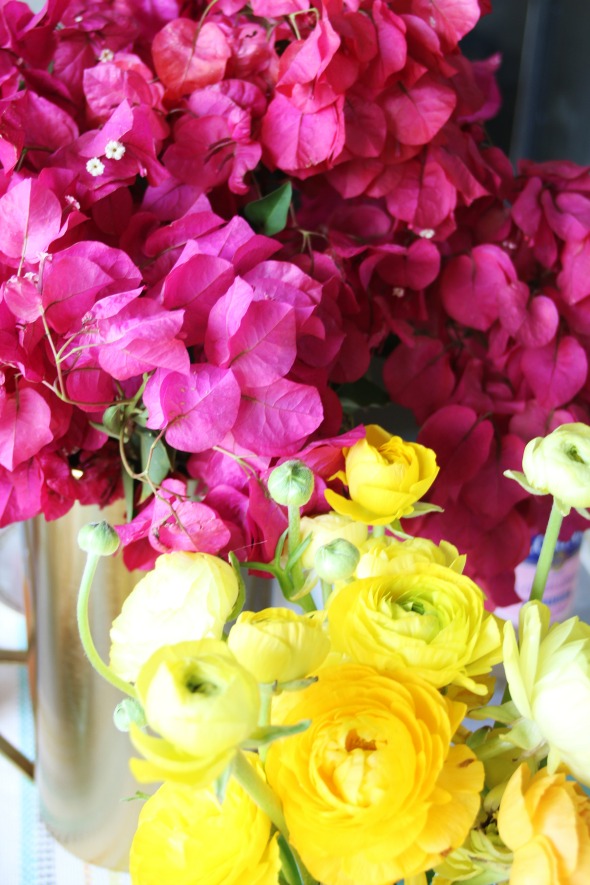
Our house is the definition of chaos this week! My baby sister, Heather, is getting married this weekend and the reception will be here on Saturday night. (Insert Home Alone scream) We’ve been cleaning and hanging lights and moving furniture and painting signs and making decorations all week. There’s a lot to do still, but most of it has to do with the flowers. I bought everything at the floral wholesale place on Monday, and we’re picking up buckets and buckets of blooms at the crack of dawn on Saturday. We probably should have hired out this part of the party, but it’s way too much fun for me and my mom to give up! We have about 30 large bundles of silver dollar eucalyptus that we’re using for the base of every garland and arrangement and then all sorts of gorgeous peonies, garden roses, ranunculus, poppies and chamomile to layer in. CAN YOU TELL I’M EXCITED?! I’ll be sure to take lots of photos and share a post next week. You can follow along on Instagram in the meantime!
I meant to post this Mother’s Day Gift Guide earlier in the week, but, you know, the wedding. But the good news is there’s still time to completely nail your Mother’s Day gift! Here are a few of my favorite recent purchases or things that are on my wish list/saved in my Amazon cart. :)
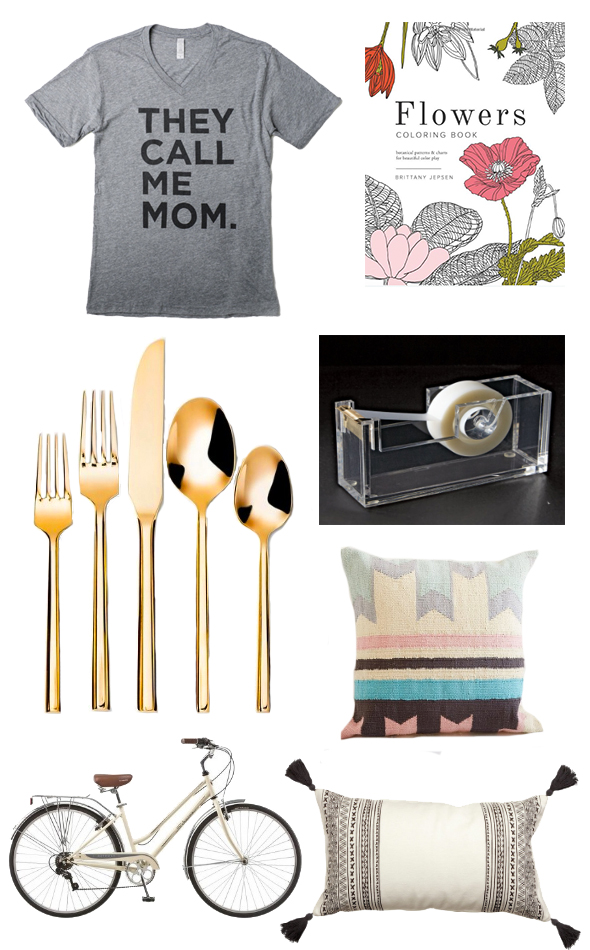
They Call Me Mom tee – My friend co-owns a local company called the Lemon Tee shop. I love, love, love their kids shirts especially, but every time I wear this funny tee, I get a million questions. So only wear it when you feel like saying “Lemon Tee shop!” a million times in your day!
Flowers Coloring Book – Brittany is a creative genius (and truly one of the kindest people I’ve met!). I LOVE her coloring book for grown ups. I guess kids can use it too, but I think you’re going to want to keep this one for yourself. Every one says coloring books are a great stress reliever, but I probably put a little too much effort into my coloring sessions. :)
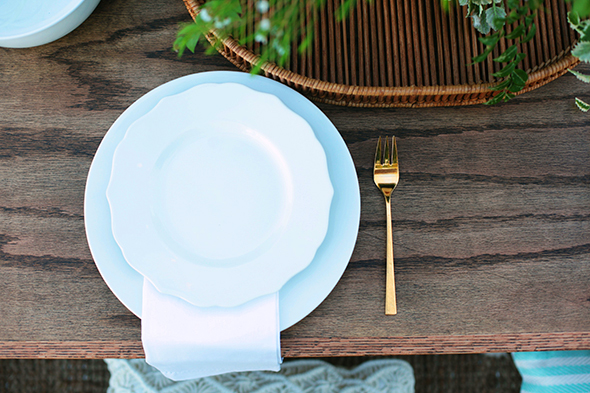
Gold Flatware – I have a set of vintage gold flatware that I got on eBay a couple years ago. I really shouldn’t be putting it in the dishwasher, but I do (#lazy) and now I’m paying for it! I’ve been eyeing the West Elm set for a while to replace my corroding vintage set but I like this one even better (the proportions of the big spoon are just SO good) and at $20 for a five-piece place setting, I couldn’t help myself and I bought 12 settings on the spot. Also, it’s officially dishwasher safe! High fives!
Acrylic tape dispenser – because at least six times a month, I find myself yelling out to my art-loving girlies “WHERE’S THE SCOTCH TAPE?!” They might still take my tape, but this one will be easier to find.
Pastel Kilim pillow – just a pretty pillow at a great price.
Tassel pillow – I think these two pillows go great together. You’re basically giving your mom a whole sofa makeover with the set!
Schwinn cruiser – Ivory +caramel leather bikes are the ultimate and this one’s cheap and chic. Nothing’s cuter than a mom on a bike ride with her kids, you know?
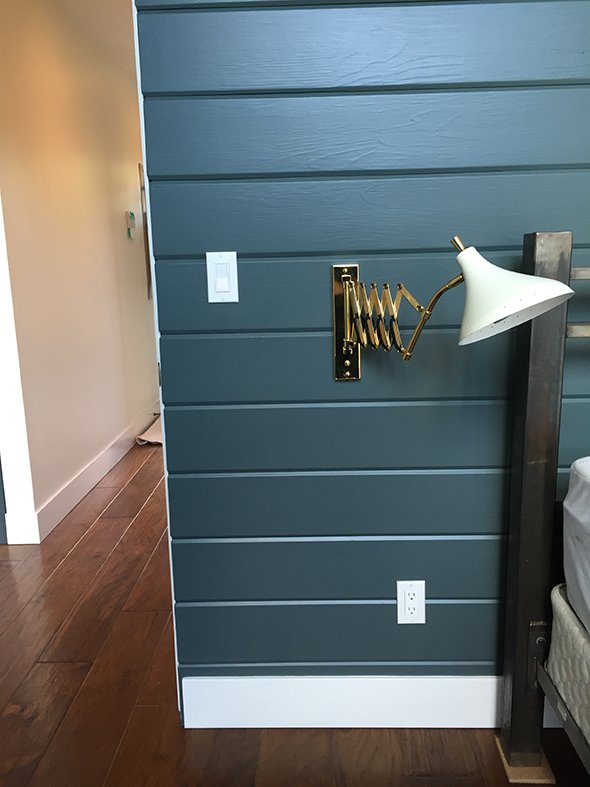
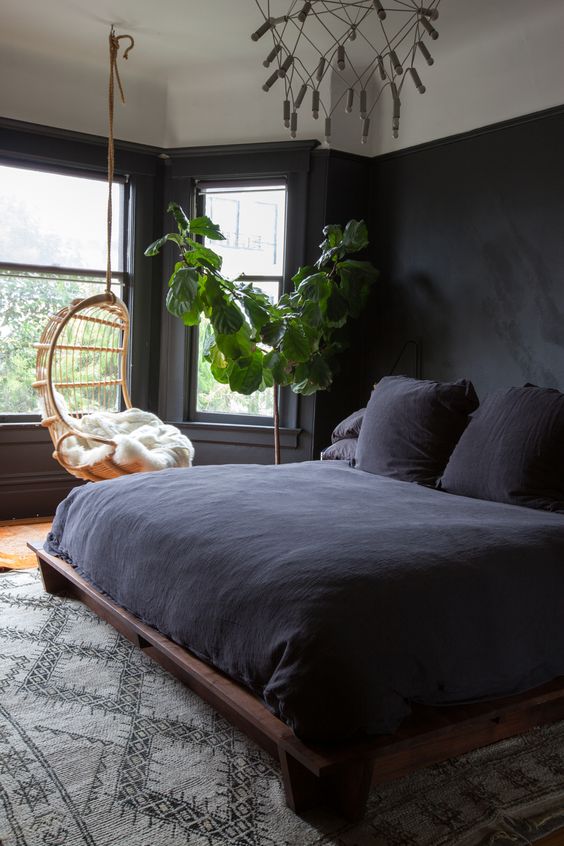
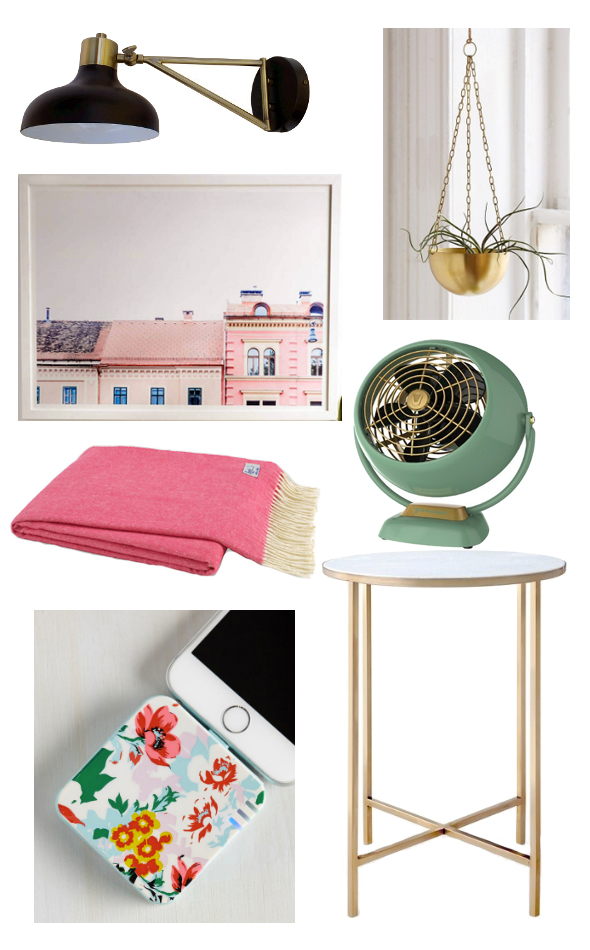 Black wall sconce – A pair of these wall-mounted, plug-in sconces won’t set you back too much in the cash department and will completely elevate her bedroom look. Love the brass accents, of course.
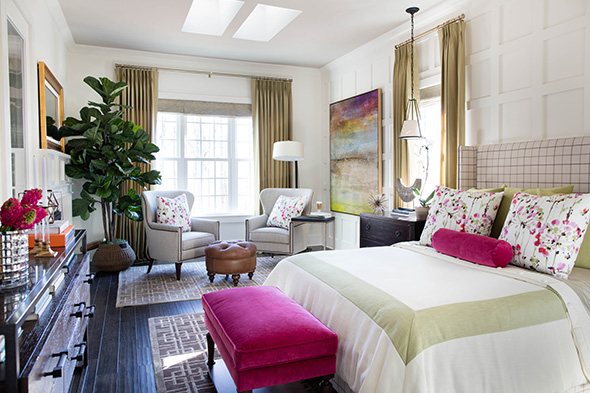
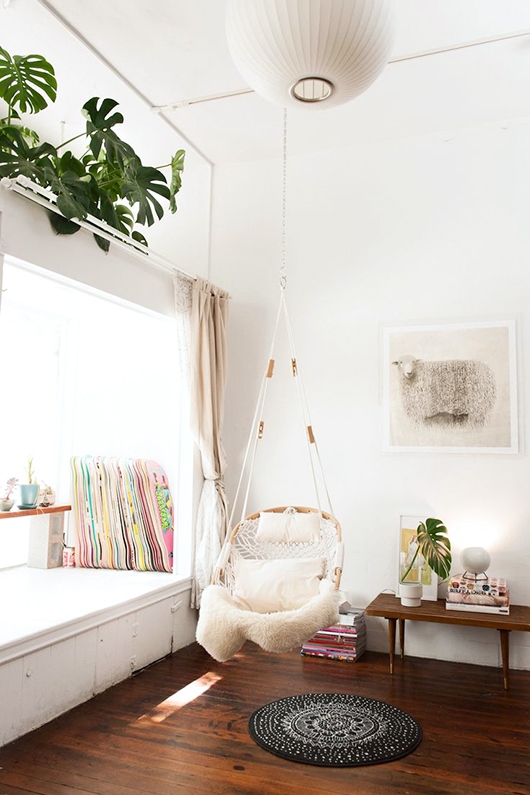
Hanging planter – I love a little hanging planter in a back room window. This one would be so sweet with a Maiden Hair Fern already planted inside!
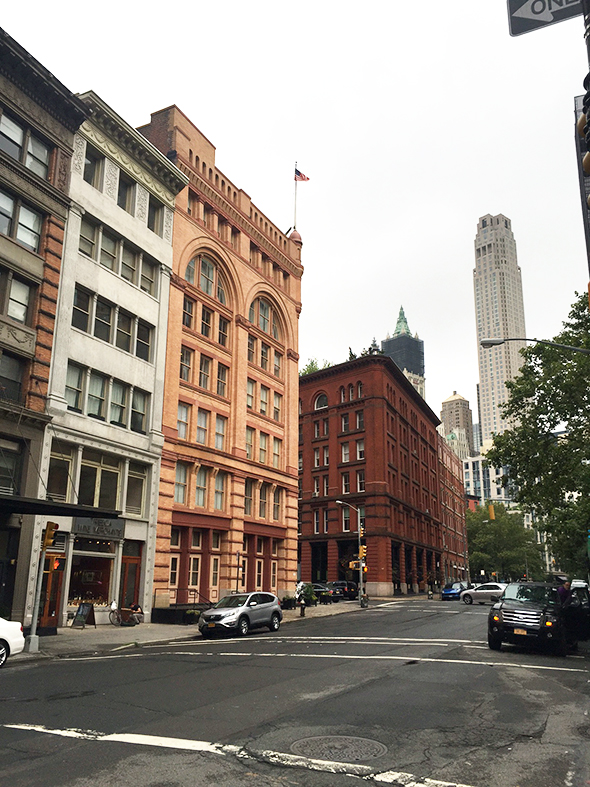
Pink Buildings Print – Reminds me of The Grand Budapest Hotel! I love the girliness of this print.
Green Vintage Style Fan – Fans are a necessary evil here in the desert. I consider it one of my personal duties in life to seek out all the prettiest fans on the market. This green one is SO on my list!
Pink Throw – I have and LOVE this pink throw. It is so, so soft and it truly looks amazing in any room, even and maybe especially if there are no other pink accents in the space. It is bright but super luxurious looking!
Marble and Brass Side Table – a killer deal on a killer table. It’s anything but basic, but the lines are completely classic. This one is worth getting and keeping for a long time to come.
Portable Phone Battery – Cause every mom needs extra phone juice!
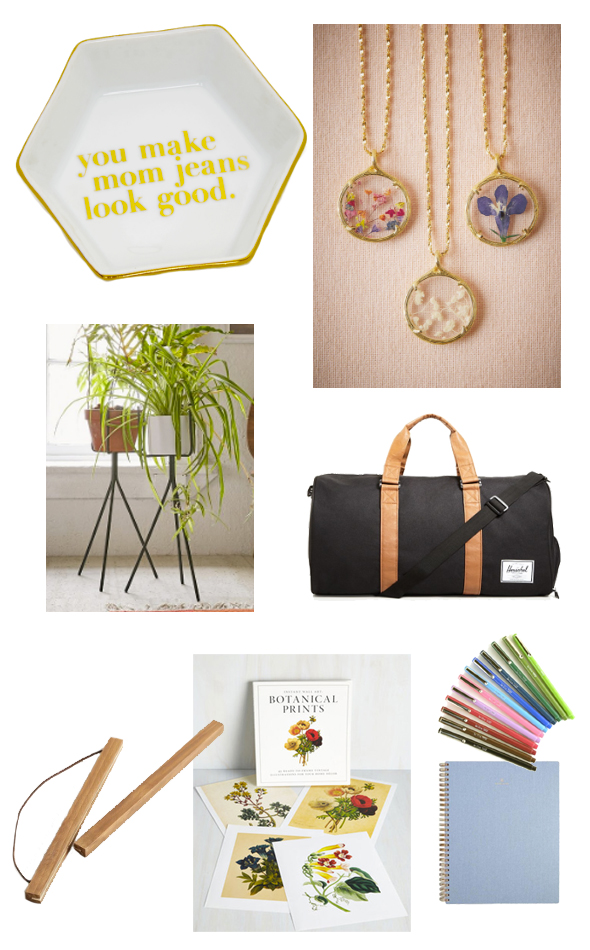
Mom Jeans Dish – Low rise is the enemy! Amiright, ladies?
Pressed Flowers Necklace – I really would love one of these sweet necklaces to layer in with my other daintier pieces. These are real pressed flowers!
Plant Stand – This is one of the more affordable plant stands available right now. I love the bullet planter shape and the manageable size!
Black Herschel bag – A woman can never have too many Weekender bags! Because why bring a single suitcase when you can bring 8 overnight bags?
Botanical Prints – I love this book full of dozens of botanical style prints. These wooden hangers are the perfect way to display them in a casual, textural, un-fussy way!
Chambray Notebook – If someday I decide to go all Steve Jobs style with a daily uniform, a chambray shirt would likely be my choice of top. So naturally I would want a chambray notebook, right?
Le Pens – Always and forever the best writing implement known to man. This color pack combo is my favorite.
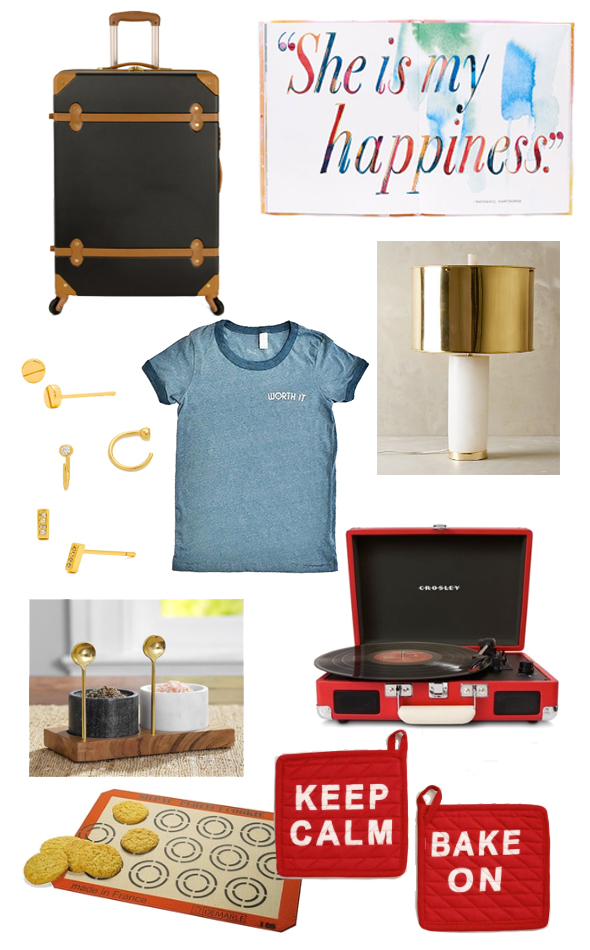
Carry-On Luggage – I’m in need of a new smaller sized suitcase, but I hate the idea of spending a bunch of money on something that is going to get completely beat up. This DVF suitcase is adorable and affordable!! Wouldn’t it be cute to give your wife or mom a new suitcase and a cheap flight somewhere fun? Allegiant and Frontier always have crazy deals here like $25 tickets to San Fran!
A Mother is a Story – My friend, Samantha Hahn, is a brilliant illustrator. You have seen her work everywhere – I literally can’t pick up a magazine that doesn’t have at least some of her lettering. She is amazing. Her newest book is a beautiful celebration of motherhood (and therefore, a PERFECT gift for this weekend.) I’ll also be giving one to every pregnant friend from here on out.
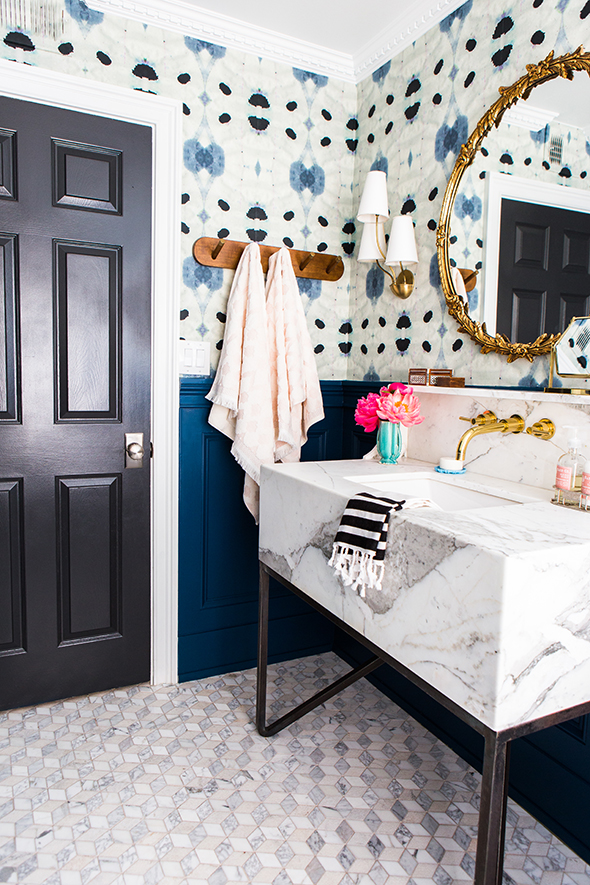
Brass and Marble lamp – Still one of my favorite lighting pieces from Lucy’s project. It’s a show-stopper!
Worth It Tee – Subtle and so, so true.
Gorjana Earrings (studs, hooks, bars) – Between Madewell and this line, I am pretty much always covered in the jewelry department. The Grojana pieces are dainty and affordable and really well-made. Also, I learned recently that if any of your Gorjana jewelry breaks or the gold fill starts to wear off, you can just send your jewelry into their headquarters in California (or have Nordstrom send it for you) and they’ll make it look new for free and ship it back to you! Sweet, huh?
Salt and Pepper Cellars – The perfect countertop accessory. Those little brass spoons slay me.
Record Player – My girls are super into records these days. It’s fun to hunt for great albums at thrift shops and teach my kids about good, old music. A little Fleetwood Mac mixed in with their Taylor Swift can only be a good thing. This record player is cute and less expensive than others on market. It looks adorable sitting out on a credenza or on top of the piano.
Cookie Silpat Mat – In case your mother is as much of a perfectionist as mine! :) Hopefully if I give this to my mom, she’ll make her famous Honey Oatmeal cookies a little more often. Yummmm…
Keep Calm Bake On mits – It’s been long enough, right? We can start using the Keep Calm graphics again? These oven mits made me nostalgic for the good old blogging days of circa 2007.
HAPPY MOTHER’S DAY all of you beautiful women! You are doing amazing work.


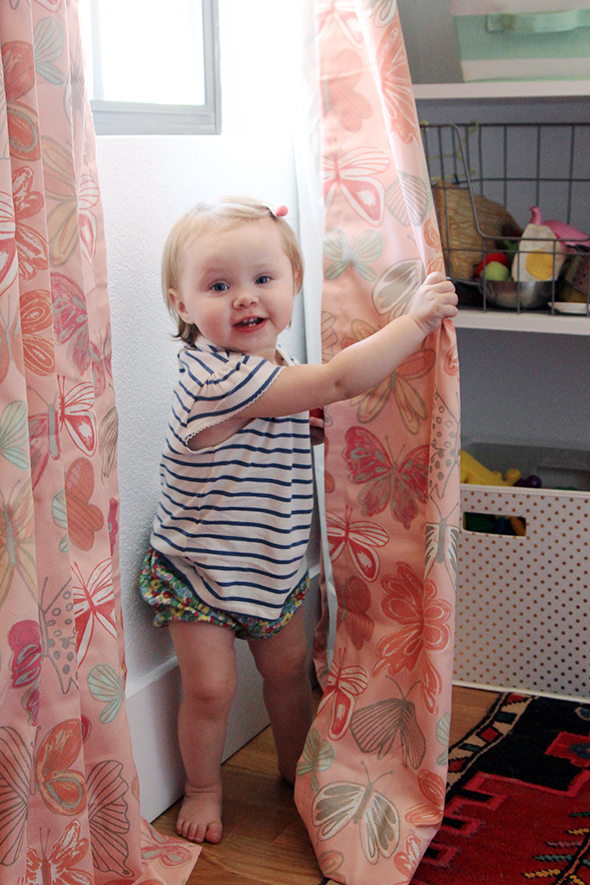


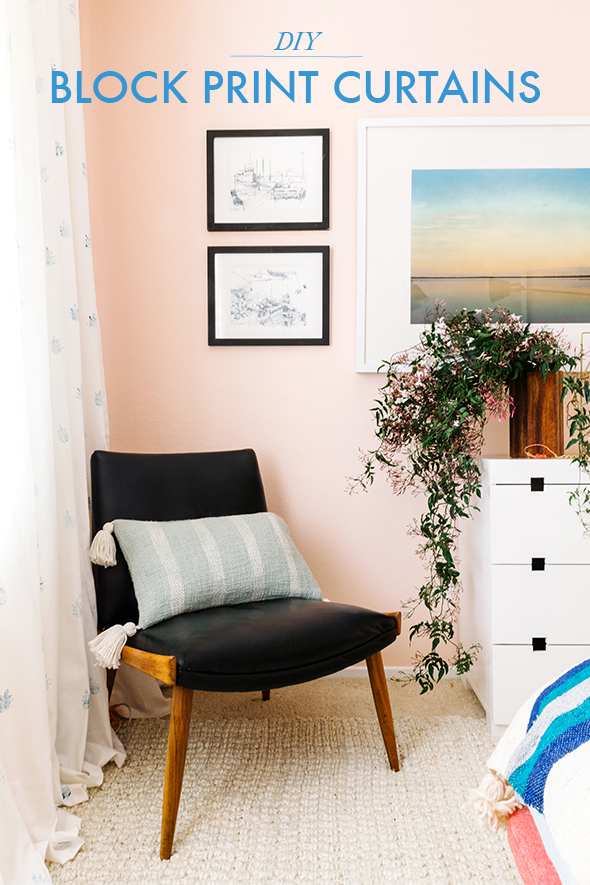
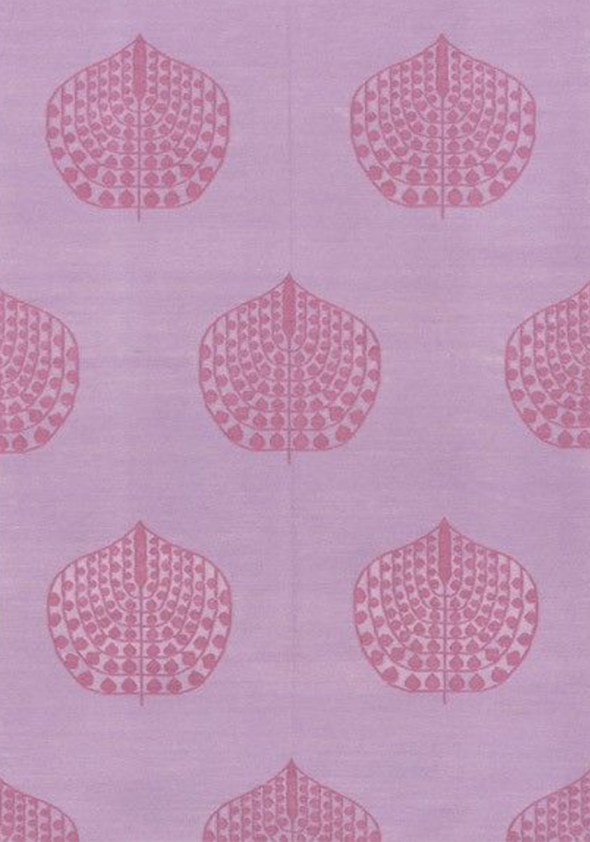
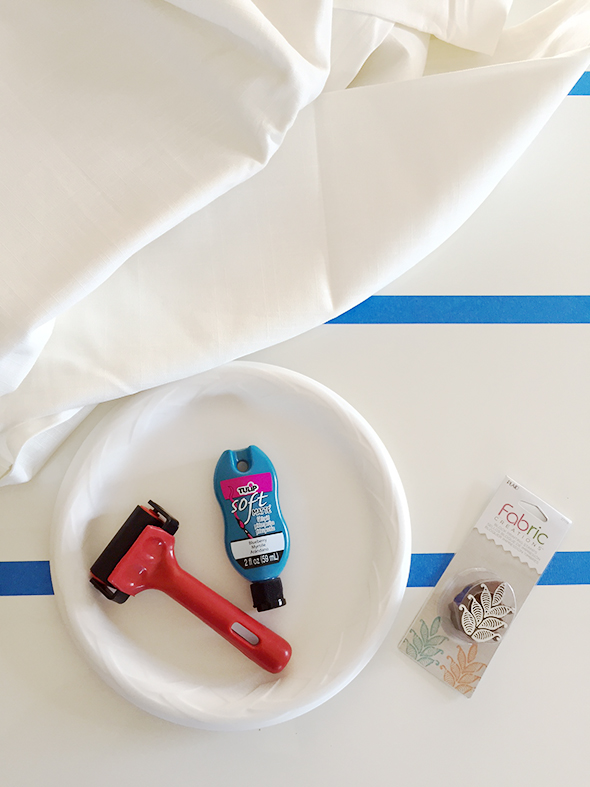
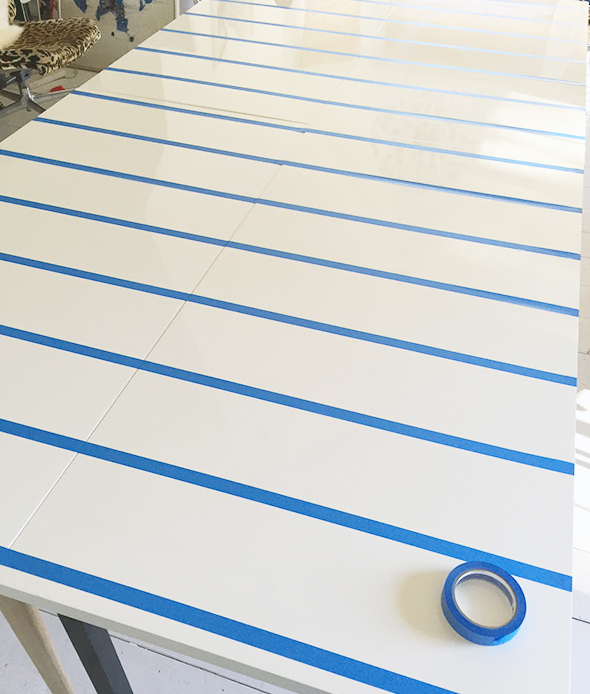

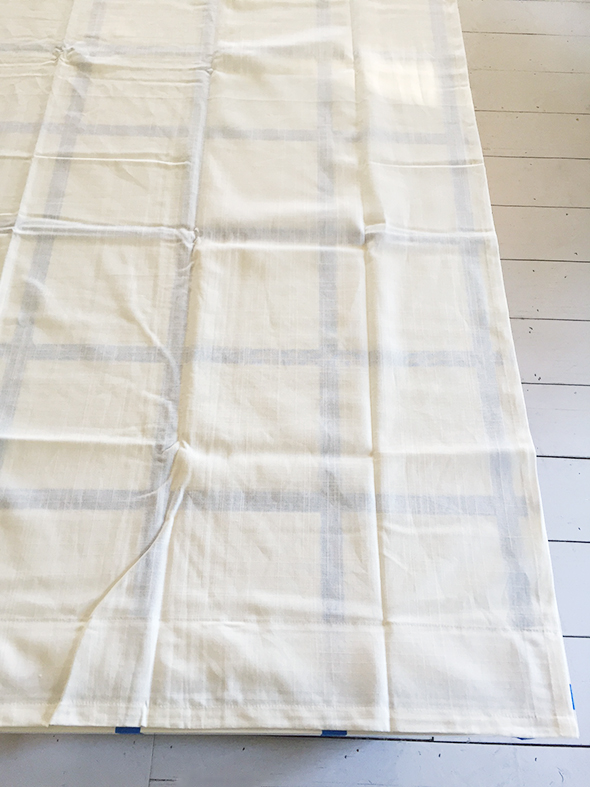
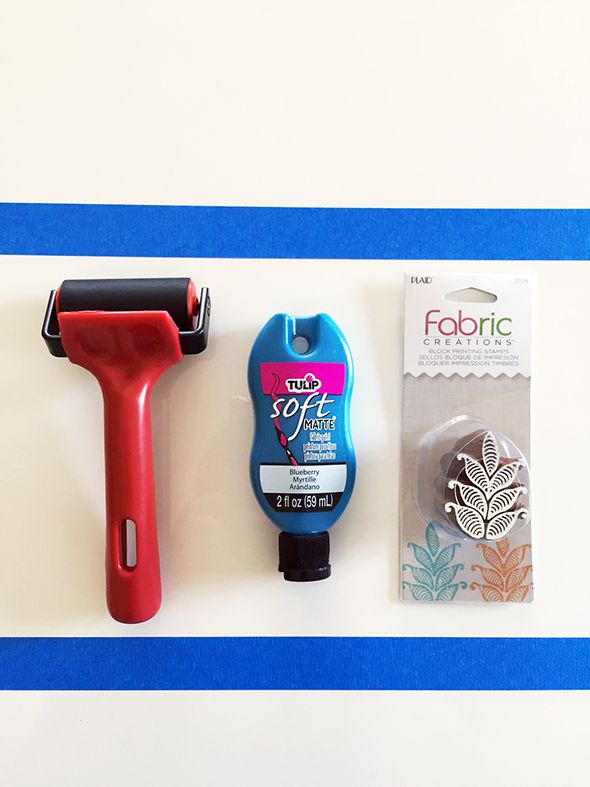
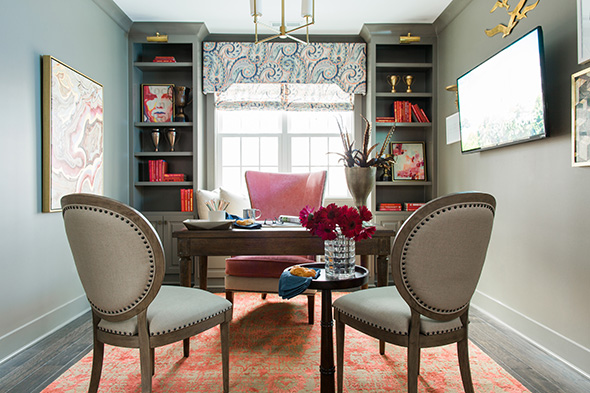
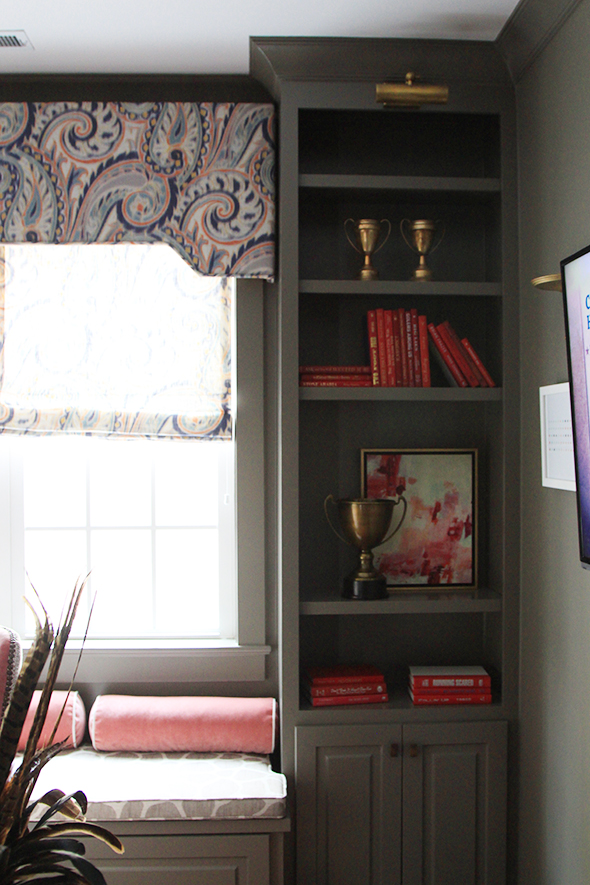
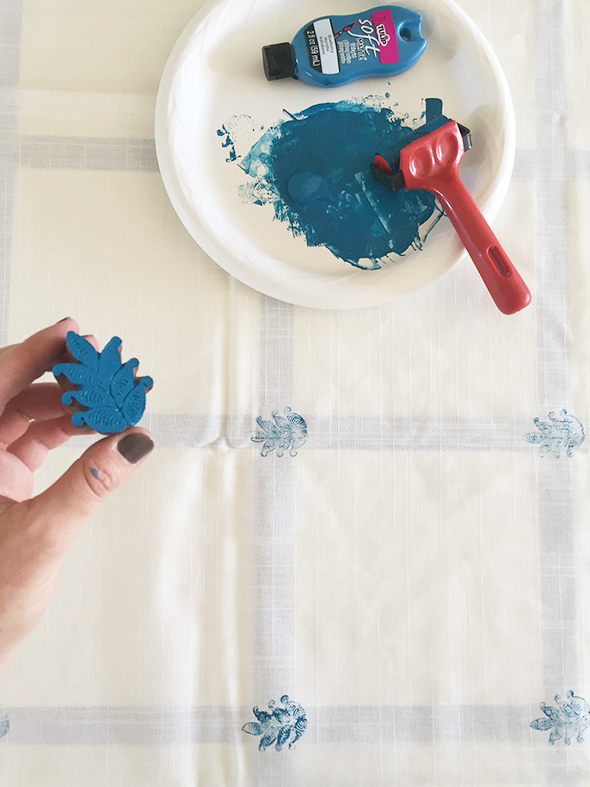 It’s really helpful to completely clean off the stamp every fifth or sixth application, just to keep the lines crisp. The charm of the block-printed look is that each stamping will look a little different but hopefully only a little different with practice! I stamped six panels for Lucy’s bedroom and my last four were much better than my first two. We only ended up needing four panels for her room, so it all worked out! :) I just seamed two panels together for each side so there would be enough fabric for Lucy to close her curtains and still have some fullness.
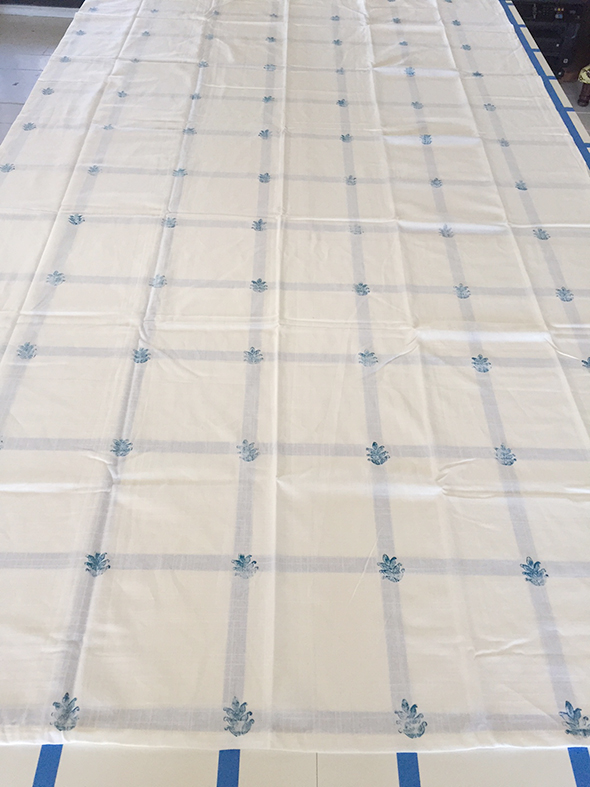


 \
\

