I have an obsession with block-printed fabrics and textiles! I love how the patterns are modern, organic and geometric all at the same time. (Some of my favorite fabric pins HERE)
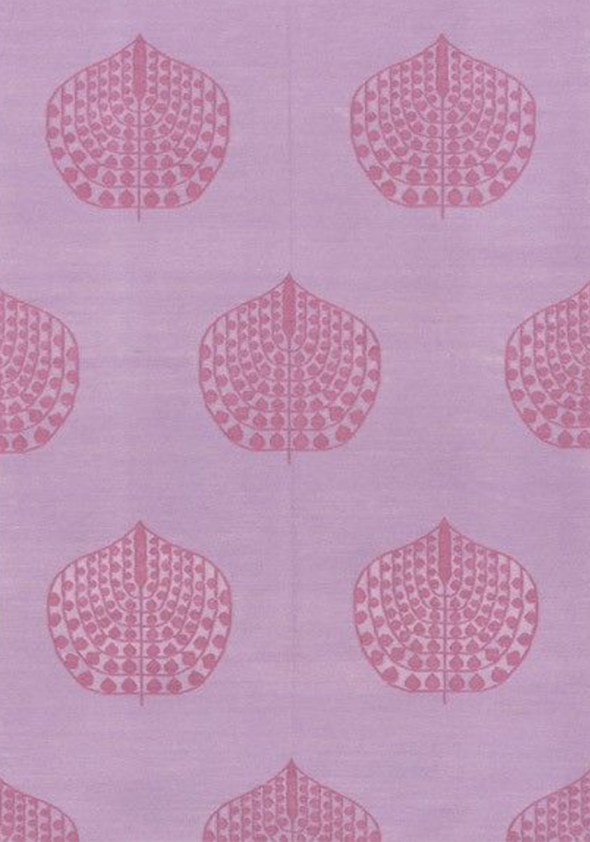
I’ve been wanting to try block printing myself for a long time though and Lucy’s bedroom curtains presented a great opportunity! We started with this gorgeous brass rod and these favorite IKEA linen-look white curtain panels that just can’t be beat at $35/pair. A pretty and simple combo, but I knew we could step it up a notch with a subtle blue stamped pattern. I thought about making my own stamp with a lino block to look something like this Madeline Weinrib print, but then I found a fern stamp at my local art supply store that I really loved.
Amazon also has about a hundred cool block print options if you want to try one for yourself! DYING over that Tiger stamp! I want to stamp Evie’s plain white roman shades with black or hot pink tigers. :)
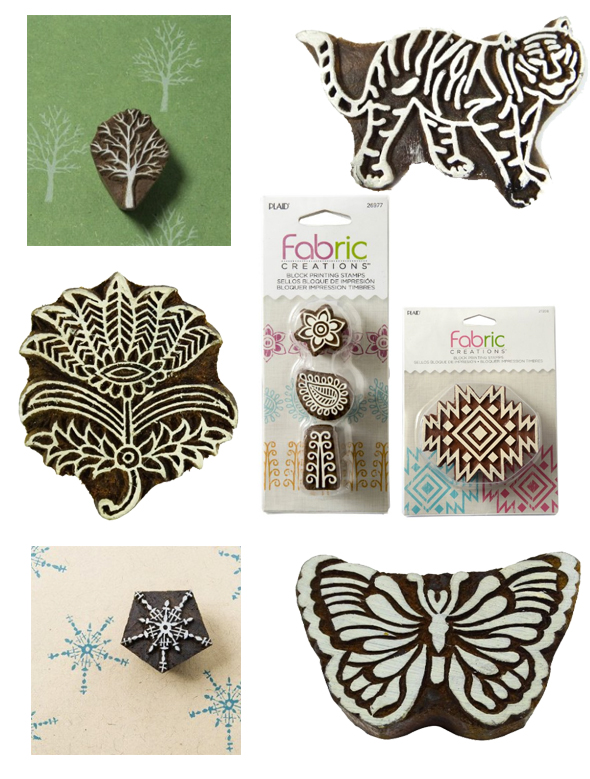
tree // tiger // flower // leaf combo pack // Aztec design // snowflake // butterfly
The stamps themselves are pretty easy to use, especially after a couple of practice rounds, so my best piece of advice about the project has to do with the set up. I’ve wanted to try this project for ages, but I didn’t want to have to deal with marking each and every placement of every stamp. And it is SO important to have exact measurements in the pattern drop!
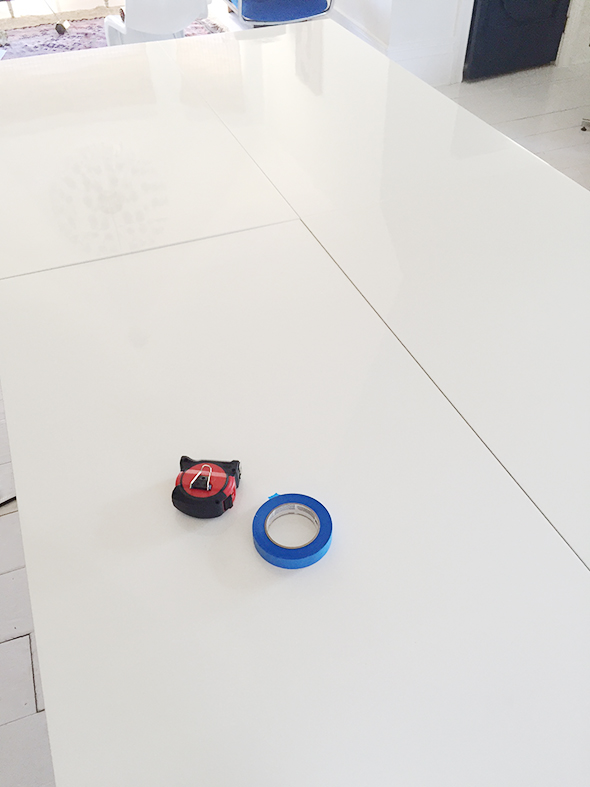
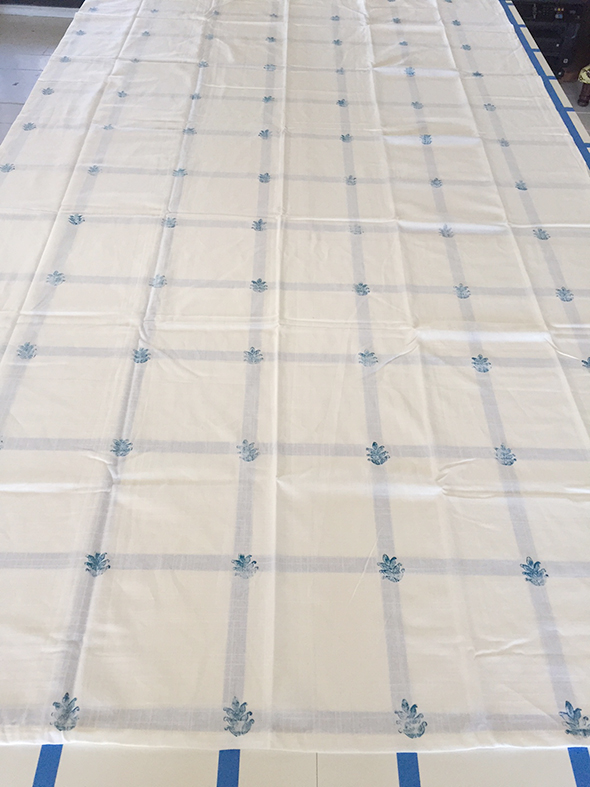
So I cleared off our desks in the studio one weekend (you can just do this on your hard-surface floor if you don’t have a table big enough) and started marking out an 8″ grid pattern.
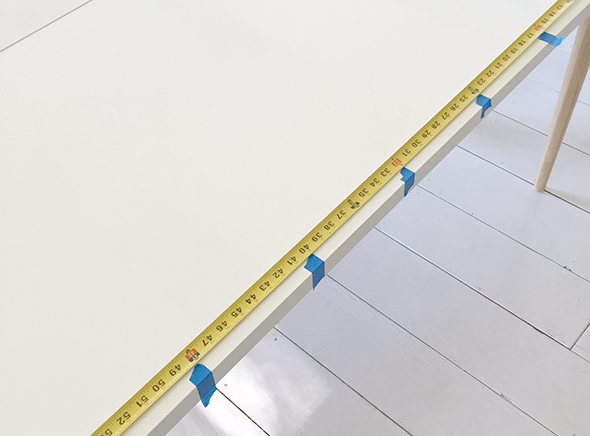
I started first by making the horizontal hatch marks with a little bit of tape and then the long lines and then the vertical marks and lines. It was SUPER fast and easy to do.
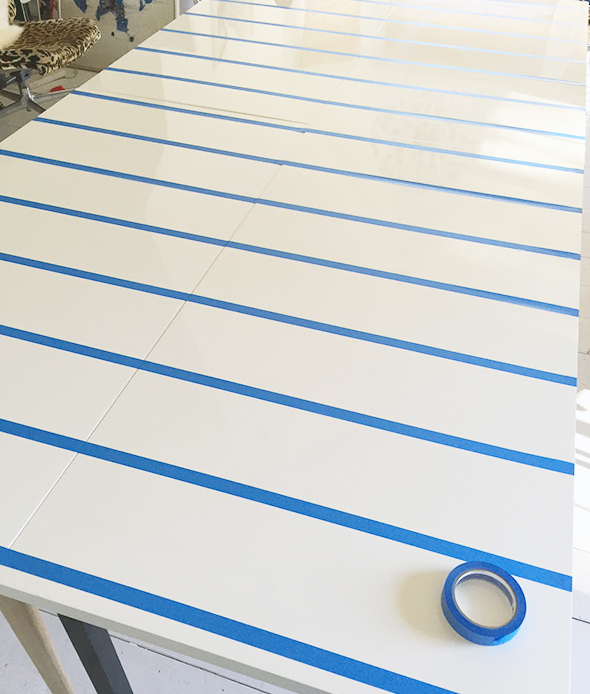

I wanted there to be about an inch of white relief at the top of the header before the pattern started, so I was sure to plan out my pattern marks before I started taping.
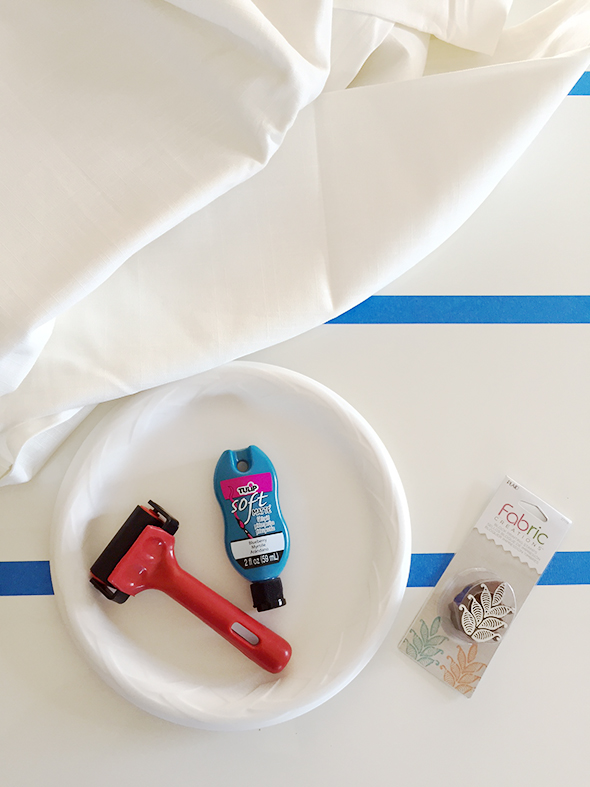
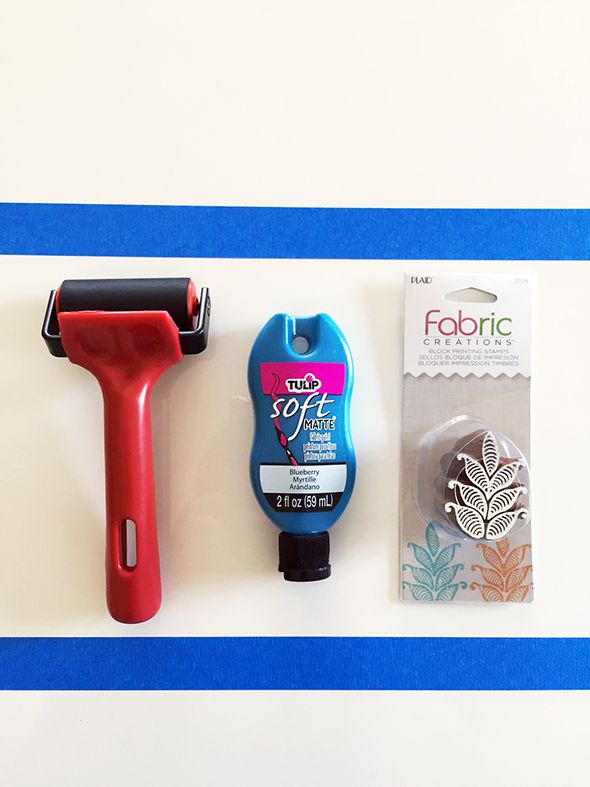
I picked a bright blue fabric paint and used this roller to apply the paint to the stamp in a thin, even coat before each application.
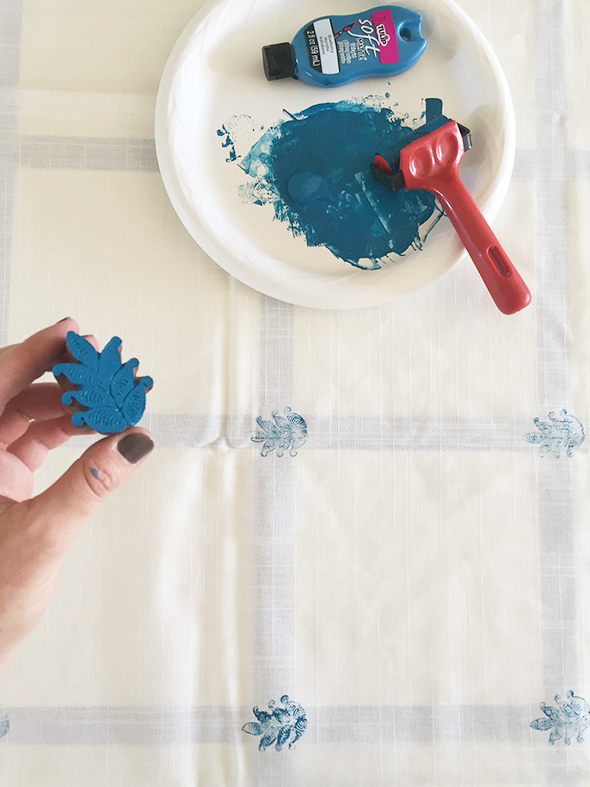 It’s really helpful to completely clean off the stamp every fifth or sixth application, just to keep the lines crisp. The charm of the block-printed look is that each stamping will look a little different but hopefully only a little different with practice! I stamped six panels for Lucy’s bedroom and my last four were much better than my first two. We only ended up needing four panels for her room, so it all worked out! :) I just seamed two panels together for each side so there would be enough fabric for Lucy to close her curtains and still have some fullness.

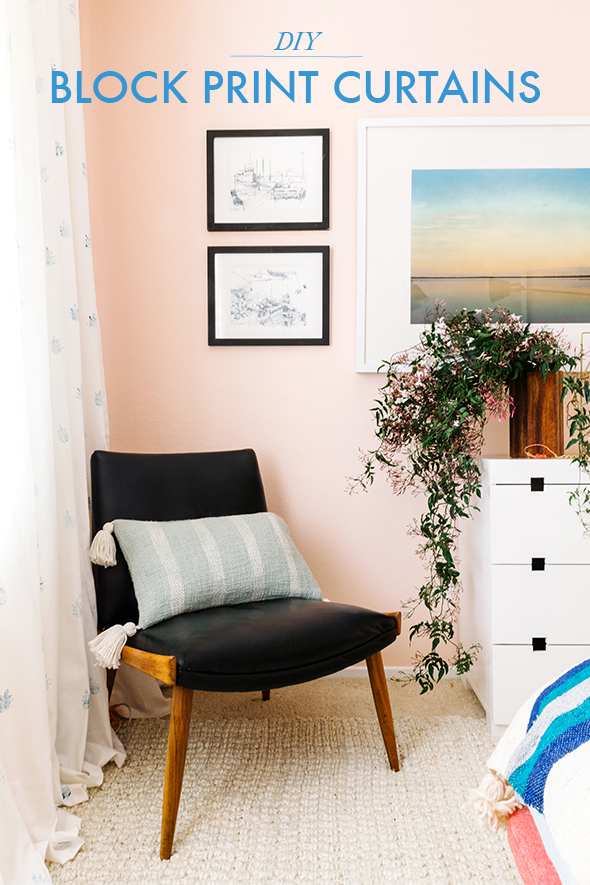
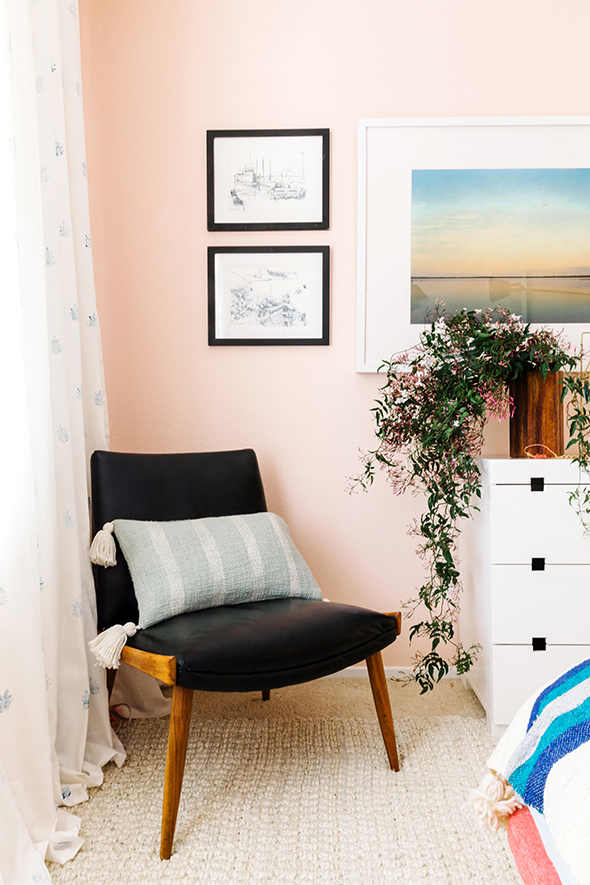
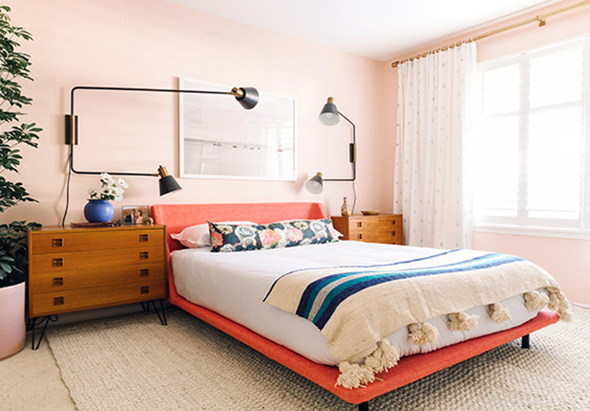
I’m OBSESSED with the final look! The blue is such a subtle touch of color in a room that already has a lot going on with the blush walls and bright pink bed. Claire needs some new curtains in her bedroom and I can’t wait to try another pattern and color! :)


i’ve been waiting for this post since I saw Lucy’s bedroom. You are a genius!
Absolutely stunning.
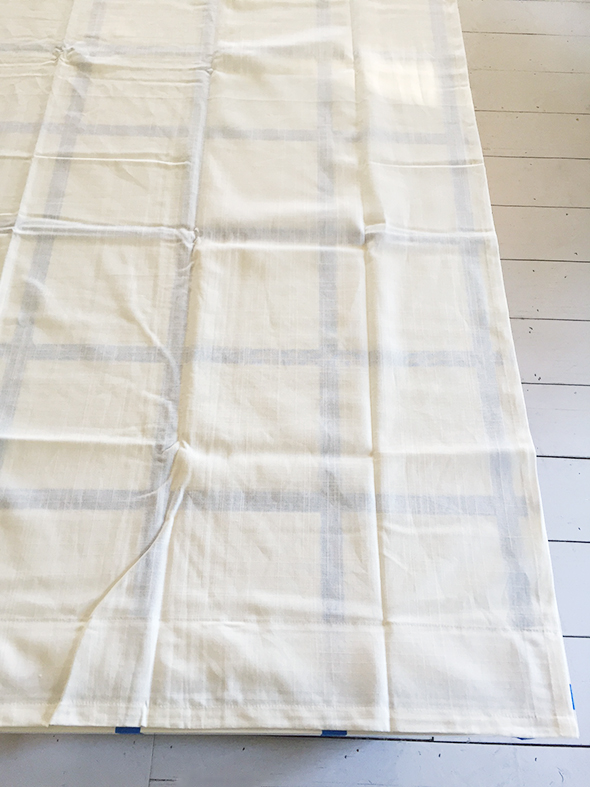
Marking the grid UNDER the sheer fabric was a brilliant idea. It adds such a nice, subtle detail and had to make Lucy feel special that you handmade something unique for her bedroom.
Love the one of a kind curtain panels! The design adds a bohemian organic touch. I adore those warm pink walls, too. I would love to know the color and paint specifics as a pink bedroom is definitely in my future.
Thanks Cathy! The wall color is Benjamin Moore’s Love and Happiness. :)
What a great name for pink. Thank you!!!!
I’ve been waiting for this post as well. You are a creative genius! These curtains are so beautiful and the makeover in general is amazing! Bravo! Thanks for sharing. :)
I was also waiting for this, thanks so much for sharing your process. I am about to attempt a Peter Dunham blue on blue Rajmata look and plan to use a sheet of peg board to mark off the placement- a lot of dots but think the scale will be right on. Finger crossed!
That’s a GREAT idea, Brooke! I’d love to see photos after you’re done. If you’d like to share, please email hello at littlegreennotebook dot com. xo
I did the same once over a large canvas to mark holes for a giant cross stitch and it worked well. I’ll keep you posted!
Firstly, you’re my hero and this is amazing.
Secondly, would you recommend washing the curtains before stamping? And how about after stamping?
Thank you!
Hi Mariana! I didn’t wash the curtains before and don’t think you’d need to. The fabric paint I used is washable so the panels can be thrown in the washing machine! I’d probably still do a more gentle cycle to be safe though. xo
Thanks Jenny!
Where did you source your studio table?
These are four IKEA desks pushed together! It’s the line where you can choose your own top material and size and legs. Super versatile and I love the glossy white tops. They’re super smooth, which I love for sketching!
I adore these and love the tip about registering the design – I teach block printing and lining up a pattern is one of the things my students find most challenging!
One tip that may be helpful for others – I find that putting a bit of padding (like a couple of layers of felt, or even a pillowcase folded over twice) under the fabric you’re printing is a great help in getting a clear and solid print.
Can’t wait to see the tiger shades!
-rebeka
bekawilk.com
What an AWESOME tip!! Thank you Rebeka!! Can’t wait to try that. :)
What an innovative approach! Thanks for sharing! Where did you find your drapery rod?
Hi Jen! The rod is from West Elm. It’s a great one! :)
Thank you!
Such a beautiful room! I love everything. Where did you find the bolster pillow and throw?
You make it all seem so easy… Darn you are a talented woman. I really mean it.
Hello Jenny!! what a lovely color you picked!
I was wondering if you had the color code for the love and happiness Benjamin Moore ??
Wow a lovely idea! Whatever colour tablecloth you put on the table it will always be with patterns :)
perfection :)
I’ve loved seeing all the block printing options in craft stores but never tried it because I was sure I’d mess up the placement of the motif. Even though it looks a little time-consuming, your tape method really seems to be the perfect answer! Thanks for sharing. Love the final product!
Jenny – Love the wall color…thanks for the tip. Your taped grid pattern is genius. I took copious notes and can’t wait to tackle our master. A wonderful post. Thanks!
After seeing this project, I can absolutely agree with your obsession with block patterns! So aesthetically pleasing
Love this! Are you going to be sharing a tutorial on how you pinch pleated the curtains? I’m looking to replicate this look with some IKEA curtains too. Love everything you do!
Love the curtains! Also LOVE the black chair in the photo. Where is it from?
Hi Renee! The black slipper chair was a vintage Milo Baughman find! Love the size and shape! :)
Hi Ashley! No tutorial needed! The drapes come with a tape sewn in the top header that allows you to slip in a three prong hook from IKEA too that automatically created the pleats! Could not be easier!
Hi, Jenny – Thanks for the tutorial! I’m a huge fan of those Ikea panels, too. I’m with Ashley above. I’d LOVE a tutorial on how you pinch pleated them.
I love your post it was very unique and insightful. I cannot remember the last tutorial that gave so much detail. This is something my team and I at Simply Decorate can really appreciate Keep up the great work!!
Looks great! What a fun idea. The room came together beautifully! May I ask where you found the great lights? LOVE THEM!
I love this & have been wanting to get new curtains in my room, so thinking I’ll give it a try. I love the sconces (?) on the wall. Where are they from? I’ve been wanting to switch from a lamp on my nightstand to something on the wall.
They are from West Elm and Rejuvenation carries something similar (or the exact same!)
I liked the patterns you have shown on the blog. I am a big fan of block-printed fabrics. It looks simple but very beautiful. Combination of dark curtain fabric and the light colored print is my choice when it comes to DIY.