Good news! I am working on a zinc table DIY for our balcony that I’m really excited about. Since I’m saving about $500 on that project, I felt okay about spending a little more on chairs.
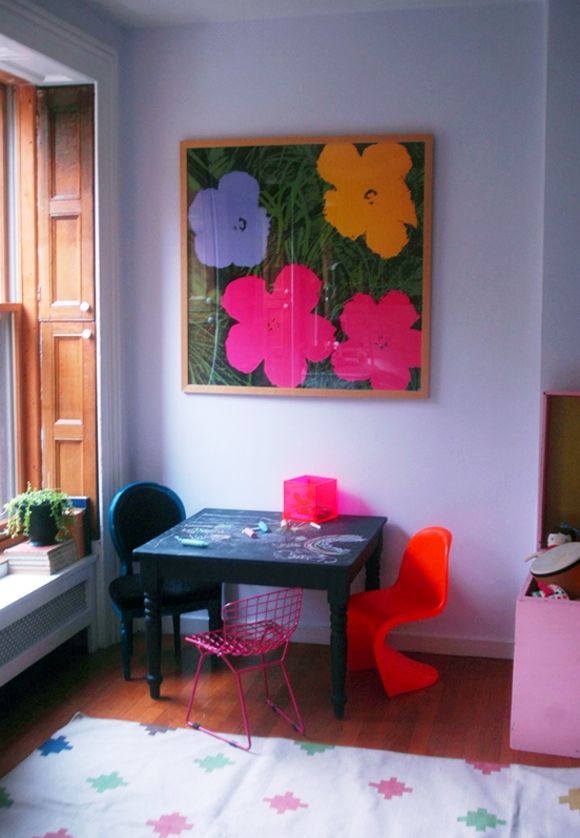
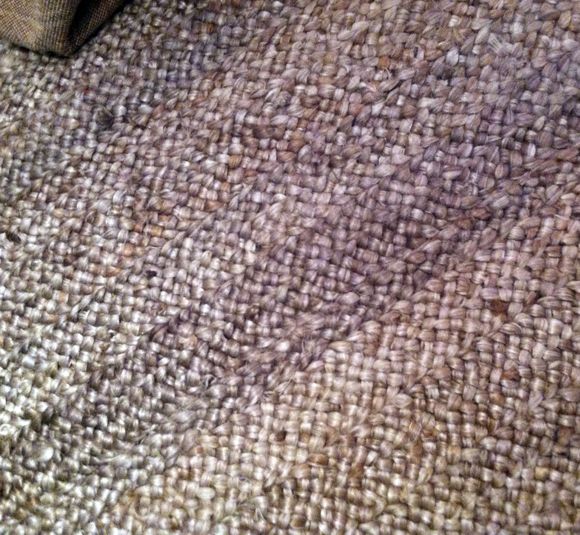
I had plans to buy four vintage Bertoia chairs (or this new version), but it’s true they aren’t the most comfortable chairs out there (especially without the chair pads). So I decided to nix the idea, mostly because I thought something more on the solid side would look better with the tumbling block floor pattern.

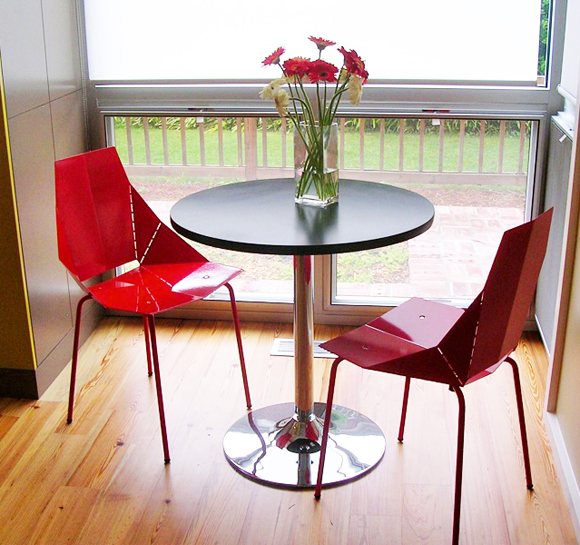
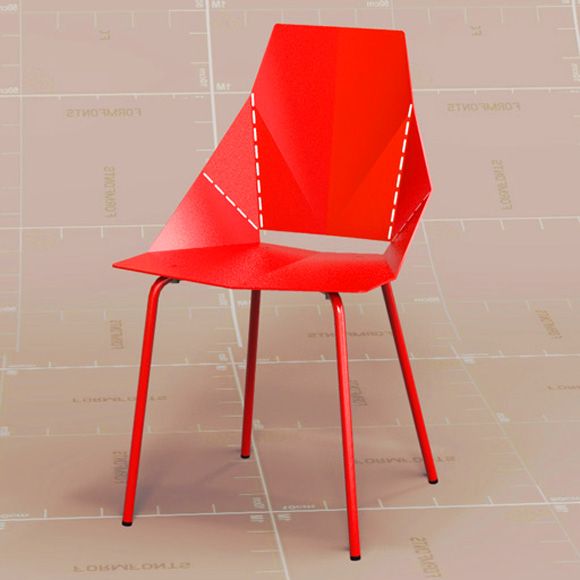
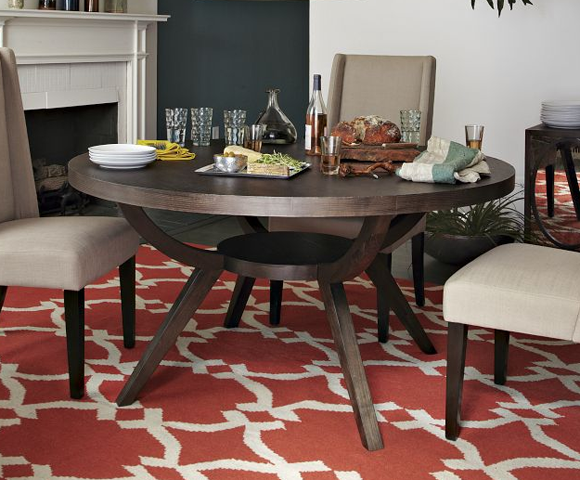
I’ve always loved Blu Dot furniture (Jenna Lyons’ pink desk is such a favorite.) And while I might have not picked these chairs on their own, the modern lines mix so well with traditional and other vintage styles. I can’t wait to pair them with my zinc table.
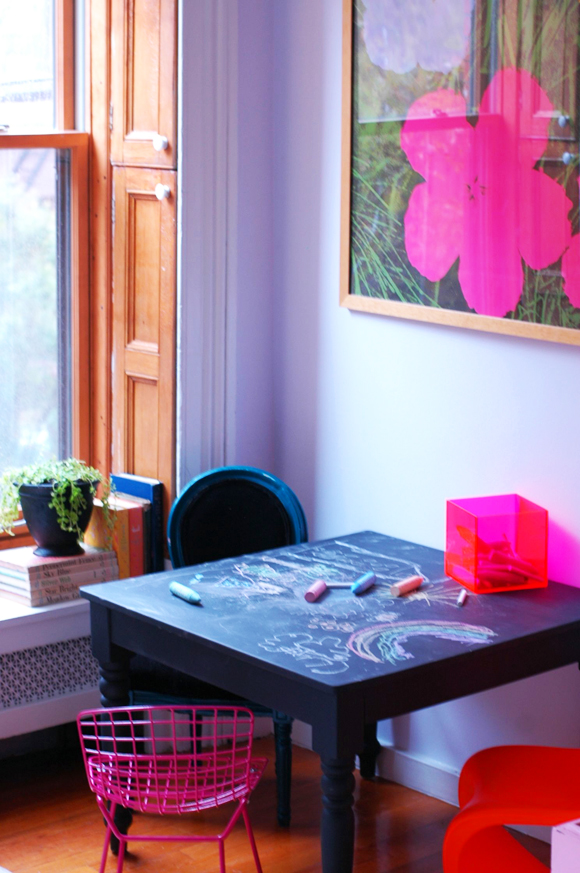
Fab had the Blue Dot chairs on sale for about the same price as the Bertoia knock-offs I had been considering before. One of my friends has these on her balcony and they made for a very comfortable long dinner party. And of course, I’m crazy over the red color (though they come in other colors too if you’re looking for something similar).
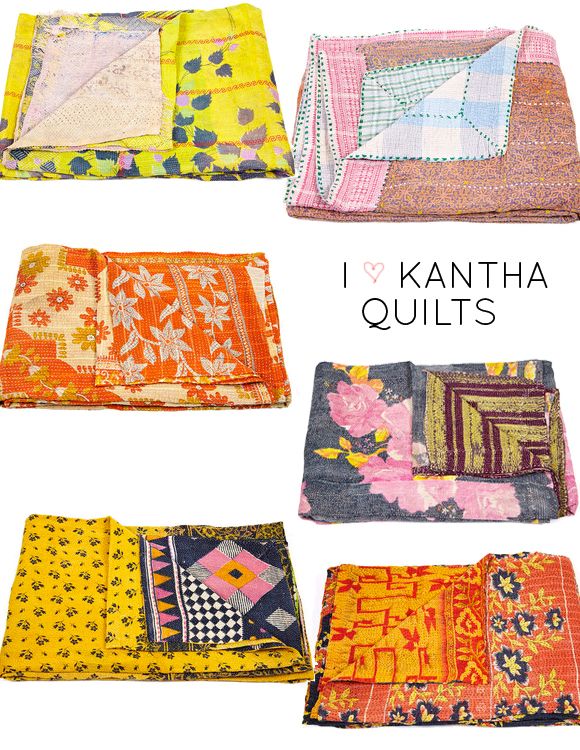
Even though I purchased the chairs myself, Fab is a sponsor of LGN and I’m happy to share some of the great products available on the site today. The Fab site is super fast-moving (the sales last 3-7 days) so when this stuff is gone, it’s gone. A sad lesson I learned this week when the kantha quilt I loved sold. Never wait when it’s true love! :) Luckily, there are plenty of beautiful quilts left here.


