This DIY is sponsored by Home Depot. I’m so proud to be working with them on this content series where I’m reinventing old furniture and giving it a new life. I truly believe the best way to get higher quality furniture at a lower price point is to buy vintage pieces and repurpose them. Home Depot is dedicated to being eco-friendly and I think this type of recycling is a great step in the right direction. Thanks, Home Depot!
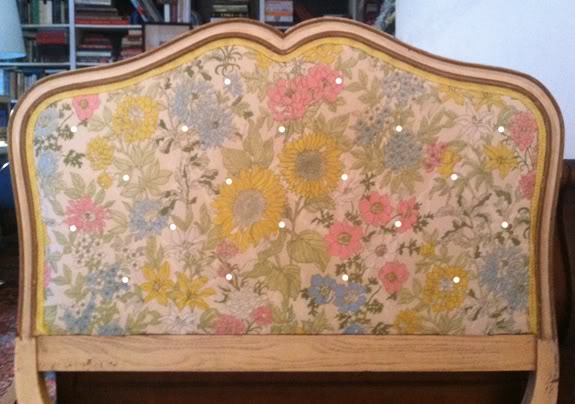
I really wanted a pair of tufted headboards for my girls rooms, but tufted pieces can be especially expensive! I picked up a pair of these vintage headboards for next to nothing at a thrift shop and thought I could probably come up with a way to reuse these rather than buying something new.
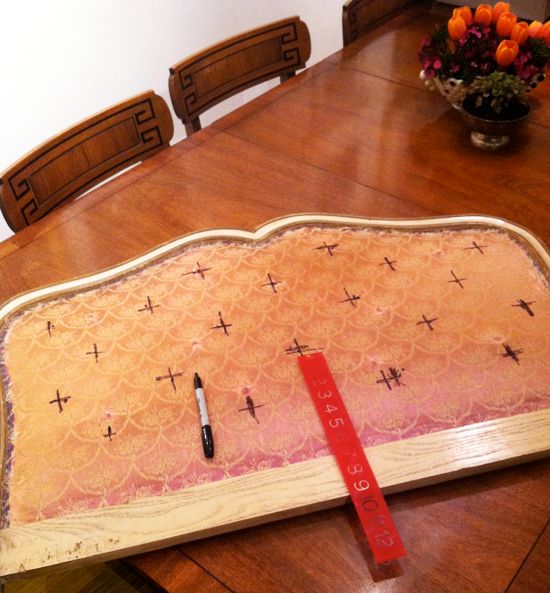
I took a quick photo and then played around in photoshop with the placement of the tufts. Since there are a lot of curves in this piece it wasn’t just a matter of doing some math, like with most tufting projects I’ve done.

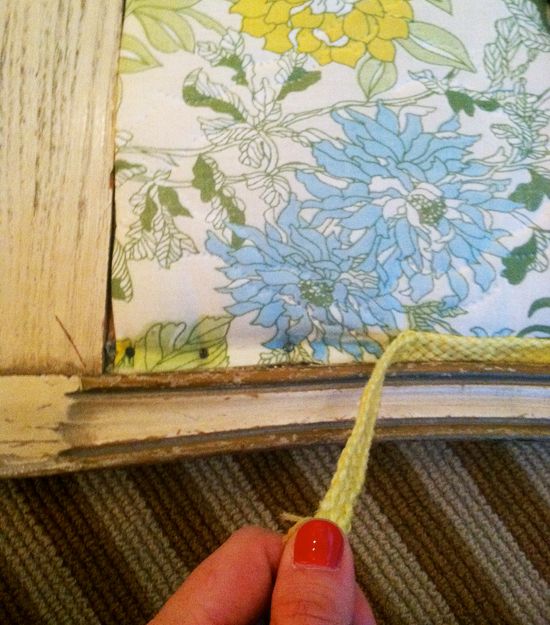
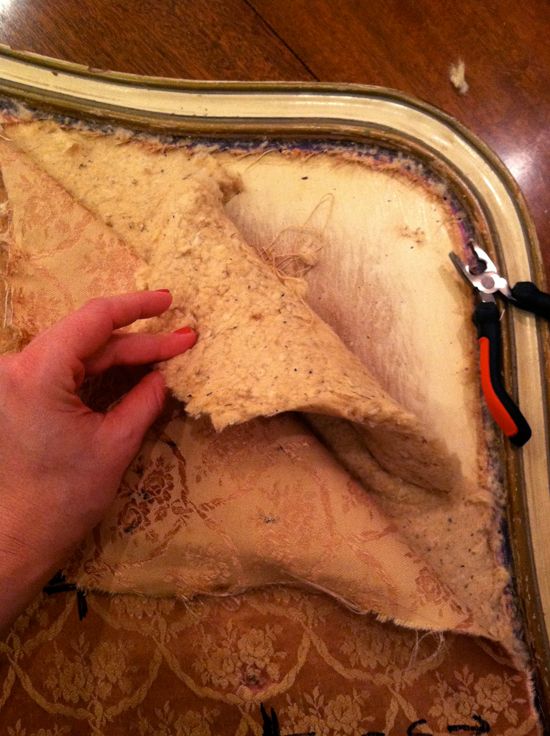
Once I had the tufting placement down, I started pulling off the old upholstery.
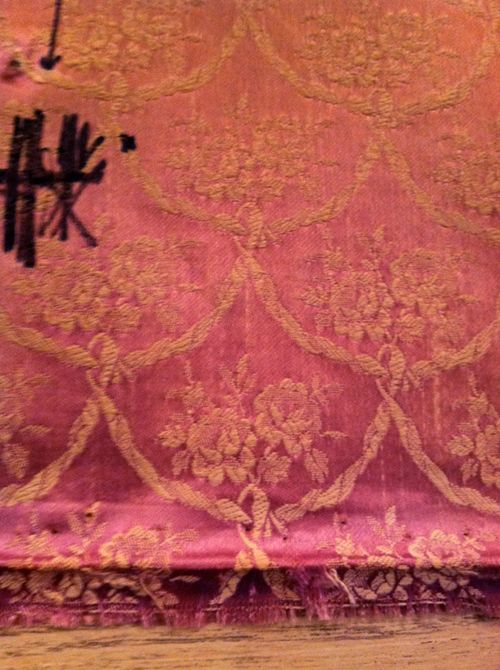
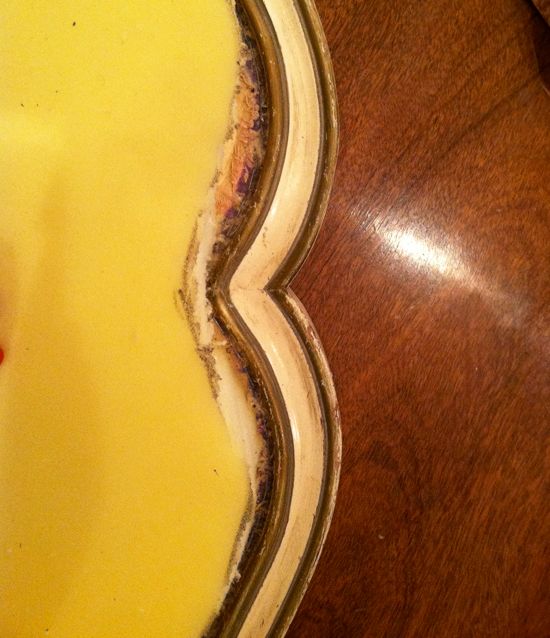
Underneath the top layer was a realllllly old piece of silk that was super sunbleached. I always love pulling apart old upholstery to see what fabrics are hiding.
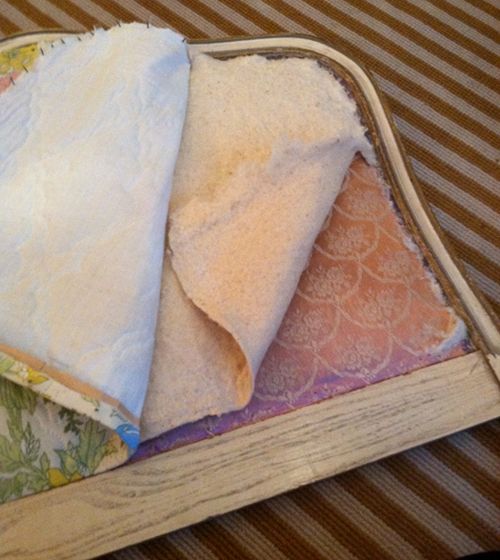
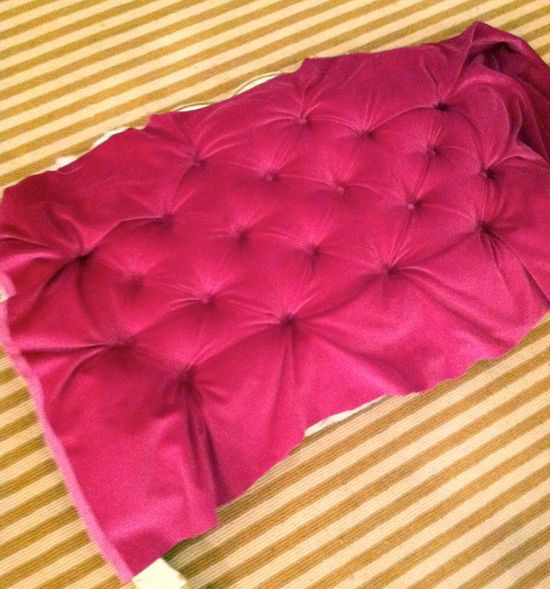
Then I pulled off that bottom layer of fabric and batting so that all that was left was the wooden frame.
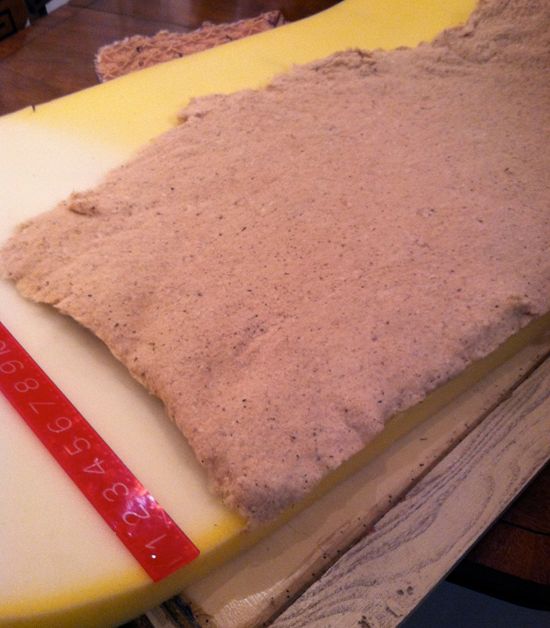
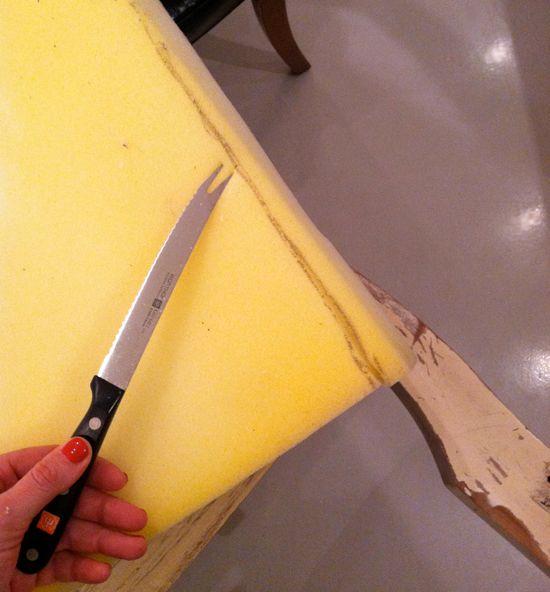
The foam I used here was a repurpose too. I used some camping foam! It’s such a cheap way to buy 2″ or 3″ foam.
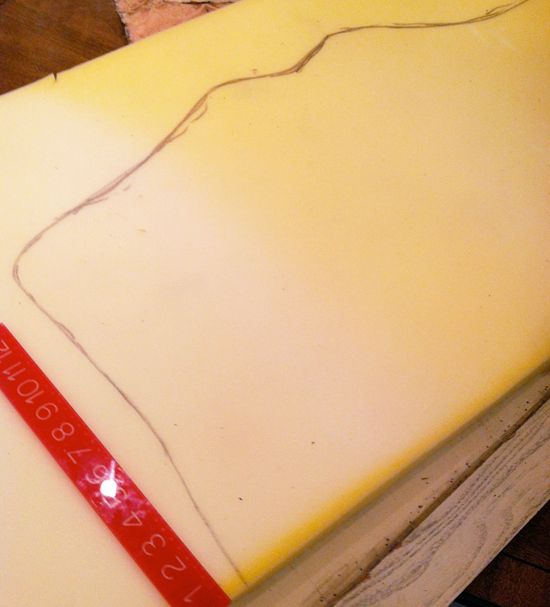
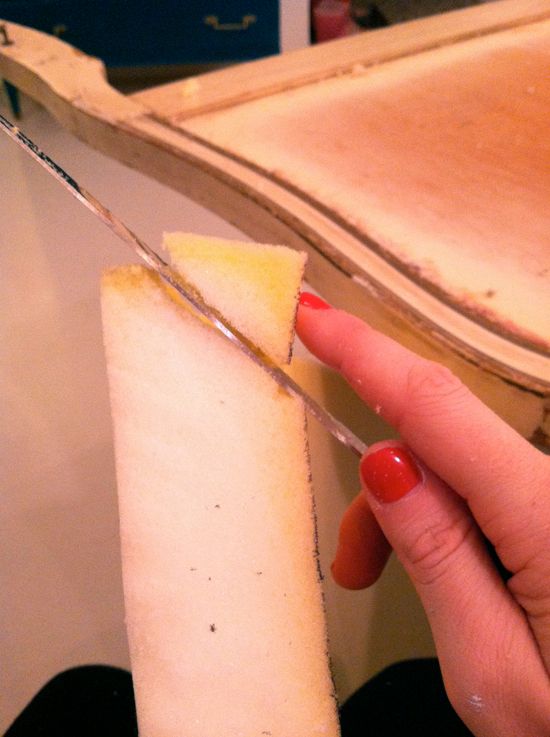
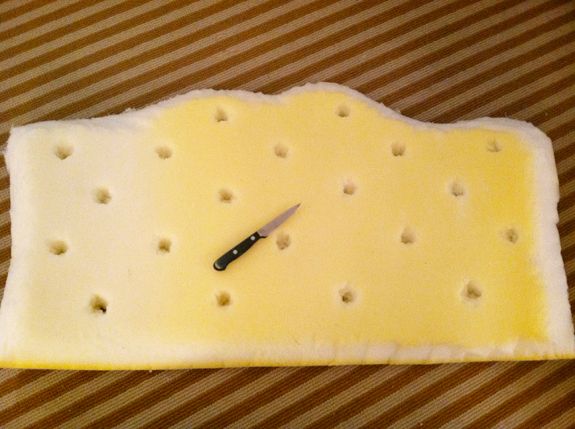
I used a serrated knife to cut out the shape, but I wish I had an electric knife. Those work so well for cutting foam.
The foam fit perfectly inside the frame, right where I wanted it, about an inch in.

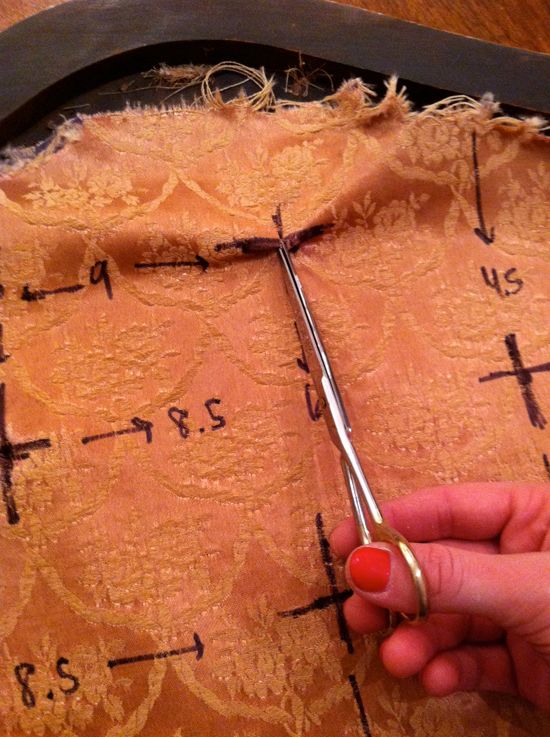
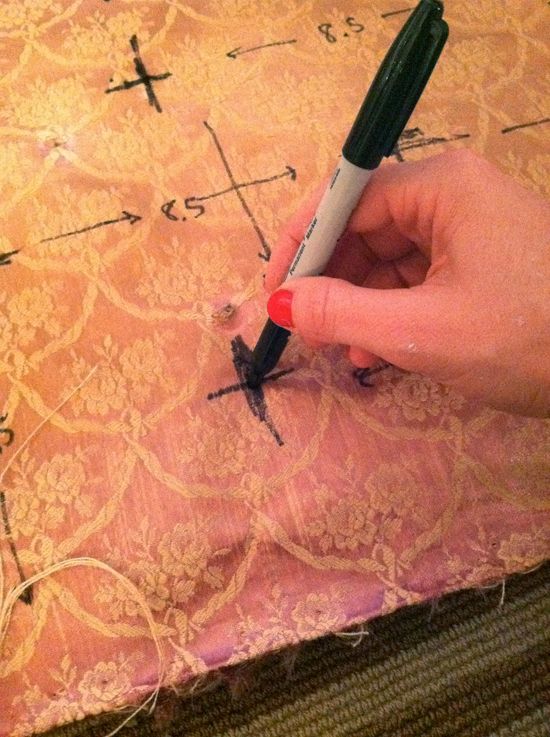
I had jotted down all the measurements on the fabric guide too, so it was easy to quickly double check my marks.

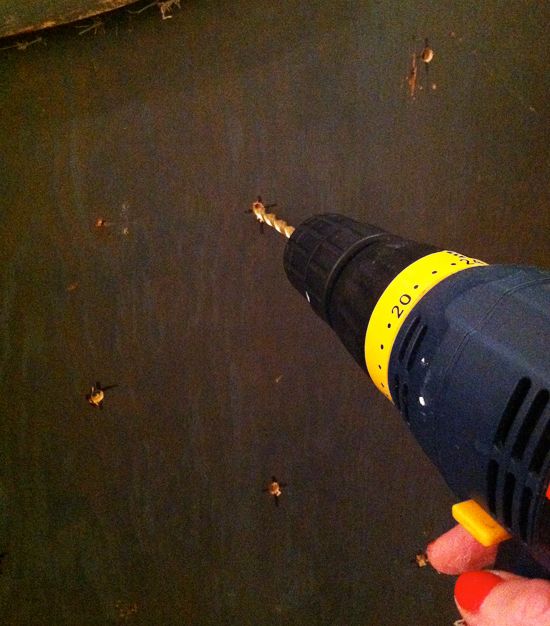
Once the holes were drilled, I layed the frame on top of the foam and marked the tuft placement by poking a sharpie through the drill holes.
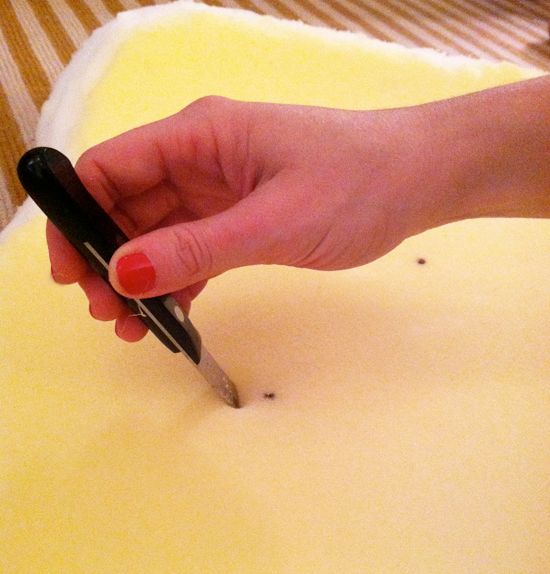
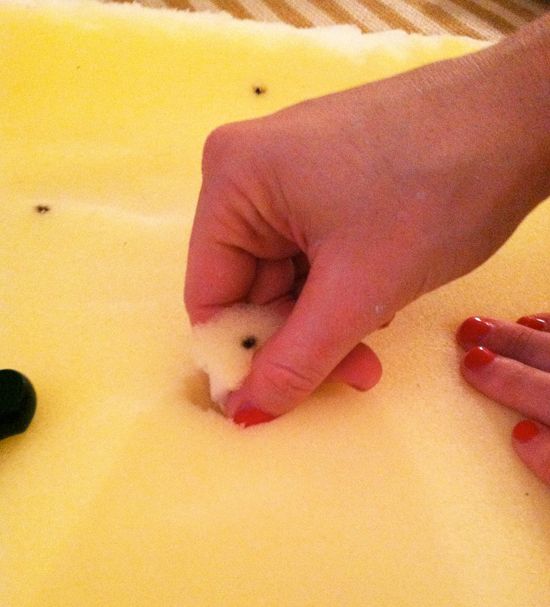
The next step is vital to getting the deep-tuft look. You have to take out all the foam where each button will go. I just use a little paring knife to cut a simple hole around the registration mark. You want the hole to be sort of angled so the opening is wider and the bottom of the hole is about the size of your buttons.
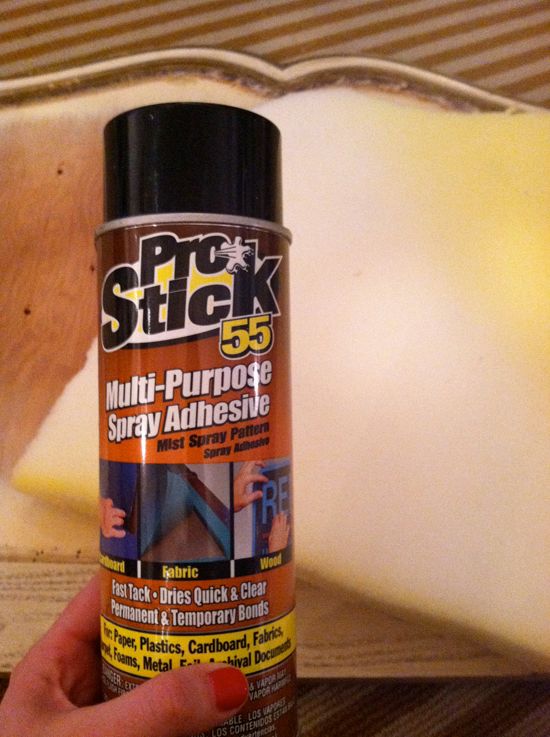
I used my trusty can of spray glue to affix the back of the foam to the bed frame. You really want the foam to stay put during the tufting process so this step is important.
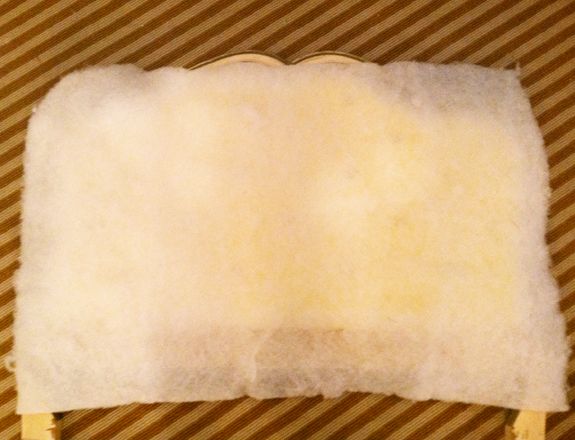
Cover the foam with a layer of high-loft batting.
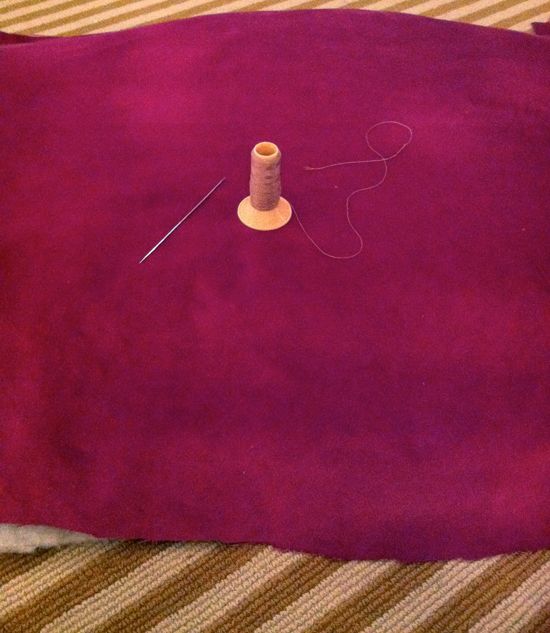
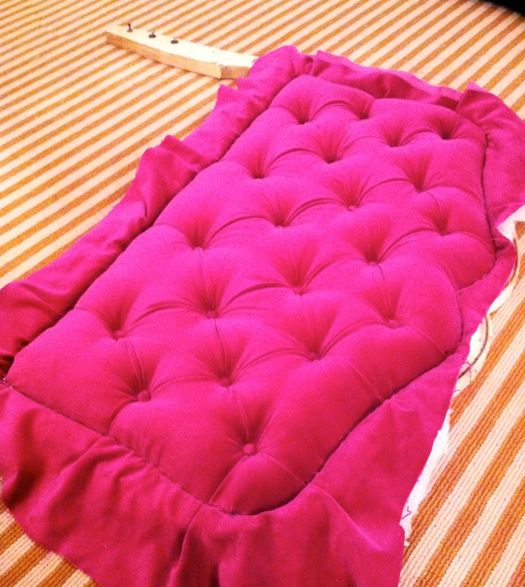
Lay down your fabric on top of that and round up an extra long needle (mine’s about 5″) and some upholstery thread (Don’t use regular thread here. It needs to be upholstery thread).
Turn on a show and enlist a cute little helper who is eager to push back bedtime.

1) Double up your upholstery thread and thread your long needle. I use two arm-lengths of thread each time and I can get two buttons done with that.
2) Your first tuft should be the middle hole in the very top row.
3) Your needle should pass first through the back hole, through the middle of your foam divot, and finally though your batting and fabric.
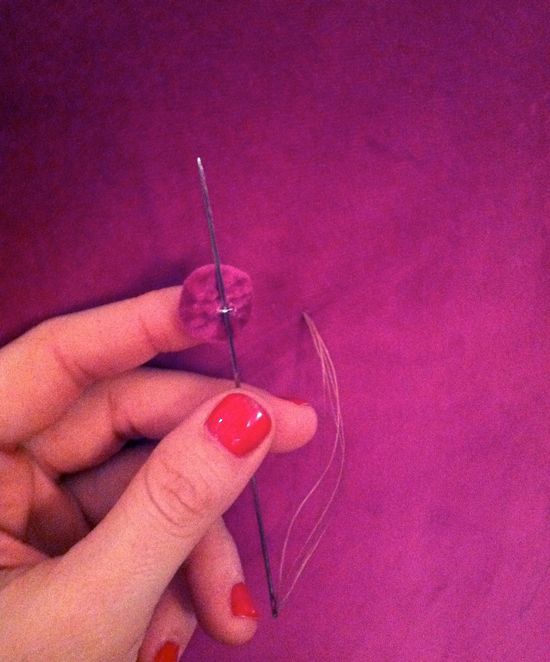
4) Leave about six inches of thread hanging in back and then thread your button in front. Because you doubled up your upholstery thread, four individual threads should be on your button.
5) Trying to keep all your threads tidy, pass the needle back through the foam and hole in the frame. It might take a few pokes to find the hole again since you’re searching blindly, but it gets easier after a few tries.
6) Now pinch your button and sort of push and wiggle it down into the foam divot. At the same time, pull the threads from behind the frame.
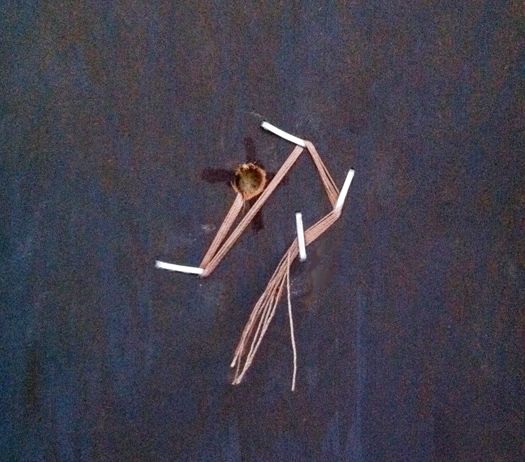
7) With your helper pushing the button as far in as possible, pull the threads in back very tight and staple them down on to the frame. Pull the threads in the opposite direction and staple in again. Repeat a couple times and tap in the staples with a hammer to make sure the staples are flush and in there tight.
8) Here’s the most important thing I can share with you here: Work in rows. Start with the middle button and work your way out in the row. Then start the next row in the middle again and work your way out.
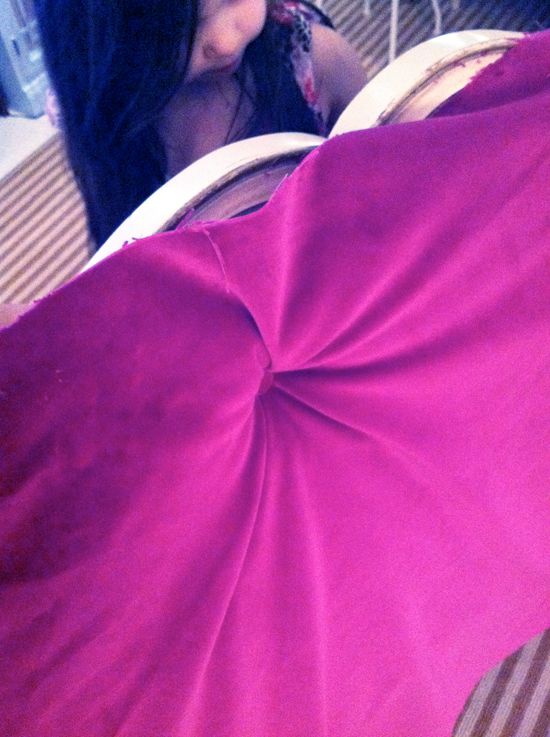
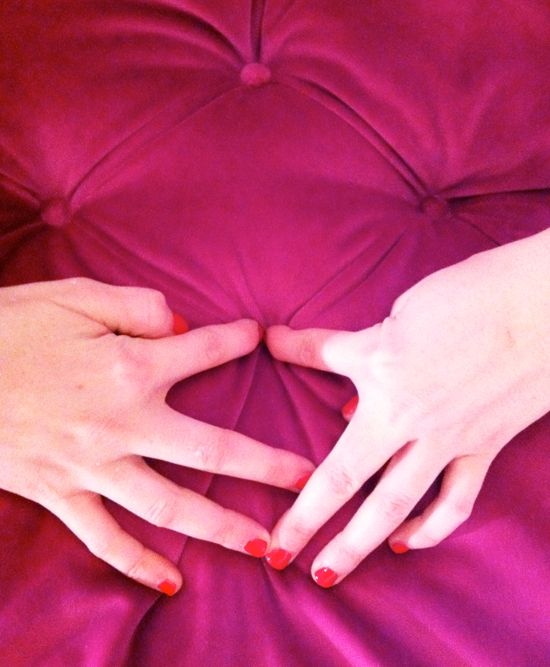
Once you finish your first row and are ready to start the next row, play with your fabric and start making folds in a diamond shape. It’s surprising how easily the fabric naturally folds into the diamond shape. The goal is for the surface of the upholstery to be smooth and as tight as possible. For a professional look, you want all the extra fabric to go in the folds.
Rather that placing your tuft wherever your needle appears and having to deal with the consequences with the folds later, CHOOSE where your button will go by making the folds first and sort of pushing your fingers in the foam divot. You’ll know exactly where to put that needle and the button.
Keep working away, going row by row, starting from the center and working out.
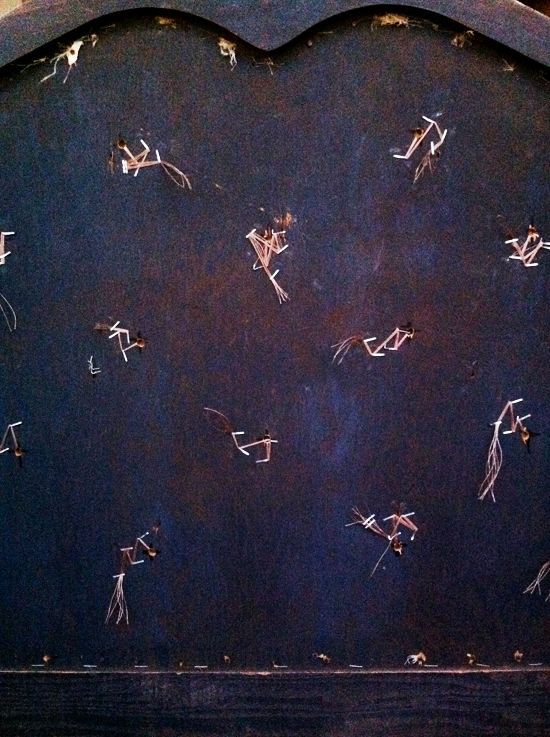
Once all the tufts are done, the back of your frame looks like this:

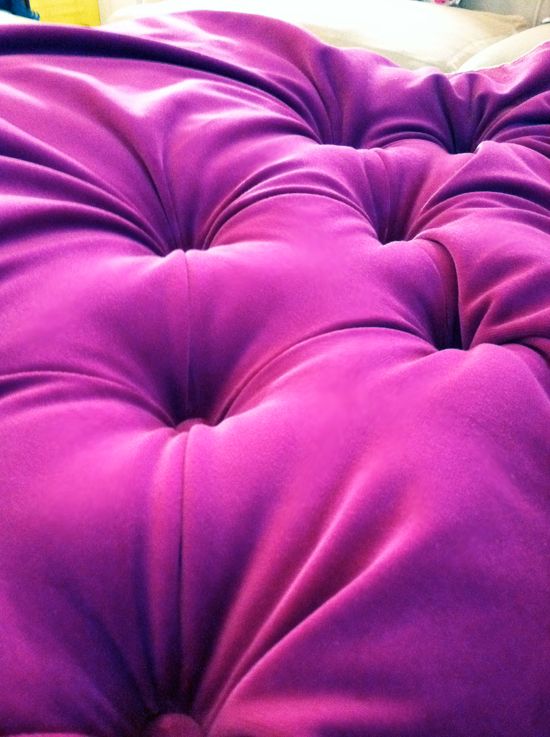
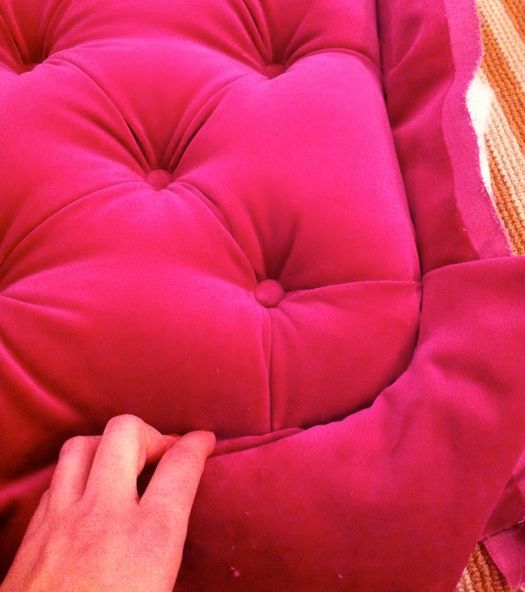
Another important part: Keep in mind that all interior folds should be in the diagonal/diamond shape. All the extra fabric around the perimeter of the headboard should go into vertical or horizontal straight line folds. Try to keep everything tight and smooth.
Almost there!
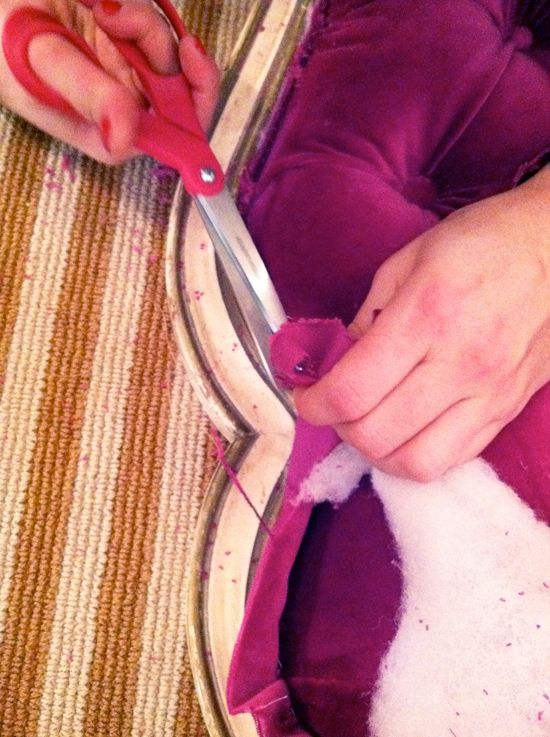
10) Next I trimmed away all the extra fabric and batting. Try to get as close to the staples as possible.
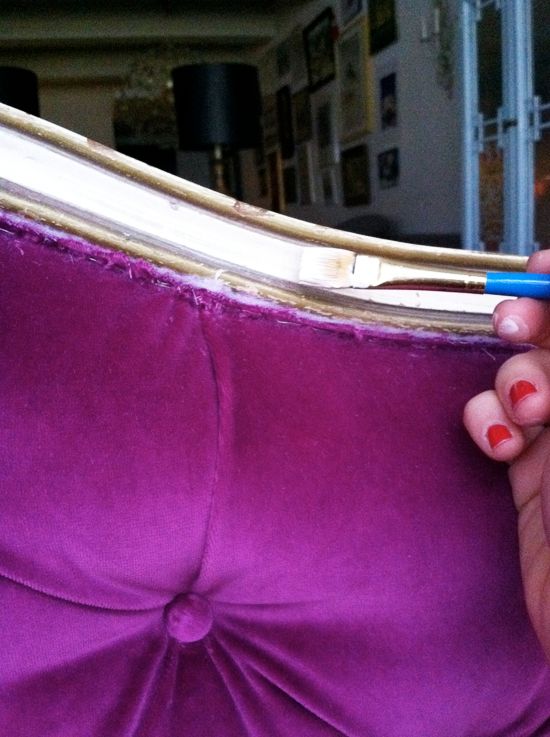
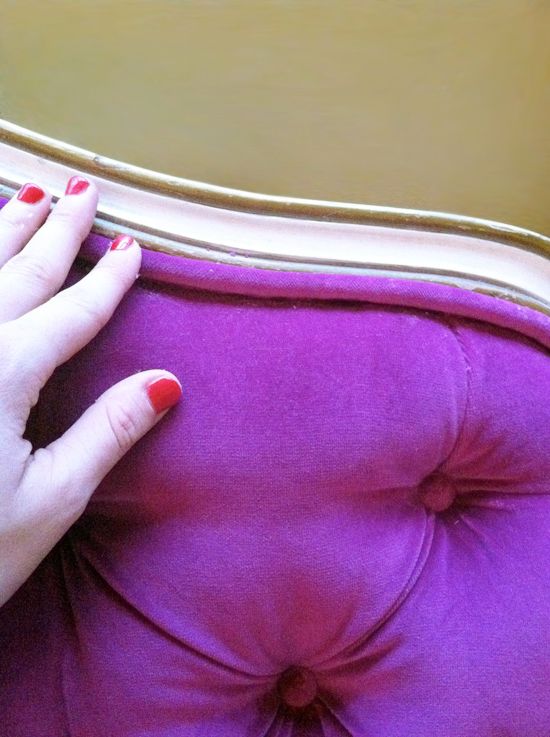
11. I decided I wanted to lightly touch up the frame. I always love the look of a crusty old frame with bright and clean new upholstery! But this frame was looking more dingy, less patina-ed, so I brushed on a little bit of white glaze and some of my favorite Ralph Lauren paint in Parlor Gold. Just a little bit of each though, so the frame still looked old.
All ready for the last step: trimming!
I used these steps to make matching piping out of the same velvet. I think the cording I used was 1/4″. Nice and thick so it fills in the gap between the foam and the frame with all the staples and the fabric/batting mess.
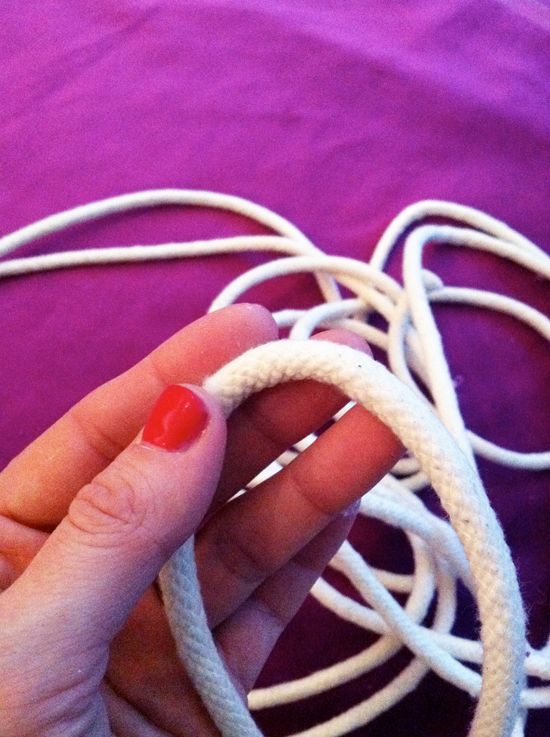
I just used my favorite glue, Magnatac, to glue the piping in place. Use a generous amount, but be careful not to drip. It’s really hard to get this glue off velvet especially.

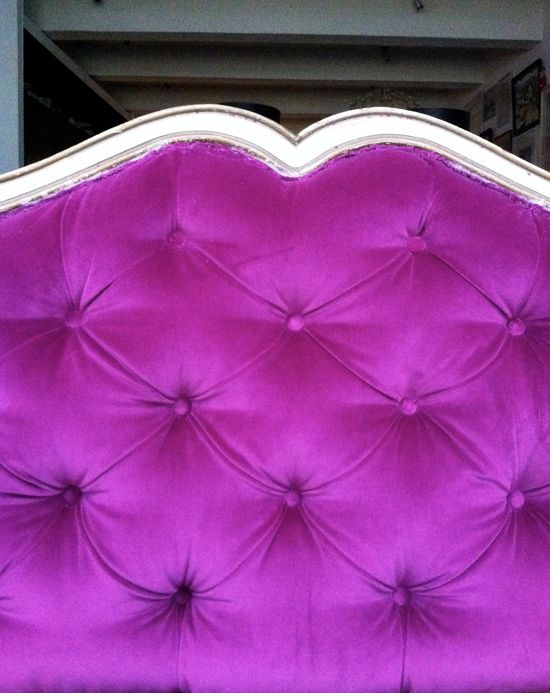
I was so glad to be able to reuse those old headboards to get the exact look I wanted for my girls bedroom! I love the shape and it makes me so happy to have these special pieces in my home rather than a pair of more expensive and generic headboards from a place like Target or Urban Outfitters.


Wow that is amazing…and it looks so professional! I've been keeping my eye out for a headboard like that (glad to know even if I find one in bad shape I can spruce it up!)
The bed is wonderful!! Please, please share the source of the poster…
Oh. My. Gosh. I have my mom's childhood bedroom furniture set, which is all adorable white painted wood, and has two twin beds. I also have her bedspreads, and THEY ARE MADE OF THE FLOWERED FABRIC ON THOSE HEADBOARDS. I would recognize it anywhere! How crazy.
This doesn't look easy, but you've given such fantastic instructions that it's not intimidating at all! I may try this with a plain old rectangular headboard. The diamond tufting looks amazing. Now, where did you get that swing arm wall sconce?! I've been searching for what feels like ages…
So adorable.. and super impressed.. I could never do that in a million years!
xo Trina
This post is getting a lot of love on the interwebz… going to keep pushing it out there. Fab tutorial. Just used it this past weekend :)
I adore the fabric you chose! Have an upholstered headboard myself (purchased), but you make this look too easy! (should have tried to DIY) One of my favorite projects since I started reading your blog!
xo,
kate
Jenny – you are so incredible, I am SO impressed with your DIY talents and drive. You inspire me to do more with my time in the evenings when I get home from work.
Beautiful project!!! I wish I can do something like that one day for my own bed or my daughters!!! I promise one day when I find a headboard like that I am going to get it!! Good job.
This is an amazing job! I have one question – how did you estimate the amount of fabric you would need to cover the headboard with the tufting?
I love seeing the amazing transformations.
OH WOW!!! I have always wondered how they got those deep tufts in headboards- thanks for sharing this. It just looks amazing!
I'm so speechless! Gorgeous, beautiful, smart and save cost for buy new bed. Amazing, keep up good work. I love your creativity.
Headboards are beautiful!
Such a gorgeous stunning color! i would love to try something like this, ill have to keep my eye out for an antiqued headboard. Thanks!
http://le-lovin.blogspot.com
Thank you!! This tutorial is perfect for an old headboard (already tufted) that I want to switch out fabric for. All your steps will be so helpful when I finally tackle it. Thanks!
That looks so good! Way better than anything you could have bought at a chain store. You are super talented :)
Looks so good,well done. Thanks for the post. XX
Thank you for such a detailed tutorial!!
OMGOSH! I LOVE YOU! ROPE! I never even thought of that for the trimming!!!!!!!!!
I love the picture on the wall, where do you buy it?
this is awesome I just made my head board I should have added tuffs to it thanks so much .. this rocks
What is the name and make of the fabric and where did you get it? It is the perfect shade!!
You don’t give yourself enough credit… that looks beautiful and you are very patient and skilled. It’s so important to be a perfectionist and a project like this. I have a headboard that I’m going to put fabric on the inside of a perimeter, but no tufting.
Great job!!
You don’t give yourself enough credit… that looks beautiful; you are very patient and skilled. It’s so important to be a perfectionist on a project like this. I have a headboard that I’m going to transform with fabric on the inside of perimeter (no tufting for me!).
Great job!!