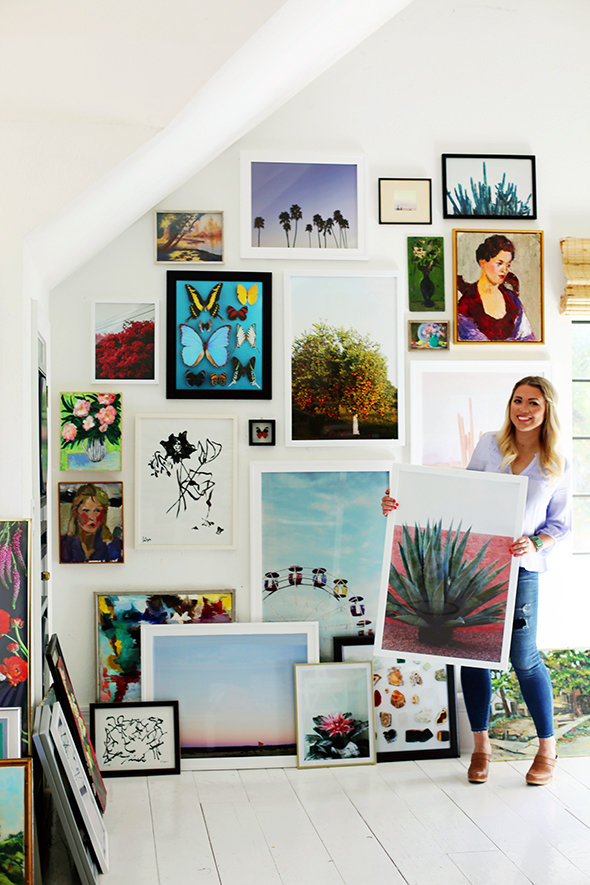
Hi friends!! I couldn’t be more thrilled to announce that Jenny’s Print Shop is now live! We’re starting out with over 50 original art prints, with more coming very soon! For occasional emails about shop updates and a BUY TWO GET ONE FREE coupon, join the mailing list!
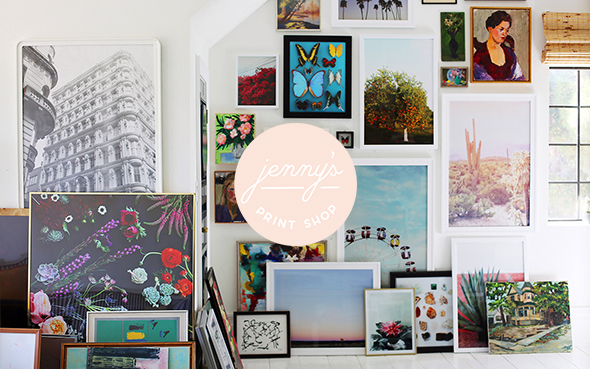
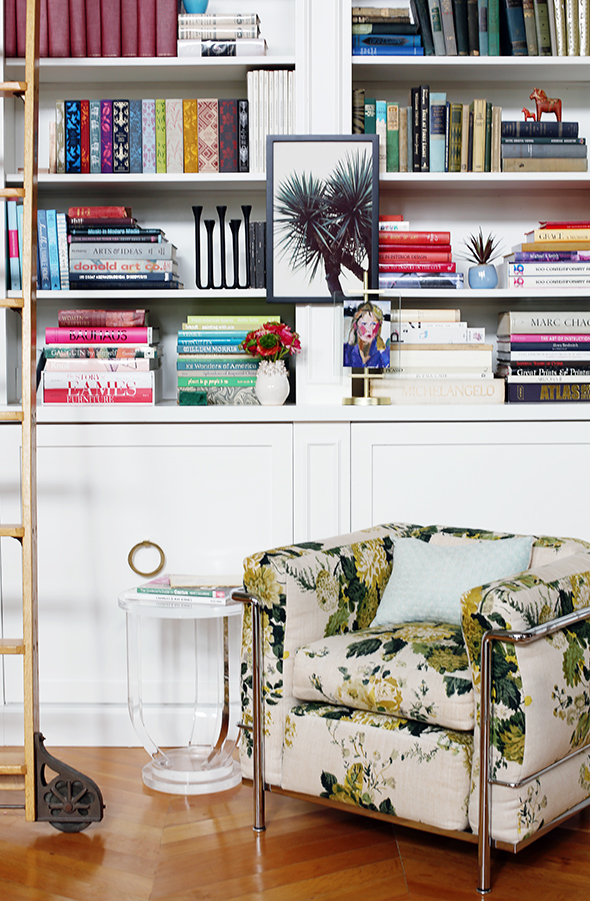
Since 2007, my goal here on Little Green Notebook (and also through my work at Domino and with my interior design clients) has always been to inspire you to be thoughtful, intentional, adventurous and creative with your home projects in a way that makes you feel proud of your home and doesn’t break the bank! I hope Jenny’s Print Shop feels like an extension of that work. I’m so happy with these images that I’ve been collecting for many, many years and I can’t wait for you all to have access to them so you have use them in your home however, and wherever you want!
HOW IT WORKS:
Jenny’s Print Shop is a digital print shop where all original, high resolution prints are just $15 each. Immediately after making your purchase you will be emailed a link that allows you to download your images to your computer and then print them however you want! No need to pay for expensive framing with limited sizes and finish options. You have complete flexibility to use the images the way you want to use them!
PRINTING:
I hope it goes without saying, but you are welcome to crop the image however you want to suit your needs. In every listing on the Jenny’s Print Shop site, I have included a Dimensions Ratio so that you know what standard frame sizes can be used without cropping the image. Again, you can crop to suit your needs, but the listed ratios are meant to help make things easier on you!
DIVING LADIES
There are obviously a million ways to print your images, but here are my recommendations, mostly driven by price and quality. Please, please, please join in on the conversation here in the comments on this post and share what has worked for you! I will continue to update this post over time as well!
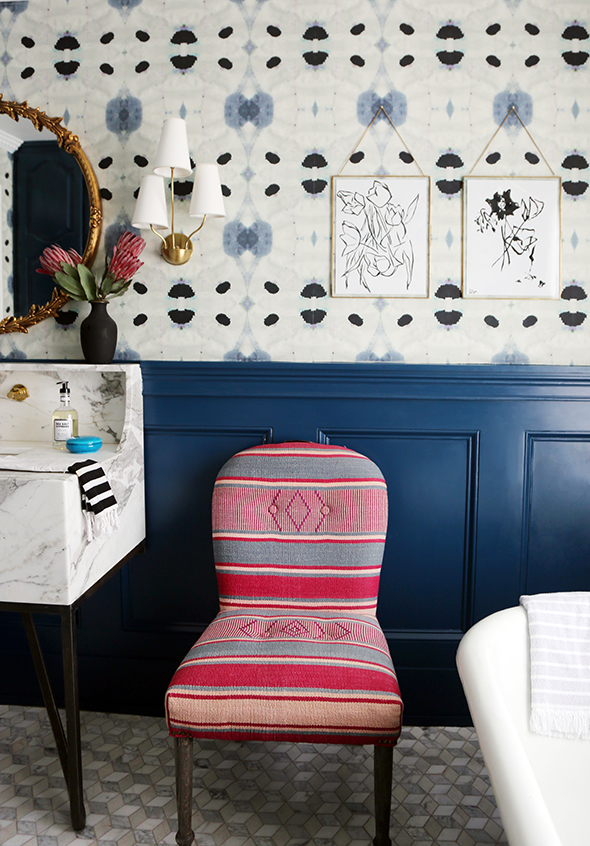
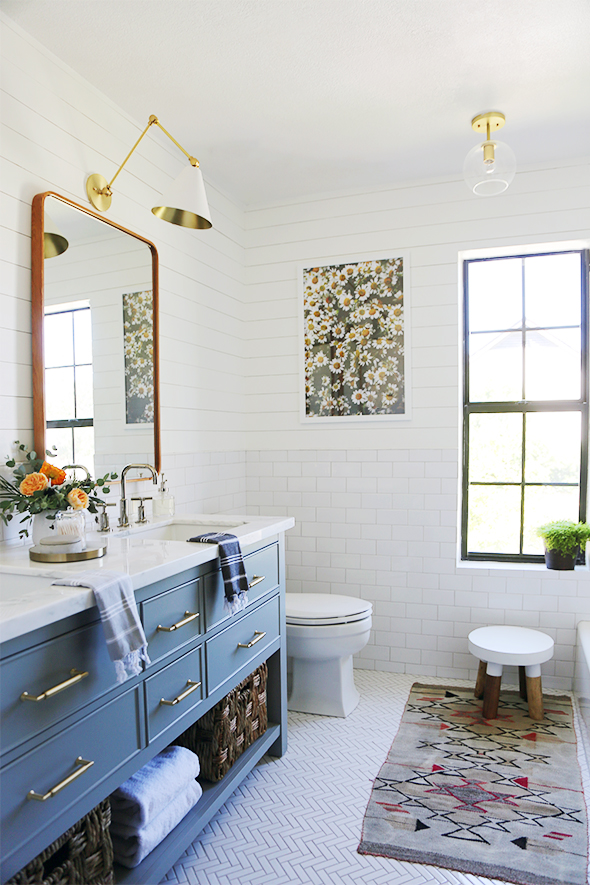
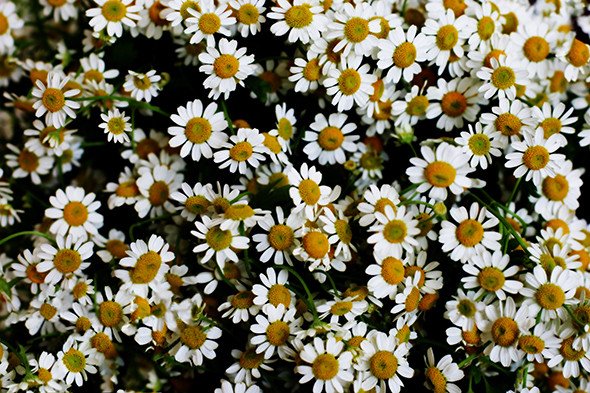
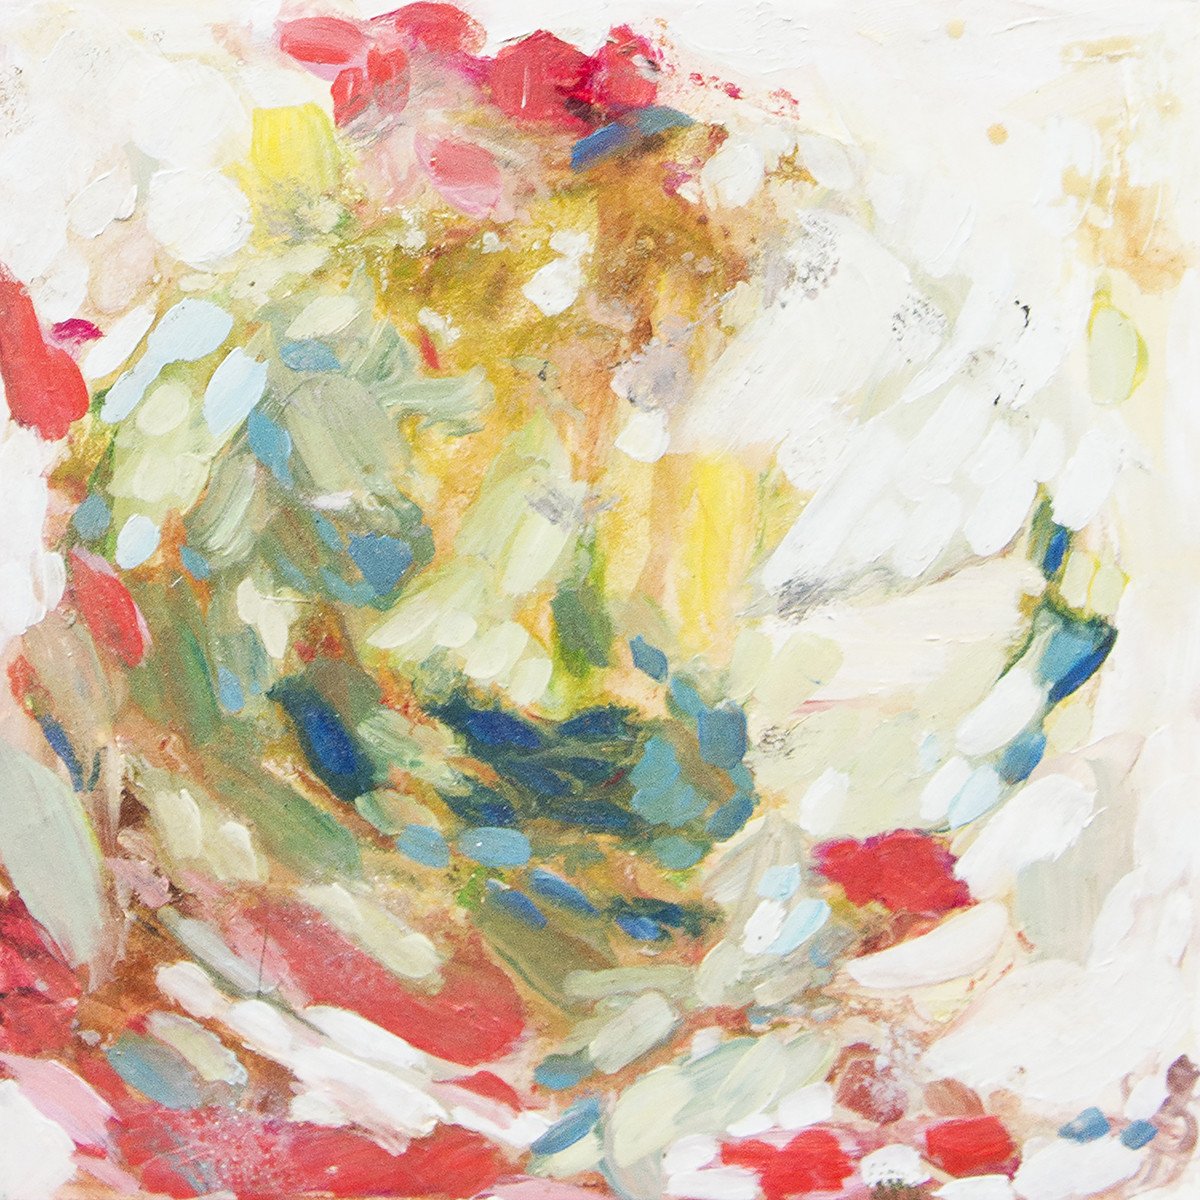
FLORA
SMALL PRINTS (8.5 x11″ and under):
I’ve had some luck using my own home printer (this is the one we have and love) with high quality photo paper. I usually just do it when I need something very fast and I’m too lazy to get my rear all the way down to Costco. :)
POPPIES and TULIPS
MEDIUM PRINTS (11×14 up to 20×30″):
Costco is such a great and affordable printing resource. Their website is easy to use, I have found the print quality to be amazing, and you just cannot beat the pricing. The smaller sizes are laughably inexpensive (just a few dollars each). A 16×20″ is only $6.99 and a 20×30″ is just $9.99! You can choose to pick up in store or have them ship to you for a small price.
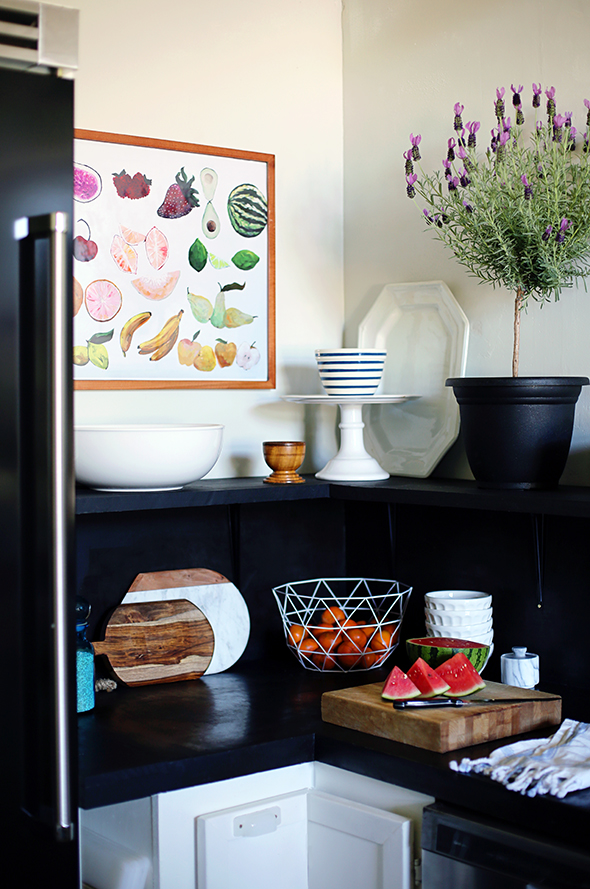
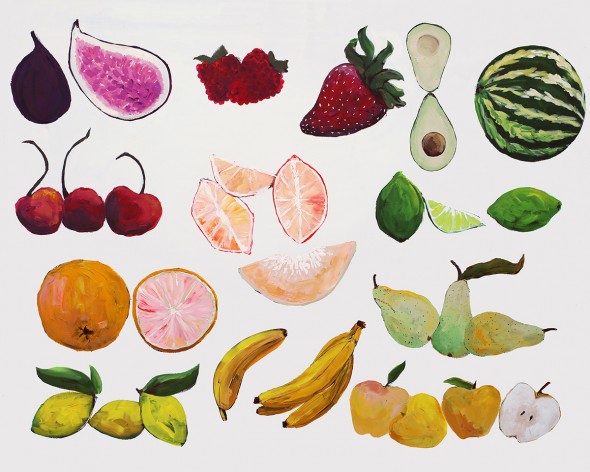
PRODUCE
Walmart, Walgreens, and Target photo centers also print up to 20×30″ though I have found that quality varies more greatly with these photo centers and the cost is usually double that of Costco’s prints.
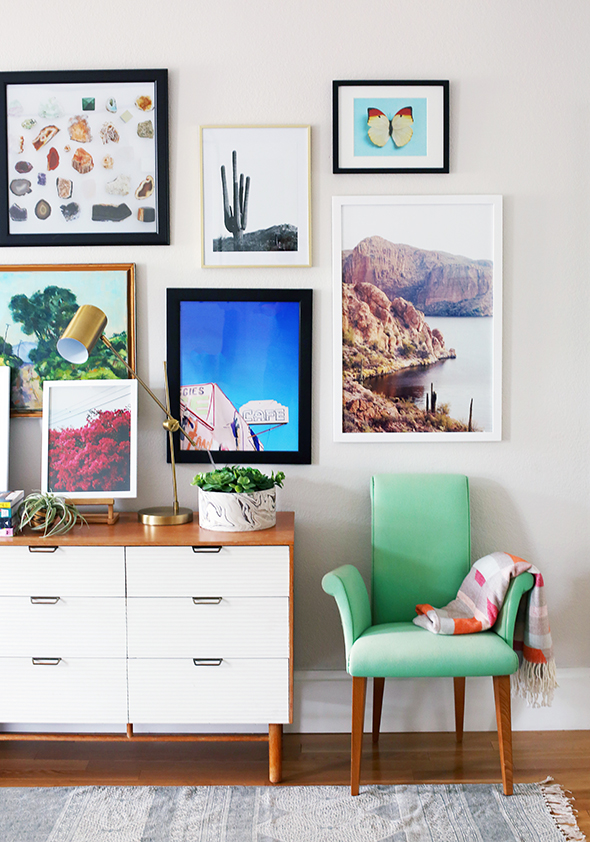
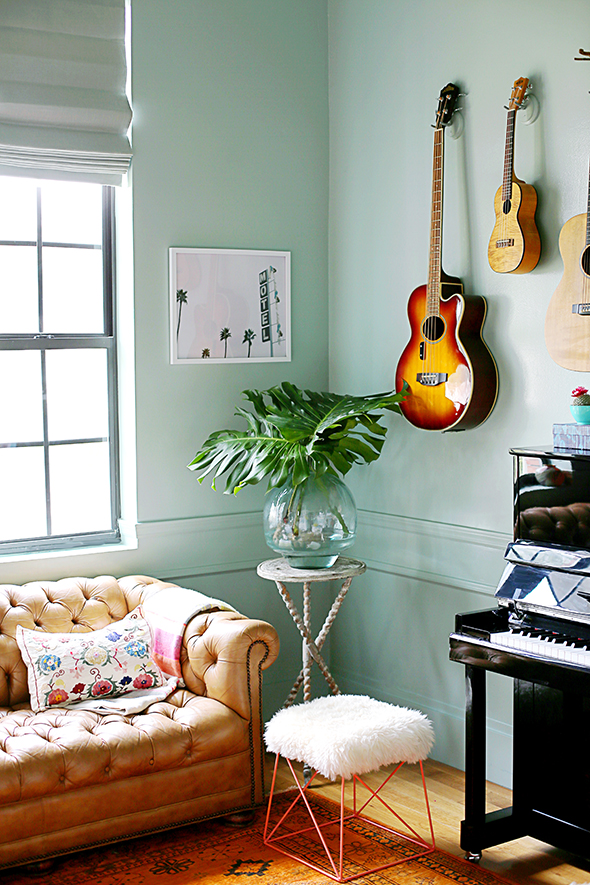
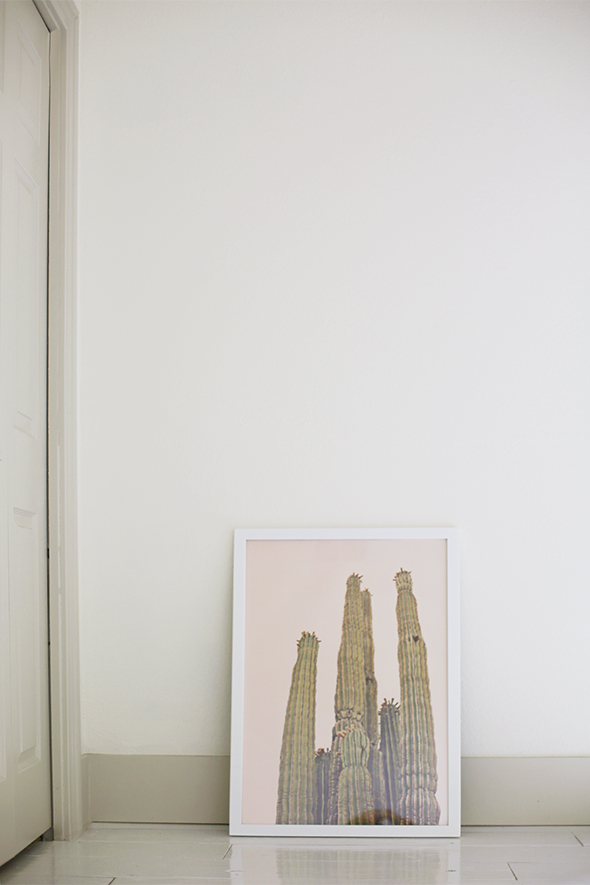
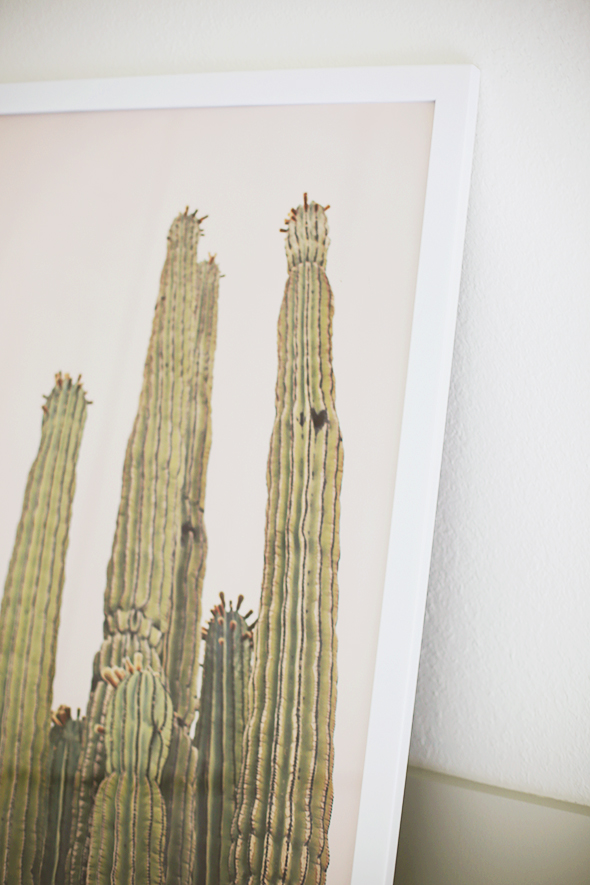
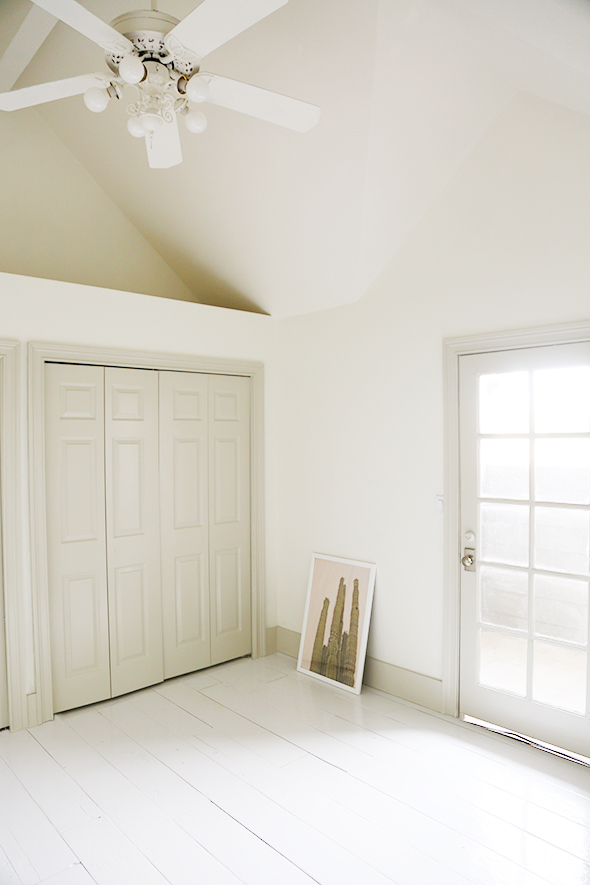
GEMS // GIANT // YELLOW BUTTERFLY // SAGUARO LAKE // CAFE // BOUGIE // TELEPHONE POLES
LARGE PRINTS (Over 20×30″):
I love MPix (or Miller’s Lab if you can register for a business account), but so far, my very favorite website for printing REALLY large prints has been Aspen Creek for color accuracy and price.
Though Aspen Creek generally only takes a couple of days, sometimes I’ll use Kinkos if I need an oversized print that same day. You’ll pay a bit of a premium for the instant gratification (between $7.99 and $12.99 per square foot), but I think the quality of the prints has been great! One other bonus with Kinkos is you can call your local store and ask for their store email address and just email the file directly to them with your print size. It’s incredibly easy.
 BOARDWALK
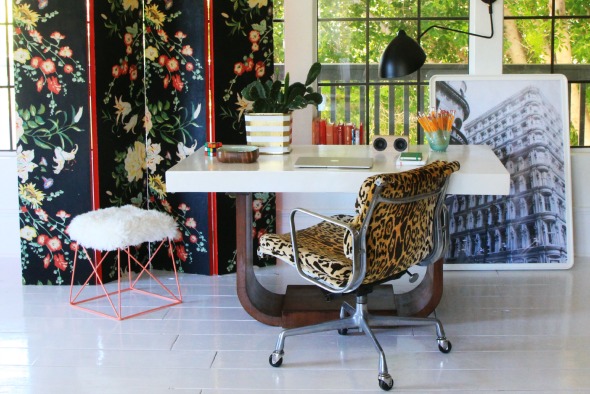
ENGINEER PRINTS
Kinkos is also a great place for getting black and white Engineer Prints, which can be up to 36×48″ and only cost a few dollars to print because they are printed on cheap paper (think printer paper – not Fuji Film!). It’s usually not a great option if you are printing an image with a large dark section. You’ll see lines in those areas and it will look sort of funky. I actually really love using engineer prints though, especially when you’re going for sort of the vintage, grainy look. The ANN STREET print here below is a $3.50 engineer print.
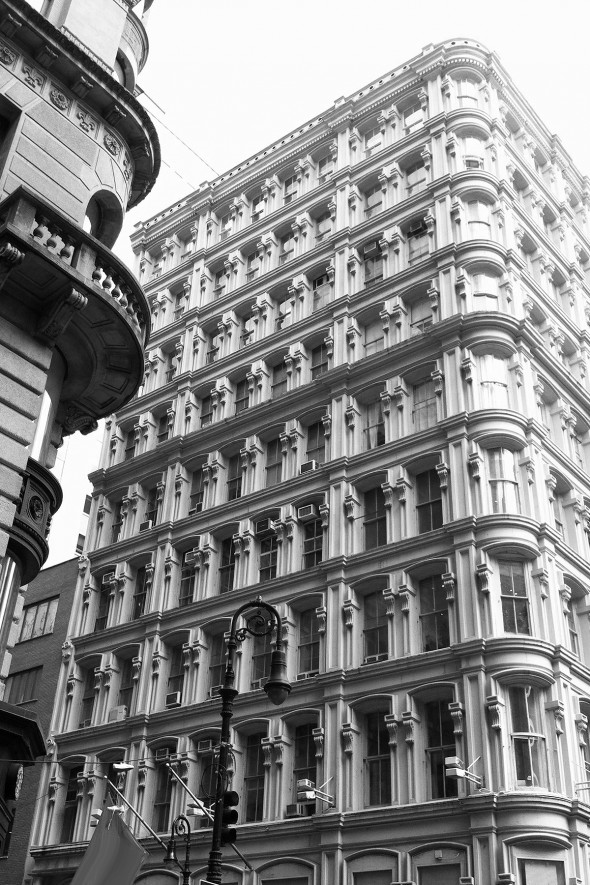
ANN STREET
FRAMING:
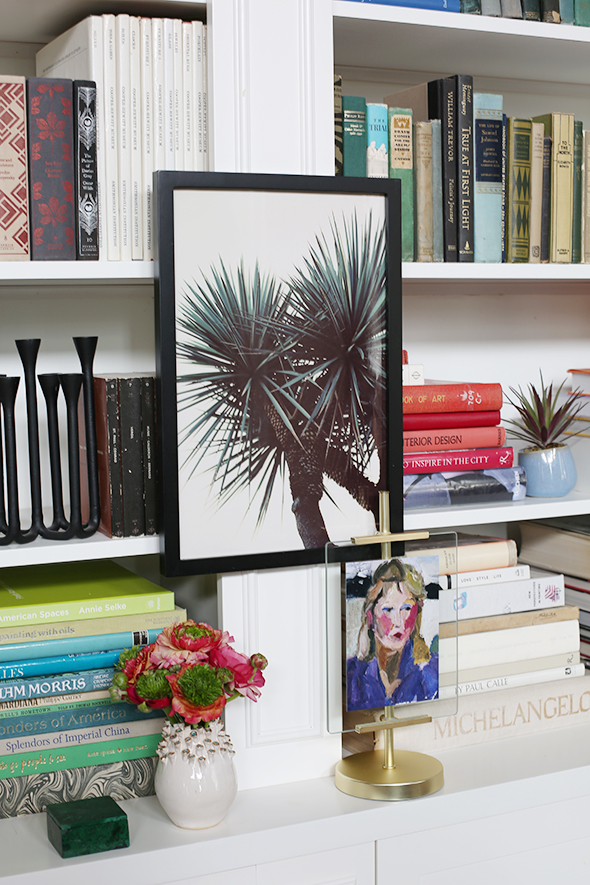
One of the reasons I felt strongly about not offering physical prints or framing at this time is I really like giving you guys flexibility with the prints now and in the future. You will have your digital print files forever! And you can print them multiple times for your own personal use. Maybe you found a great frame at a thrift store for just a few dollars. You can save hundreds of dollars on custom framing by printing your JPS image to fit the great frames you already have!
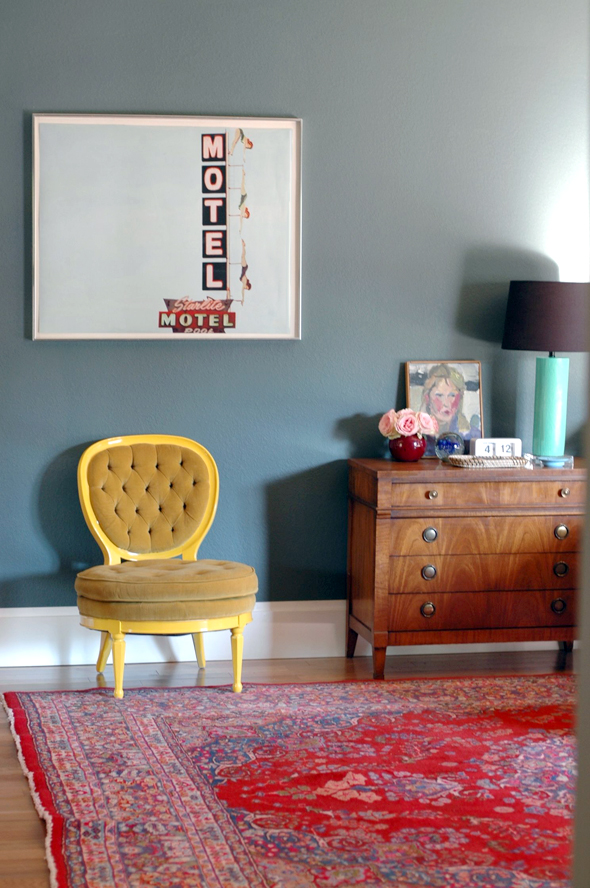
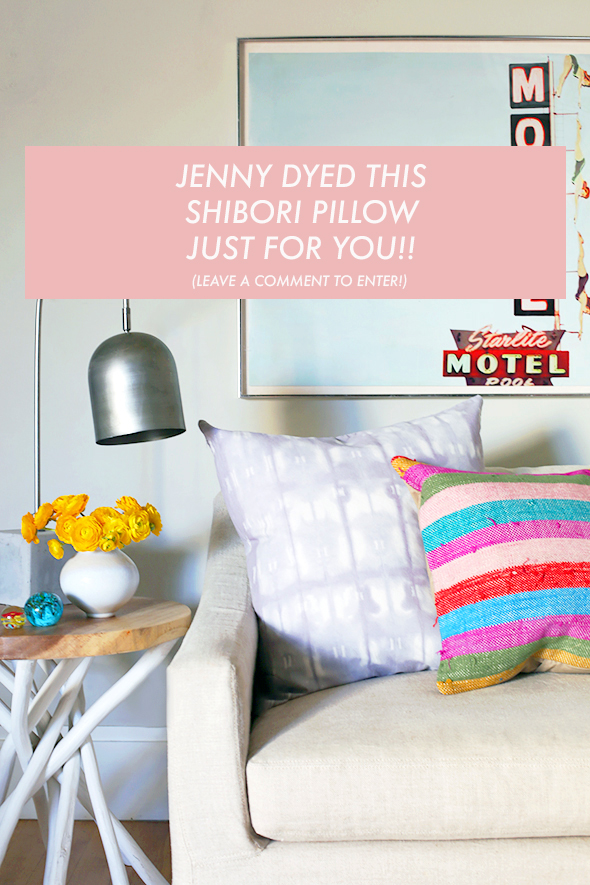
STARLITE
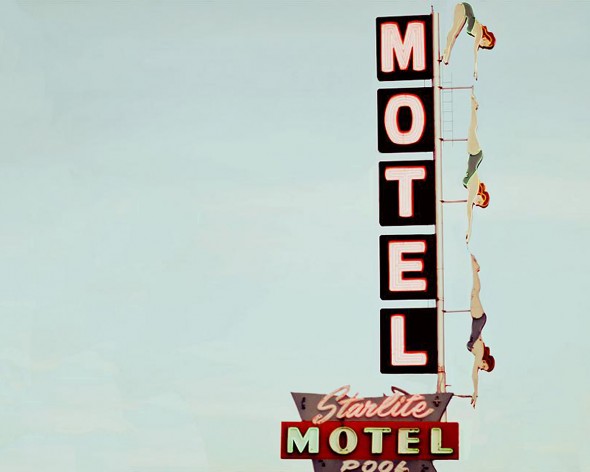
Then say, maybe down the road you move to a new house and you want to use the same image, but in a different size frame. NO PROBLEM! I suggest keeping your original download files on hand, but as of right now, you will be able to download the prints through the emailed links over and over again. I’m really hoping people don’t abuse the situation and share the files (and for this reason, we will be keeping track of the number of times a link is used to download an image), but I also want you to have continued flexibility of use over time more than anything!
I think there is a time and a place for all of the following framing options! Please share in the comments if you have any other suggestions!
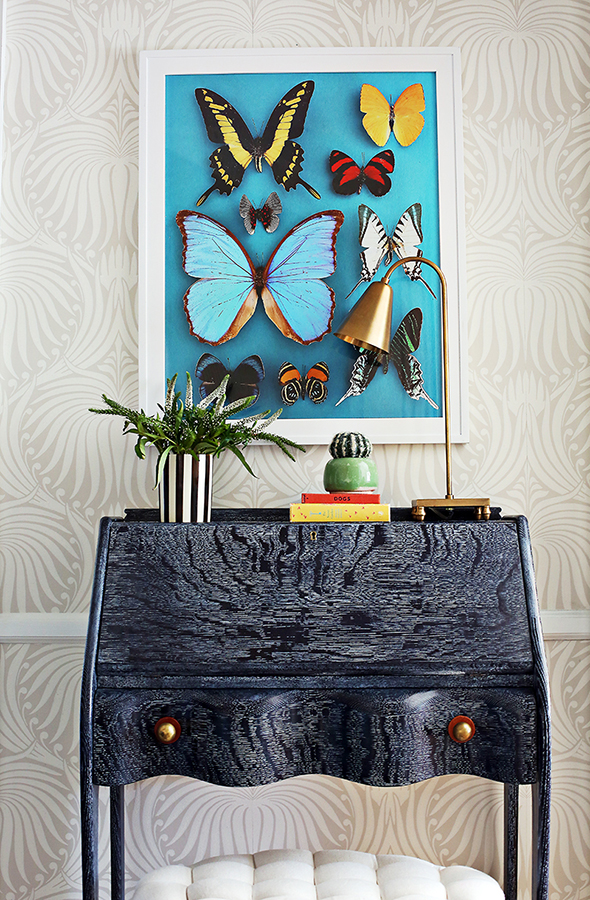
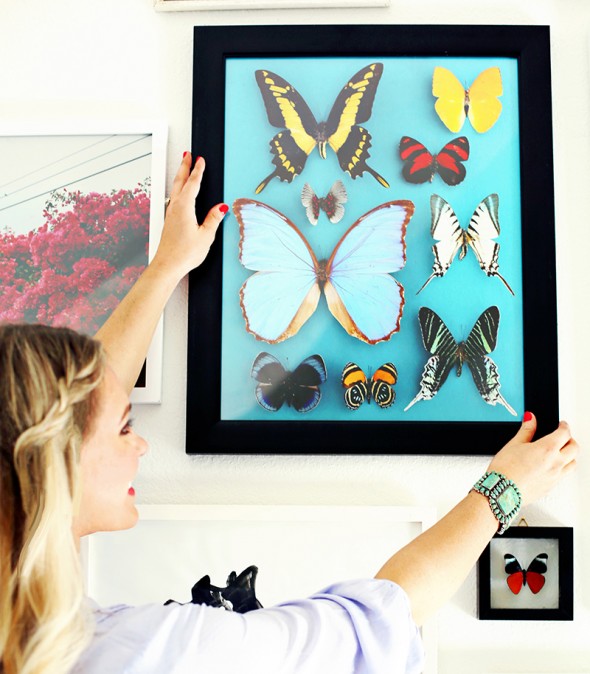
BUTTERFLIES
CUSTOM FRAMES:
Obviously, custom frames are amazing, but you pay through the nose. Even the tiniest framing jobs will be close to $100. The larger sizes will run several hundred dollars, even for simple frames. I have a local framer in Mesa called Matage Framing that I love and use often and I choose them over Michaels and Hobby Lobby because they can beat the big box stores custom framing services in price, speed and workmanship. I think that would be the case in most cities as well.
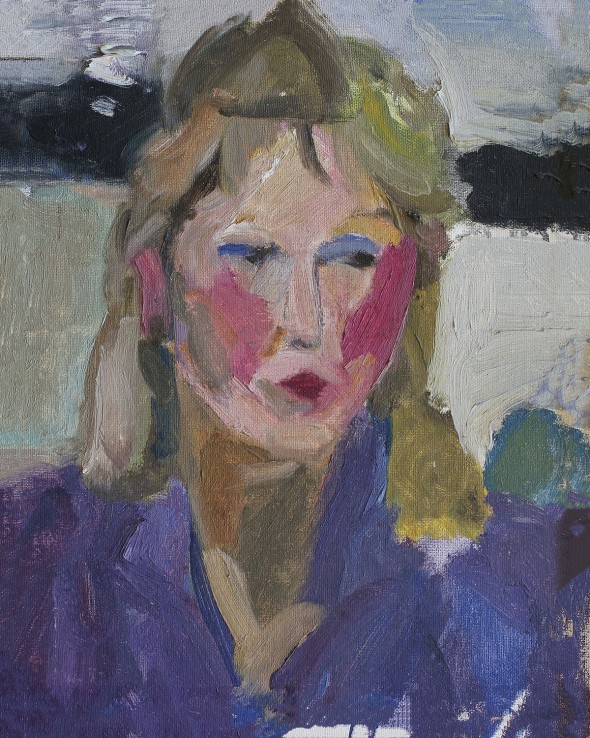
JUNE
SEMI-CUSTOM ONLINE FRAMING:
Services like Framebridge and Simply Framed are awesome. You just upload your Jenny’s Print Shop file and they will deal with the printing and framing for you. There aren’t a whole ton of frame options, but all the classics are there and their services are relatively inexpensive and pretty fast. I’ve used both of these companies before for client projects and have been happy with both.

FERRIS

BIG BOX STORES:
There are a couple of standard size frames from stores everywhere in the US that I keep coming back to over and over again because they are cheap and so easy.
Hobby Lobby has a line of white frames that I really like and the largest size (27×40″) ends up being less than $40 with a coupon. Take note there isn’t a hanging mechanism on the backs of these frames though for some infuriating reason, so you’ll need to add a couple of D rings and a wire before hanging. :/

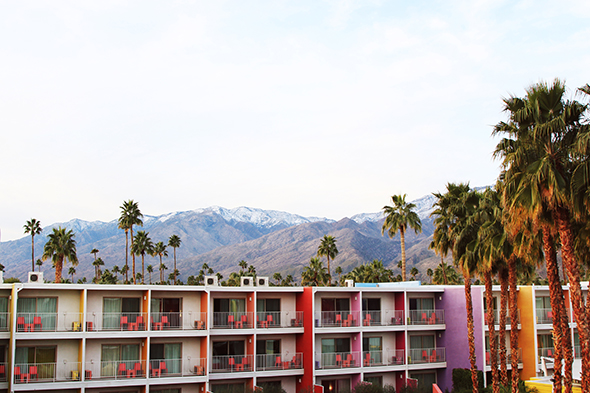
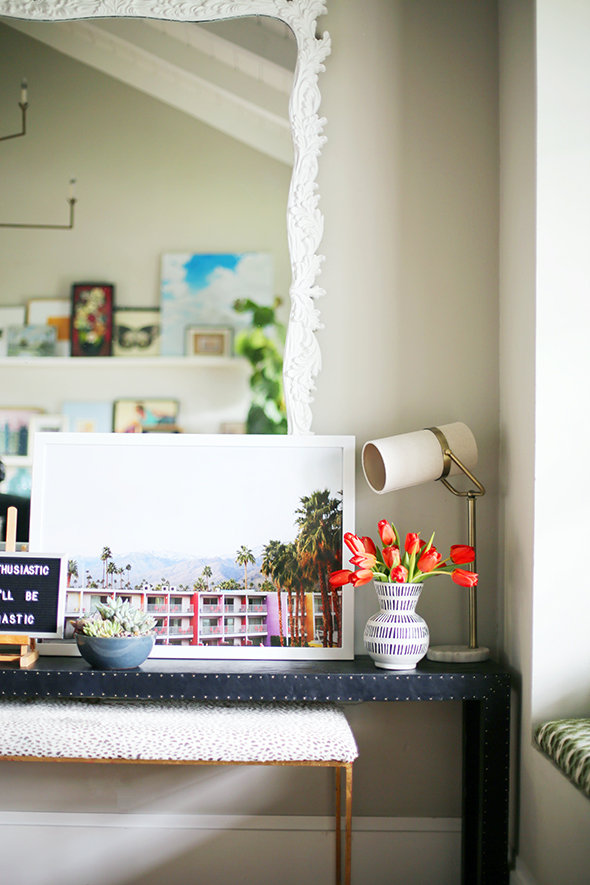
PINK DESERT
Michaels has some great large options as well, but my favorite is a 20×30″ white frame that is like $20/25 with a coupon and works so perfect with the 20×30″ Costco prints for only $9.99! You literally could buy a print right now (how about this customer favorite!), upload it to Costco’s site and during the hour it takes to get printed, swing into Michaels for a frame and have a beautiful new piece of huge art hanging on your wall practically no time later. BOOM.
RAINBOW
Urban Outfitters sells these great wooden hangers that are SUPER easy to use and can work with any size print!
IKEA frames just might end up being more of a pain for you in the end because of the cropping you will likely have to do to fit the European sizes, but they are cheap, it’s true! I am sad they don’t have the wood Ribbas any more, but the white and black ones are great. I also really like their 24″ square frame!
Target probably has my favorite frame. The proportions of their frames are just right for me! (it’s everything I love about the Ribba, just not as thick/deep!) My only complaint is the largest size is 16×20″ but the $18 price tag makes up for the lack of sizes.
POM POMS and JUNE
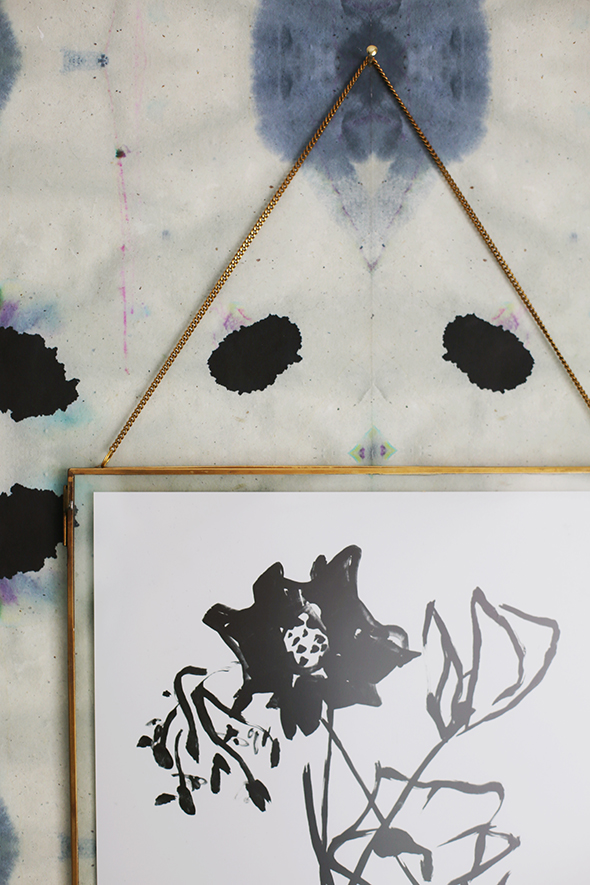
VINTAGE FRAMES:
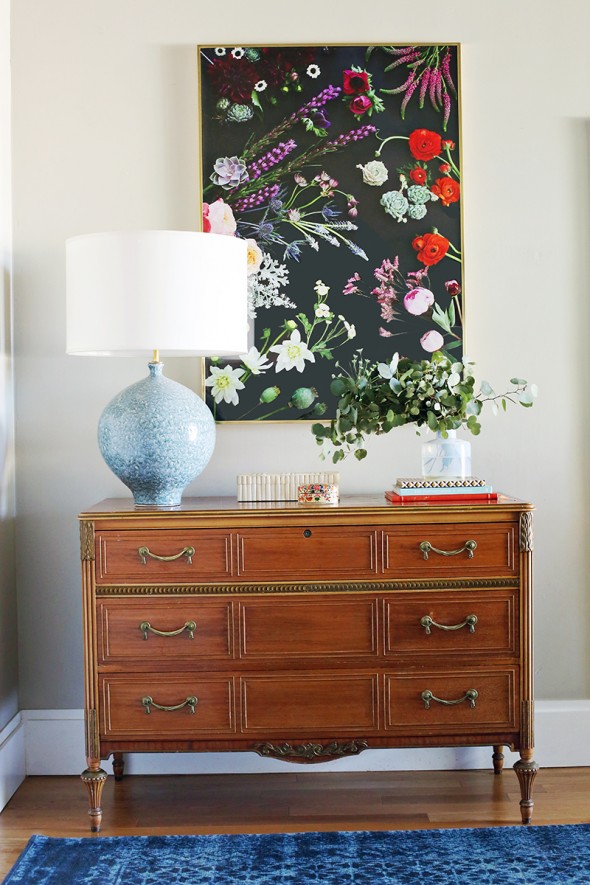
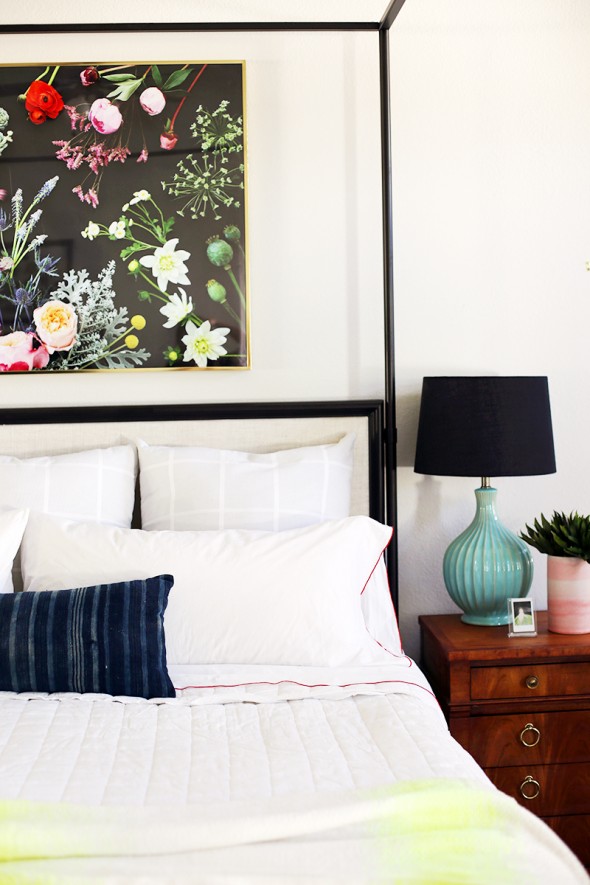
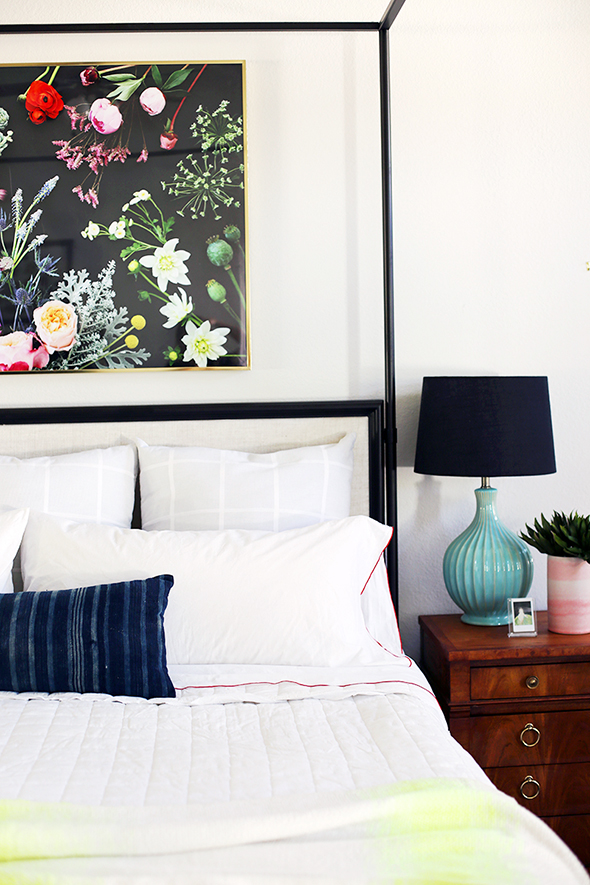
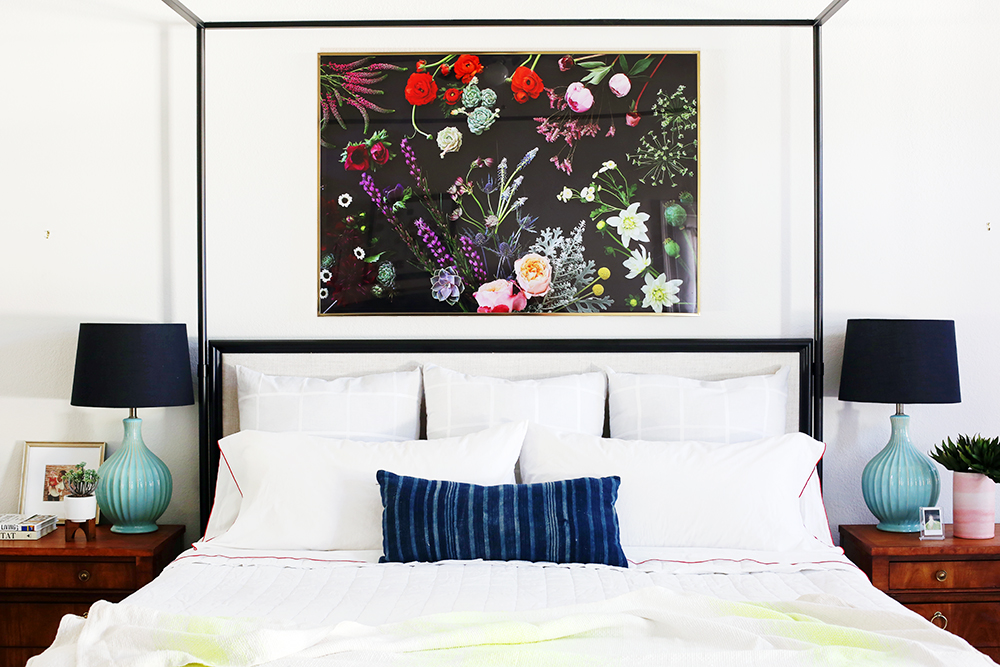
Some of my very favorite oversized frames in my own home were thrift store finds. Just look for the frames holding really, really ugly art for the very best deals! :) I got this brushed brass 30×45″ frame from Goodwill for only $5.99! It looks amazing with the black background of my FLORA print!
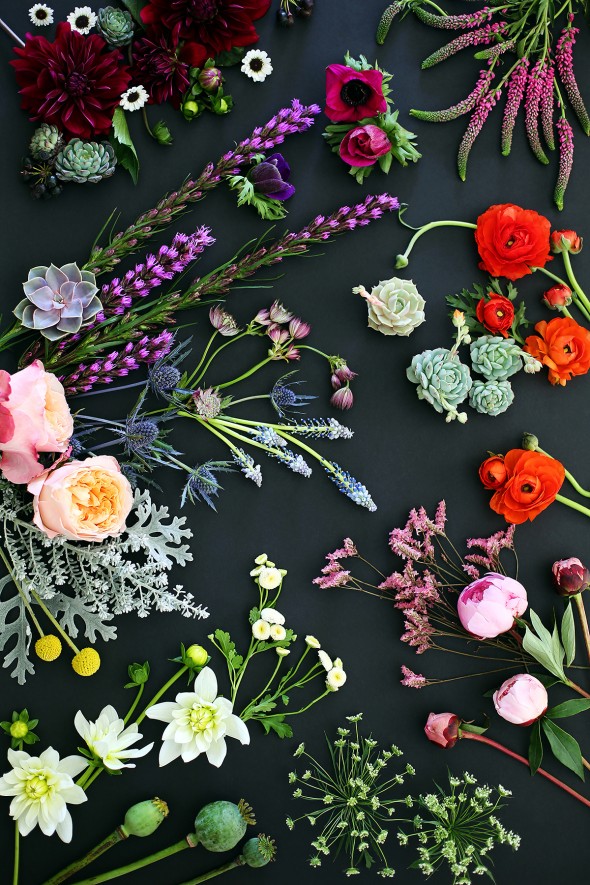
FLORA
Like I said, I’ll keep updating this post with links and ideas. In the meantime, I hope you enjoy JENNY’S PRINT SHOP!! It has been a labor of love for many months now, but I know there are some kinks to still work out. Please let me know if you have any issues with the site and I will do my best to fix them!
Lastly, THANK YOU for your amazing, amazing support over the years. I can’t tell you how much love I feel for all of you. Even though I’ve been busy with the print shop lately, my focus will continue to be on my blog. So please stay tuned for more design posts coming your way!! I’m so glad you’ve been a part of the LGN community as it continues to grow and evolve. Here’s to ten more years of Adventures in Design!!!


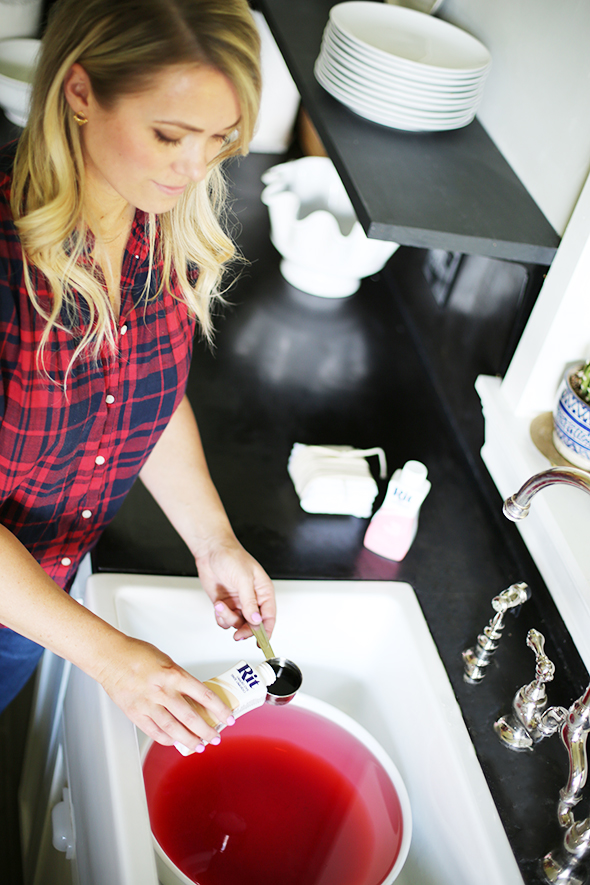
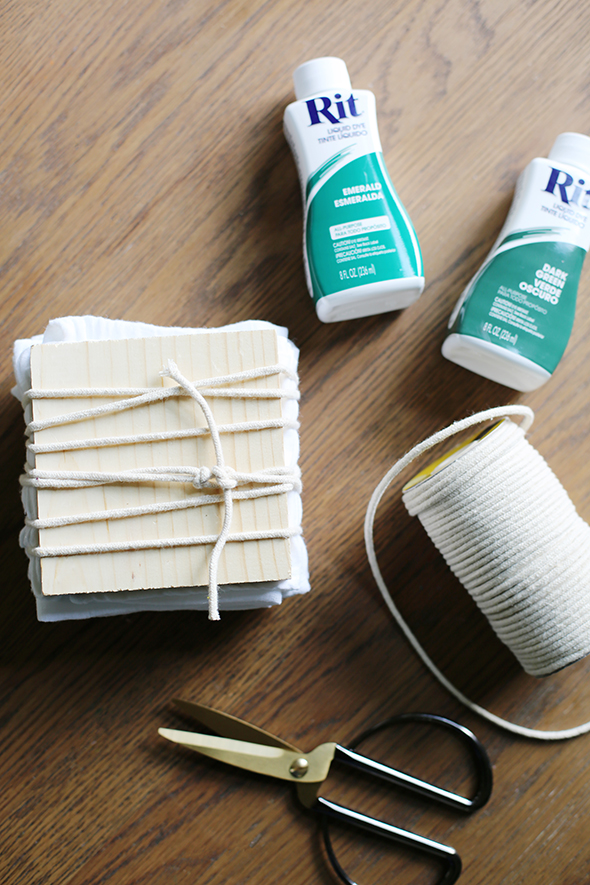
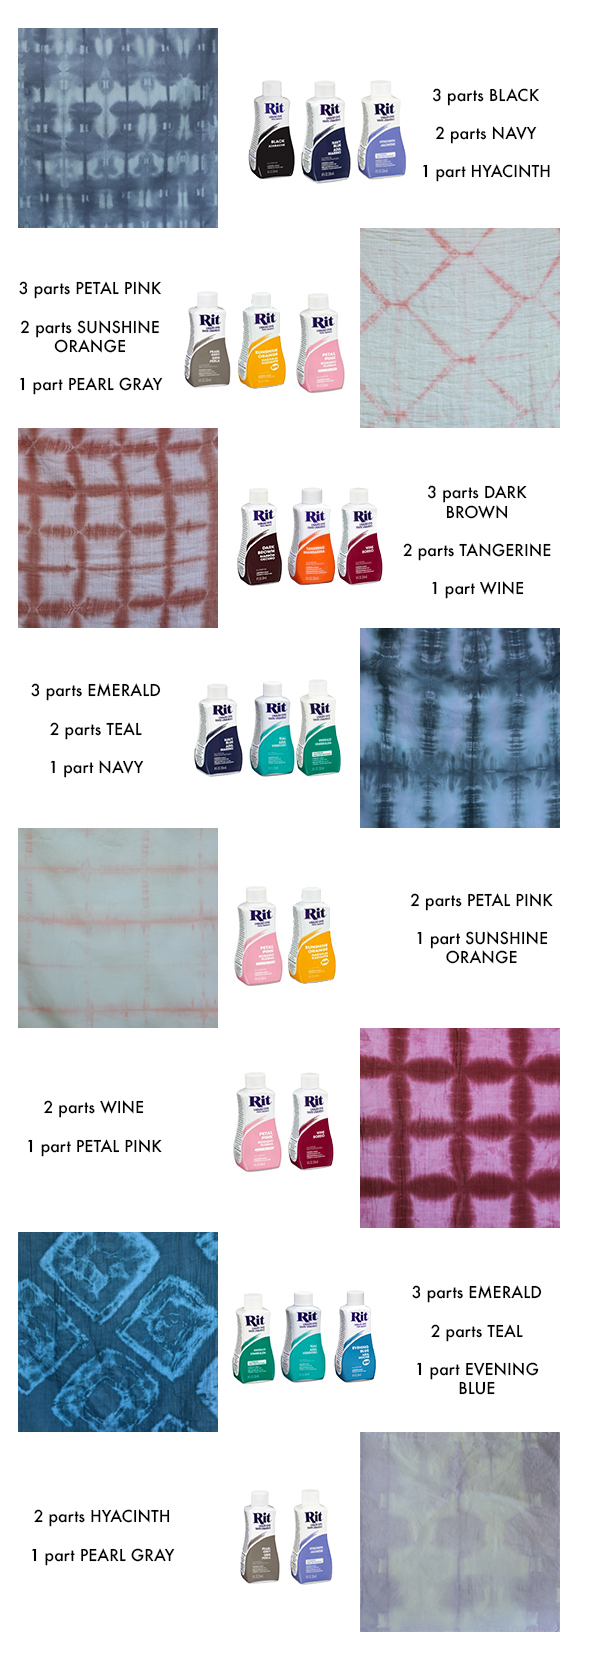
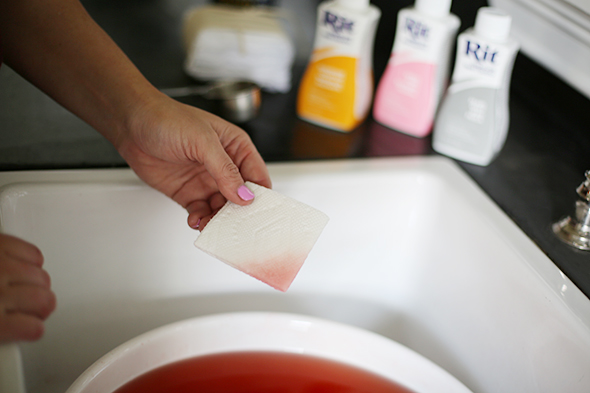
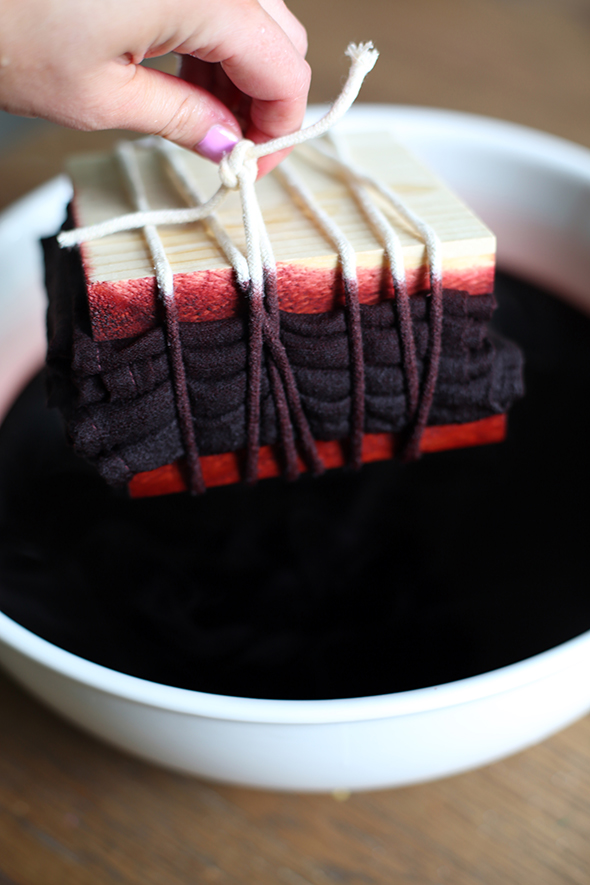
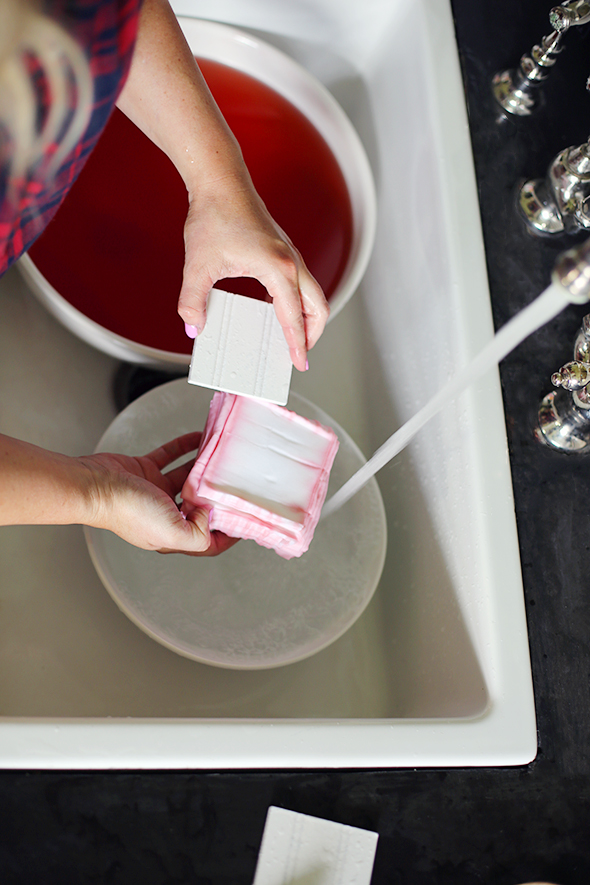
 The very nice people at Rit Dye also taught me that you can add a touch of Pearl Gray to any of the base colors and it helps to sort of muddy the color up in a way that looks SO pretty. I ended up adding a drop of Pearl Gray to most of the projects here.


