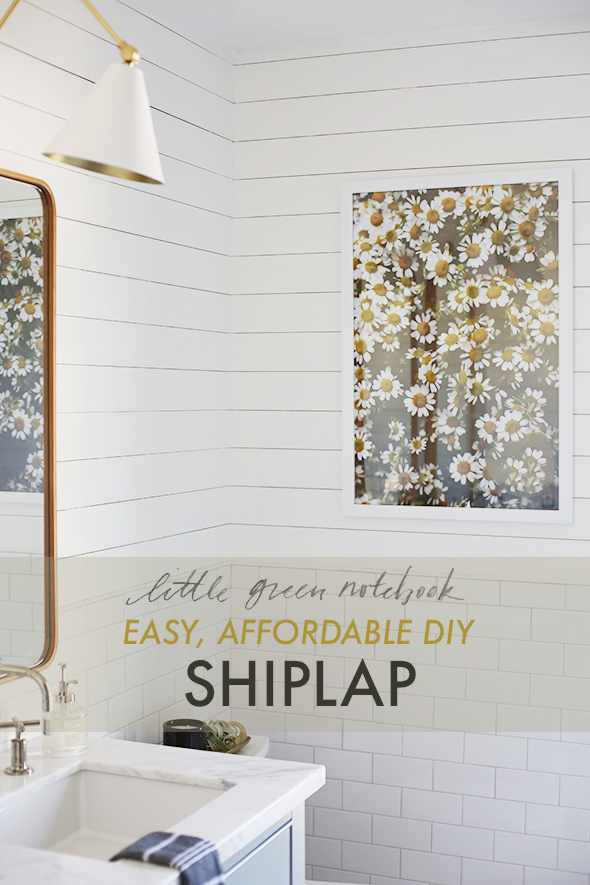
Thanks for all the sweet comments about the Girls Bathroom reveal! A lot of you have been asking for more details, especially on how we did the shiplap above the subway tile. I’m so excited to share this project! It’s cheap, easy to do and the results are so pretty!
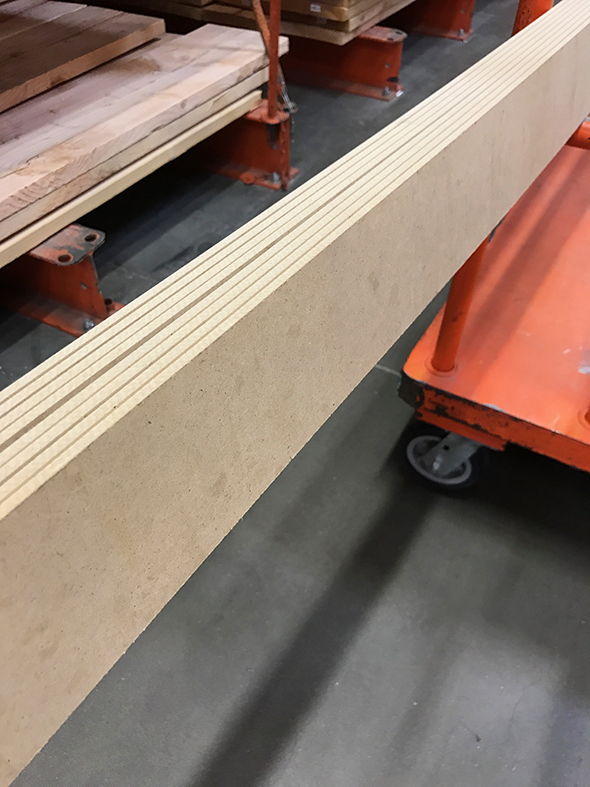
My sister and her husband were at Home Depot one day to get some melamine ripped down for a shiplap project in their mudroom and they stumbled on these pre-cut lengths of MDF called bender board in the plywood aisle. The display is pretty high up, so it’s not super noticeable.
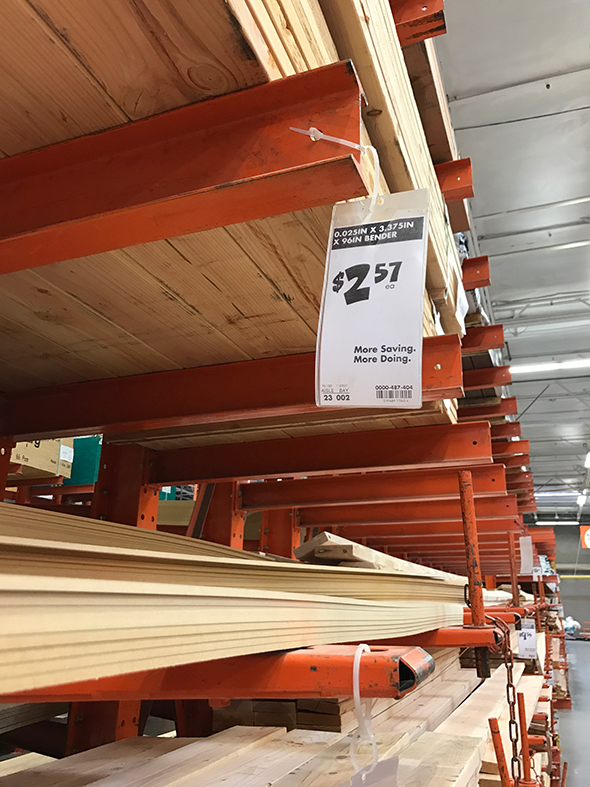
Each board is 3.75″ wide, 8′ long and about 1/4″ thick and is priced by the board. My Home Depot sold them for $2.57 each. I only needed about 32 boards for this bathroom project, and with nails and glue included, the total cost rolled in well under $100! SO affordable!
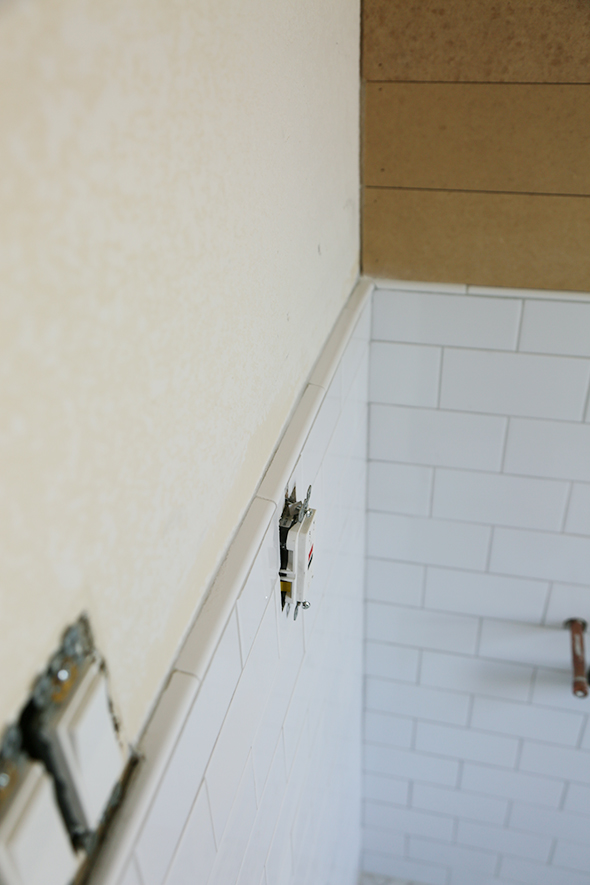
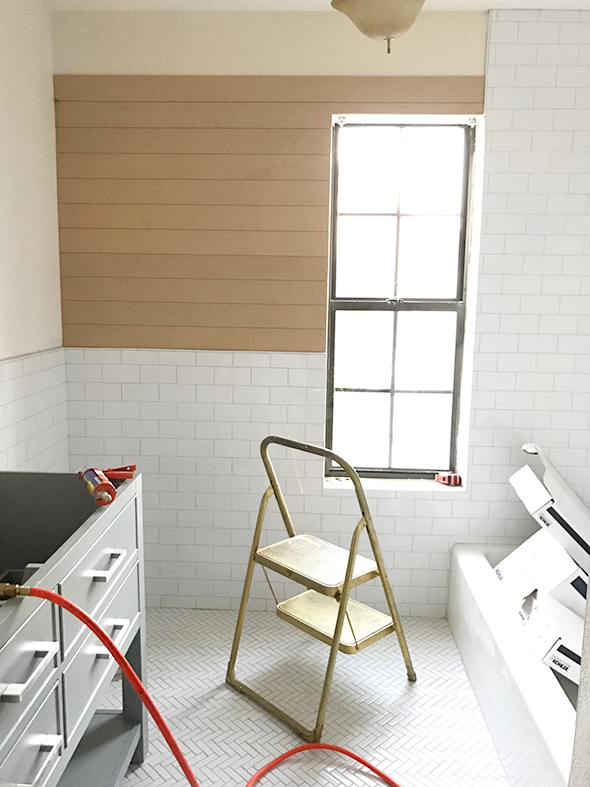
This shiplap is PERFECT for rooms where you aren’t starting from scratch – in fact I decided on the shiplap in part because I wanted to cover up the heavy texture on our old drywall. Because it is such a thin product you can lay it right over the existing drywall and butt it up against your tile and door and widow casings the same way I did here and it looks great!
You will need to invest in a few tools to do this project, but these are all handy to have around anyway. I have each of these and LOVE them:

Air Compressor // Dremel Saw-Max // Painter’s Tool // Miter Saw WITH LASER // Caulk gun //
Ergonomic Utility Knife // BEST caulk for trim! // Liquid Nails // 18 gauge brads // 18g Pneumatic Nail Gun
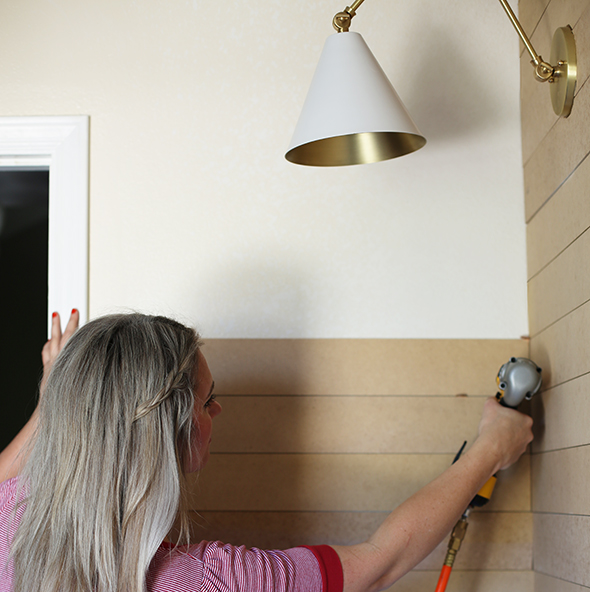
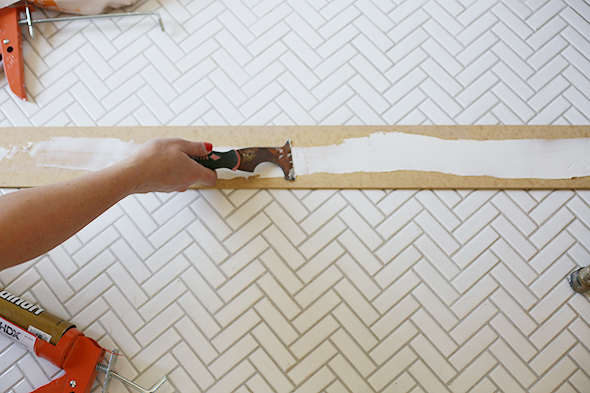
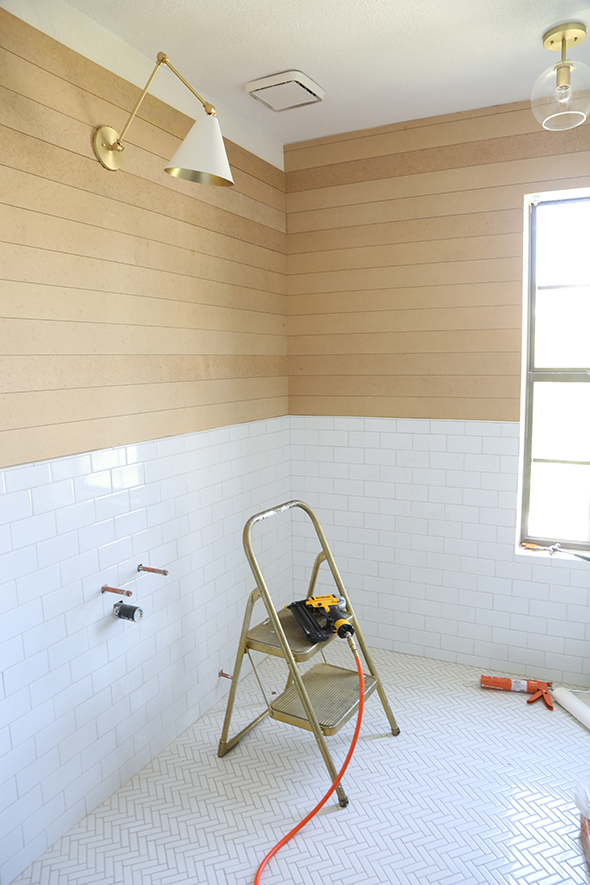
The installation is pretty straight forward. Start with the wall that is the most visible when you walk into the room, measure (twice) and then cut your first couple of planks using your miter saw. I used a bead of Liquid Nails that I smoothed out with my Painter’s Tool so that the plank would lay as flat as possible on the wall. Then I nailed the plank to the wall using my 18 gauge nail gun, trying to hit the studs as often as possible.
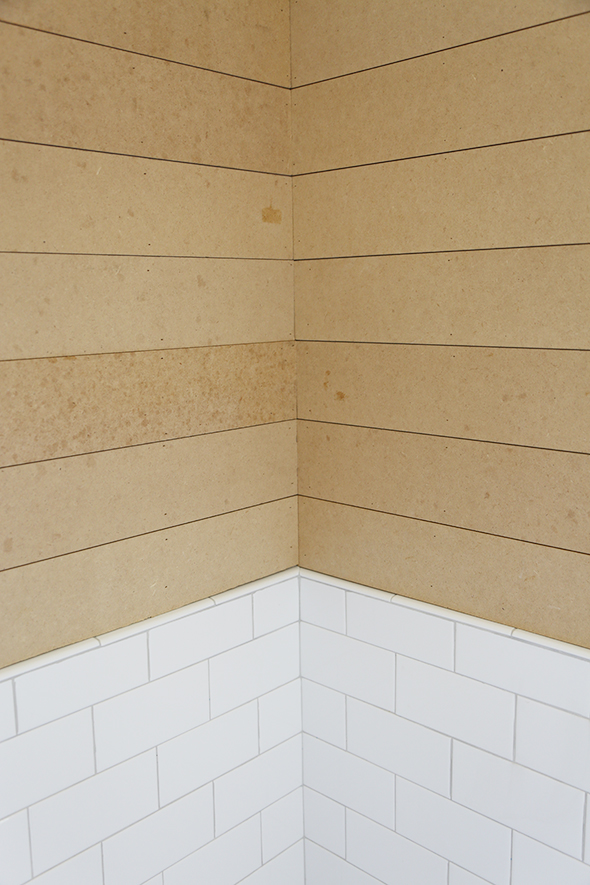
I started with a full board on top of the tile chair rail, knowing that that meant I would have a cut board at the top of the wall next to the ceiling. I think it’s better to have a full piece in the more visible areas.
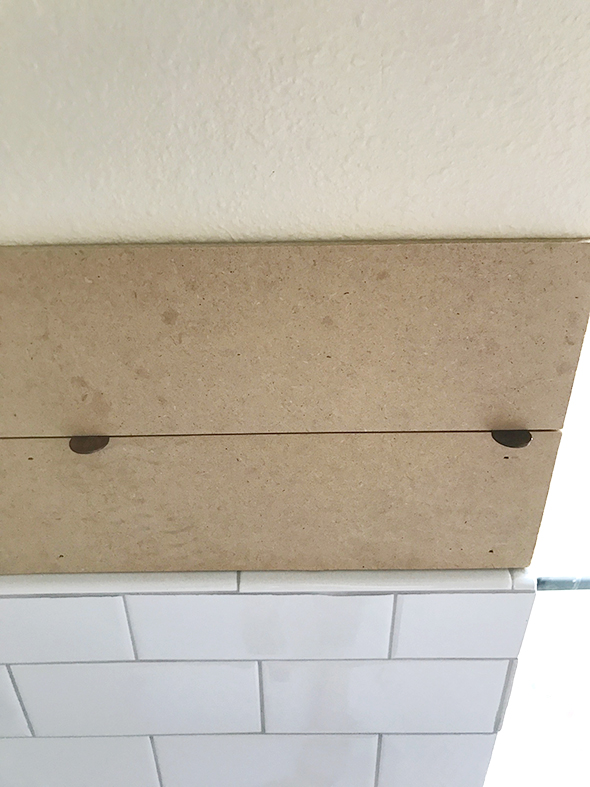
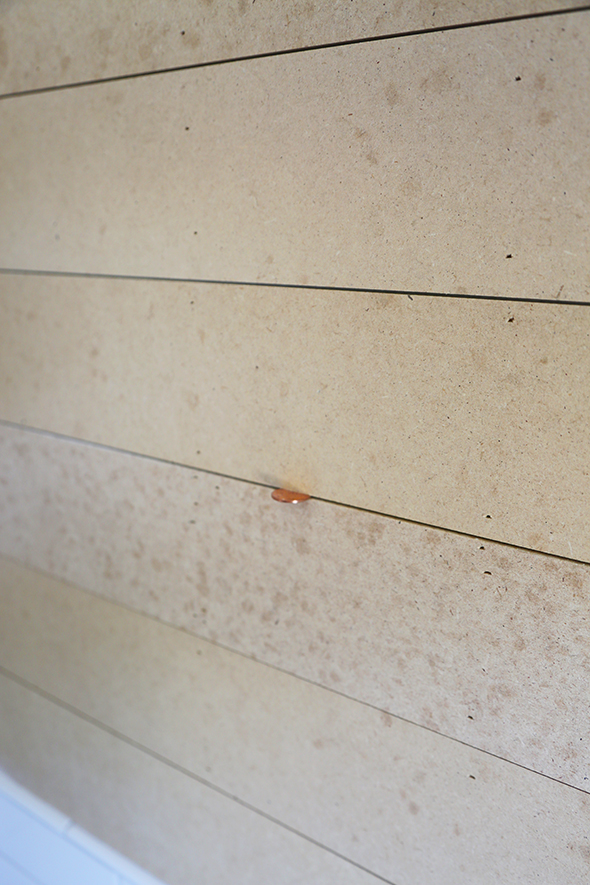
Most walls in older homes especially are not completely flush – ours are definitely a little bit wonky in here – but using a couple pennies as spacers will do the trick for keeping your lines consistent, even if your walls bow a little. And that’s the great news about these bender boards – they are MUCH more bendy and flexible than a typical wood plank you might usually use for shiplap, like a primed pine board or tongue and groove boards. Those are both close to 3/4″ thick and are more difficult to manipulate for a smaller “cosmetic” job like this one.
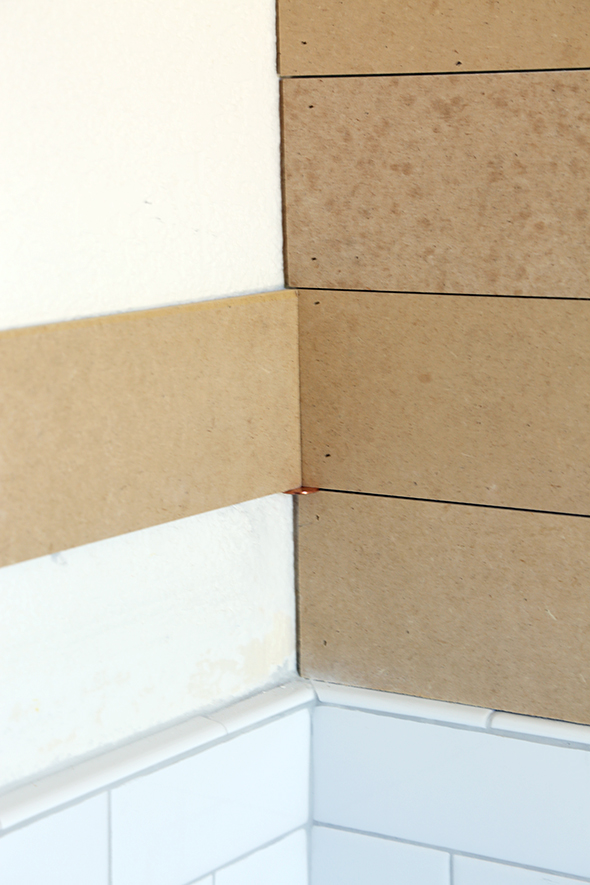
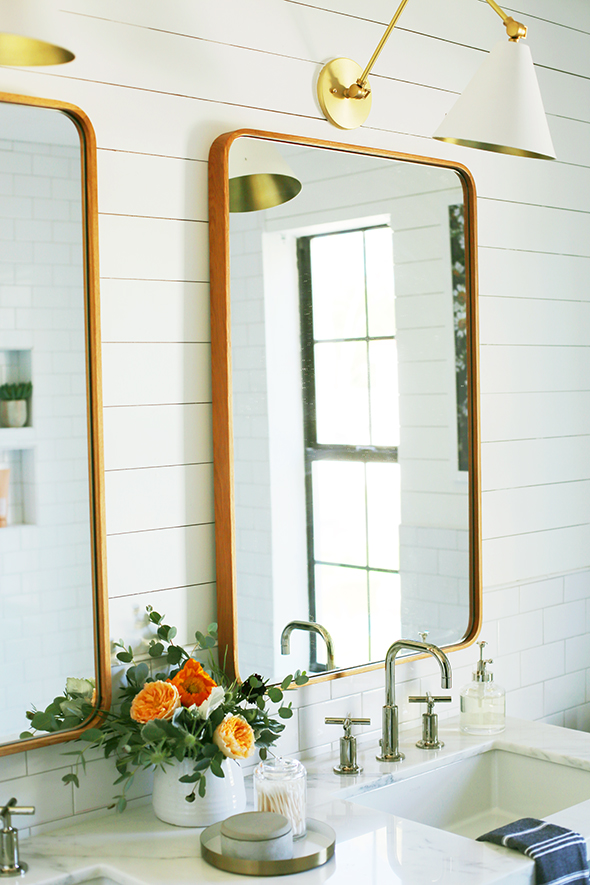
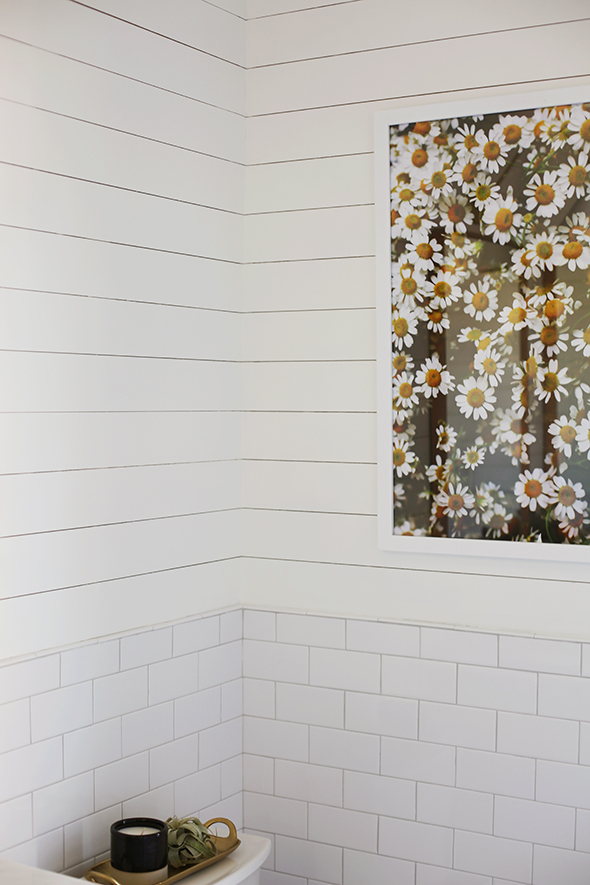
I think the corners are the most important thing to get perfect with a shiplap project. Thankfully I only had inside corners to deal with in this space, but if you are trying to do outside corners I think I would try to miter the ends if you’re handy with a saw. Otherwise I would just butt the two ends together and sand and caulk the joint lines really well, which is basically what I did here with my inside corners. I ran the back window wall plank all the way to the corner so the end of the board touched the vanity wall.
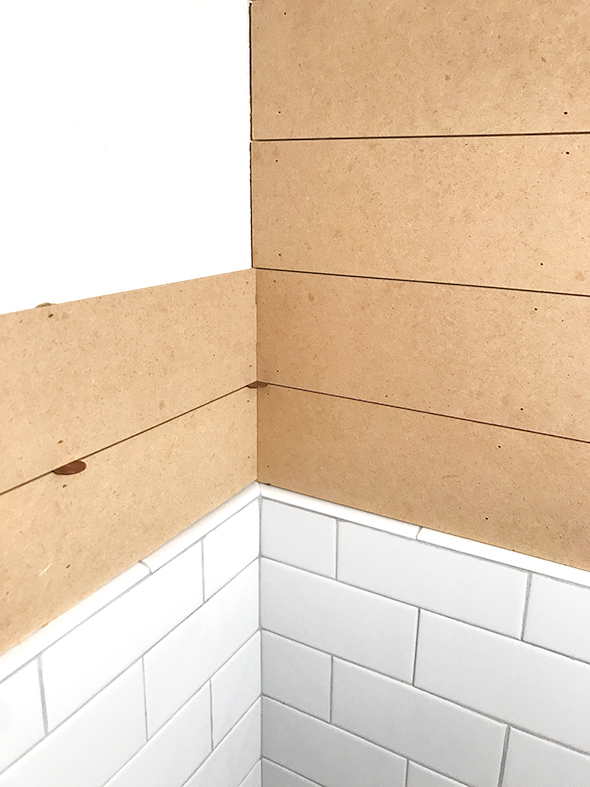
When I was completely finished with the window wall, I started the vanity wall boards on the SECOND plank, not the first, being really careful to make sure the joint lines were consistent across the corner angle from the window wall to the vanity wall.
After that second plank is installed, you can go back and add the first (bottom) plank. Doing the second plank first ensures that you are keeping your shiplap straight in relation to the lines you already committed to in your first wall installation, rather than the lines of your potentially crooked walls or uneven tile. On both the vanity wall and the door wall, I had to slightly notch and smooth out areas in the bottom plank that were hitting parts of our chair rail that stuck out just a hair. It’s INCREDIBLY easy for an 1/8″ joint line to get off if you’re not super careful!
The bottom and top boards take a little more time, but all the planks in the middle are so easy and fast to install!
A Dremel Saw-Max works really well for cutting out those notches for your uneven tile, the outlets and switches and the half boards you’ll have at your ceiling.
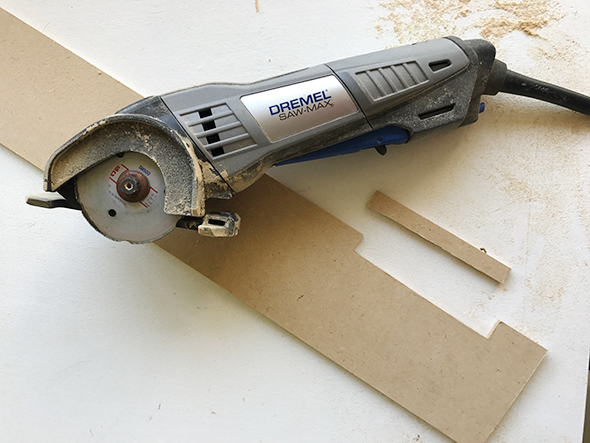
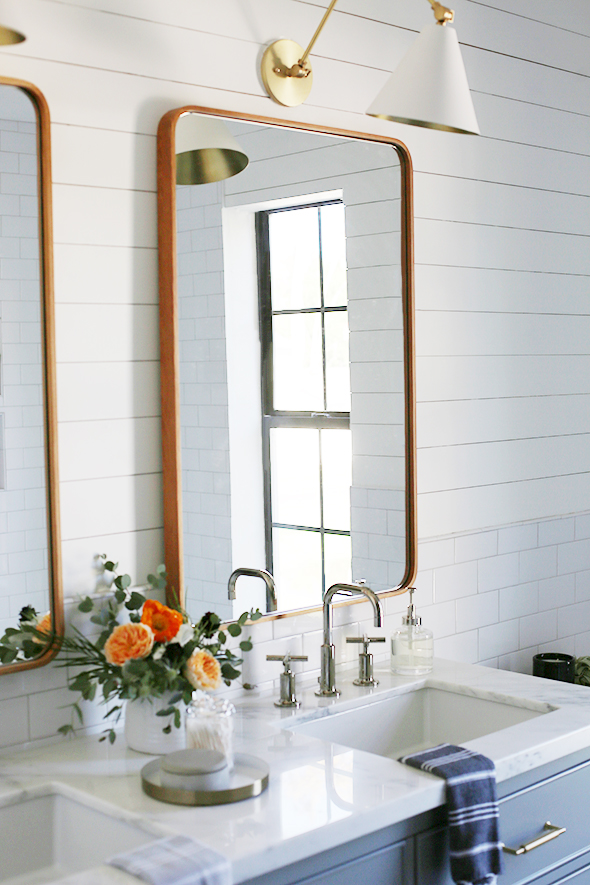
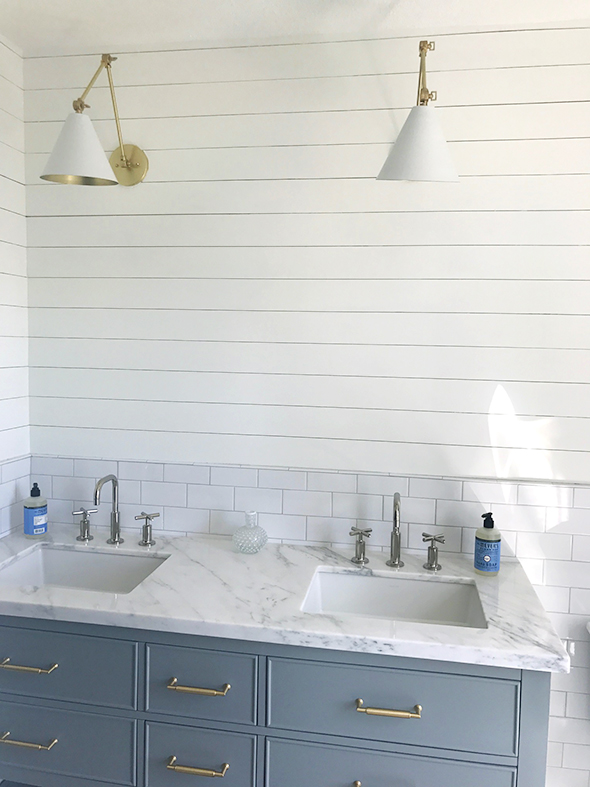
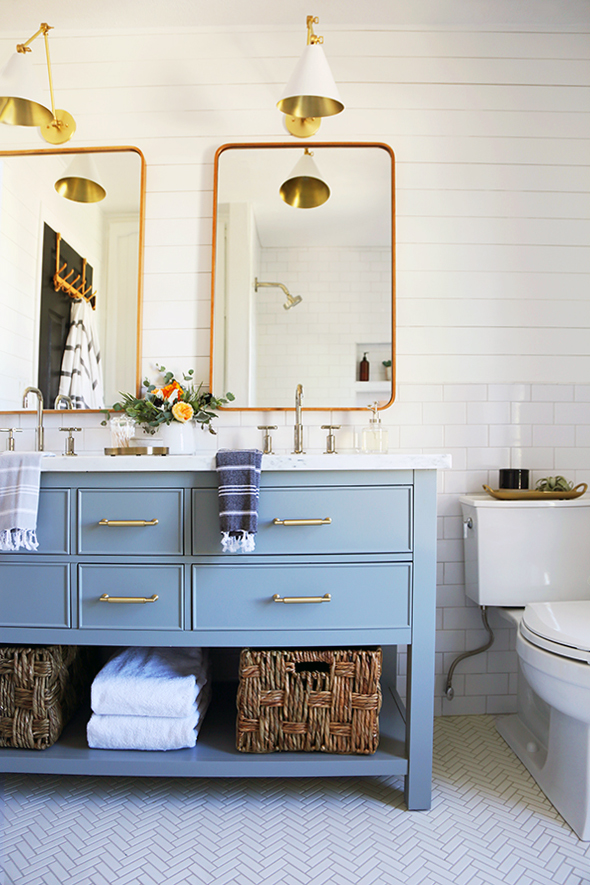
I also used the Saw-Max for cutting around the electrical box for these gorgeous Lucent Lightshop sconces.
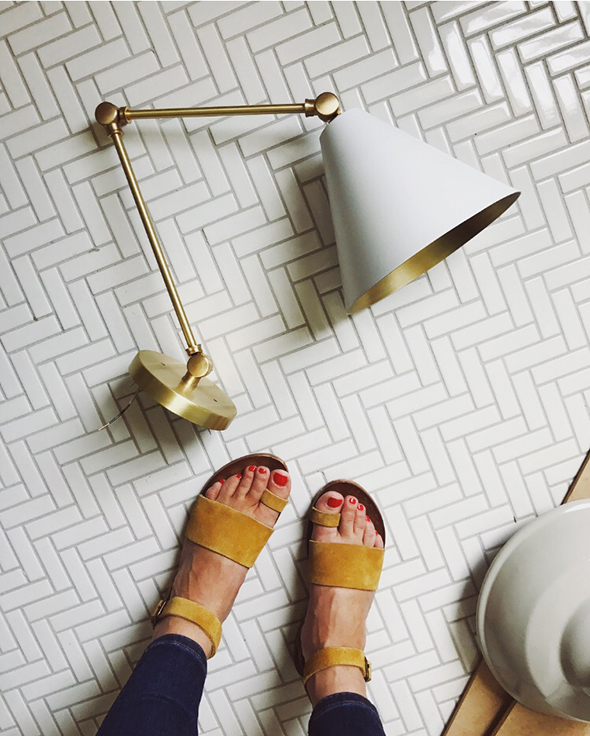
sconces (similar) // sandals (similar) // tile
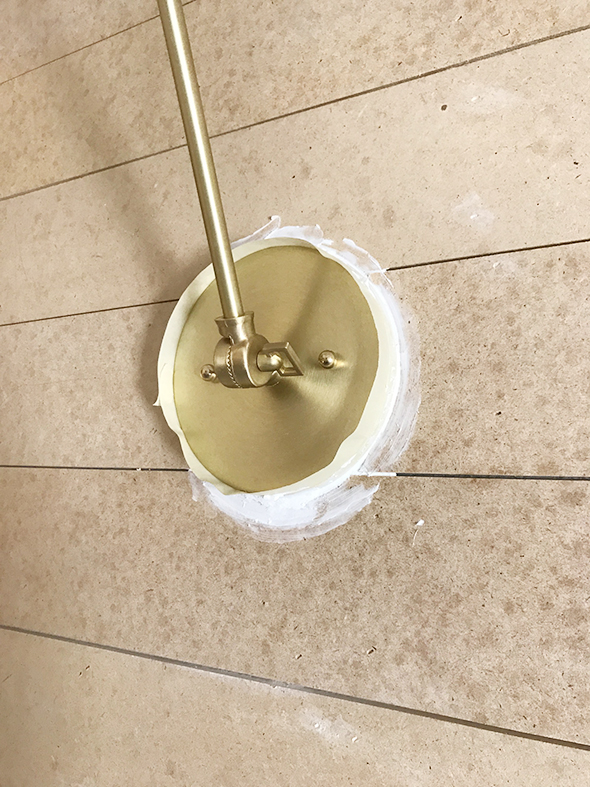
The cut lines were a little off in the end, but nothing a little caulk can’t fix! :)
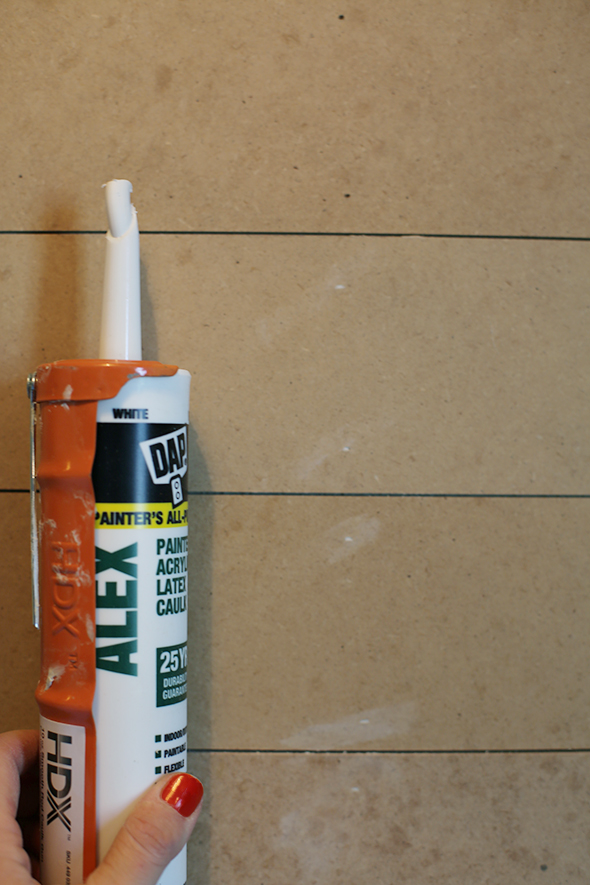
Speaking of caulk, I always use the Alex brand (NOT the plus version) because it cleans up so well and is so easy to use! You should only use a tiny bit in the nail holes and in the joints and gaps of the corners, top and bottom boards and then immediately wipe off any excess with a baby wipe or a damp cloth. If you do this right away, you won’t have to sand before painting!
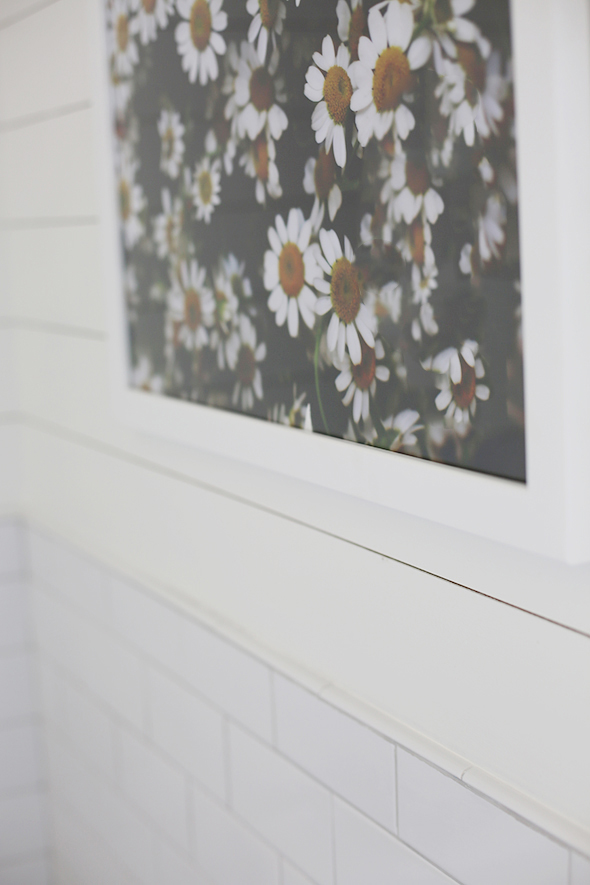
I used a foam roller to roll on a THIN coat of primer and then two VERY THIN coats of Benjamin Moore’s Chantilly Lace. I think if I were to do this project again, I would have sprayed or rolled the planks before installing them. It took a while to do so many thin coats and even then I had to use a utility knife (I love this one because it is more ergonomic with the angle!) to clean out the paint that still ended up in the joints. It not hard to do, it just took extra time.
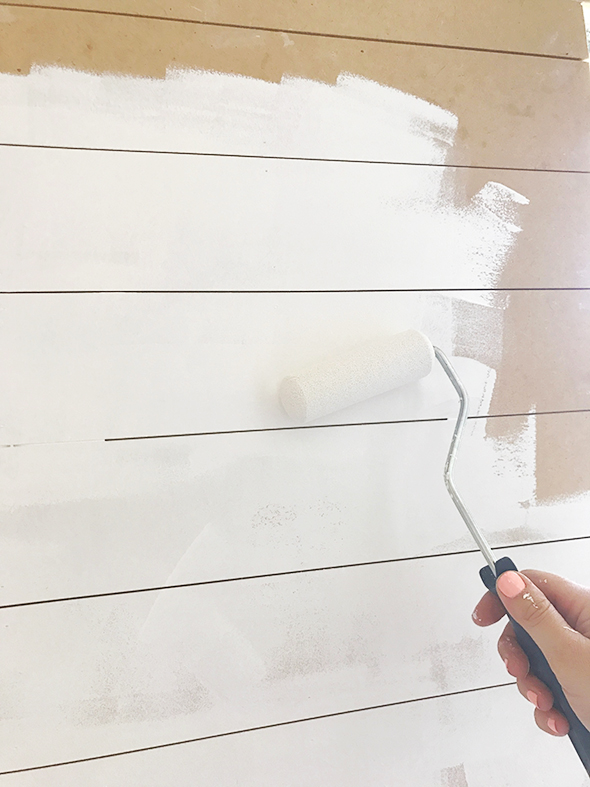
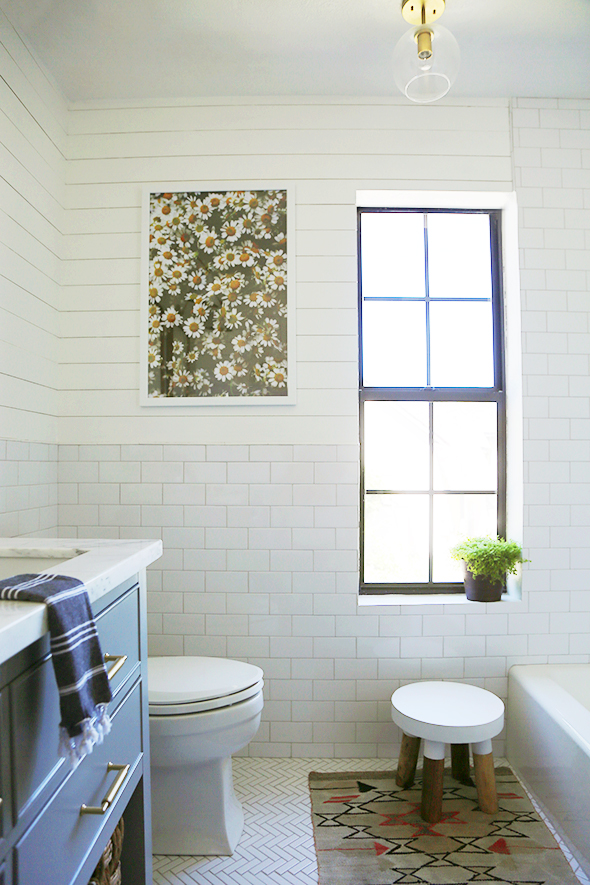
The bright white results are worth every second of work in the end though!
BEFORE – BEFORE
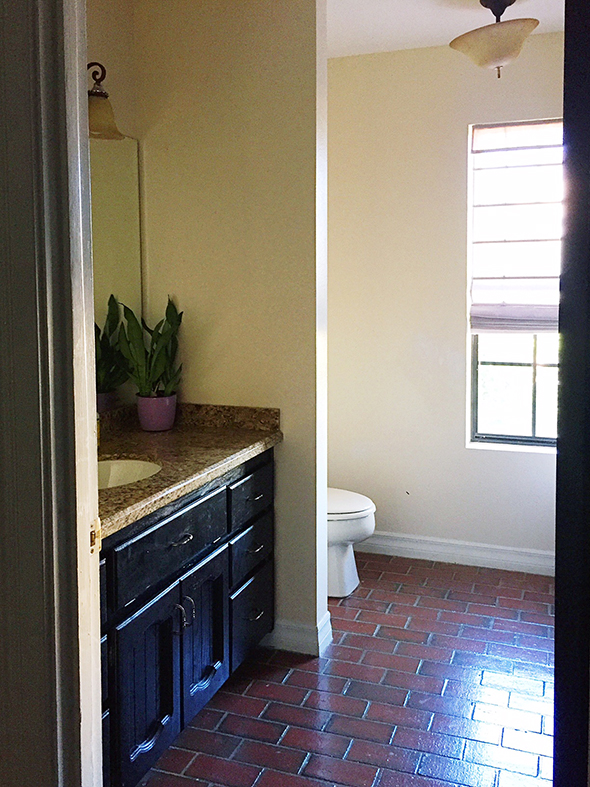
BEFORE
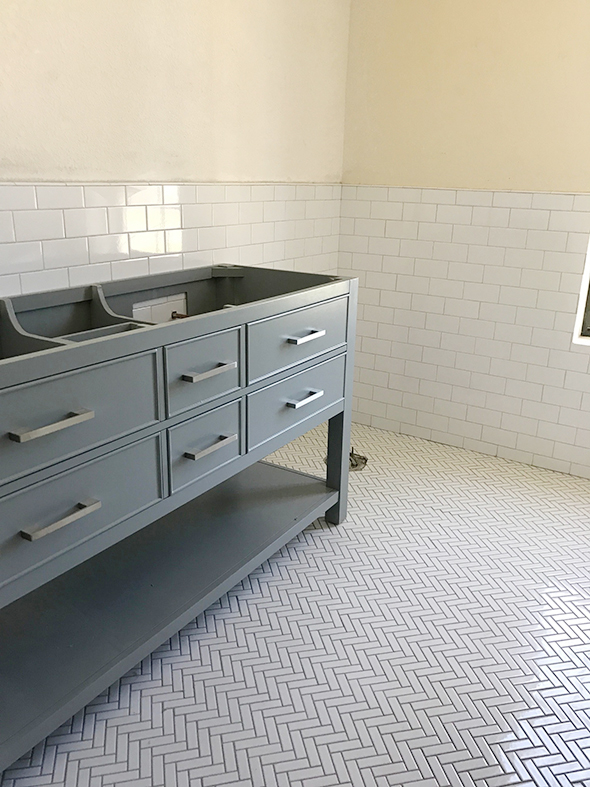
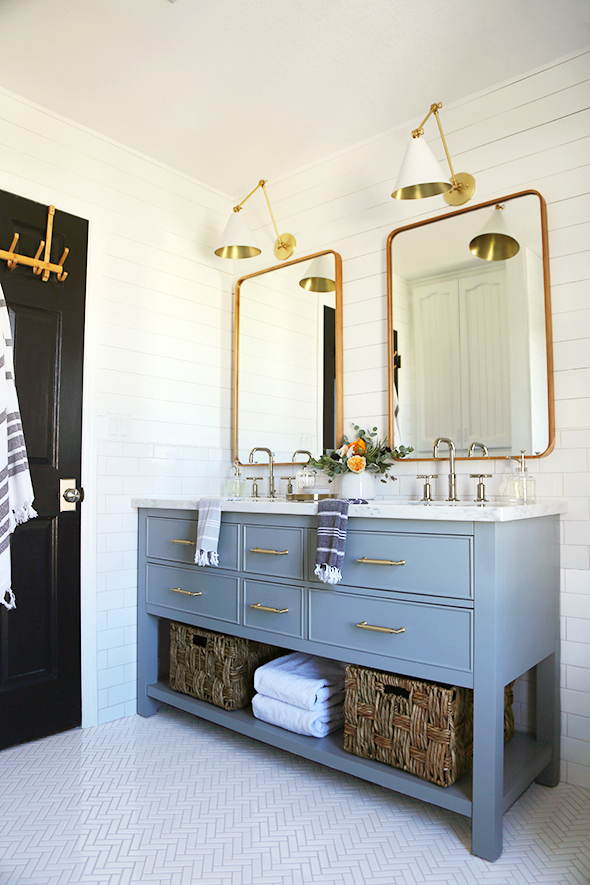
AFTER!
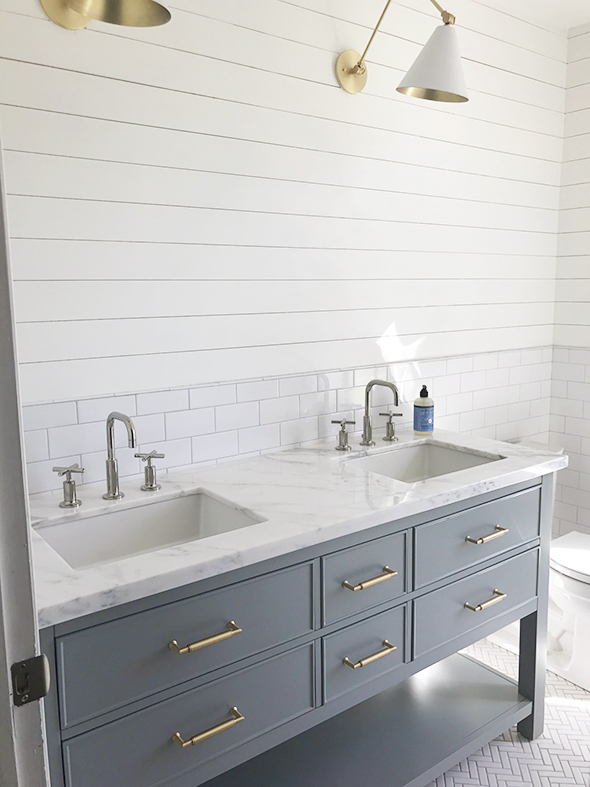
AFTER-AFTER!!

Here are the sources again for the space (including the baskets this time)! Please let me know if you guys have any questions about these steps in the comments! I’m so happy to help further clarify if there are confusing parts. xo
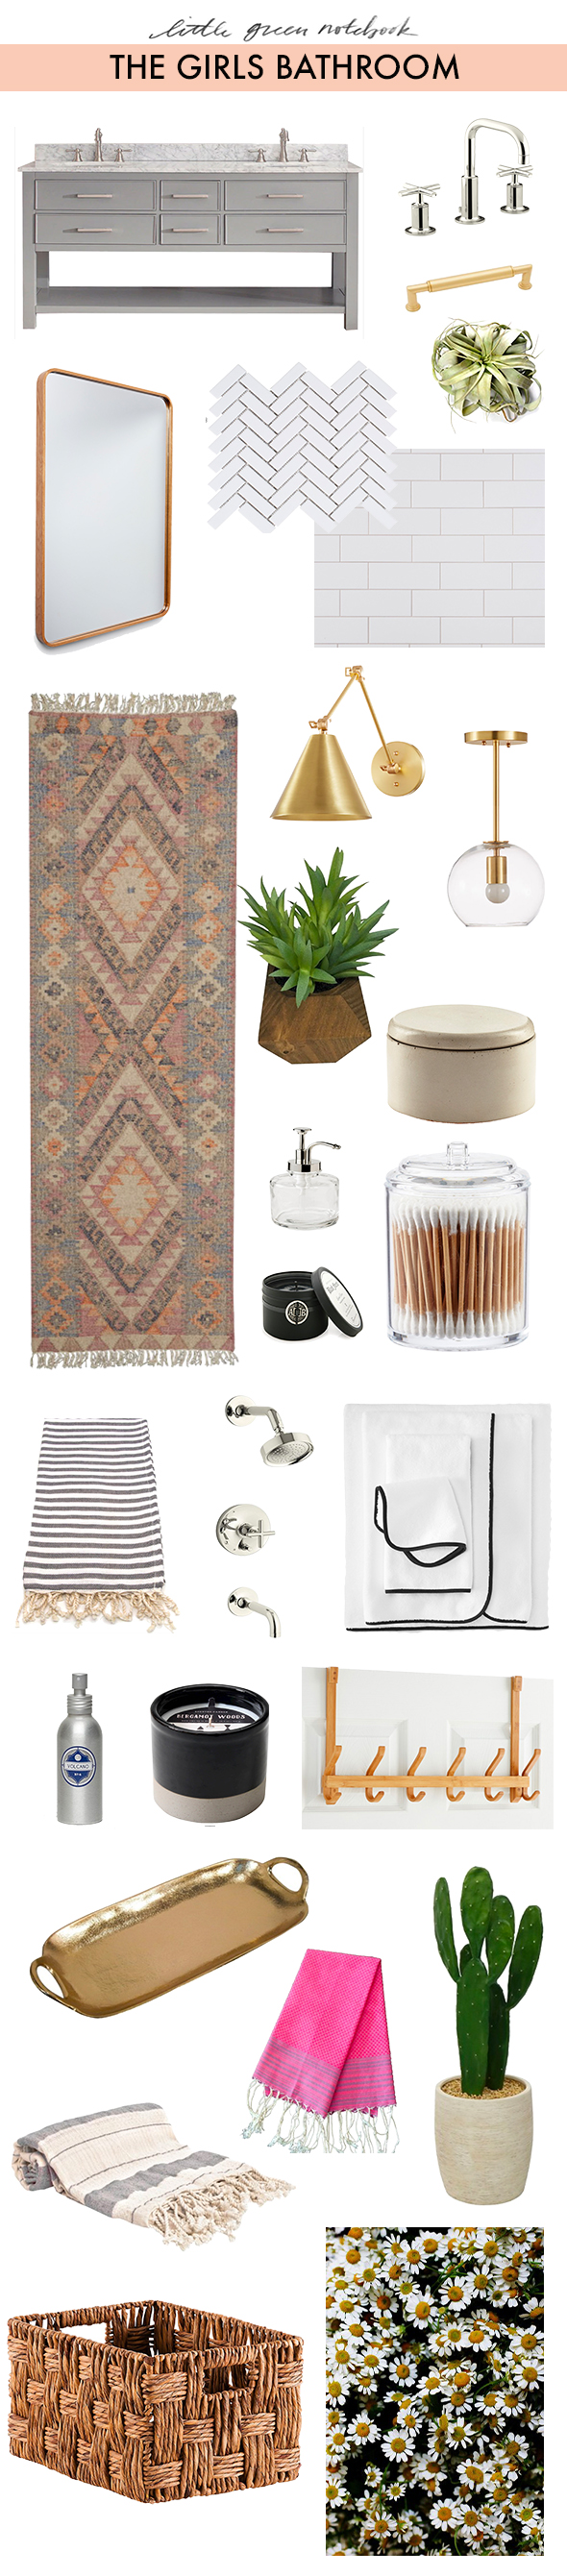
Vanity (similar)
(comes with or without stone – I bought mine without, though it may have been more cost effective in the end to buy it WITH!)
Kohler Purist Polished Nickel faucet
Satin Brass Drawer Pull (similar)
Rejuvenation Bentwood White Oak Mirror
Flatweave rug (I use and recommend this one ALL the time, but the one in our bathroom is vintage)
Brass Sconce (similar)
Brass and Glass Pendant (similar)
Faux Plant (similar)
Concrete jar (similar)
Black Forest Candle (smells SO GOOD)
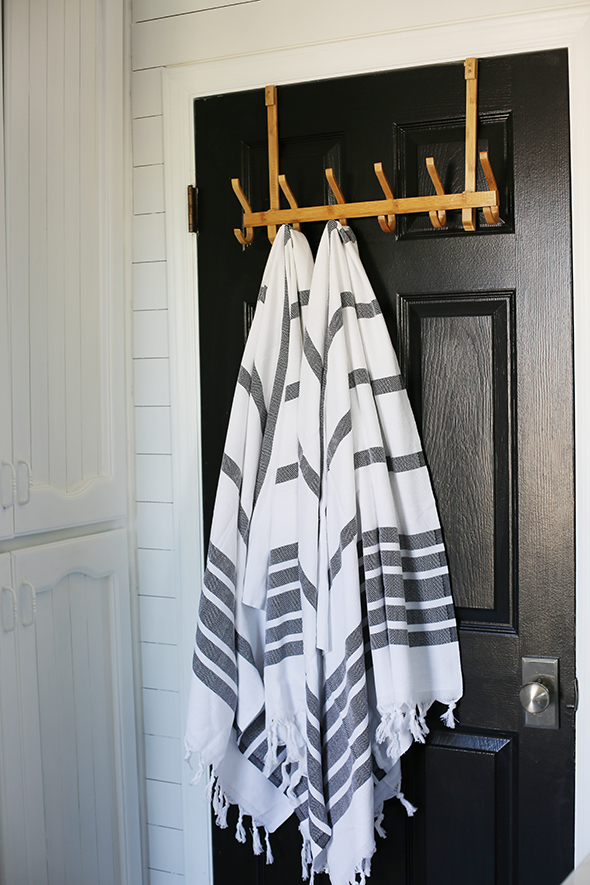
Black Bordered Towel Set (similar)
Bergamot Black Candle (the container makes a pretty planter once the candle is done burning!)
Wooden Over-the-door Towel Rack – similar (great for small bathrooms!)
Brass tray – similar (perfect for coralling toiletries)
Pink Turkish Towel (similar)
Turkish Bath Towel (similar)
Kohler Bellwether alcove bathtub
Paint Color – Benjamin Moore Chantilly Lace


I have been searching for someone who tiled half wall and shiplap top half!!!! Thank you!! This is EXACTLY what I want to do in my powder room. The previous owners did orange peel walls and I didn’t want to tile up to the ceiling. Thank you for the step by step instructions. Your bathroom looks fantastic! I’m tiling this weekend so wish me luck!
Hi! So beautiful! Since it’s been a few years, I’m curious to know how the boards have withstood the humidity from showers/baths over time. I’m wanting to take on a project similar, but unsure which material is necessary. Thanks for any advice you can offer! :)
Absolutely zero problems! :) It looks exactly the same today.
I think this was a wonderful idea you had using the MDF. I am doing my master bathroom. Question?? the tolet is behind a wall. I do not know how to transition to the other side. Either put a sold board going up and down or cut all the small pieces going up the the 8ft. I can send you a picture if your can not visualize this.
I did this project and love it. What was the easy way to get the paint from in between the boards if I waited to after I had painted?
Did you leave the original MDF plank color in the gaps?
I am interested in this for an RV renovation and will definitely take your counsel on priming before hanging the boards. Looks good. Thank you!
Great Idea!!! I love the way it looks.
I can’t find this product (bender board) anywhere. there is something similar in Lowes, it is redwood. The price is much more than what you paid for yours.
Help!! Any suggestions?
Thank you
Hi Diane! Check Home Depot – they often carry it in stock!
Absolutely beautiful! Just wondering since there’s no baseboard if you seal it where the floor and wall meet with anything?
I love everything you did! My wuestion to you is: Do you think the bender board would work well for a ceiling application? Thank you for your reply.
Best,
Eneida
Did you paint the vanity? If so, what color did you use? My daughter is really obsessed with it! Thanks! Great job!