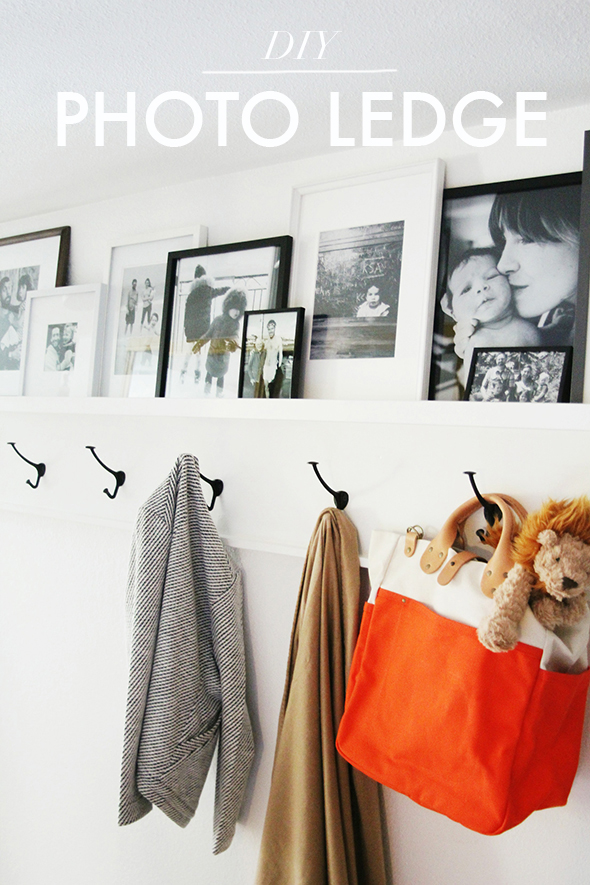
You guys know how much I love picture ledge walls. I’ve posted about them HERE and HERE and in passing about a million times. I can’t think of a better way to display family photos that is more organized but still feels casual and organic.
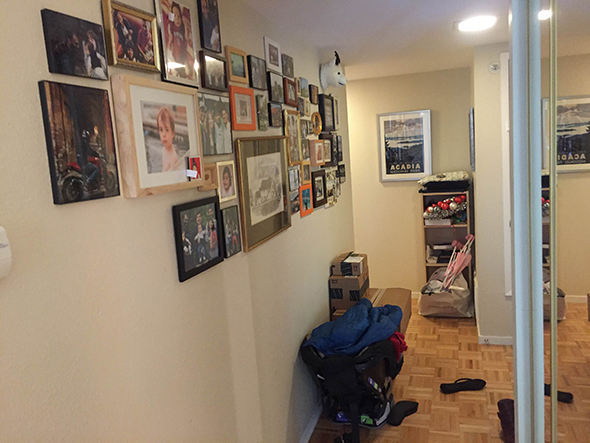
Before we came to do her home makeover, Lucy had a large gallery wall of small photos in her entry, which was so sweet and fun, but she needed more storage/organization and something a little lighter for that small space.
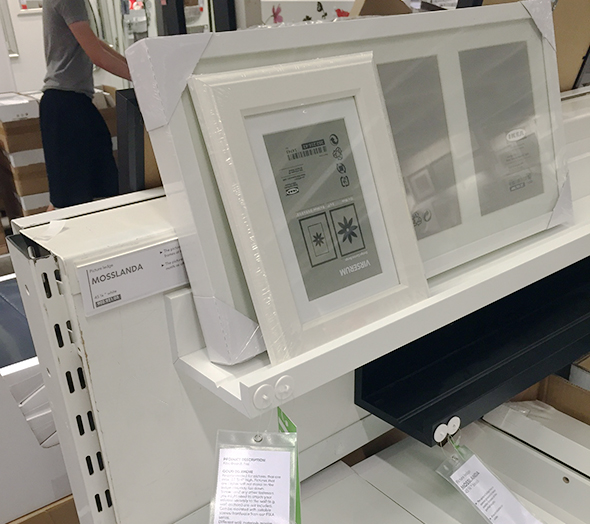
IKEA sells a GREAT picture ledge that even comes with a routered line for holding the frames more securely in place. It’s an amazing price at only $15 for a 45″ length, but for Lucy’s hallway, I wanted something a little more chunky that we could also use to install wall hooks.
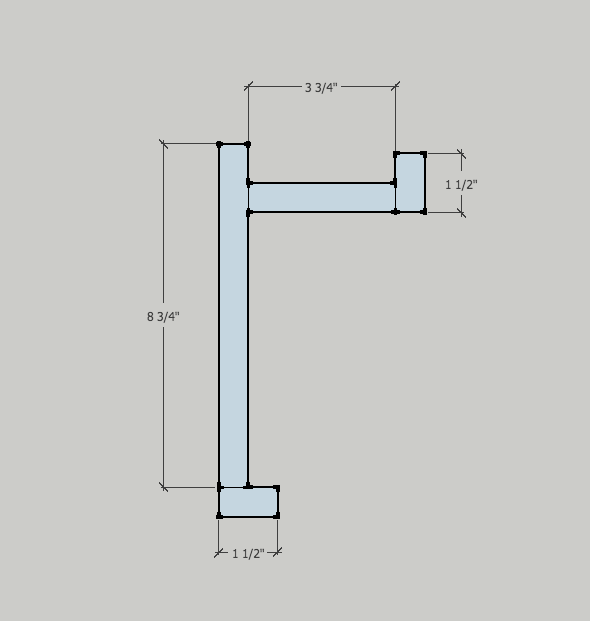
So I went to the hardware store and picked up a few 8′ lengths of primed pine in different widths. Here’s a quick sketch of all the pieces I used:
I essentially used these exact instructions from one of my favorite Martha books but I used a pneumatic nail gun because it’s so simple and fast! Ana White also has a great tutorial.
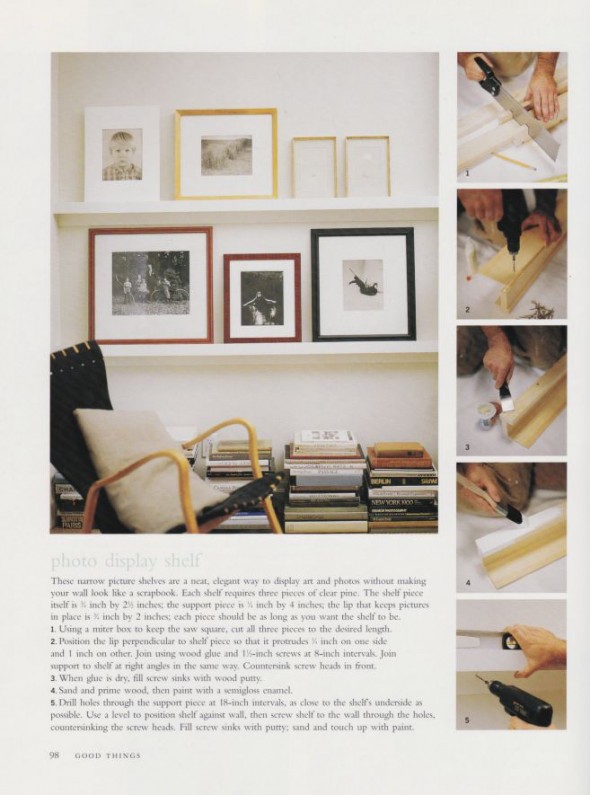
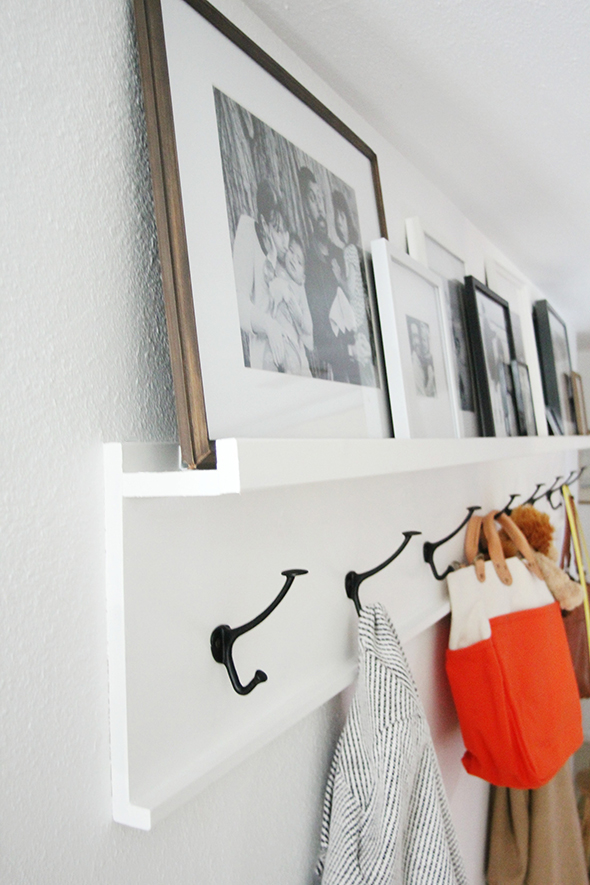
The basic idea is a bigger board acts as a base for both the ledge and the hooks. A medium sized board is the ledge and then two small boards act as the caps for the edge of the ledge and the bottom of the base. I think it is a clean and balanced look!
Just like Martha suggested, we screwed the ledge right onto the wall. We used a stud-finder to make sure the shelf was secure (this $10 stud-finder is changing my life!) and a level (obvi!) before we committed.
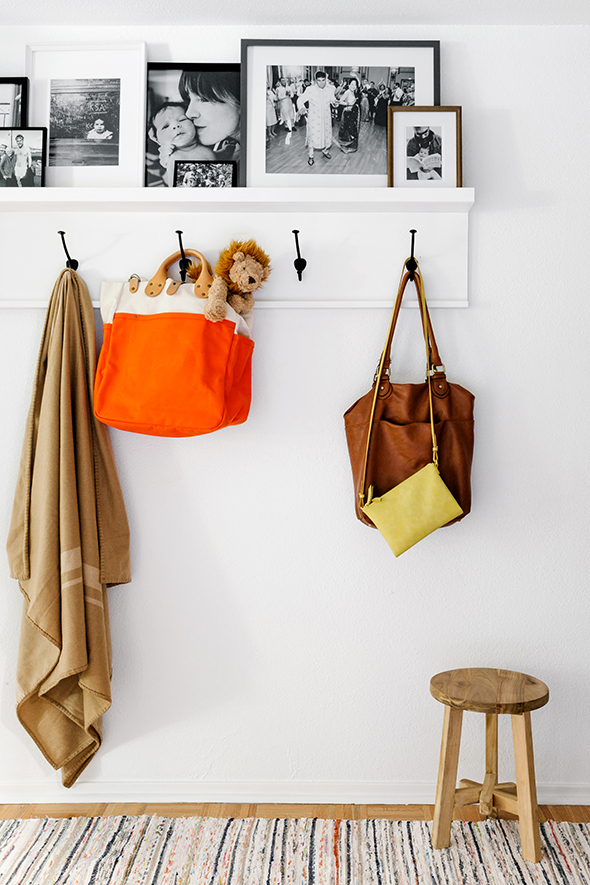
The cast iron hooks are from Schoolhouse Electric. They are little sculptural works of art! We also screwed these directly into the wall through the wood of the ledge base. They’re not going anywhere!

Before we came out for the install, Lucy sent us a dozen of her very favorite photos of her family members. Kate edited them to all have a similar look and feel with the high-contrast black and white, and then we had them printed at Costco. This little wall makes me so happy. I love that Lucy has a cheering section in her entry to greet her every day!
ENTRY SOURCES AT A GLANCE:
Paint color – Benjamin Moore Chantilly Lace (OC-65)
Hooks – Schoolhouse Electric Charter hook
Rag rug – two IKEA rugs stitched together!
Stool – Juniper Studio
Cashmere throw – Parachute Home
Frames – Target, IKEA and Aaron Brothers
Orange bag – Winter Session
Professional photos by Julia Robbs for Cup of Jo. Styling assistance by Kendra Smoot.


This looks just amazing! Love when functional is pretty, too.
http://www.theartfulscavenger.com/#!blog/czwt
This is such a cute idea! So sweet and simple.
Hi, lovely and useful. Could you relay where the frames are from?
IKEA, Target, Homegoods, Aaron Bothers, and Michaels are all great places to find good, affordable frames! I also like checking thrift stores for cheap, bad art in great frames. xo
Jenny, you are a WONDER!
This looks wonderful! I’m planning to do something very similar in my extremely long entry hall and I’m wondering what height you hung the ledge at to balance convenience for coat-hanging and viewing the pictures? Thanks for any insight you can give, I know each situation is different but I’m stuck on how high to go!
Hi Megan,
I think the top of the ledge was about 70″? Maybe a little lower even. We wanted it to be high enough to not get in her face at all, but low enough to easily get at the hooks.
Hope that helps!
This is charming! Any chance you can share how wide the entryway is? I’m looking for something to brighten up my long, narrow entry hallway, and I’m not sure if I have space for a ledge and hooks. I’d love to know how this one works with the space in Lucy’s entry.
Her entry hallway was about 40″ wide! Hope that helps!
It does, thank you!
Breath taking!
Lucy’s entire apartment turned out so beautifully! Do you remember how far apart you spaced the hooks?
We spaced them out about 12″!
Do you know what I love about your work? Your ability to mix high and low and always look AMAZING! Thanks for the inspiration.
That is the NICEST compliment! Thank you, Alexis!!! :)
Love this! Crisp, clean, and affordable. And the B&W photos keep the look so fresh/elevated.
In her bedroom back in my parents’ house, my sister’s dance awards live on the picture ledges from Ikea: they are the perfect width to fit the bases on without being as protruding as a shelf or cabinet would be.
I would love to know how far apart the hooks are spaced as well. Thank you so much for sharing this tutorial. Such a beautiful design, and the hooks are perfection.
They are 12″ apart! Hope that helps!
Thanks so much for the tutorial and great photos! We decided to build this after I read this blog entry. Now that it is put together, I feel the need to give others who are interested in replicating this shelf a heads up. The measurement diagram seems to be a smidge different then your photos. We ordered the same hooks and they are a tad too tall for the 8 3/4” board. A 10” or larger board may have been more suitable to host the gorgeous iron hooks.
This is very true. I wish I saw this comment before building the shelf.
I wish I had known beforehand as well. The shelf still looks great but it will always bug me when I go to hang something.
A very helpful article.
Just a heads up, I just built this shelf using the dimensions provided and I am now having trouble finding nice hooks that will actually fit and be functional. A much larger board is needed to use any hook similar to the ones in the photo. I’m not sure why the photos in the blog do not resemble the diagram provided.
How much is this ?