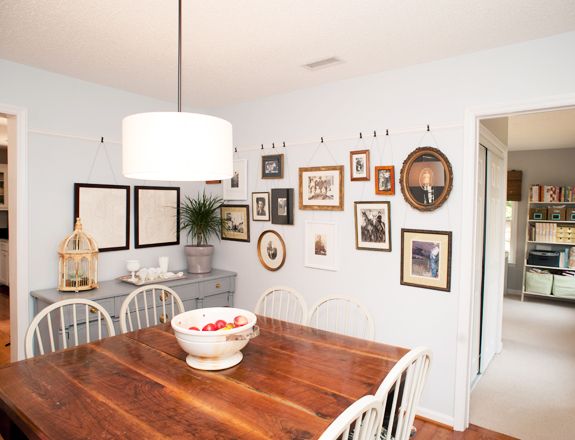
I looooooove Emily and Todd’s dining room. The picture rails? Perfection.
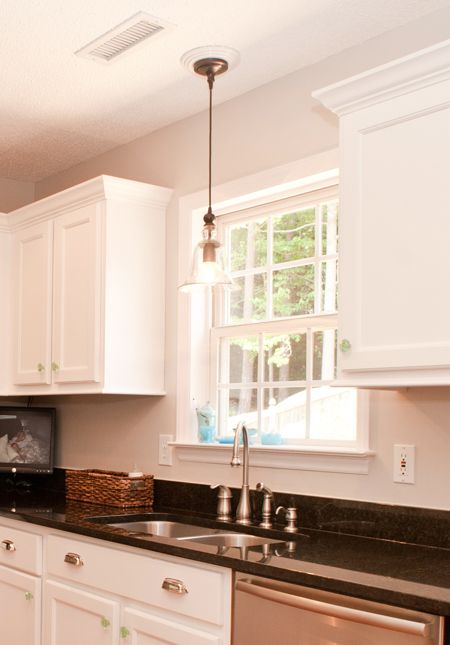
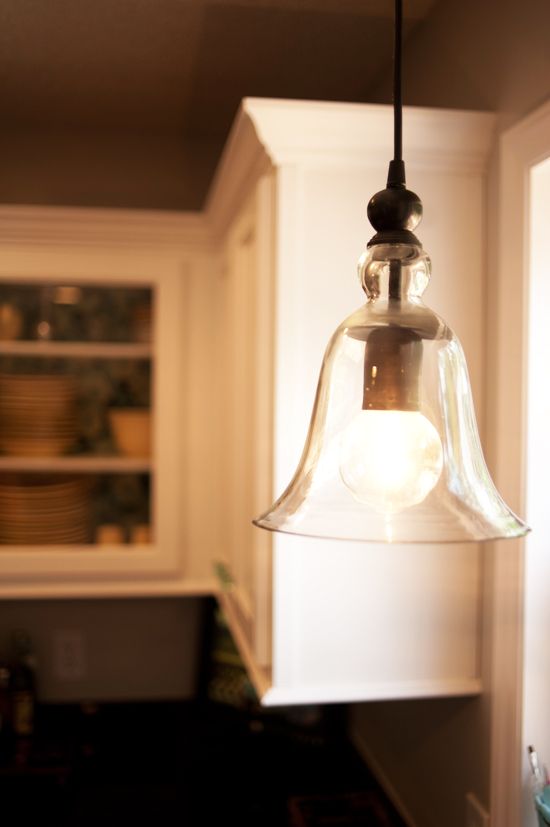
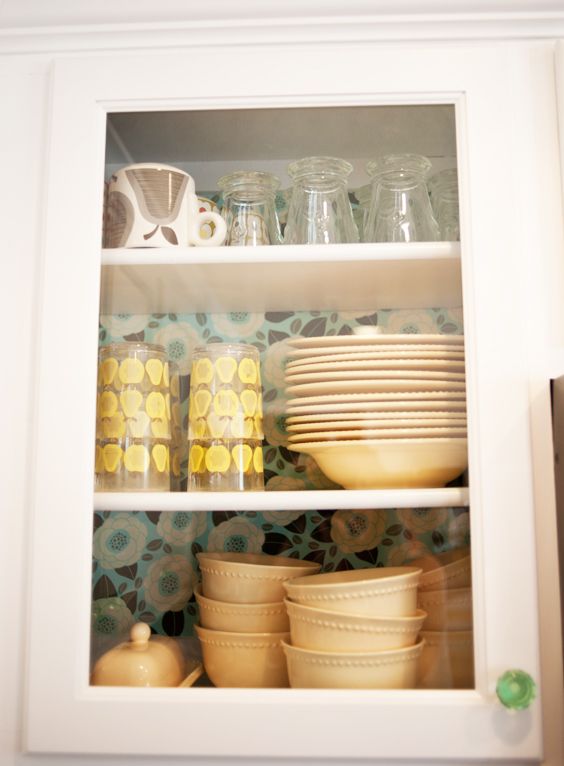
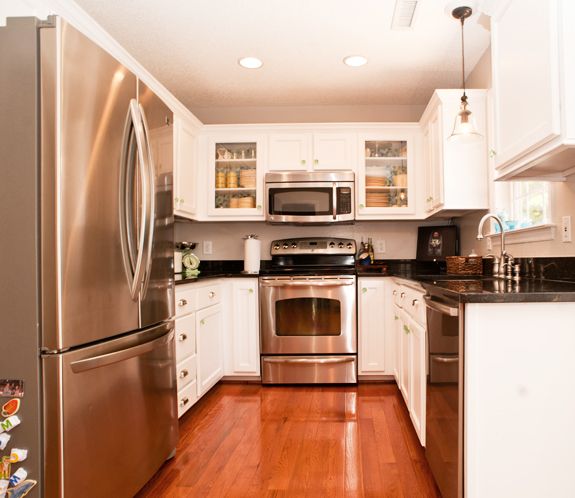
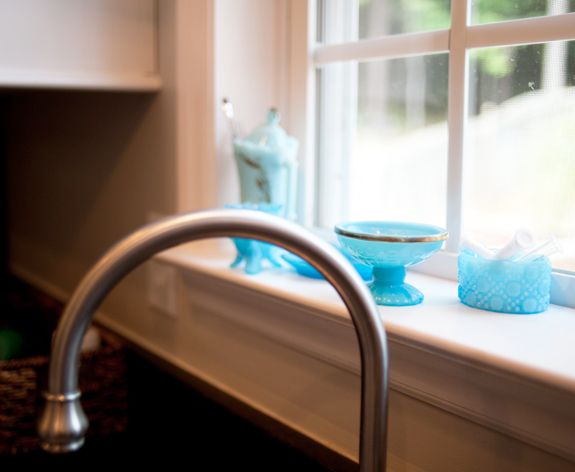
(Coming up next is the kitchen!)
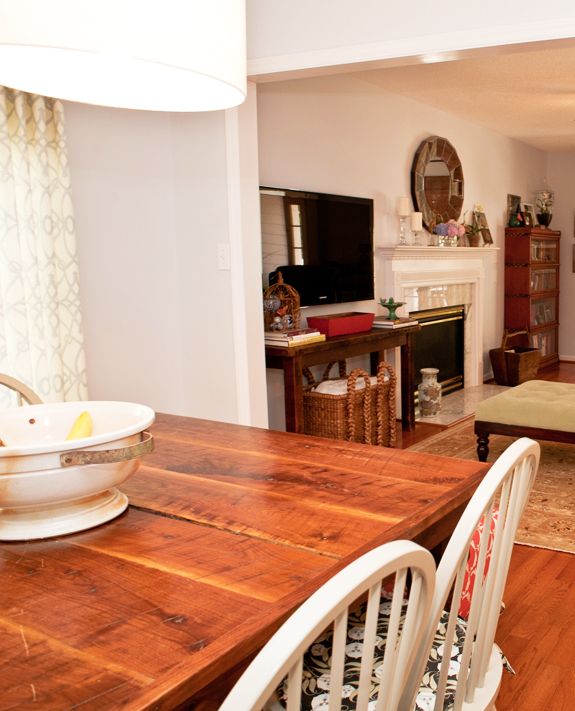
“I was shopping for our first dining room table before we even moved into our house (I took measurements when we walked through before making an offer). I needed a square or round table to fit the room which limited my options. I also wanted a table that was indestructible and we would have for the next 20 years. I almost bought a round pedestal table by Martha Stewart for Bernhardt but when I asked to salesman to lift up the table cloth, I saw scratches all over and the dark stain showed a ton of dust. No go. Whenever I’m in the midst of researching something I consider a “big” decision for our house, Jenny just happens to post the solution at the same time. I was getting a bit desperate to find a table and then Jenny wrote about Stable Tables . They had never shipped anything before especially not a 54 inch square table, but I used my favorite shipping service, uship.com and we were able to ship the table for only $150. The original table we chose was going to have the antique porch posts that were six inches in diameter, but when they went to prep them they found out the posts were rotten. So we went with these eight inch turned legs and I’m so glad we did. The only drawback is it’s hard to find chairs that will comfortably fit side by side and are easy to pull out.
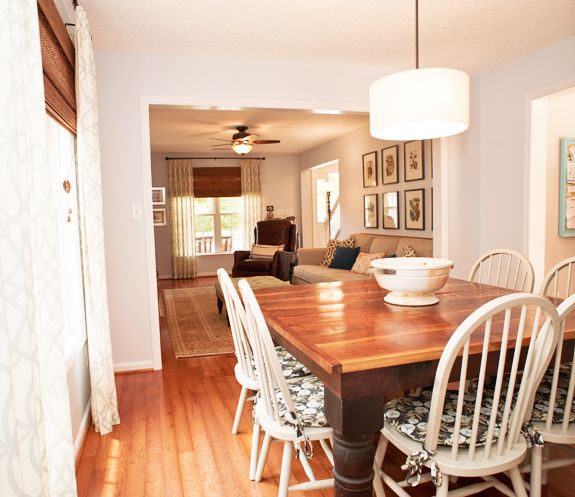
“My only regret is that we didn’t get the 60 inch table. Side note: About a month after getting our table, it started to split between two of the boards. We think it had to do with the climate change and it wasn’t reinforced underneath. There wasn’t much we could do about it until just recently, when Carolina Farm House opened for business. Sam and his team not only fixed our table but they also reinforced it underneath so it won’t split ever again. Thank you Sam! Every time I walk by the table I don’t see a one inch gap stuffed with raisins and play dough I think of you!
“We got our table two days before our first Thanksgiving in this house and we were hosting, yikes! There wasn’t much time to figure out the chair situation. I tried the Craigslist route but I couldn’t find six matching chairs that didn’t include arm chairs. We decided to go with simple Windsor chairs from the unfinished wood shop for $45 each.
(before shot, at Thanksgiving time)
“We painted them a light gray and I sewed chair pads using an Amy Butler home décor fabric. On one side of the table, we’re using a bench because it keeps the room open to the living room and it’s easier for Parker to sit at the table and get up and down. The first bench we used for a while was a CL find for $30 that we painted the same color as the chairs; it also had a long covered pad with the same fabric. I was naïve and thought I wouldn’t mind washing the bench cover when it got stained. Not only was it annoying, but the repetitive washings significantly discolored the fabric. I eventually gave up and let it get covered with ketchup stains. Home Goods came through for us though.

For $80 we got the new bench that you see in the pictures. I added a thick piece of foam to the top to make it extra comfy (Parker can kneel on this bench for an hour – it’s that soft) and recovered it with a laminated fabric, found here. We tackled this project only a couple of months ago and the laminated fabric selection have grown a lot since then. Joel Dewberry just released a great line of laminated fabrics.
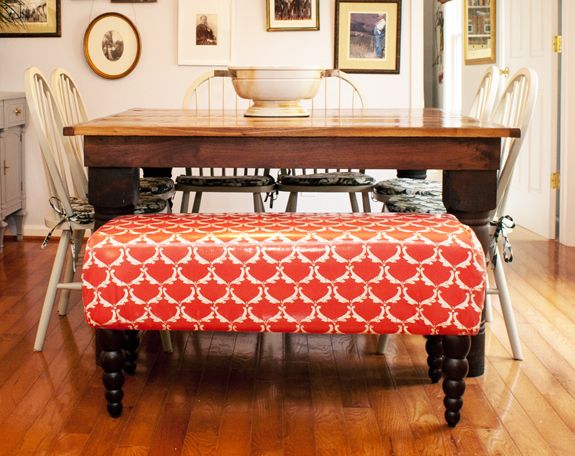
“My dream chairs are Tolix chairs, mostly because they are indestructible with kids and I like the industrial mixed with the farmhouse table. Our Windsor chairs turned out beautiful but they do require some maintenance like paint touch-ups and regular dusting between the spindles. If I’m ever able to get Tolix chairs I will probably make new chair pad covers and recover this bench with a my own laminated fabric. This company will laminate up to 10 yards of fabric for $75. When I spoke to the owner he said that Premier Prints fabrics turn out really well in the lamination process, just FYI.
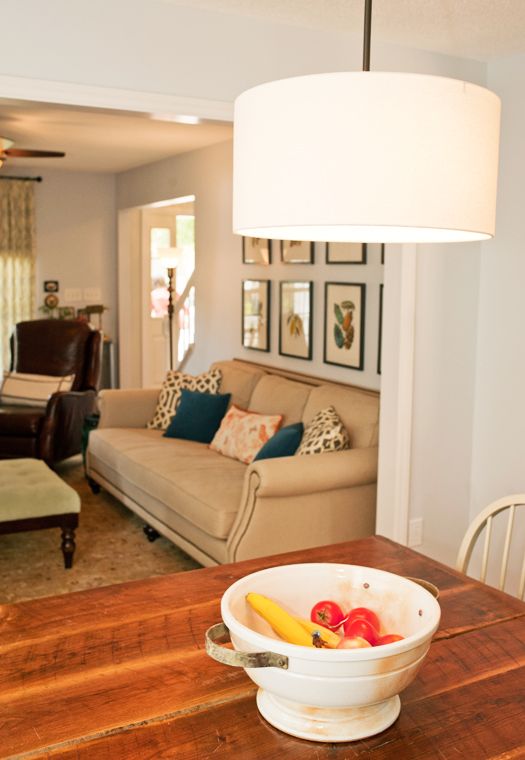
“The pendant above the table is the first light I ever bought. It shocked us how much pendant drum shades are. To save some money we bought the pieces to make this pendant from two different shops on Etsy. We ordered an 18 inch wide, 9 inch tall drum shade for $70 and a three light pendant fixture for $110. Unfortunately, both the shops that made these are no longer in business.
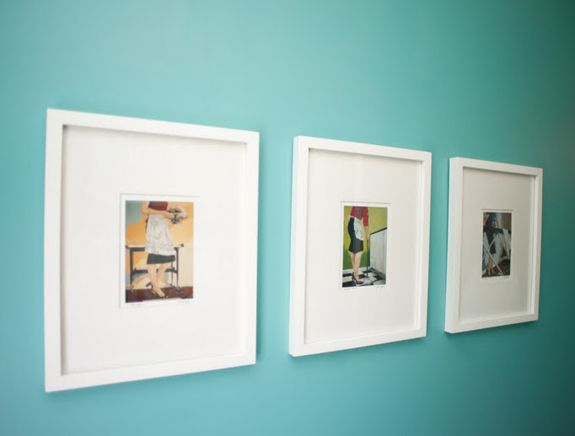
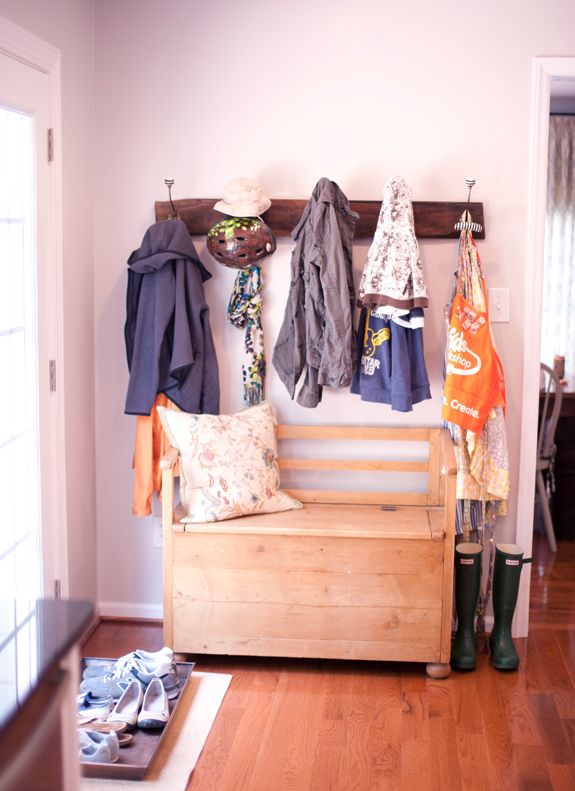
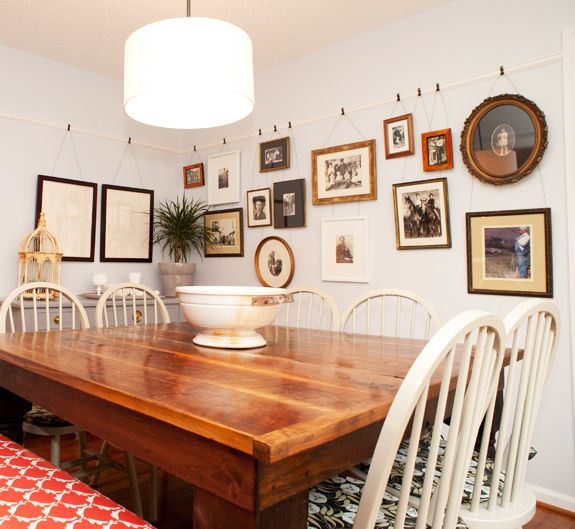
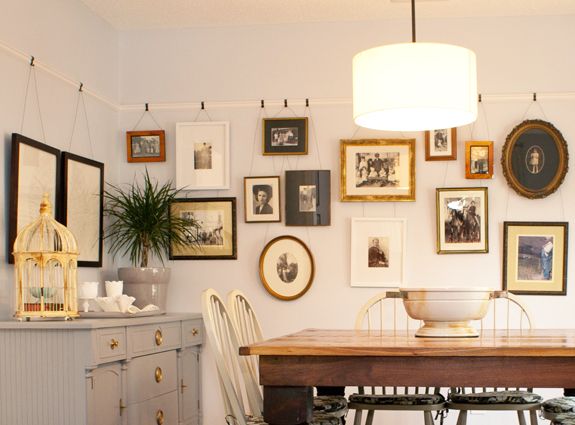
I love the pendant, however, it made it really hard to figure out the art for the wall behind the pendant. It couldn’t be a single piece of art (I was planning on handing Court of the Fairies that’s in our office here) because the drum shade was right in the middle. But Jenny saved us once again when she posted about picture rails.
“We spent about $10 at Home Depot on picture rail moulding and painted with our trim paint. The hooks came from here and the wire from a local hardware store (Home Depot only had silver wire). The frames were found at thrift stores, Home Goods, and Target. If you decide to tackle this project you should know there is a party going on behind the frames to get them to hang right.
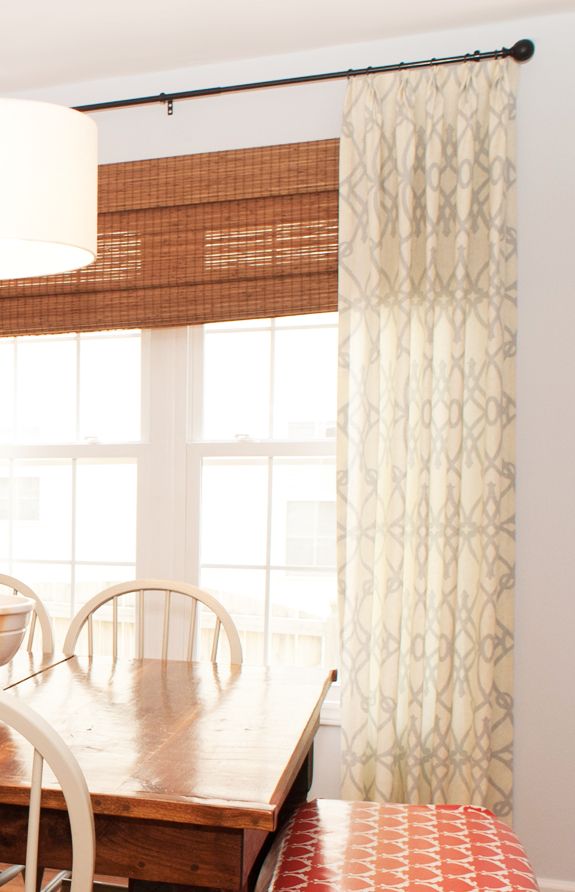
“My seamstress friend helped me make the triple pleat curtains out of the Braemore Fioretto in the blue colorway. I found the best prices for this fabric at Mary Jo’s at $18/yard. (Ed. Note: When two rooms are open to each other like Emily’s living room and dining room are here, it’s a really good idea to use the same curtains in both rooms, even if you want the rooms to have a different feel.)
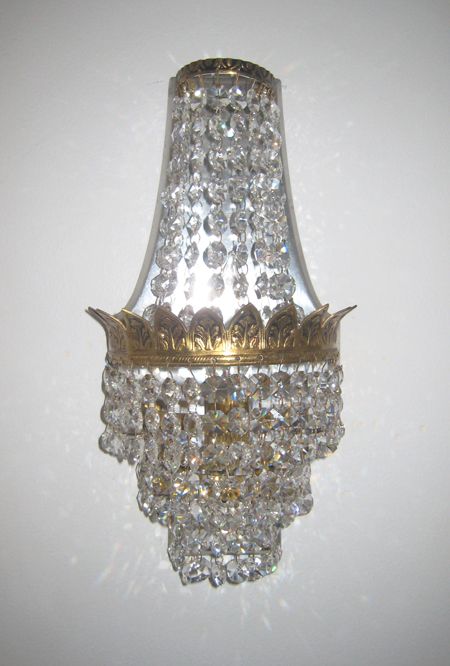
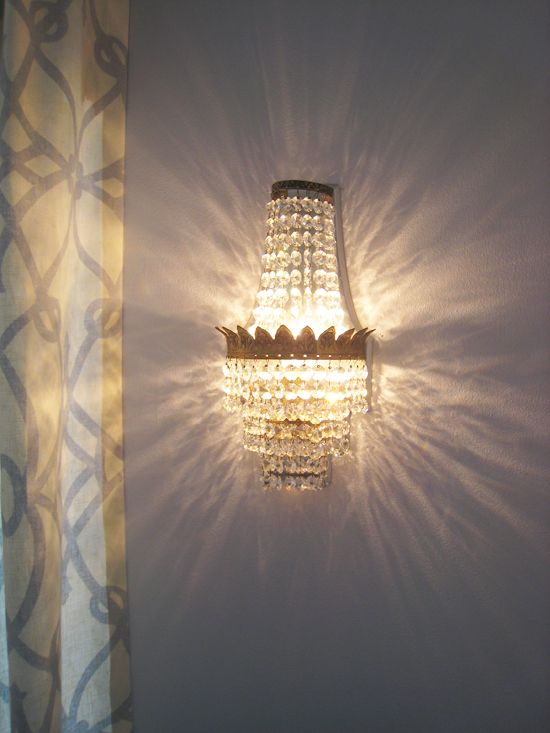
“We recently (after these pictures were taken) added vintage crystal sconces to flank the curtains. I love the way they look when turned on. These range in price on ebay and some even go into the thousands. I was determined to find a pair for less than a $100. Finally this pair came up on ebay and I was able to get them for $85. They required lots of cleaning; each crystal was covered in dust. I also had to rewire the crystals and order a few extra since some were missing.
It sounds a bit tedious but it was actually kind of fun. The tedious part was figuring out the electrical. Todd gets the hero award for this project. He spent seven hours on a Saturday, mostly in the crawl space, wiring these sconces to work with the main lighting in the room. Overall, the project cost around $150.
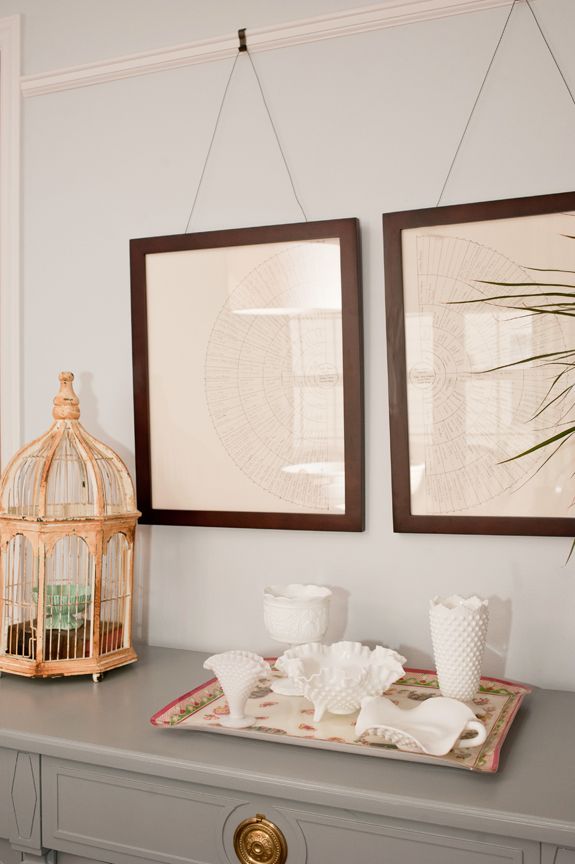
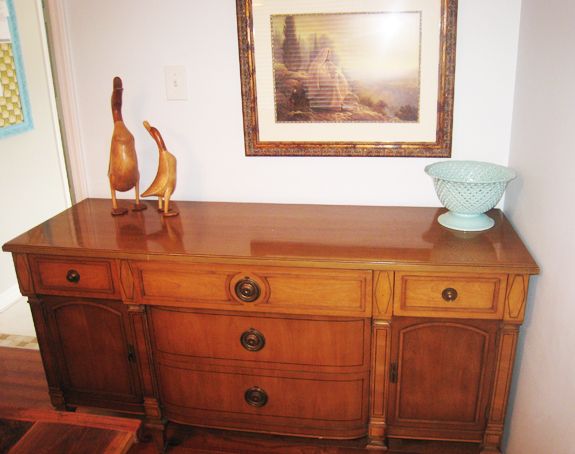
“I have to thank Jamie Meares for saving my dining room. I was really stuck on painting a china cabinet but when Jamie dropped off the wardrobe for our room she suggested a vintage buffet. The table is such a big piece that adding a large china cabinet would have over crowded the room. We found this vintage Thomasville buffet on CL. The owner even had the papers, it’s from the 50’s and is in perfect condition. It holds all of my serving pieces, cake stands, vases, table clothes, and other linens.
(before shot)
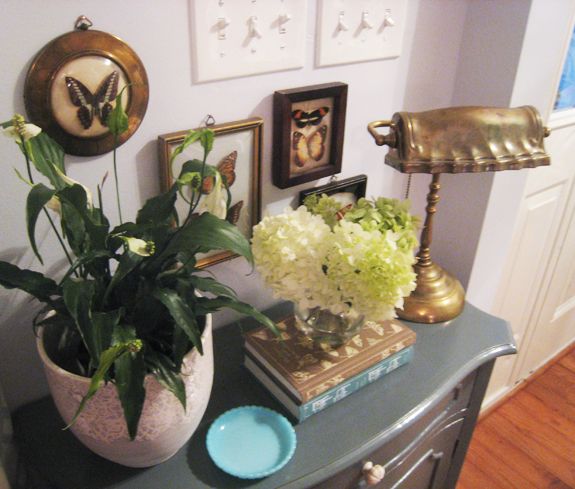
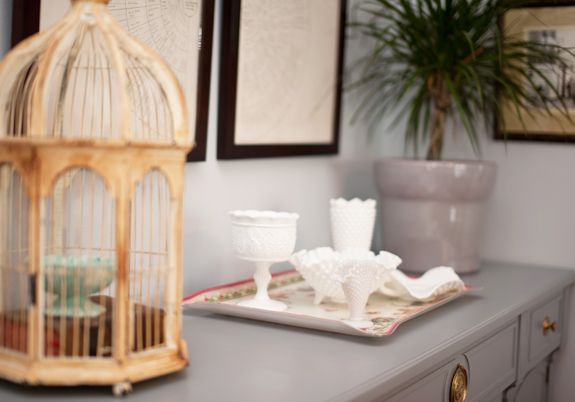
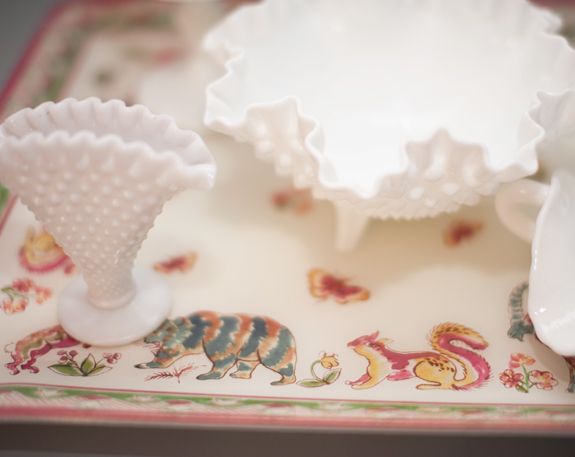
“On top of the buffet is a tray my sister got for me when she went to the Gien Factory in the south of France. I had nowhere to put my small white milk glass collection so this seemed like the best place.
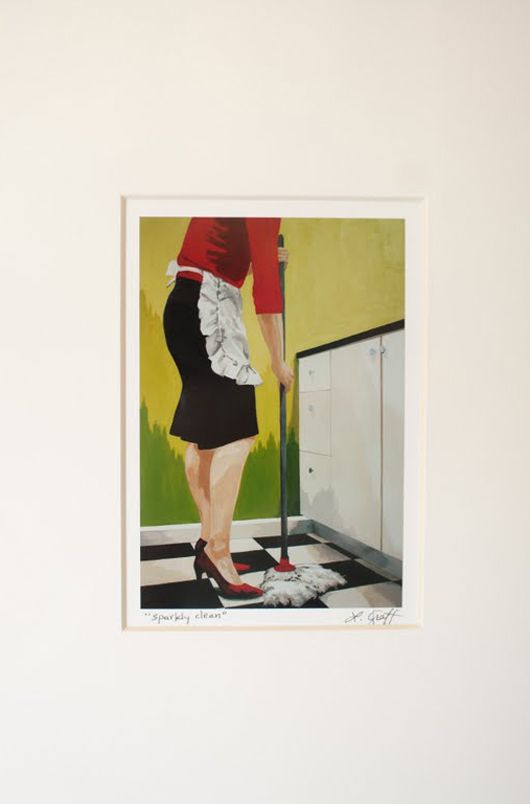
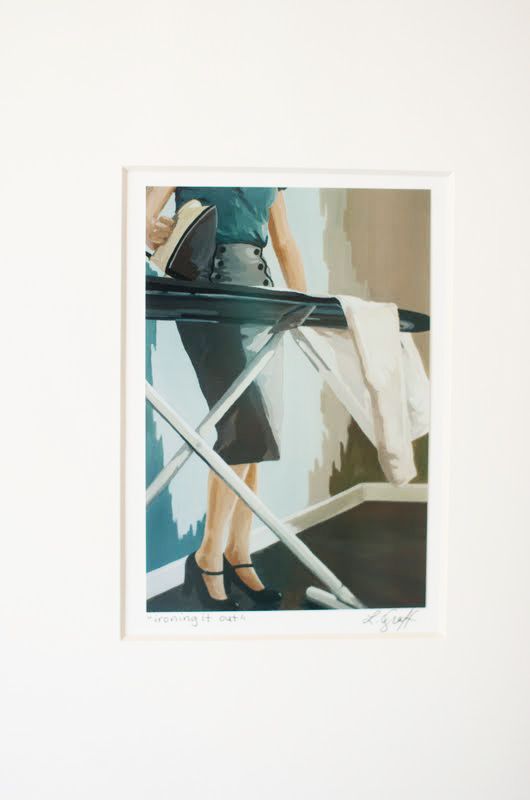
“Above the buffet is a pair of pedigree charts framed in simple wood gallery frames I found at Michaels. The inspiration for these came from this MS article. I wanted to do both Todd’s and my pedigrees so Todd created the fan charts and we simply turned them on the side.”
DINING ROOM SOURCES:
Room Color: First Snowfall, Benjamin Moore
Table: Stable Tables, but fixed by Carolina Farm House
Chairs: Wood Quarters in Cary, NC
Spray paint on chairs: Warm Gray, Valspar Interior/Exterior in Satin
Fabric on chair pads: Amy Butler Nigella Home Decor
Bench: Home Goods, recovered with laminated fabric
Fabric on bench: Ty Pennington Impressions Laminated Cotton Angel Wings
Curtain fabric: Braemore Fioretto
Vintage Thomasville Buffet: Craigslist
Paint on buffet: Pewter, Benjamin Moore
Bird house: Thrift store
Dish in bird house: Anthropologie
Tray: Gift from sister
Pot: Home Goods
Pedigree Chart Frames: Michaels
Picture Rail Moulding: Home Depot
Picture rail clips: House of Antiques
Pendant: Etsy, sellers are no longer in business
Crystal Sconces: ebay
Milk Glass: flea market, thrift store
Large bowl: Pottery Barn
Our thanks again to Jessica of JJ Horton Photography for the images.


