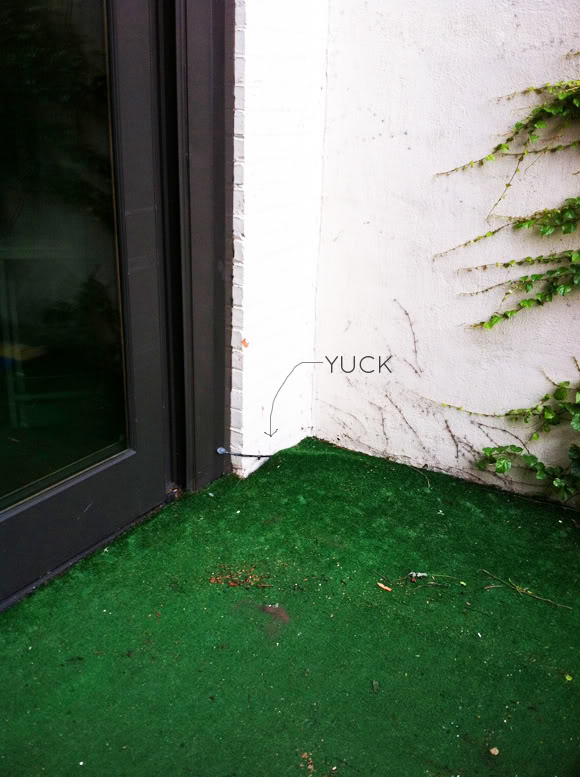
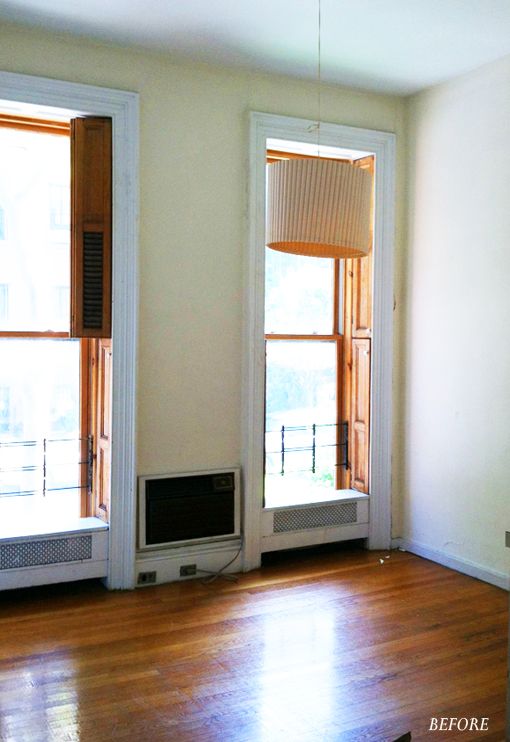
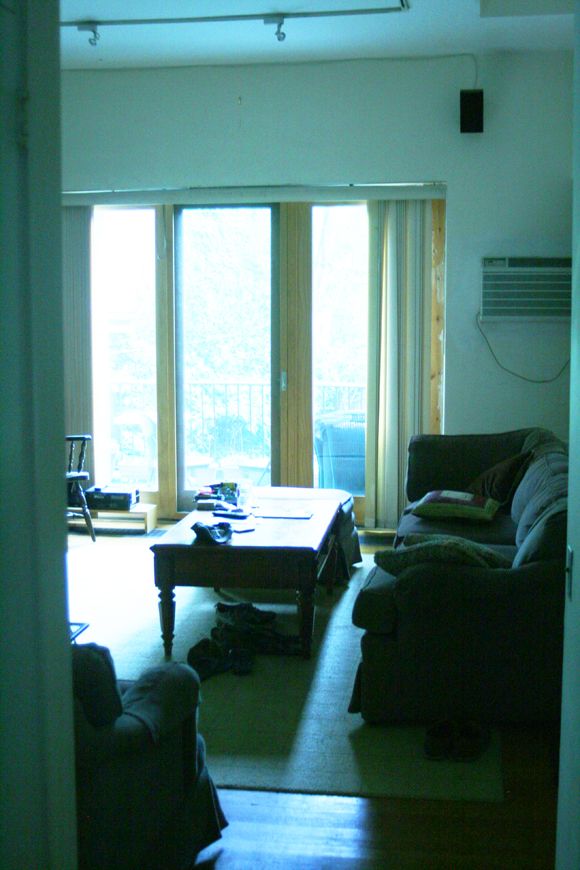
Apparently the sliding doors in our living room that go out to the deck were installed about 15 years ago. The wood was never sealed or painted, so it was pretty dirty when we moved in.
Here’s what it looked like when the bachelors lived in the house. Nothing like vertical blinds! ;)
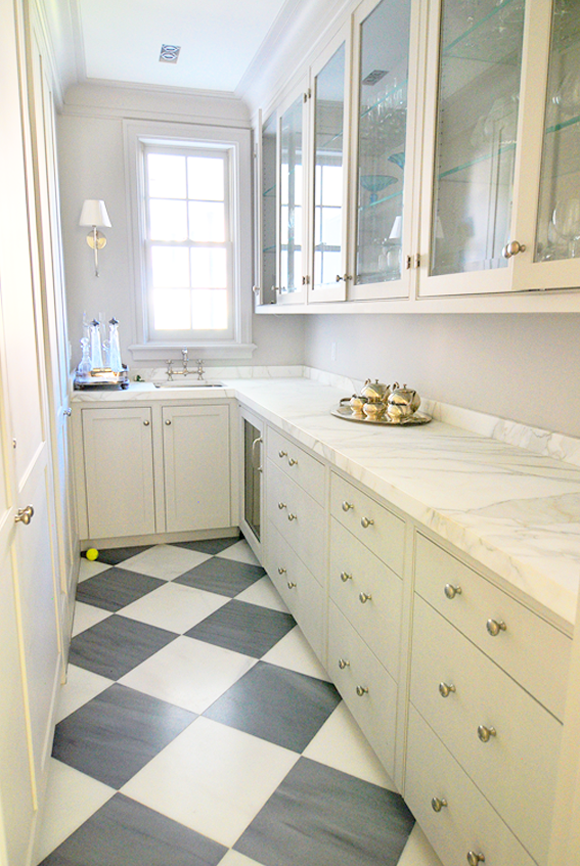
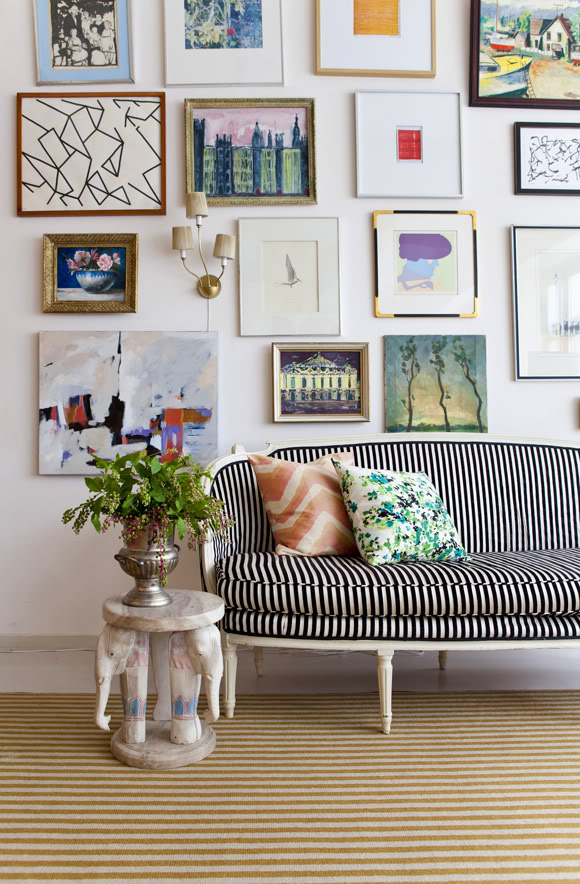
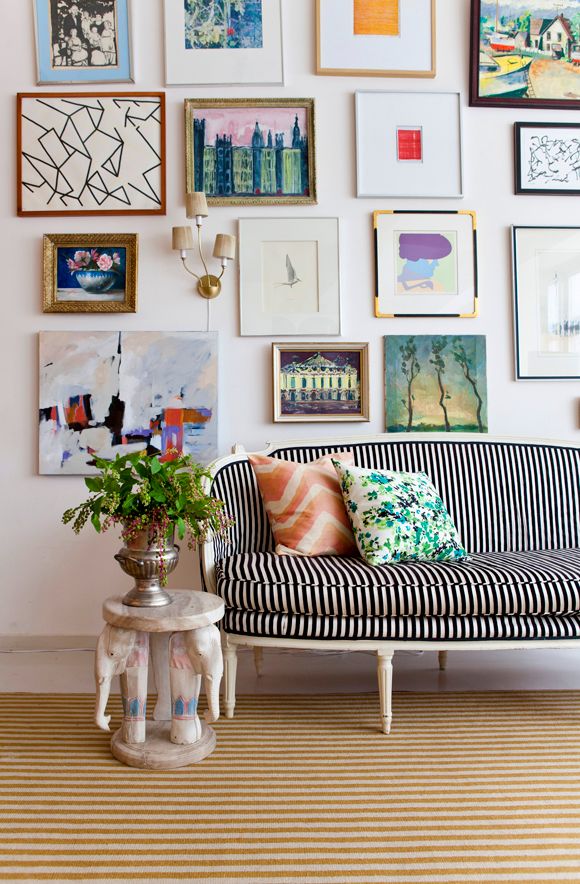
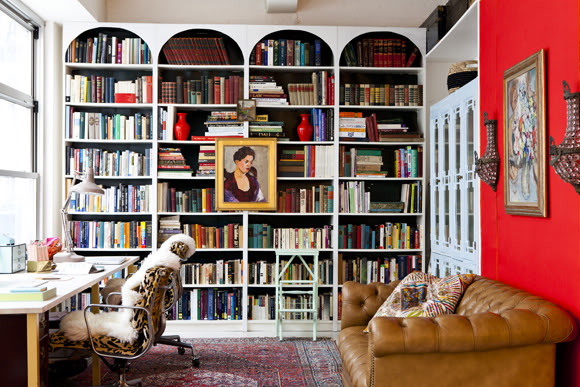
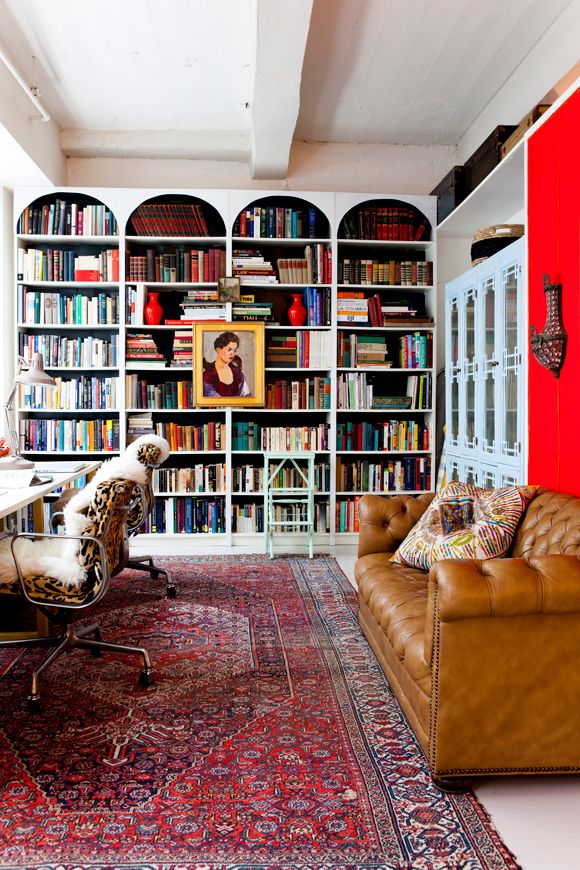
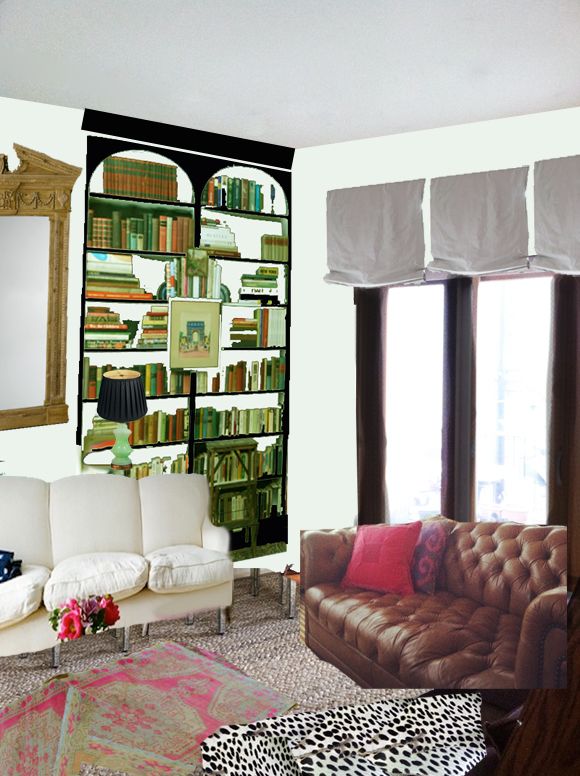
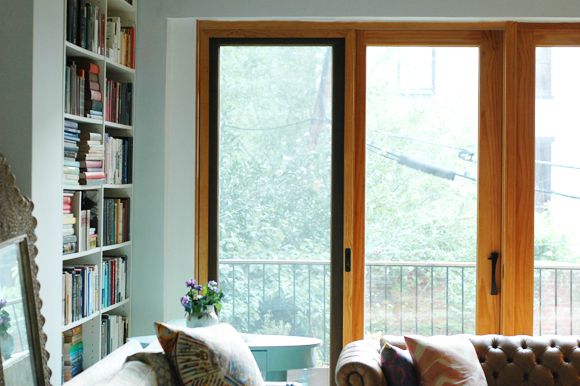
In my original plan for the living room, I was going to paint the sliding doors black to match all the other interior doors in the house. But then the wood started growing on me (it sort of starting reminding me of the limed paneling in this favorite room). Plus the bookshelves are going to be framed out in black moulding, so I thought the contrast of stained wood and painted wood would be nice. Kind of what the mirror is doing here in my mock up.
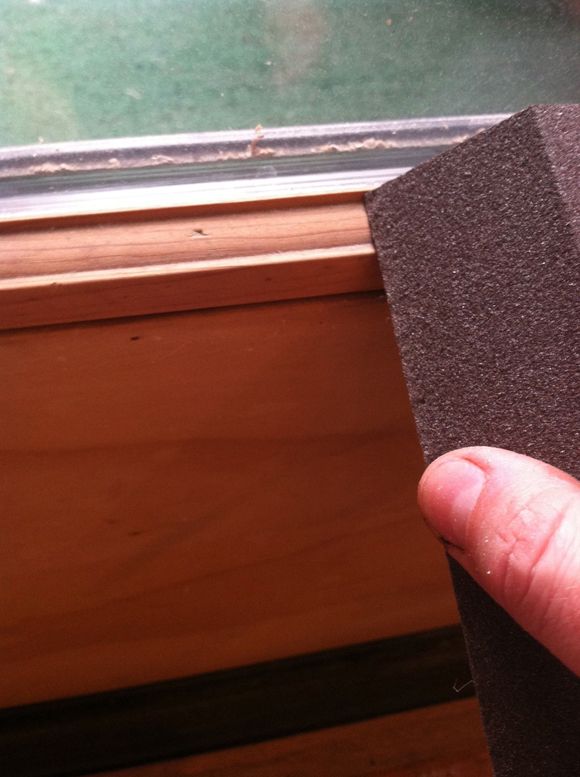
I started by using a medium (and the fine) sanding block. It was easy to really clean the wood up! I love fast, rewarding projects like that!
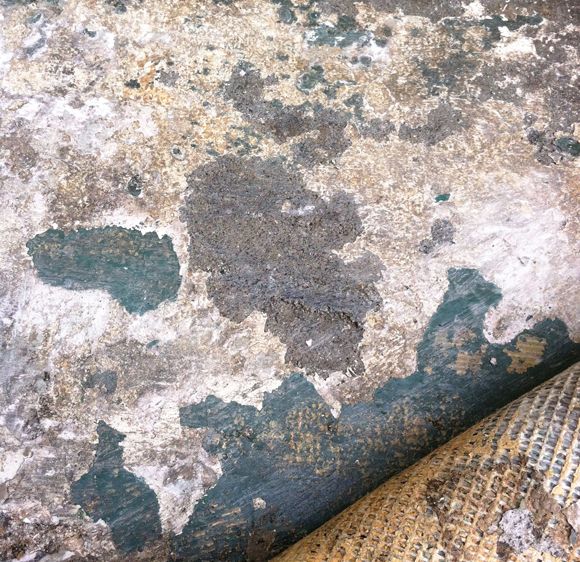
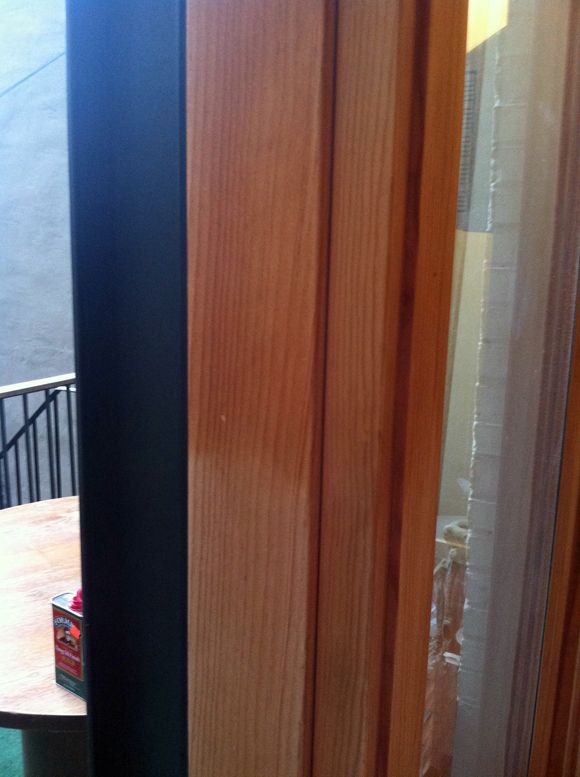
After cleaning off all the sawdust, I wiped on some low gloss tung oil. I didn’t want to change the color of the wood or the sheen, I just wanted to protect it and just make a little more finished.
See the difference? The tung oil is on the top half.
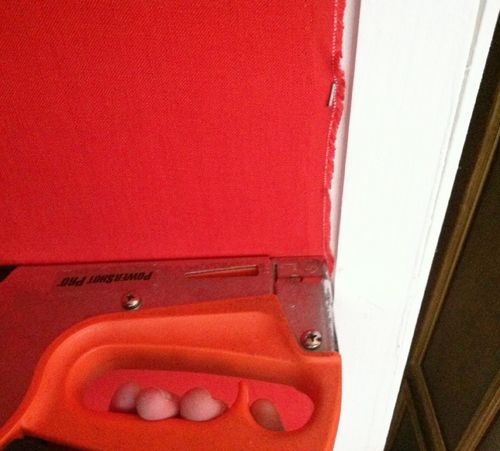
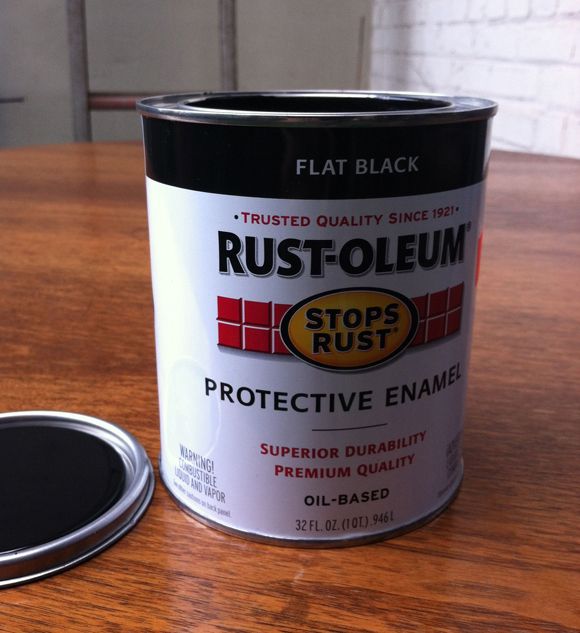
The putty color of the door hardware was bothering me so I thought about spraying them both with oil-rubbed bronze, but there wasn’t an obvious way to take the hardware off. So I sanded the pulls a little bit, put on a rough coat and then a final coat of flat enamel (which is a hard-wearing oil-based paint.)
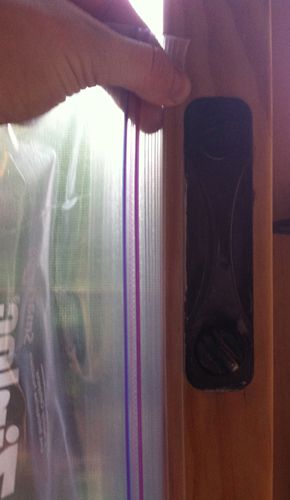
One of my cheater paint tips is to hold up a freezer bag instead of using painters tape. Fast and easy! And I like the way the black looks on the wood. I’ll probably seal the pulls in a couple of days to give them extra protection.
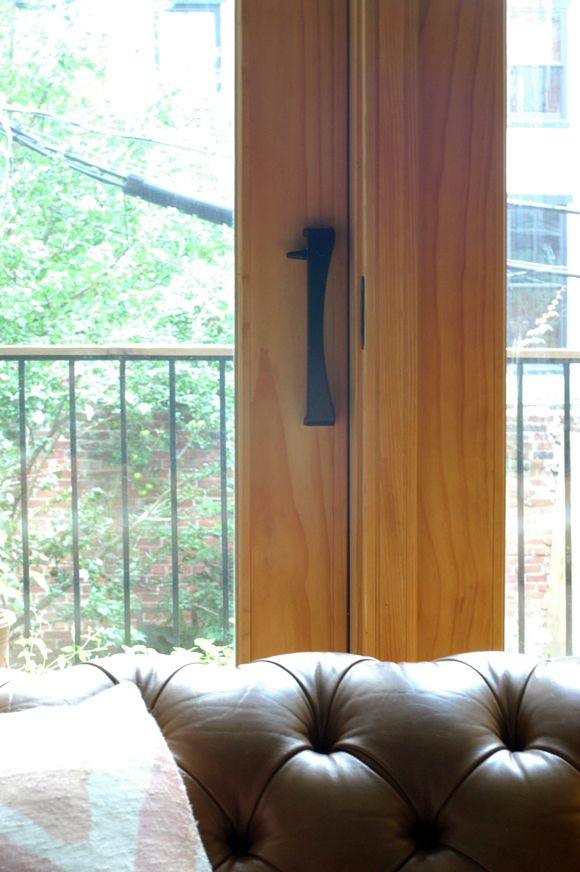
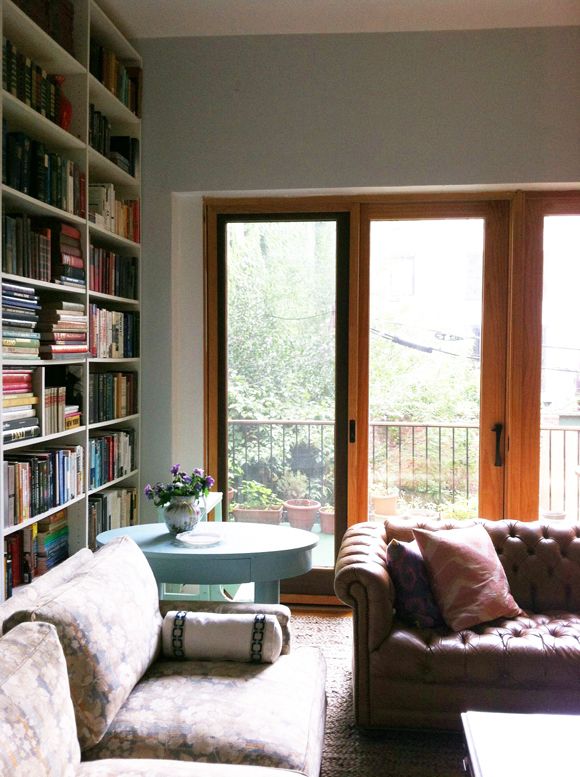
It was an easy morning project to sand and seal the doors (with two coats) and paint out the hardware, but I think it’s made a huge difference in the room. (I’ll take off the screen door in the winter so we can get full sun.)
I’m usually all for painting out wood trim, but sometimes it just works. And if down the road I decide to paint the doors black, it’s still an easy option. Now, I can’t wait to hang roman shades and crown moulding and art and lighting, etc, etc, etc…


