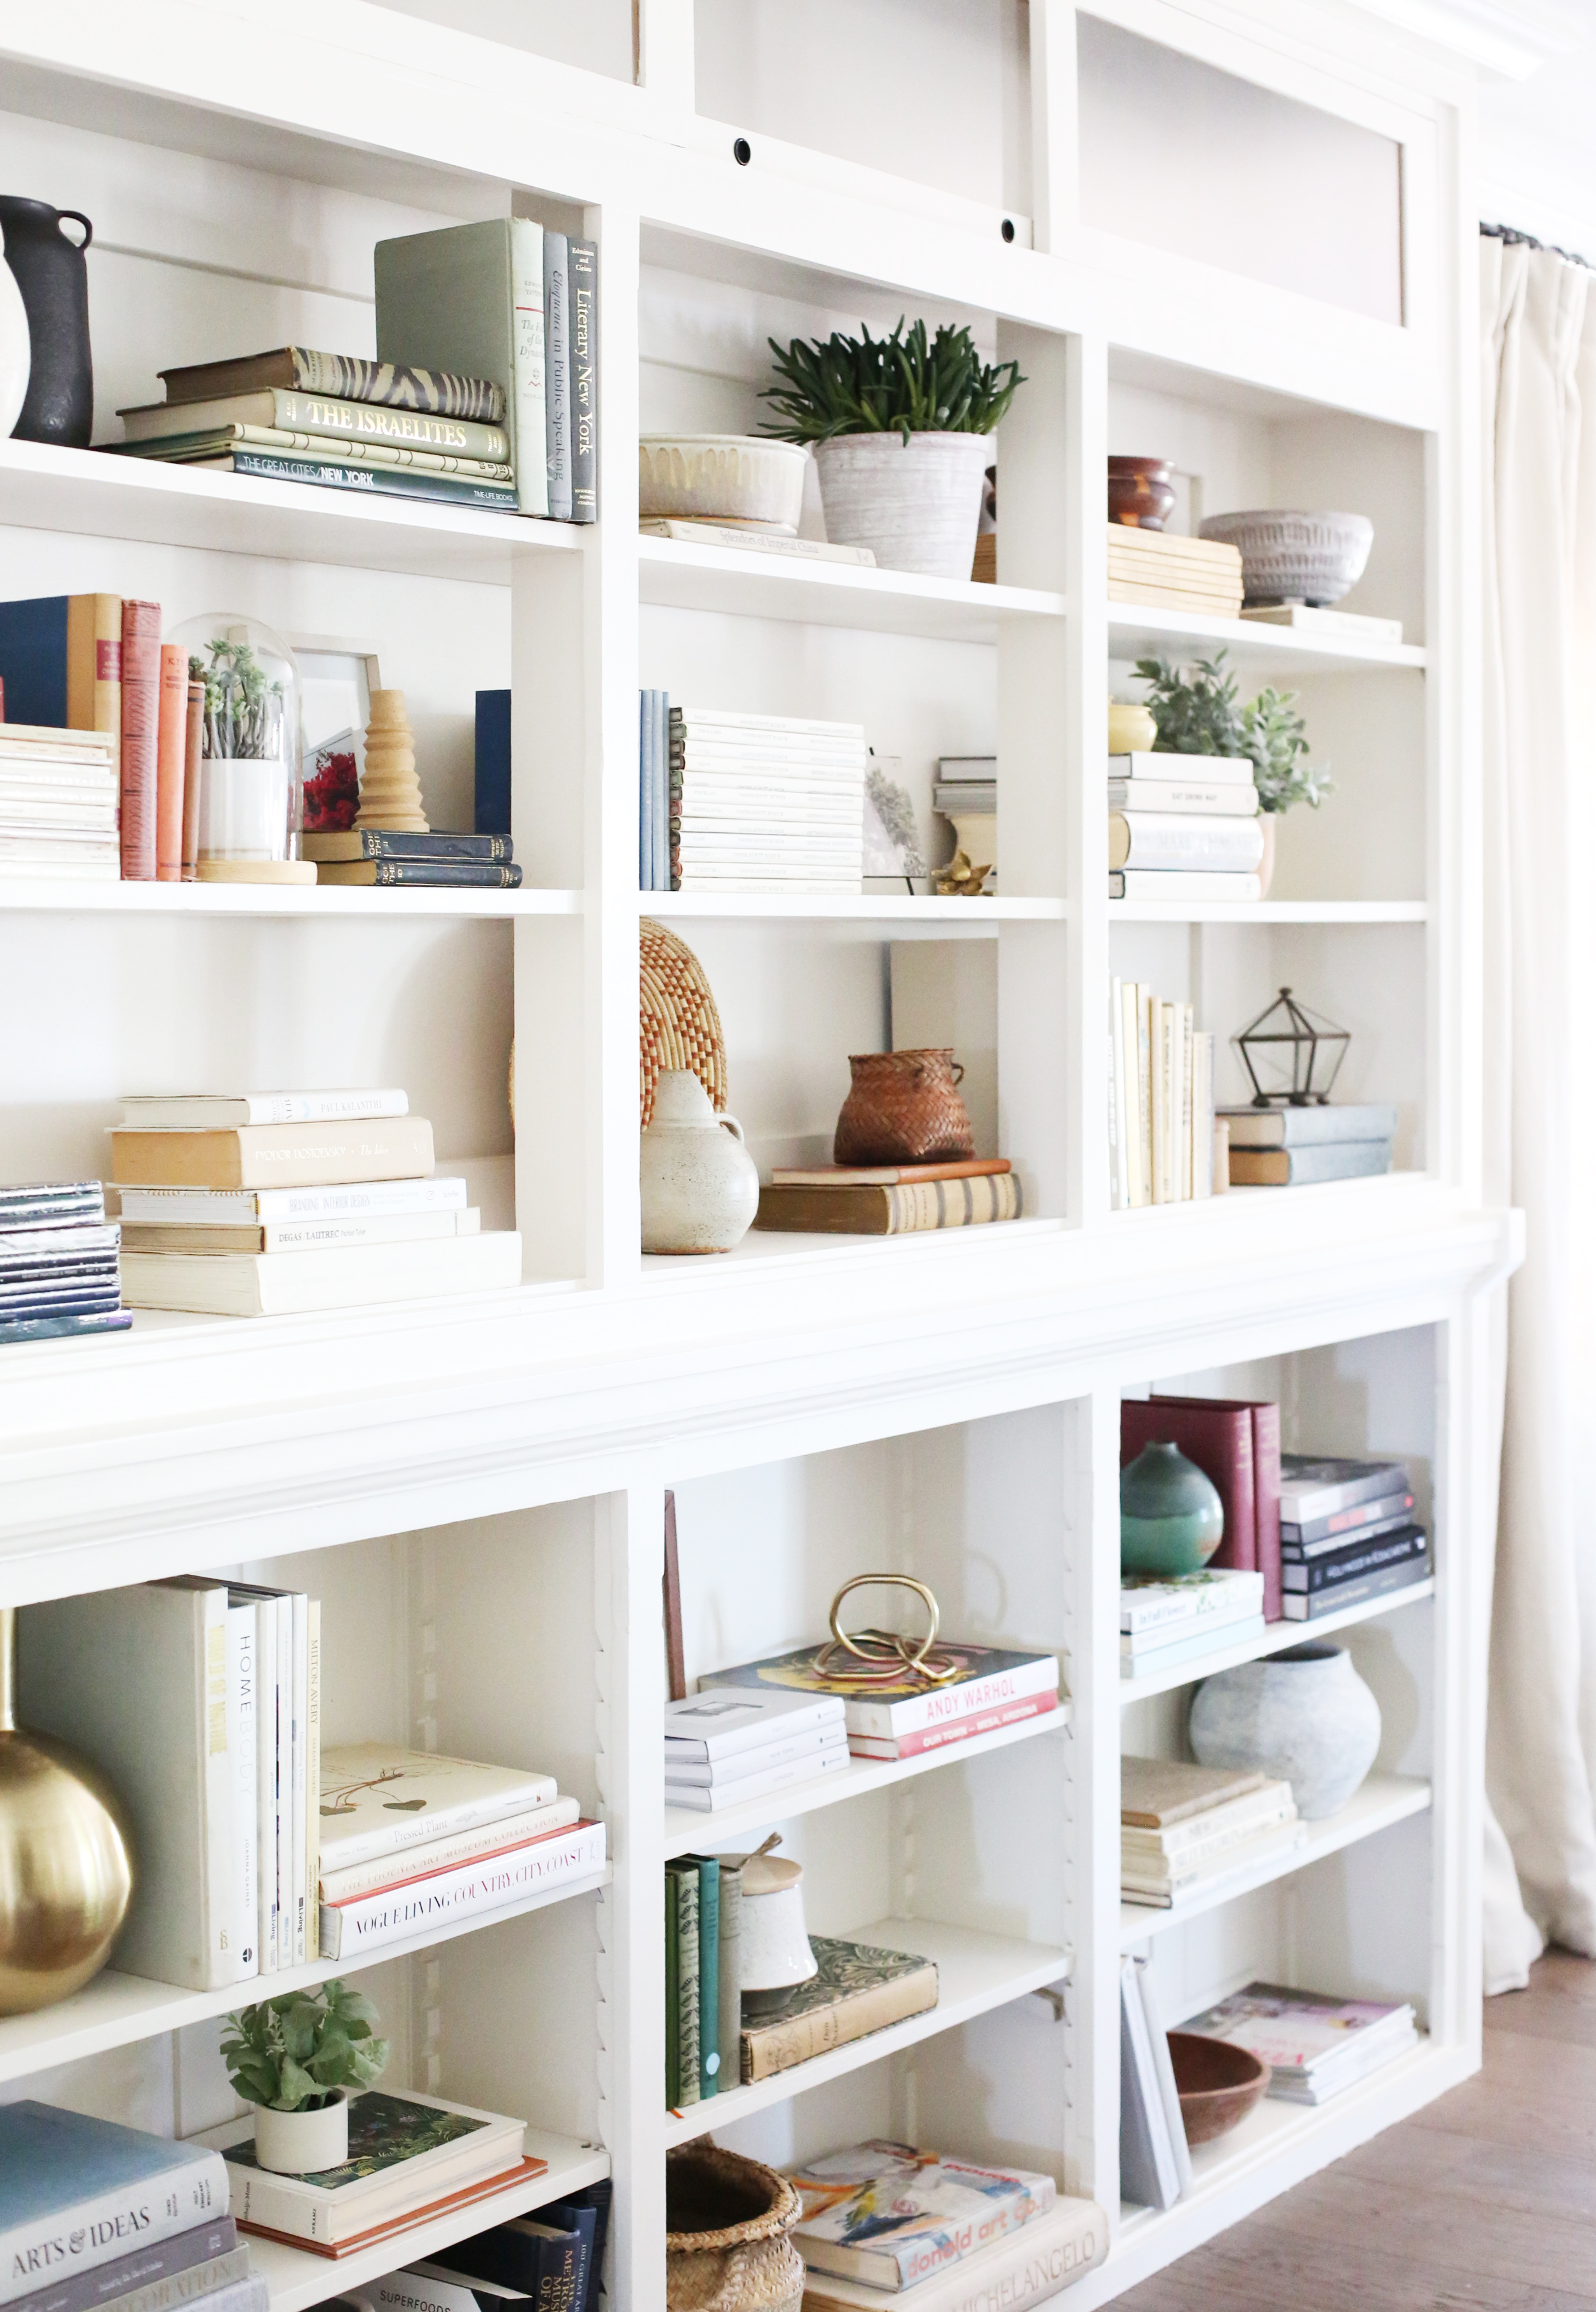
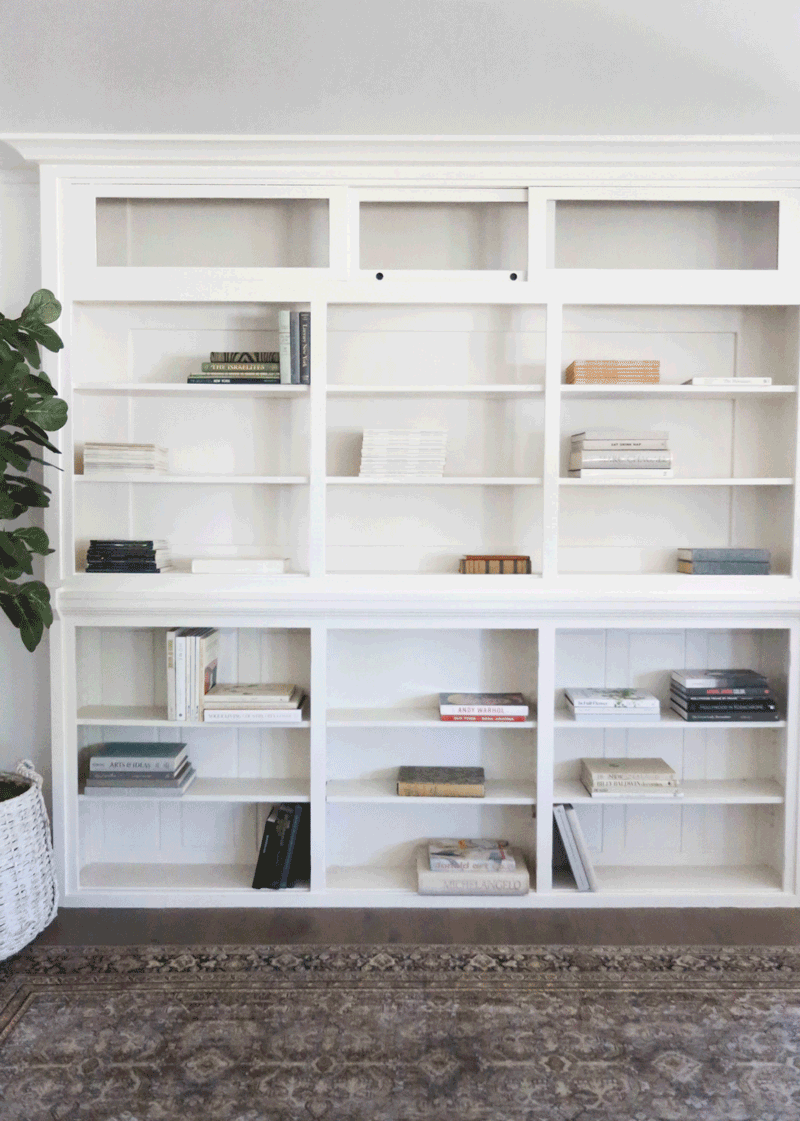
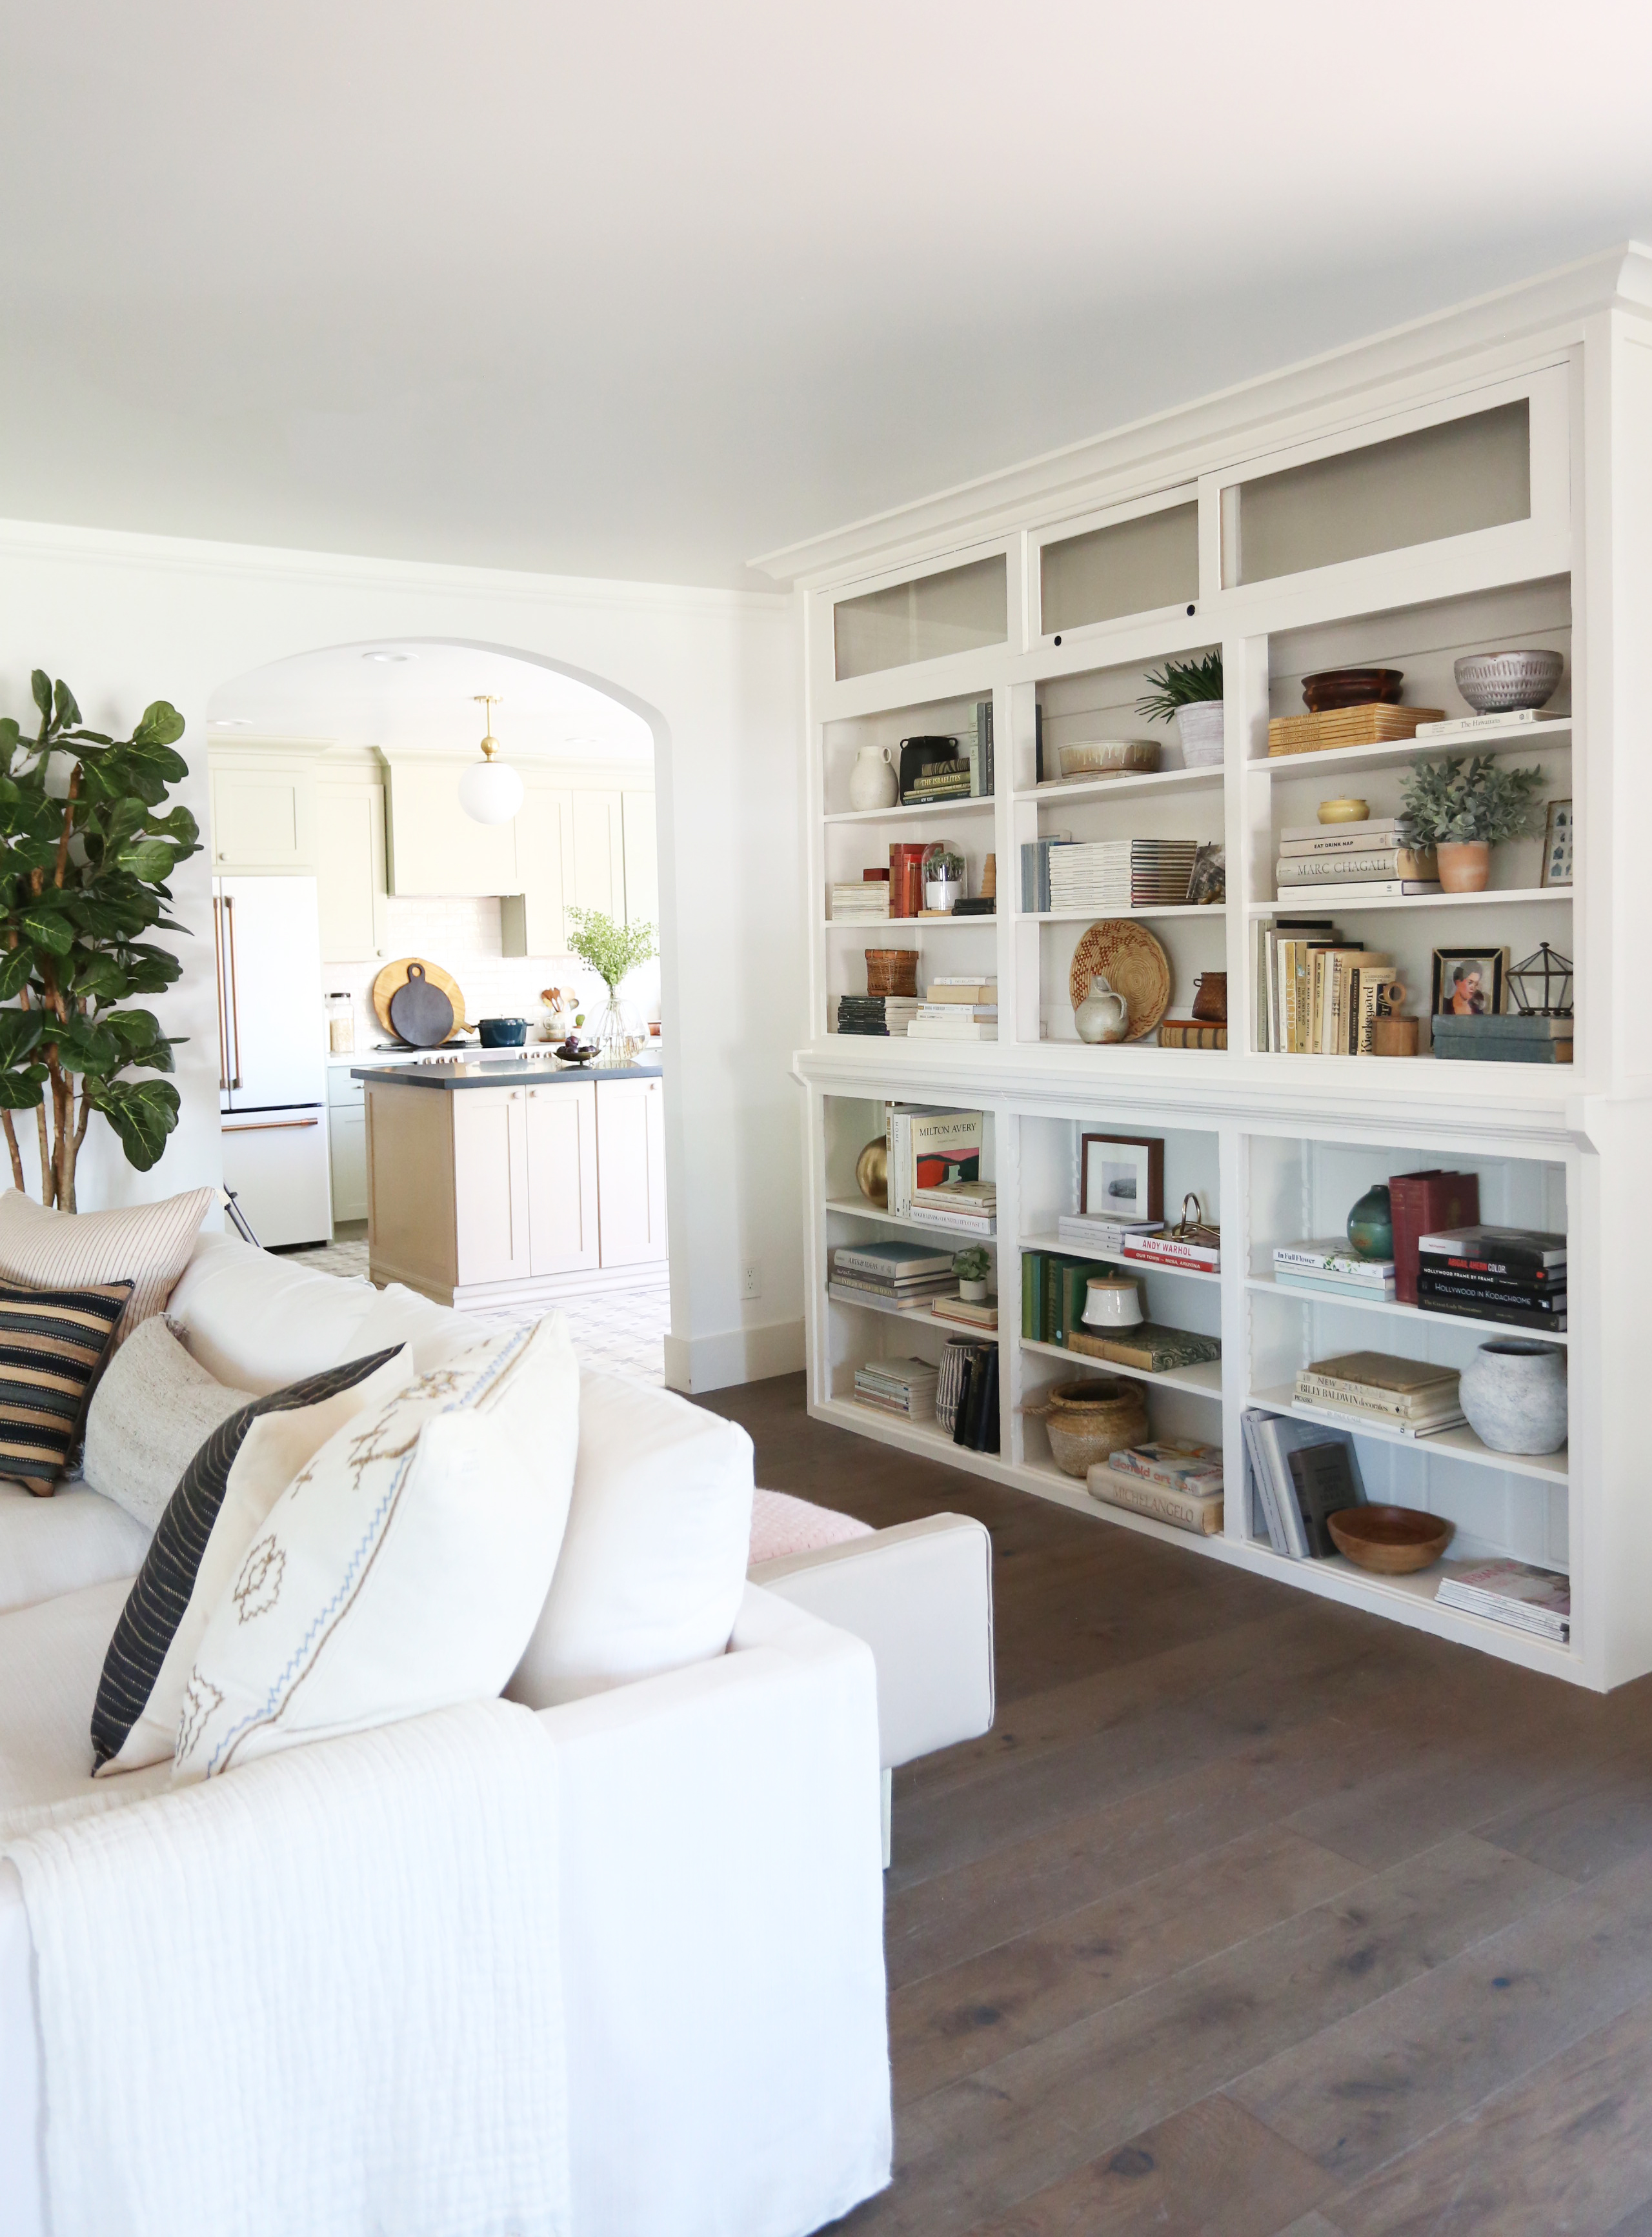
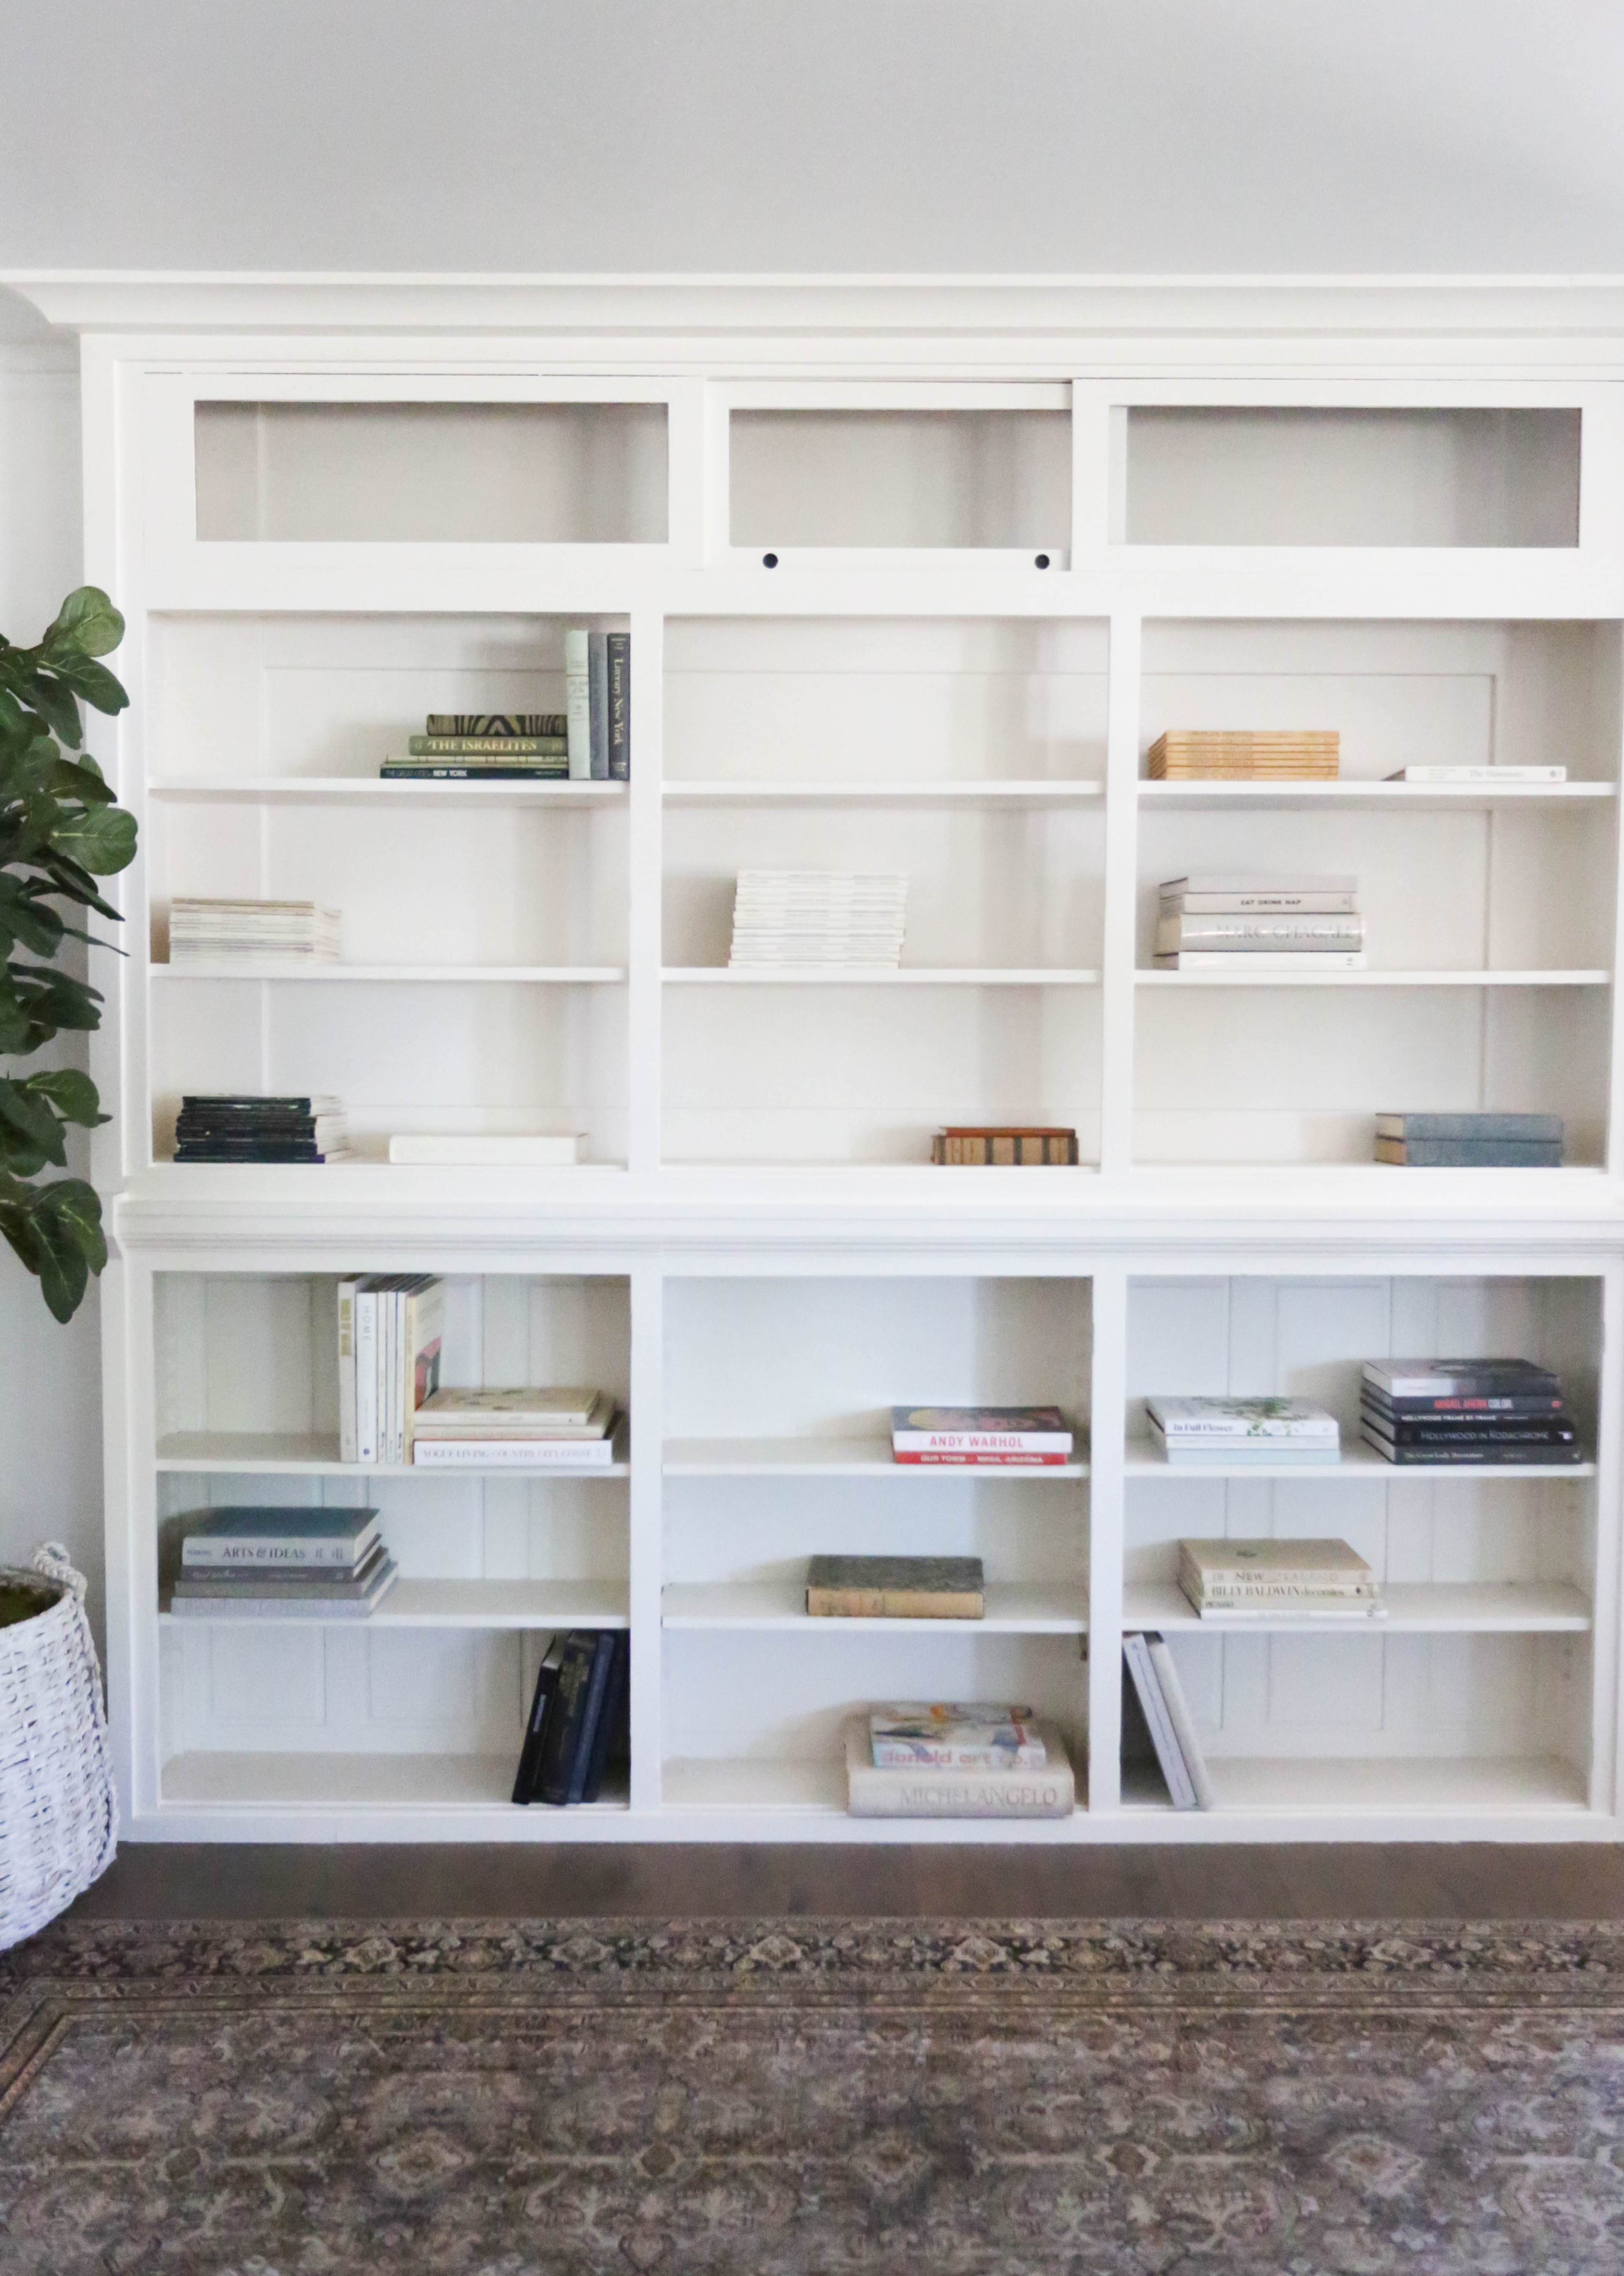
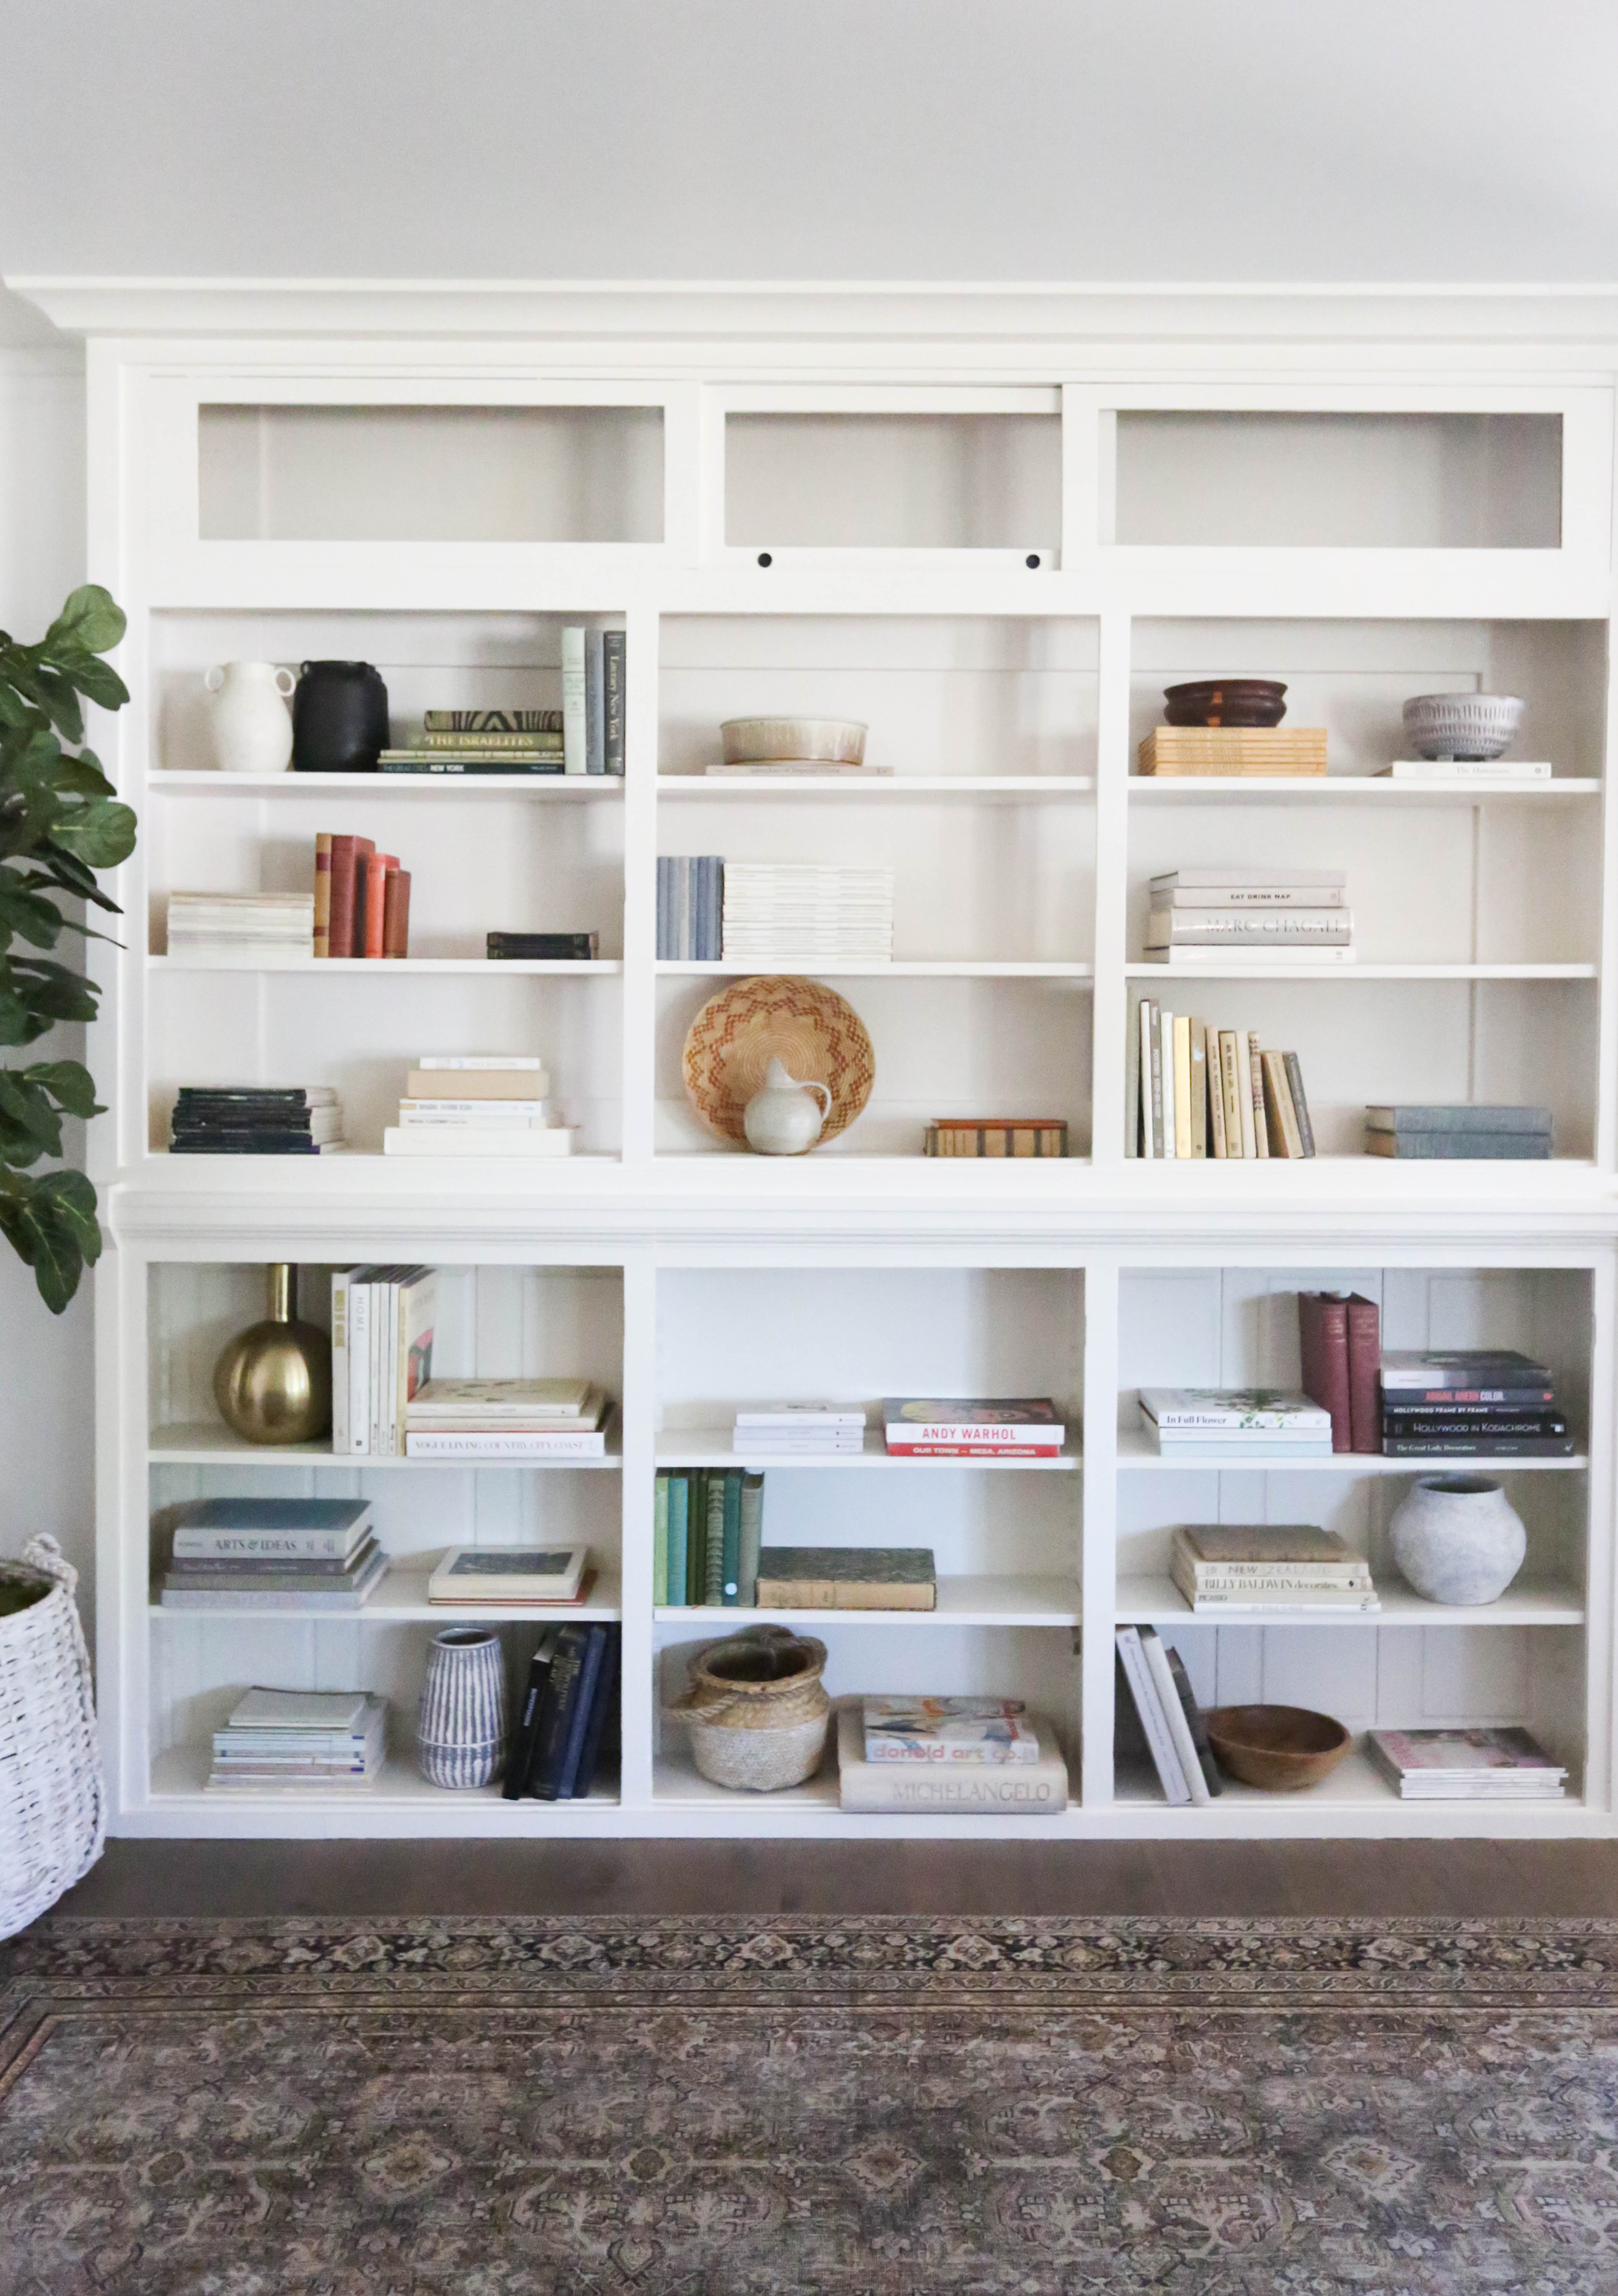
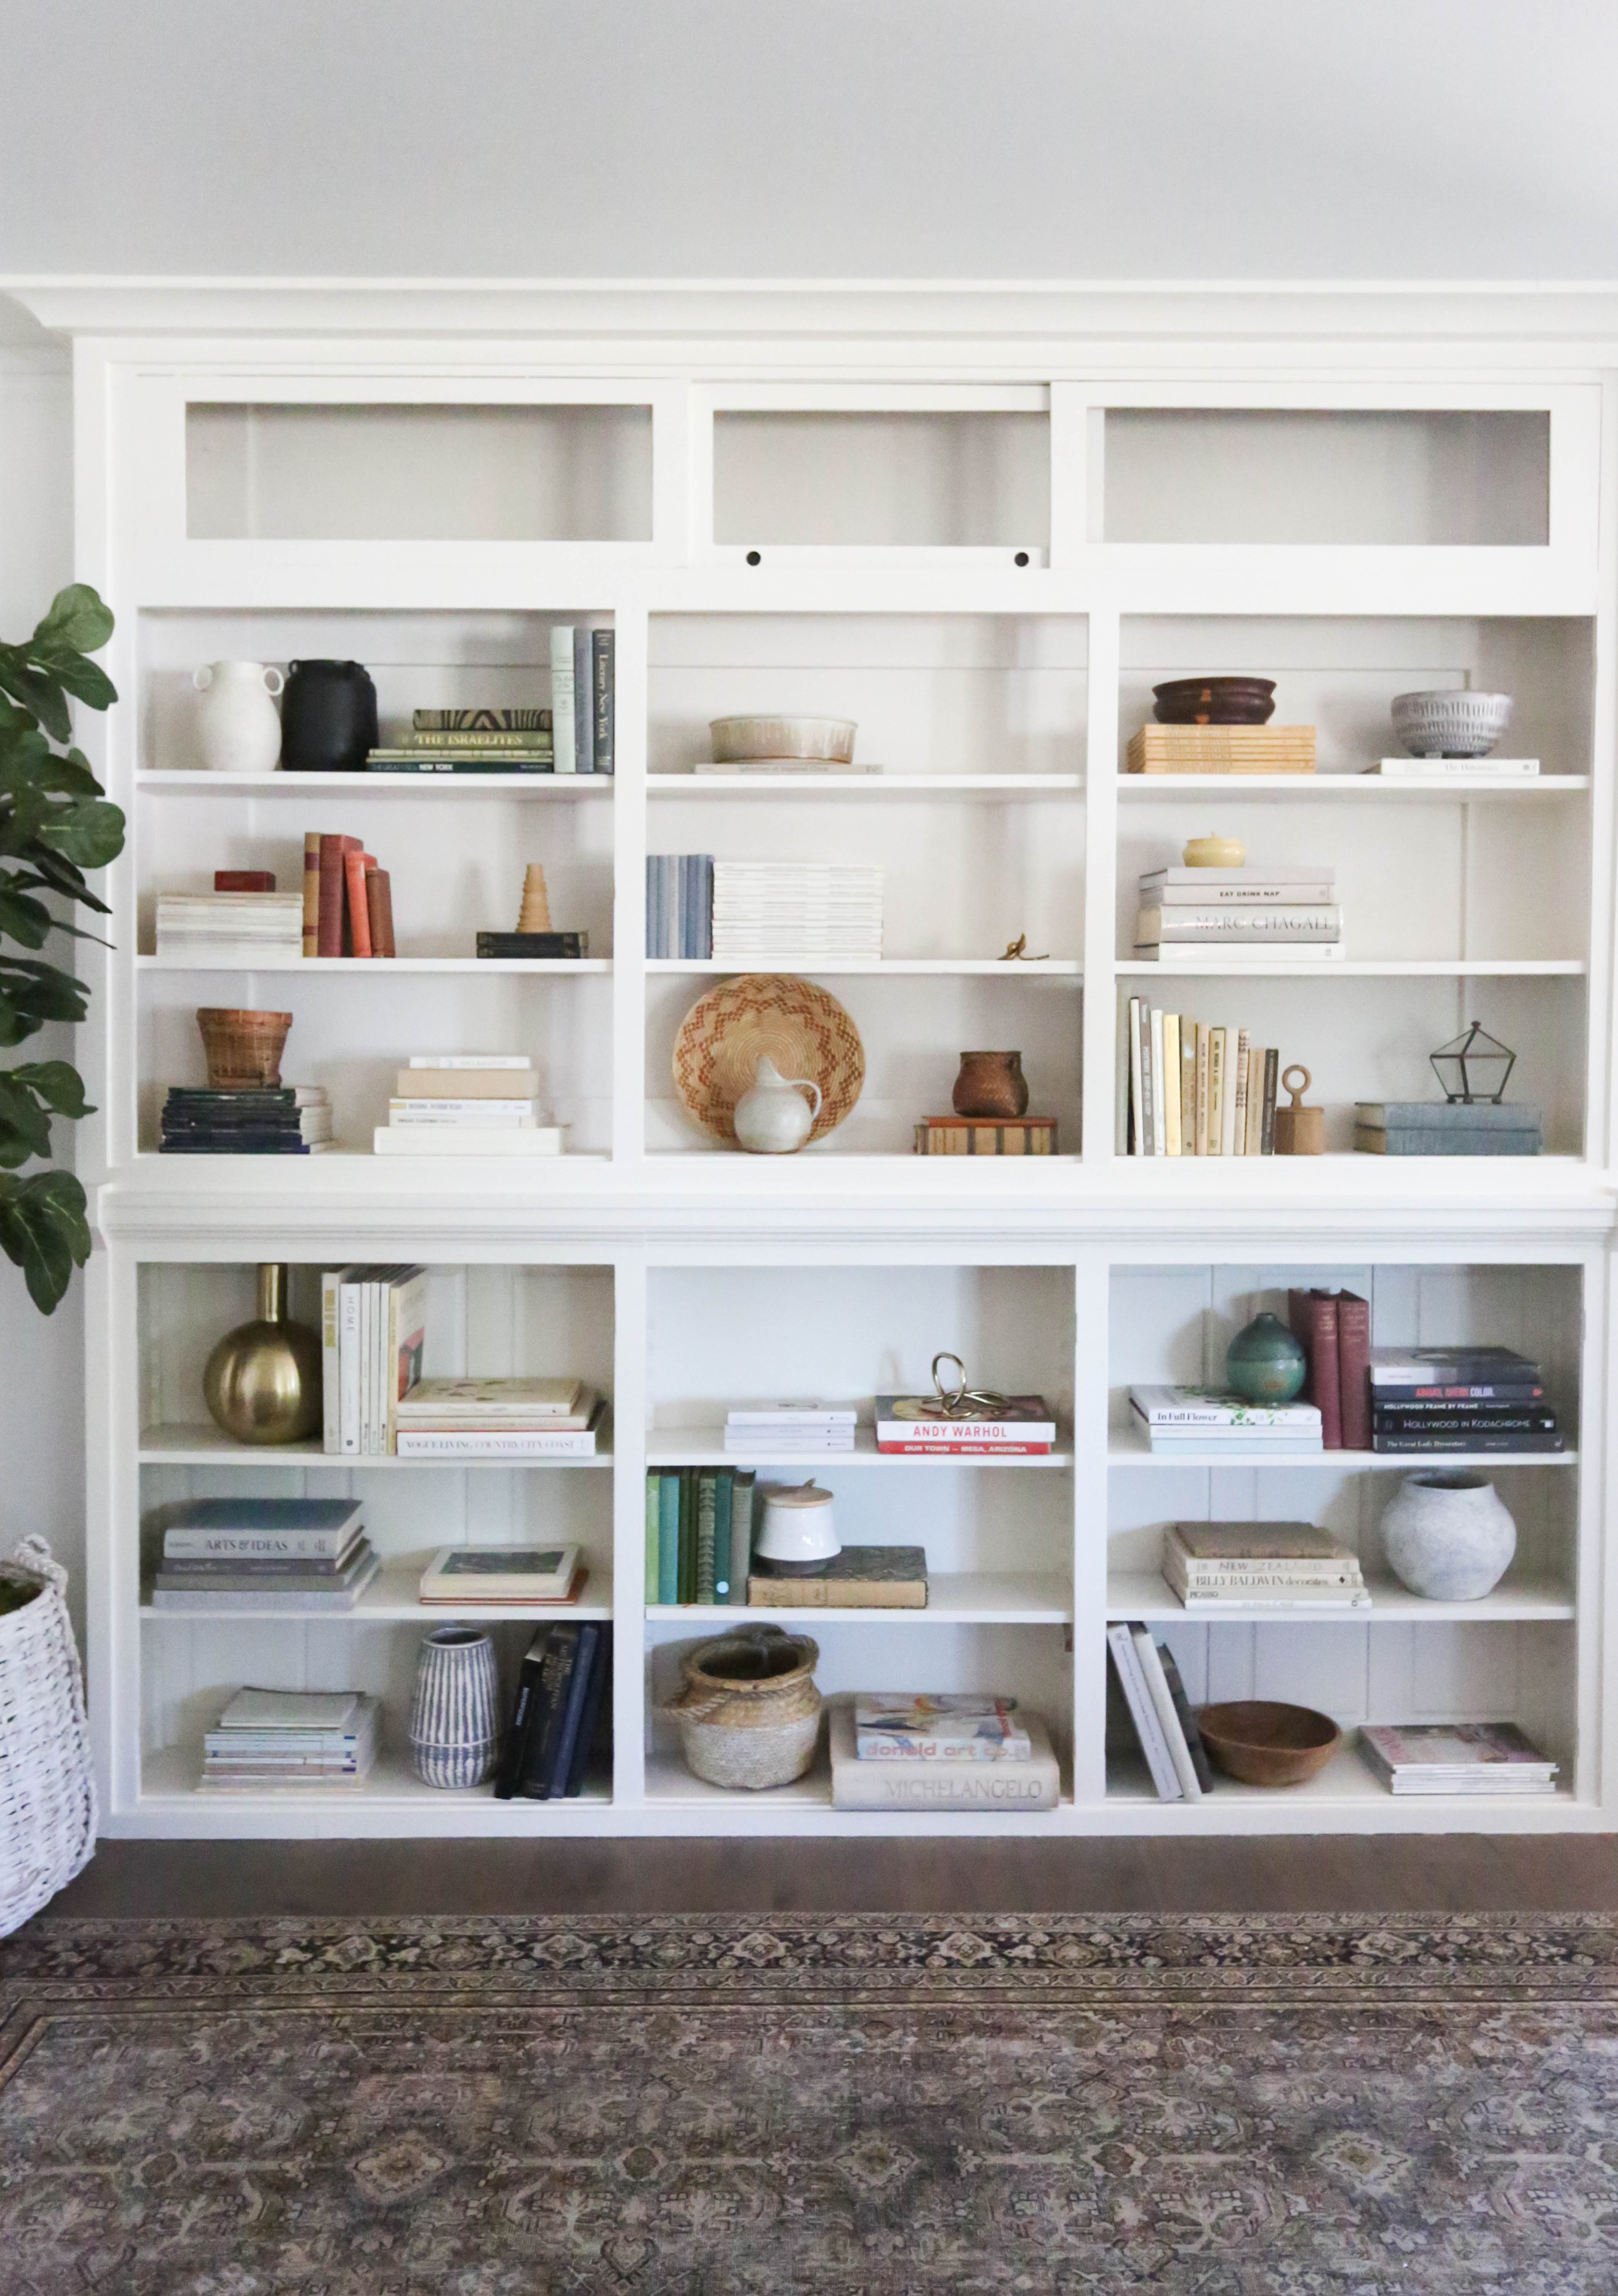
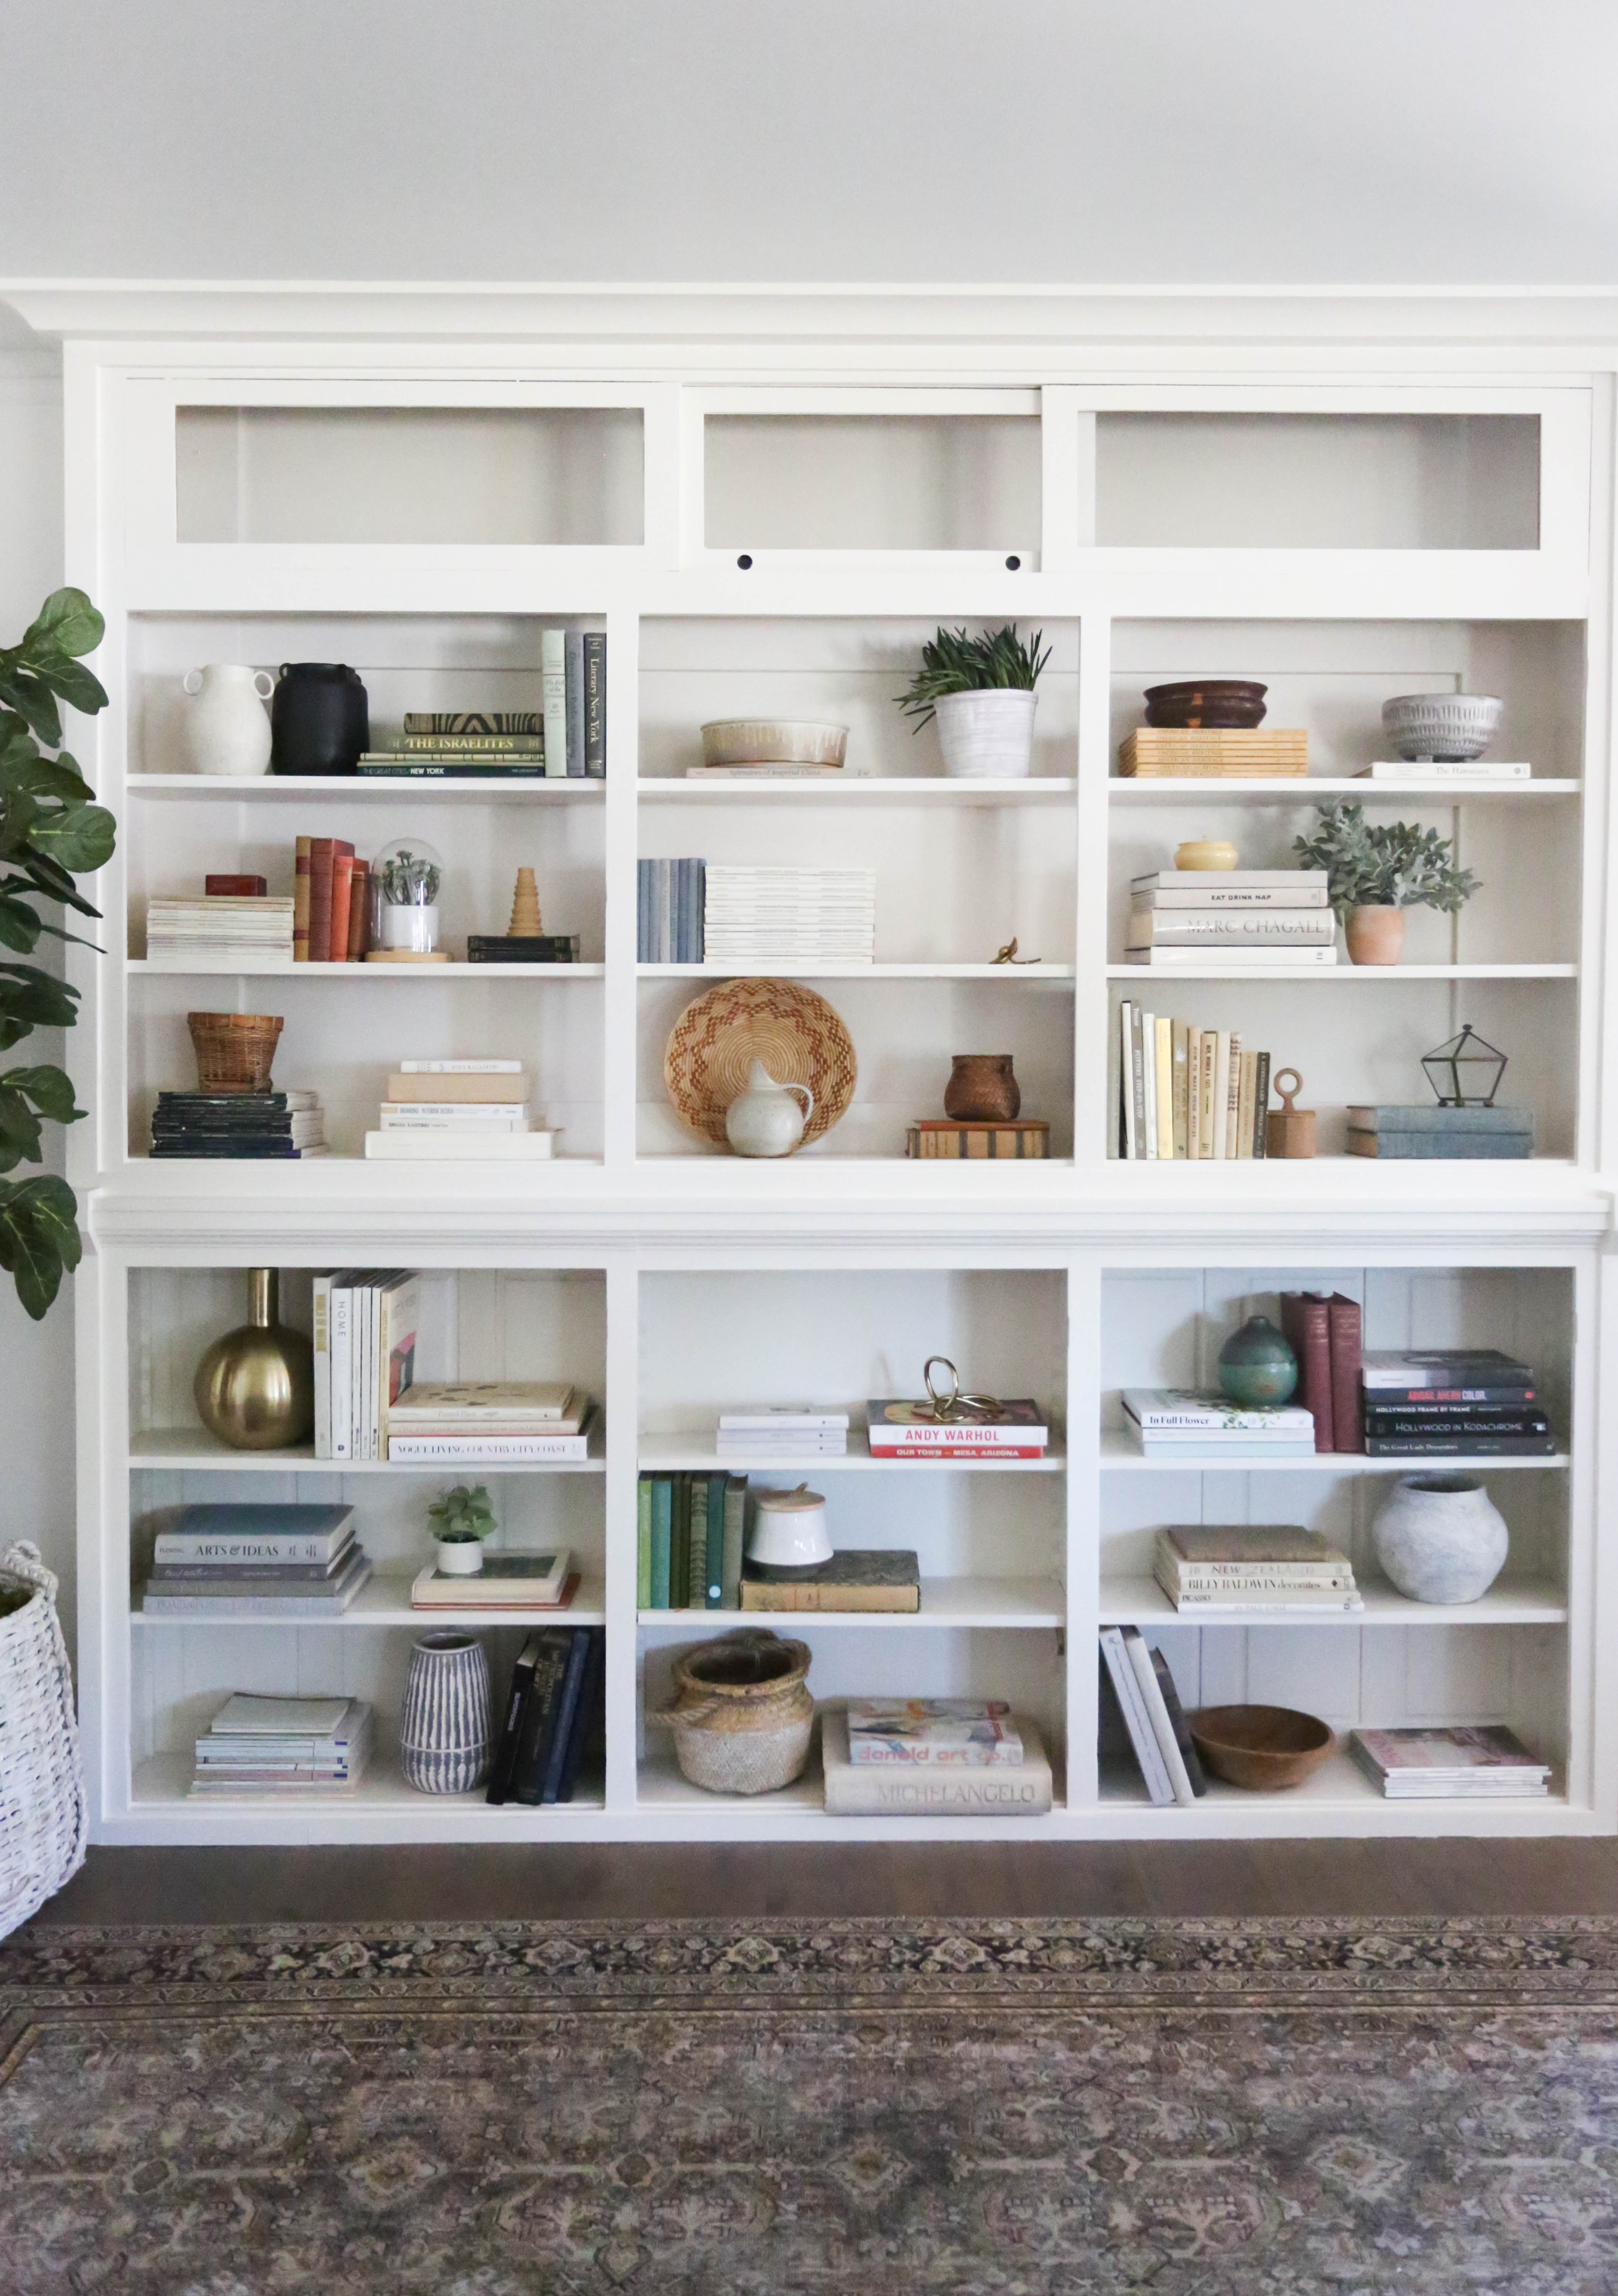
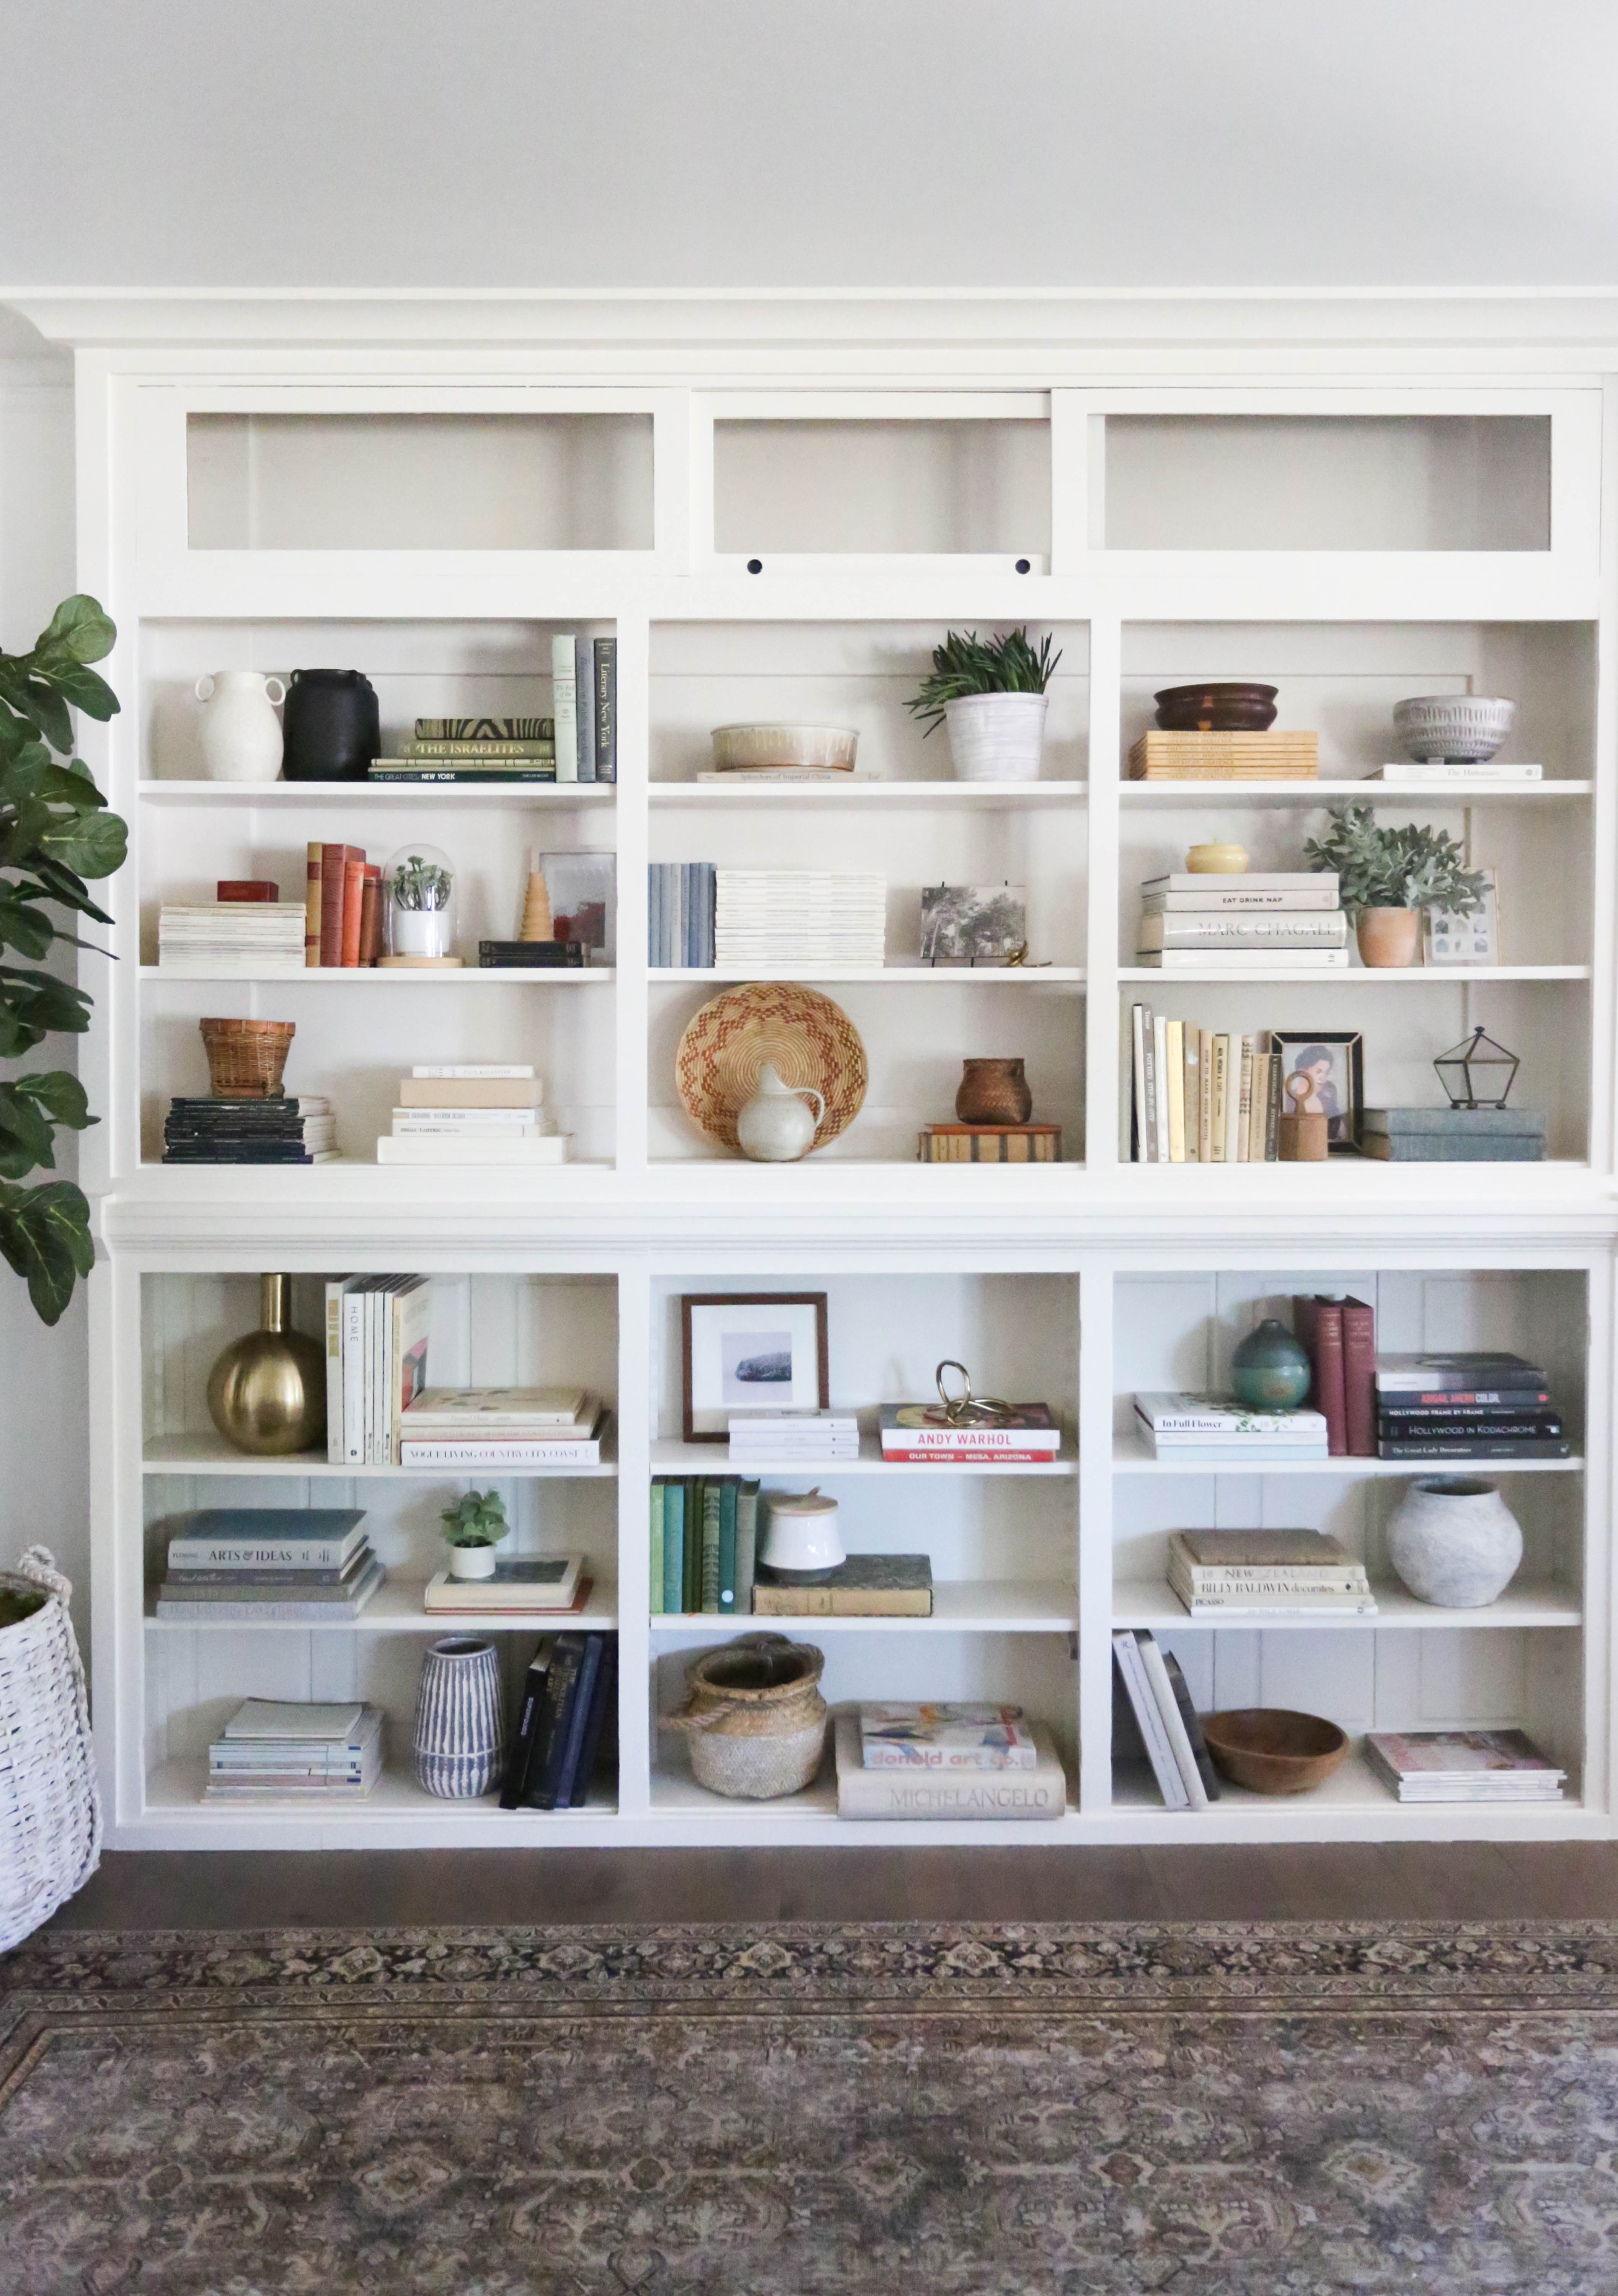
When we first toured the Evergreen House we stumbled on these amazing original built-ins in one of the small, awkward bedrooms. We knew we wanted to try to salvage them and decided that the living room would be the perfect new spot for them. Built-ins of this scale can feel a little overwhelming, so we broke down the process into 5 easy steps to help you tackle the shelves in your own space!
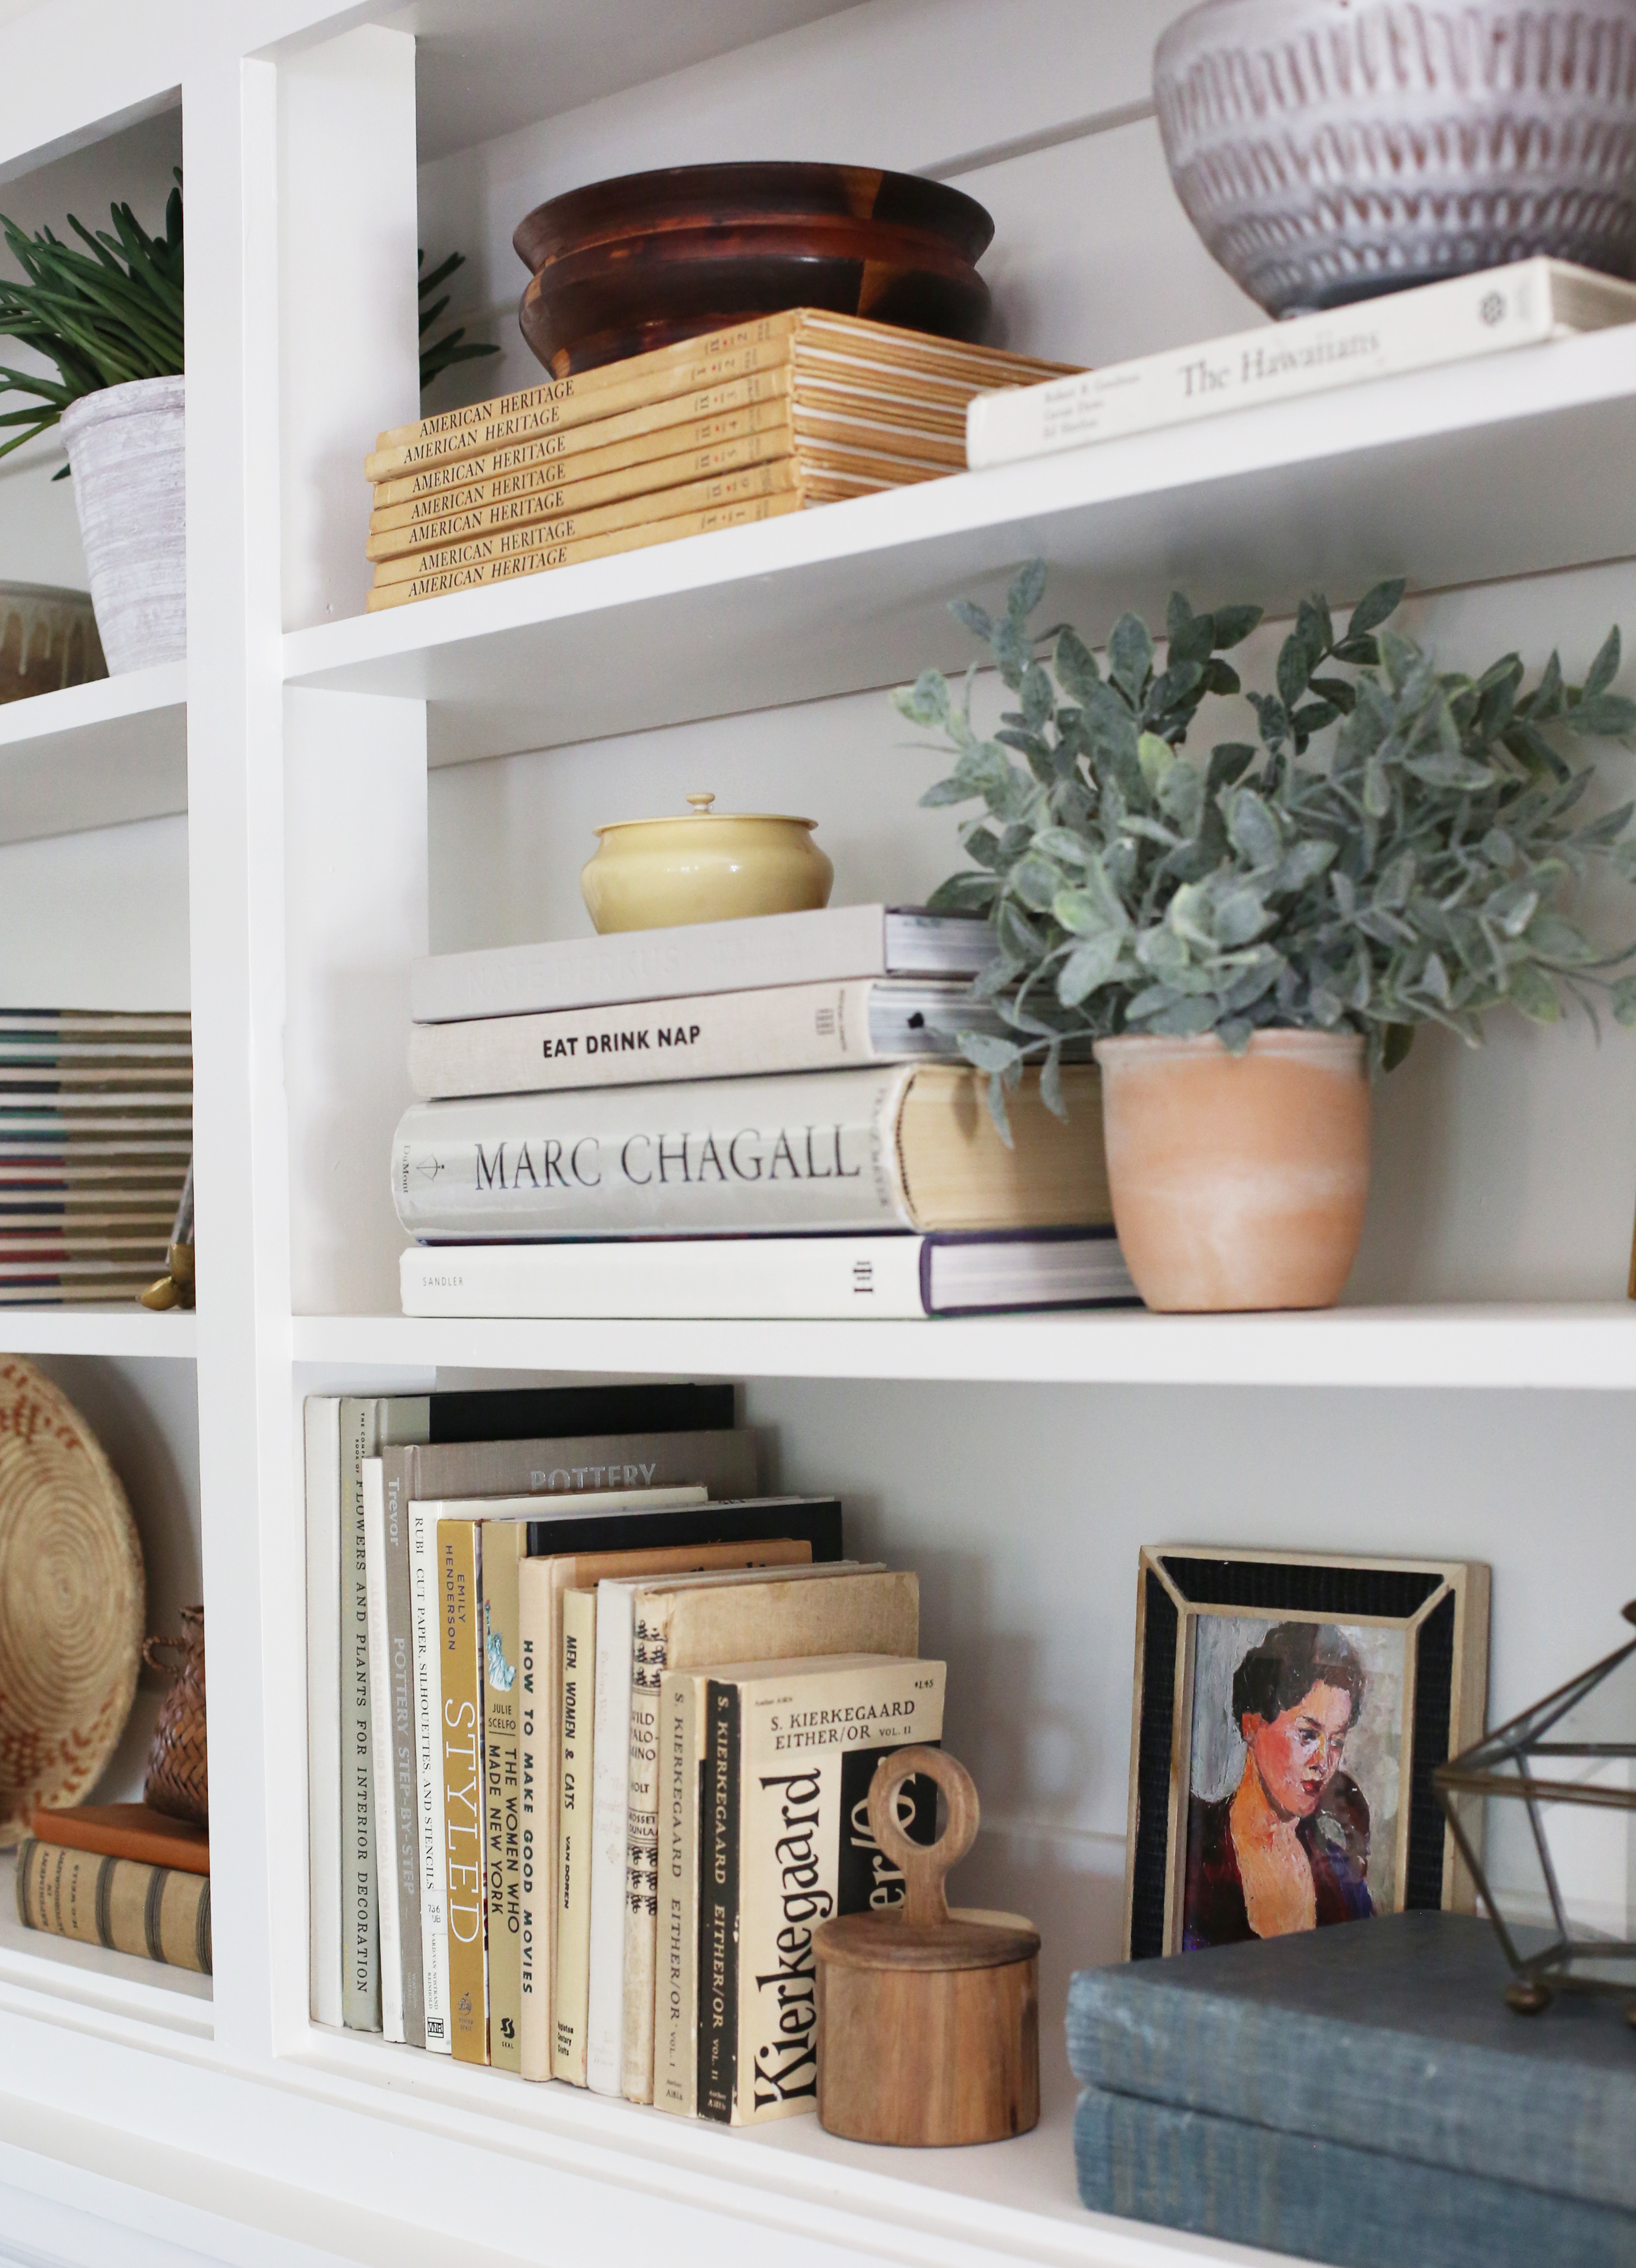
Step 1: Start With Books – We wanted this built-in to act as mainly book storage, so thats where we started. Begin with your largest & heaviest books. This will help give you a nice even base. Stack them both vertically and horizontally to give the shelf some character and movement. Once you have placed your base layer, start stacking your smaller books on top. Group book collections and magazines together for a cohesive look.
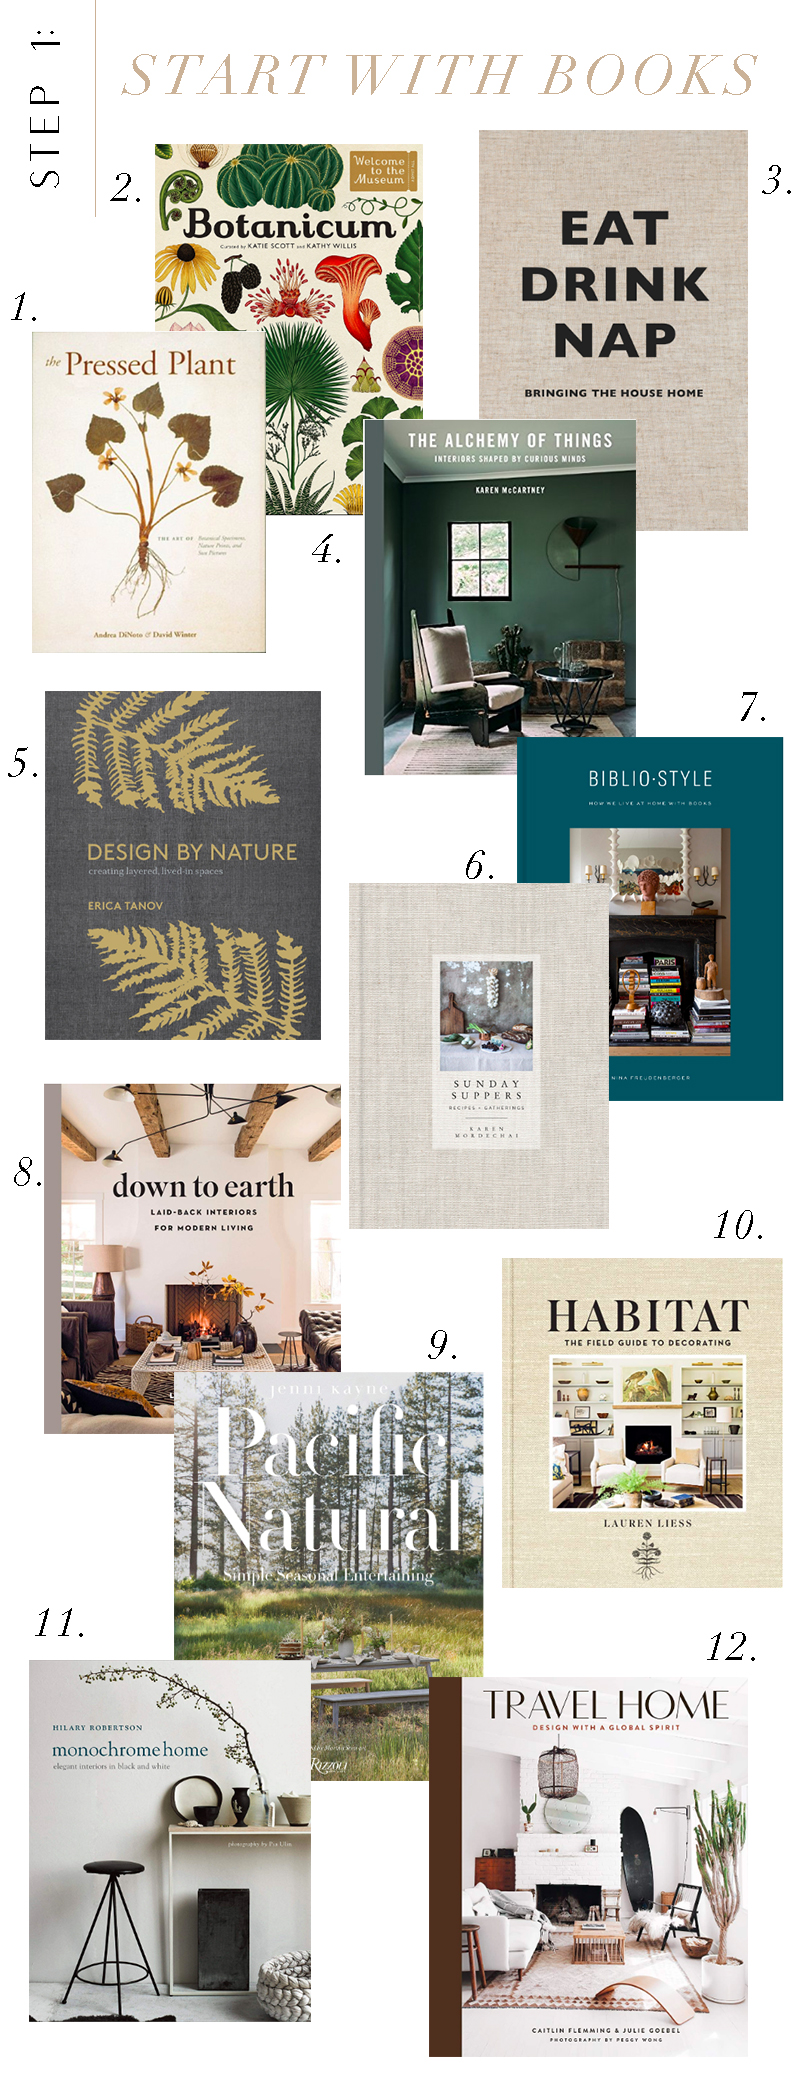
1 // 2 // 3 // 4 // 5 // 6 // 7 // 8 // 9 // 10 // 11 // 12
Step 2: Add Vases, Bowls & Baskets – Start with your largest baskets and vessels. Here we propped shallow vintage baskets against the back of our shelves to give them some dimension. Pay close attention to the shape and scale of your pieces. You want to be sure you are evenly distributing the type of item as well as the color and texture. Place larger vessels directly onto the shelf then stack smaller pieces onto your stacked books.
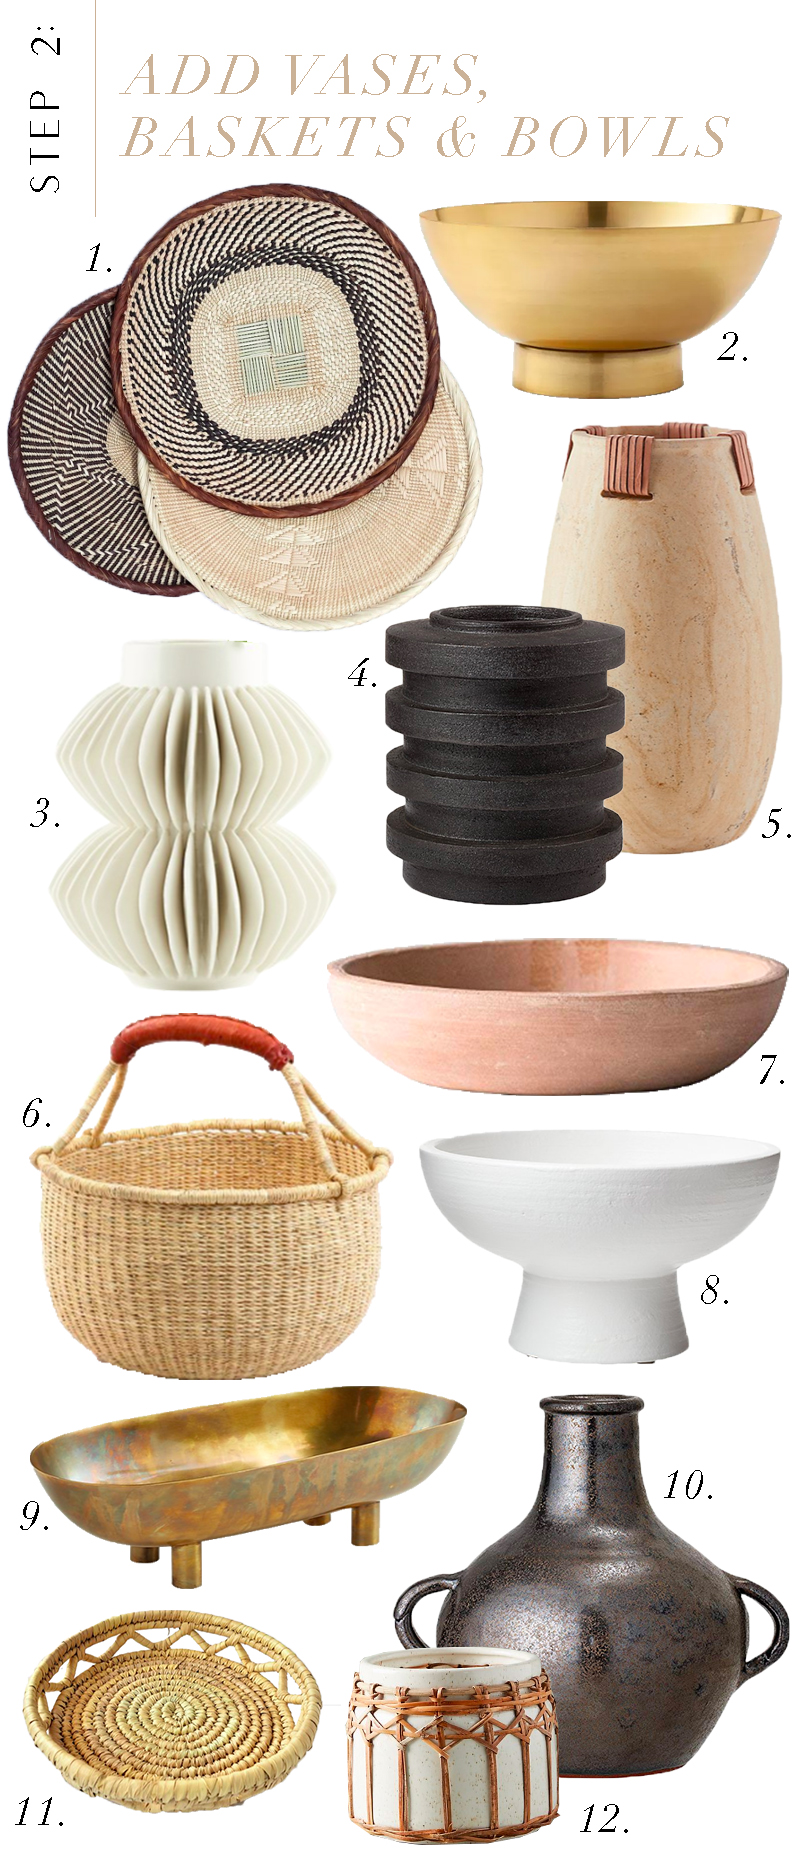
1 // 2 // 3 // 4 // 5 // 6 // 7 // 8 // 9 // 10 // 11 // 12
Step 3: Layer in Unique Decor Items – Now is your chance to get creative! Place small, unique items on top of books and layer them in front of larger pieces. I love to buy small, unique pieces while traveling and this is a great opportunity to display those items! You can also add in any family heirlooms, vintage and thrifted pieces you have been collecting!
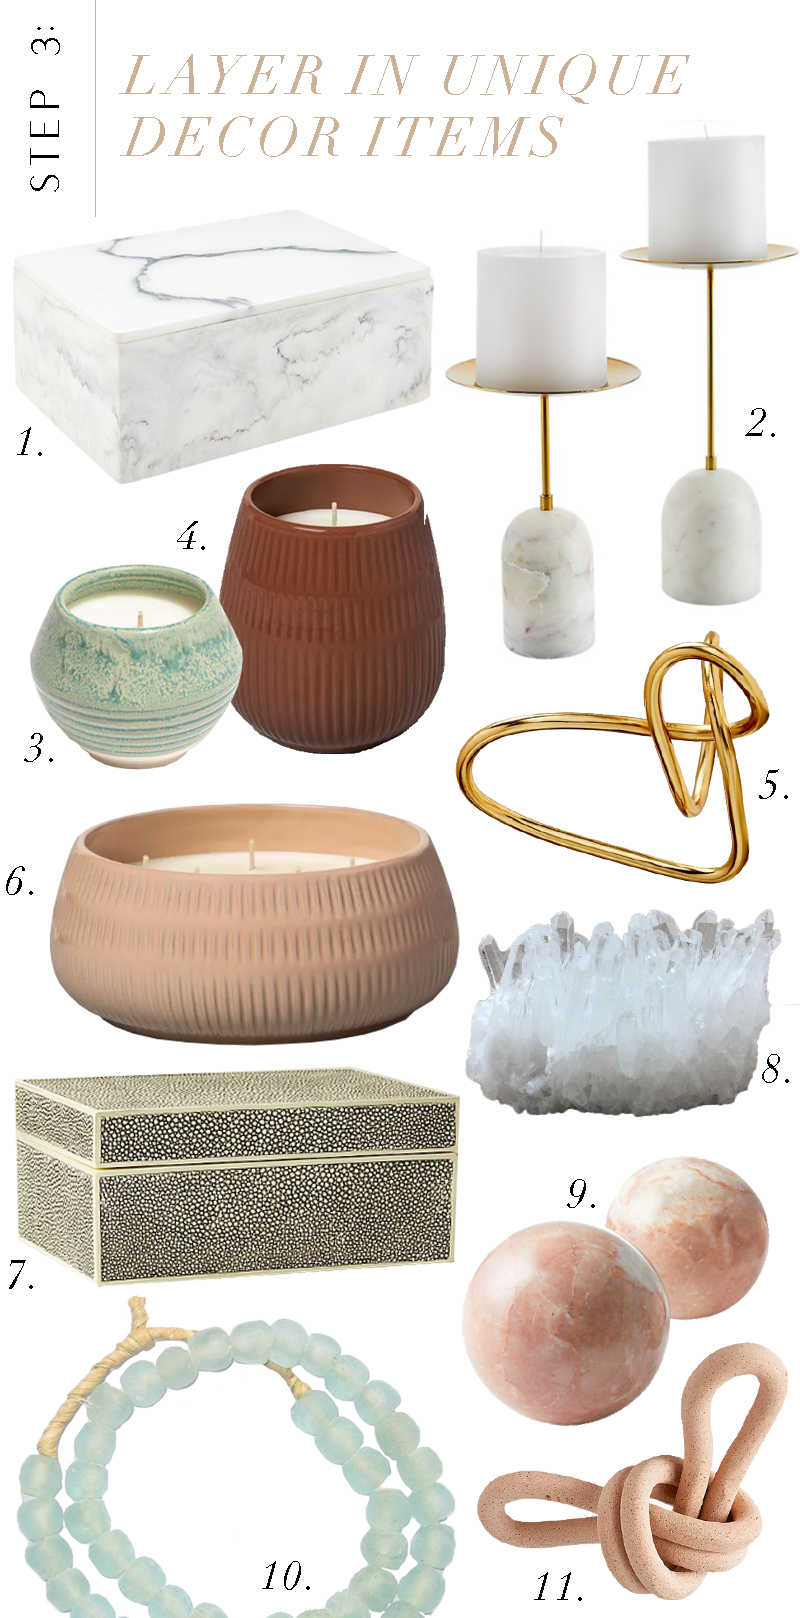
1 // 2 // 3 // 4 // 5 // 6 // 7 // 8 // 9 // 10 // 11
Step 4: Bring in Some Life With Plants – Wether you prefer real or faux, now is the time to add a little greenery to your shelves! Potted plants & succulents will help bring some life to your look.
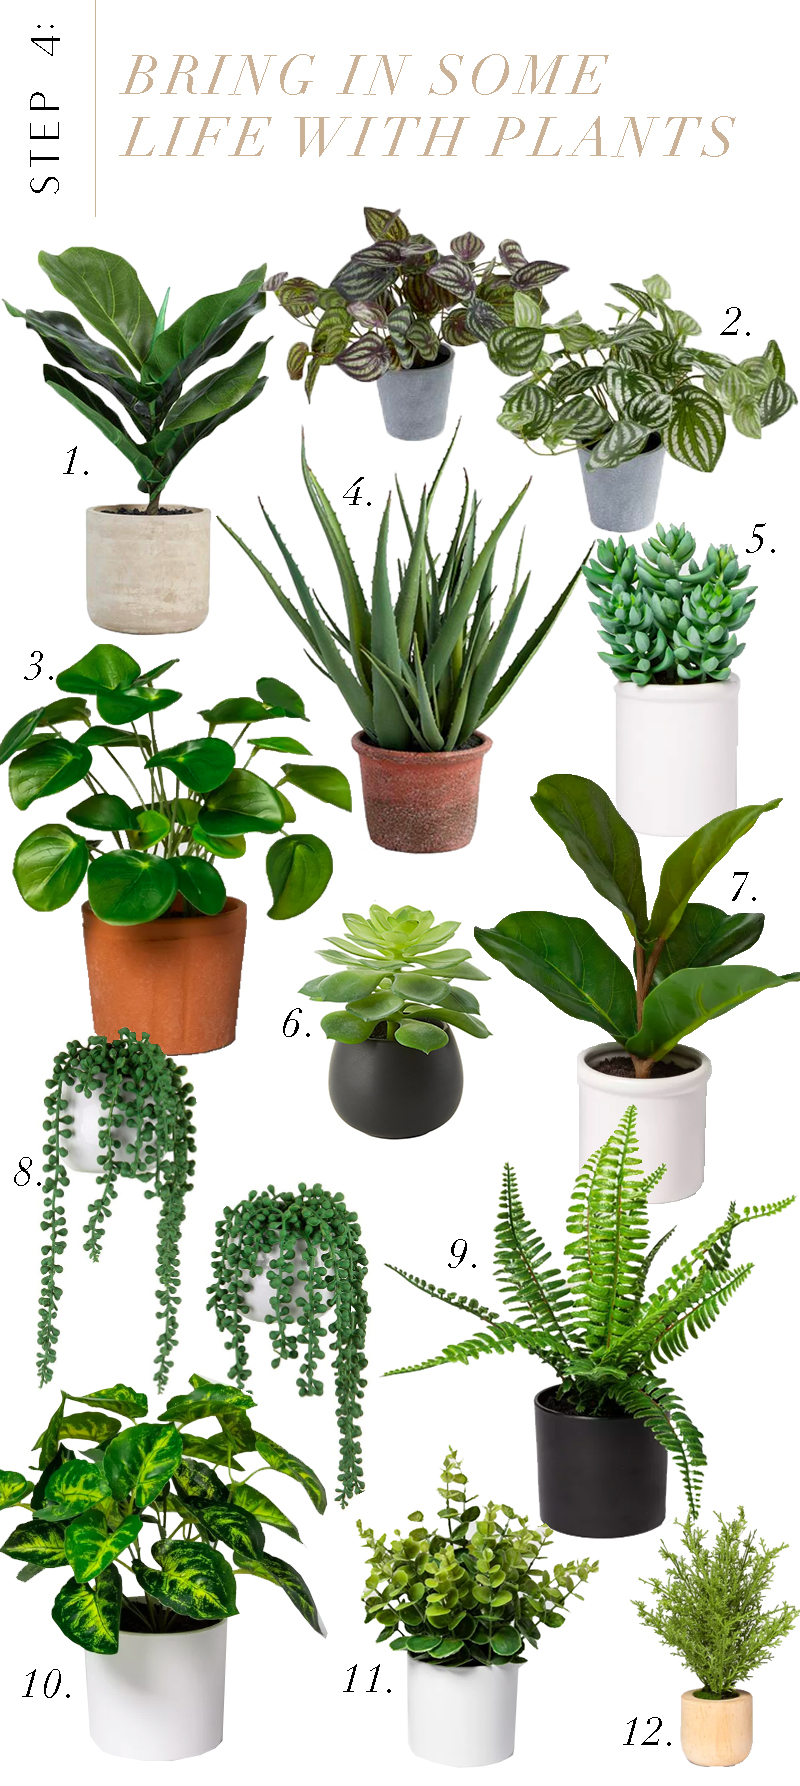
1 // 2 // 3 // 4 // 5 // 6 // 7 // 8 // 9 // 10 // 11 // 12
Step 5: Finish with Framed Art – Tilt larger pieces against the back wall and add smaller framed photos. Here we only used art, but this is a great opportunity to incorporate some of your family photos as well!
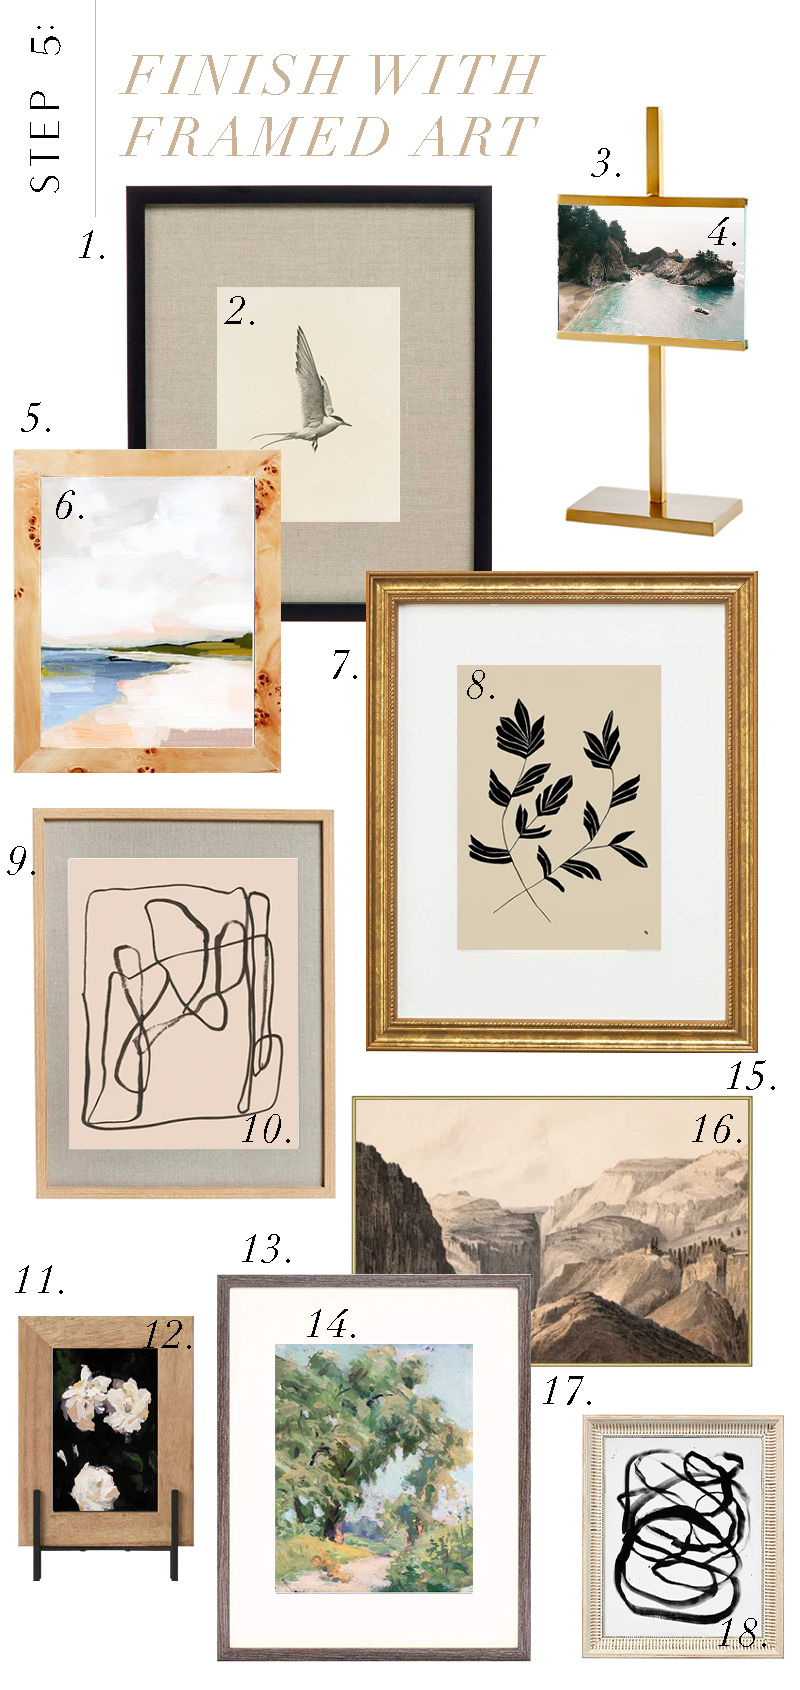
1 // 2 // 3 // 4 // 5 // 6 // 7 // 8 // 9
10 // 11 // 12 // 13 // 14 // 15 // 16 // 17 // 18
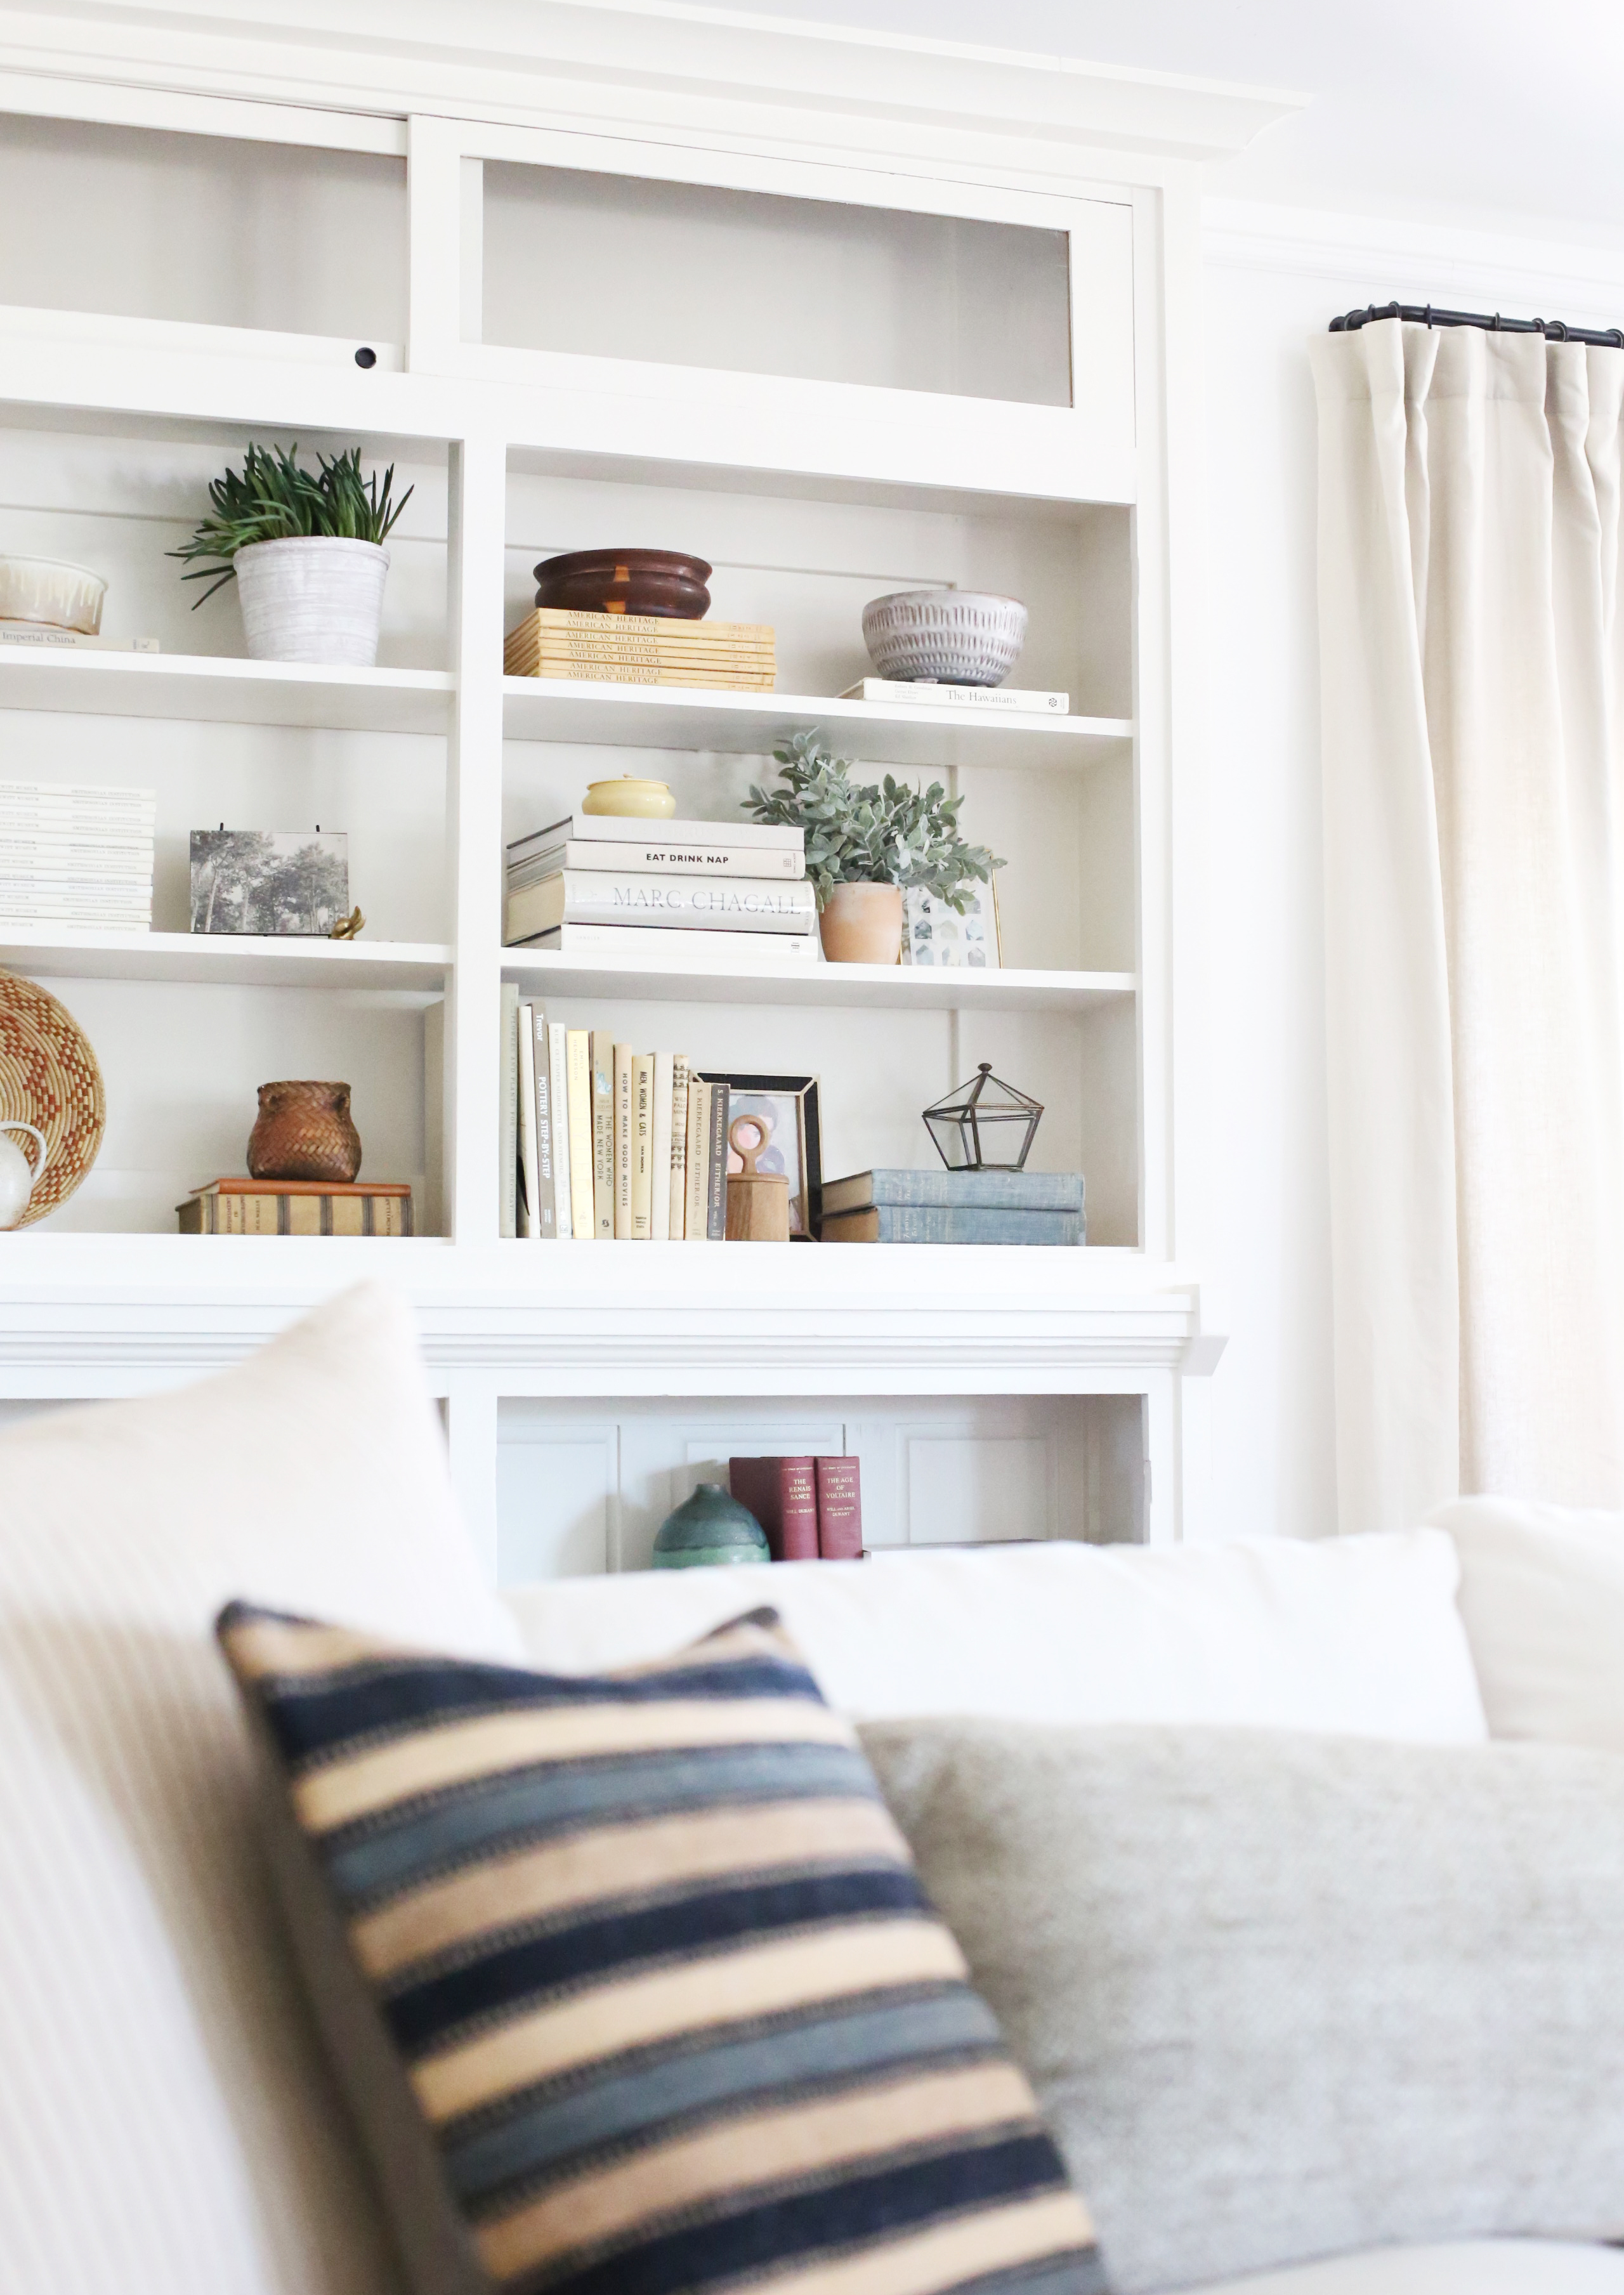
We hope these tips will help get you achieve the shelf styling you are after! Don’t get hung up on being too literal with the rules though. Your home should always be an expression of your personal taste, so feel free to get creative here!
We want to see your shelfies! Share them with us by using the hashtag #juniperhomespotlight.


Tell me honestly, what are y’alls’ opinions on the rainbow order book(shelf) trend? Yay? Nay?
Hi Kristen! I like books to be grouped together by color VERY LOOSELY in the way we showed here. It helps the eye move around but gives plenty of place for it to rest. You can also keep your books organized by genre a little better this way too. I think it’s the best of both worlds. Here is a blog post I wrote breaking it down further:
https://jennykomenda.com/2013/01/organizing-books-by-color-and-by-genre.html/
Thank you for having books on the bookcase, so many designers leave them out in favour of decor items. I found this such a logical step by step way to decorate the shelves and feel I can change up my bookcase quickly.
Hi Jenny. These are beautiful! I love white shelving, but mine are solid wood that are stained grey and I’m not willing to paint them. Do you have any tips/examples showing decor for darker shelves? I feel like everything I buy blends in unless it’s White. Thanks!
Love the layering! The mixed shapes really make a shelf
What are some good sources for bookshelf lighting such as portrait lights?