


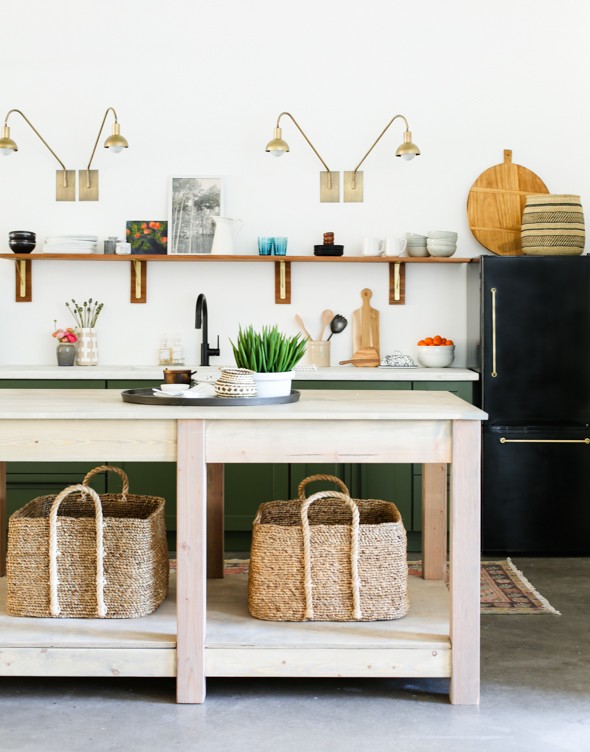
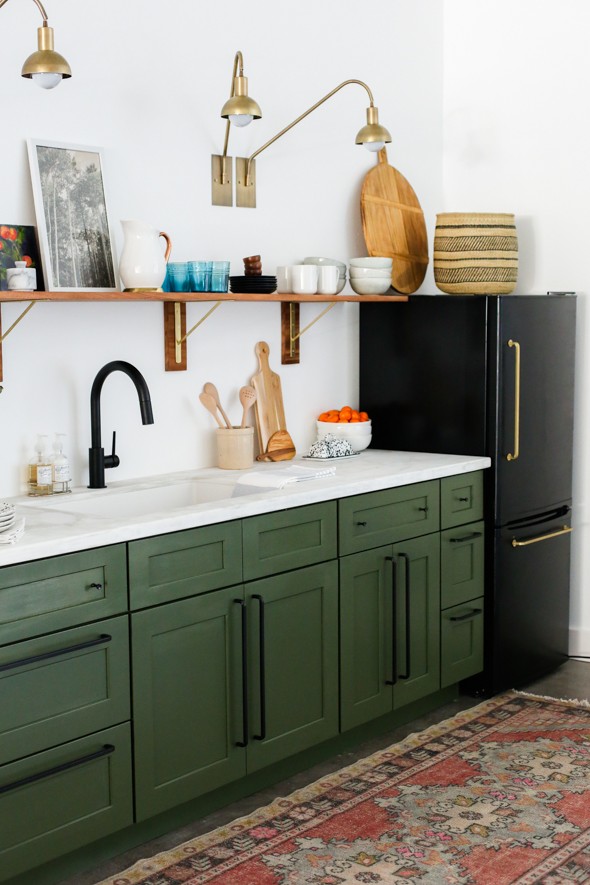
Last week we posted our studio kitchenette reveal and everyone had so many questions about our DIY black fridge with the brass pulls!!

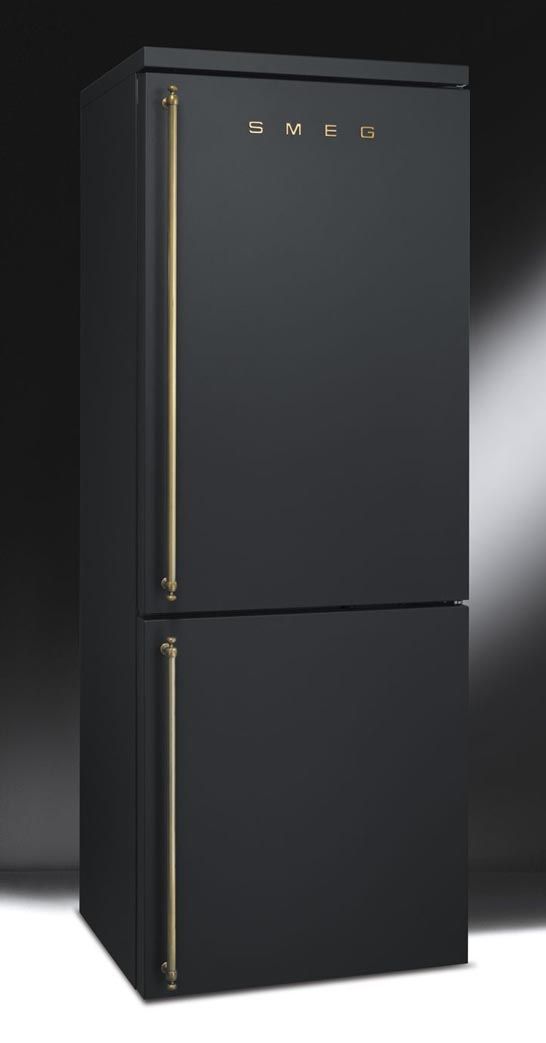
When we started planning out our studio kitchen design we fell in love with the idea of this SMEG fridge, but not only is it unavailable in the US, it was way, way out of our budget. We went on a mad hunt trying to find something similar, but there’s not much in the way of matte black appliances that cost less than a car.
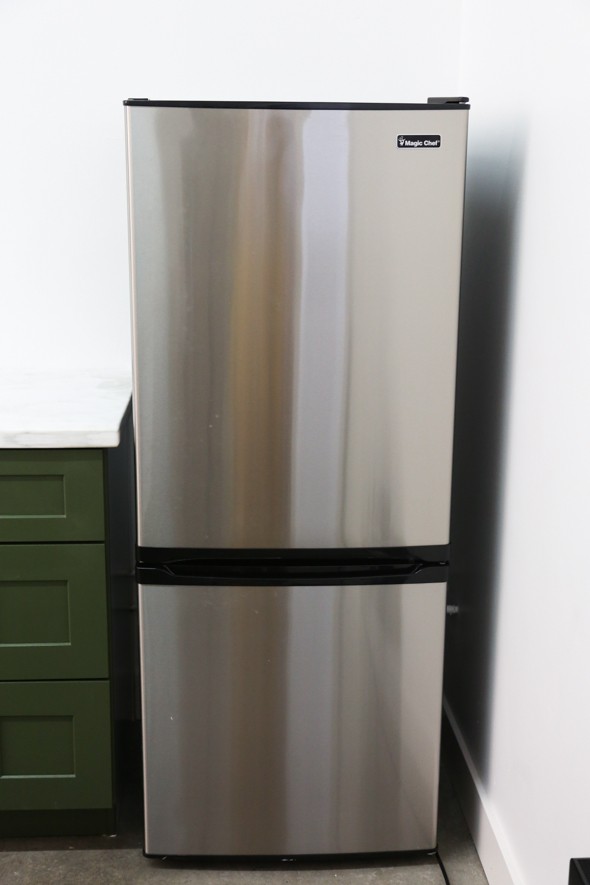
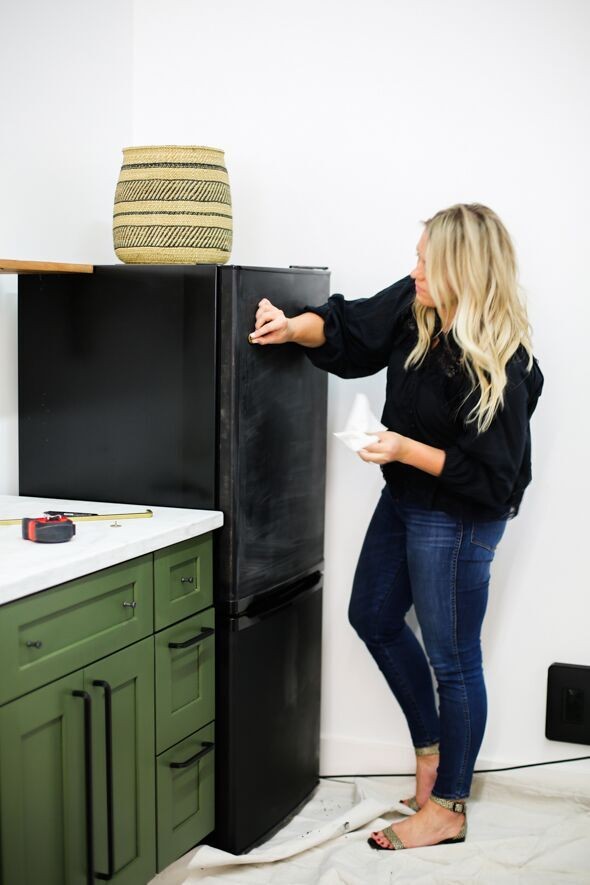
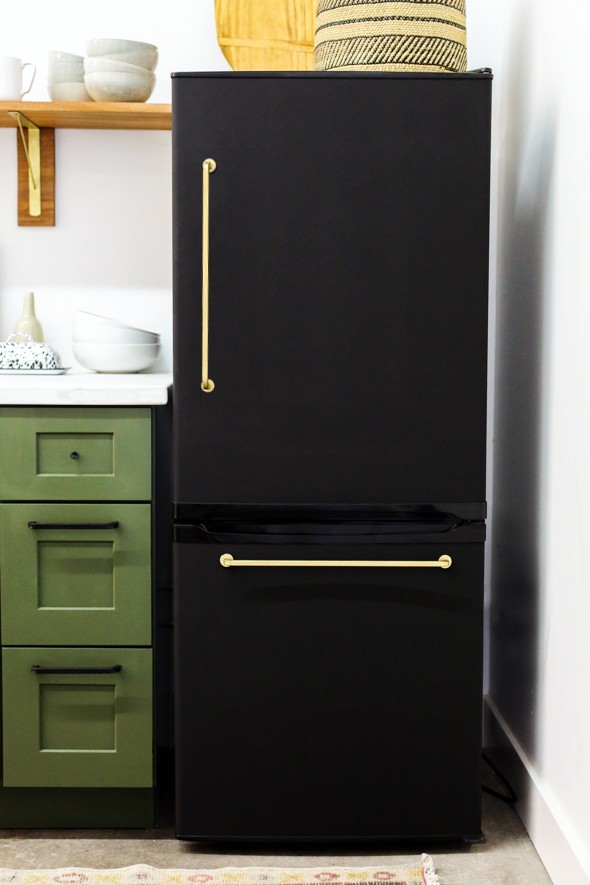
To make this project super budget friendly, we went with this apartment size fridge in stainless steel. We started by removing the logo in the top corner. Did you know you can just pull these off with a putty knife? Super simple and makes for a much more clean look!
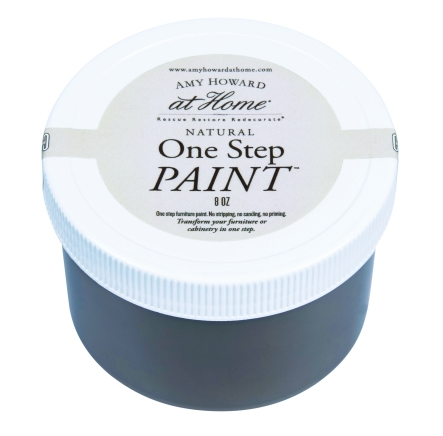
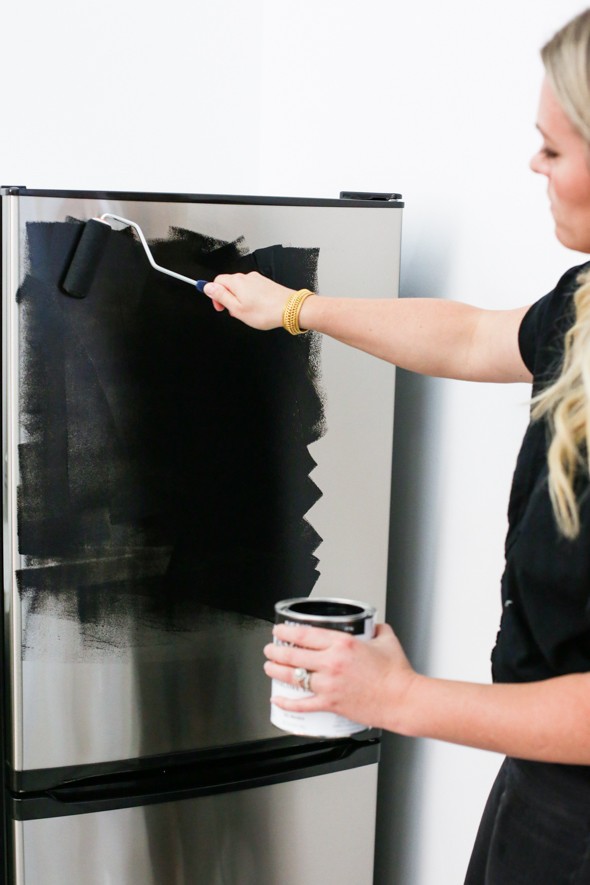
We first painted the fridge with an enamel paint, but the finish dried a little uneven. We ended up trying a coat of this chalk paint over the enamel and the finish was perfect! Smooth and completely matte – exactly what we had in mind. We used a foam roller to apply the paint, letting it dry between coats.
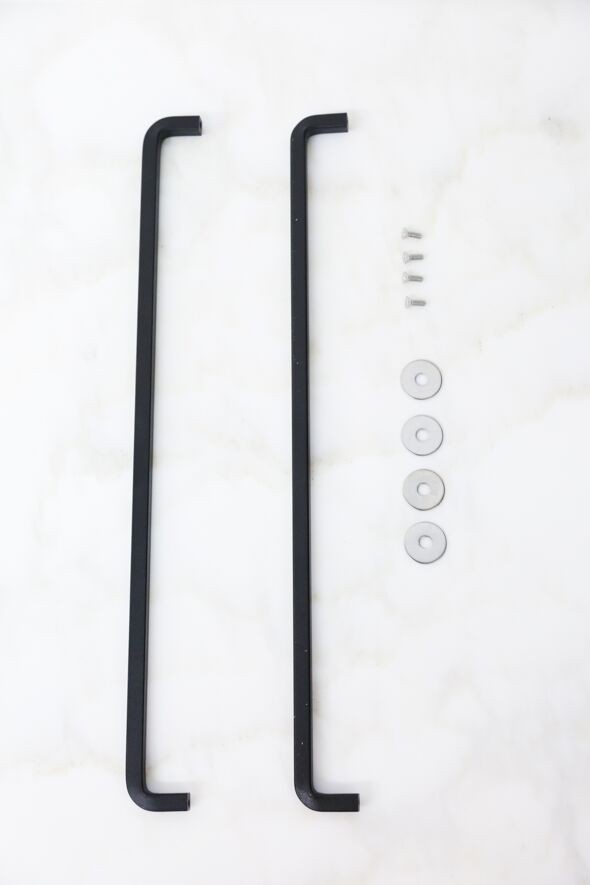
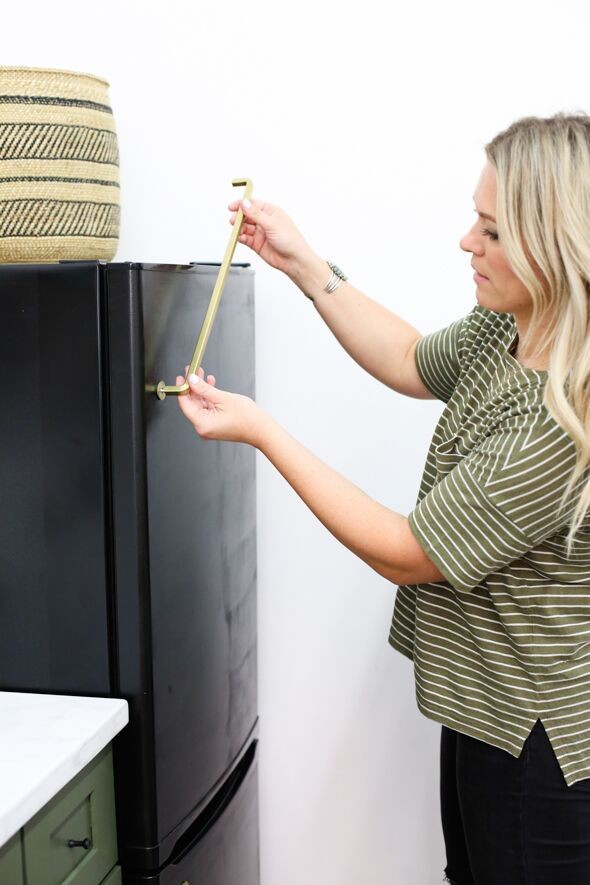
I really wanted big brass pulls but I also wanted to keep this fridge as budget friendly as possible. IKEA came to the rescue with these pulls (we also used them on our cabinets!). You will also need four washers and four short flat top machine screws for this project. Make sure that your screws fit flush into whatever pull you choose for this project. Pro tip – take the screws that come with your handles to the hardware store with you to ensure you get the right fit and length – you’ll need metric sized screws with the IKEA pulls!
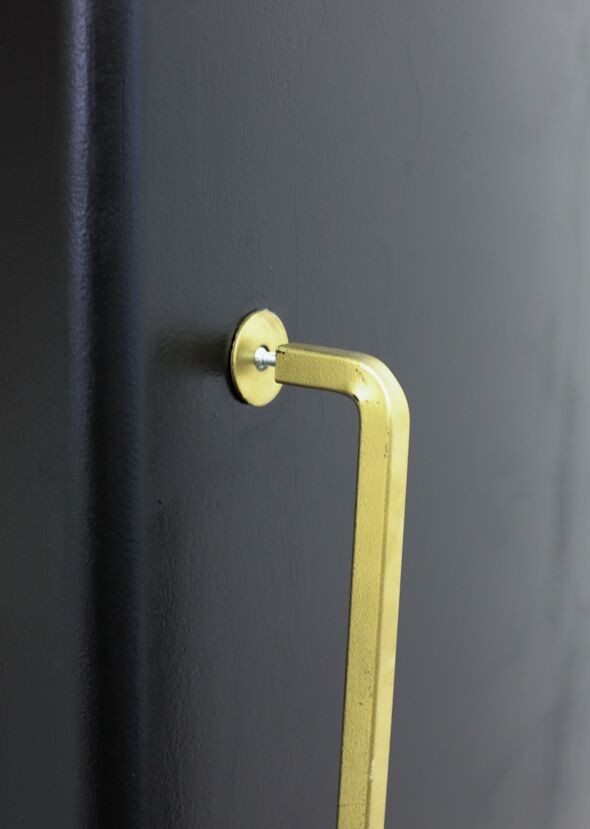
We tested out a bunch of gold spray paints (stay tuned for a post on that sometime soon!) to see what would look right for the space and this one was the perfect color and finish for our handles.
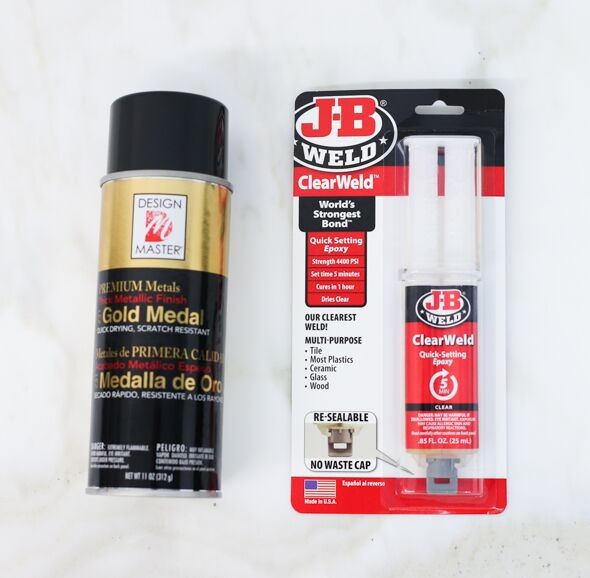
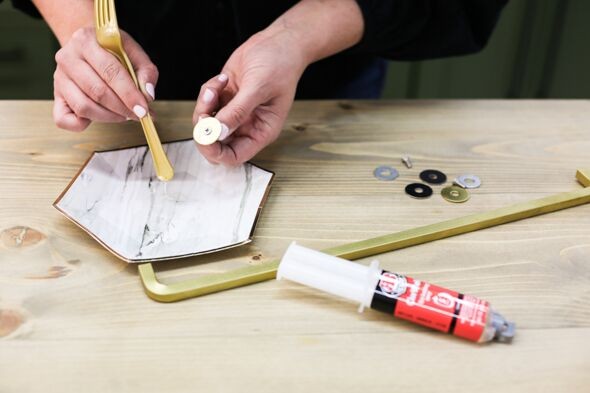
We used this super heavy duty epoxy to glue the washer and the screw to the fridge where we wanted the top of the pull to sit.
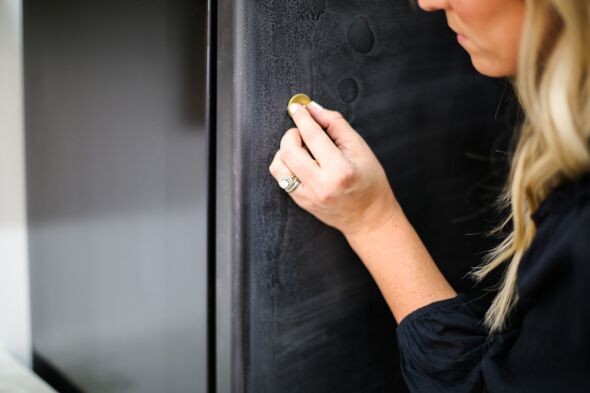
After letting the epoxied washer + screw set up overnight, I twisted on the IKEA pull with the other washer and screw already screwed in flush and then epoxied that loose end in place. It should hold right from the get-go, but if you want some extra security you can use a few pieces of duct tape to hold the pull in place while the epoxy sets overnight.
Make sure you don’t twist it too far. Once you feel it starting to tighten up, stop there.
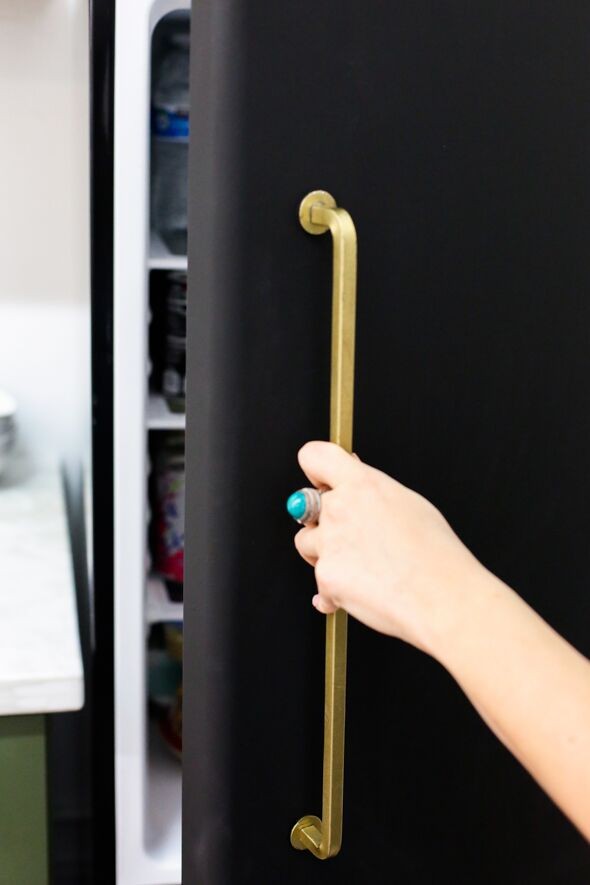
For the freezer, you just repeat the same steps of epoxying on a washer + screw and then screwing on the pull and epoxying the other side in place! It sounds a million times more complicated than it is! The trick really is to letting the epoxy set up 100%. We did this project about a month ago and the handles are holding up wonderfully to our Diet Coke habits! :)
I don’t think this is a project I would necessarily do on a brand new expensive fridge, but if you have an old fridge that you are trying to love again, I think this is a great project for you! :)


Love it you are every time so creative
Looooooooooove! Such a good makeover!
Oh my word! Looks SO good! I’m so impressed with this diy job. that kitchenette is adorable. The colors and finishes are perfect! ✨
Love the fridge!!! Also the island!! It’s exactly what ive envisioned my husband to build our kitchen…this is the perfect inspo pic to show him!
Off to paint a fridge now….
Amazing!! I wish I owned our fridge so I could it. :)
Longtime follower here…You still amaze me with these diy projects! It always turns out so good!!
I love it!
Very beautiful work, congrats;)
I love it!!!
you inspire every time!
Awesome diy Jenny, thanks so much for sharing!
Do you think this would work with a pebbly finish fridge and in lighter paint colors? I also long for a smeg fridge but in the light blue or minty green family in my 1948 kitchen.
Looks great!
So in order to get the same look you have here, do I first need to paint with enamel paint, then the chalk paint?
Wondering the same!0
Great DIY – can you also share where this green striped top is from?
I was waiting for this! I am God awful at anything D.I.Y but I love the idea.
Genius! Looks so chic. Now I want to go nd paint my fridge black!!
I love this sooo much! Has the gold paint held up to the constant touching? It seems that whenever I use gold paint it inevitably ends up either cloudy or chipping. I’m looking forward to your post on gold paint.
Was it difficult to remove the old handles from the fridge? I have been wishing that was something more easily customizable about kitchen appliances…
I’m trying to convince my husband to let me do this! We have a fridge just like that and are trying to up the style without having to splurge on a new one before we sell in a couple years….
Question: can we use that chalk paint directly on the fridge? or do we have to do a coat of enamel first?
I’m trying to convince my husband to let me do this! We have a fridge just like that and are trying to up the style without having to splurge on a new one before we sell in a couple years….
Question: can we use that chalk paint directly on the fridge? or do we have to do a coat of enamel first?
Looks so amazing! The Amy Howard products are so fabulous – I just shared with Amy!!
Hi there!
May I ask the source of the sconces? Love them!
hi there! this is gorgeous, thanks for sharing. how has the wear been? does the paint scratch? did you use some sort of sealant to prevent that from happening overtime?
Wow. This is an incredible transformation! The brass handles really make it.
http://www.thislifeisbelle.com/
Wonderful! Ive never seen a painted fridge before. It definitely matched your whole kitchen look, its so nice and makes me want to paint our fridge right now. Makes me want to do my grocery shopping too for my pescatarian diet.
Do you ever reply to the comments? Alot of good questions on here concerning if you have to enamel first? Wear and tear, etc…and no answers even years later.
Wondering the same thing. You’d probably have more repeat readers, plus it would just be nice to reply to the people who you are writing posts for!
Can you please tell us
1. Would you recommend using the chalk paint first, or will using the Amy Howard One-Step be sufficient for this type project?
2. How are the handles holding up? Paint finish, JBWeld adhesion, etc?
3. For the life of me, I cannot figure out why you’d need more than two screws, if you’re only screwing one end of the handle into the door, and gluing the other end. I understand 4 washers, but it seems like you’d only need 2 screws. Can you please advise?
Thanks!
Hi guys! Sorry about not seeing these comments! We aren’t notified about older post comments and they get buried. Feel free to email us or reach out on Instagram if you need a quick answer.
Regarding the enamel, like I mentioned in the post, the enamel didn’t look great, so we painted over it with the chalk paint, which did the trick. You can use any type of paint you want. I’m sure the Amy Howard chalk paint would be beautiful.
We’ve had to re-epoxy the handles every six months or so. Not ideal, but not a big hassle either. I feel like with budget workarounds, you have to be willing to do things like that to save the money.
You need screws on both ends to help support the handle and connect it to the washer. You tighten the screw all the way to fully connect the washer with the pull before glueing the washer to the fridge.
Hope that helps!
Thanks for this.
Hello! I found your blog about a week ago and fell in love with your refrigerator refinish. I bought the same paint and tried it myself and it looks like a completely new refrigerator! I’ve gotten so many compliments on it and I couldn’t be happier with the result. Thank you for the great idea and tutorial!
Very nice look.I have a older black fridge it’s time to update handles,wish me luck
Did this last? Was it chipped easily? Considering doing this for our remodel!
The black is still going strong! I’d probably recommend using a satin or eggshell finish in a cabinet alkyd paint instead of the chalkboard paint!
Love this look! In process of updating a 1970-ish Tahoe Keys townhome. I may be able to achieve a similar wise and efficient design. That’s if I can replace these old handles. Will bring the handles and the photos over to IKEA Many thanks for sharing your gifts and talents.
If this process safe to do in Winter time?
Gorgeous!!! I am inspired by you>
This is amazing . Thanks for the inspiration . M making over my fridge and repainting my kitchen cupboards. What color are greenish cupboards.
Thanks
Hello!
I’m curious as to how the black paint on your fridge is holding up. We are finally getting around to finishing our basement & have decided to go with black cabinets (that I painted) & brass hardware. Above the cabinet we put up brass gooseneck lights on the wall. I did it not even thinking that the fridge next to it would be stainless! I’m considering painting or wrapping the fridge.
Thank you.
Lisa