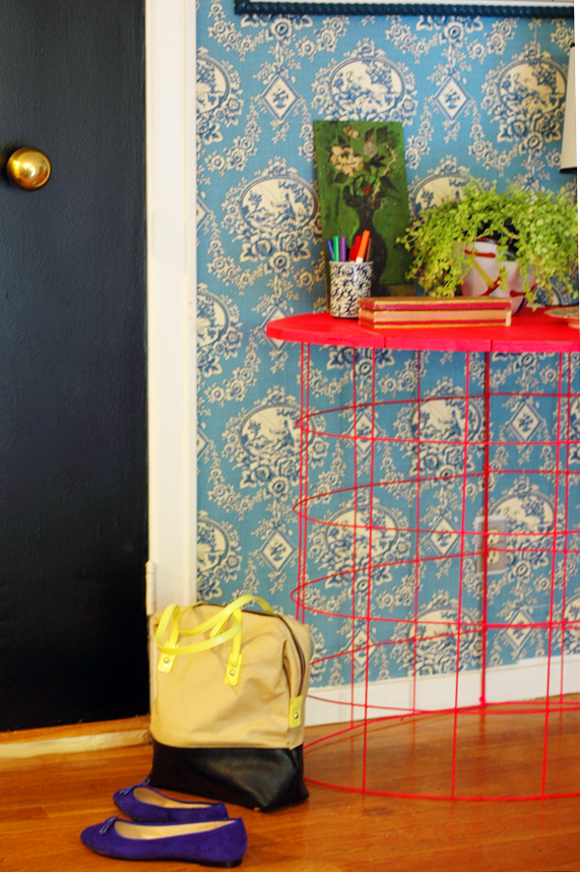
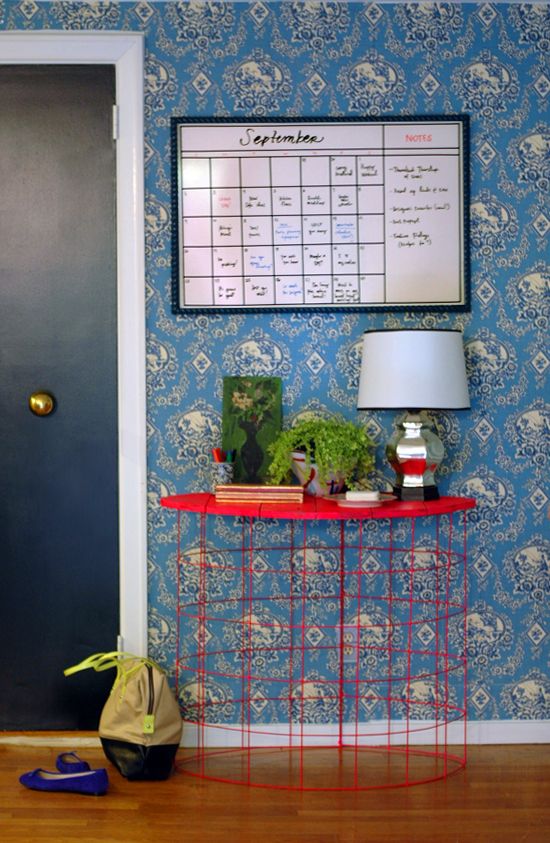
Well, here it is. What we lovingly call the tetanus table round these parts. :) But more on that in a minute.
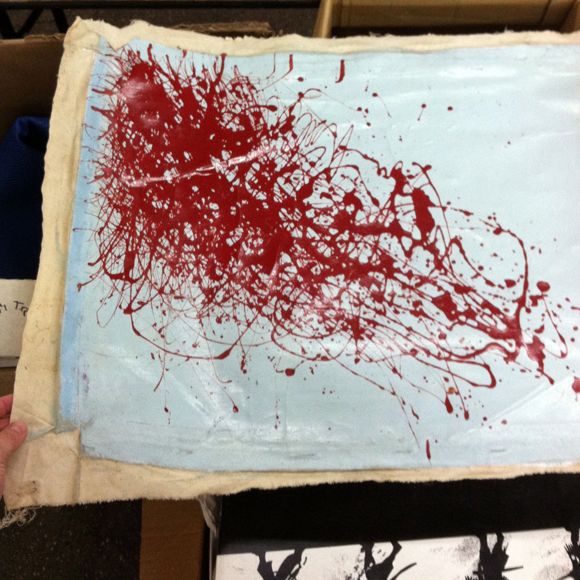
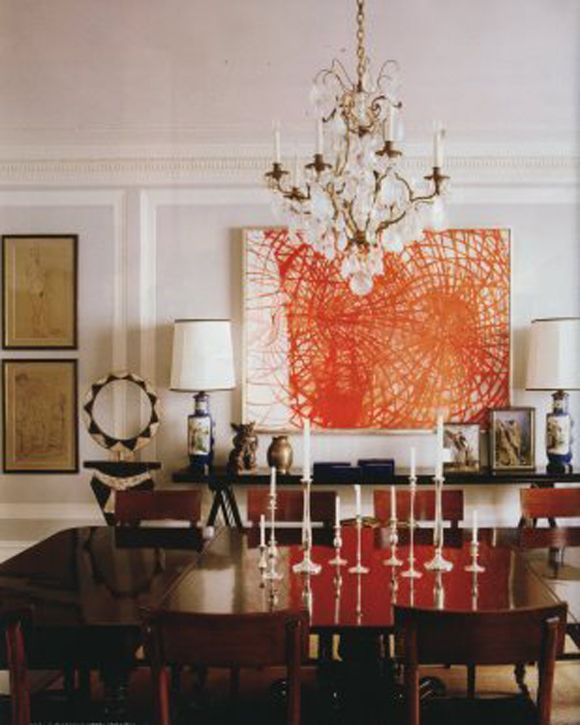
I really wanted a lightweight-looking console table under my whiteboard calendar, and I wanted to spend about $0 on the whole thing. I think I spent about $15 in the end (though, you can add a couple zeros on the end there as the hospital bills start rolling in! ha!). It ended up being a pretty fast project because I sort of made it up as I went. Don’t you love it when things work out like that? I did have two inspiration photos in mind:
(I’m lacking image sources on both of these. Do you know them?)
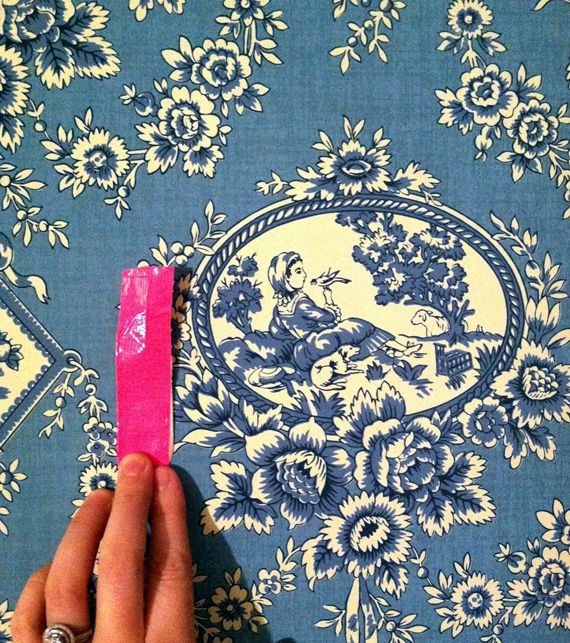
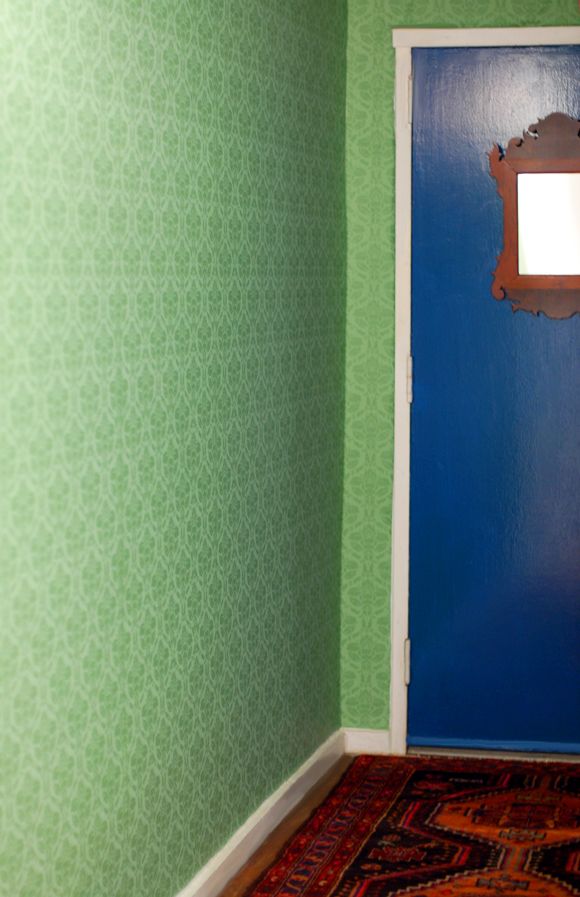
I wanted a wire base and I was really feeling the hot pink look after holding up a little square of neon pink duct tape against the new blue wallpaper. Pink and blue are good friends, I think.
So I while I was buying sod a few weeks ago, I pick up one of these sheets of wire fencing for the project. I mean, isn’t this just the *picture* of ominous?
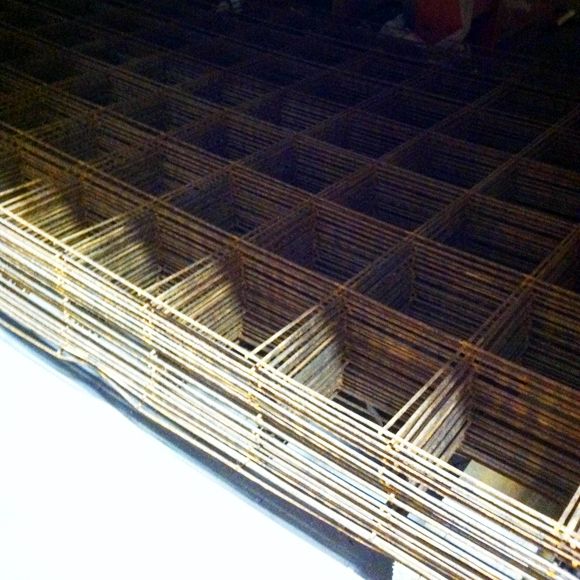
I ended up scraping the underside of my arm pretty bad on the fence later that night as we were unloading the sod. We’re 99% sure this is the tetanus virus entry site, since the symptoms of the virus usually show up about eight days after getting infected and it was on the eighth day I was hospitalized (almost exactly to the hour). Guys, seriously, please keep your boosters and your loved ones’ up to date. It was really foolish of me to not stay up on mine. I looked back in my records and the last TDap booster I had was twelve years ago – just outside of the safe range. The past couple of weeks have not been fun, but at least I didn’t die (grim, but that was a possible reality). There’s some healing left to do (the doctors said I probably would have flu-like symptoms for about six months), but I am getting better every day and that keeps my spirits up. Again, thank you so much for all your well-wishes and support!
Okay! Back to the good stuff!
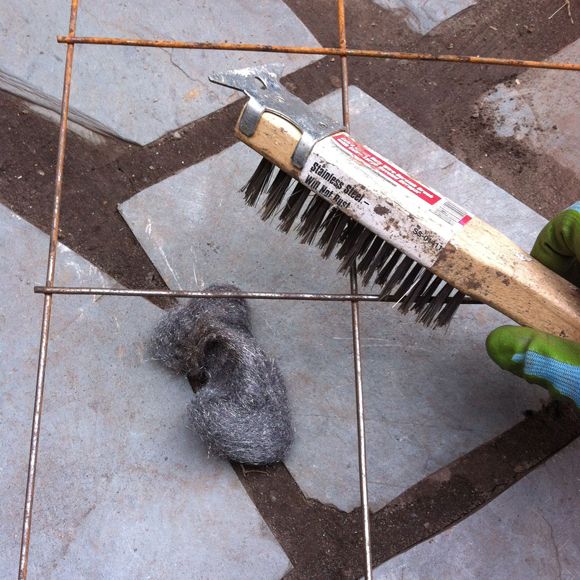
So to make this cute table, do yourself a favor and buy fencing that you don’t have to trim much (I used my new Dremel saw – love). And also get fencing that is rust-free. Not only for the above-mentioned issues, but because it is a pain to clean off! I used a wire brush and some steel wool to clean off most of the rust here.
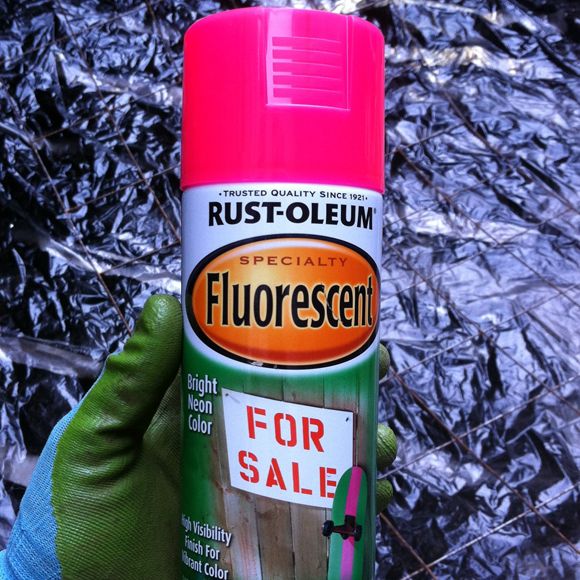
Then I sprayed the fencing with neon pink spray paint. I wish pink photographed better. This stuff is intense in real life! The color is really fun. To get full coverage, you’ll need to do about three thin coats with drying time in between coats. I used two cans for the table.
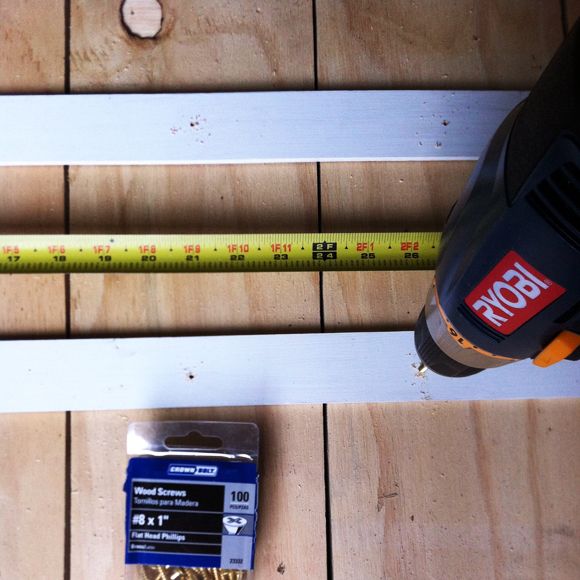
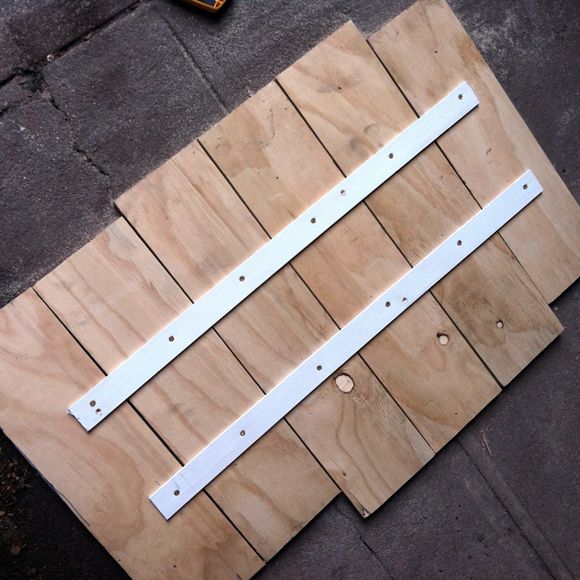
While the fencing was drying, I built a table top out of a scrap piece of plywood. I cut the scrap into planks, spaced them out a bit and drilled down two pieces of flat trim to act as sort of strapping pieces.
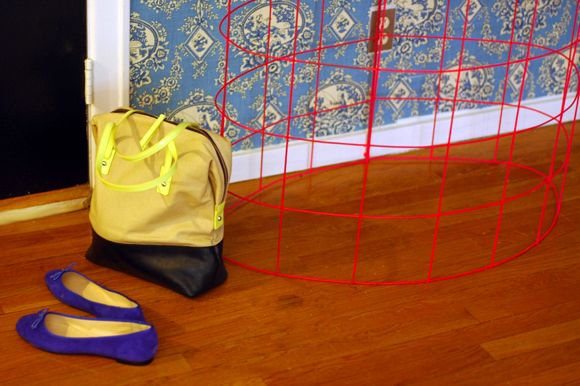
Then I bent the fencing to fit the general shape of the table top. It’s pretty sturdy wire, but you can bend it with some work.
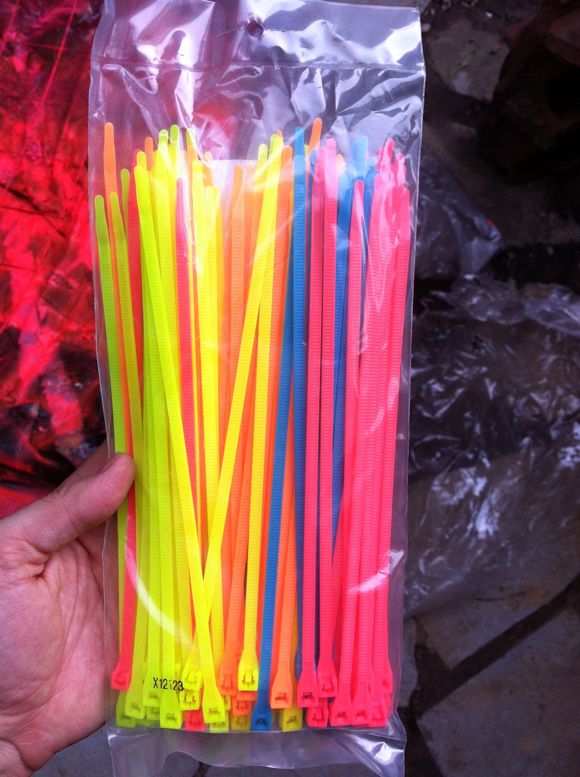
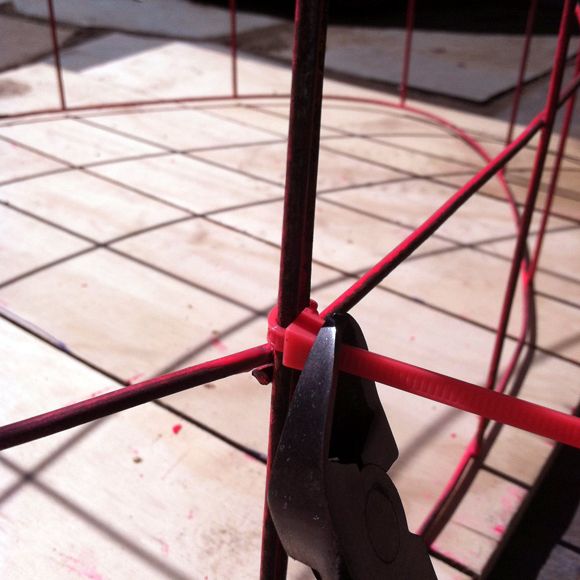
I had these neon zip ties in the basement that worked really well to tie the ends together to hold the oval shape.
You can still mess with the wire frame after tying the ends together. The shape doen’t have to be perfect, just shoot for symmetrical.
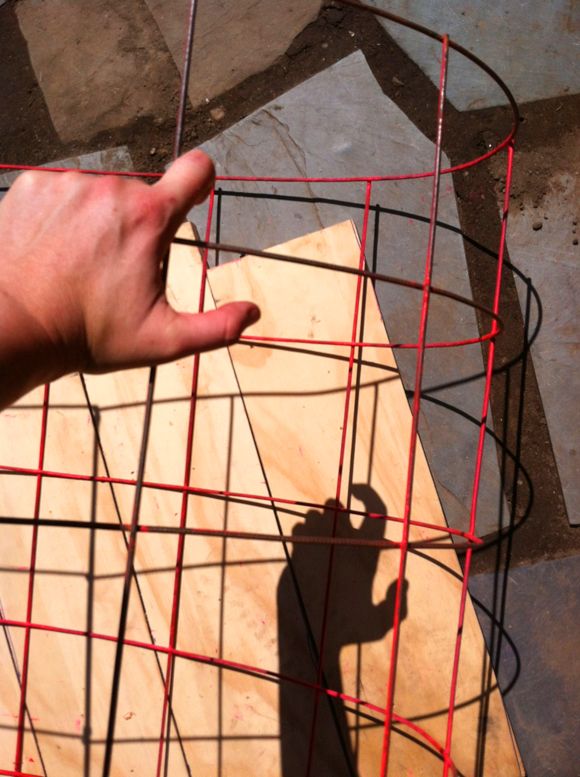
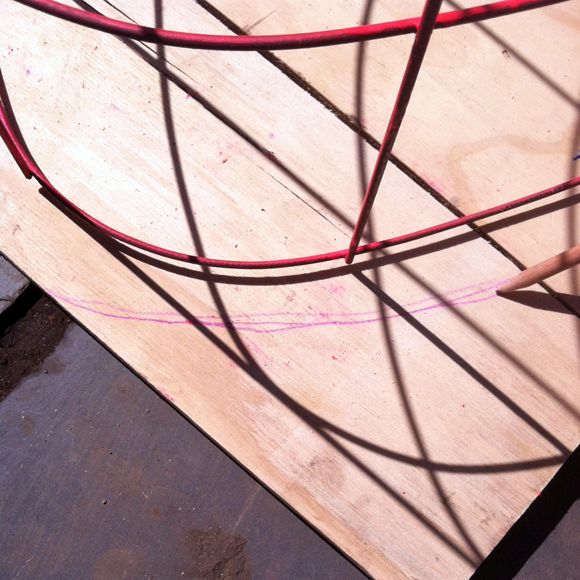
Then I traced out the oval shape, giving the table top just about an inch of a ledge.
And then I cut the plywood top out with my Dremel saw, sanded it up a little and then gave the whole thing a coat of pink paint.
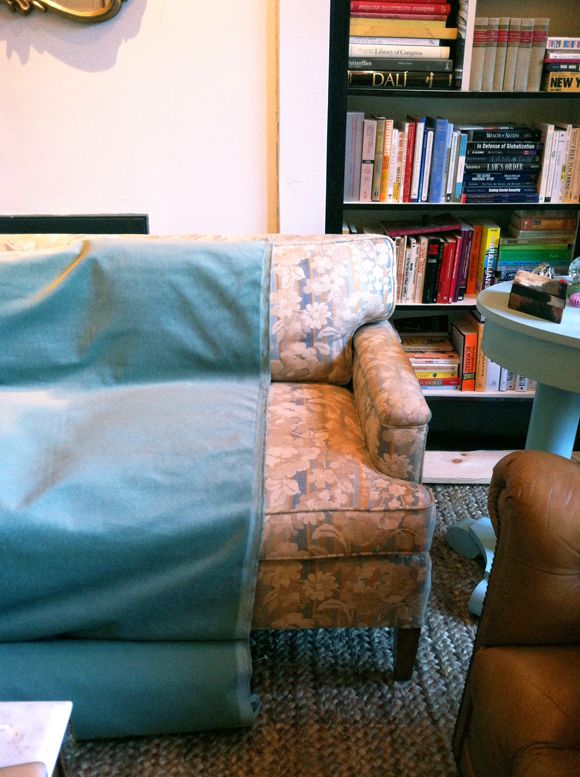
I don’t have a photo of the underside, but I used another small piece of trim to strap the tabletop to the fencing, so it’s nice and secure on there. Also, the base is surprisingly sturdy, for how airy and light it looks!
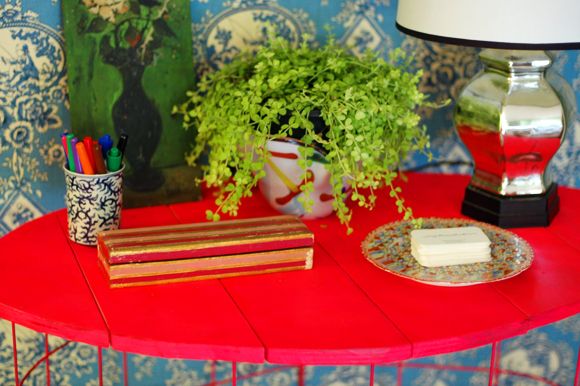
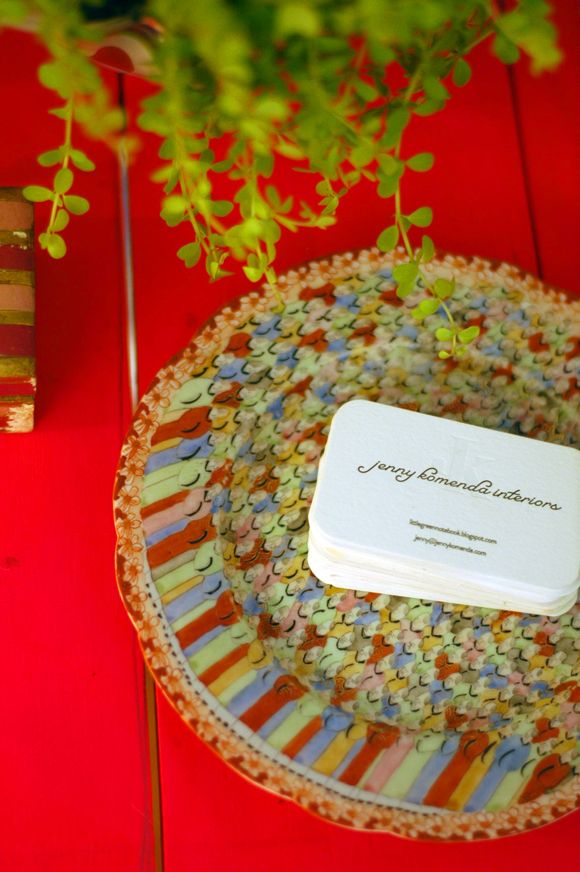
It makes for a pretty place to put out business cards and hold my dry erase markers.
I know neon has been trending for a while now, which means it’s probably on it’s way out of style, but I still think it’s fun in small doses. I would have never advised a client to spent a ton of money to buy a console in this color. But a cheapie DIY project that requires just a couple bucks and a few hour’s time? I say go for the neon! Plus, paint is a super easy thing to change if down the road my retinas start to burn from the pink.


