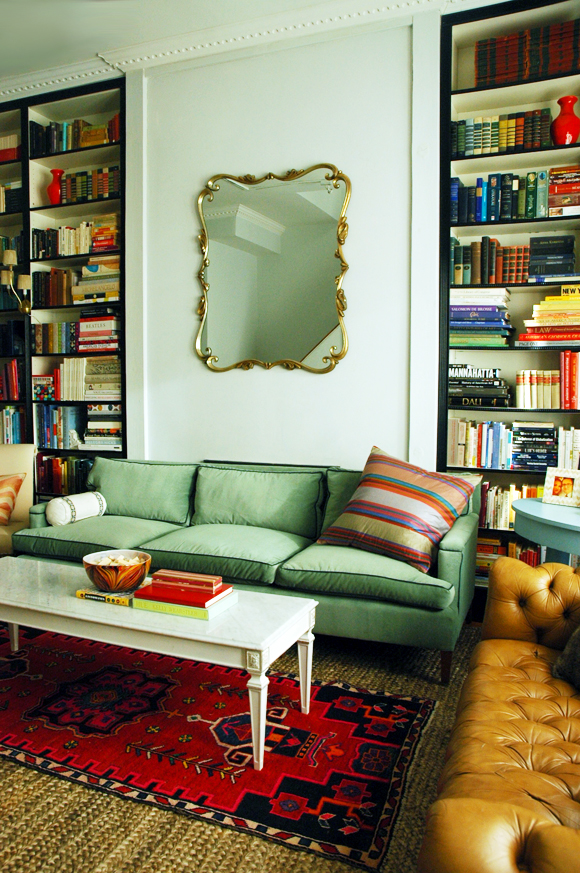
We love books and have a little bit of a book-buying problem in the Komenda family. It goes without saying that it doesn’t cut it for us to organize our books only by color – that way it would be impossible to find a specific book! And anyway, I think it can look a little forced when huge amounts of books are strictly placed in severe blocks of graduated color. You know what I mean? So while I appreciated the strict by-genre organization in the bookshelf wall in our loft, with our new bookshelf wall in the brownstone, this time front and center in our living room, I decided to experiment with the organization a little.
I’ve decided I have found the perfect-for-me way to organize books – and it is so, so simple. Here are the steps:
1) Decide where you want the biggest, chunkiest books to sit on your shelves.
My biggest books are art and design books and a couple of atlases and an old family set of encyclopedias. I went with most of these flanking either side of the fireplace. The atlases and encyclopedias went up on the highest shelves, since they are rarely looked at. (Except for one giant atlas that we keep on the coffee table.)
2) Before shelving anything, make piles of your books by genre.
We wanted our genre sections to be pretty specific so we could easily locate a book. We had to go past the fiction/non-fiction route. Our genre piles went like this: Classic Fiction, Contemporary Fiction, Art/Design, Religion, Lifestyle (cooking, hobby, crafting, gardening), Economics, Philosophy, Politics, Law.
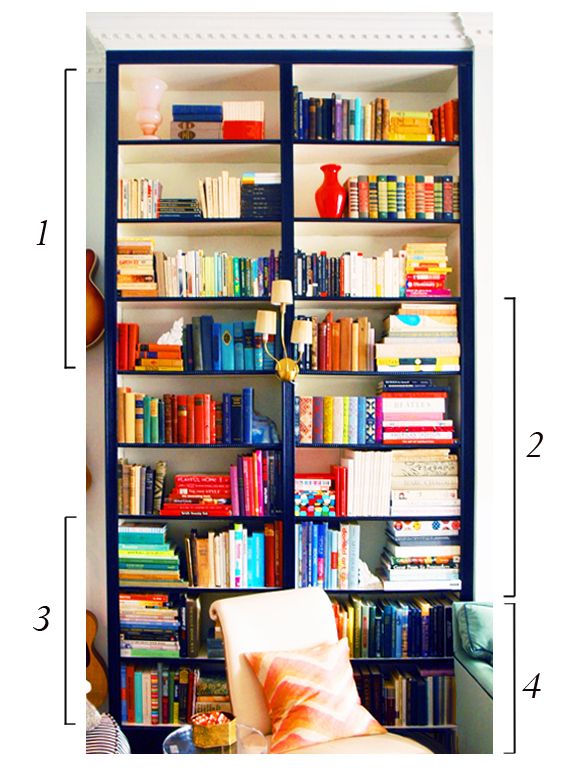
1 – Contemporary Fiction // 2 – Art and Design // 3 – Lifestyle // 4 – Religion
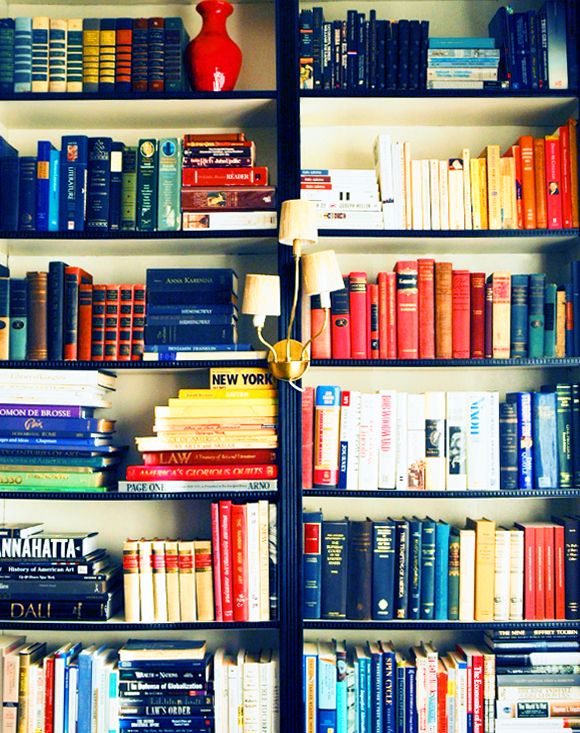
3) Organize the individual genre piles by color and while shelving, pay attention to size.
When you’re dealing with a large number of books in one place, you can give the eye a chance to rest when there are blocks of just a few colors. So it became rare for a single shelf to see the full ROYGBIV spectrum – most of the time each shelf was only two or three main colors. And I tried to be loose about the colors. I cared a little more about matching sizes than color shades, and I think that helps the overall look feel a little less uptight. If I had been really strict about keeping the colors in the exact right spot, the spine lengths would have been all over the place, which looks sloppy to me. Also, by being a little flexible with color, I could easily alternate the piles between horizontal widths and vertical stacks.
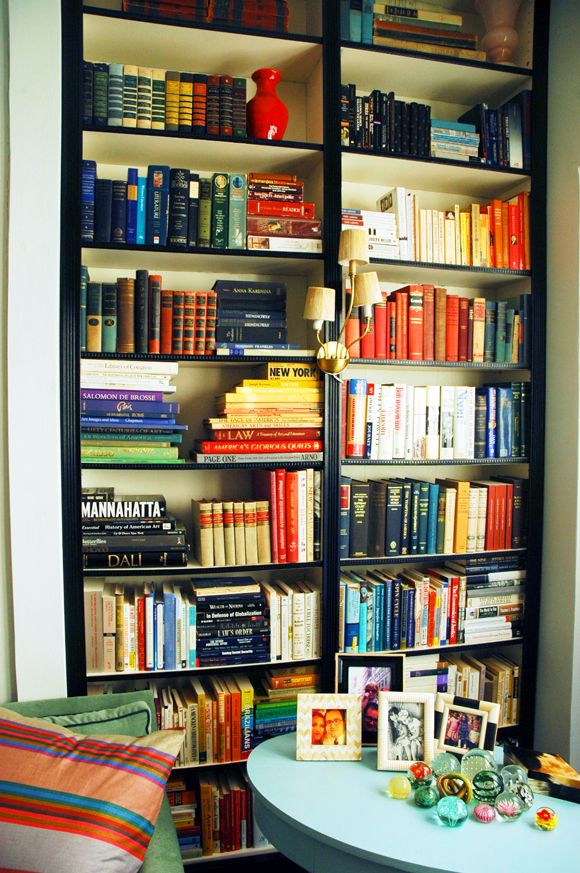
5 – Classics Fiction // 6 – Political // 7 – Design and Travel // 8 – Economics and Philosophy // 9 – Law
And that’s it! I am so sold on these simple steps to artfully and functionally organize bookshelves. I’ve tried the tricks on two more bookshelves since doing my own, and I’ve been just as satisfied with the results. Isn’t it the best when form and function work together?


