

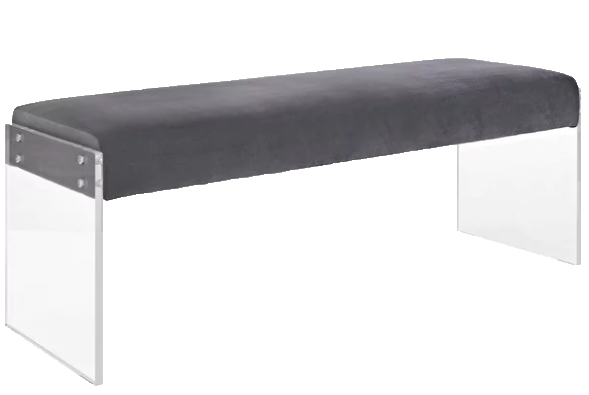
I love simple upholstery projects for updating less-than-exciting furniture pieces. We picked up this cute little bench recently and the gray poly microsuede upholstery was not doing the cool acrylic legs justice!

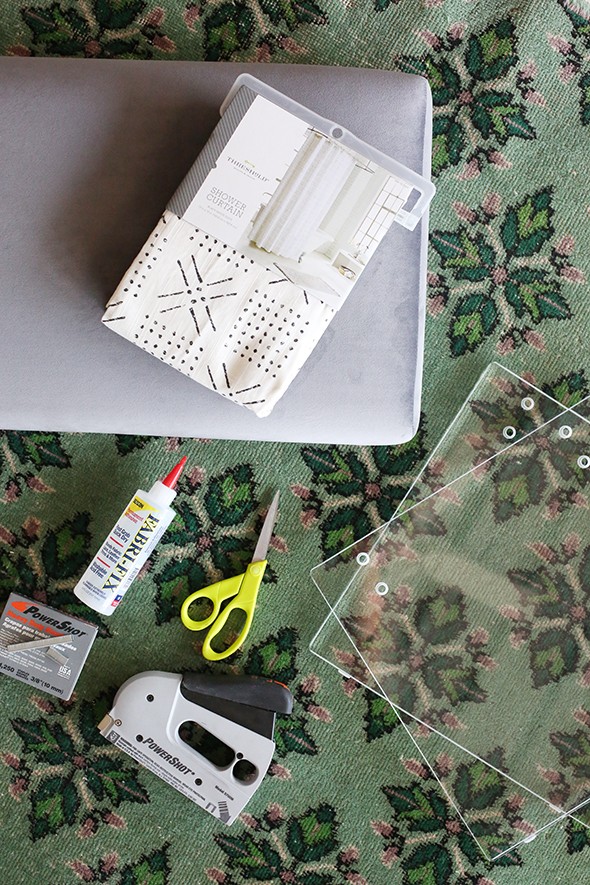
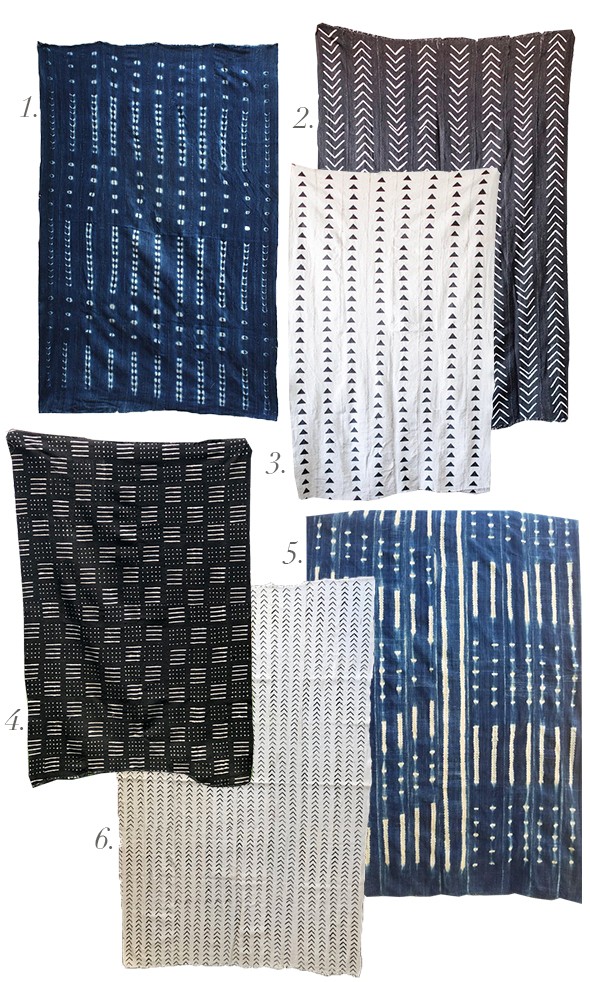
You can use all sorts of fabrics to recover this bench beyond regular fabric, like flat weave rugs from IKEA or Target or vintage textiles from Etsy. A thick throw blanket would be really cool too. I had this mudcloth patterned shower curtain from Target around the studio and at $20 (on sale right now for only $13.99!!), it was a super inexpensive option for reupholstering this bench!
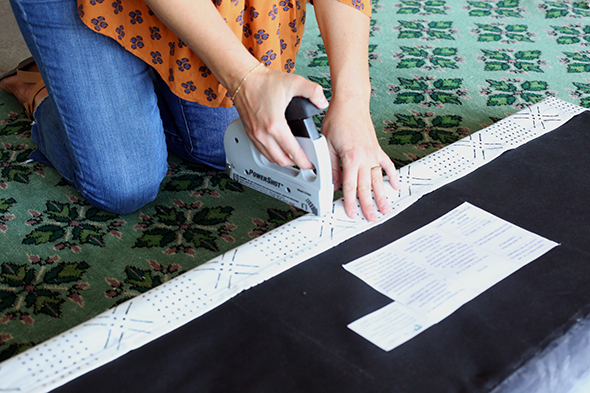
Whenever I’m doing an upholstery project, I always start my staples in the center. Staple one whole side of the bench, leaving a few inches on the ends.
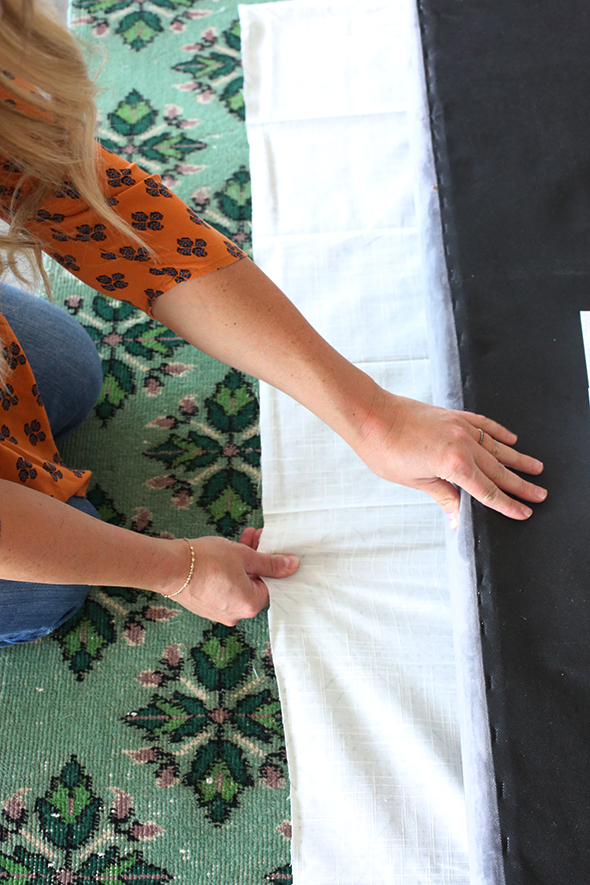
Pull the fabric tight in the opposite direction and staple the other side of the bench, also starting in the center and working out again.
Once you’ve stapled both of the long sides, staple the short sides, also starting from the center and leaving the corners undone.
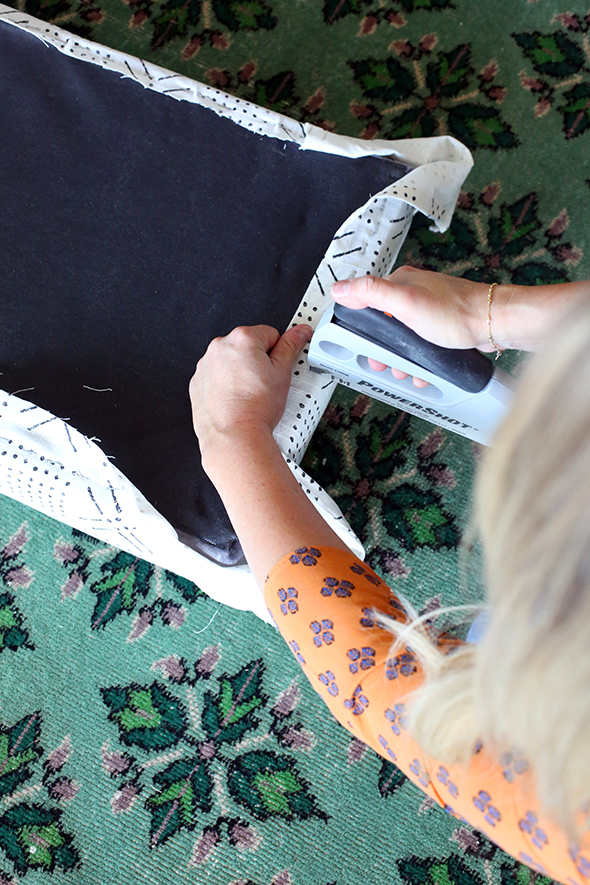
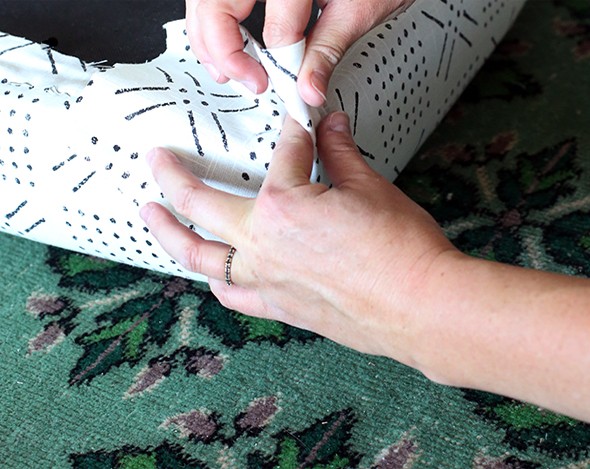
Corners can seem like the tricky part of a DIY upholstery project, and if you just bunch the fabric up and throw a ton of staples in the corners, everyone will know it was a DIY project! The trick is all in the fold! Start by pulling back the fabricand putting one staple right on the corner edge.
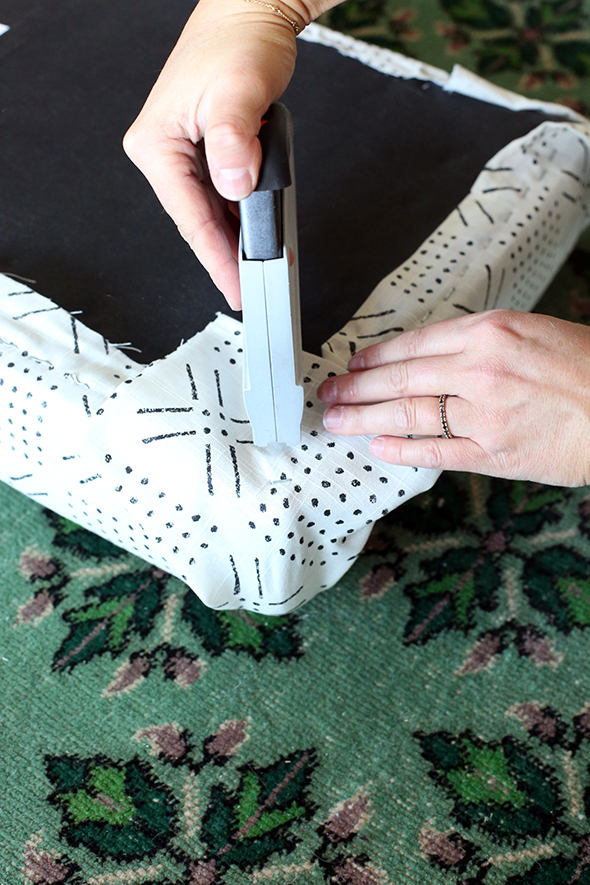
Then pinch the loose fabric into a tidy fold that will lay as close to corner as possible.
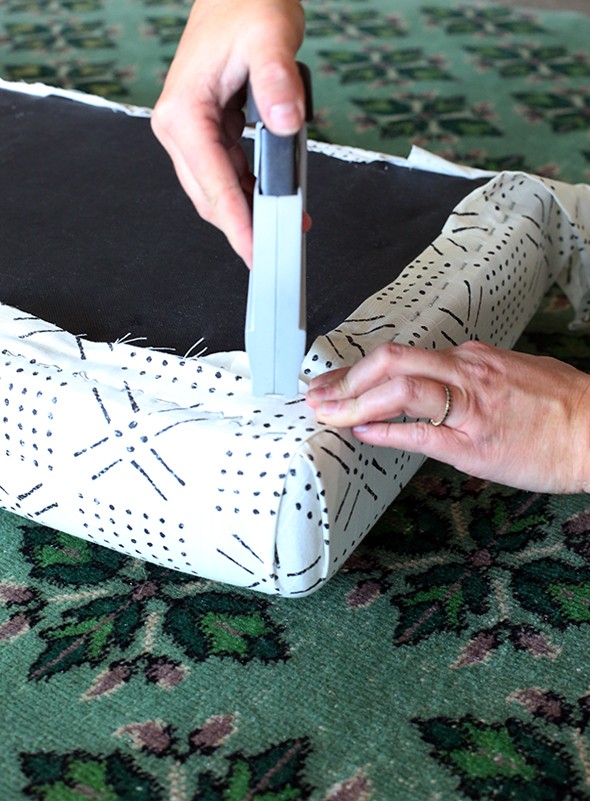
Do one side, staple it and fold and repeat on the other side. It should look like this when you’re finished. There shouldn’t be a ton of extra fabric and everything should lay perfectly flat with the folds!
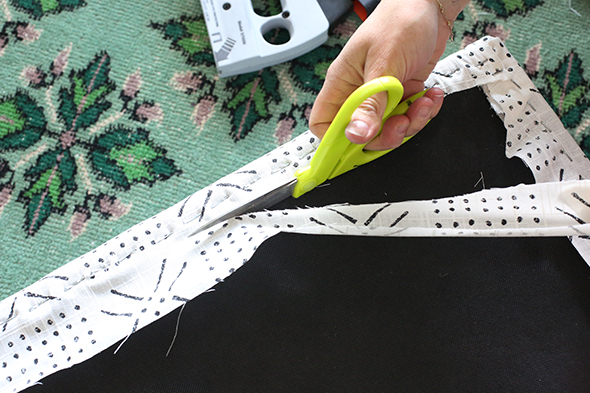
Once all of your fabric is stapled into place, trim away the extra fabric and leave only 1/4-1/2″ so nothing hangs down.
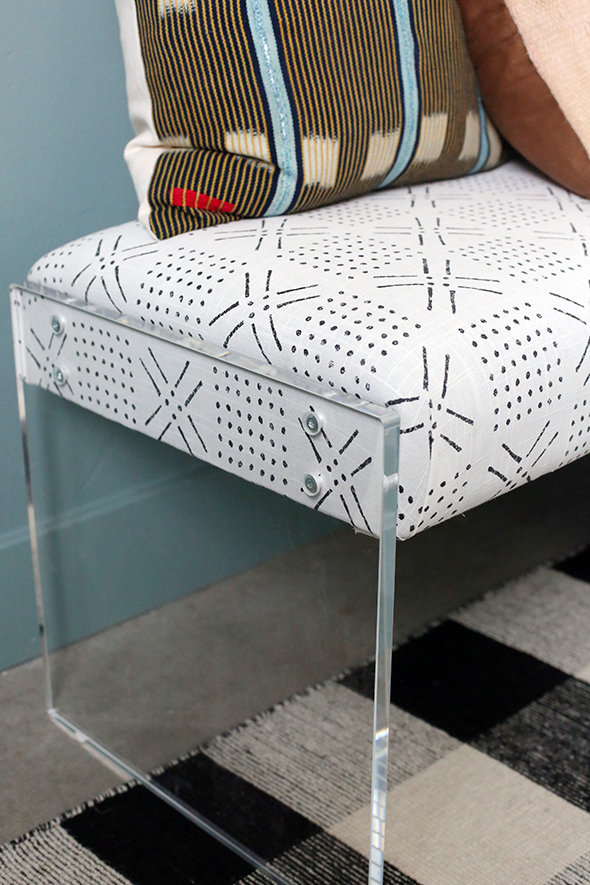
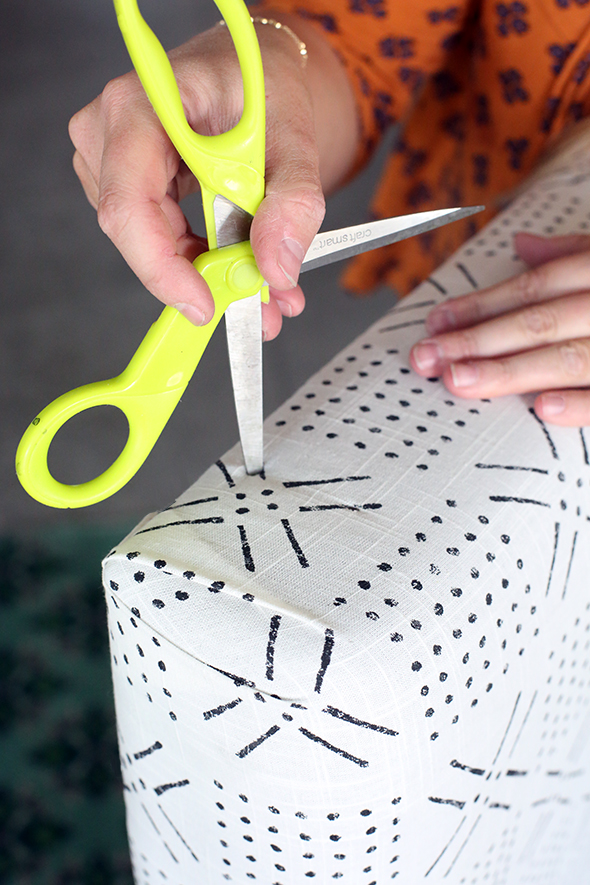
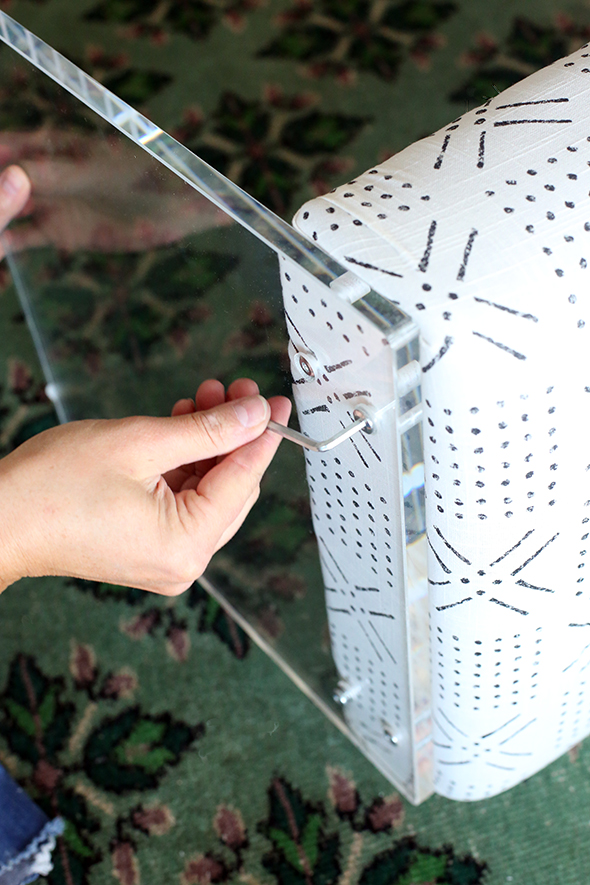
Use a pair of sharp scissors to poke holes in the fabric and screw in the acrylic legs.
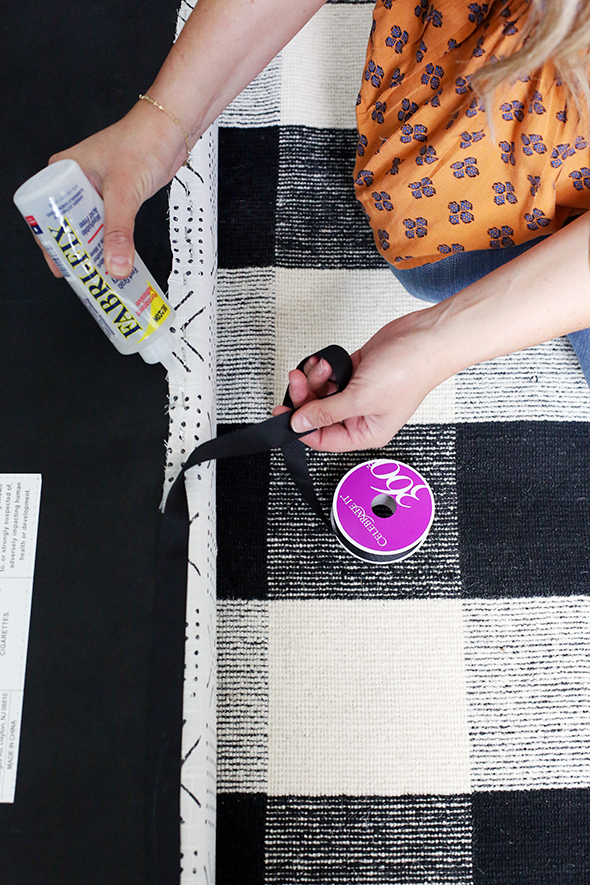
If you’re feeling like an overachiever, you can glue black ribbon on the underside of the bench to cover the staples.
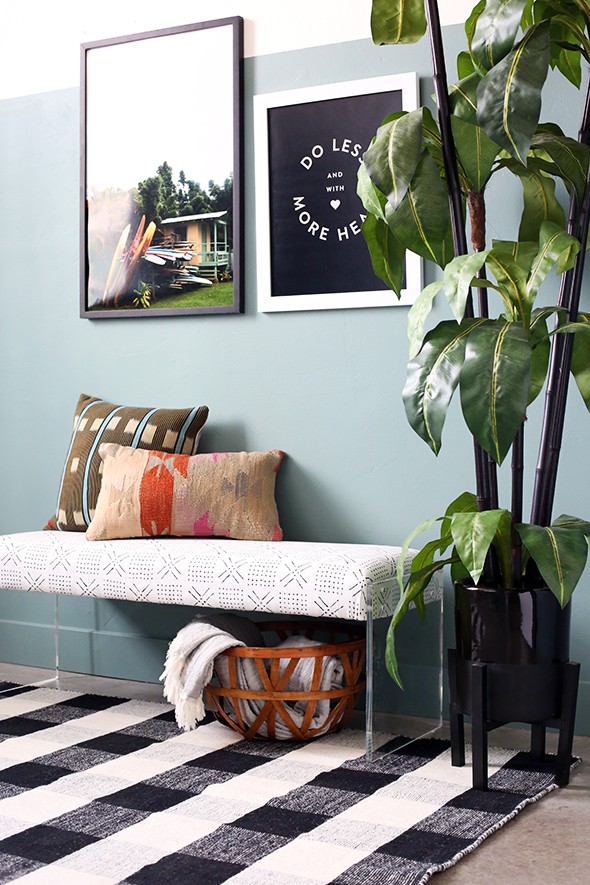
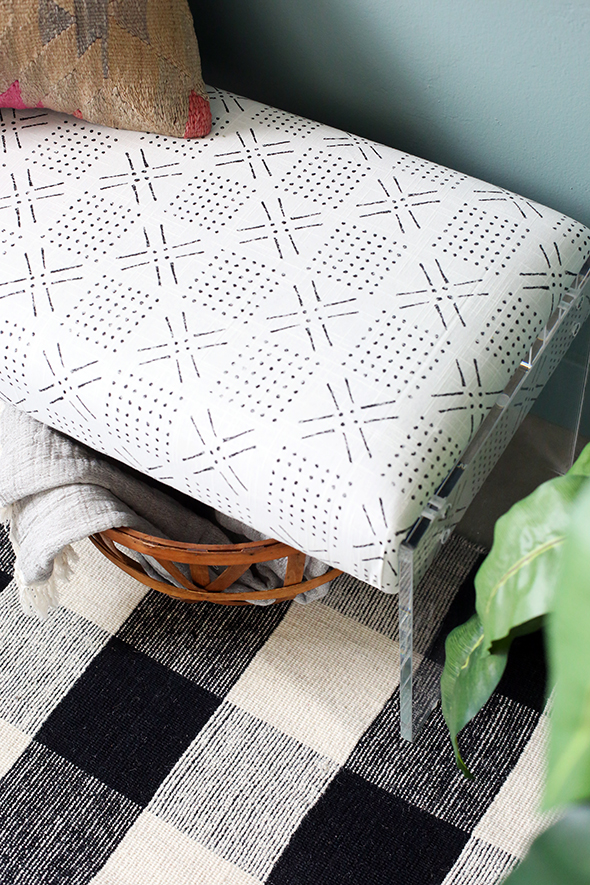
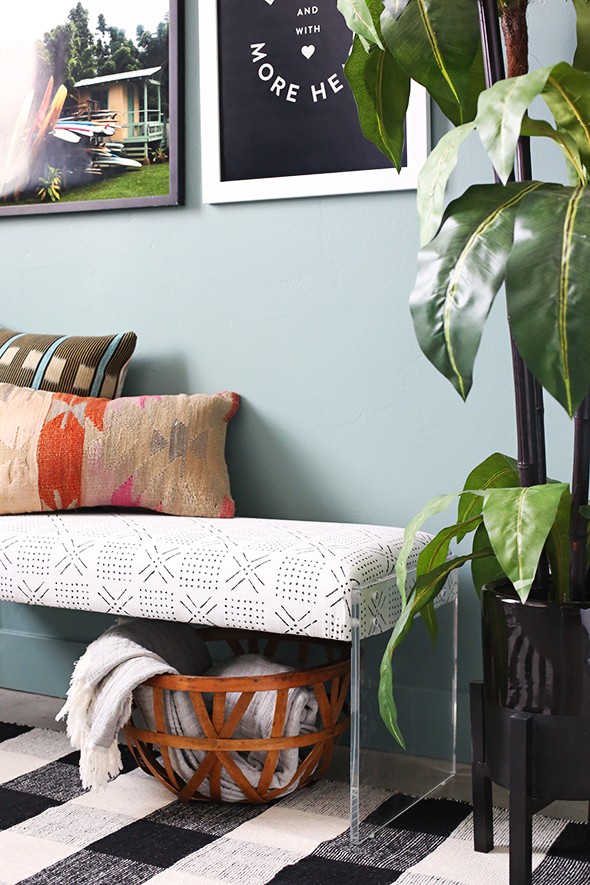
Ta-dah! I love the pattern on this cute shower curtain and think it’s really cute with these acrylic legs!
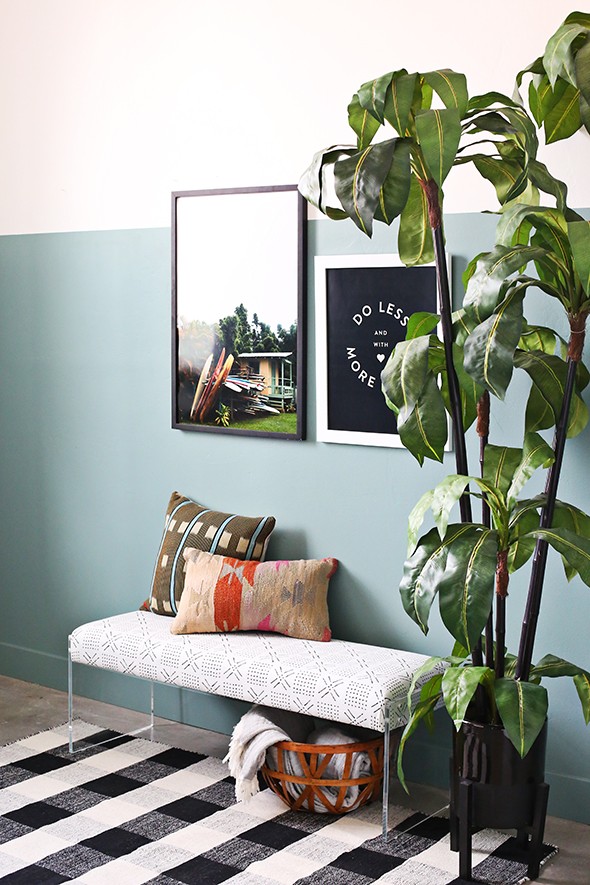
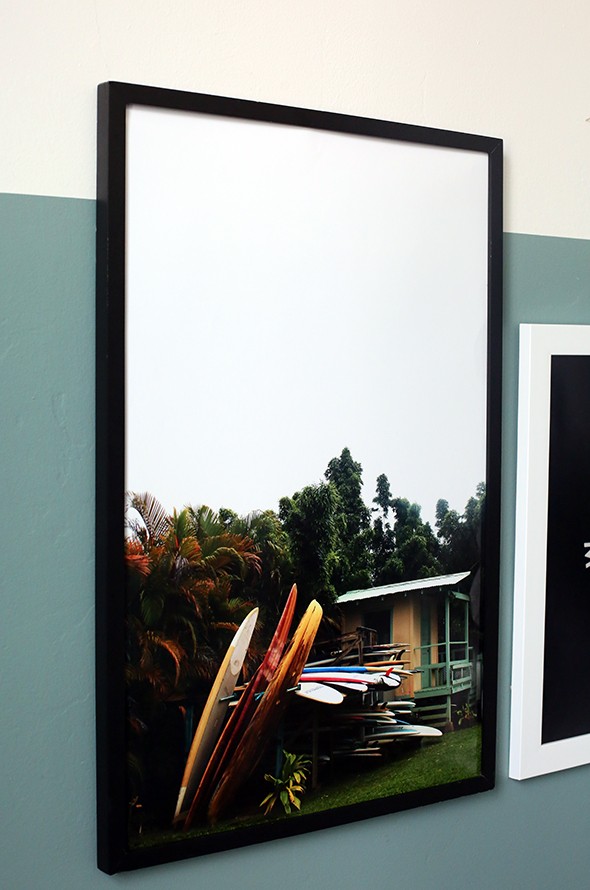
And how cute is our newest print SURFBOARDS? We added it to the shop today and I love it!
Here are all the links to the products we featured here! We also added a few links to some vintage fabrics that would work really well on this project. I hope you love this project as much as we do. Tag us on Instagram if you try this project yourself!
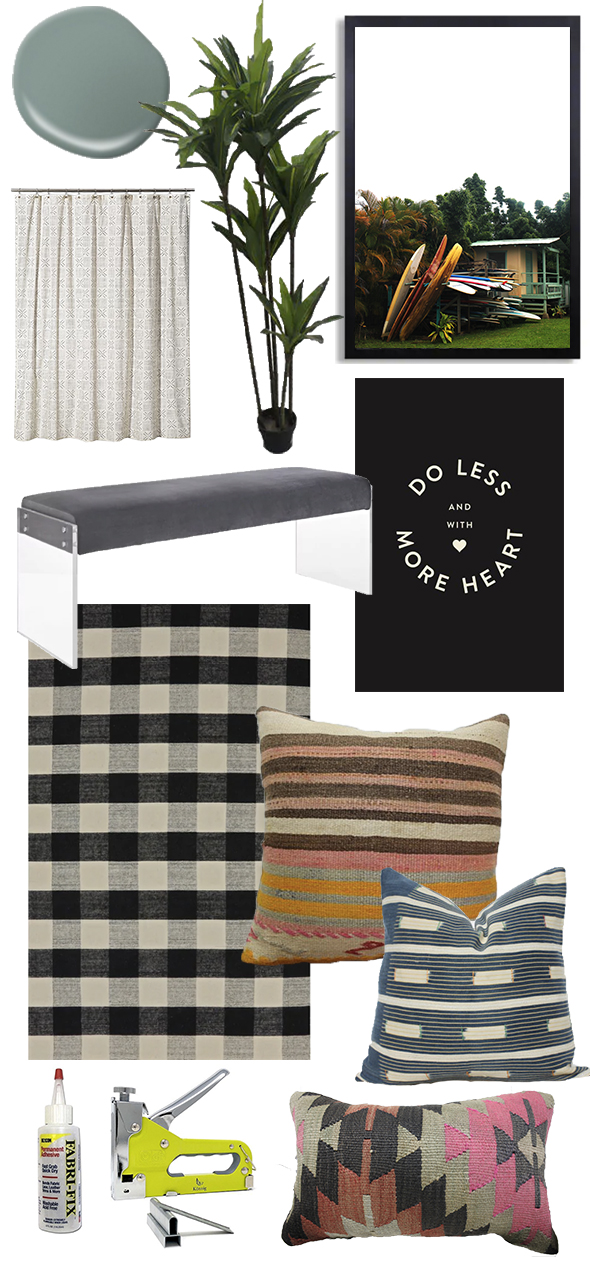
wall color – Behr “In the Moment” // faux tree // SURFBOARD print // mudcloth shower curtain
acrylic bench // DO LESS print // buffalo check rug // striped kilim pillow // blue & white pillow
fabri-fix glue // staple gun // kilim lumbar pillow


Such a great improvement and manageable DIY to tackle! Thank you!
I like the green floral rug a lot! Where did it come from?
It was an etsy find! I usually search for Turkish rugs or Oushak rugs and always find some gems! :)
Good
Turkish rugs or Oushak rugs and always find some gems! :)
This makes me want to go to ever estate sale and tag sale to find a re-workable bench! Beautiful. I love the re-upholstery fabric.
Hi Little Green Notebook –
Where oh where is the green floral rug that you did the project on from? It is STUNNING!
Hi Alix! That rug was a vintage find from Etsy! I love it too! :)
This makes me want to go to ever estate sale and tag sale to find a re-workable bench! Beautiful. I love the re-upholstery fabric.
I can’t wait to try this! you make it seem so simple! Question…..the staple gun you linked to is different than the one you are pictured using, which one do you recommend??
I have a like both of these! :)
I just bought a used teak dining set with upholstered chairs that need to be redone reeeeal bad. The upholstered seat and back are set into the wooden frame though and I don’t see a way to take it apart (the screws are covered with wooden plugs and I’m afraid of damaging the frame if I try to remove them). Any tips?
Hi Chysta!
I *think* I can imagine what is happening with your chairs and I’m pretty sure the only way you’ll be able to recover these is by removing the screw covers. You may have to just get new screw covers after you finish recovering and putting the chairs back together, but those are easy to find online and at hardware stores. I hope that helps! xo
Greatly composed article
I love a Jenny DIY! You are so skilled. That acrylic bench is bananas. (Also, all the heart eyes for your green rug!)
Thanks for using our PowerShot staple gun for your project! This bench looks great. #MadeWithArrow
I love my PowerShot! :)
You are so creative. I would love to spend an hour in Target with you! :-)
Love it! Thanks for sharing. :)
I’ve only read a few of your blogs, really like your style, fun bench project
This is a fun throwback to the days when little green notebook was one set of fun DIYS after another. This project reminded me of the shibori project from a while ago, think I’m finally going to do it this weekend :)
Thank you so much! I’ve been looking at this exact bench but with three kids I want a crypton strength fabric yet I have no time to do more projects. I’ve been tempted to dream about a costly custom version but your diy reminds me it’s worth it to get exactly what I want for less.
I love this DIY. I am feeling very inspired.
Noelle
http://elle-no.com
The article you have shared here is very awesome. I really like and appreciate your work. The points you have mentioned in this article are useful. I must try to follow these points and also share others.
You’re so cool! I don’t suppose to learn something like this before. Thank you for sharing this
Amazing job! I did a weak fabric job on my patio chair, guess I should have read this article first! hahaha Thanks a million!
thank you so much.