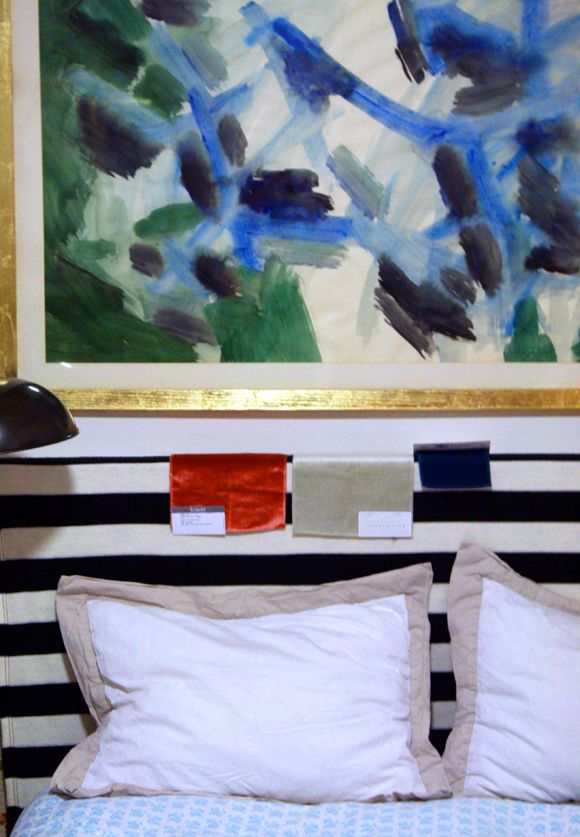
I love big art hanging over a bed and have been on the look-out for something large and in charge for above our headboard. Recently (actually when I was shooting that IKEA commercial spot), I spied a HUGE frame in someone’s cart at IKEA and was surprised to hear from them that the artwork/frame combo was on $50! Not bad at all for 55″ of wall decor! I was planning to pick up one of these and replace the print with some of my own artwork.
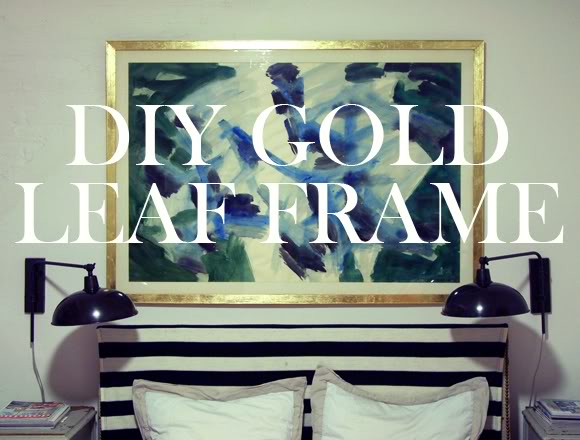
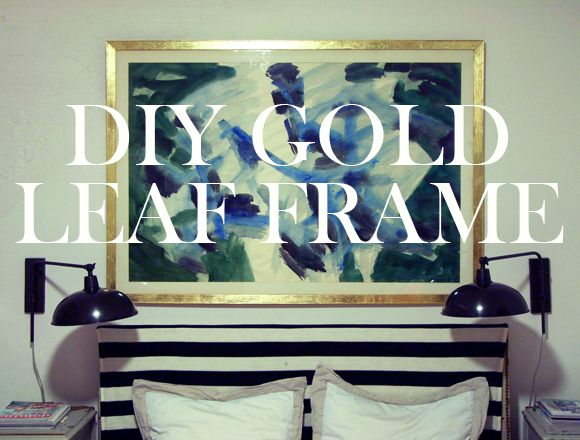
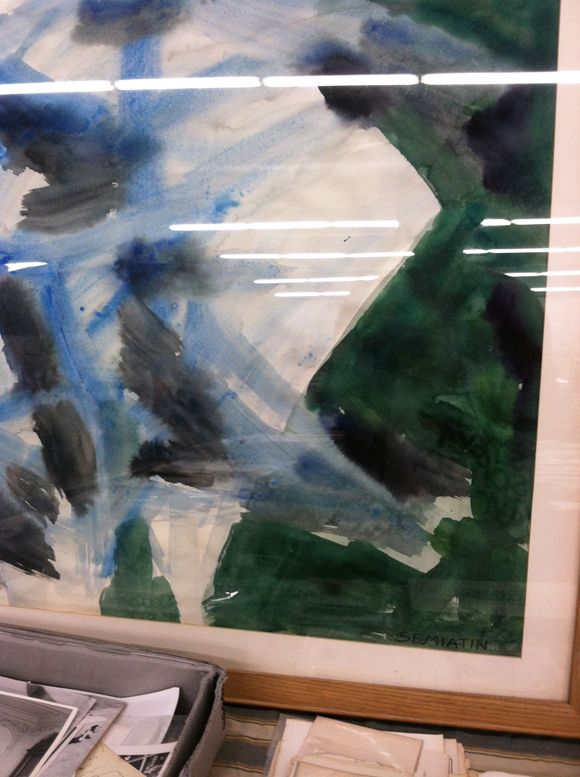
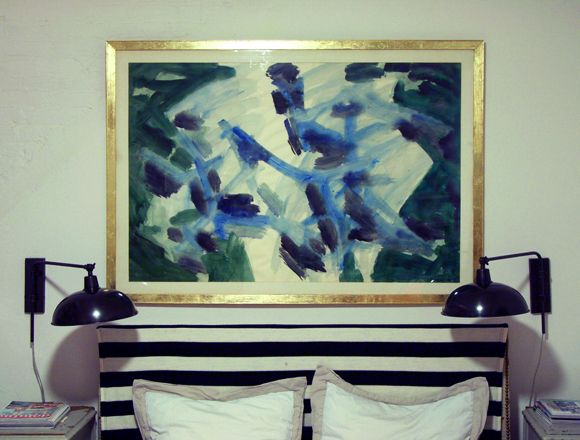
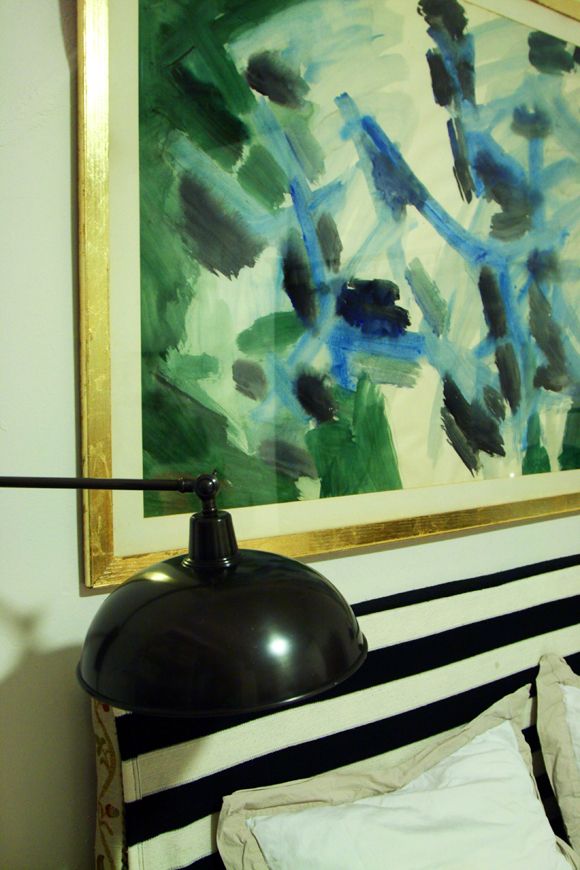
Then last week at the flea I found the absolute perfect, perfect piece of art for above our bed. It’s a vintage watercolor featuring all sorts of lovely blues and greens and some black for contrast.
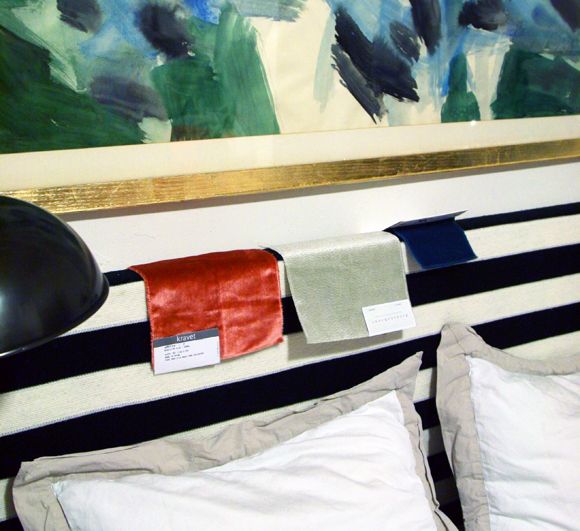
The only part of the art I didn’t love was the heavily grained oak frame (I prefer natural wood frames to be birdseye maple, burlwood or birch).
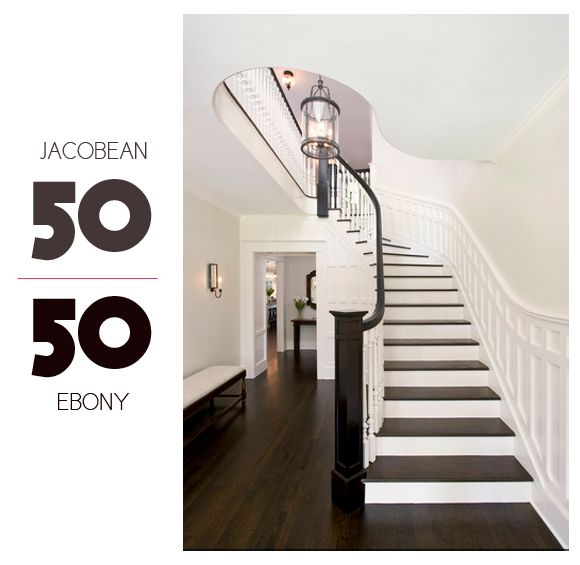
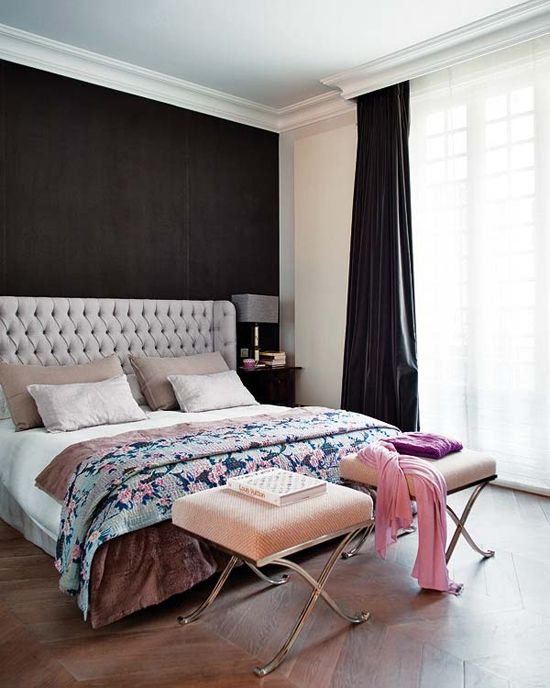
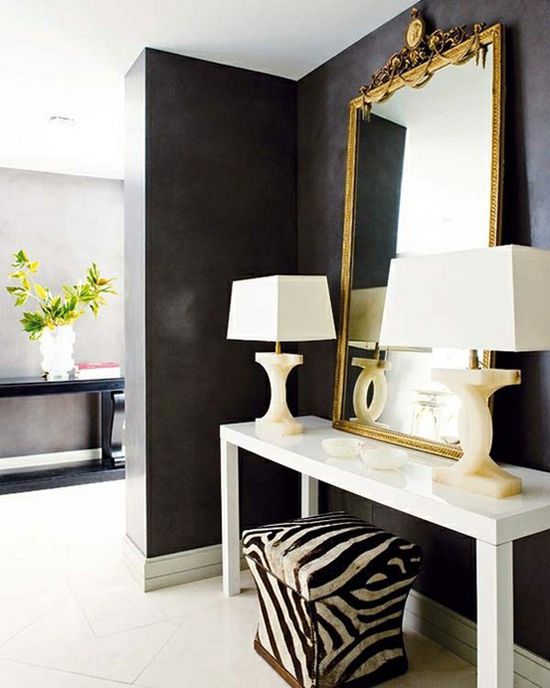
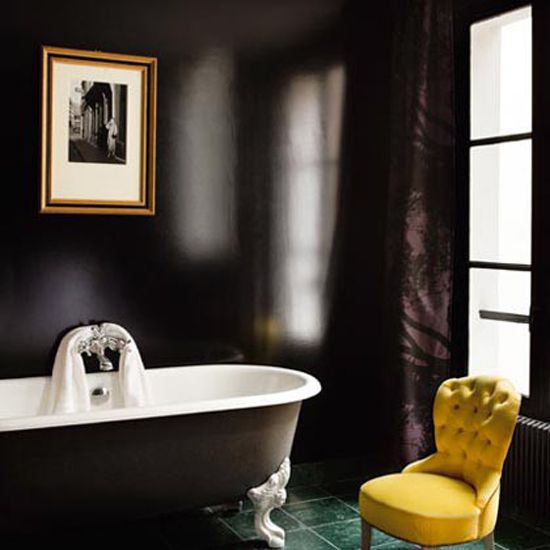
Since deciding on dark walls for our next bedroom, I thought a gold frame would look lovely here. I love using my trusty gold leaf pen for smaller frames, but this frame is huge – also around 55″ wide. Plus, the gold leaf pen can end up looking a little flat (sort of like gold spray paint can) when it’s used on large surfaces. Real gold leafing has almost a lightly distressed look (at least when I do it myself!) that actually I love.
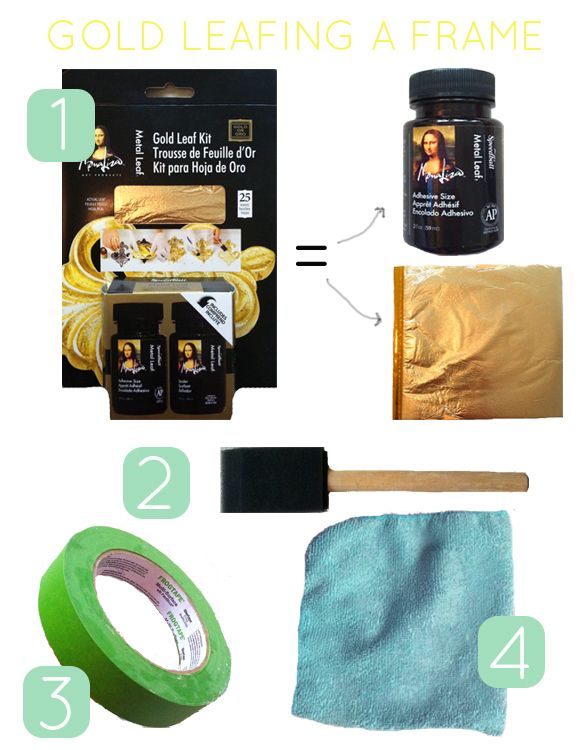
It’s easy to assume that taking on a gold leafing project will require a big investment for supplies. Not so!
This little kit from Speedball has the glue (called ‘size’), 25 sheets of leaf and even sealer, for only about $10. That’s as much as a gold leaf pen costs!
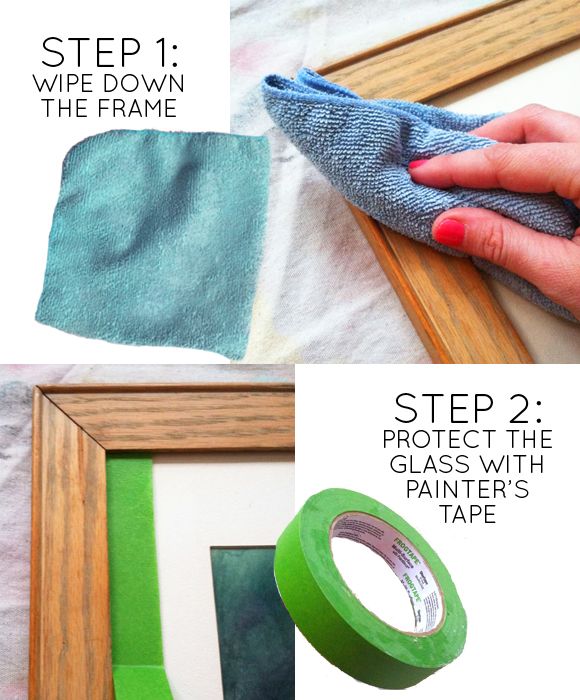
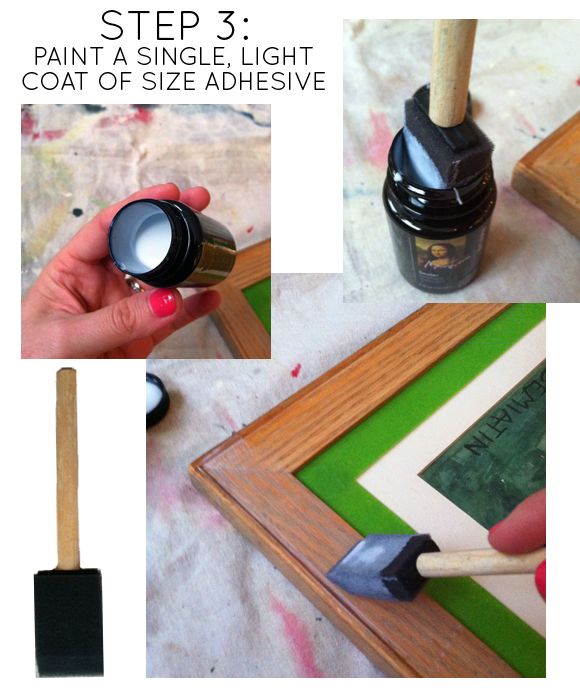
The step-by-step is a breeze. It took me about 30 minutes to gold leaf this huge frame, and that includes 15 minutes of size drying time. First, just lightly clean the frame. Remove any gunk or dust. Then run a line of painters tape along the inside edge of the frame to protect the glass. If it’s easy for you to remove your artwork, leafing an empty frame is ideal. (my art was backed with kraft paper, so I needed to go the tape route).
Using a 1″ foam brush, dip and fill the brush in the size adhesive bottle. It should fit perfectly in the bottle. One dip was plenty for one entire side of the frame. You don’t need a lot of glue here. Less is definitely more. Also be careful to avoid any puddling with excess size. Everything needs to dry evenly.
Once the size has dried for about 10-15 minutes and is completely clear (not milky), it’s time to start leafing. If you’re working with a very small frame, you can cut the sheets down to size to help reduce wastage. I should have cut my sheets in half before using them to make my life a little easier.
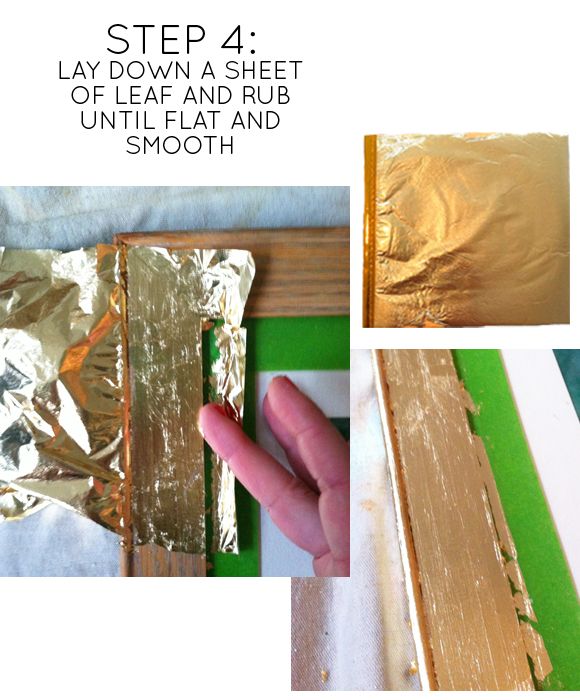
There’s really no going wrong with the leafing process. You just carefully lay the sheet down, trying to not let the leaf fold over on itself – thought it’s not the end of the world at all if it does. Then burnish the leaf into the frame with your finger or a clean paint brush. You can just rub in bits and pieces of extra leaf and it will stick to any amount of the size. You can see here where even the tiniest bit of size got on the frame at the end of a brush stroke, and the leaf stuck to every bit of it.
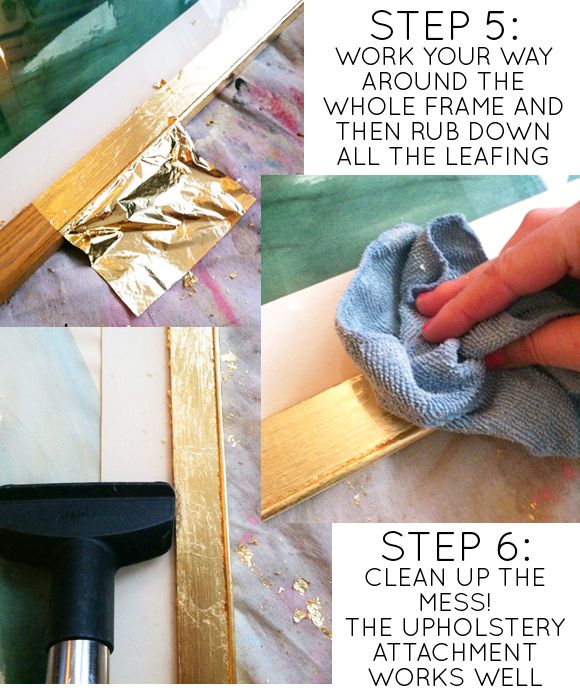
I went around the frame one side at a time (I’d be leafing one side while I was waiting for another side to dry and get tacky). Once all the leafing is done, and you’ve filled in all the missing parts and the cracks, use a clean cloth to further burnish and rub in the leaf sheets. This is the best step for me! The gold starts to look finished, and so pretty!
If you would like the extra protection of using a sealer on top of the gold, here’s when you would do that. I didn’t bother since picture frames don’t usually get a lot of wear and tear.
I like to pull out my vacuum with the upholstery attachement on to clean up all the gold leaf specs left over on the frame and on the drop cloth. It cleans up very well with the vacuum, even though you feel like you’re making such a mess during the project!
I’m so glad I changed the frame to gold. Much better than that reddy, grainy oak! And see what I mean about the lightly distressed look? I love that.
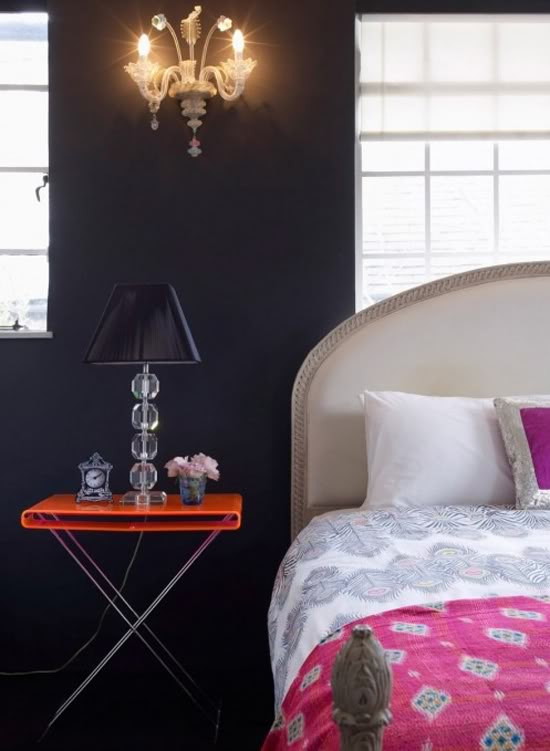
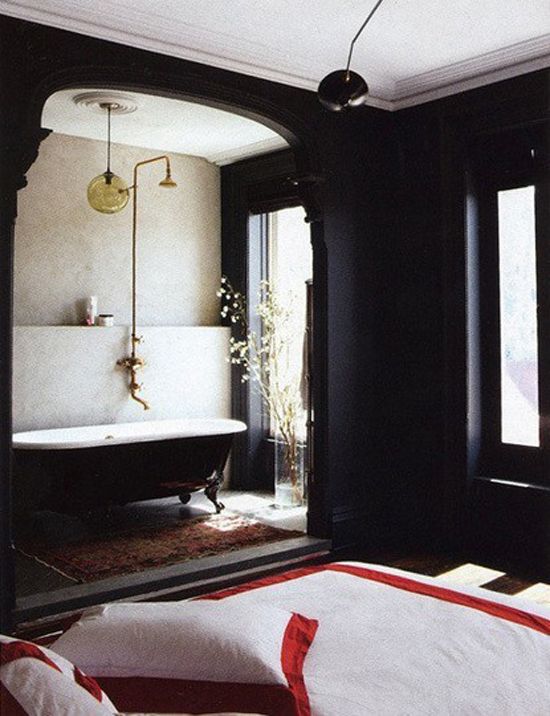
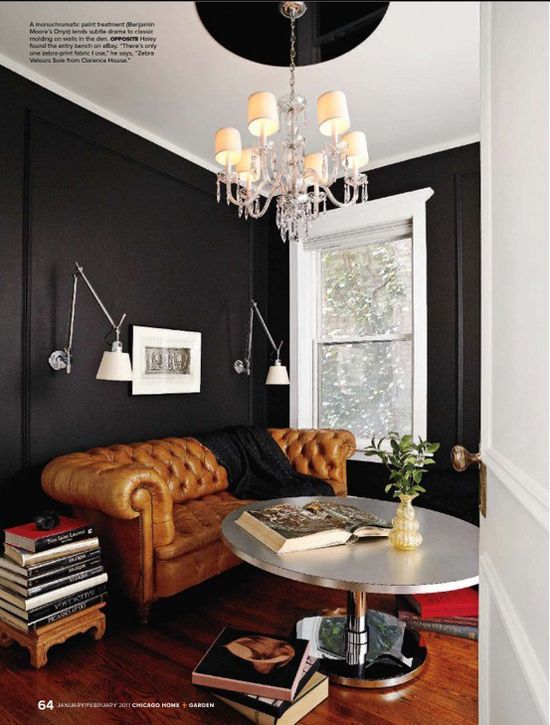
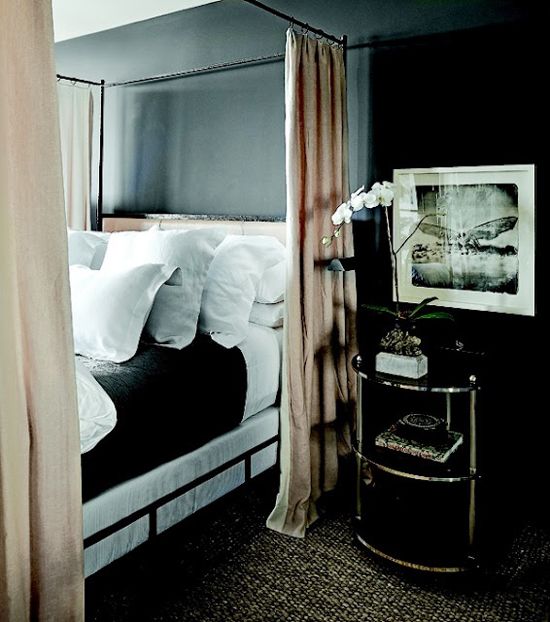
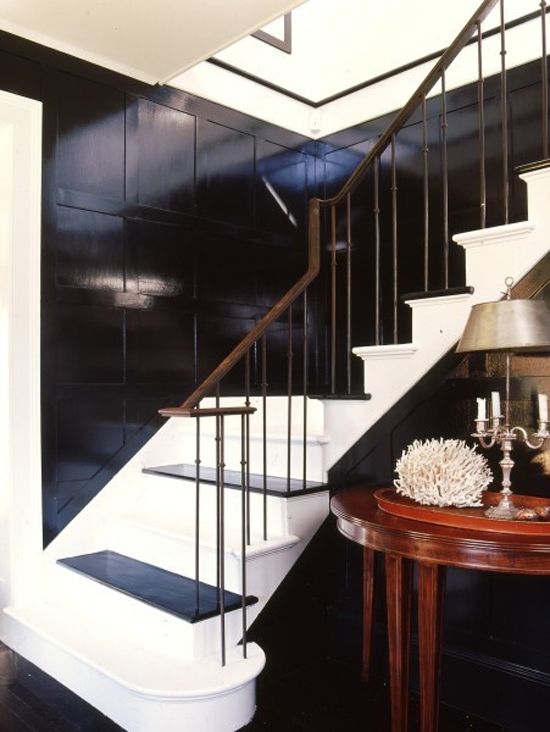
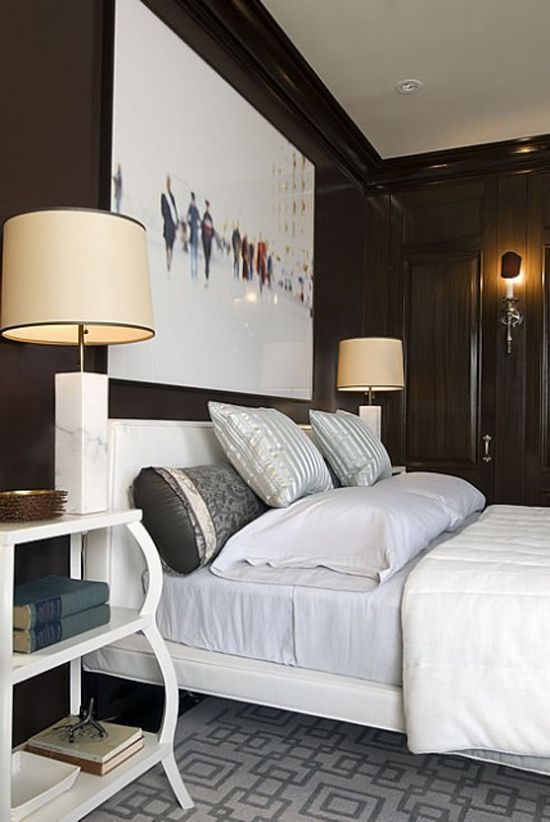
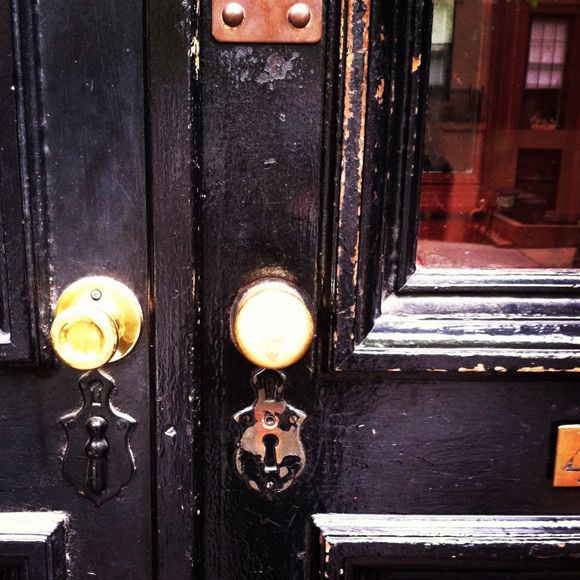
I’m just itching to get into the new house and paint my bedroom black now. :)


