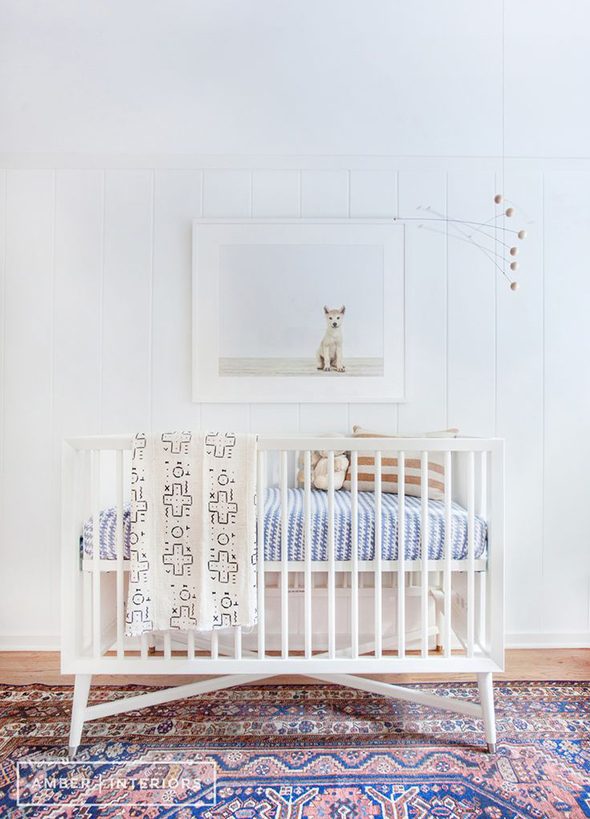
Margot just hit the two-month mark and has started sleeping mostly through the night (bless that sweet angel!), which means it’s really time to get going on a nursery! Cribs have come SO far since my last baby. Really, there was only the Ouef wren crib that was cool and modern back then, and it was stratospherically out of my grad school budget! I went with a $20 Jenny Lind crib from Craigslist instead and give it a fresh coat of mint green paint. I still love the classic Jenny Lind style, but it’s fun that there are so many different crib designs available now! Some are still very pricey, but there are a lot of mid-range options that are total show-stoppers.
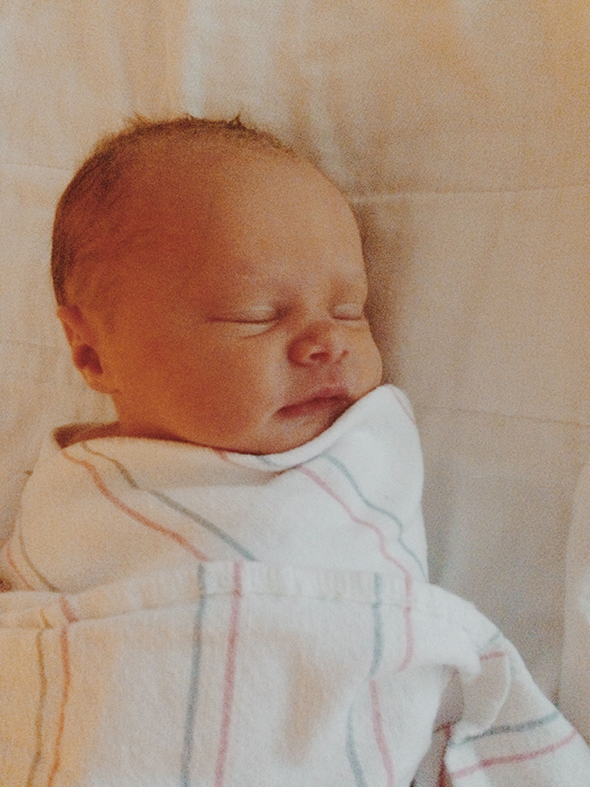
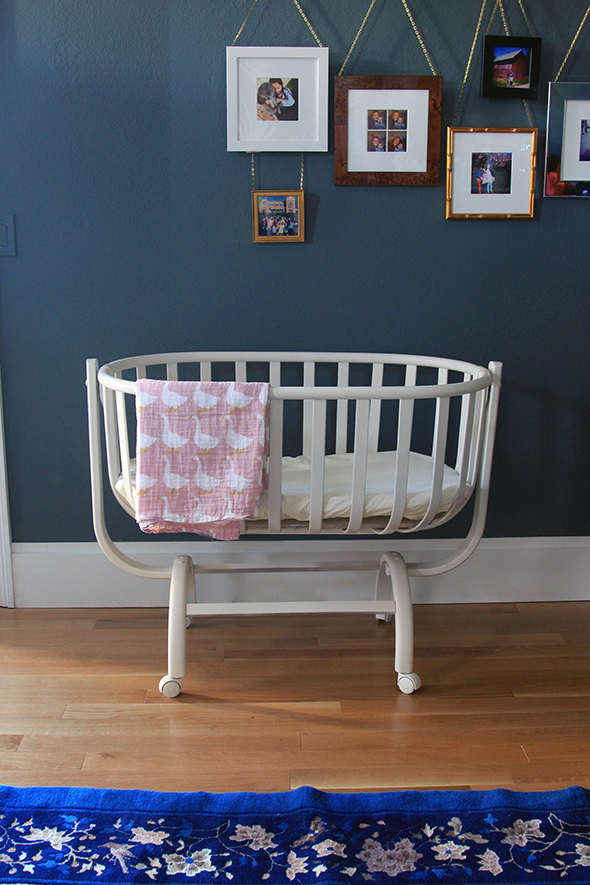
We’ve been having Margot sleep in our room next to our bed – sometimes in that cute bassinet I posted about, but honestly, it’s usually in this little Rock N Play seat thing. It’s not the cutest baby product in the world, but it has about a million five-star reviews on Amazon, so I had to try it for myself. And, WOW, it is like the holy grail of baby swings/bouncers/bassinets. It plugs into the wall and rocks itself for up to six hours. And it has a built-in white noise player! The seat hugs her little body and keeps Margot feeling tucked in and secure. And the angle of the back is perfect for babies that spit up – a new and not so fun experience for us!
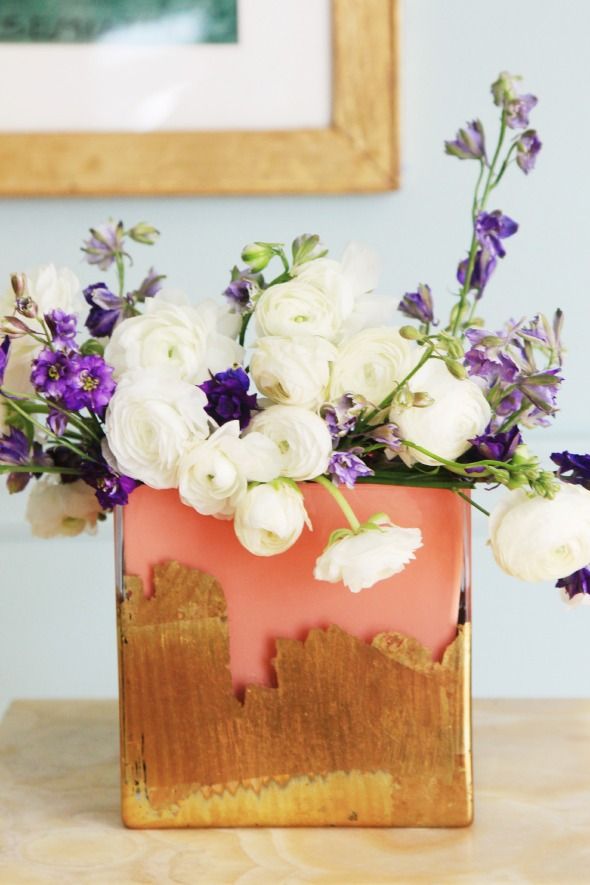
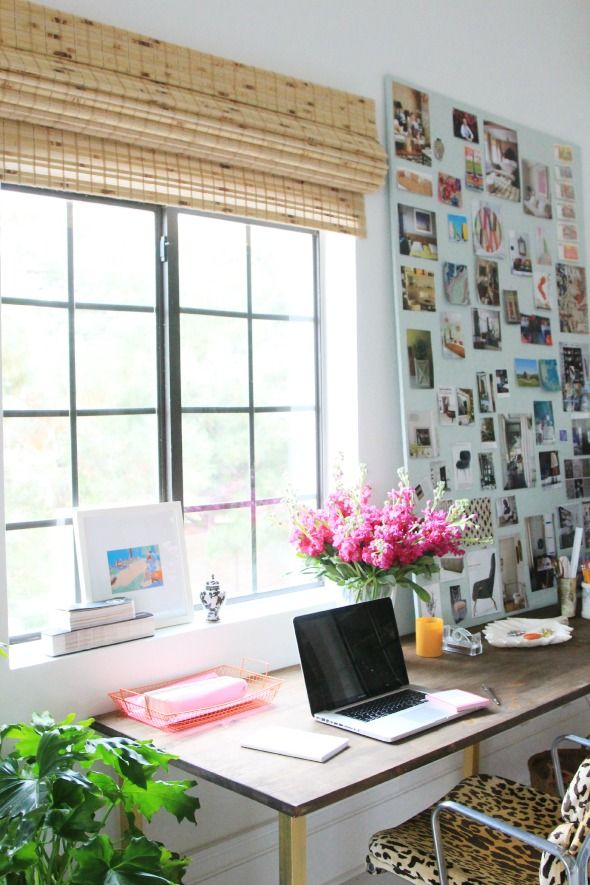
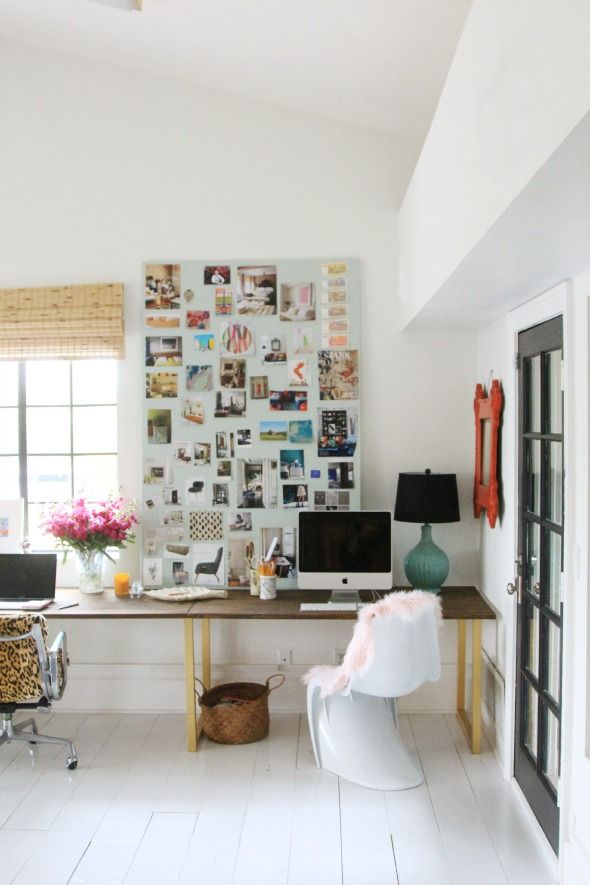
I’d love to do some sort of fun wall treatment in here, but I need to find something that would work with the bird wallpaper I have in the playroom on the ceiling.
But it’s also nice that there are a ton of other crib options that aren’t as much of an investment. I really like all of these.
I’d love recommendations on other cribs too, if you have a good one! We had to completely start from scratch with baby gear and I’ve been out of the baby mindset for so long now that I’ve had to rely on friends’ suggestions for practically all of our purchases.
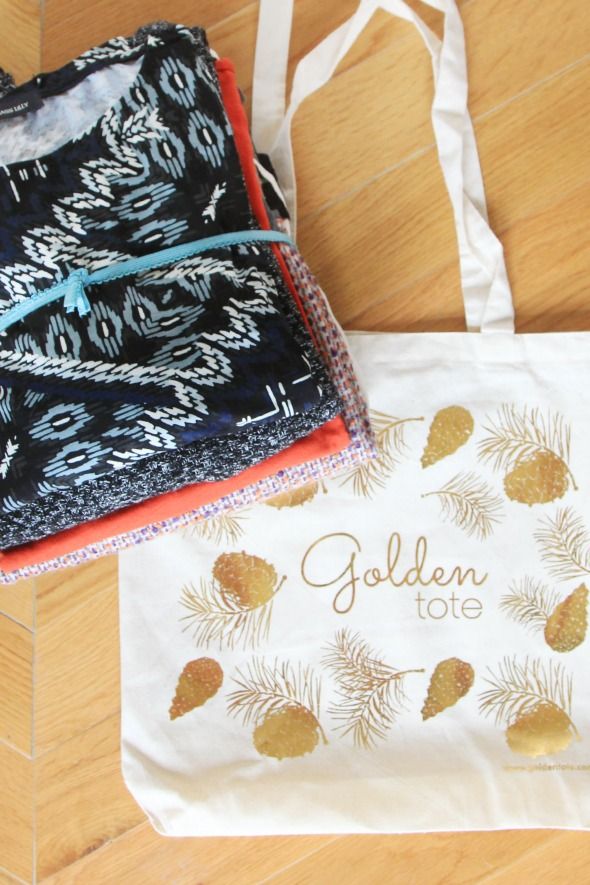
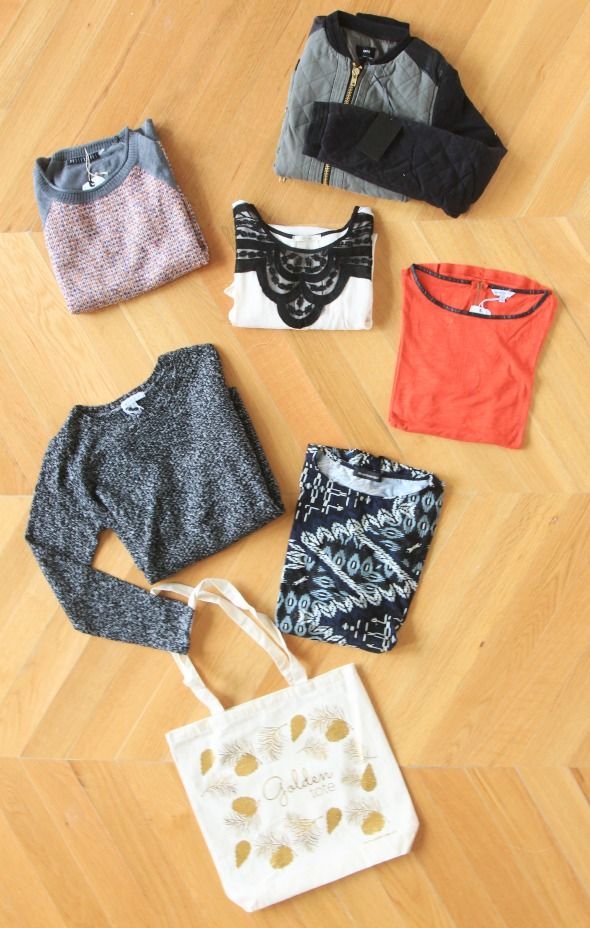
We splurged on some things (like a pretty car seat and stroller) and have tried to save other places – like in the clothes department. I’ve finally learned my lesson there and stopped buying a million outfits. Baby clothes are crazy expensive and really, babies are happiest in soft sleepers for the first few months anyway, right? I’ve found a few reliable lines that I know I’ll keep coming back to as Margot is growing. They look cute, we only need a few of them to have in rotation, and I know she is comfortable.
And just for kicks, here are a couple more of my favorite baby products, some newer to me and some tried-and-true. What am I missing here that you love?


