
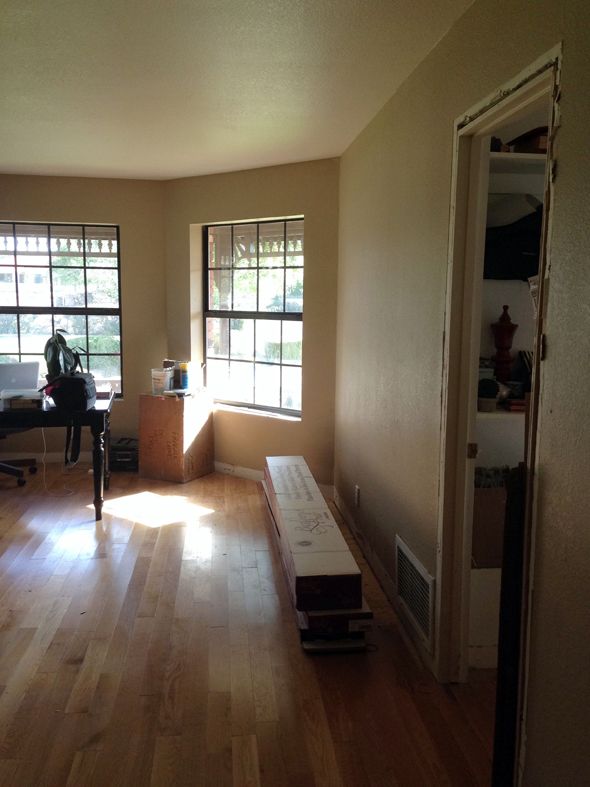
For months, I’ve been keeping an eye out for a mid-size vintage console table or credenza that wasn’t too bulky and that had a functional, easily accessible storage area for a printer.
I’ve seen a few here and there, but nothing jumped out at me as the perfect fit. I saw this vintage credenza a week or so ago at a used furniture store for only $39 and while it didn’t jump out at me at first glance, it sort of grew on me over time.
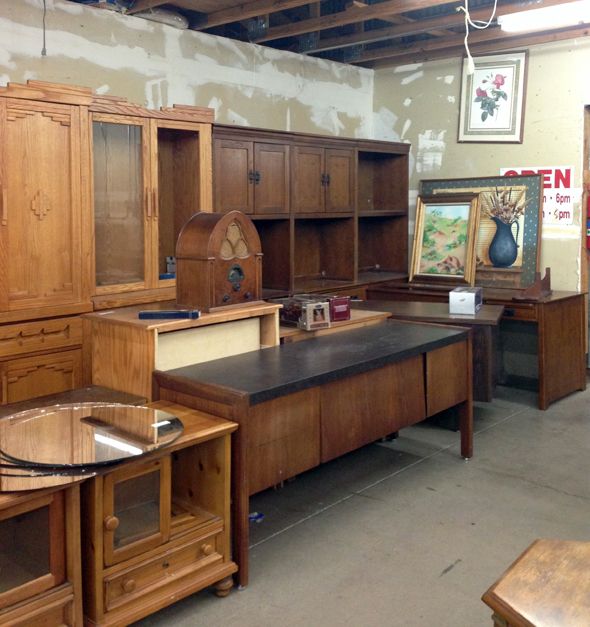
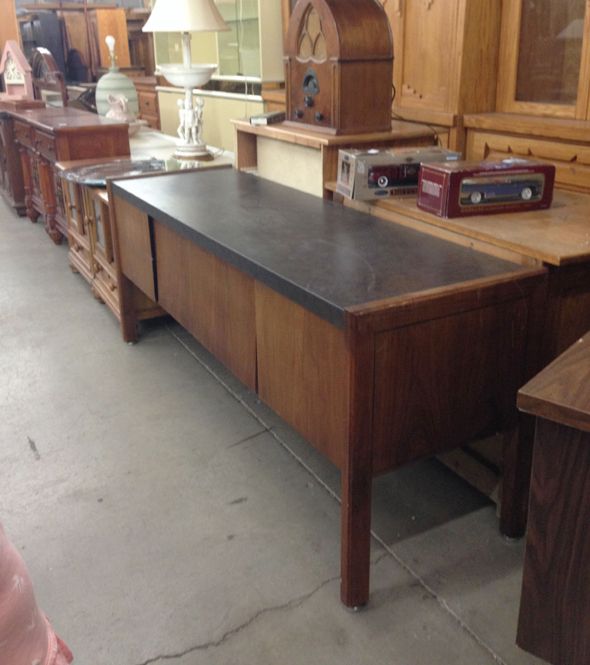
But as soon as I had the idea to cover the bad formica top in concrete, I knew it could be something super-functional and beautiful, so I hustled back to the store to buy it a day or so later.
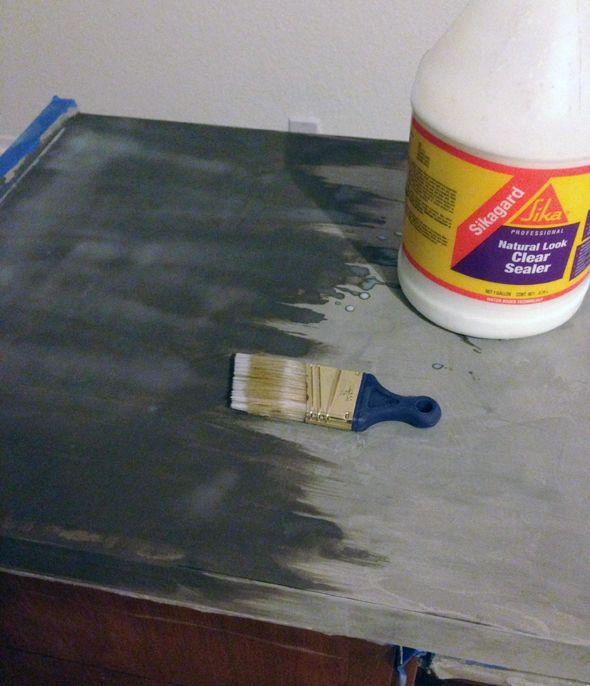
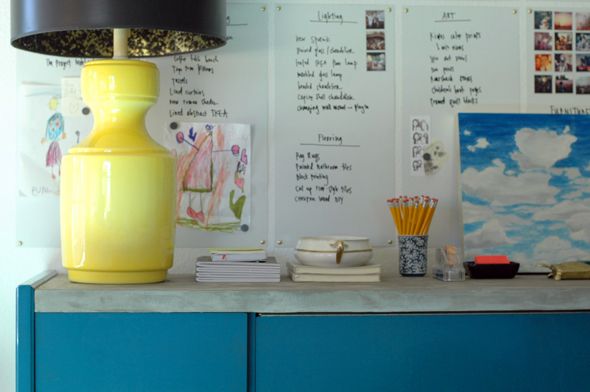
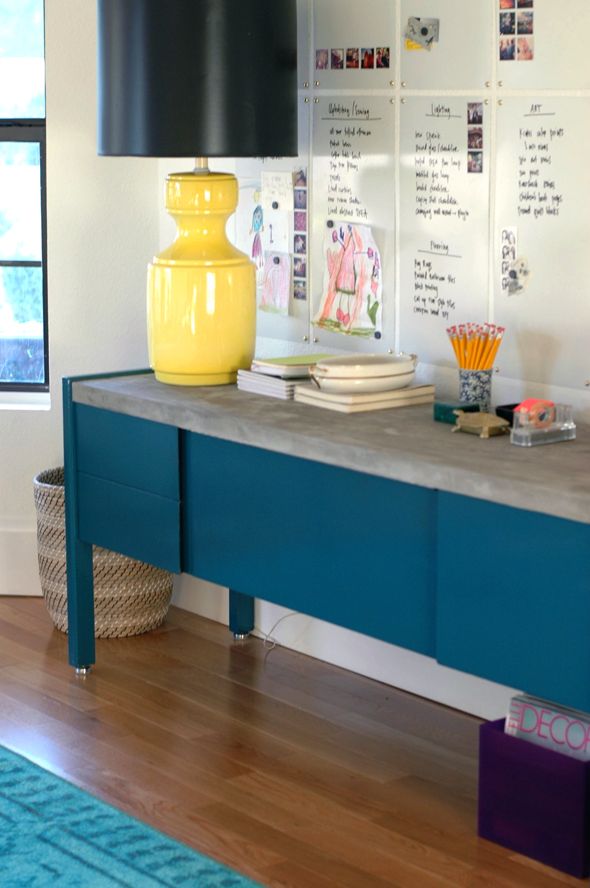
I repeated the same steps on the credenza’s top that I used in our laundry room redo. The basic idea is to rough up the formica, trowel on the Feather Finish concrete in several thin coats, with drying time and sanding sessions in between.

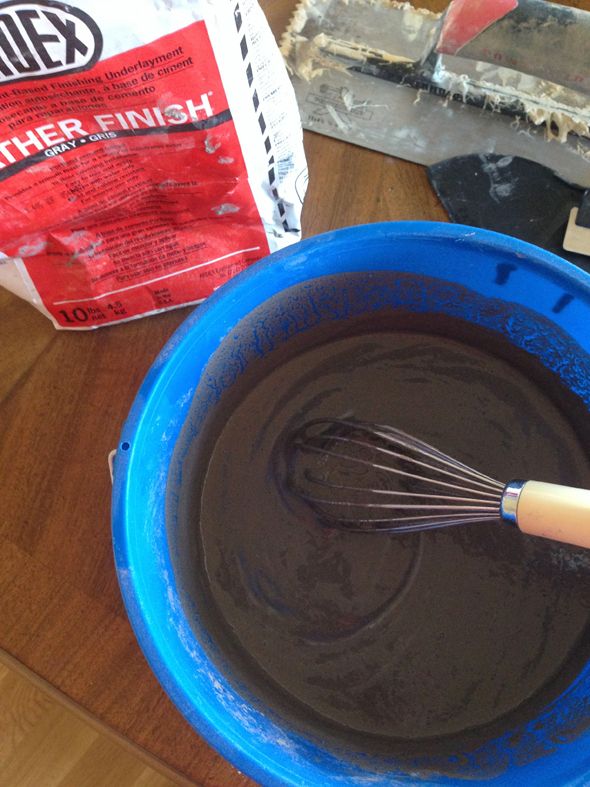

A good sealer is a must here. Ardex makes one, but I just used a brand called Silkagard in a really thick coat. I don’t know if this sealer would be heavy-duty enough for a kitchen application, but it’s served me well in our laundry room and now on this credenza. (PS – in case you were curious about the laundry room counters, they’re holding up really well! No regrets!)
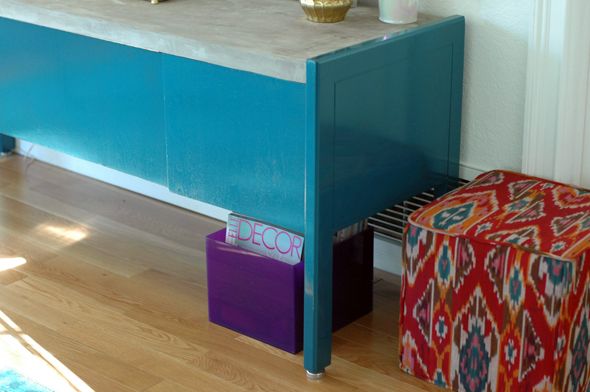


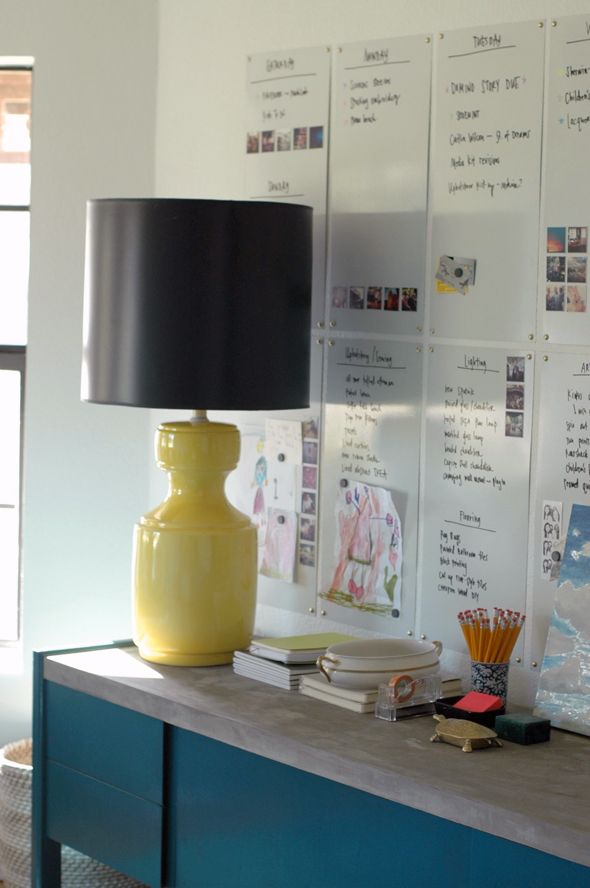
Also, how great is that giant yellow lamp I picked up at Goodwill for $5?
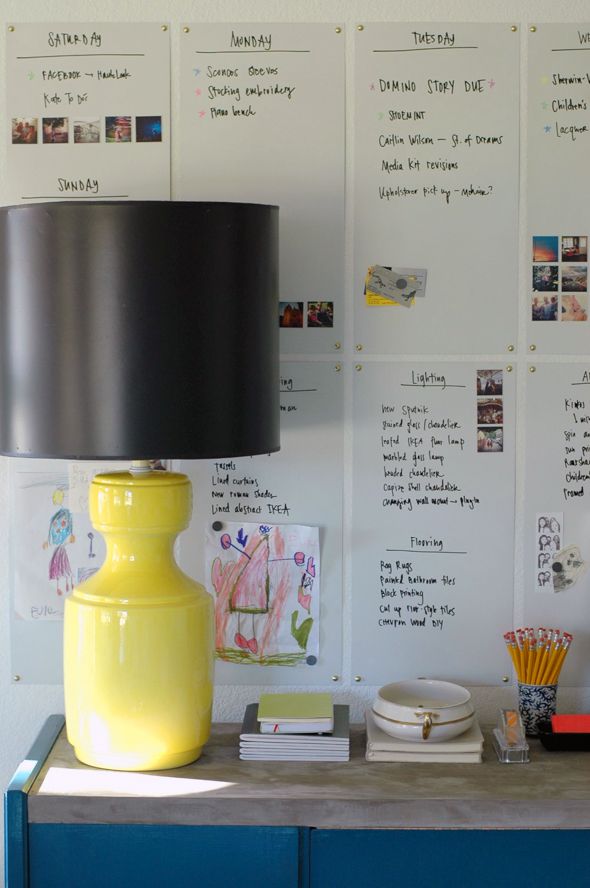

Also, can I just say that a can of white paint does wonders for any room?! My office felt like a beige cave just a few days ago and now it looks bright and cheery with the new white walls and the new furniture. :)
Three cheers for progress toward a happy and functional office space!


I have been wanting to try these for a long time. I think you just moved it to the top of my list. So awesome. It's a gorgeous piece of furniture and this is the perfect addition to it. Love the lamp too. You are a genius!
I have a similar credenza in my work space that I am going to try this on. Thanks for the great idea and the tutorial. It looks amazing. As soon as Christmas is over, I'll be getting to work!
Hey Jenny – do you know if the concrete can be any other color than grey?
Stunning…. !Can't wait to see a full picture of the office.
House looks great… … you are turning your home into a work of art one step at a time!
Make sure you sit down at Christmas!
Thanks for all the inspiring risks you take! Love how this turned out! Great work.
This is the coolest trick ever! I love, love this piece.
oh my goodness, this piece is amazing!
Your color combos are genius. The yellow lamp with black shade reminds me of Lauren McGrath's/GBGP's first (?) apartment..I think you blogged about it way back when. I can't wait for your book deal where you photograph your entire house when it's done and we can see it in all it's glory! ;-)
All I can say is: "You are incredible!"
SO good— I think you've inspired me to try this in my kitchen!
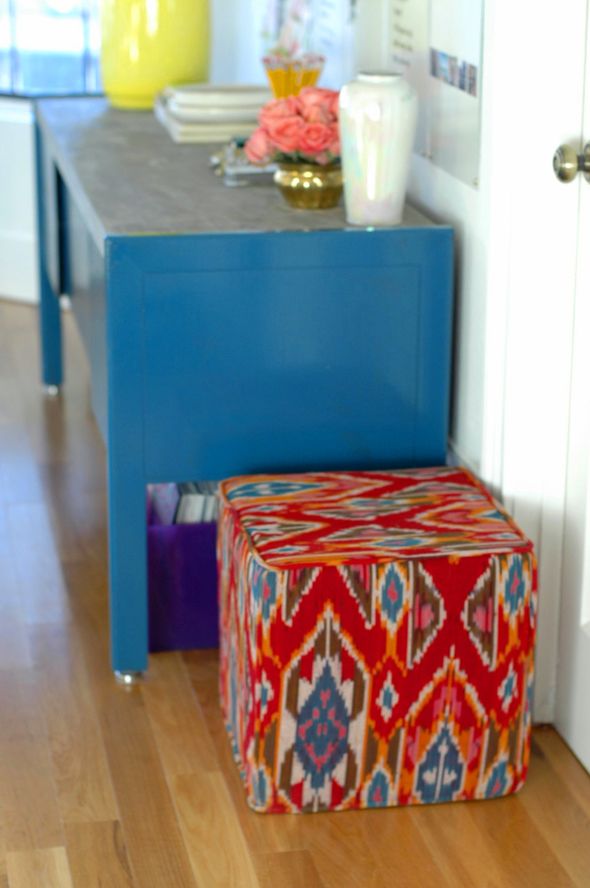
love the pouf/ottoman next to it, where did you get it?
Jenny,
Thanks for posting a link to your painting suggestions. Did you do anything to prep the (non-painted) surface of the credenza before painting it? For instance, did you apply liquid sandpaper, primer, etc?
Thanks!
Love, love everything about it. Can you please do a future post about choosing the proper lampshade for lamp. How you decide on scale? It's there a formula, base is x tall, shade should be y in diameter and z in height? Or do you just wing it? I have a lovely lamp from Brimfield waiting on a shade. I keep picking the wrong size.
I can't even deal with this, it's so awesome.
Wow. You just broadened what furniture we will troll for. Another awesome diy!!!! Soooo great!!!
Wow. You just broadened what furniture we will troll for. Another awesome diy!!!! Soooo great!!!
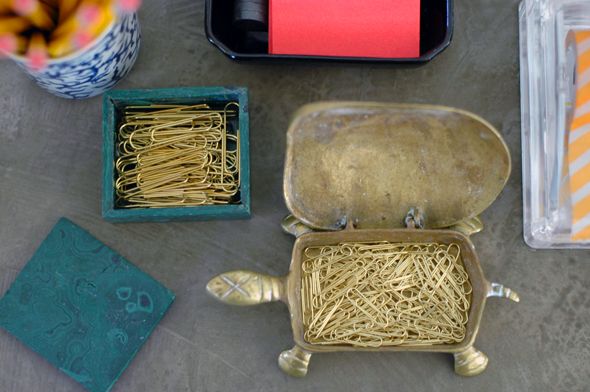
Ok..this might be one of my favorite areas of your house. And that's saying a lot seeing as how every post makes me want to copycat a little bit!!! I love the yellow lamp with the pink floers, concrete, AWESOME cloud art and that turle paper clip holder (seriously?! Where is that from?!). Can't wait to see the rest!
Apparently I can't spell…sorry about the previous post!
GENIUS
You are so amazing! Love it!!!
looks gorgeous!!! totally transformed!!! you have the best eye!!
You have the golden touch!
Jenny, this is amazing and brilliant. i want to do white walls in my next house, and you just pushed me over the edge. white walls with lots of color. i'm in love.
YOU HAVE GOT TO BE KIDDING ME!!! This is perfection. I love it and wish I could buy it. You should get together with CB2 or Crate & Barrel to produce some of the items that you've upcycled since most of us don't have the imagination to make this kind of makeover happen!
This is great….I love the color! It adds so much depth to your office!! Looking fab in there!
It's so hard to pick a favorite but I think 'Spring Rain' would be my first choice :)
To heck with work today: I'm going to the Goodwill Store!!
This is so fabulous and inspiring. We are looking at a move soon and I feel so stagnant, yet at the same time, I need to do some updates for house selling…
Merry Christmas, and thanks for your entertaining and informative blog!
you just made all the world think twice about those ugly credenzas you see at the goodwill all the time…such an amazing project!
I love seeing this. I'm going to try the concrete top on my bathroom counters (70s formica) but putting it on a table top is a great idea too. No worries about coasters!
This looks amazing! I'm going to have to try out that paint on some furniture!
Really beautiful Jenny! I have to say, you make painting with the oil based look so easy! I recently did my first piece and didn't find the application to be as simple. I sanded the whole thing down really well and still had a lot of variance in the finish. This looks great though!
I love this look! I've been wanting to try the faux concrete look since you posted about your laundry room counter tops! I may have to try it on a desk or end table!
Oh WOW! I love this transformation. I would love to try this at home!!! Thanks for the inspiration!
xoxo PARIS BEE
more office pics, please!
This is so cool. Love your creativity and originality.
Gorgeous credenza! What a great office space. What color white did you use? I trying to pick the perfect white for my home and it's a lot harder than it looks!!
I really love the credenza and the amazing transformation, but I have to say I LOVE that yellow lamp just as much!! You sure have some amazing thrift stores in your area!
You made home improvement looks so effortless when it is so much work!
Suzanne
What an awesome transformation!! Beautiful. I love the way you painted/concreted it and the way you styled it. Gorgeous! I would love to look at that every day myself :)
Jenny,
I love the way this looks and I was wondering if you thought this application would work on a tumbled marble sculpted vanity top? (think yellow and white circa 1978 with molded shell sinks). I'm having a hard time finding something that will work and hold up and I don't have the money to replace them, so I was curious…any thoughts???
Gorgeous! Really nicely done.
Amazing job–Touché!
I didn't even know this was possible – just love the concrete top!!
I'm in the Phoenix area. What stores do you visit for vintage furniture? Where did you get this piece? It's beautiful. Thanks for sharing.
I'm in the Phoenix area. What stores do you visit for vintage furniture? Where did you get this piece? It's beautiful. Thanks for sharing.
nice blog.Wfs-Store Kitchen Worktops Direct Provides a wide variety of worktops are available in the market today, and it’s a daunting task to decide between the different options available.
This looks so great, I love the paint finish with the concrete top!
I am always amazed at your ability to take something from ugly or boring to absolutely gorgeous – thanks for sharing!
Oh wow ~ this turned out amazing!!!
Hi Jenny – So beautiful!!
Do you think it would be possible to apply this oil-based painting technique to furniture made of laminated particle board? What sort of prep work would I have to do?
I absolutely love your blog – thanks so much for sharing all of your wonderful projects with us!