DIY

DIY Concrete-Topped Office Credenza

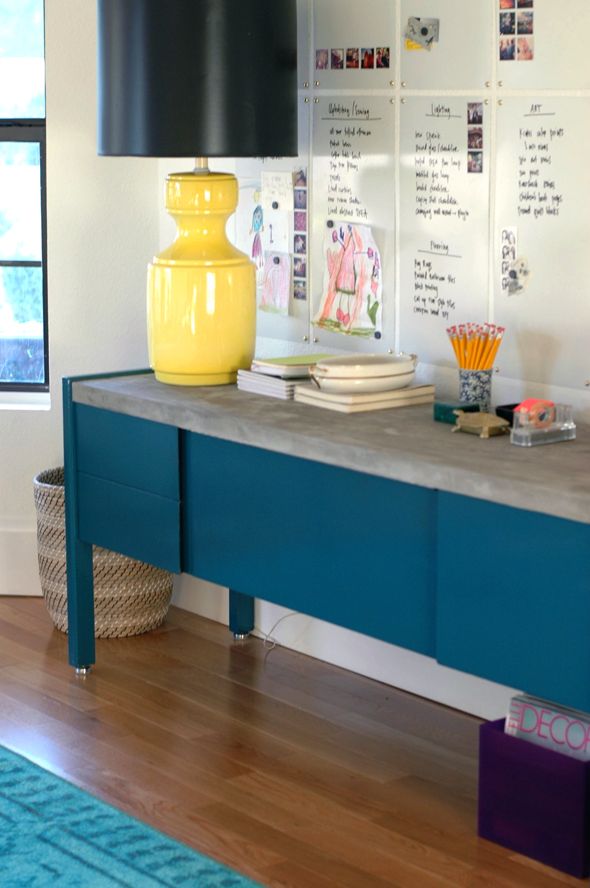
For months, I’ve been keeping an eye out for a mid-size vintage console table or credenza that wasn’t too bulky and that had a functional, easily accessible storage area for a printer. I’ve seen a few here and there, but nothing jumped out at me as the perfect fit. I saw this vintage credenza a…

For months, I’ve been keeping an eye out for a mid-size vintage console table or credenza that wasn’t too bulky and that had a functional, easily accessible storage area for a printer.
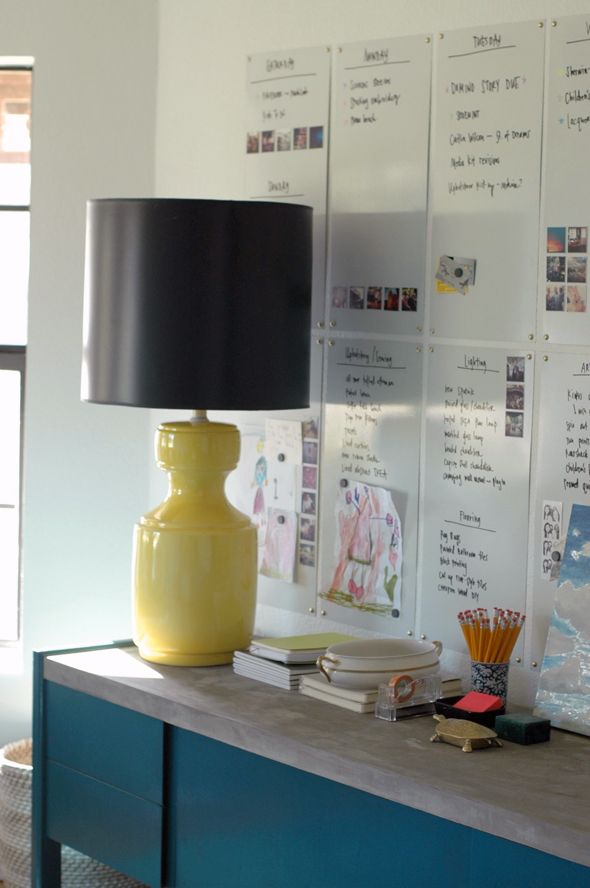
 photo zDSC_0922.jpg

I’ve seen a few here and there, but nothing jumped out at me as the perfect fit. I saw this vintage credenza a week or so ago at a used furniture store for only $39 and while it didn’t jump out at me at first glance, it sort of grew on me over time.
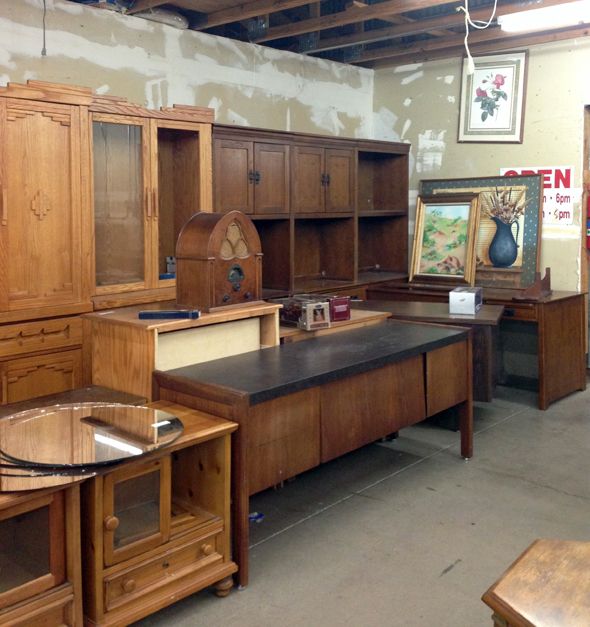
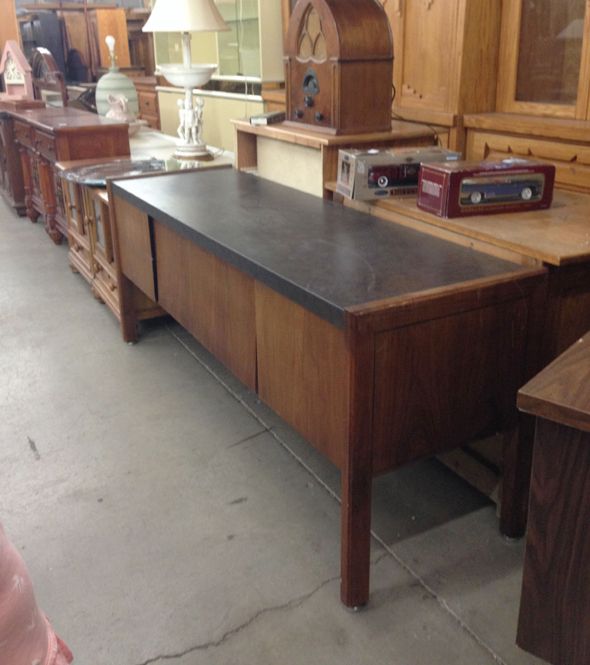
 photo IMG_9999.jpg
And I actually took a few quick photos and then I decided to pass on it.
 photo IMG_9993.jpg

But as soon as I had the idea to cover the bad formica top in concrete, I knew it could be something super-functional and beautiful, so I hustled back to the store to buy it a day or so later.
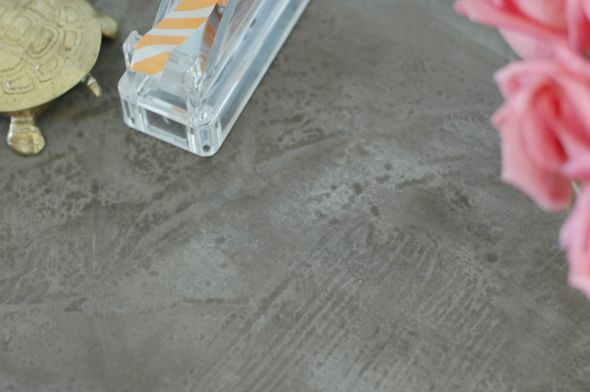
I repeated the same steps on the credenza’s top that I used in our laundry room redo. The basic idea is to rough up the formica, trowel on the Feather Finish concrete in several thin coats, with drying time and sanding sessions in between.

 photo IMG_0137.jpg
 photo IMG_0144.jpg
 photo IMG_0149.jpg

A good sealer is a must here. Ardex makes one, but I just used a brand called Silkagard in a really thick coat. I don’t know if this sealer would be heavy-duty enough for a kitchen application, but it’s served me well in our laundry room and now on this credenza. (PS – in case you were curious about the laundry room counters, they’re holding up really well! No regrets!)

 photo IMG_0175.jpg
While the two or three coats of sealer were drying, I brushed on an oil-based coat of Benjamin Moore’s Galapagos Turquoise using this same approach of placing the paint, sort of in the way you paint your nails.
 photo IMG_0186.jpg
If you’re careful to not put too thick of a coat on, you won’t get any drips. But if you do, just let it dry and then sand and light touch up the mistake areas. The result should be a glossy, glass-like surface.
 photo IMG_0197.jpg
 photo DSC_0912.jpg
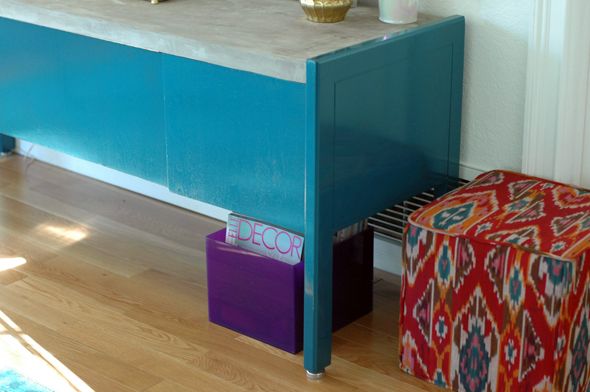
Isn’t that side detail pretty? I love the simple line.
 photo zDSC_0851.jpg
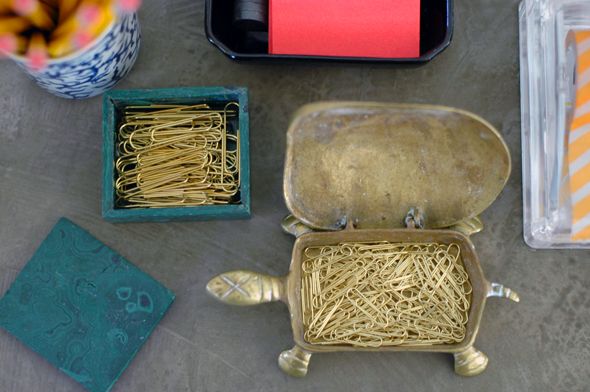
I’m so happy with how the matte concrete pairs with the glossy lacquered look. I left the concrete a little more raw-looking this time and I really love the contrast of pretty things with the industrial material.
 photo DSC_0808.jpg
 photo DSC_0780.jpg

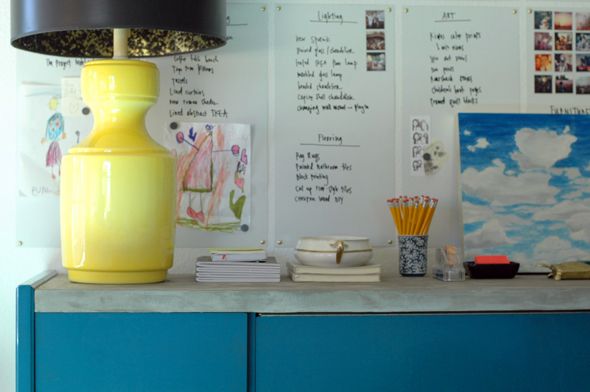
Also, how great is that giant yellow lamp I picked up at Goodwill for $5?
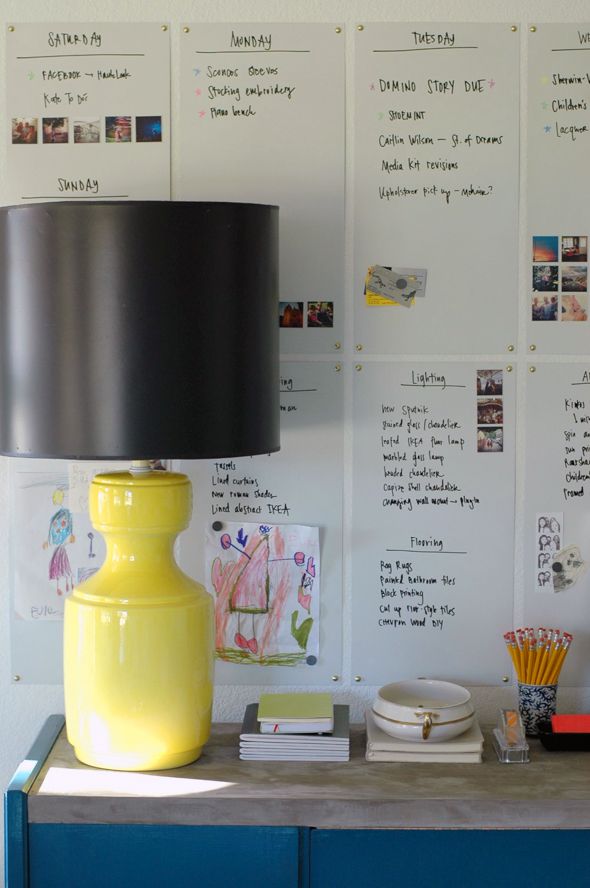
 photo DSC_0897.jpg
It needed a new shade in the worst way, so I put one of my old black ones on it and the proportions are much better now.
 photo IMG_9935.jpg
I love seeing the gold tortoise shell pattern peeking out from under the shade while I’m working a few feet away at my desk.


 photo zDSC_1023.jpg

Also, can I just say that a can of white paint does wonders for any room?! My office felt like a beige cave just a few days ago and now it looks bright and cheery with the new white walls and the new furniture. :)
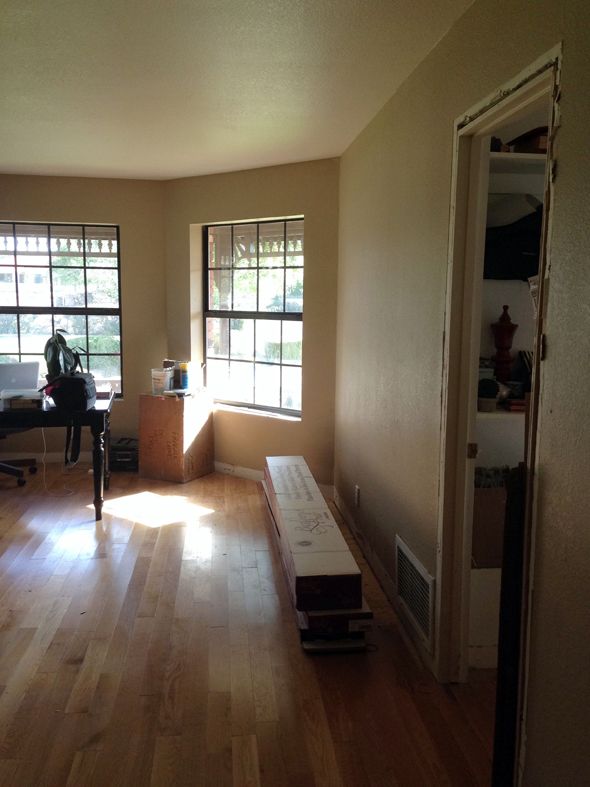
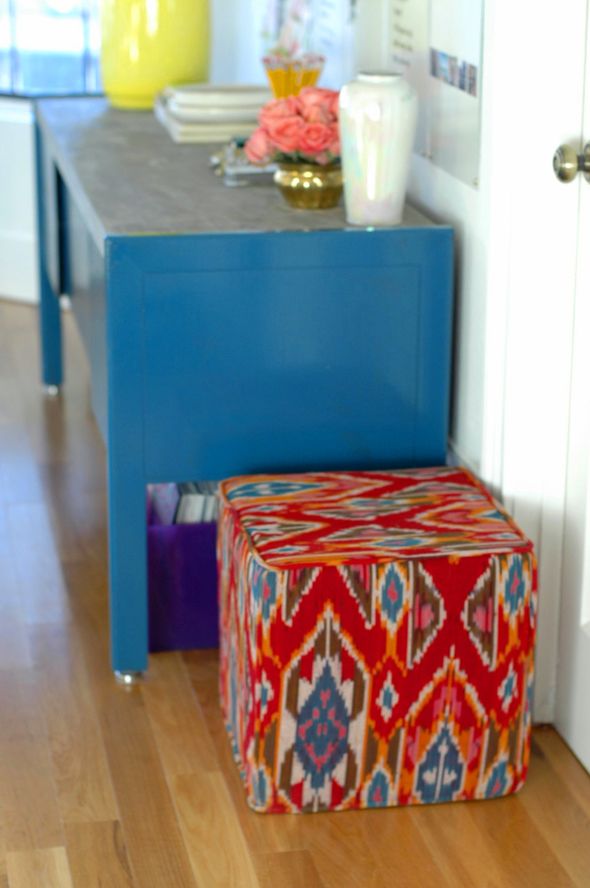
 photo IMG_9820.jpg
 photo DSC_0750.jpg
 photo zDSC_0746.jpg

Three cheers for progress toward a happy and functional office space!

Join the Conversation

51 thoughts on “DIY Concrete-Topped Office Credenza

© Jenny Komenda. All Rights Reserved.
Site by