Thank you so much for your kind feedback on the Domino article! I’m so excited to start sharing the behind-the-scenes projects and ideas today!
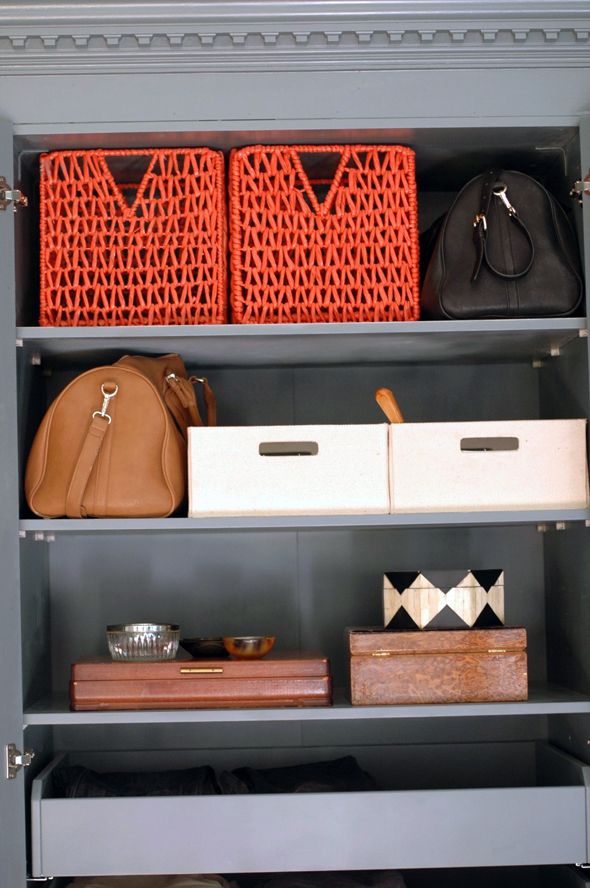
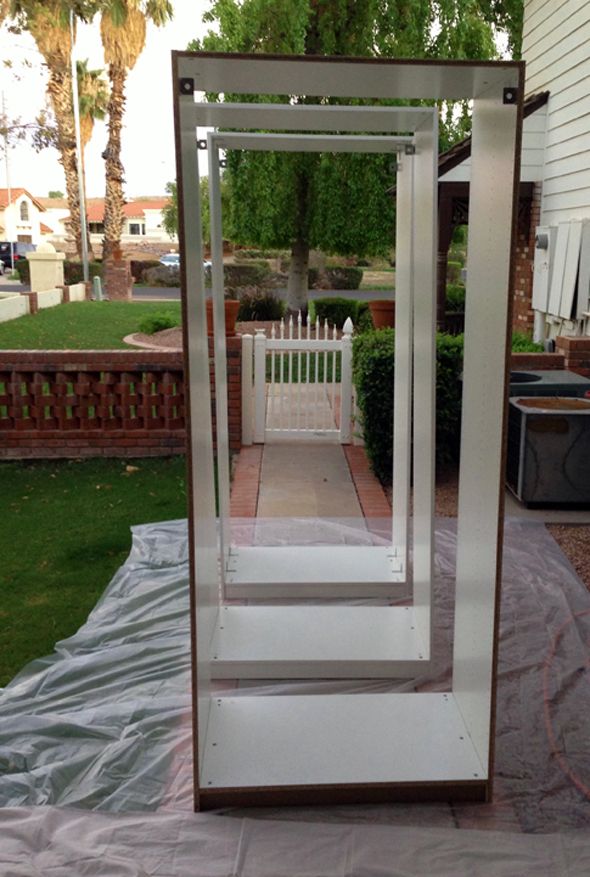
Pax wardrobes are incredibly versatile – they’re really the perfect blank canvas when it comes to organizational furniture. Not only are the affordable shells so basic and easy to customize, but then you also have all the handy shelves, drawers, baskets and other storage accessories made to fit the Pax at your finger tips.
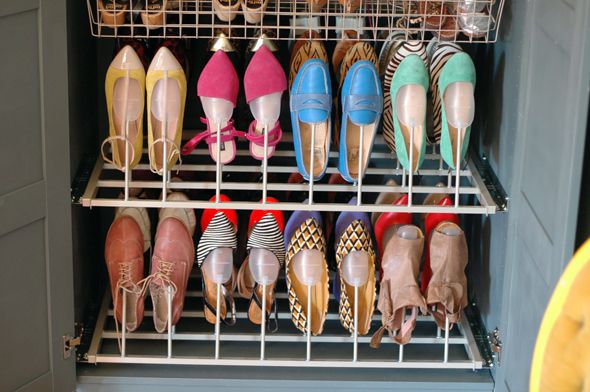
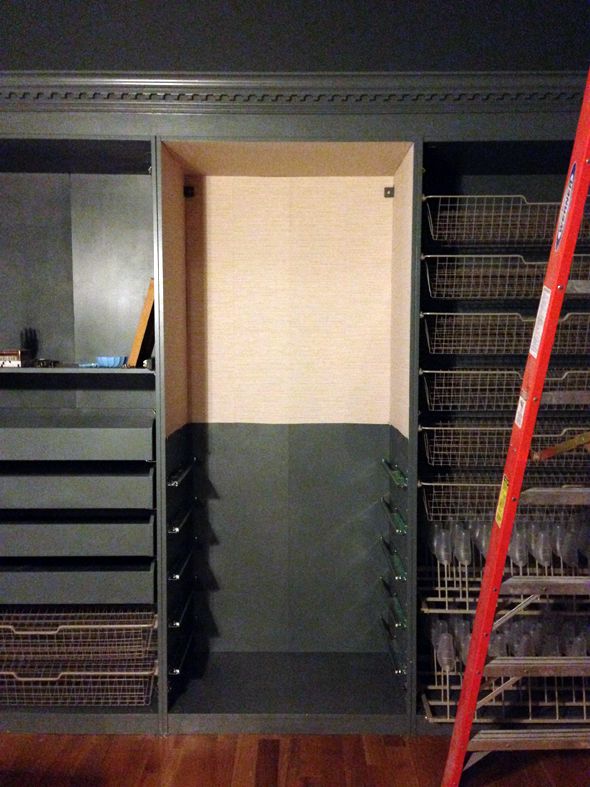
I am crazy over these shoe trees. Each pull-out shelf holds 16 pairs of shoes, which is nowhere near enough for this shoe-lover, but a couple of the shelves comes close to fitting my seasonal shoe needs! :)
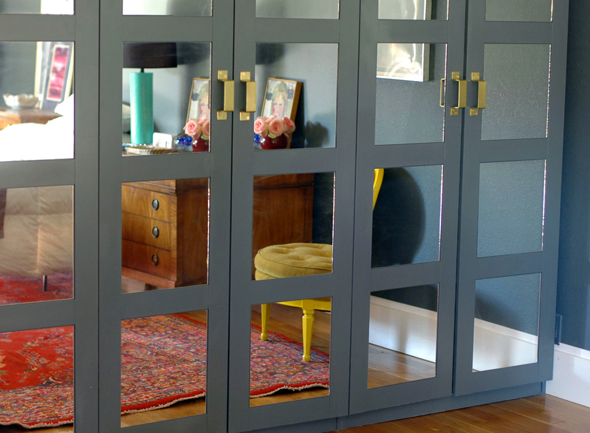
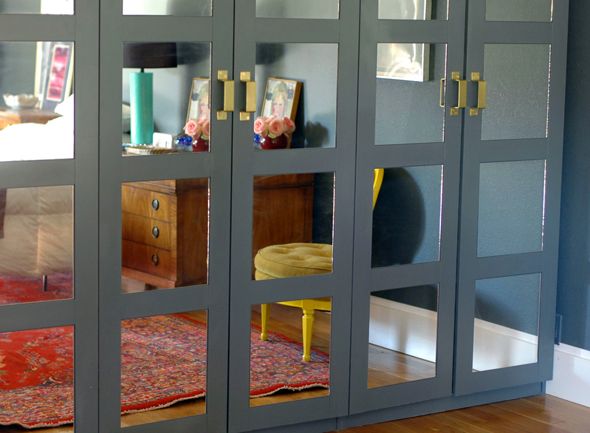
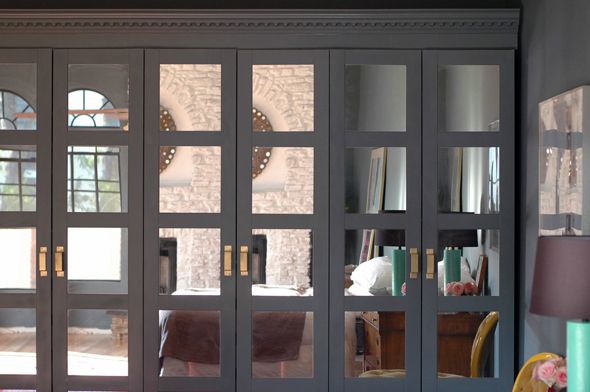
I love how much our Pax wardrobes store, and I’m thrilled that we were able to get a more custom look with just a few changes to the Pax frames. Painting probably took the most time and labor, but I think changing the color to match the walls was a key part of making these wardrobes look less IKEA and more custom.
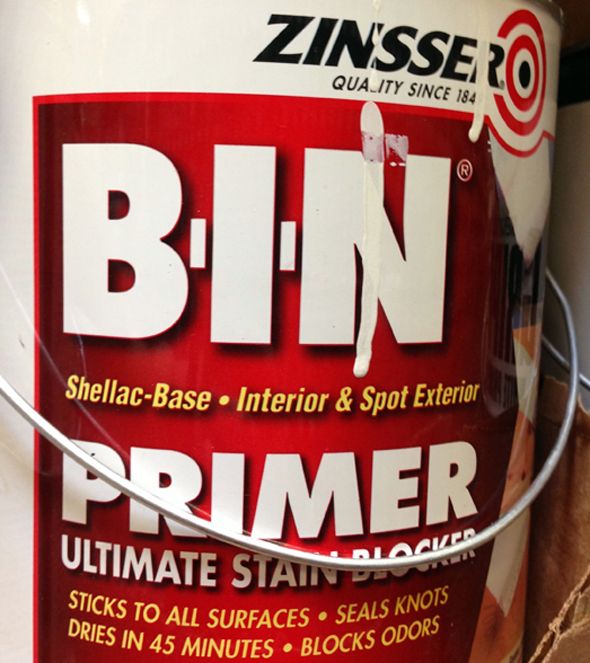
I’ve painted a lot of IKEA furniture in the past. Spray paint usually at least sticks and covers, but the paint will almost always chip off eventually without the right primer, which I didn’t know about until recently. With a coat or two of this miracle primer, you can layer on sprayed, rolled or brushed paint for the top coat, and it will stick – and stay – on your IKEA furniture!
The brand is Zinsser, but make sure you get the shellac-based version. It is formulated for use on laminate furniture, which most primers aren’t.
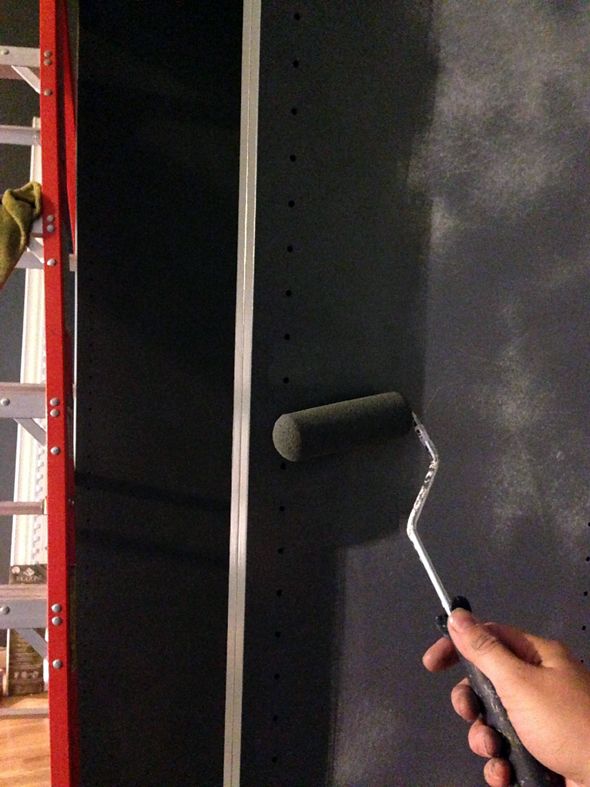
Whenever I’m priming a piece of furniture for a dark paint color, I ask the paint mixer to tint my primer. Usually it just ends up being a bluey-gray color, but it seems to help get a darker, truer color in the end when you’re not having to work to cover up the white primer.
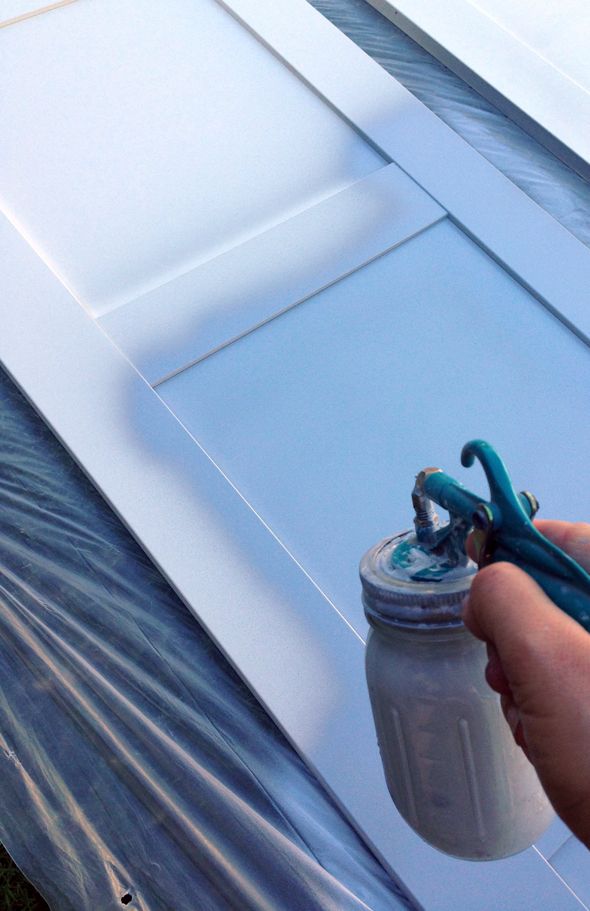
I recommend either rolling or spraying on the primer coat (to minimize brush marks and the need for heavy sanding). I still really recommend the Critter spray gun, but spraying primer with this gun doesn’t work as well as spraying regular paint. The finish gets almost a little dusty. I found that if I lightly sanded after spraying the dust practically fell off and left a smooth finish. It might have been quicker to roll on the primer here though.
I think, whether rolling or spraying, it’s easiest to paint the furniture before it is completely assembled. You can get in all the nooks and crannies and to reach all the edges better when all the pieces are separate.
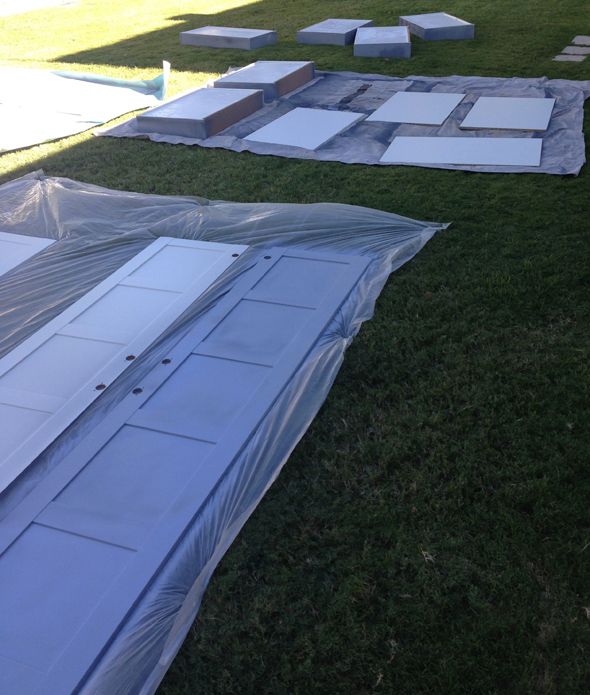
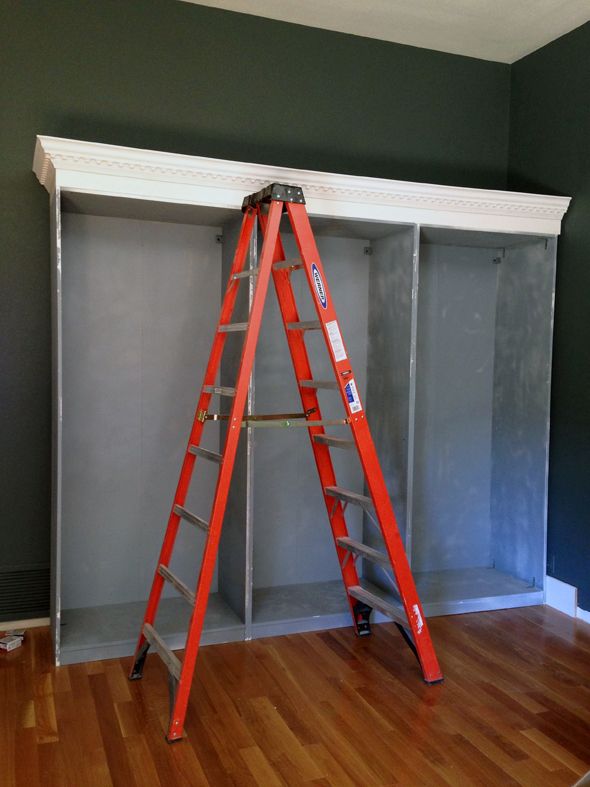
Once the frame was sprayed and it had a good sanding (why it looks so patchy here below), we screwed the units together and to the walls and then built up the top with a little box frame. Then we added crown moulding to the box (similar to
what we did here). This simple step added about 12″ of height the to Pax frames and instantly made the separate wardrobes look a lot more like a single piece of (giant) furniture.
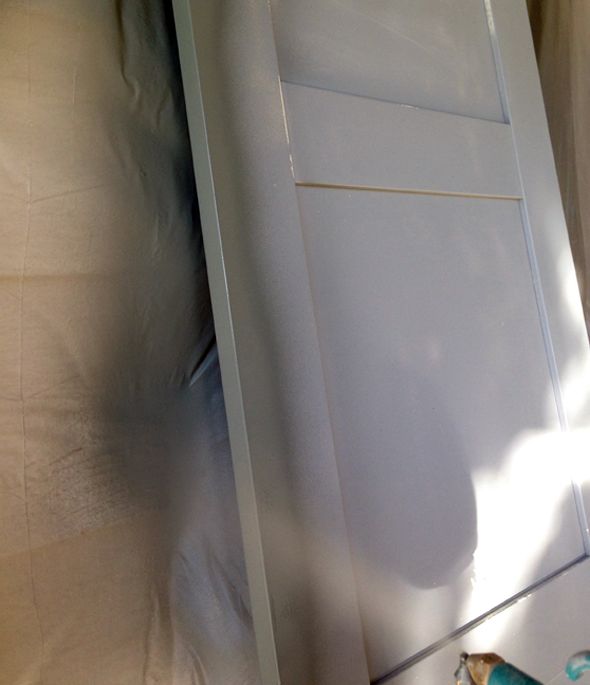
For the sake of time and ease, I sprayed all the doors and drawers and shelves outside with my
Critter sprayer and I rolled the wardrobe frames inside. I was interesting to see if there would be any huge differences in the rolled vs the sprayed finish.
I had to go back a do a little more hand sanding on the rolled paint and the sprayed paint looked a little more original and like a factory-finish, but honestly, both looked fine. So if you don’t have an air compressor and a spray gun,
foam mini-rollers are a great option for you. Just make sure you do several coats to blur out any roller lines.
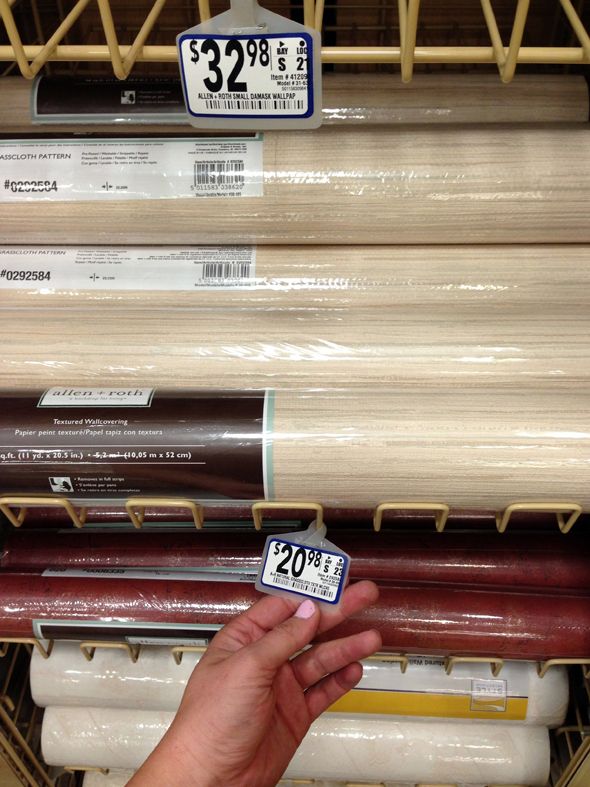
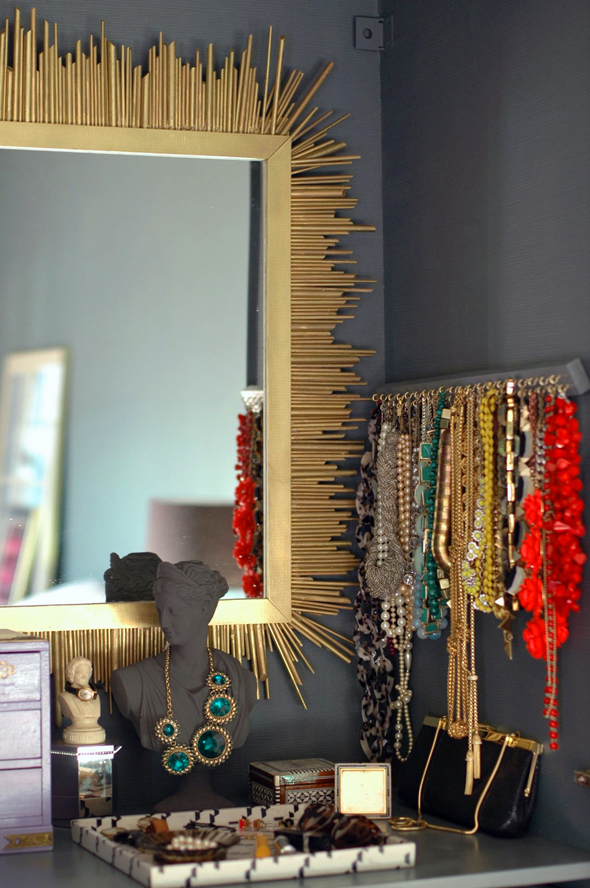
In my little vanity area in the center wardrobe, I wanted to add wallpaper to cover up the adjustable shelf holes, but I didn’t want any extra pattern or color (I knew my jewelry would be color enough!). I found this little roll of pre-pasted grasscloth look-alike at Lowes for about $20 and it seemed like an easy option.
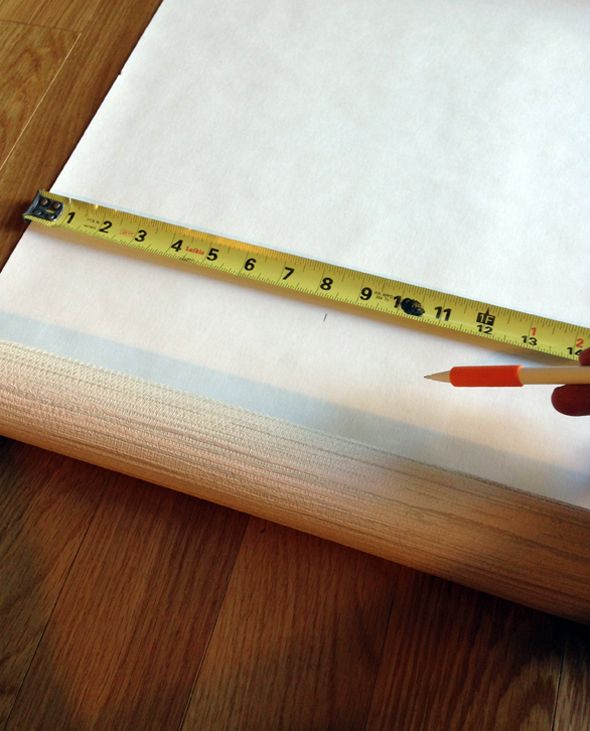
Most of the wallpapering I’ve done in the past has not been with pre-pasted paper. And wow, let me tell you – it is SO easy to wallpaper with this stuff. A million times easier than the paper that’s unpasted. For a smaller application like this, you can just mark all your pieces and cut them to size all at once.
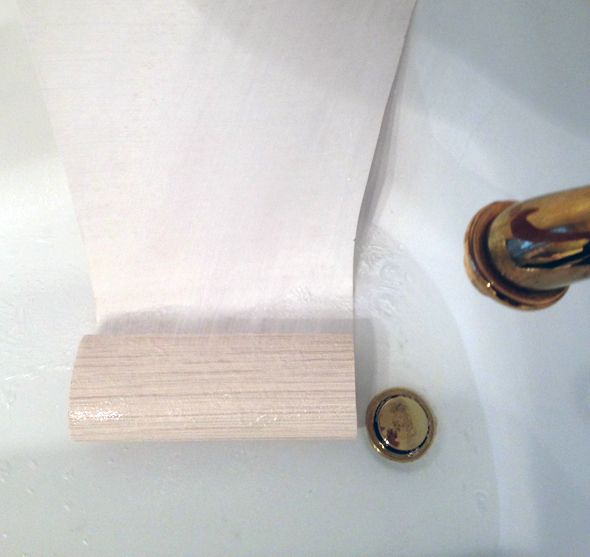
Then you get the paper wet and fold it in half for a few minutes while the paste softens. No need to get the paper too wet or you’ll have a huge mess on your floors and walls.
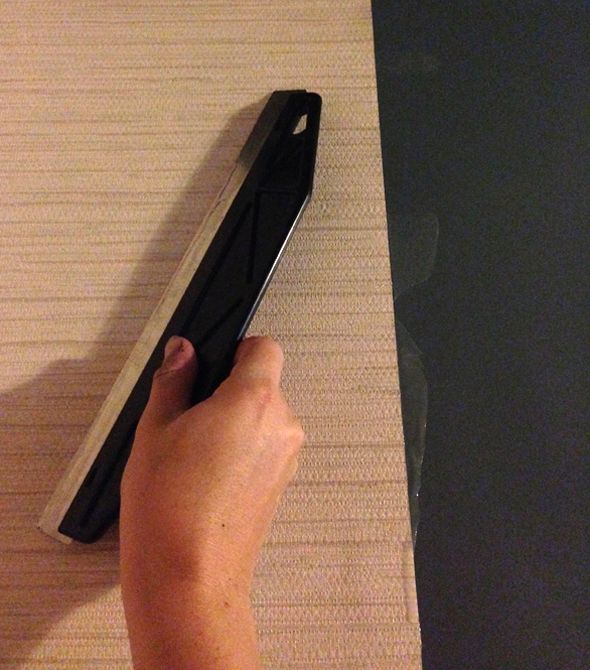
After you put the wallpaper up on the wall, use a large, flat spatula to pull out all of the air bubbles and extra paste (which you’ll need to wipe off with a wet rag as you go). If the spatula is large and if you work from the same edge and pull down and out with every swipe, you’ll have perfectly installed wallpaper in just a minute or two per sheet. It goes really fast with this pre-pasted stuff!
I used about half a roll for the vanity nook area and had more than enough to do the ceiling of the wardrobe too.
I rolled on the same paint (Benjamin Moore’s Advance line, tinted to Knoxville Gray) once the paper and paste had dried. I wish the finish look more like real grasscloth, but the texture is beautiful and subtle. I think it was worth the extra few steps to make the vanity look special.
—————-
So, I’ll be honest, while the steps of priming and painting all the surfaces in these three wardrobes were pretty easy on their own, it ended up being a lot of labor and it took several hours over the course of a few days to get everything covered and smooth. I love the finish and the color though, so I think it was worth it.


Jenny- you are always impressive and inspiring! thanks for the tips on wallpaper- I've been intimidated to tackle a bathroom project but your experience is helpful. thanks so much for all you put into your blog.
JENNY, You are the best all your project are so nice and smooth, i am so impress by your great ideas.
love your blog
brigitte
I love this post! I am always tempted to paint IKEA furniture, but the effort seems wasted when it starts to chips. I'll be investing in that primer soon!
Oh, I bought a critter based on your recommendation and it has changed my life. Thank you!
Do you always use plastic when you paint? I feel like old sheets makes a much easier clean up. Have you tried that?
This is INSANELY impressive — but what else would I expect? One day when I have my own forever home, I am going to be referring back to so many of these posts.
xo Lily
http://whilemyboyfriendsaway.blogspot.com/
Ah! I love this so much- so pretty. Ikea has some awesome stuff and I love that you customized it to make it your own!! Thanks for the helpful tips!
Love this shoe storage and the mirrors!
Did you hire out the mirrors or was that a diy?
I would give anything to have just 2 extra feet in my apartment bedroom so I could do this, ahhh maybe in the next one :)
Gorgeous! How did you tackle the mirror?
this is amazing! and can we just talk about how many CUTE PAIRS OF SHOES YOU have!?
Amazing transformation! I would love to have your ability to "vision" things like you do!
Beyond beautiful! Congratulations on Domino…they ARE lucky to have you.
Beautiful work! I want to know where your shoes are from. :)
Jenny , as always you've outdone yourself again. Did u prep the surface of the wardrobes by sanding the pm lightly first ?
Impressive as always! Congratulations on the Domino article, you deserve it. I'm crossing my fingers and hoping that the gold mirror frame in your wardrobe is an upcoming DIY too, it looks amazing!
They look fabulous! I love the color, the mirrors, the handles! Thanks for the primer recommendation!
Really beautiful, Jenny! I love the tip on the shellac primer, too, will definitely seek it out next time!
This is amazing!!! Any tips on how you inset the mirrors? I am DEFINITELY going to have to copy this look. Having daydreams about all that storage…
Yes, please teach us how you applied the mirrors! And where did you find that great hardware?
I love this! What a difference a little time & energy made for this piece!
http://www.ahealthymrs.com
This looks amazing! As always. Congrats on your new career with Domino!
I have used the shellac-based primer when I wanted to prime plywood and MAKE SURE that the knots didn't show through in a few months. (I know the gold label Zinsser says that the knots don't show through: liar liar pants on fire.) The shellac-based totally came through, but man did it dry quickly. I could not get it on there fast enough. And I totally agree that sanding after it was dry (which was what, like 20 minutes?) made all the difference.
Great job!
I'm exhausted for you!!! But per usual, so dang impressed!! Your taste is so Domino…SPOT-ON!!!
Fantastic article, really enjoyed it and appreciate the tip on painting Ikea furniture :)
Thank you for solving the how-to-paint-ikea-furniture conundrum. i will be using this!
http://www.fullbellywornsoles.com
All I can say is WOW. You never cease to amaze me. Your energy and talent are so impressive. Love to know where the gold mirror is from.
I LOVE this storage unit so much. It looks beautiful! I have some IKEA Billy bookcases and have been wanting to paint them for a while, but have heard how difficult it is to do, so thank you for the tip on the primer! And funny enough,I was also thinking about putting grasscloth wallpaper on the back of the shelves, so I'm running down to Lowe's to get the same wallpaper you used ASAP!! And congrats on Domino! It was always my favorite magazine and I'm so glad it's back!!
The Domino story was wonderful! I have been eyeing our Pax units for some time – we use them for office storage now. And oddly enough, they are housed in a room that is also painted Knoxville Gray! I feel a copycat project coming on…
And Zinsser BIN – isn't it amazing?!
I agree with you Ikea wardrobe are great to customize and what you did here is amazing!
I would like to do a similar thing but I don't know if I could paint all those furniture, it's a lot of work even if it seems easy when I see your pics.
But congratulations! I look forward to see more :)
Awesome article, but frankly would expect no less. You are sure to be Domino's most loved editor. I just finished repainting my kitchen cabinets with the BM Advanced and loved the way it came out. Couple caveats though- it's expensive and takes forever to dry. They recommend 24 hours between coats. I had to carefully tent everything overnight to make sure the dew didn't screw up the paint.
Awesome article, but frankly would expect no less. You are sure to be Domino's most loved editor. I just finished repainting my kitchen cabinets with the BM Advanced and loved the way it came out. Couple caveats though- it's expensive and takes forever to dry. They recommend 24 hours between coats. I had to carefully tent everything overnight to make sure the dew didn't screw up the paint.
These turned out so great, Jenny! And can I just say, I'm fairly certain all those dowels you cut where for that mirror and I am DYING over it! It's gorgeous in every way and I cannot wait until you give us the DIY steps to make it.
-Roxanne
http://www.roxannestellmacher.com
This is great! Did you sand before priming? And no problem with oil based and then latex paint over? This is great inspiration, we're working on a kitchen soon with a combination of original cabinets we're painting and PAX wardrobes for a pantry.
This post, and all the other DIYs I see coming – are better than Christmas. So inspired.
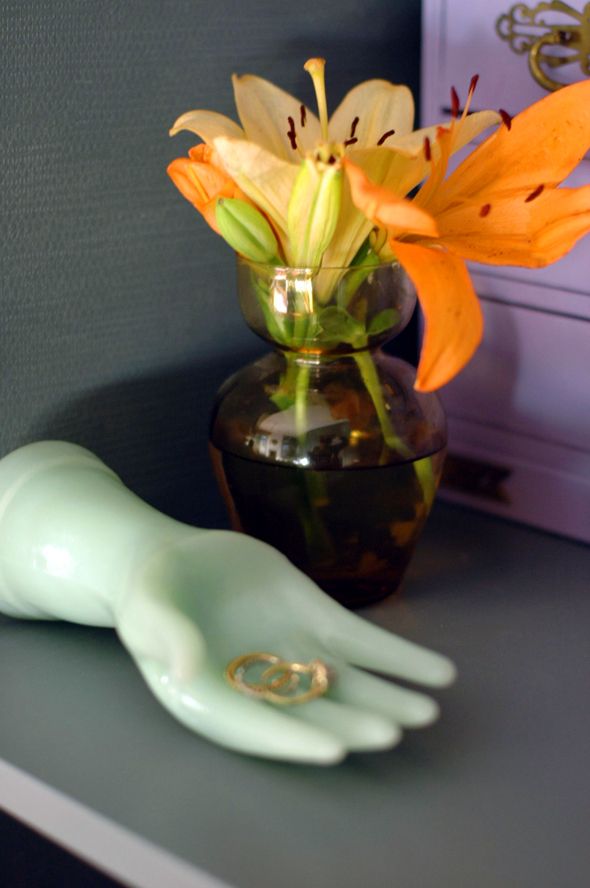
tiny florist tip – lilies are gorgeous with the added contrast of their anthers (stamen tips), but holy freak do those things stain anything they touch! We usually slip in there with a kleenex and slide them all off before they have a chance to do any damage. (Same with tulips – I once missed one and it stained a bride's gown. Horrifying.)
World Most popular Upcoming Latest cars and vehicles, Latest Mazda Models, Racing Cars, International Sport Cars, Concept Cars, PS-Pod, Strange Vehicles, Nissan, Royce Corniche, Ford Concept Cars, Strange Vehicles, Mercedes and More Sport Cars and Vehicles with Pictures and Info
WorldLatestVehicles.com
These are so creative and beautiful! I especially love the vanity area. That mirror is fabulous! Details?
Love how those came out! My friend is down at IKEA today and I wasn't going to have her pick up a set of shelving for me but after reading this post I'm feeling the need for an IKEA hack coming on!
Also, where did you get the hardware? It's just what I need for another project.
Thanks!
Congrats on your first Domino article – but I must say that what I REALLY LOVE is reading about your work on your own blog, where you go into great detail about the project. Thanks for being great!!
Congrats on Domino chica!! I have a question though? I use Zinsser primers for all my projects. Usually I use cover stain or bin 1-2-3. Is there a difference between these and the shellac based primer? The cover stain and bin primers are good for laminate as well. Do you have any input? Thank you.
Hi Shavonda! I've just had the best luck with the Shellac-based version of Zinsser on the tricky IKEA laminate. Personal preference! I've used the coverstain on IKEA before and I felt like it gunked up a bit? The Shellac is pretty water-y but covers so well and dries very fast!
Hope that helps
xo
Jenny, the Pax units look awesome!!! I want to do this now in our master. An love that paint color. Can you tell us where the mirror and hardware are from?
Thanks!!!
And how did you affix the mirrors to the outside of the doors?
Thanks!!
Would love to know what kind of handbags are in the shelves – the Black and Tan !!
Jenny, this post was so timely, as I we are about to install Ikea cabinets in our new kitchen. I've been trying to decide if it would be workable to spray them…
Hi –
Will the critter work well for latex based primer (http://www.kilz.com/primer/v/index.jsp?vgnextoid=ef4c693378683210VgnVCM1000006b0910acRCRD)?
Thanks!
Wow! Could I be crazy enough to attempt this?? So need some additional storage in my bedroom and this could be the answer. I am loving the handles on the unit – would love some info on them or did I just miss that?
Wow! Could I be crazy enough to attempt this?? So need some additional storage in my bedroom and this could be the answer. I am loving the handles on the unit – would love some info on them or did I just miss that?
THIS IS AMAZING!!!! What’s the scoop on the mirrors? Several of your comments have inquired!
Looks great. Jenny. Where did you buy the roll-out shoe racks and what are the dimensions?
I need these for a unit in my dream Closet.
Thanks so much for sharing you great ides.
Margo
Hi… where I am thinking about taking this an another hack i saw to make a murphy bed with storage in our kids playroom, I am just where you got the mirrors you put on and how did you attach them?
Thanks for all your efforts that you have put in this. very interesting information. i like with express my support of your ideas in your article, and looking forward to your next article.