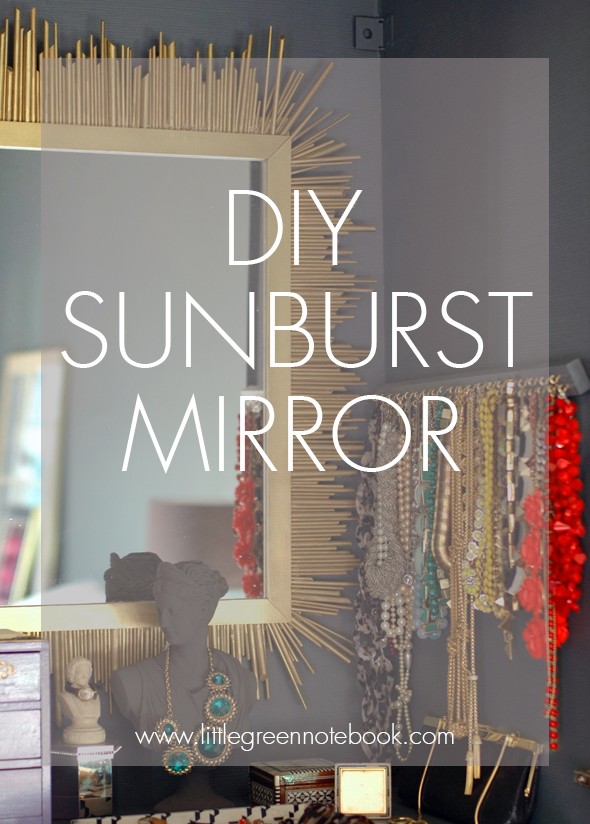
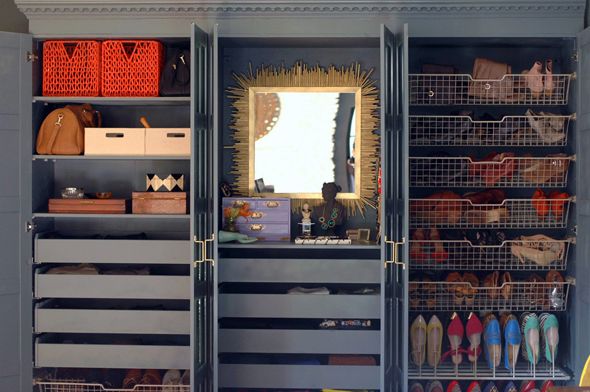
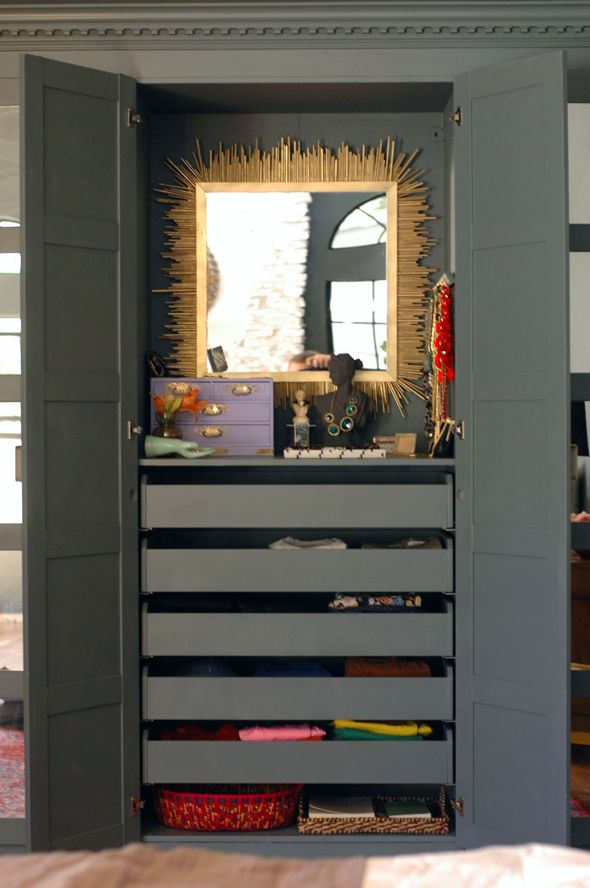
It’s no secret that my love for sunburst mirrors runs long and deep – especially chunky antique ones in gold tones. So when it was time to figure out a mirror for the Pax makeover project, I thought nothing but a gold sunburst mirror would do to help break up all that dark gray paint.
I looked around for something to buy quickly because we were short on time, but it was important to me that the mirror fit the back of the vanity space perfectly (about 36″ square was just right). It was obvious pretty quickly that the only (affordable) option would be to make something myself. This image has been in my mind for a long time and I thought the look would be perfect for this project.
Here’s how I tackled this DIY for about $75 in supplies:
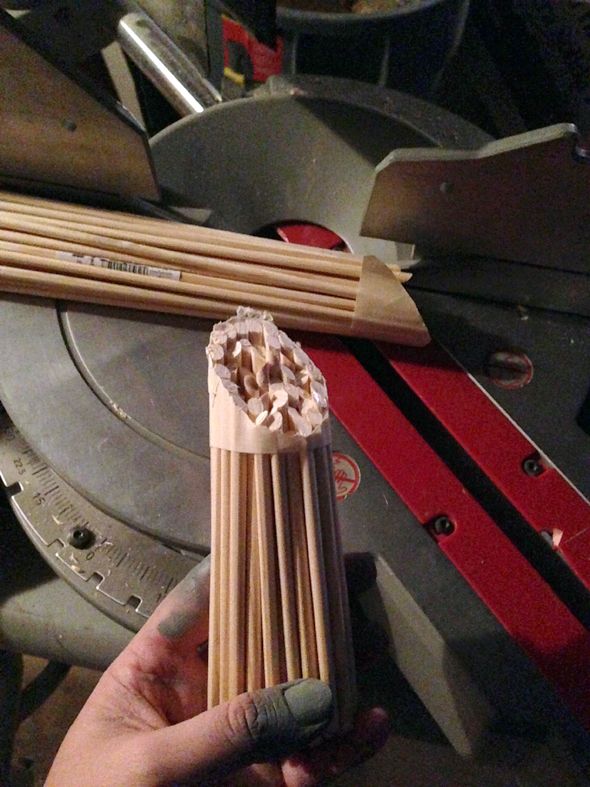
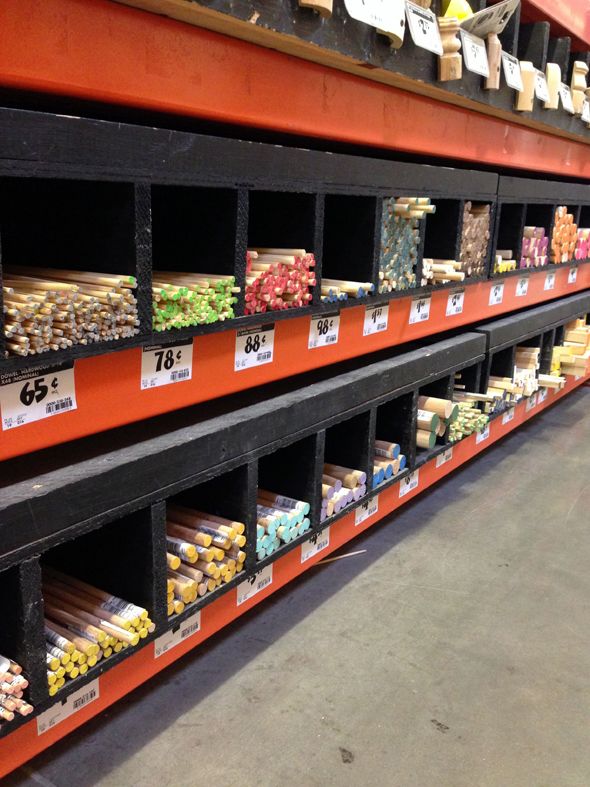
Depending on how big you want your mirror to be, you’ll need to buy a lot of small wooden dowels from the hardware store. I used 55 dowels and I had leftovers. I bought 30 of the smallest size, 15 of the next size up and 10 of the size just bigger than that.
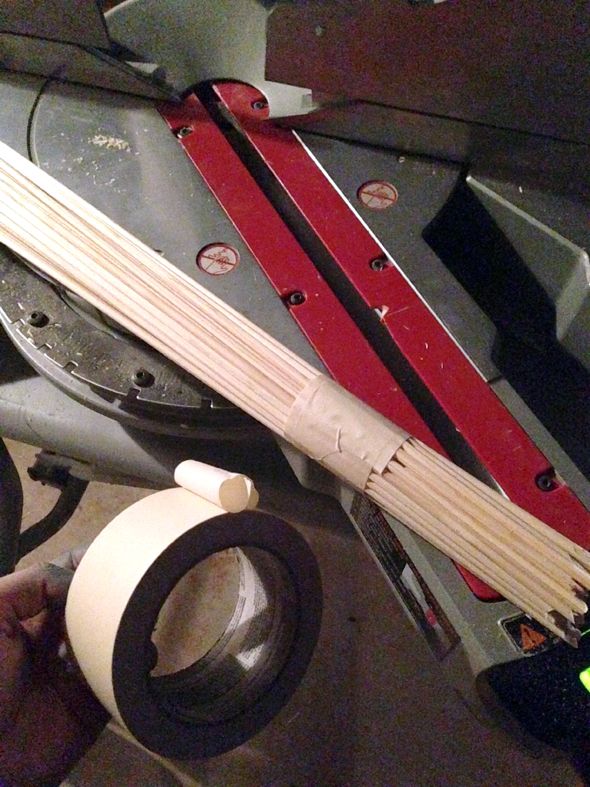
I used a
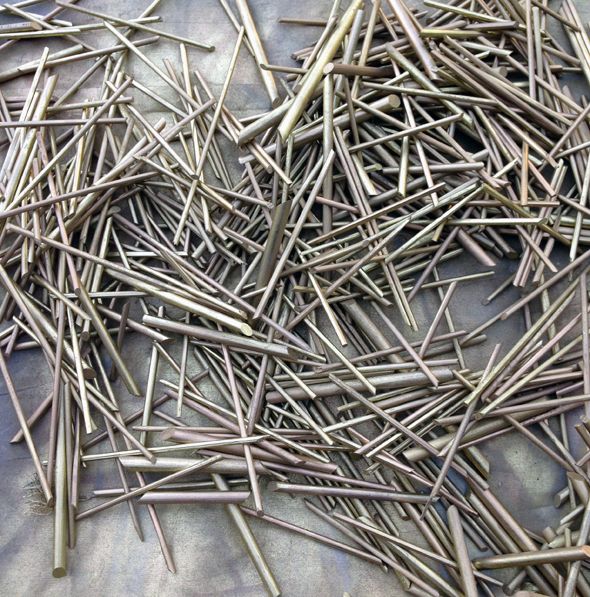
miter saw to cut down the dowels to random lengths between three and six inches long at a 45 degree angle. The trick is the wrap a bundle of dowels in masking tape on the spot you want to cut. This prevents any splintering or fly away pieces, which can be really dangerous, so make sure you don’t skip this step.
I wanted the mirror to look mottled and not new, so I rounded up my collection of gold spray paints. –
this one is my favorite!
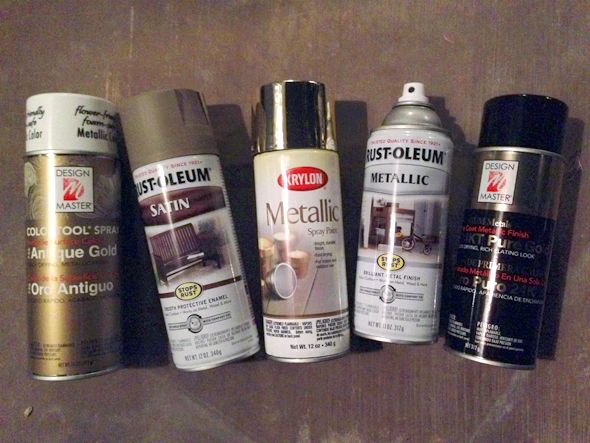
1 // 2 // 3 // 4 // 5
————
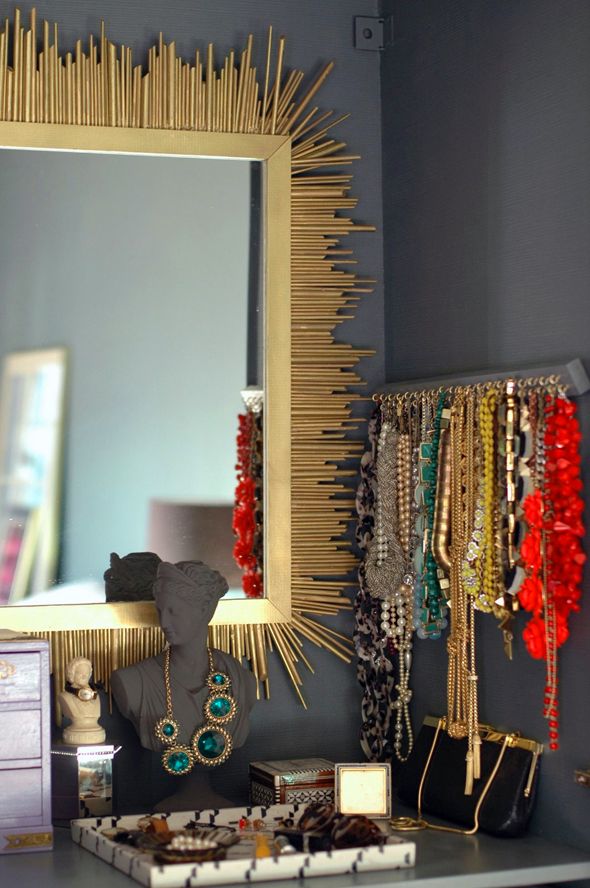
I threw all the cut dowels on a drop cloth and just started spraying and tossing the drop cloth to move the dowels around. I tried not to spray the dowels directly too much. I wanted the paint to sort of float down onto the dowels so there wouldn’t be harsh lines if another dowel was blocking part of a piece. I found the best method was to spray from farther away with one hand and then use the other hand to move around the dowels. I think painting with the different golds really helped add depth to the frame. Each of the individual dowels looks a little different and is a slightly different color combination. I was so happy with how this worked!

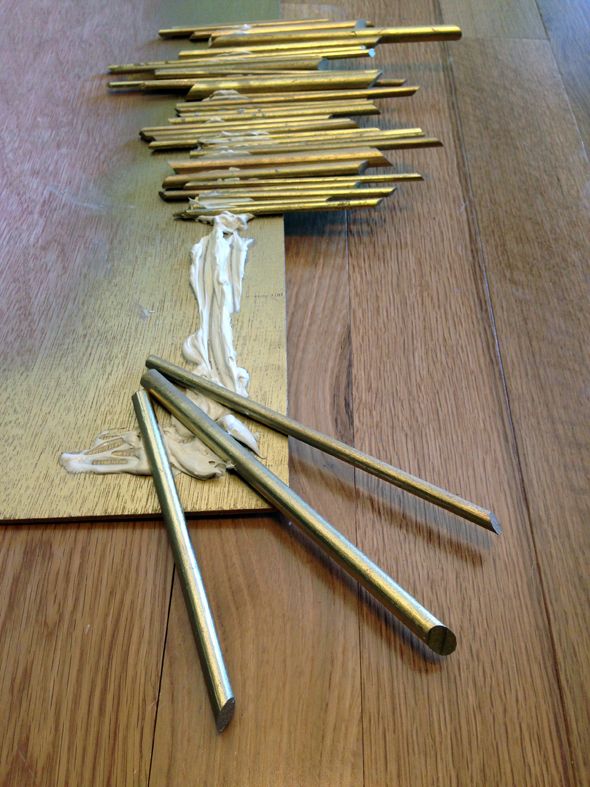
It’s super important to use the right glues for this project. I used
Liquid Nails Paneling for glueing on the dowels to the plywood backing. This stuff dries quickly so it’s best to work in smaller sections – like three or four inches at a time.
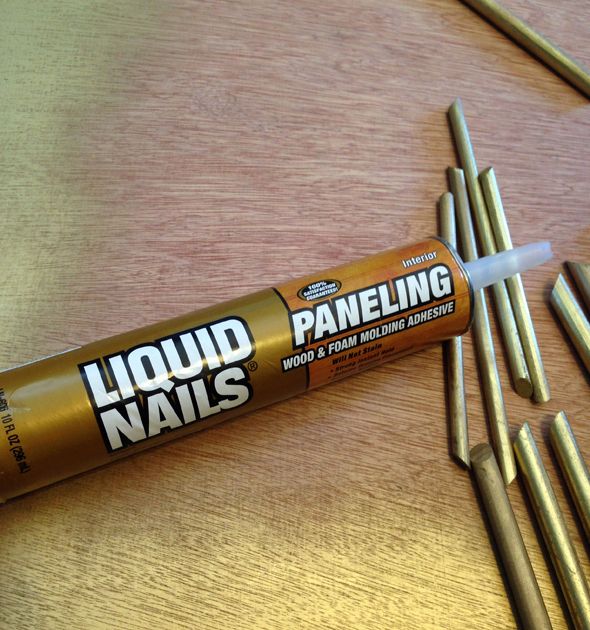
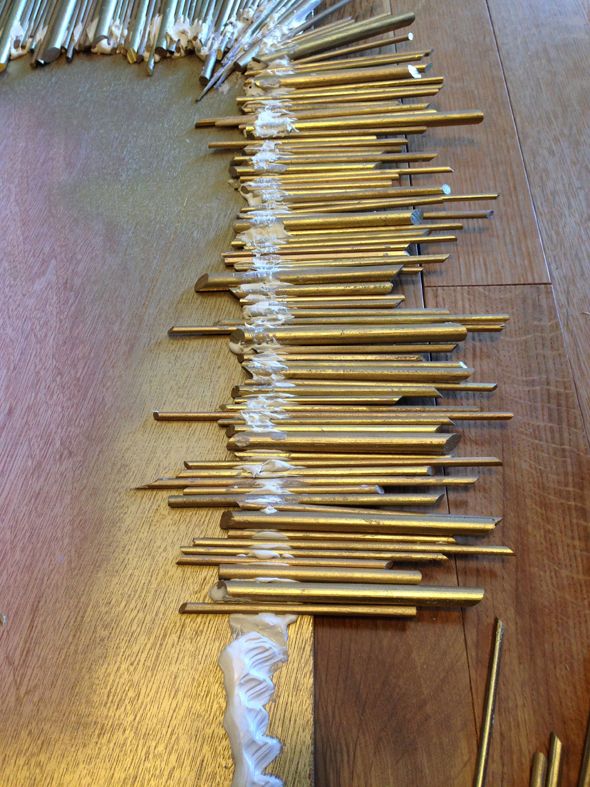
I ran a 1″ wide bead of
Liquid Nails down the plywood board and quickly stacked the dowels next to each other, varying the lengths and dowel sizes and the color. Pushing down really hard on the dowels makes everything line up. The glue will squish up around the sides of the dowel which helps everything stay put even better.
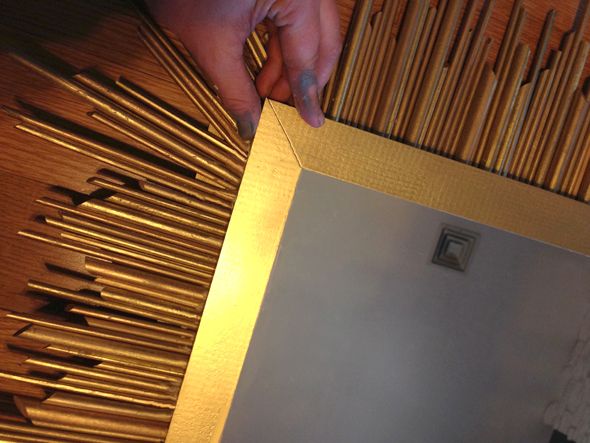
The corners are pretty much the only tricky part. I use a few thicker dowels first and then filled in with small and short pieces. I broke a few down just with my hands to make them short enough to fit in the tight angles.
Once the frame is done, give it a day to dry out and then cover everything with a ton of mirror glue.

I had a 24″ mirror cut at a glass shop for about $20. I glued the 1/8″ thick mirror right on top of the dowel frame and then used more
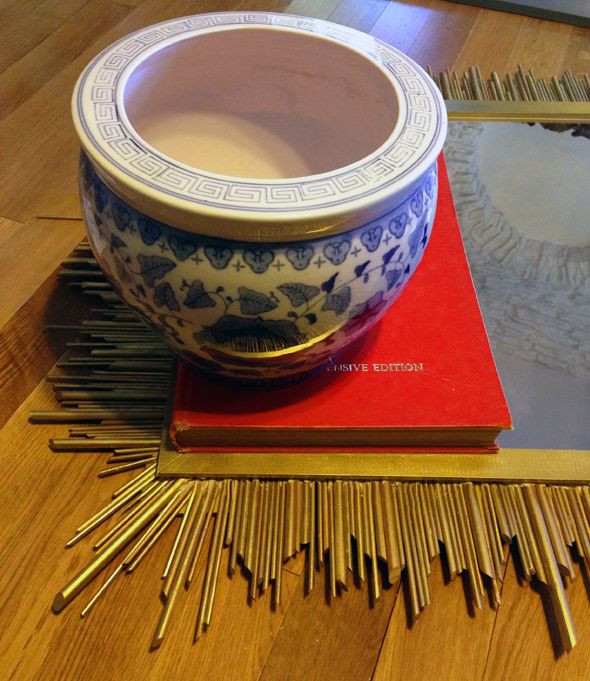
Liquid Nails to glue the top frame made from flat trim on top of the mirror, which really finished the whole look
I sat heavy books and other items on top of the flat trim frame and let it dry overnight.
I forgot to take a photo of the final step, but I flipped the mirror over (which was a two-person job, as was hanging it on the wall –
pokey!!!) and screwed two small
D-rings into the perimeter of the plywood. Then the mirror was ready to hang! It’s been up for about a month now and it looks and feels super secure. That
Liquid Nails product is amazing stuff and made this project a breeze.


Wow! What a great project!!! It looks fantastic!
Now I have to make one!!!
http://reuschinteriordesign.blogspot.com
So amazing! I remember seeing those dowels on instagram and wondering what you were up to!
Looks great!!! I love liquid nails- amazing stuff
http://www.davenportdiy.com
Love it. I think you might be starting a new trend of square starbursts :)
this is just awesome! Square starburst-i LOVE it! have a great day :)
-courtney
You are a DIY goddess!
You are a DIY goddess!
You're a genius.
Champagne Lifestyle on a Beer Budget
Looks great! I already have a flat trim, square mirror on hand (garage sale find!). Could I just spray paint it and attach the dowels to the back to achieve the same look? Or do you think I would want to still attach the dowels to plywood first?
Brilliant! Thanks for the tip on cutting the dowels. I love the finished product!
This is insane! I saw it earlier but totally assumed it was from someplace expensive. It just looked like something I couldn't afford so I didn't even ask. I'm shocked and can't wait to make my own version!!
Wondering if I have room in our bathroom for this!
I had already been wondering about that wonderful mirror! Such a great job. Keep up the good work, you inspire me so much while I write my own blog here in Denmark!
Amazing! You have the best ideas, and they turn out so wonderfully!
http://www.ahealthymrs.com
This is the best D.I.Y sunburst mirror I have ever seen! Great instructions and amazing talent! Thank you for your constant inspirations- now I might need to make one.
So impressed with your ingenuity and creativity! Love it!
This is amazing… i cannot believe what was used to make this mirror…. completely fooled me!
Wow. Simply stunning.
TOTALLY AWESOME! Going to make one for sure.
I would not have guessed you made that.
I'm like a broken record everytime I come over here…you are genius and amazing! And this is the first post I've ever seen where you didn't have a flawless manicure. The DIY must really be going strong over there!
I loved meeting you so much, and hope I didn't frighten you with my constant gushing. ;) I did a fun recap post here: http://hisugarplum.blogspot.com/2013/10/scenes-from-nyc-lowes-blogger-event.html
Yea that mirror is amazing! I love it! Liquid nails is the best isn't it!
This looks great! Do you know the source of the original mirror? Is it custom?
This is fabulous!! Love it. I am going to try it out!
Super cute! I love it. But I also want to know about how your necklaces are displayed. Is that a DIY too?
I love this! I've been wondering where you found the mirror since your first post. Of course you made it……you're awesome!
I LOVE LOVE LOVE your style! Love the mirror and the whole wardrobe closet…it looks great! -jessica @ http://www.joyouseclecticism.blogspot.com
I love how your mind works! So fun to see a Starburst mirror that isn't a circle, brilliant. :)
So gorgeous I love the updated shape. Make and sell those – you'd make a fortune.
So smart with the mixing of paints. I think that really makes it pop and look rich, verses the flatness of a single color. One of my favorite projects, yet Jenny!
Amazing!! I Love your ideas… please go on, I'm ansious for the next!
Amazing! I Love your ideas! Please go on! I'm ansious for the next… :)
Jenny,
Wonderful idea!! Your necklace display also looks DIY…I'm always looking for ways to store/display my necklaces. A post or comment about that would be appreciated!!
Long time fan, love your work!
Cheryl
Absolutely gorgeous…as always! My day is made when I open my email and see there's a new post from you!
Leslie
House on the Way
VERY clever with a gorgeous result! You are very talented. Your home is really turning out great!
That is unbelievable! You are simply a genius. :)
Your DIYs are always so amazing!! This one is no exception….love the rectangular take on the sunburst.
Amazing! Again!
Wow! That is ingenious and so good looking!
Love love this!Thanks for sharing. Quick question: If I don't have a miter saw, could I saw them all by hand??
jenny seriously, you've outdone yourself with this one…amazing.
Love! I've made something similar before but I love the look of different size dowel rods! And I especially love the color choices! Well done! This is definitely something I will need to Do when we move!!
Wow, I hadn't realized you made that. Clever use of spray paints, too!
Great article! I love sunburst mirrors so much! Please add gallery!
Great.! what a lovely idea..! Thank you for sharing this innovative idea. Nice post.
This is amazing! The explanation/instructions and directions were awesome!