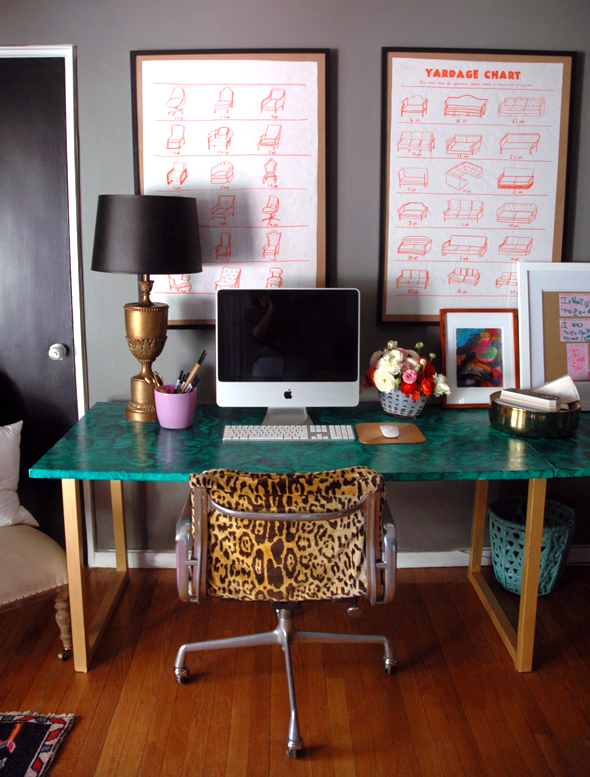

I would have never guessed a couple years ago when I made this double wide desk from IKEA components, that I’d still be using this inexpensive combo today. I really love it – it’s great to have so much work space – but it was time to change up the look a bit. When Sherwin-Williams invited me to use some of their green paint to dream up a project for National Painting Week, I knew my old trusty desk was going to be the lucky target.
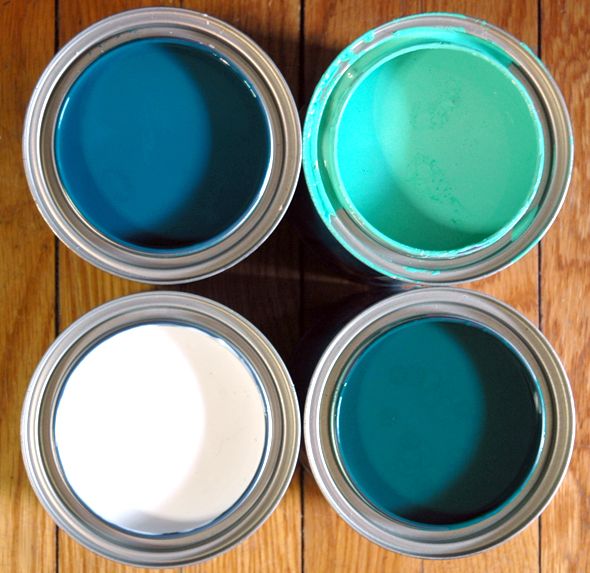
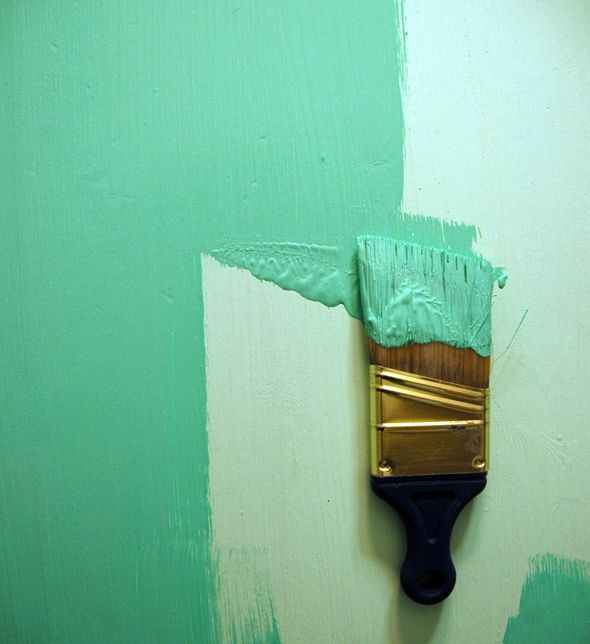
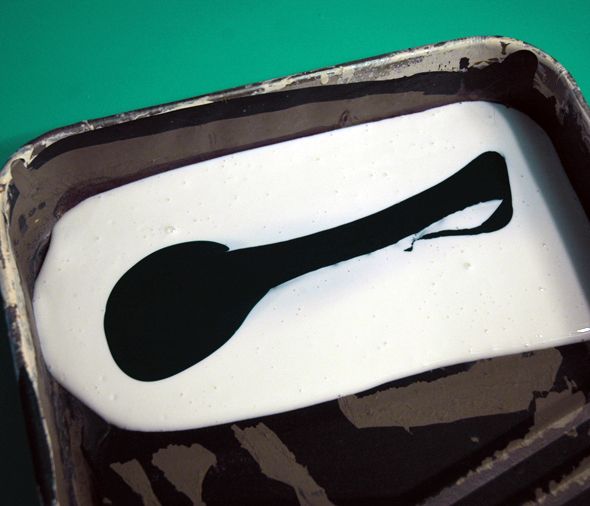
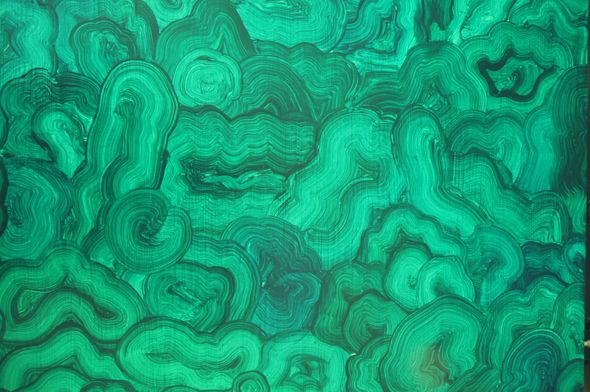
I shared last week that I’ve been dying to try my hand at a faux malachite painting technique, but I’ve been a little intimidated. I had no idea just how easy it would be! Here are the paint colors I used, all of the colors were mixed in Sherwin-Williams All-Surface Enamel Latex Gloss, going clockwise from top left: Cape Verde (SW 6482), Active Green (SW 6986), Country Squire (SW 6475), and Faux Impressions Clear Glaze.

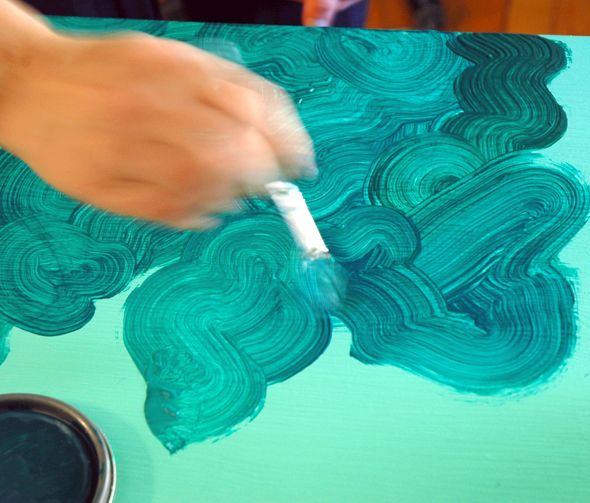
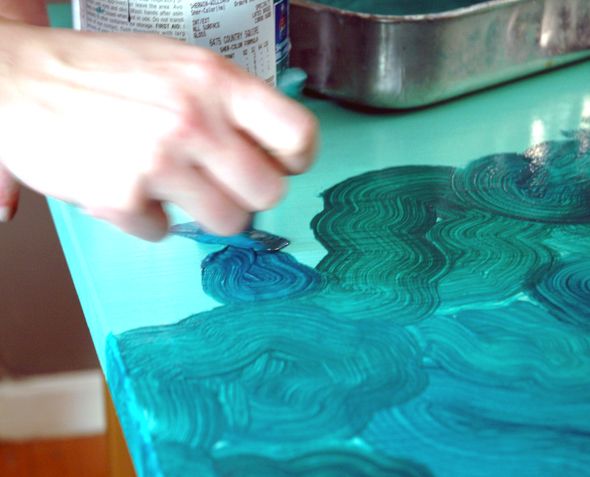
The malachite pattern part is fun and easy. I started at one end and worked in rows. The trick is to layer the swirls on top of each other. You cover up the start-stop part of each swirl with the smooth, round part of a new swirl. The glaze makes it so the paint dries a little slower and you can layer on the swirls in a clean way, so that the clear bright green base shows through.

Turn on some music and try to keep a loose hand. :) The trick is to not go over the same part twice, if you can avoid it. Also, rather than doing perfectly rounded circles, add some wiggle to the brush so that the lines of the swirls have some movement. It takes some playing with to get the hang of it, but it’s fun to do and it goes really fast!
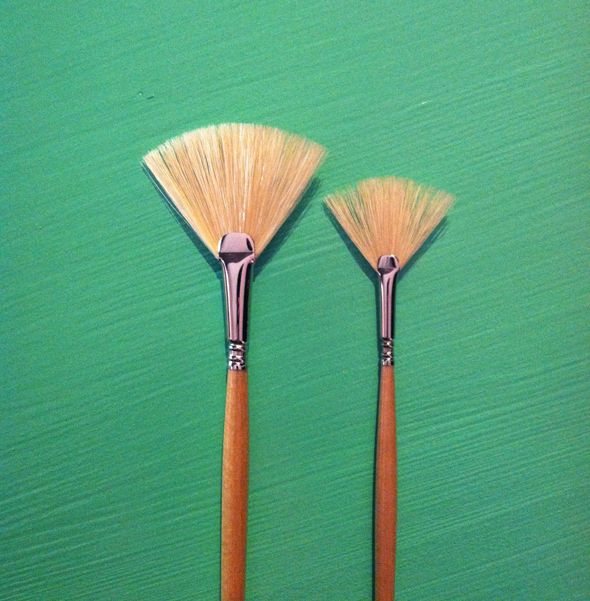
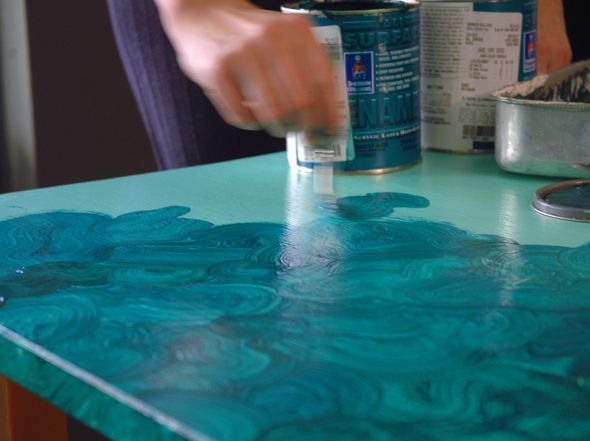
Don’t forget to switch back and forth between the small and large fan brushes and the dark green and the dark teal glaze mixtures. I mixed the mixtures together sometimes too (such a rebel, I know).
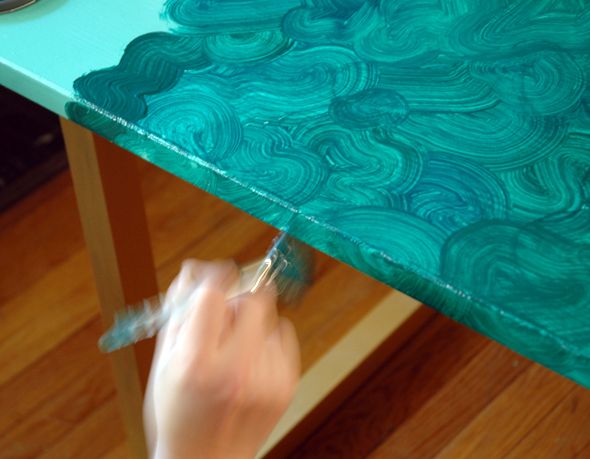
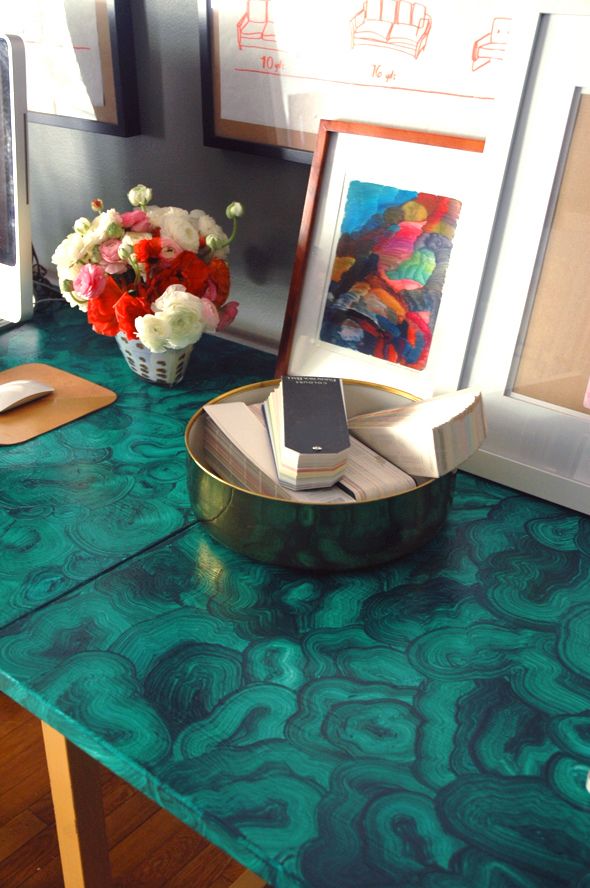
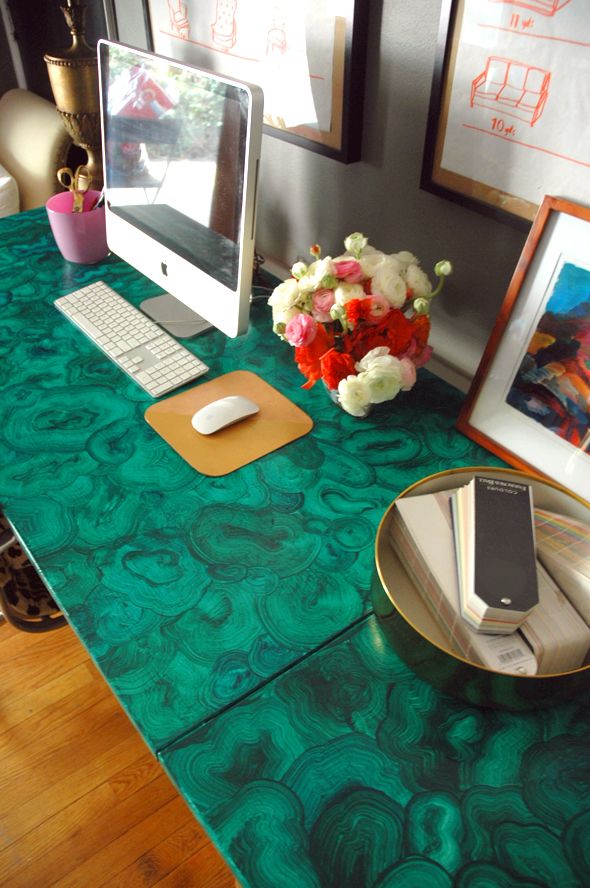
I also tried to continue the same swirl pattern and glaze color down the side of the table top for a consistent look.
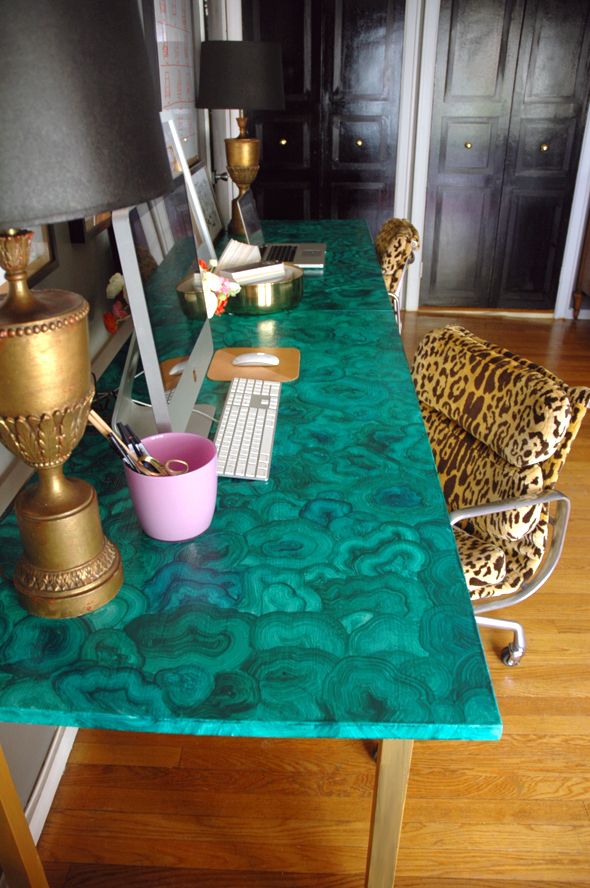
And here’s the dried, finished look:
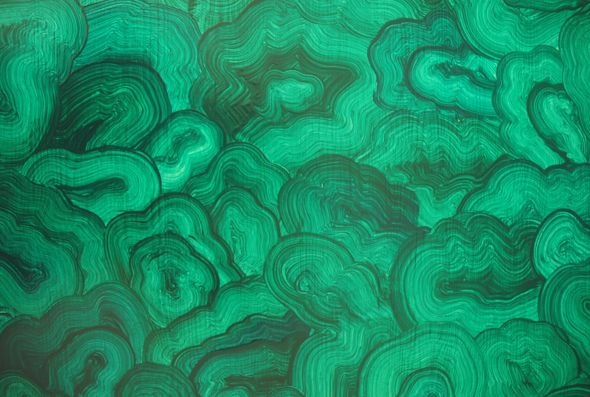
It’s definitely not meant to fool anyone into thinking it’s real malachite. It’s just meant to be a pretty, abstract look. I love it!
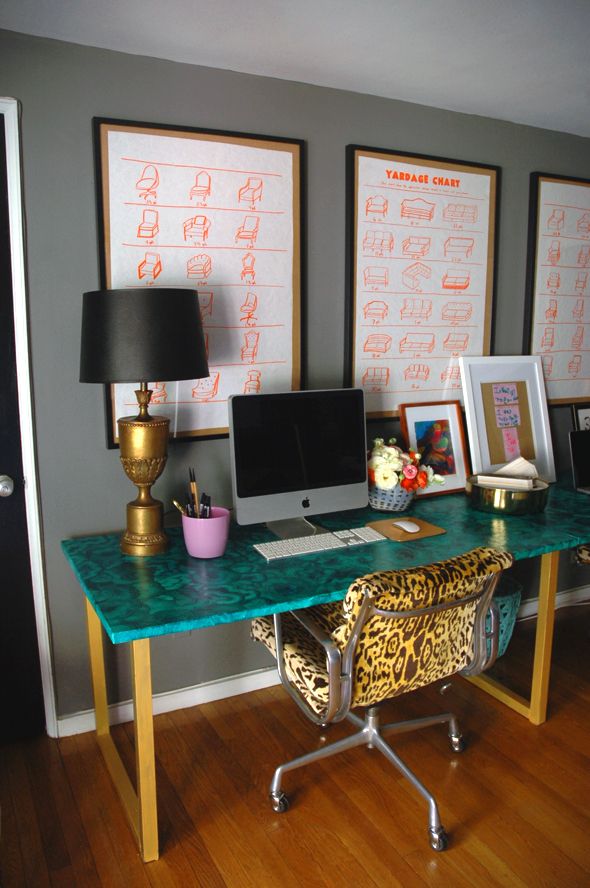
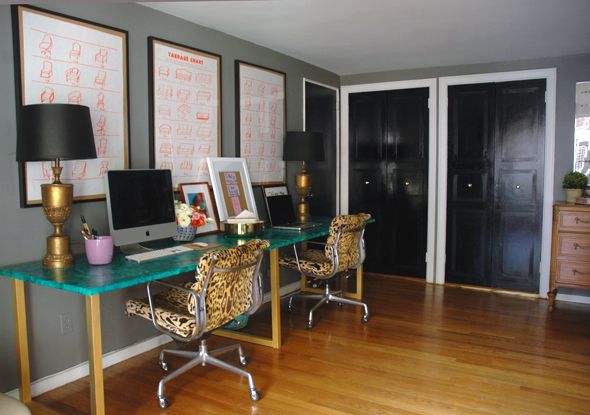
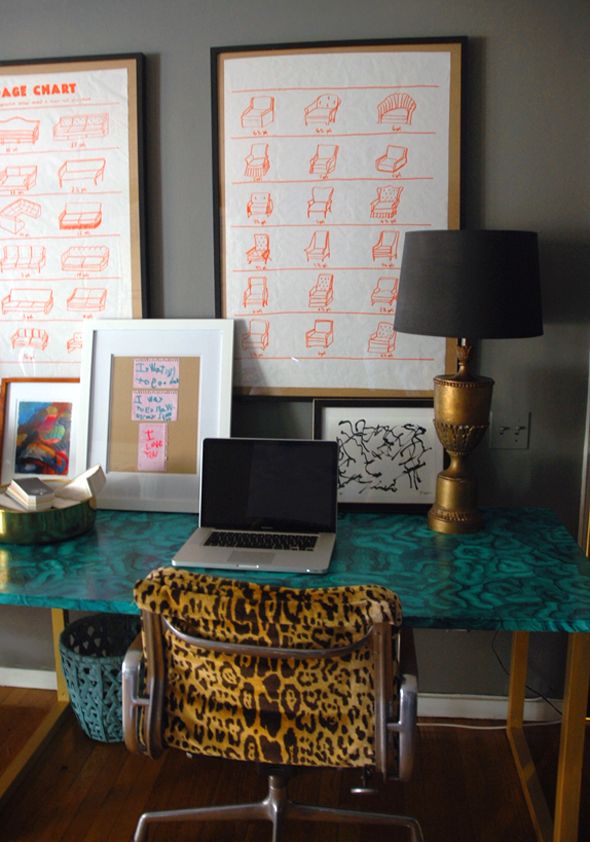
I like how much blue there is in the finished desk – I think the SW colors were perfect! I’m really loving how they look against my dark gray walls and with my leopard Eames chairs.
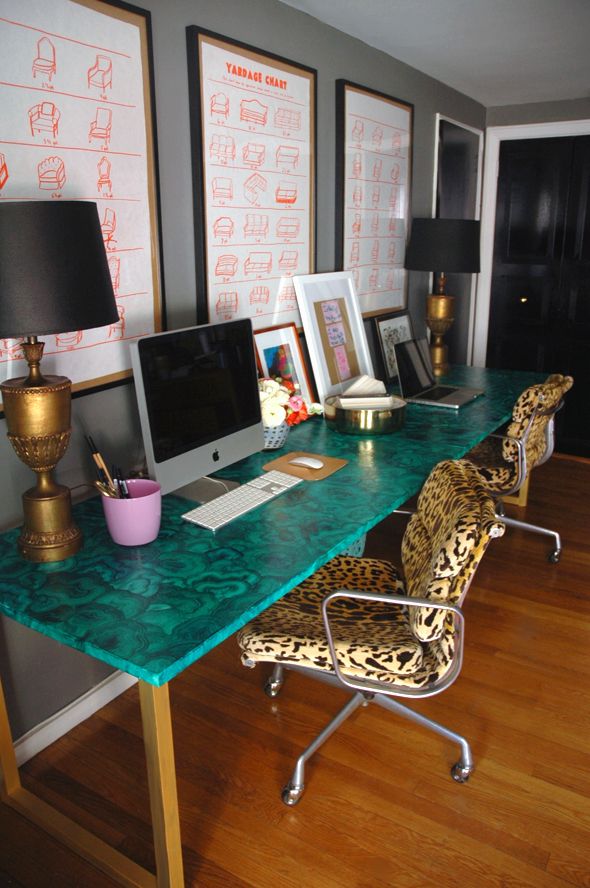
And now for the barrage of photos of the desk at all angles!


I loved getting to try another faux painting technique – especially one that had such quick and easy results! A big thanks again to Sherwin-Williams for sponsoring LGN and letting me participate in this year’s National Painting Week. And be sure to catch the thirteen other design bloggers’ projects this week! Today, Cassandra at Coco + Kelley has another green project (I love the color she chose!) and tomorrow Erin from House of Earnest and Justin and Cassity at Remodelaholic will share their yellow projects. It’s going to be a colorful week in blogland! :)


Wow, Jenny! This is gorgeous. I too have been too intimidated to try a faux malachite. Once again, you've inspired me to try. I also love the yardage charts!
Houseofpemberley.blogspot.com
The leopard and the malachite, tied together by the desk legs and the lamps is just an amazing combination! I didn't think anything could top the lavender dresser from last year, but this may have. I'm dying for a malachite paper lampshade – do you think this would work painted directly onto a paper shade?
This is beautiful! I've been wanting to try this technique for a while now and you have inspired me!
Looks awesome. I love all the accessories on top too. Just had that gold Threshold bowl in my hand yesterday at Target, might have to go back and get it ;)
I love the leopard chair too!
Wow! Gorgeous! I'm feeling very inspired now!
Gorgeous! The whole room is so fun. The desk is so creative!
Jenny
http://Www.simcoestreet.blogspot.com
This is gorgeous.WoW !!
WOW! This looks amazing! Seriously you could have fooled me at first glance! What a great DIY, can't wait to try this on a side table.
The leopard chairs pair so nicely with the rich greens!
Well done and thanks for the inspiration!
xo Quinn
Quinn Cooper Style
Love the faux malachite – the leopard chairs- the brass – and the yardage charts! …Did you enlarge them at an office supply place – or do you have another trick up your sleeve? :) Thanks for sharing your painting technique!
this is all just way too good.
Jenny, I LOVE LOVE LOVE this!! Nice job!
This looks amazing!!
This looks fantastic! I think I'm ready to try it at a smaller scale. I admire your gusto for trying it with a big piece, it really turned out well! I am also obsessing over your yardage charts. I saw your post on them awhile ago, but how did you get them all orange and gorgeous?!
So clever! Emerald and animal print are a great combo
Xo, Elba
Jenny this is so cool! I love it and how it works with everything else!
Jenny! Girl, you know I love me some malachite, so I am LOVING this! Did you put some sort of protectant on top of the paint?? xoxo, G
Jenny, this looks great! I have a vintage malachite necklace from my grandmother that I wear all of the time and I never get tired of it!
I love the yardage charts you have framed above your desk. I'm curious, what's the source on those? They're cooler than any yardage chart I've ever seen. Thanks!
OMG Jenny!! I love it!! It looks so good! COngrats!
You are ridiculous Jenny!! I'll have you know a couple weekends ago at the Joy & Revelry retreat, me along with the rest of the team (Bryn Alexandra, Reichel Broussard, Courtney Lake & Paloma Contreras) were going on about how we'd give anything for an ounce of your energy:) It's so inspiring!
Seriously, beautiful beautiful job! Awesome color selection! Did you do any practice runs first? You make it look so easy!
So fabulous!
you are my hero simply for having a desk so neat! desk looks awesome!
Absolutely fabulous!!
I knew when you tackled this, you'd knock it out of the park!
it looks great – love it!!
Just want to say – I've been looking for a desk for our office and I think that you just convinced my boyfriend and I to do the same Ikea combo of table top and legs! We've only been working on figuring out the office for maybe 2 years now! :-)
This is incredible!
This is so very cool!! Way to go…I love!
Amazing! I love the subtle pattern with the leopard!
wow… great idea! is very well done and succeeded! Congratulations!
You never cease to amaze me with your talents!! The desk looks amazing!!!! Love the shades of green mixed with the gray walls and leopard chairs!
Gorgeous!! Yet again you amaze me!
Absolutely amazingly gorgeous! Great job, Jenny. It looks amazing in the room too. Love it!
What a great job!
now i am looking around the house to see which piece i can apply this technique to!
definitely going into the inspirational folder!
Great job! You've inspired me to try this technique; on a smaller scale of course. You're braver than I! I love the way you finished the edge, it looks like that raw edge you get once stone has been cut.
Fantastic! So brave of you, and it turned out so lovely.
Wow, this is really beautiful! Nice job!
Great job Jenny. It looks amazing. You may have just given me an idea of what to do with a piece of furniture I've been wanting to paint. Thanks so much for the inspiration.
I thought "no way" could that ever turn out good, but wow! You proved me wrong– looks very cool!
You are so talented that it literally excites me.
It looks absolutely fantastic- definitely a double-take kind of makeover :) x
amazing… I'm thinking of trying it on our coffee table. Thanks for sharing.
http://www.redesignation.blogspot.com
You've done it again, the desk turned out amazing. I think this may be my favorite projects of yours…so far!
My name is Maria Silvia, and i am from Brasil.
I love your blog.
This post is beautiful!
MS
I love really been crushing on malachite lately and I love, love, LOVE this desk!! Seriously amazing job! Now I'm trying to think what I can do it on, I already have the brushes in my stockpile.. ;)
Amazing! No one would ever believe that desk was from Ikea. Now to get myself some fan brushes….
That technique would also look beautiful as wall art.
You're a genius!
How fun! I made a set of faux malachite boxes a few months ago but love the idea of having a big piece of "malachite" furniture!
That is A-MAZ-ING! Seriously creative! Love the look!
Susan
http://simplymodernhome.com/