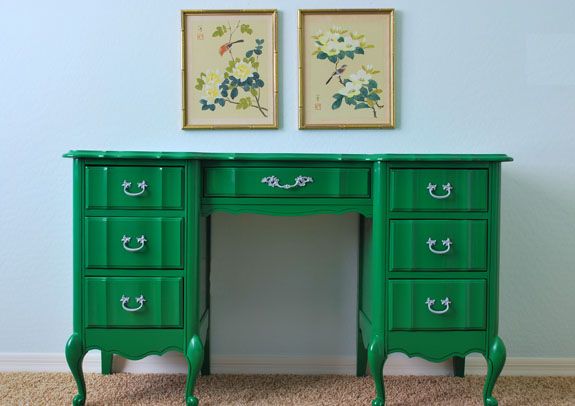
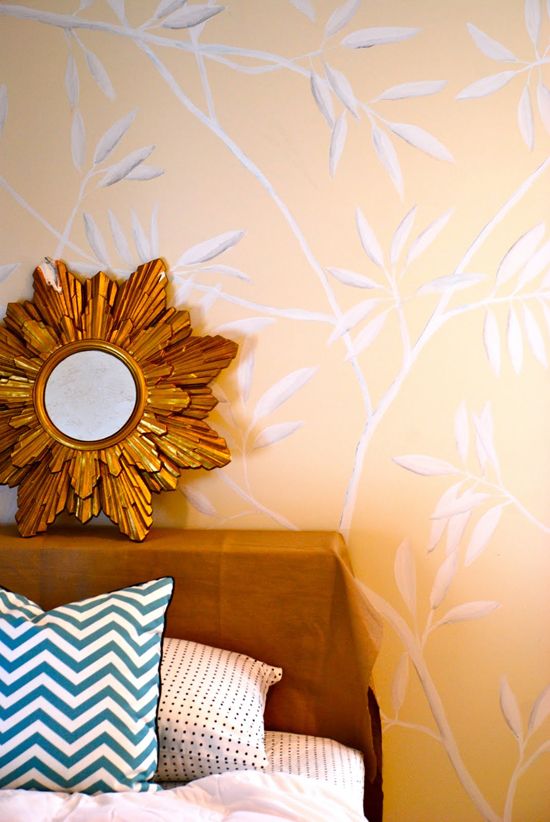
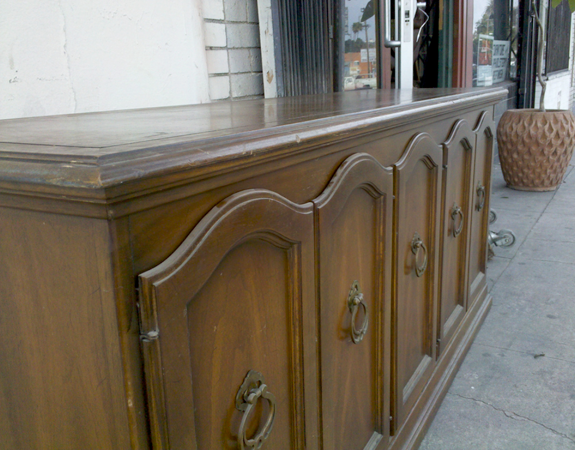
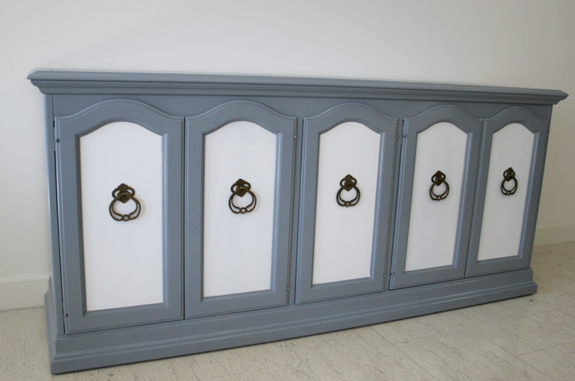
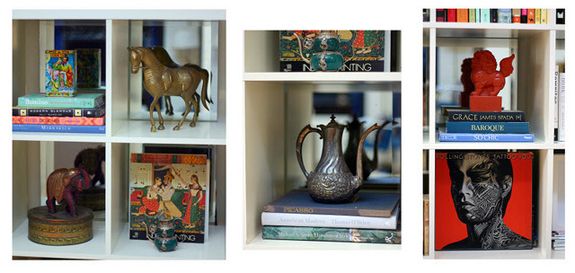
Here are a few projects that landed in my inbox recently that I hope you like as much as I do:
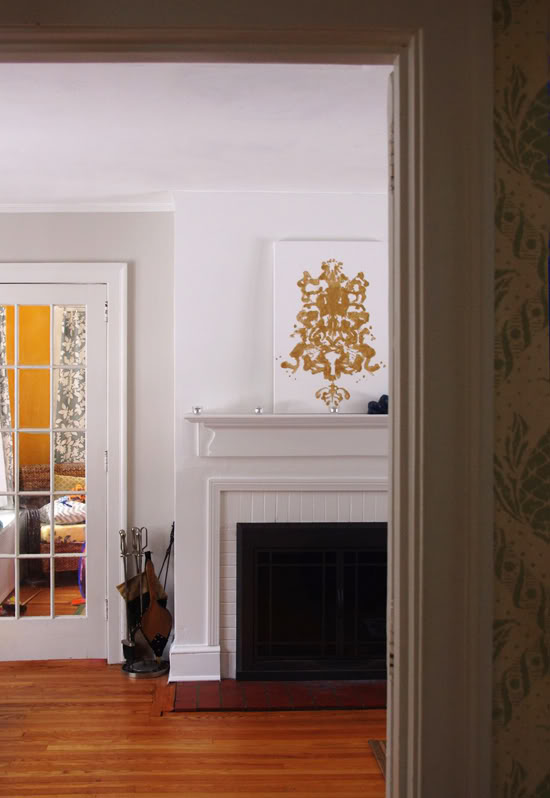
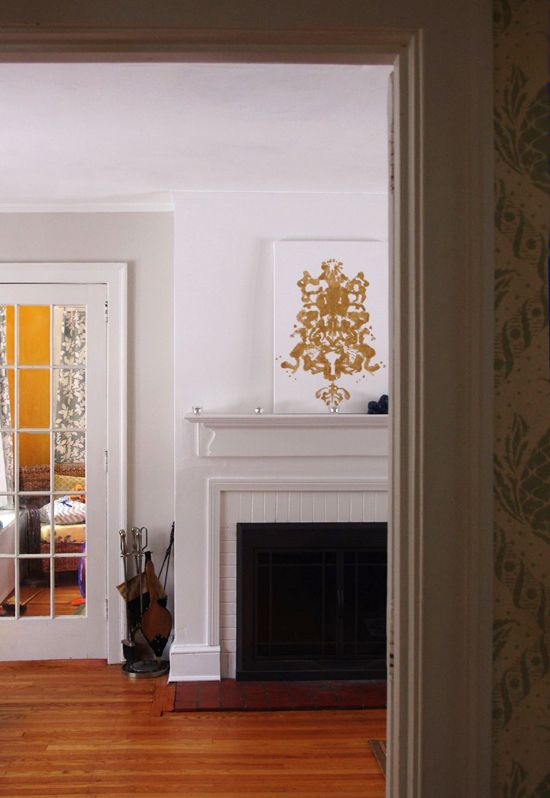
Hannah was inspired by this post and painted her own version of Warhol’s Rorschach. Love it!
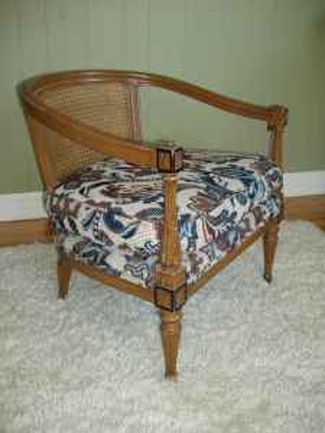
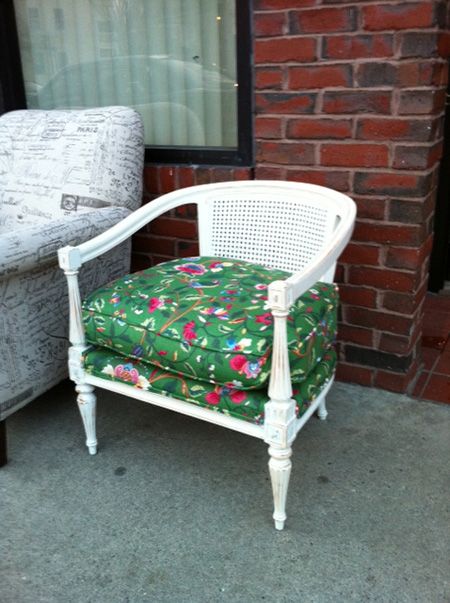
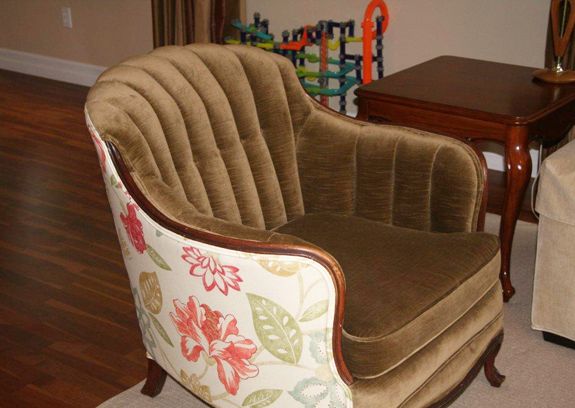
Grace, a Boston-based reader, picked this chair up for $35 from a craigslist seller.
She had it reupholstered in a beautiful Scalmandre remnant she bought at Zimmans in Lynn. I love the colors! That green and pink together!! They really pop against the new white paint.
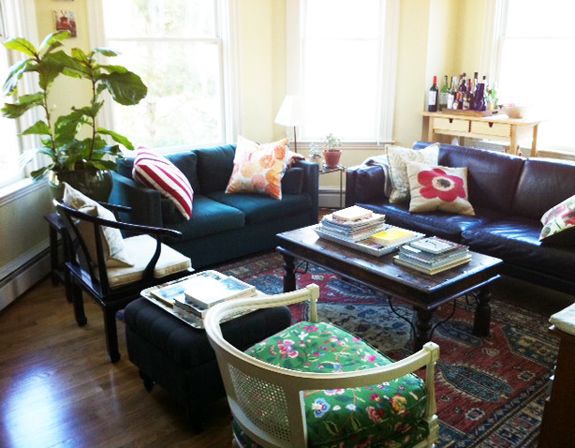
The chair makes a great addition to Grace’s living room. She is pretty fearless about mixing patterns and I love it!
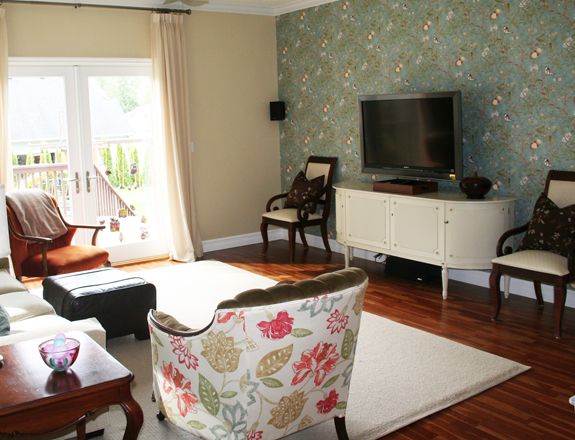
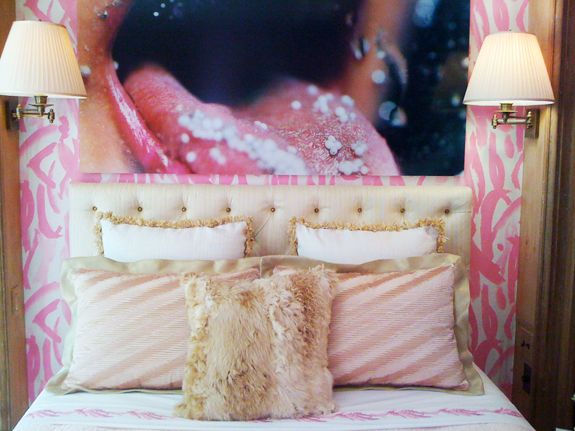
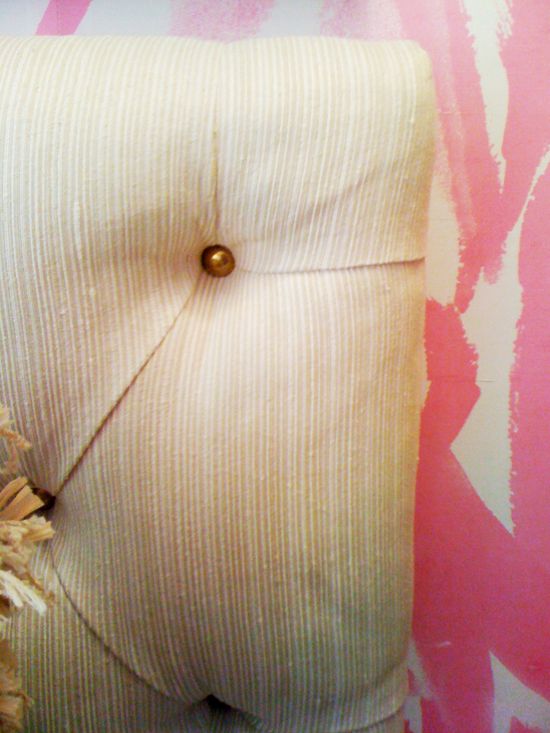
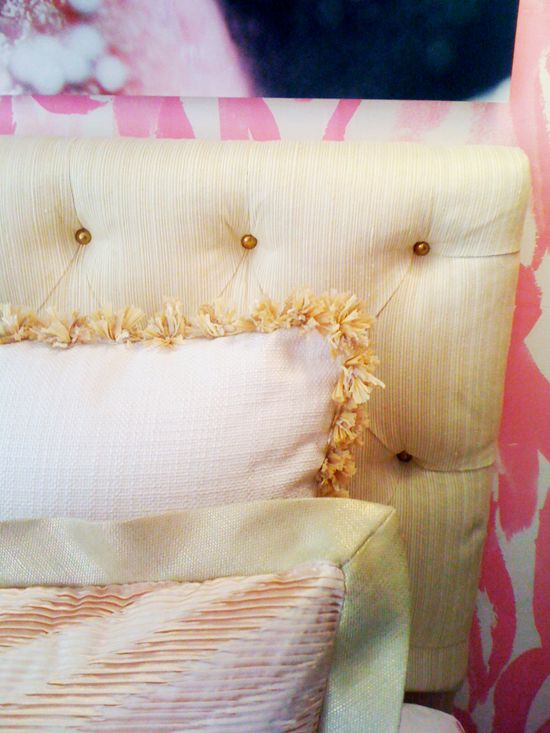
Here’s another beautiful chair makeover. Reader Sherry struggled with a problem I think many of us have. She inherited this beautiful, but very traditional channel back chair from her grandfather.
After years of contemplating fabric choices, Sherry bit the bullet and ordered fabric from (UK based company) Sanderson’s new line, called Callisto.
She said she thought it was a risk considering the scale of the print, but she loves the finished product. I think it’s a great example of how to modernize a really traditional chair, with the solid velvet on the seat and a pretty pattern on the back.
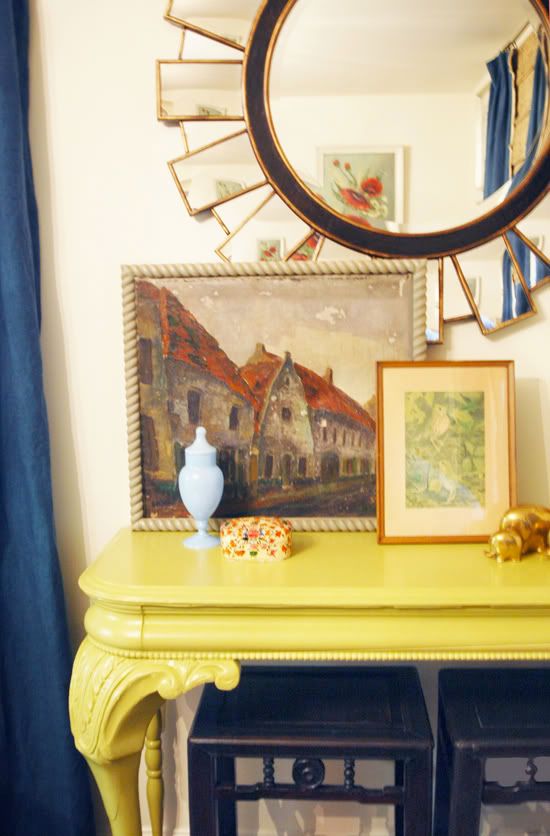
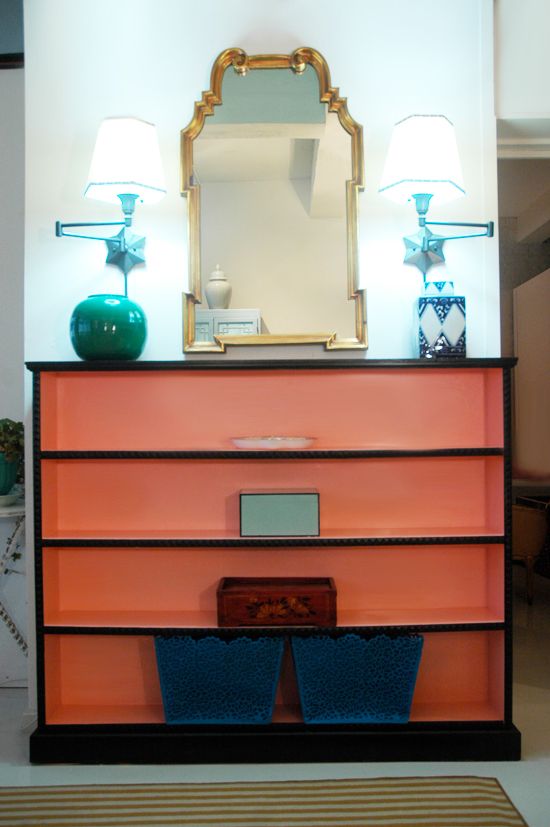
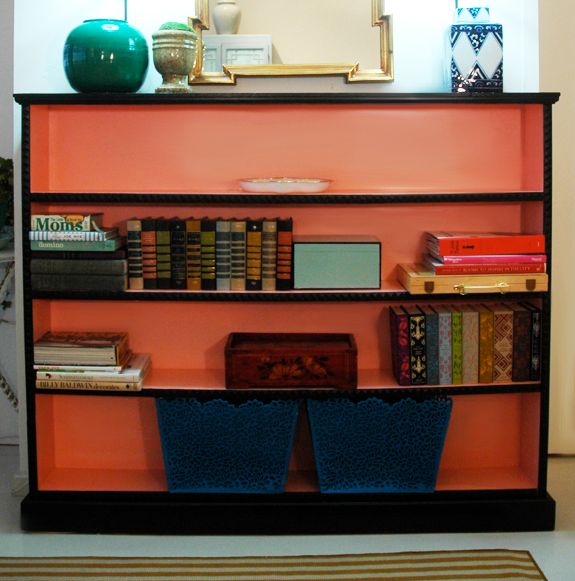
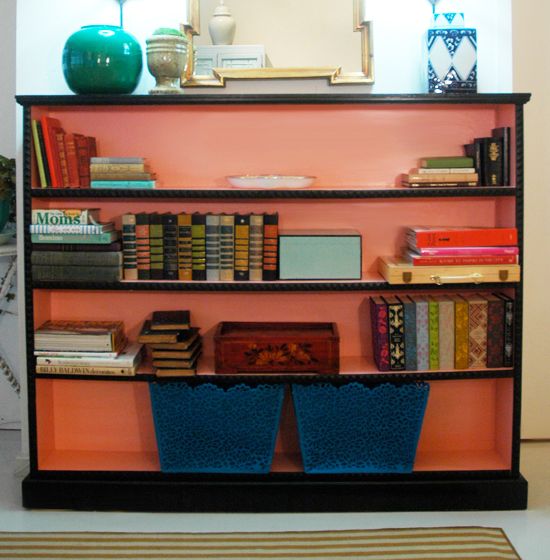
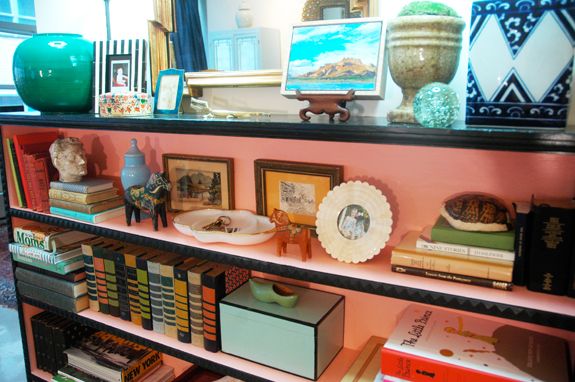
Sherry also did a good job mixing florals here with her wallpaper. It really works because the scales and the background colors of the two patterns are so different. Lovely!! (Also LOVE that console!)
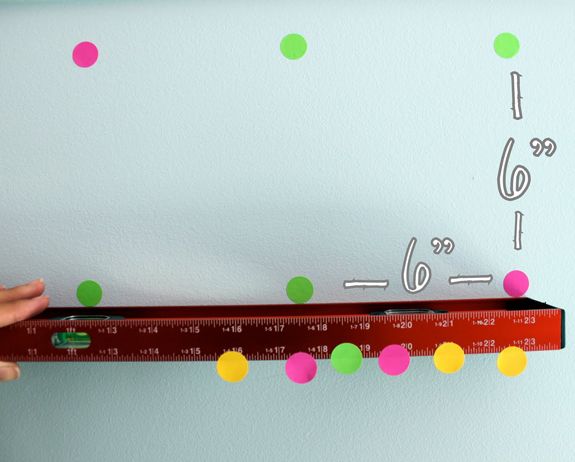
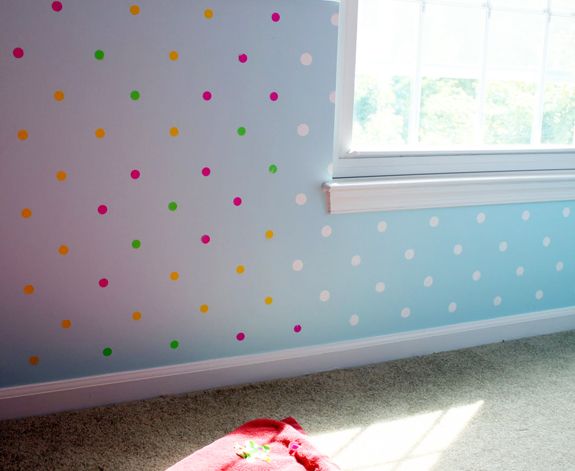
Polkadot patterns are hard to DIY. It drives me nuts when the spacing isn’t exact. Natasha from Samster Mommy came up with a clever method that uses cheap yard sale stickers to mark off a polkadot pattern.
And here’s the ‘after’ photos of her daughter’s adorable nursery. The pink and blue combo is really fun.
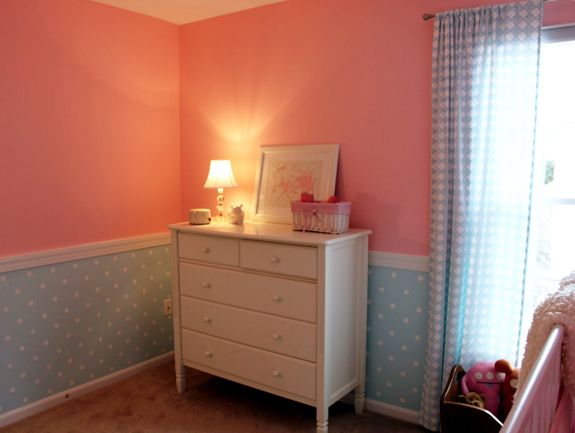
I especially love those blue cane print curtain panels. (Are these sheets, Natasha?)

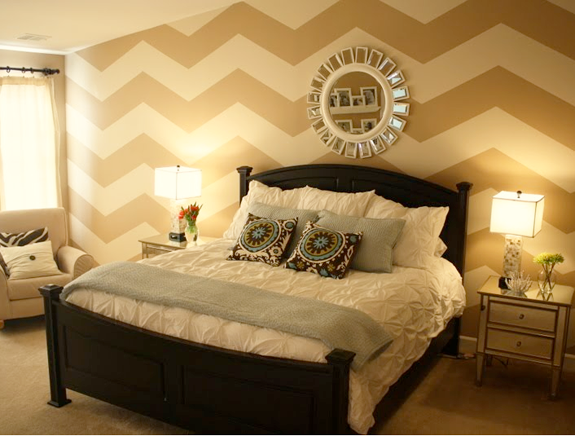
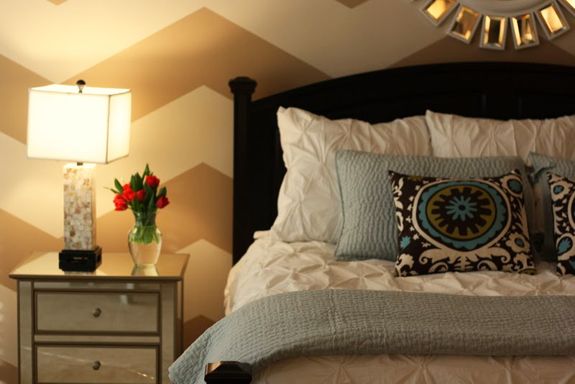
Here’s another fun paint treatment — Katie from A Home Blog was sort of over her brown bedroom walls, so rather than repainting the whole room, so used a can of leftover cream paint to add a chevron pattern.
I think it helps to tone down the formerly dark walls a lot. And you can’t beat a free project! See Katie’s instructions HERE.
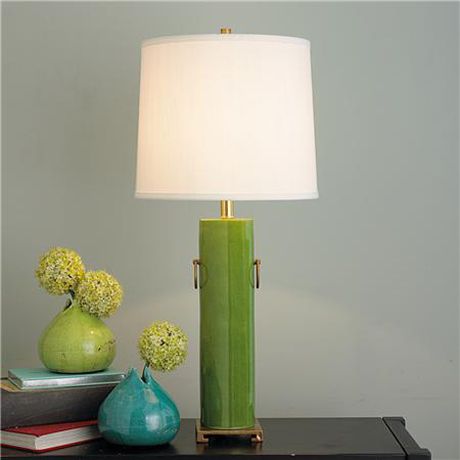
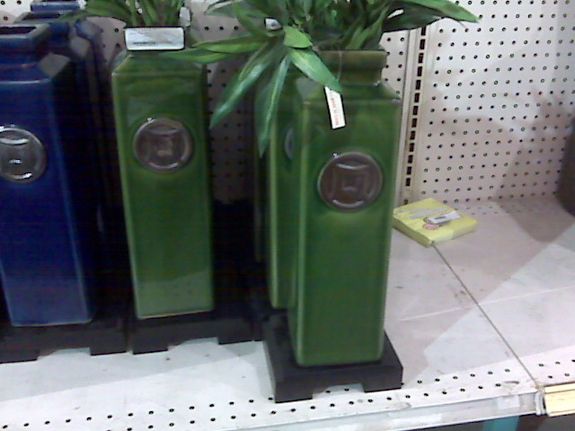
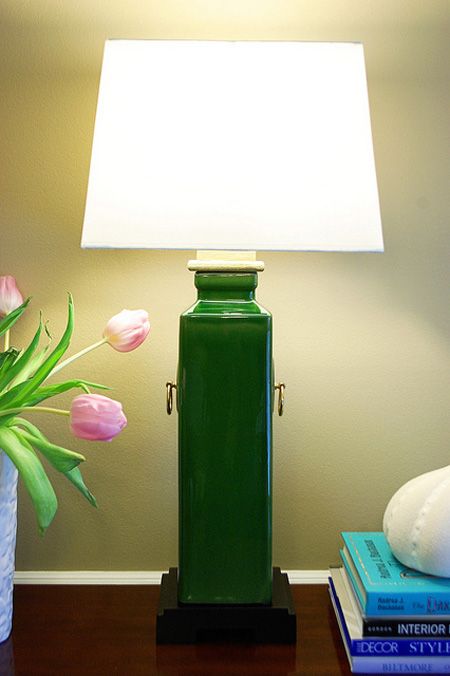
Natalie (who is a decorator) loved these lamps from Shades of Light, but was not loving the high price tag.
She saw these vases at Michaels and picked up a light kit at Home Depot and glue some ring pulls on to the side medallions.
I think the result is beautiful! Check out her really well done tutorial with more photos HERE.
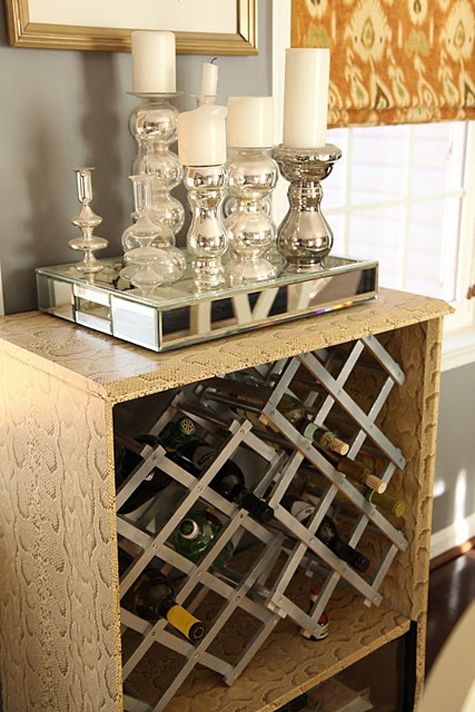
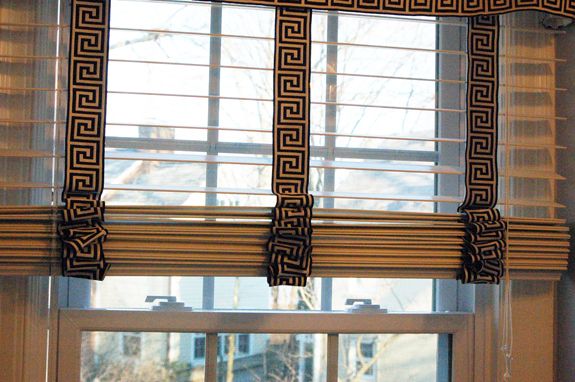
Maria from John’s Journal used one of my favorite tricks of covering bamboo blinds with fabric. The result is super sturdy window coverings that look very professional.
I like that she trimmed out the borders too.
Also, did you spy her wine rack? Maria rescued a piece of discarded furniture and covered it in python contact paper! So pretty.
Many thanks to these contributors!! Stay tuned for Part II tomorrow. xx


