DIY

How to Upholster a Chair – Part 4: Sewing Double-Cord Welting

Here are the other steps in this series: Part 1, Part 2, Part 3, Part 5 There are lots of ways to trim out a chair. Probably the easiest thing to do is buy a ready made welting or gimp. If you get something at the store in a contrasting color it looks less lame/generic. But if you’re up…

Here are the other steps in this series: Part 1Part 2Part 3Part 5

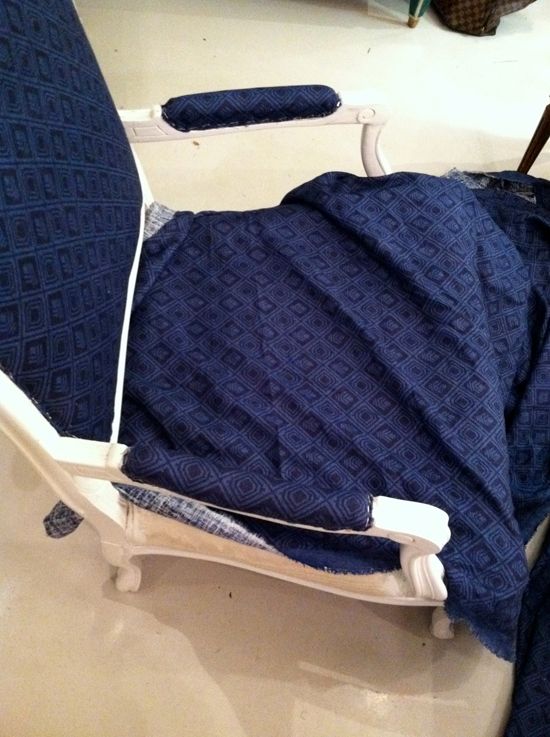
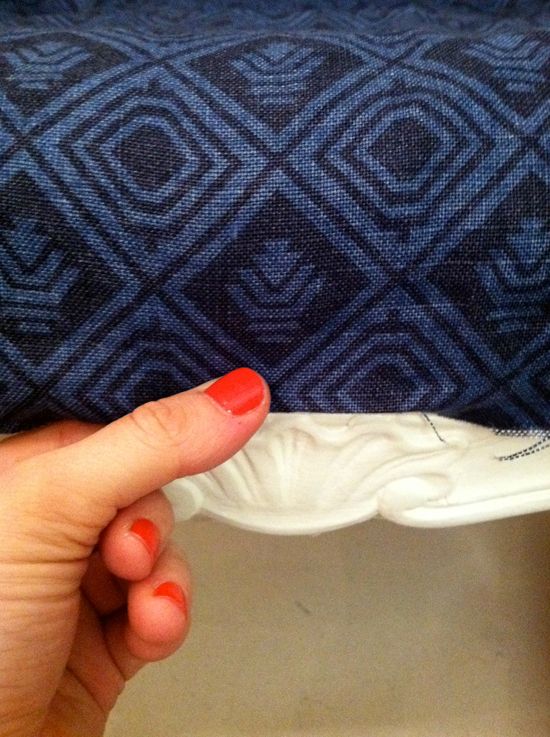
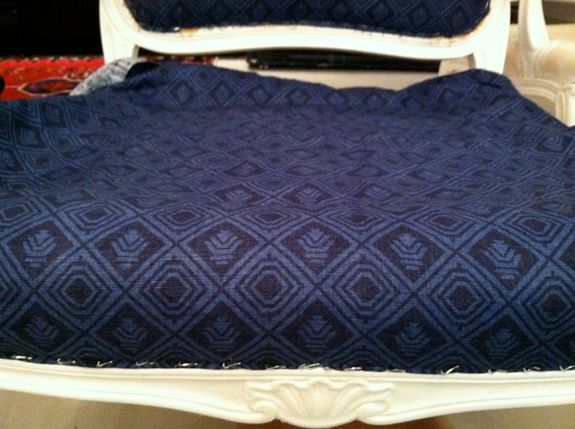
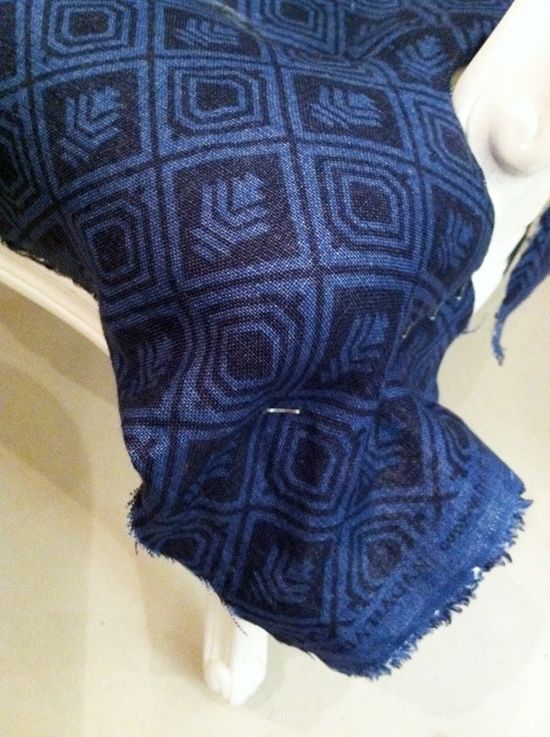
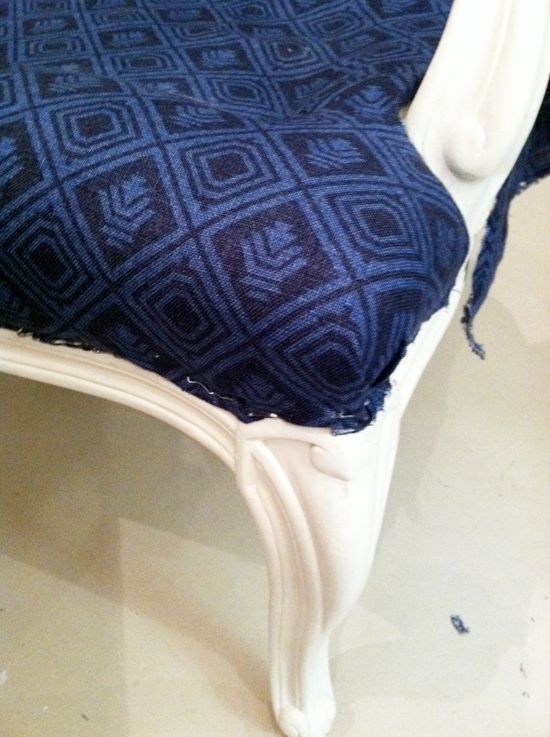
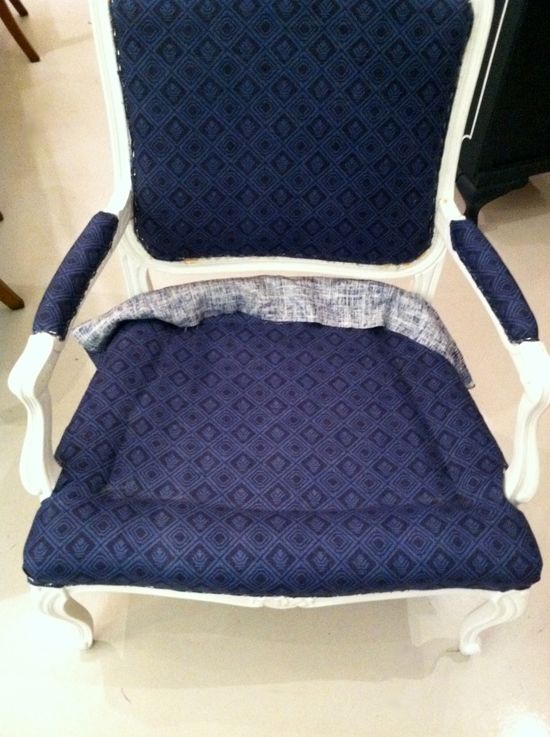
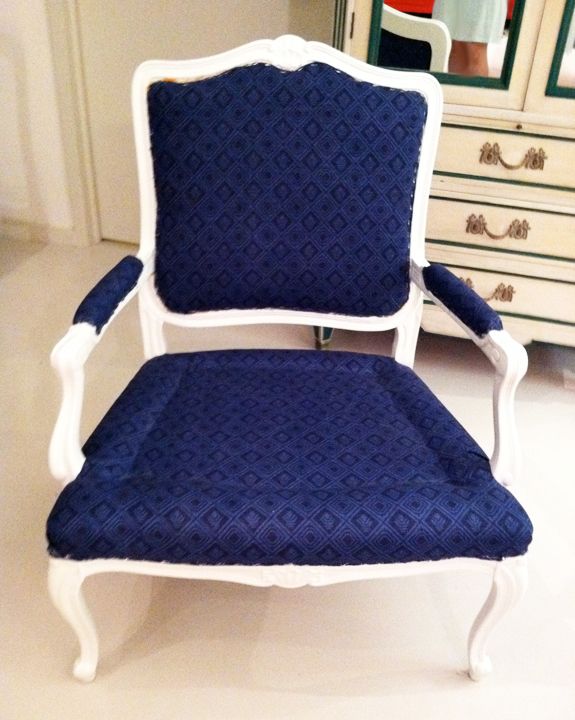
There are lots of ways to trim out a chair. Probably the easiest thing to do is buy a ready made welting or gimp. If you get something at the store in a contrasting color it looks less lame/generic. But if you’re up for it, I think a self welt is the best option. Double cord welting is awesome for DIY upholstery projects, because it covers a pretty wide area and makes sloppy stapling jobs look great.

Making your own double cord welting is actually pretty easy. Here are the simple steps:


Lay your fabric down and fold it at a 45 degree angle. Cut an inch or two in (depending on if you are doing single or double welting) along the diagonal angle (also called the bias). Cutting fabric on the bias makes it super stretchy – perfect for hugging all the curves of the chair.

You’ll need lots of piping, so cut plenty of strips.


I used the strips of fabric to stretch around the perimeter of chair parts to figure out generally how much cording I needed for each area (like the seat back, the chair bottom, the arms, etc.). You’ll need to piece the strips together to make cording long enough for each area. Just run a stitch down two pieces, one facing up, the other down, in a upside-down V.


You can buy unfinished cotton cording in all sizes at your local fabric store. It’s very inexpensive – usually ten or 25 cents a yard. I used about 40 yards for my two chairs.

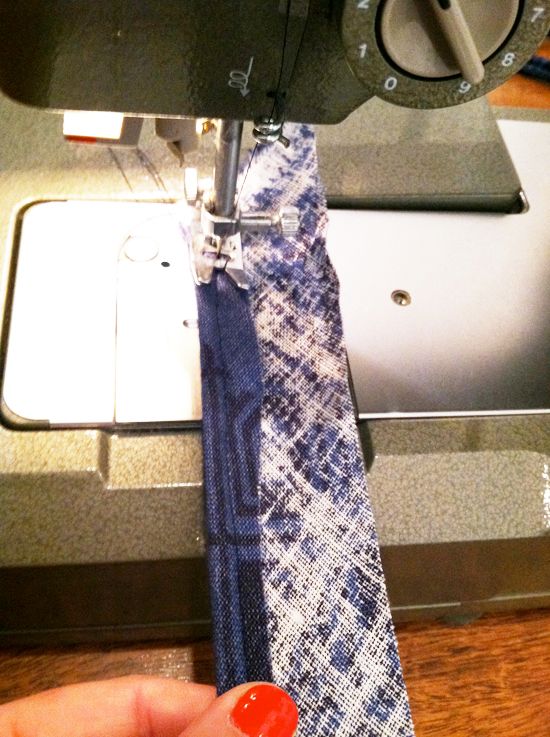
The basic idea is very easy. Lay the cording down on your long strip of fabric, fold over the strip and sew in a straight line about a 1/4″ inset. You can use a zipper foot here, but my regular walking foot was fine here.


Once that cording has been sewn in, lay down a second piece of cording and roll the whole thing over:


Then simply stitch down the middle, between the two pieces of cord.


When you’re finished sewing, trim off the extra fabric close to the seam and you’re done!


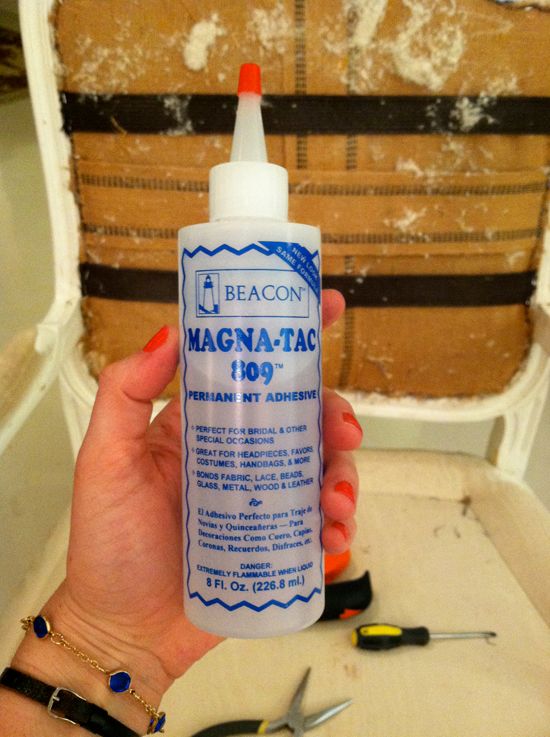
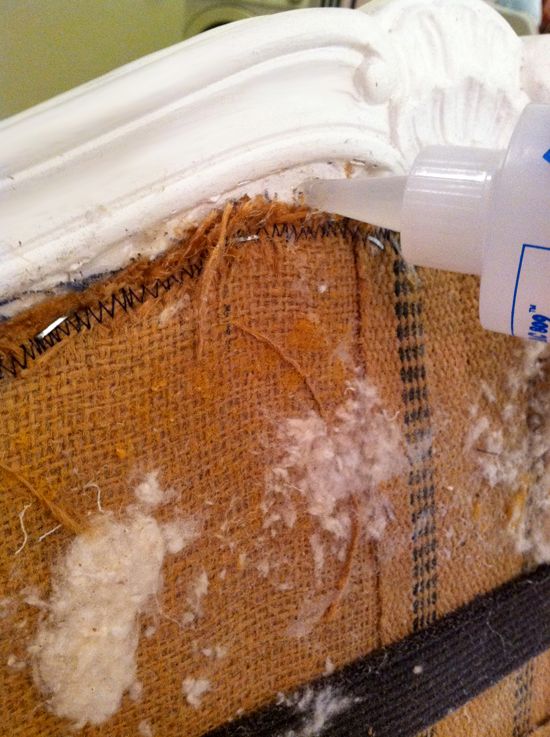
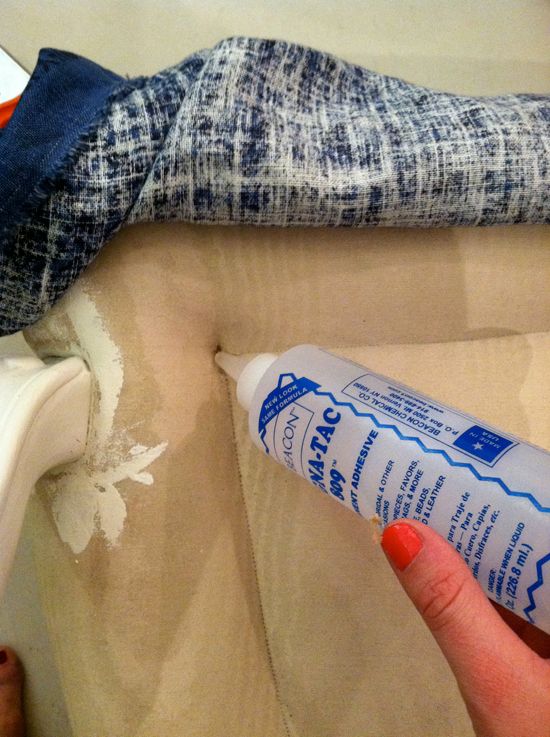
I used only Magna-tac to attach my welting to the chair frame. Like I mentioned earlier, the glue dries very fast and the hold is very sturdy. I worked in about 10″ lengths. I’d apply the glue directly to the cording, wait for just a few seconds for the drying process to get going, then then I pushed the cording down hard into the staples and gaps in the fabric.


While the glues dries very fast, it’s a good idea to keep coming back to push in the welting into place while you’re working on the rest of the chair. By the time you finish, everything will be securely glued and sitting where it’s supposed to!


It helps to really get in the grooves if you sort of pinch the cording together, almost in half.


The bias cut welting really does well with corners. It’s super easy to apply with all the stretch and give! If you don’t have enough fabric to make bias-cut piping, you can definitely make piping with strips of fabric cut on a straight edge, there will just be more wrinkles and it will be tricky to get your corners completely covered.


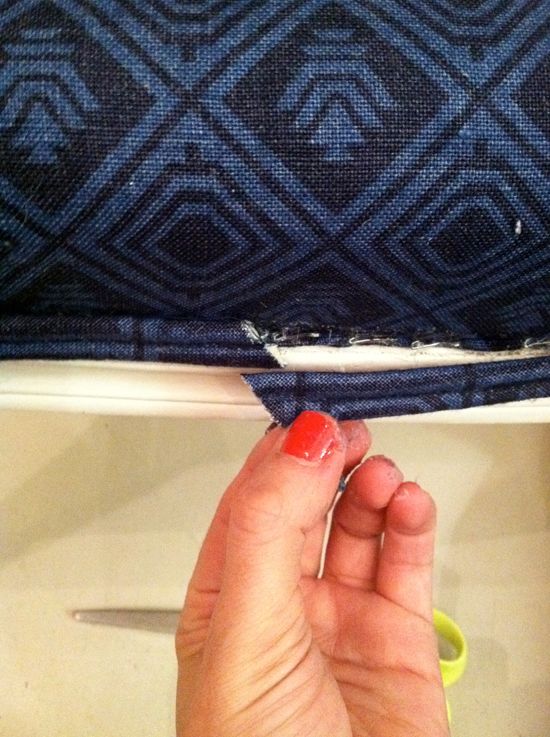
There are a couple ways to stop your welting. Probably the cleanest looking method is to roll under the edges, but my piping was too thick, so I just cut the start and stop pieces on an angle. I cut the stop piece a little long. This helped for squishing the cording together and covering up the white parts. I also glued the inside/cut edge of the cording.


Not completely noticeable, right?


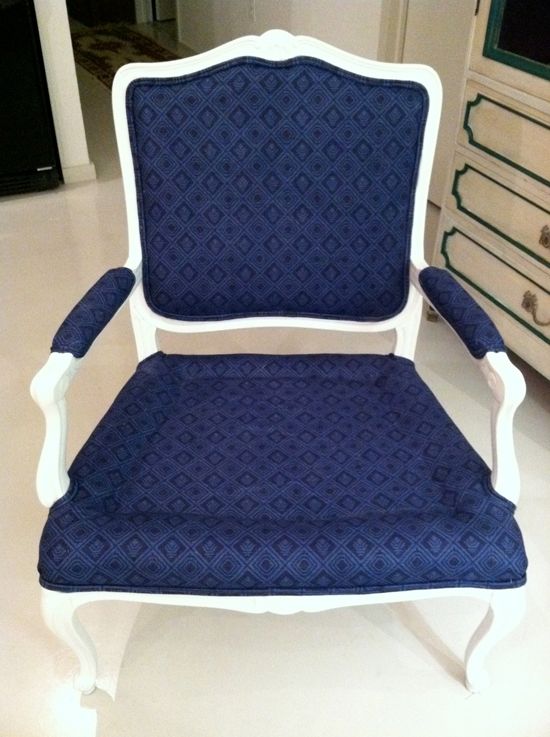
I love how upholstery projects absolutely come to life when the trim is added! Home stretch!


Last step is up next – sewing the cushion! Hint: if you can sew a pillow, you can make a cushion slip cover.


DIY

How to Reupholster a Chair, Part 3: Stapling

Here are the other parts of this series: Part 1, Part 2, Part 4, Part 5 Also, I have been getting a lot of emails this week asking for advice on how to upholster different pieces. In all sincerity, I wish I had the time to help with all of your projects, but unfortunately, there is just not enough…

Here are the other parts of this series: Part 1Part 2Part 4Part 5

Also, I have been getting a lot of emails this week asking for advice on how to upholster different pieces. In all sincerity, I wish I had the time to help with all of your projects, but unfortunately, there is just not enough time in the day. I hope you’re able to figure out the projects on your own. Otherwise, I suggest consulting a professional or a friend with upholstery experience.

Alright! So, now that the chair has been stripped of it’s old fabric, cleaned and repainted, it’s time to staple the new fabric on.

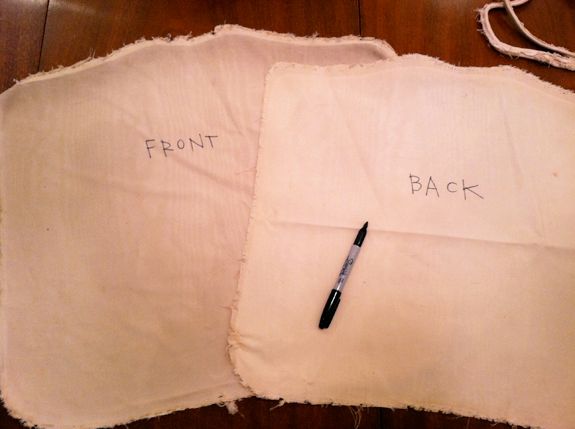
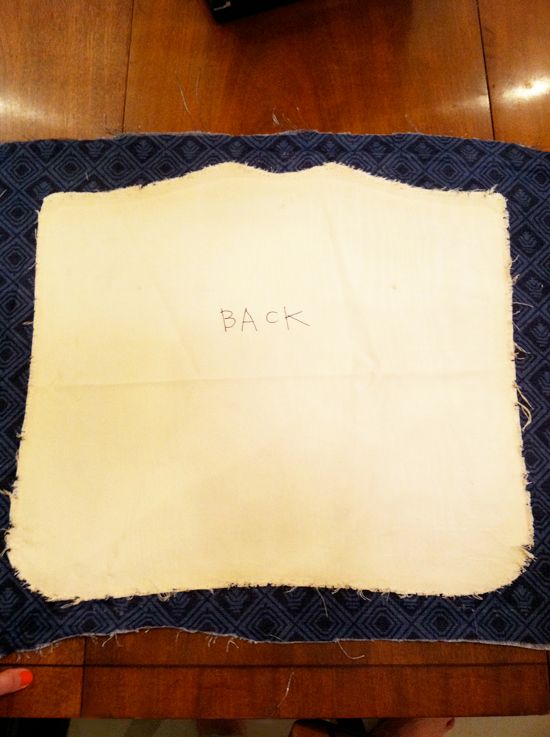
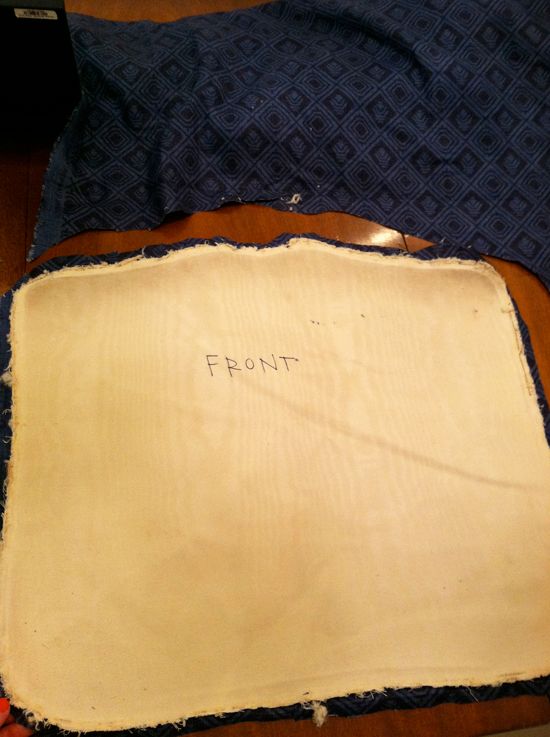
I forgot to say earlier that when you’re pulling apart the chair, be careful to not rip any of the old fabric. Use a sharpie to mark what pieces go where and use these as templates for cutting your new fabric.

When you’re cutting your new fabric, pay special attention to the pattern. Line things up both vertically and horizontally so that the pattern is perfectly centered.

Like I mentioned earlier, if the insides of a piece are still in good shape, I like to save the money and hassle and just reuse. I was able to reuse all of my burlap and batting here, which was great. However, I did run into a problem with the amount of staples I was using.

There were so many layers of fabric to staple down to a very small lip on the frame, that I was starting to completely destroy the integrity of the wood (not good). The great news about upholstery project goof ups is they are almost always completely reversible. Put a staple in the wrong place? No problem. Pull it out and try again! The only reason upholstery should be considered a more advanced craft project, is it takes some ability to think outside the box a little. If you have some experience with diy projects and sewing, you can usually figure out solutions to the inevitable little problems that come up.

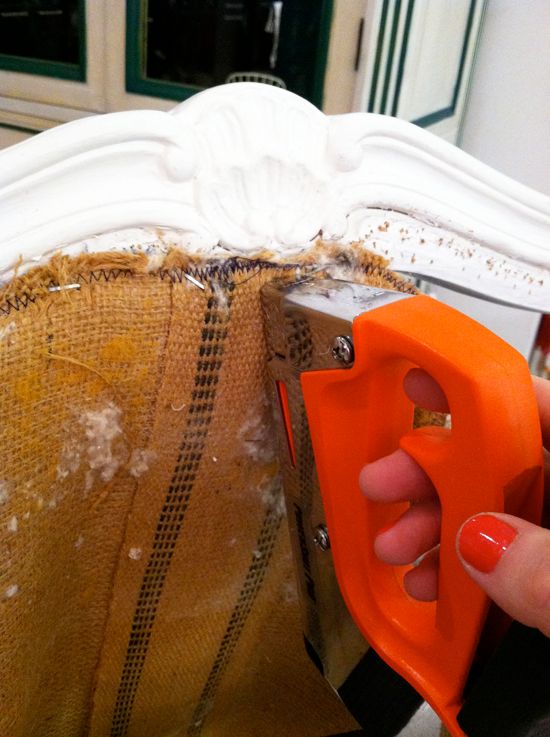
Like I mentioned yesterday, I had hoped that buying a new electric staple gun that used smaller, rounded staples would fix my problem. But the staple gun was really weak and was more frustrating than anything. So my mom and I did some outside the box thinking and decided take some steps that would reduce the number of staple layers from four to two.

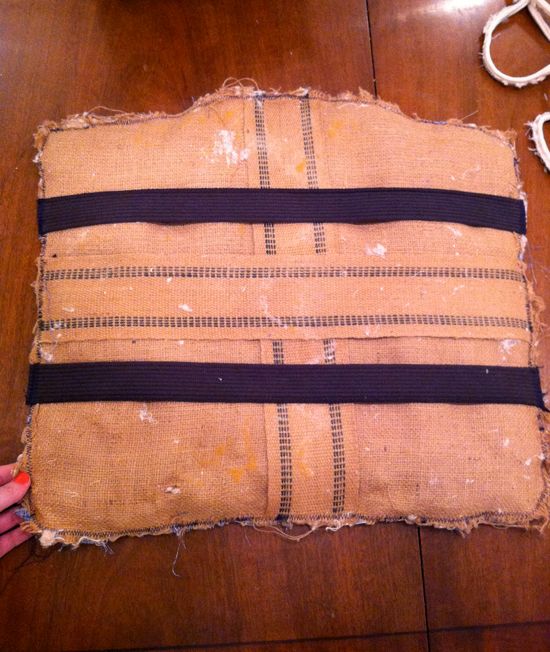
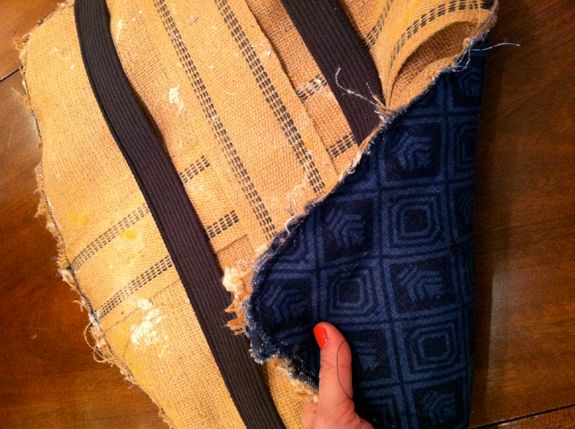
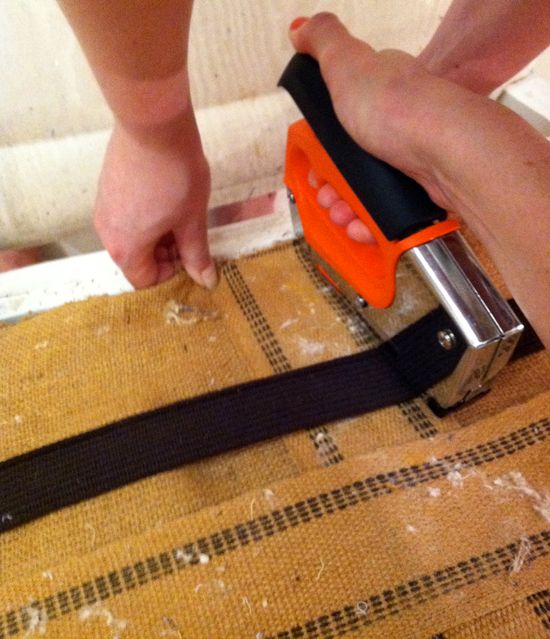
We used a big zigzag stitch on my sewing machine (the best model ever made) to sew together and reinforce the edges of the back fabric piece, the batting, burlap and webbing. It was so easy and worked really well.

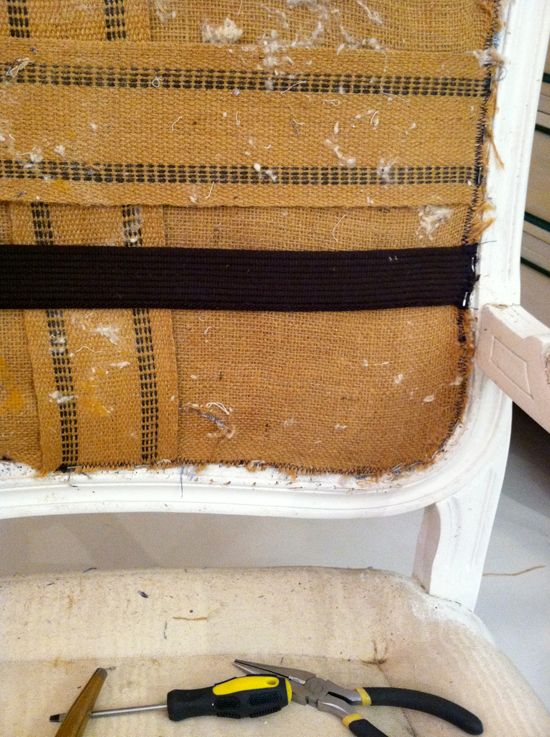
I should also note here that I added those two pieces of brown webbing. I don’t know if they were necessary, but I thought it might help give a little more support on the back (and it did!!).

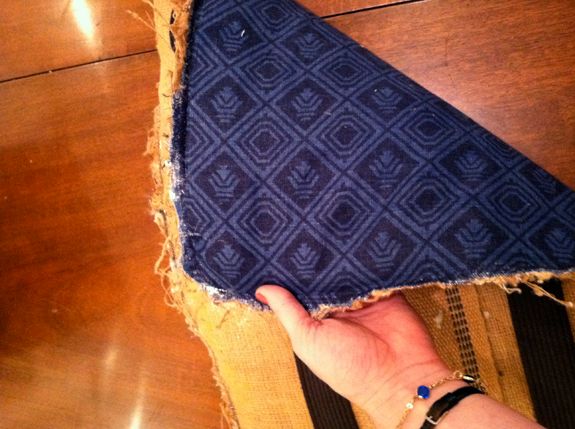
Once the support parts of the back were all sewn together for reinforcing, we stapled that piece in place. Remember, the key to a successful reupholstery job is to reference all those photos you took of the chair in it’s original state and as you were pulling it apart. Wherever possible, reconstruct the piece just as it was put together the first time. Don’t reinvent the wheel here!If you should get anything out of this post, this is it. Here is how I approach stapling the fabric in place for the perfect smoothness and tautness. I pretty much use this method on every surface I’ve ever upholstered:

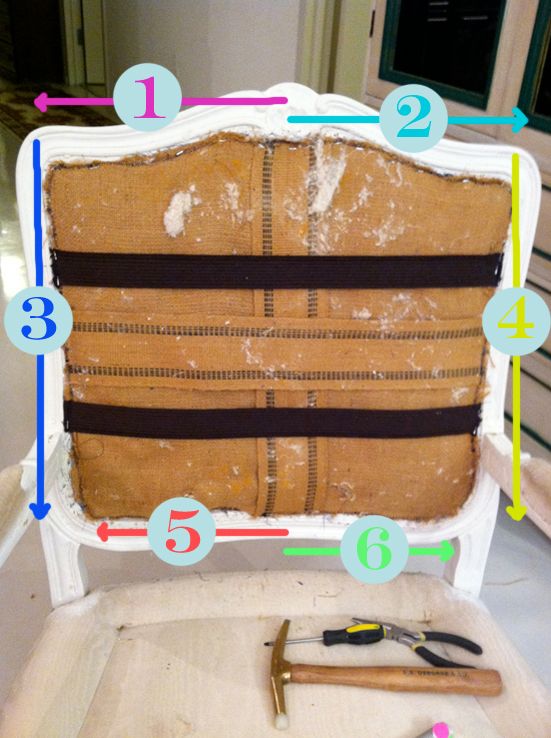
1. Put one staple in the center top of your project, hold the left side out very tightly and run a line of staples out to the edge of the top. I usually leave a one inch space between each staple at first, and then I come back and fill in the spaces with a staple. Be really thoughtful about each staple placement though. It’s easy to get sloppy and just put in a ton of staples, but that just ends up tearing up the frame and the fabric.

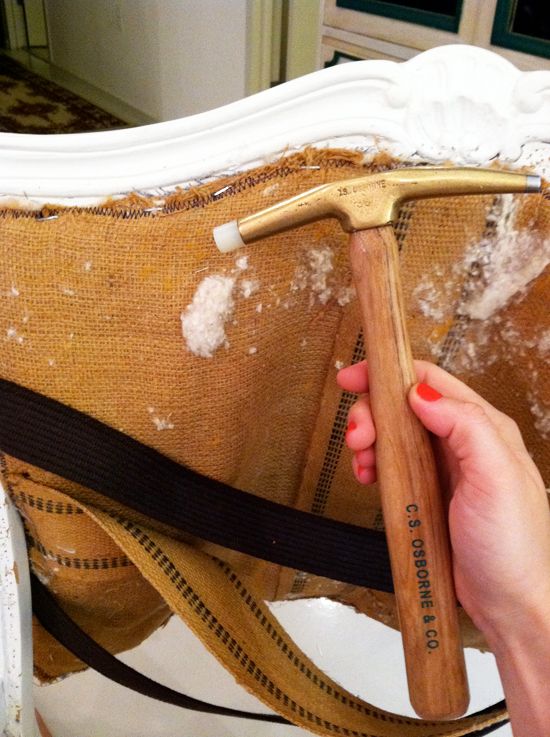
I LOVE this little tack hammer I got from CS Osbourne. It’s perfect for quickly and quietly going over the staples and getting them completely flush with the frame. A regular hammer can tear up the wood and a mallet is usually too big, so these are great. I tack in the staples after every line of stapling, just to make sure the fabric stays where I placed it the first time.

2. Start in the center again and hold the right side and staple moving to the right. Tack in staples.3. Now that the top piece has been centered and securely tacked in place, you have a great foundation. The next steps are all about pulling and getting the fabric smooth and very tight. Pulling down on the left side, I staple the left edge next, from top to bottom and then tack all those in.4. Pulling down and to the right, I staple down the right hand side and tack in the staples. Your fabric should be really tight at this point.

5. The last line along the bottom is probably where you’re going to need an extra set of hands. Have your helper pull down really hard and then staple in your center. Work out to the left with your helper moving and pulling down with you.

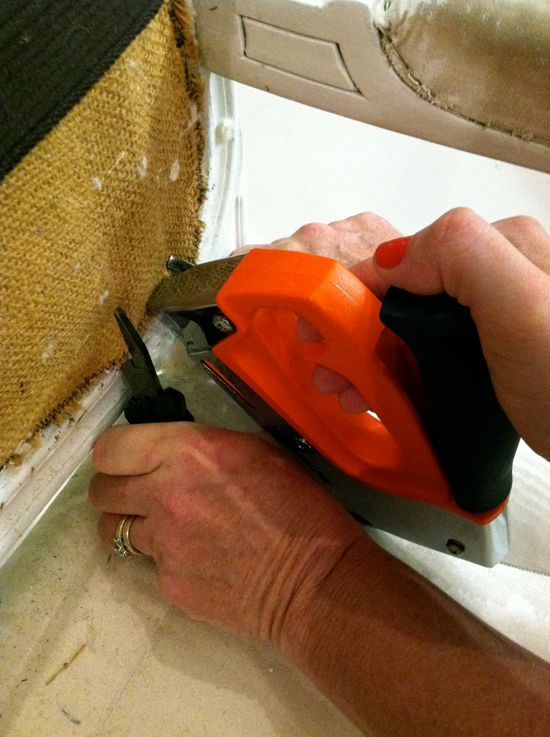
6. From the center again, work out to to the right. Your helper might have to use a pair of pliers for this last part. Again, you really want a tight pull here.

And those are the basic steps to stapling on the back piece. It’s really not that hard.

Once the back piece and the webbing were in place, I cut out the fabric for the front of the chair back, again using the old fabric template (don’t forget to line up the pattern!!). This time though, I gave myself about an inch of extra fabric to work with.

Okay, now for a little bit about upholstery adhesives. I have historically been a big fan of E-6000 epoxy. It works wells and has a strong hold. But I don’t love how long it takes to dry (I get impatient holding and waiting) and once the first half of the metal tube is gone, I find it’s really hard to squeeze out the epoxy.I’m sure you know I am a HUGE fan of Fabri-Tac. Recently I started using this glue (also made by Beacon Adhesives) called Magna-tac. It is seriously amazing. It’s similar to Fabri-tac, but even better. It bonds fabric, wood, metal – just about anything.

I used it a lot in this project to sort of reinforce pieces. I ran a line around the border of the back piece to help the next layer of foam and batting to stay put while I stapled.

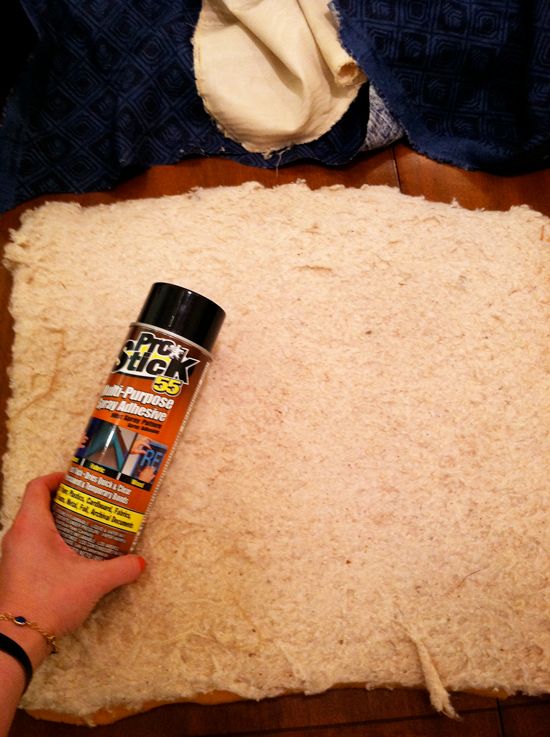
Another favorite adhesive is Pro Stick spray glue. It is cheap and good. I spray this on the webbing layer and also on the second layer of foam and batting again to help everything stay put while I got the staples in place. You really don’t want things shifting around when you’re trying to match a pattern exactly.

After the Magna-tac and the spray glue, the next layer was pretty well stuck in place before I started stapling.

I followed the same stapling pattern for the second layer on the chair back, starting at the top in the center.You can see below that I rolled under the edge of the fabric (that’s why I cut it a little big). This helps to both keep the edges clean and not frayed, but it really helps to reinforce and strengthen the edges.So again, to recap, just roll under the edge about half an inch, center your pattern and place your first staple in the center. Continue rolling under, pulling tight and stapling and tacking in the same pattern outlined above.

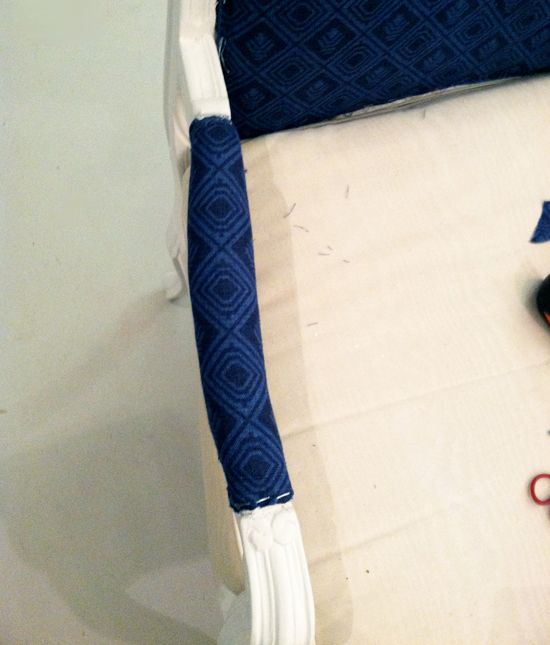
The arms are easy. Just cut out an oval a couple inches bigger on all sides. Pay close attention to to pattern though!

Follow the same stapling pattern rules above. Start at the center top and work you way around, pulling down the whole time. Get that fabric taut!

I was careful to run the pattern along the curve here (not straight) so that I could see the same design all along the top of the arm.Once the staples are tacked down, I used a small scissor to snip off the excess fabric.

Next up is the bottom of the chair – the part that goes under the cushion. I draped some fabric over that part, carefully matching up the pattern, and cutting it a little longer than need, again so I could roll under the edges.

Follow those same stapling patterns. Top (or front in this case) center and working out to the edges, pulling tight the whole way. (see how the pattern lines up in the center here?)

Tack those staples in place and keep moving around and pulling tight! Leave the corners alone for now though until all the straight lines are done.

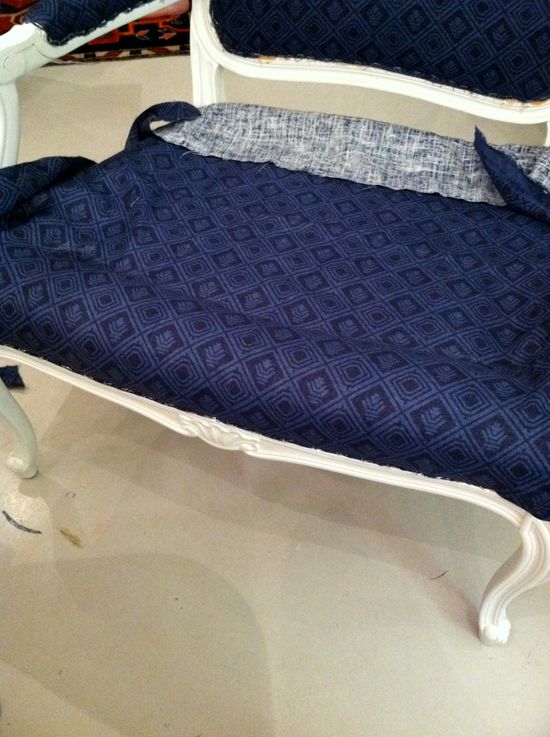
Here was another one of those outside-the-box thinking moments. The seat bottom was sewn in to place (one of the reasons I didn’t pull off the old fabric) and it sort of sloped down, so that if I just stapled and pulled tight there would be a space between the chair and the new fabric. I needed to connect the new fabric with the old seams. After I stapled down the front, I glued a line along the old seam and pulled the fabric down tightly into the seam area. Later I hand tacked the corners.

You can see how the fabric slopes in here and now fits inside the seams.

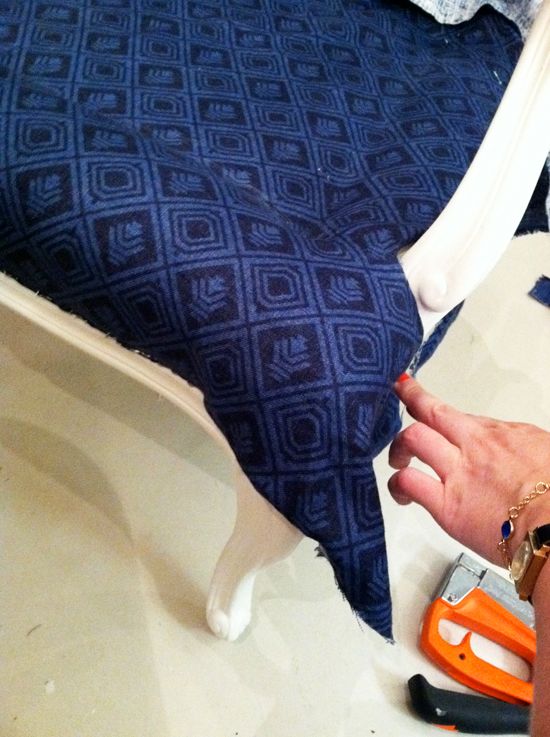
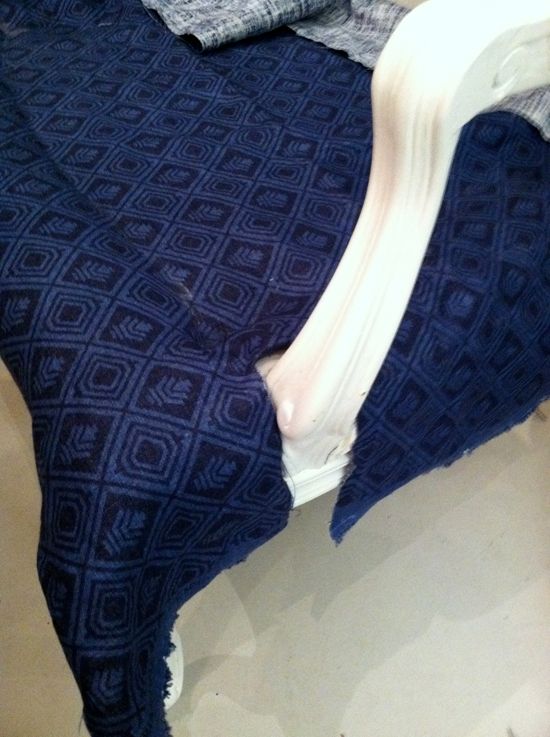
The legs seem like they would be sort of scary, but they are easy too. Just cut out a notch in the fabric, but again, just leave enough extra fabric to roll in the edges. No need to staple the fabric around the inside of the actual leg. Just do the bottom row like normal.

The rolled in edges will look clean and by pulling tight down on the bottom, there will be no lifting around the leg area. If you want to extra support you can run a line of magna-tac around the leg. And don’t worry too much about exactness here. The welting will help cover up the gaps.

Once all the straight lines around the bottom have been stapled and tacked down, it’s time to do the corners. Again, reference the photos you took before. Here’s what the old corners looked like:

For a corner like this, just pull down the middle and put one staple in.

Then just like wrapping a present. fold in both corners and staple in again.

I finished up the front first because I had to glue down the other seam parts. Then I worked my way around to the sides and the back, cutting around the legs, rolling in, pulling tight, stapling and tacking.

And then the stapling part was done!

It’s really not as hard as it feels. It’s one of those projects where you can figure it out best when you’re just doing it. It will make sense as you’re pulling and stapling.

Next steps: how to make piping and apply it to the chair and how to make the cushion!


Furniture

The Best Staple Guns for Upholstery

Hi! Happy Monday! Sorry for not updating last Friday – summer is here, which means end of the school year parties, family vacations/visitors and clients who are ready to have projects wrapped up! :) I did finish the chairs, and I have about a million photos to share with you. Before I sit down to…

Hi! Happy Monday! Sorry for not updating last Friday – summer is here, which means end of the school year parties, family vacations/visitors and clients who are ready to have projects wrapped up! :) I did finish the chairs, and I have about a million photos to share with you. Before I sit down to write out the next steps, I thought I would share some thoughts about staple guns.

There are three kinds to be aware of: pneumatic, electric and manual. A pneumatic gun is the very best – it’s what the professionals use. You can get a good gun for about $50, but the problem is you need an air compressor too. These can be pricey, big and very loud (why I don’t have one).

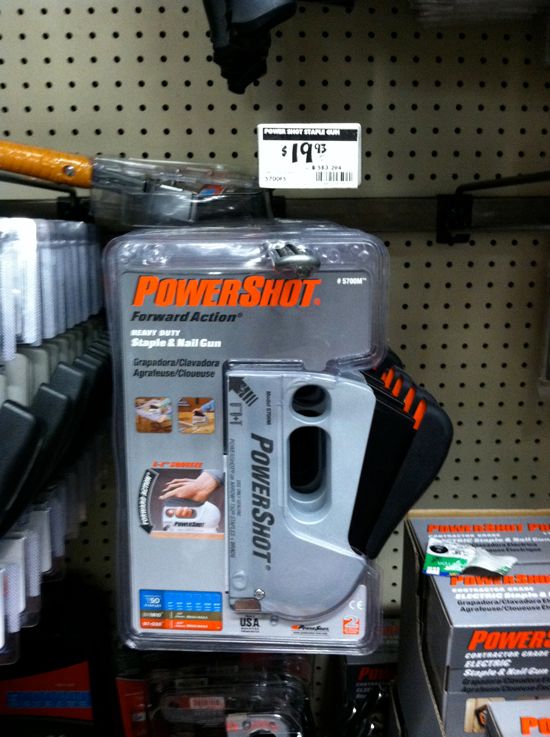
When it was time to start upholstering the chairs, I ran into some problems initially because I was using too many staples in all my layers (more on that later). I went to Home Depot to buy a new electric staple gun that uses the shorter, rounder staples, thinking this would help fix my problem. I bought this $30 gun:

After trying it out, I’m not the hugest fan. It doesn’t have anywhere near the power of a pneumatic gun (though it does have the same scary sounds that make me nervous for the safety of my fingers).

I ended up ditching the electric gun and going back with my old trusty PowerShot Pro. It has an ergonomic design, that makes long jobs with lots of staples easy. My hand never cramps up.

Do you have a favorite staple gun or thoughts on pneumatic vs electric vs manual?

Off to upload all those photos! xx

Furniture

How to Reupholster a Chair, Part 2: Painting the Frame

Here are the other parts of this series: Part 1, Part 3, Part 4, Part 5 So now that we’ve stripped the chair of it’s trimming and most of the fabric, it’s time to paint the frame. *Another quick disclaimer: there are so, so many methods for painting furniture and I’ve tried lots of them. This is just what…

Here are the other parts of this series: Part 1Part 3Part 4Part 5

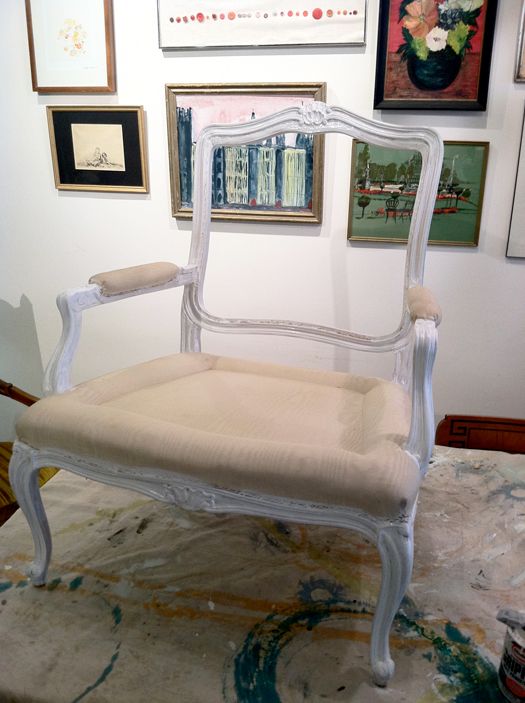
So now that we’ve stripped the chair of it’s trimming and most of the fabric, it’s time to paint the frame.

*Another quick disclaimer: there are so, so many methods for painting furniture and I’ve tried lots of them. This is just what works for me. Also, if we had a good place to easily spray paint these chairs, I definitely would have gone that route. Rustomleum’s Enamel line is hands down my favorite. Great colors, beautiful coverage and very durable.

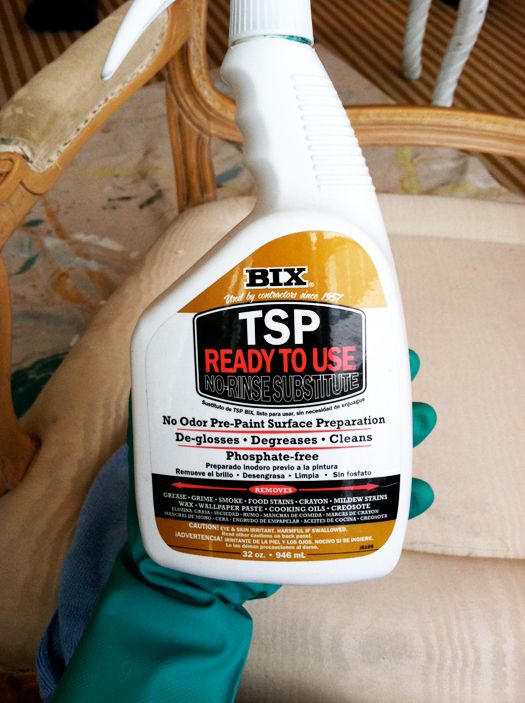
Any time I’m painting an older piece of furniture I like to clean it first with TSP, which you can get at any hardware store.

The basic idea is to spray the piece from top to bottom, let it sit for just a minute, and then wipe it down from top to bottom. It’s not a regular cleaner, it’s a chemical stripper, so use it carefully and according to the instructions. It’s worth the minor hassle for a really clean, grime-free surface.

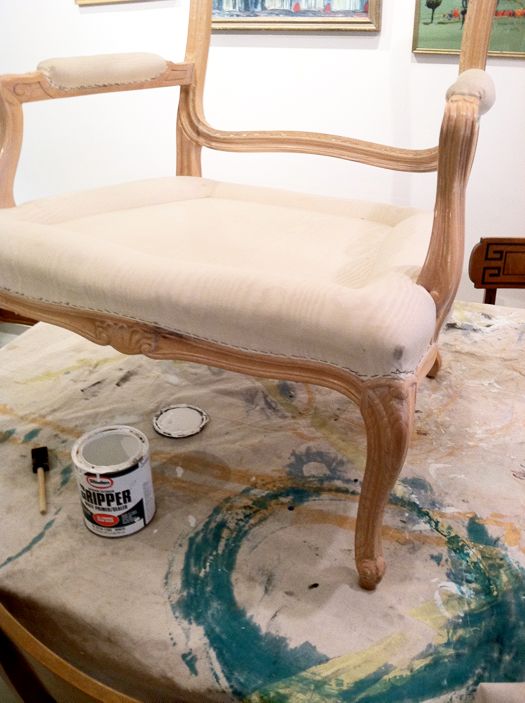
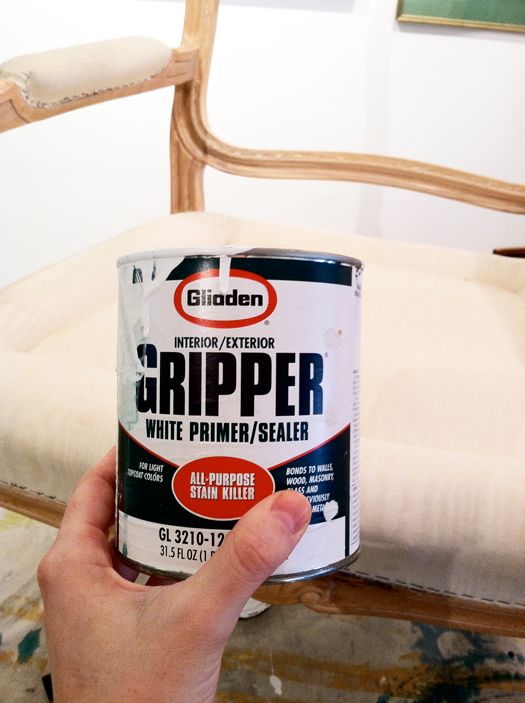
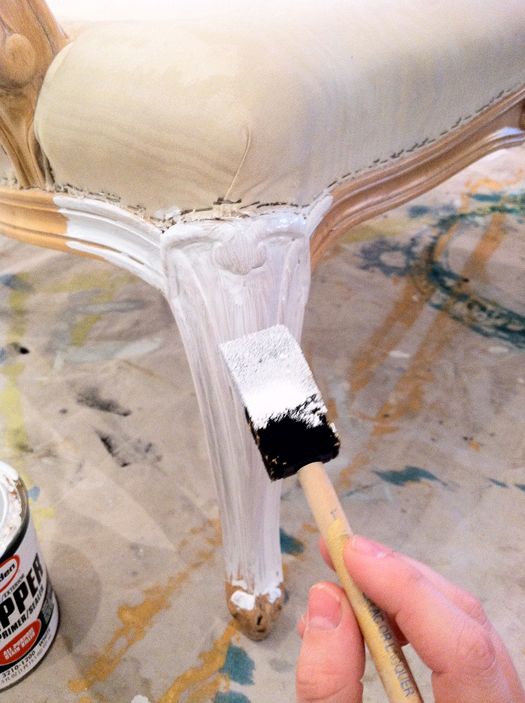
Even though I’m starting with a now-clean surface, I still need to prime the chair frames. I recommend priming almost every piece of furniture you paint. Especially high use pieces, or pieces that are in a high-traffic area. The good news is you can sort of just slap this coat of primer on – it doesn’t need to be perfect. I usually use Zinsser primer, but I had this Glidden Gripper on hand and I like it fine too. It’s not as thick as Zinsser, so it goes on a little easier, but doesn’t cover as well.

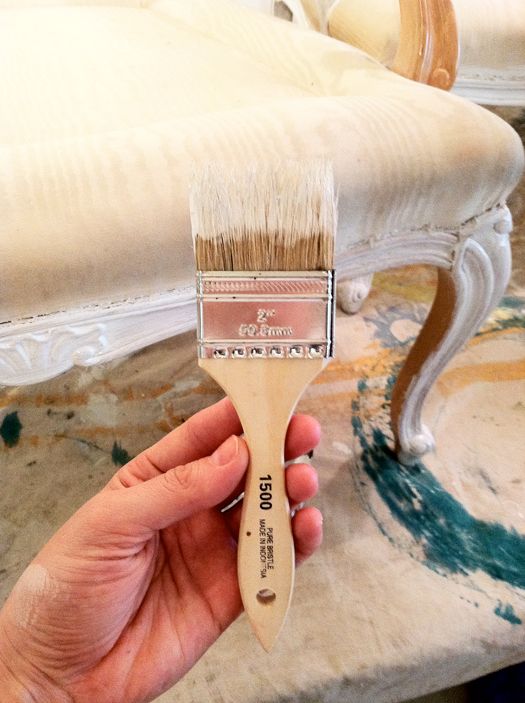
When I’m doing a primer coat, I never use my good paint brushes. I try to keep a little stock of foam and cheap 2″ brushes for jobs like these. I find that brushes never really clean up well after using them with primer (without using mineral spirits or paint thinner, which isn’t an option for garage/utility sink-less me), so I use these cheap brushes and then toss them after use.

I started with a foam brush, but pretty quickly switched to a bristle brush so I could easily get into all the carved details.


Again, putting down the primer foundation should be a fast step. I brush on a quick, light layer. Both chairs took maybe 10 or 15 minutes to brush down. There are serious brush strokes and the wood stain underneath is definitely showing through, but it doesn’t matter in this step.

It only takes a couple hours for the light primer coat to full dry. Just enough time to go on a walk with the kids and my sister and sister in law. I haven’t mentioned that my gorgeous sister Heather (on the left) is staying with us for part of the summer. She has been such a fun partner in crime for the past couple of weeks and I love having her around! Also, my amazing and stunning sister in law, Kenzi, (on the right) is here in the city with her husband Matt for the summer. They are the BEST and I feel so lucky to have these ladies around to laugh with. They’ve both been jumping in to help with my kids while I’m juggling the craziest work load of my life. So many projects are wrapping up right now and I’m glad they are here to catch the balls I’m dropping. Love you girls!!


When we got home I started prepping the chairs for the first coat of paint. I forgot that I had left my favorite Purdy brushes at a client’s apartment, so I needed to clean up a good brush to use. This brand is called Zebra and I like them second to Purdy, but those are a couple dollars pricier.

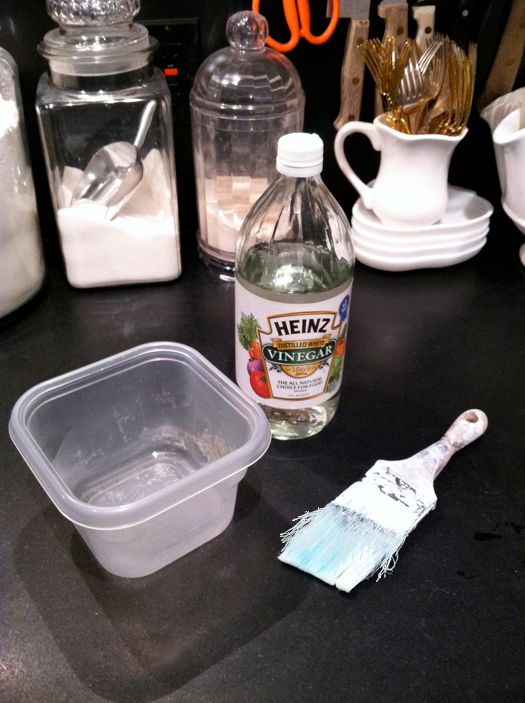
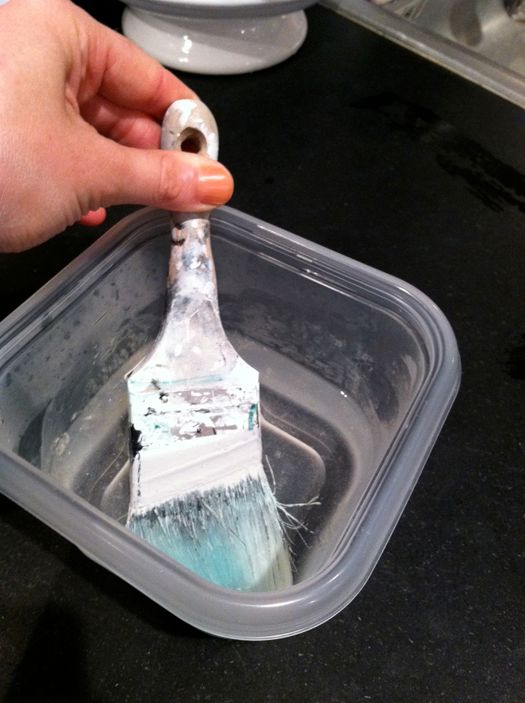
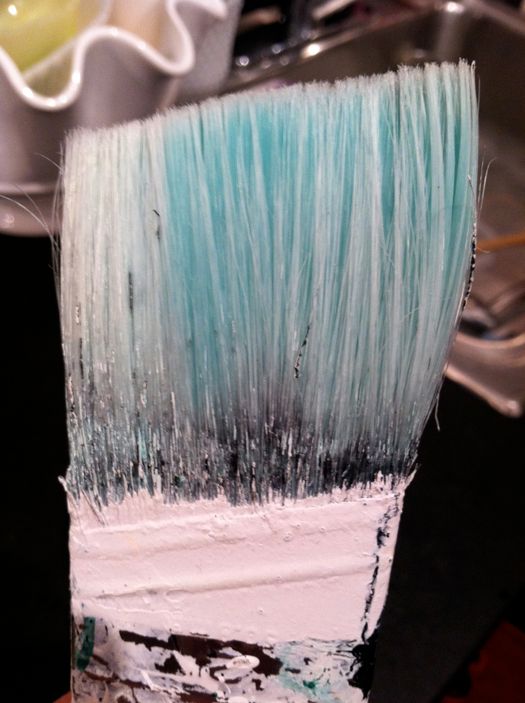
Clearly I have not done a good job of taking care of this brush! It has seen better days. It’s pretty easy to clean it up again though (again without using paint thinner). Just heat up some white distilled vinegar in a toss away tupperware in the microwave for about four minutes (til it’s really hot) and then let the brush soak for a couple minutes.


Just enough time to do my hair and paint my nails so I could go meet Sarah Richardson and Tommy Smythe!! (more on that later)


The hot vinegar really loosens up the paint and it washes off with hot soapy water. I just used a little bit of vinegar so that the bristles would be cleaned and soft, but you could probably soak the whole brush.

After I got home from meeting Sarah and Tommy, I brushed on my first coat of latex paint. I used BEHR’s paint+primer in semi-gloss mixed in Benjamin Moore’s White Dove (a great, creamy white with some gray undertones).


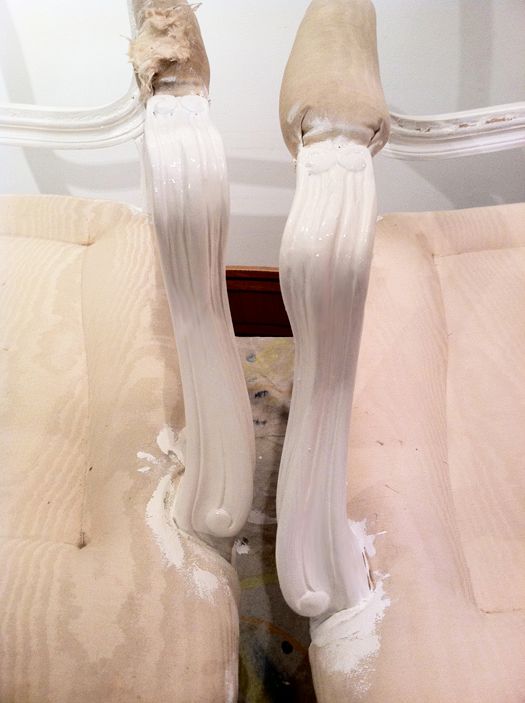
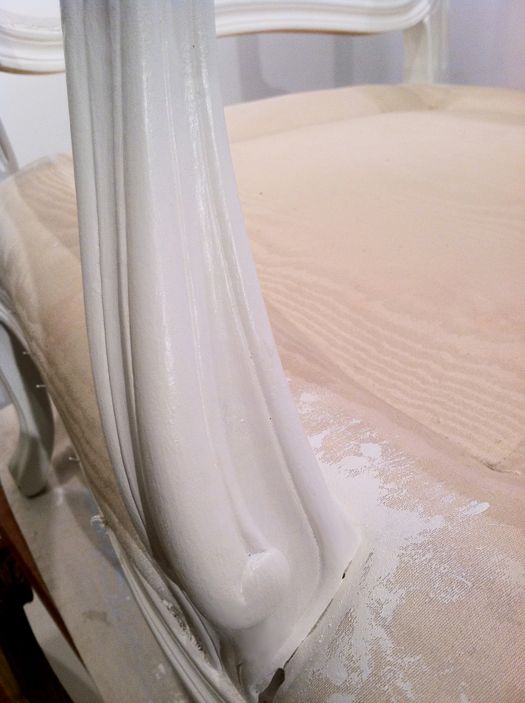
The key to brushing on a glossy paint to is to load the brush with a good amount of paint (not dripping, but not a dry brush either). Pick an area, like an arm or a leg, and stay focused on that area. Don’t wander! Start and the top and work you way down. Brush in long, smooth strokes. Once the paint is laid down, don’t touch it again until it dries! It is so tempting to just hop around, touch up here and there, but that completely messes up a paint job and things get all globby. You can touch up your misses later on during the second coat.

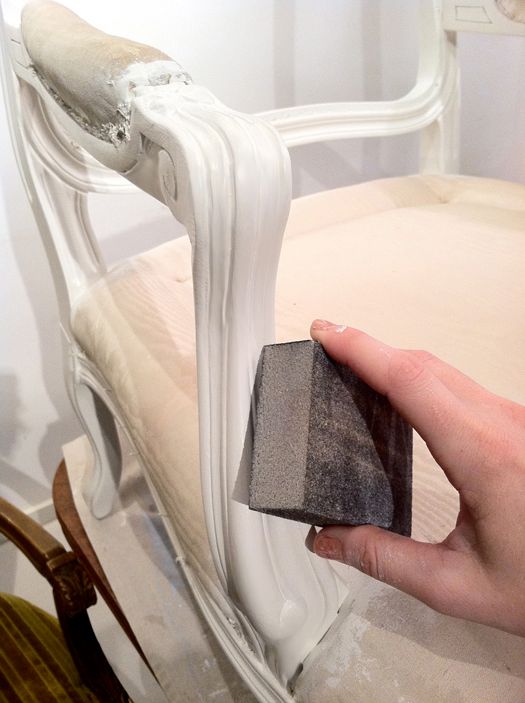
Even after a smooth first coat, there will still be imperfections – air bubbles, dust, drips, etc. That’s when a medium or fine grit sanding block comes in handy. I like to clean up the blatant mistakes and then sort of lightly rub the whole piece down with the sanding block. It really helps to get a smooth surface in that second, final coat.

Also, I thought I would mention that I learned in the last year that if you do at least two coats of a GLOSSY paint, it’s not necessary to do a protective sealer like a poly or lacquer. I guess that additive in the glossy paints is basically like a polycrylic? Whatever the reason, fine by me! Less work! (but make sure you do that primer coat and use the paint+primer latex)


It stinks how latex paint sticks to nail polish. Manicure ruined!

I put the second coat of paint on early this morning and it’s just about dry enough now to start upholstering tonight. Part 3 will be up tomorrow afternoon probably. xoxo

Furniture

Reupholstering a Chair, Part 1: Stripping

Here are the other parts of this series: Part 2, Part 3, Part 4, Part 5 For about as long as I’ve written this blog, people have been asking me for tutorials on reupholstering furniture. I’ve kind of held off because every piece of furniture will require a slightly different approach. I am in no way a professional upholsterer,…

Here are the other parts of this series: Part 2Part 3Part 4Part 5

For about as long as I’ve written this blog, people have been asking me for tutorials on reupholstering furniture. I’ve kind of held off because every piece of furniture will require a slightly different approach. I am in no way a professional upholsterer, so if you are looking for advice on your upholstery project, I suggest checking out this great book, taking a class (sometimes local fabric stores will offer these for free!) or calling a real professional. I wish I had the time and skill to help you all with your individual projects, but it’s better for both of us for you to pursue advice beyond this tutorial elsewhere.

It’s worth mentioning that all the pieces I reupholster myself must meet a couple criteria, otherwise I call up my upholsterer and fork over the cash:
1) Must be a simple piece with not a lot of complicate sewing required
2) Can’t be of special value or worth (no real antiques or family heirlooms)
3) No using super expensive fabrics

Also, let’s be really clear here. The reason upholstery services are so expensive is because even small projects are very time consuming and pretty labor intensive (read: not so fun). I like the last steps a lot actually, when I’m stapling the fabric in place. That part goes quickly for me and it’s fun to see the piece coming to life again. But the beginning steps are absolutely (and sometimes literally) painful for me. I really hate pulling out old staples, of which there are approximately 109,457 in each of my chairs.

And, another point of clarification, I’m pretty cheap and foam is expensive. So if the insides of a piece are in good shape (like the horsehair, webbing or foam), I reuse. Obviously though, if it’s at all gross looking, I replace everything. In most projects I replace any cotton batting and then line it all with fresh muslin. It’s a preference thing, but thought I’d mention that before we got started.

Alright!! Now that that’s all out of the way – Part 1! Stripping down the chair.

For this portion of the show, you’ll need only a few tools:

1. Standard flat head screw driver
2. Needle-nose pliers
3. Tiny flat head screw driver
4. Bowl for discarded staples and tacks
Not shown: Camera
Optional/probable: Gloves, bandaids

Step 1: TAKE A LOT OF PHOTOS

Photograph every angle of your chair. Take close ups of tricky curves and trimmed out areas. You’ll use these photographs for reference later. (One time I didn’t photograph a critical part of a settee and I totally screwed up the arm portion and wasted about $50 in fabric. It was a bummer. Learn from my mistake!!)

As an example, I took these close up photos so I could remember where to start/stop the welting.

Step 2: REMOVE ALL CORDING/TRIM

Use the bigger, standard flat head to pry loose the cording at the start/stop point. Most trim is either epoxied or stapled into place. I was bummed to discover that my double cord welting was tacked down with mini staples, but for the most part I was able to pull off the trim using just my needle-nose pliers. I basically sat on my couch, pushed my feet up against the chair and pulled on the pliers really hard in the opposite direction. A very technical maneuver.
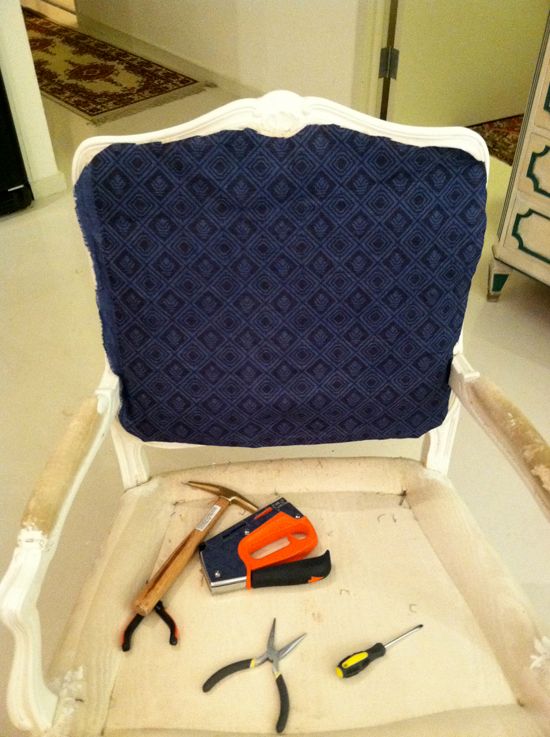

Always keep your camera handy. Here I took a photo of how the last upholsterer left the trim basically loose when they wrapped it around the arm part. No glue or sewing necessary here, I guess.

Step 3: REMOVE ALL STAPLES AND TACKS

Once all of the cording is off, you’ll have access to all the many, many staples that are keeping the fabric and batting taut against the frame.

This is when you’ll probably discover you’ll want bandaids and possibly gloves. (Maybe make sure you’re current on your tetanus shots?) :)

I usually work in 4-6″ segments where I quickly wedge my mini flat head under each staple and pry it up a bit (not all the way) and then I come back with my needle-nose pliers and pull them all out quickly. A little trick that will save you lots of energy: use the frame of the furniture as leverage whenever possible. Rather than pull a staple out straight using just your force, put some Physics 101 into action. Don’t damage the frame (you use a little piece of cardboard to protect the frame if you want), but rest your pliers against the wood, pinch the staple and roll back. The staples will break a lot less and they’ll come out much, much faster this way.

Step 4: SAVE YOUR LAYERS!!

Usually each layer of fabric, burlap and batting will have its own staples. Try your best to not rip the layers as you remove them. If you can save the insides like I mentioned earlier, great! More importantly, they will act as a template for your new fabric, batting, etc. So try to minimize damage.

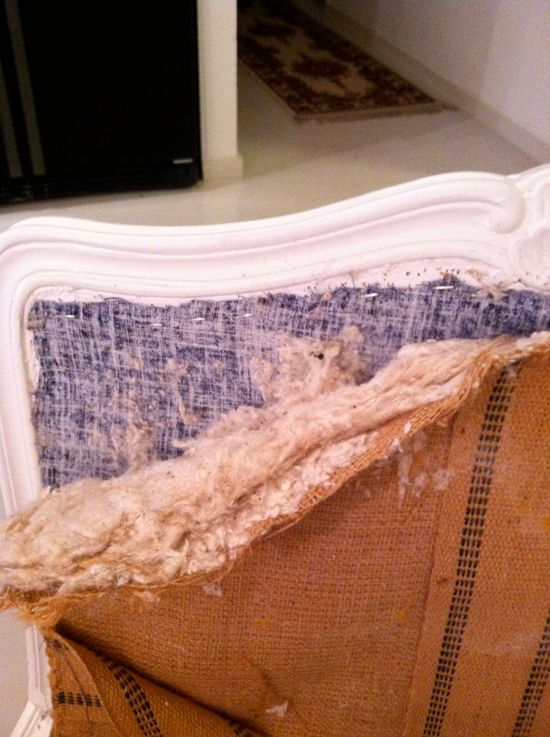
Under the first layer of fabric was this webbing and burlap.

Followed by cotton batting,

and then another piece of fabric that was the back face of the chair. See all the staples in my bowl? That’s just one half of one chair.

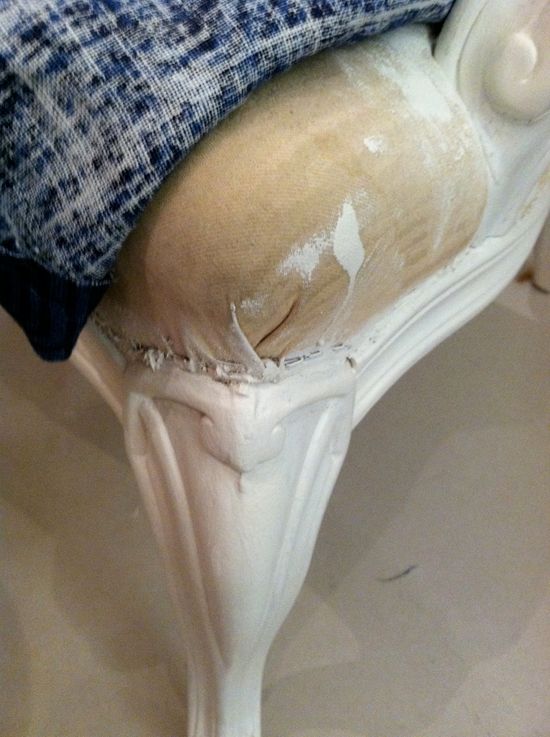
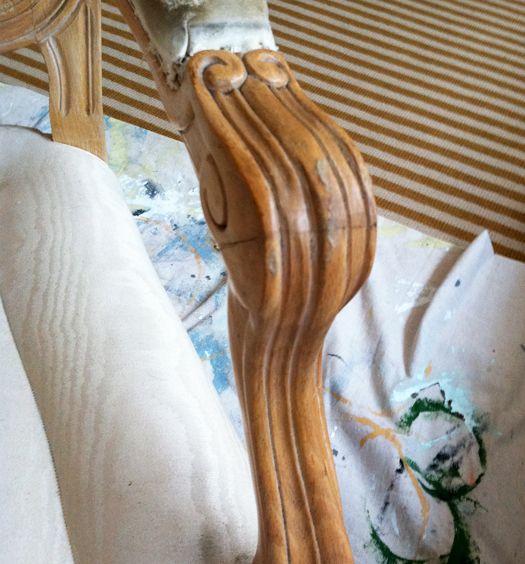
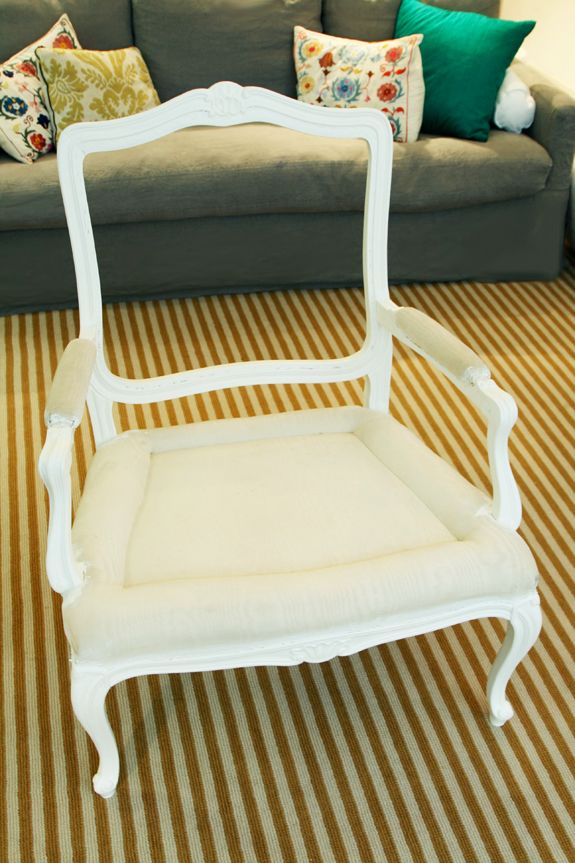
By the end of the day we were able to get both chairs stripped of their backing and all the cording. Because the new fabric I’m using is dark and thick I decided it wasn’t worth it to pull off the bottom part of the old chair fabric, especially because I wasn’t really sure how structural those sewn-in seams were and I didn’t want to mess up the shape. This part goes under the chair cushion (not pictured), so this seemed like a good short cut for me. I’m thinking I’ll Fabritac the new fabric into the sewn-in seams you can see below and maybe hand stitch a few of the corners down for reinforcement and then staple it all down right over the old cream moire fabric.

Next up — Step 2: Painting the chair frames!
Living Room

A Tale of Two Chairs

When we moved into our loft I knew I wanted to have two sofas and a pair of matching arm chairs in our living area. I’ve always loved bergere chairs, so I looked on Craigslist for a while for a pair. The only pair that came up during that month or two were $800. No…

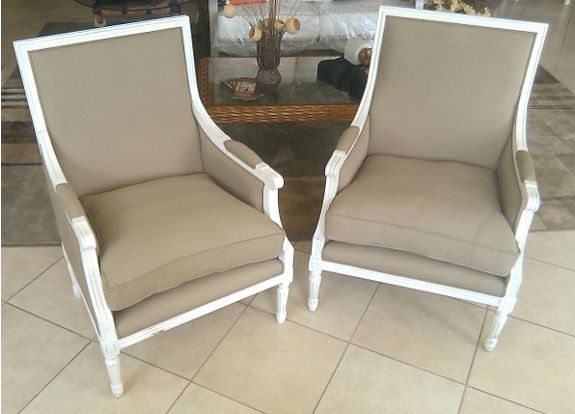
When we moved into our loft I knew I wanted to have two sofas and a pair of matching arm chairs in our living area. I’ve always loved bergere chairs, so I looked on Craigslist for a while for a pair. The only pair that came up during that month or two were $800. No bueno for me since the plan was to reupholster. Then I found a pair of these Antonia chairs from Ballard on eBay.
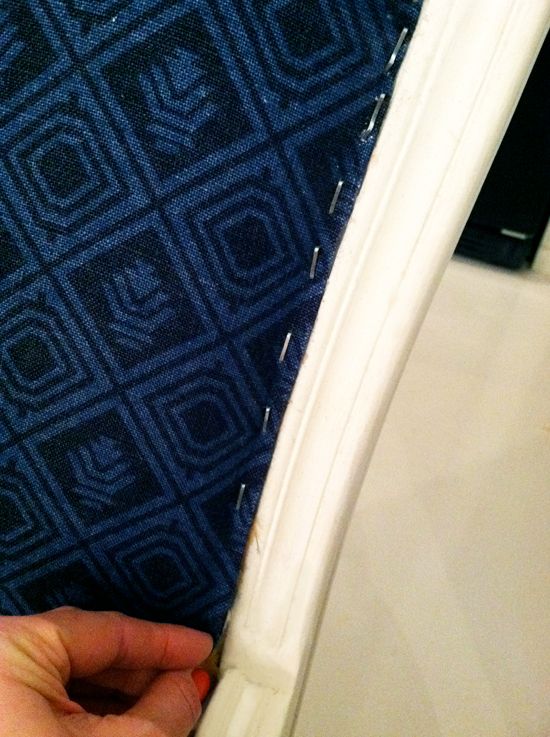
The seller said they were floor samples or returns because they were brand new with the tags. The price was right at $400 for the pair, so I bought them and had them shipped from Virginia. Long story short, I picked up the chairs from a freight company in PA a couple days later late at night. It had been a really long installation day and the chairs were really well packed, so I didn’t inspect them as thoroughly as I should have before signing off on the delivery and heading home to NYC. Turned out that the internal back structure was made of chipboard (hello! cheap!!) and the board of one of the chairs was completely cracked in half. The problem was only visible looking at the chair from behind, but it totally made a weird sound when you sat down against the chair back. Bummer. But I was planning on having them upholstered anyway, so we could have the broken frame repaired then.
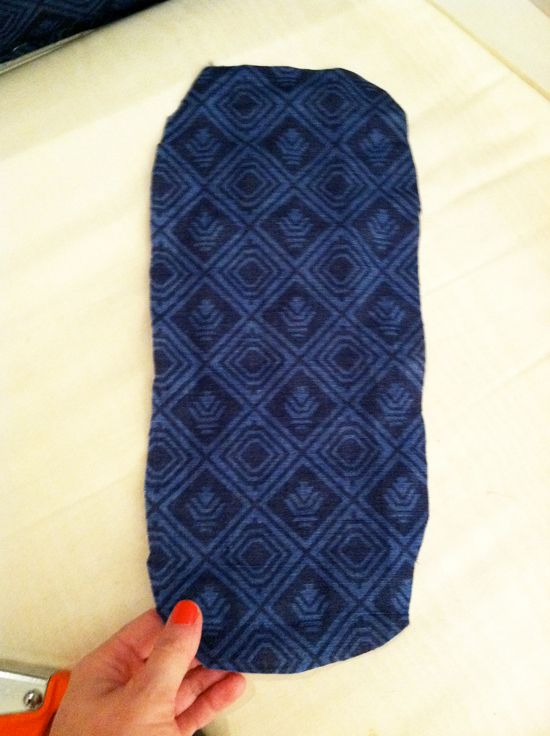
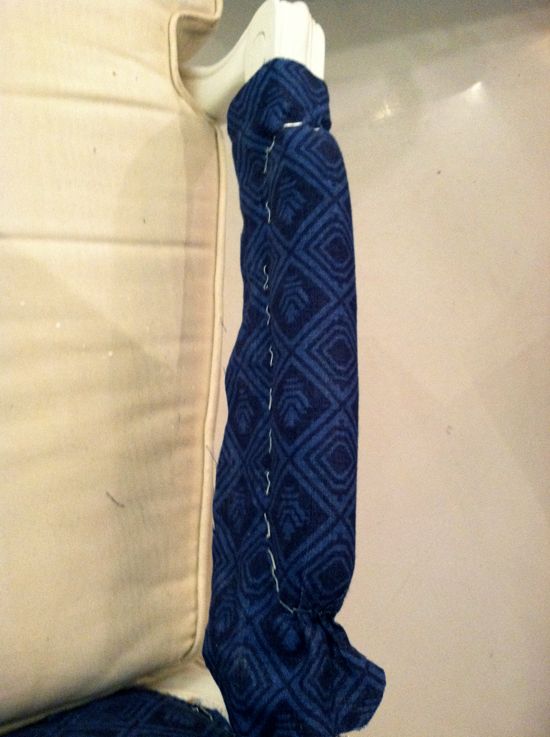
Soon though, a bigger bummer was apparent. The chairs were flat out uncomfortable. They were stiff and awkward and absolutely impossible to lounge in. I noticed that we avoided sitting in them and I always felt a little guilty if guests had to sit in the chairs.

But they were a pretty shape and I tried hard to make them work for a while. Looking back, the sheer amount of time I was taking to make a decision about the upholstery material should have been a red flag for how much I hated these chairs! I almost bought leather to reupholster them in. It would have looked great, but the underlying problem of the chairs not being comfortable would still be there.

Here’s the thing that I most wanted to share with you today: It is so easy to get tunnel vision when you are decorating. I get stuck in the “make it work” mind set, which I think can be really great most of the time. I feel like that is the responsible way to decorate for 95% of decorating scenarios. But there are some situations where it truly makes the most sense to cut your losses and scrap the piece of furniture or the idea. I recognize that usually the reason I try to “make it work” is to justify the cost of the item. The bottom line though is sometimes mistakes are made. Chairs get damaged in transit. Or they look pretty online, but are awkward and uncomfortable to sit in. It happens. Rather than dumping more money into the room that you won’t ever be truly happy with anyway, consider craigslisting the piece and use the proceeds to find something new that better suits the needs of the room. As soon as I decided to sell the Ballard bergeres the choices for the rest of the room sort of presented themselves and everything in the space made sense again.

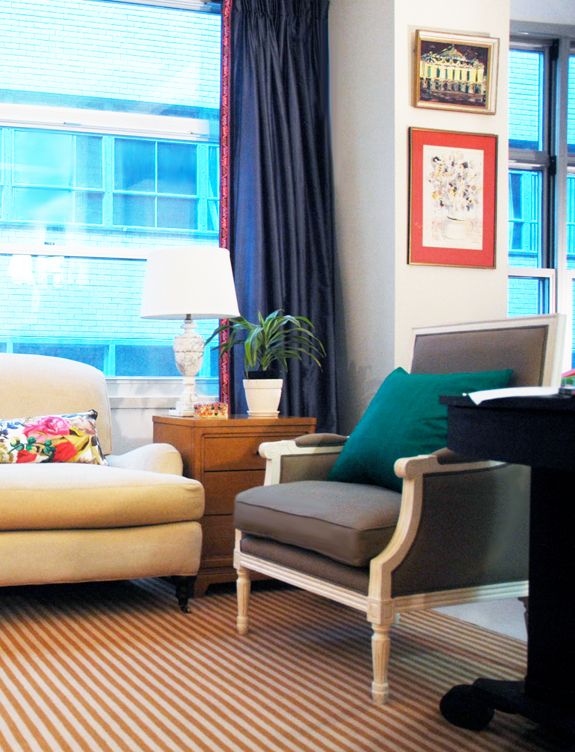
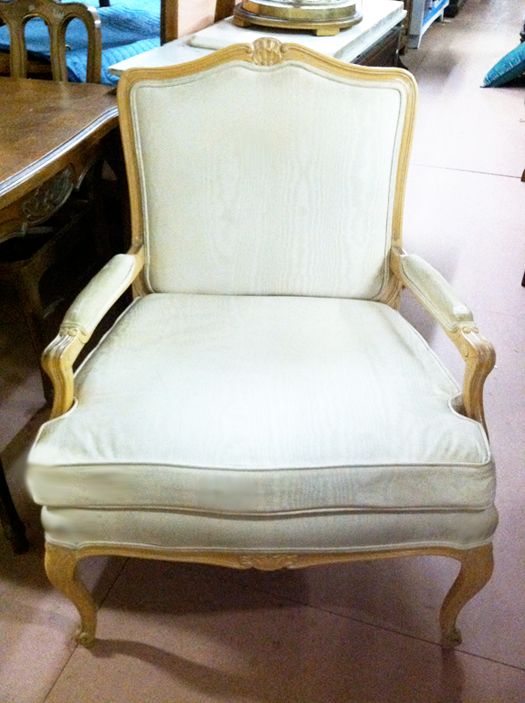
And in a stroke of good luck I stumbled across a pair of mid-century bergeres with great potential at Granny’s Antiques in NJ last week. They are so, SO comfortable! I find myself sitting in the chairs more than our comfy sofas these days. And guess what? They cost only half the price of my old Ballard chairs, so I’m sure I’ll be able to recoup the cost and then some when I sell the old pair.

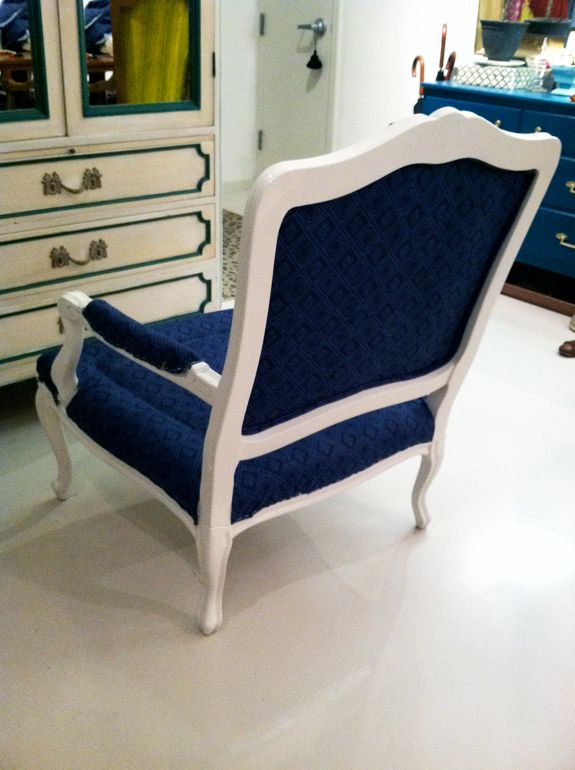
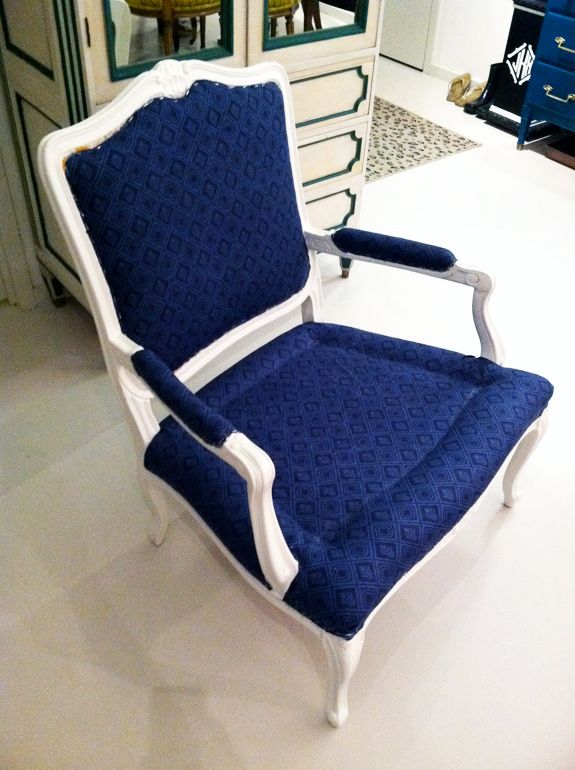
This week I’m reupholstering the chairs and painting the frames. Tomorrow I’ll share the photos of the first steps. Here’s a sneak peek. Remember this Victoria Hagan fabric? I had just enough in my stash for the pair!

Why Don't You

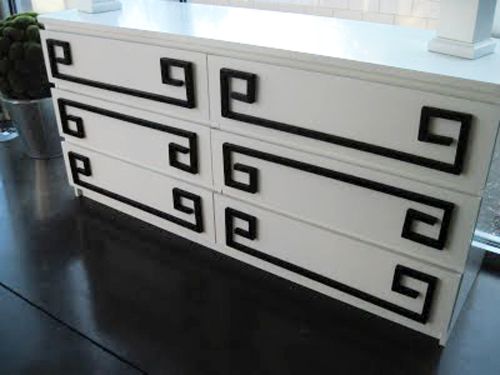
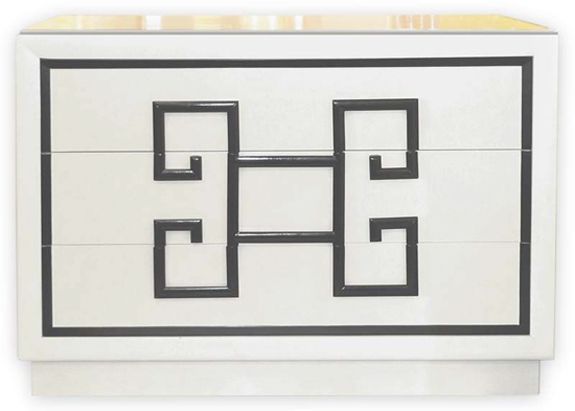
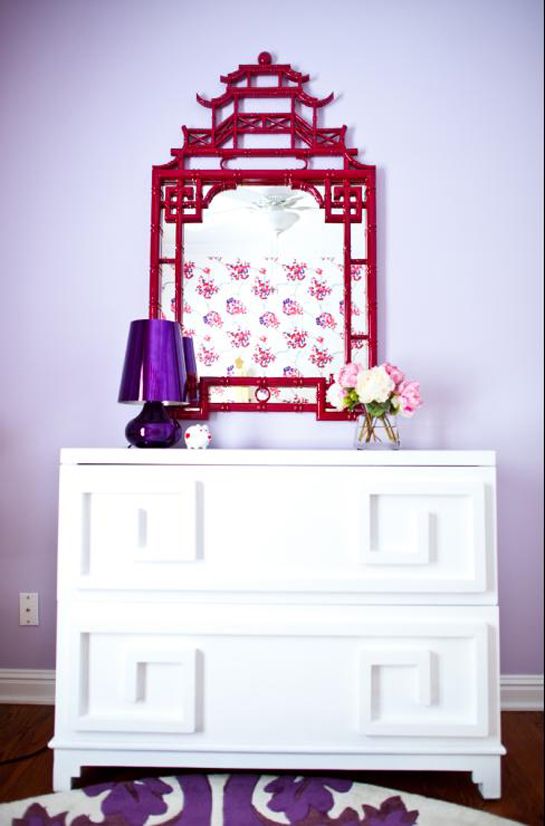
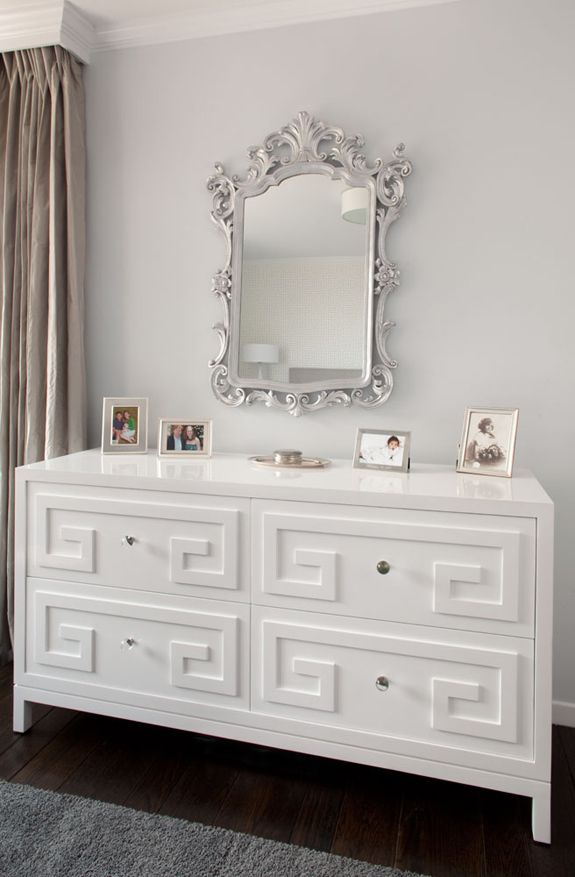
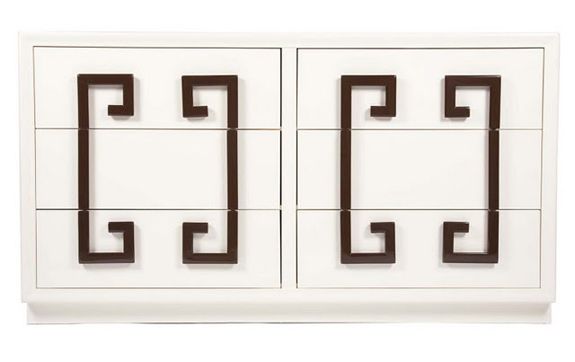
Greek Key Dressers

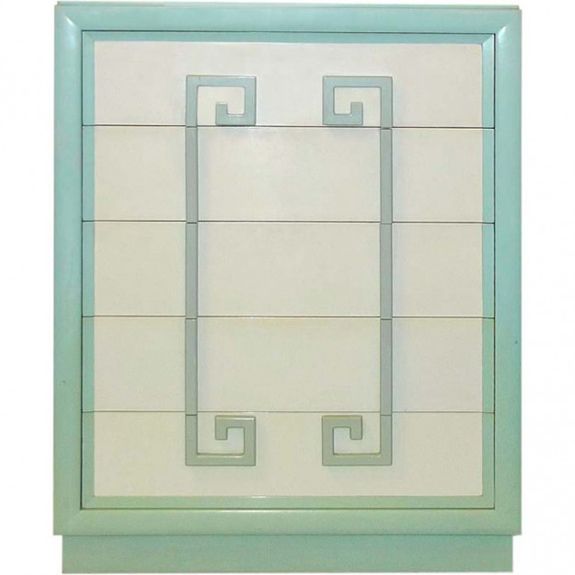
Christina Murphy There are so many gorgeous Greek Key dresser tutorials floating around the interwebs! These vintage Kittinger chests are the real deal ($$$$) and inspired some great projects. Bri did an awesome tutorial here: I love Jaimee’s version here: And more inspiration, in case you decide you want to transform your boring furniture this…

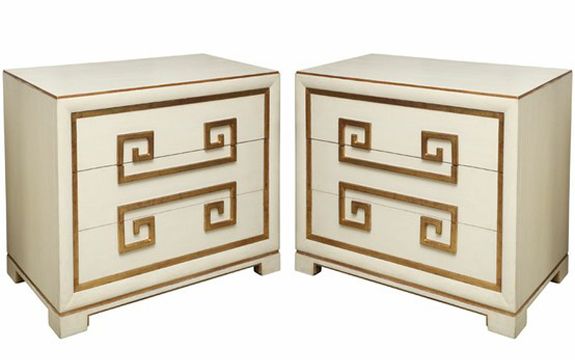
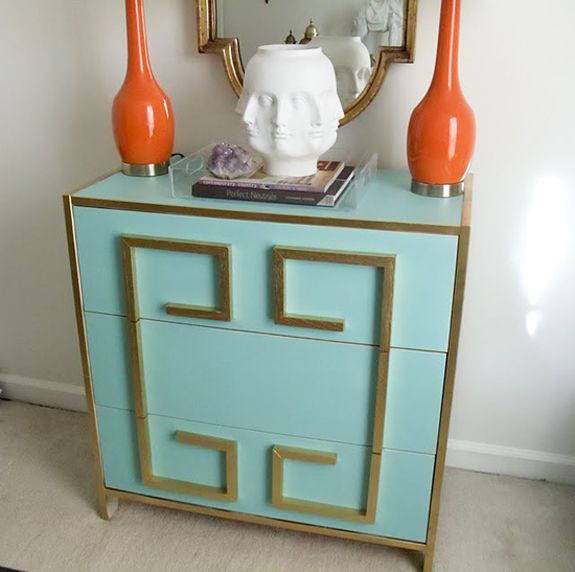
There are so many gorgeous Greek Key dresser tutorials floating around the interwebs! These vintage Kittinger chests are the real deal ($$$$) and inspired some great projects.

Bri did an awesome tutorial here:

I love Jaimee’s version here:

And more inspiration, in case you decide you want to transform your boring furniture this weekend with a little paint and trim!

Bedrooms

50 Ideas under $50

What a funny little coincidence that yesterday’s post was about Better Homes and Gardens. Yesterday I also got my July 2011 issue in the mail, where I was lucky enough to be included with some seriously fabulous bloggers in a feature on inexpensive ways to spruce up your home. I won’t give it all away…

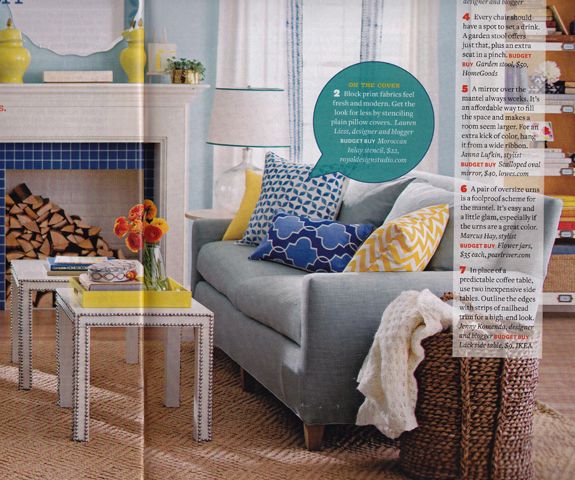
What a funny little coincidence that yesterday’s post was about Better Homes and Gardens. Yesterday I also got my July 2011 issue in the mail, where I was lucky enough to be included with some seriously fabulous bloggers in a feature on inexpensive ways to spruce up your home.

I won’t give it all away for those of your who haven’t received your July issue yet, but, Dang! Look how great those Lack tables look all decked out in nail head trim!

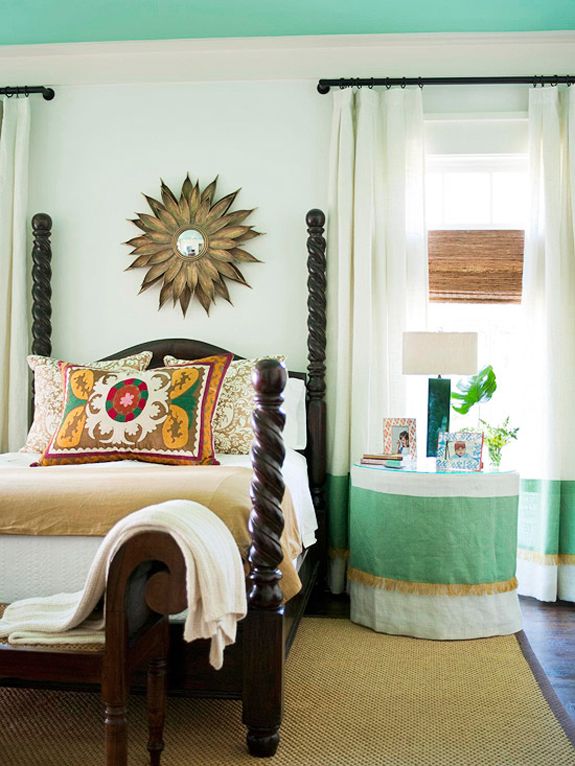
Some of the ideas that they couldn’t fit in the print publication were featured in this online article. Aren’t the colors in this room so awesome? Would you believe that lovely skirted table was made using one of those plywood “decorator’s tables”- the ones where you have to screw in the legs? Also, I think I need that lamp.

Thanks for including my ideas, BHG!!

Inspiration

Book Club: BHG Decorating Book

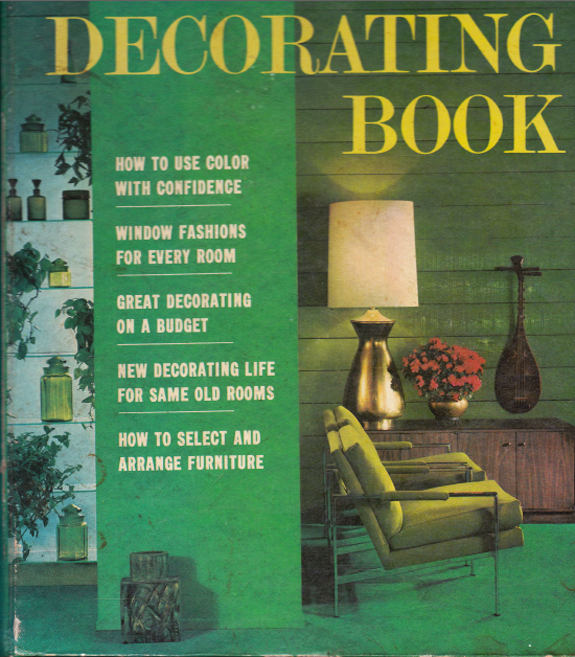
Isn’t it crazy how design trends recycle over time? I love to pick up vintage decorating books at thrift stores and used book stores. I got this 1968 edition of the Better Homes and Gardens Decorating Book at Goodwill for $2. It’s available on Amazon here. These are some of my favorite images from the…

Isn’t it crazy how design trends recycle over time? I love to pick up vintage decorating books at thrift stores and used book stores. I got this 1968 edition of the Better Homes and Gardens Decorating Book at Goodwill for $2. It’s available on Amazon here.

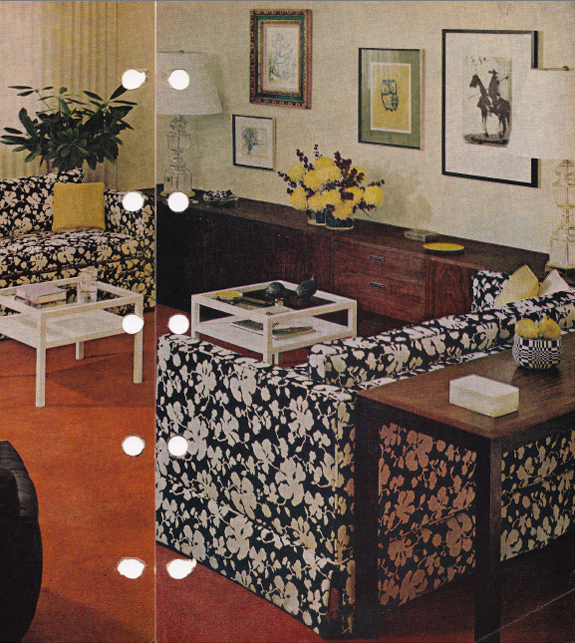
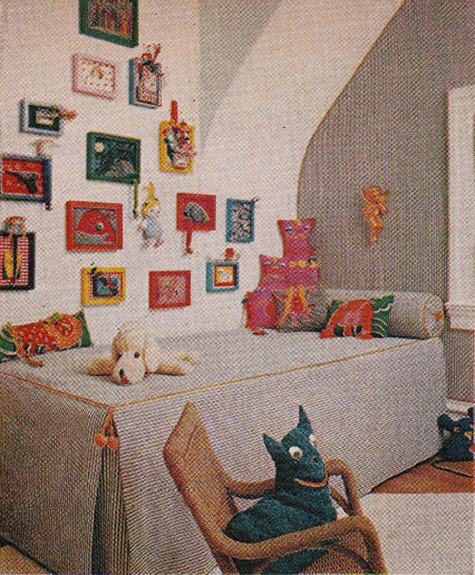
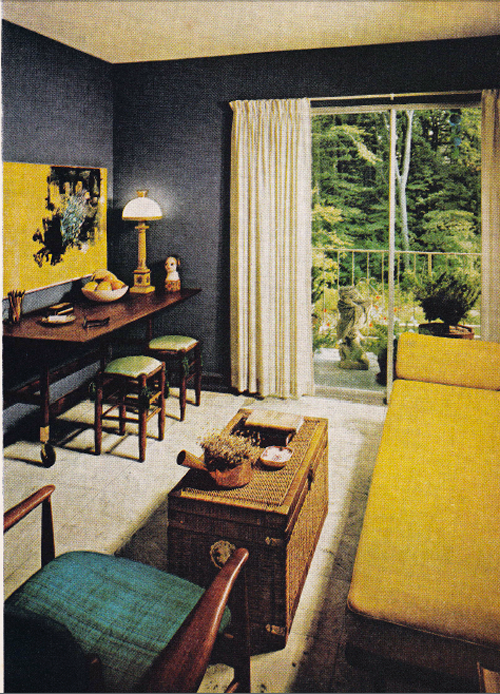
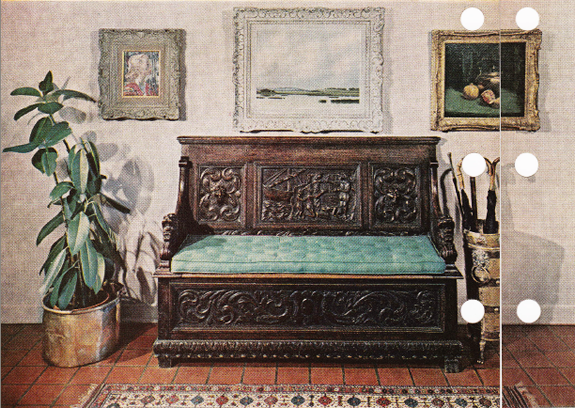
These are some of my favorite images from the book, though there were LOTS more that I loved bits and pieces from. These just looked the most current to me.

Check out that fabric! Looks straight out of the Quadrille showroom!

How adorable is this kids room? The gallery wall is cute and casual. I love how the wallpaper and bedding match (looks like a small ticking stripe with an orange trim border)

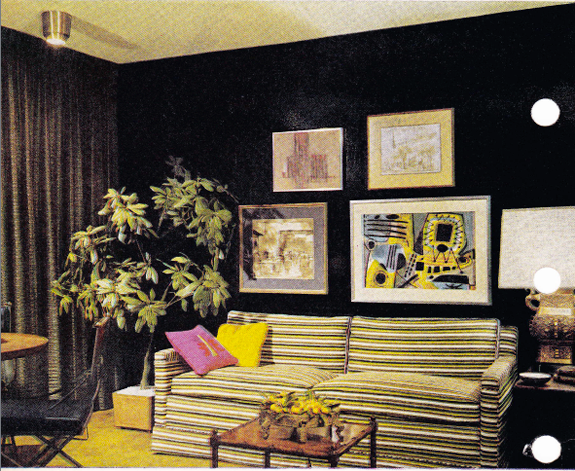
Look at those gorgeous dark walls! (wish they would have done the ceiling too though). The white drapes keep things fresh (but they should be a couple inches longer I think). Love the desk on casters with the little green benches. And I’ll always love campaigner wicker furniture.

More dark walls. Look at the horizontal stripes on that sofa! So cool. I love the art and the big potted tree. Doesn’t this look like a Ruthie Sommers room?

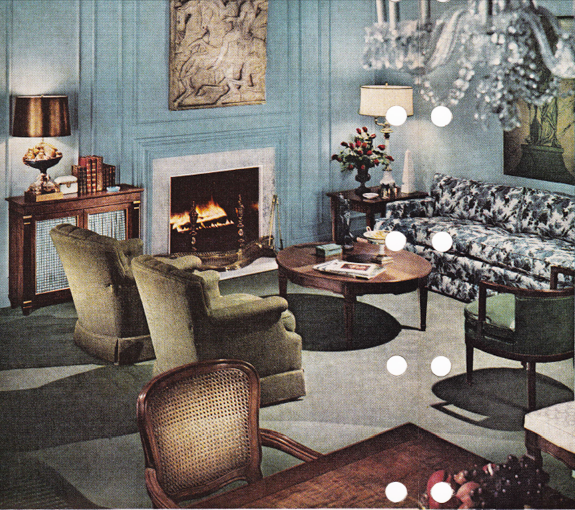
Except for those horrible olive club chairs, this room looks like it could be in Elle Decor. I love the blue walls with all that amazing paneling!!

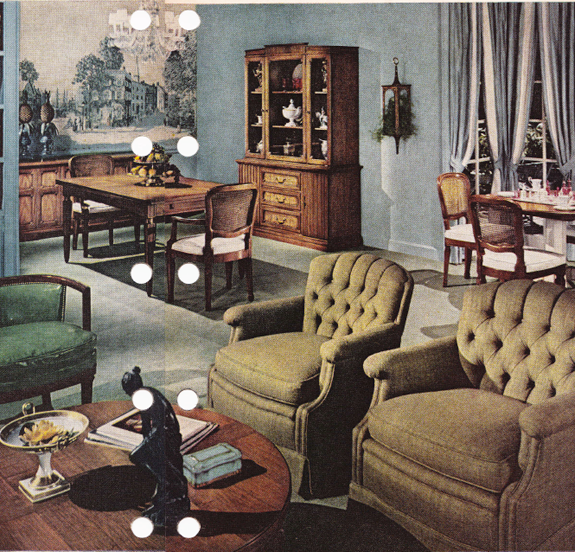
Here’s that same room from another angle. I’m all about wall murals lately, so this shot gets me giddy. (stay tuned for an upcoming client project involving scenic wallpaper!!). — Also, love the trimmed out curtains here and the bronze statue on the coffee table. Not loving that weird plant wall thing, the matchy-matchy furniture sets (and those chairs again. yuck! among other things, the scale is really off)

Take away the blue shag, and this could be a Mary McDonald room. (PS are you watching Million Dollar Decorators?! Yikes!!)

This entry feels so California to me! I like the mix of ethnic style with those more trad art pieces. The tufting on the bench cushion is lovely and I really want that brass planter!

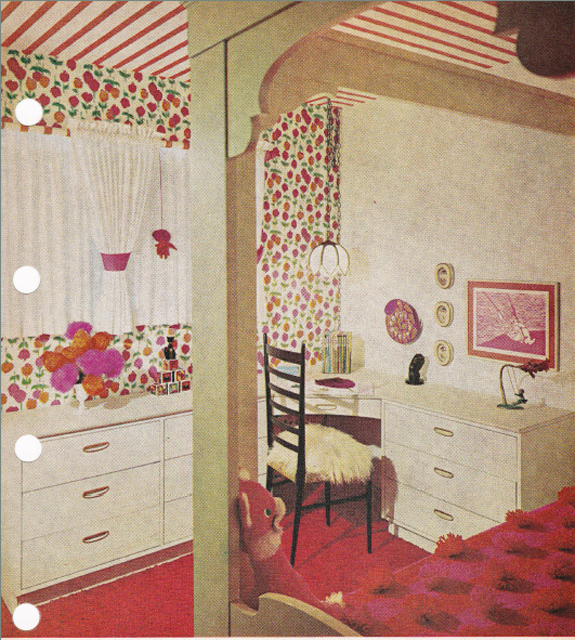
Stripes on the ceiling, floral on the walls! So very Kate Spade! I like the green color on the canopy bed, but the pom pom bedspread needs to go. How do you even sit on that comfortably?

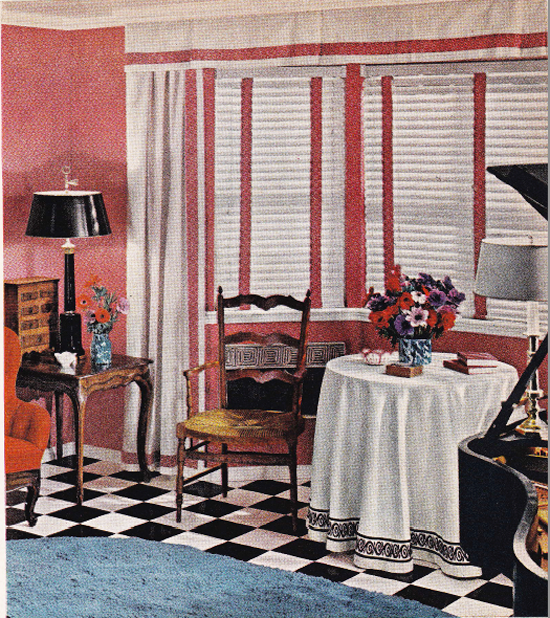
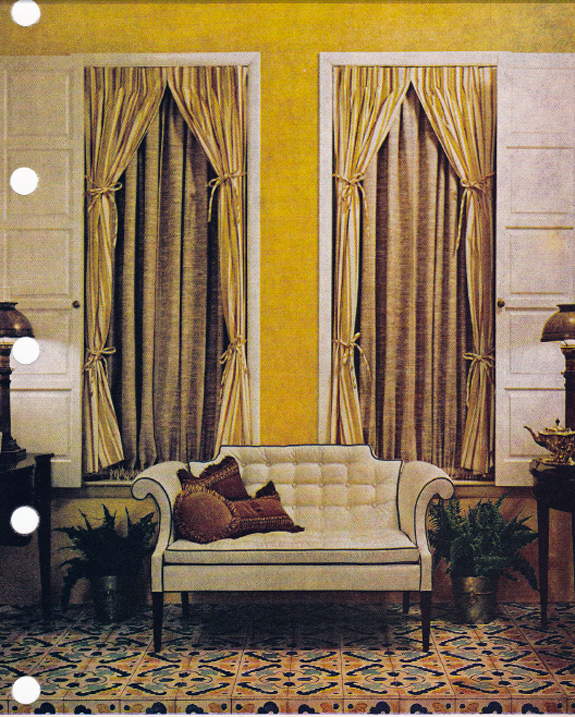
My heart stopped when I saw this little settee. It’s perfect in every way! Also love the wall color, the floor tile and even the drapes! Cute with the double tie-backs!

What do you think? Kind of crazy (a little disappointing maybe?) how much we reuse design ideas over and over again!

Musings

Artglass Paperweights

My Grandma Johnson collected these pretty glass paperweights and I’ve always loved them too, so I pick up pieces here and there at flea markets and on travels. Ebay and Etsy have some beautiful options. Grandma immigrated to the US from Sweden in 1918, when she was just 19 years old. Here’s a photo of…

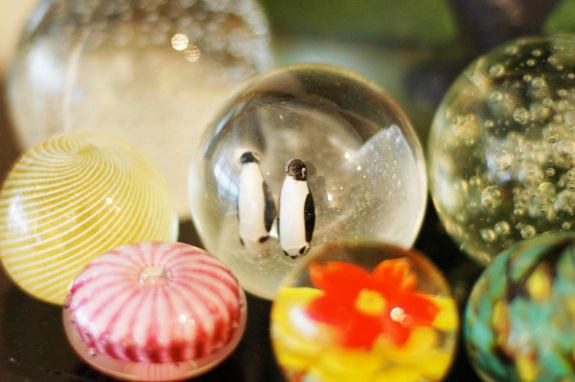
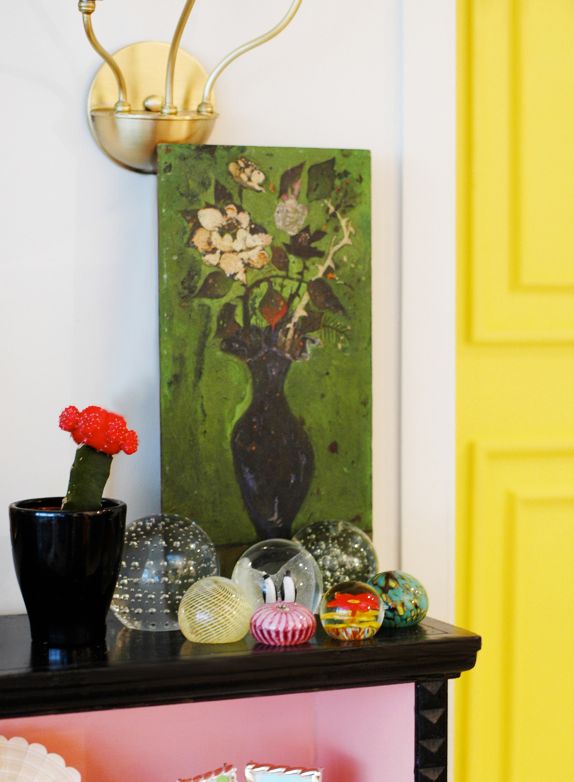
My Grandma Johnson collected these pretty glass paperweights and I’ve always loved them too, so I pick up pieces here and there at flea markets and on travels. Ebay and Etsy have some beautiful options.

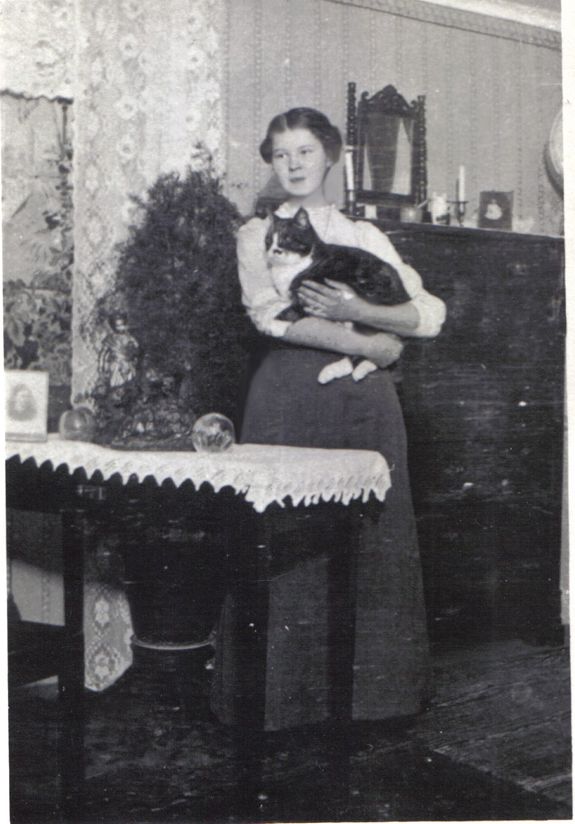
Grandma immigrated to the US from Sweden in 1918, when she was just 19 years old. Here’s a photo of her at home, which was a cottage on an estate called Parkstugen where her father was the gardener. This was taken not long before they sailed for NYC. See one of the artglass balls here?

Right after we moved to the city last year, my parents were visiting and we made a trip out to Ellis Island. We were able to look up Grandma and her parents on their ship’s register record. It was a really cool experience to walk around the island and imagine what she must have been feeling and thinking there as a 19 year old girl.

There’s a funny story I love that once Grandma and her family had been given clearance to leave Ellis Island and go to Manhattan, the first thing Grandma wanted to do was eat some fruit. It had been a long boat ride and she was ready for fresh produce. Grandma went to a fruit stand and bought an “American apple” and took a big bite only to be surprised by the bitter flavor, and she spit it out. Later she discovered that she had tasted her very first tomato that day! (crazy to think they didn’t have tomatoes in all parts of Sweden way back when!)

I love filling my home with things that remind me of places and people I really love. Do you have any special things you collect to remember family by?

Furniture

B-A-N-A-N-A-S

This weekend I finished caulking and painting the door to my girls’ room. Last week I added some inexpensive moulding to the front of their hollow-core door. There were some gaps in the mitered corners and the edges of the moulding pieces that needed caulking. Caulk guns feel cumbersome and awkward to me, so I…

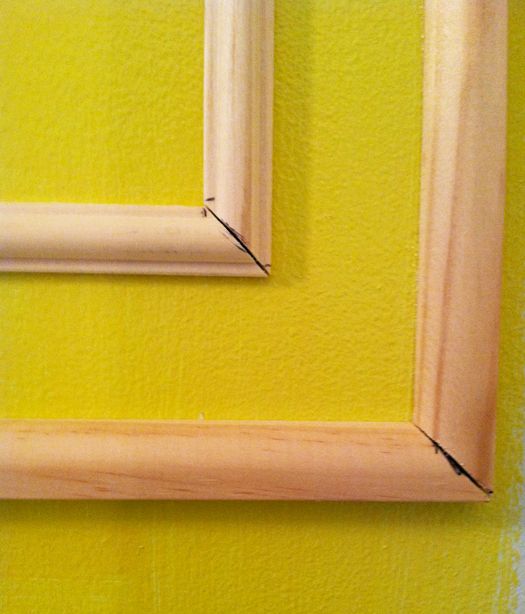
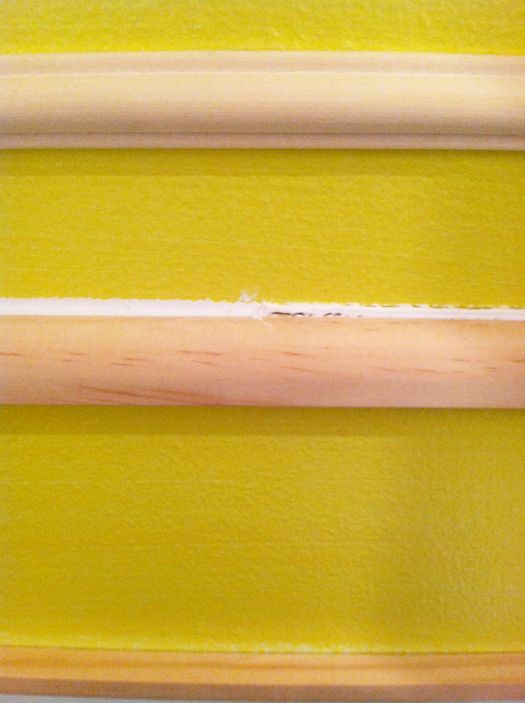
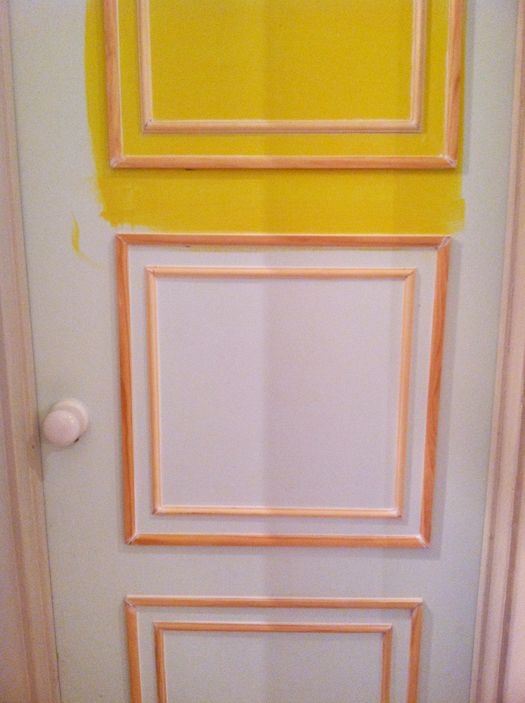
This weekend I finished caulking and painting the door to my girls’ room. Last week I added some inexpensive moulding to the front of their hollow-core door. There were some gaps in the mitered corners and the edges of the moulding pieces that needed caulking.

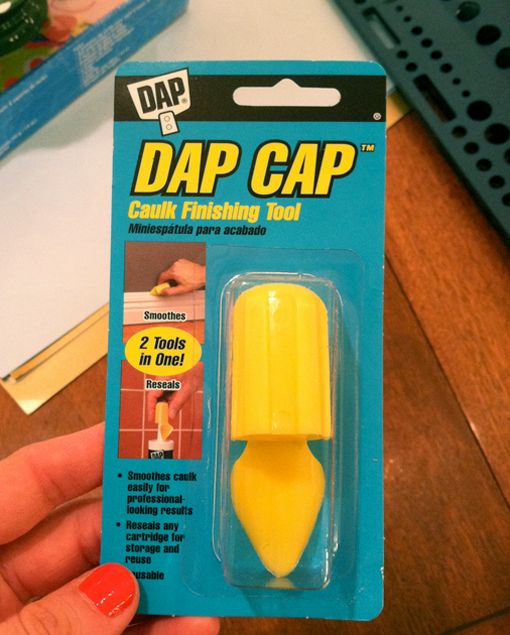
Caulk guns feel cumbersome and awkward to me, so I almost always use the tubes:

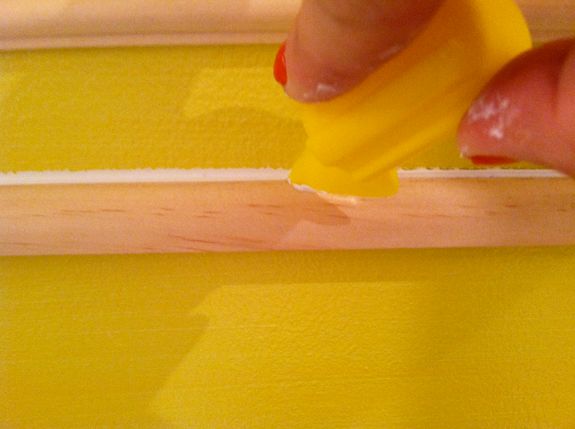
I usually use my finger to smooth the caulk lines, but these little tools are much more accurate and save my pointer finger tip from getting destroyed.

It’s an easy process. Just run a thin line of caulk along the space where the moulding meets the door and then immediately follow up with the edger tool for a super smooth finish.

Here’s a mid-smoothing shot:


I caulked all the edges, top and bottom, and the mitered corners and followed up the smoothed out lines with a damp rag to remove any excess caulk smudges.

I let the caulk dry for a day and then brushed in the details around the moulding and finally rolled on the paint (Glidden’s Spicy Banana Pepper in high gloss – which, strangely, reminded me of a cheerleading dance class I took when I was like six maybe? Other than the Paula Abdul dance routine, I can only really remember one of the cheers that had some cute/sassafras hand rolling action: “Go. Bananas. B-A-N-A-N-A-S!” Repeated a bunch of times. Sort of annoying actually, but that didn’t keep me from teaching my kids the cheer while I painted) .

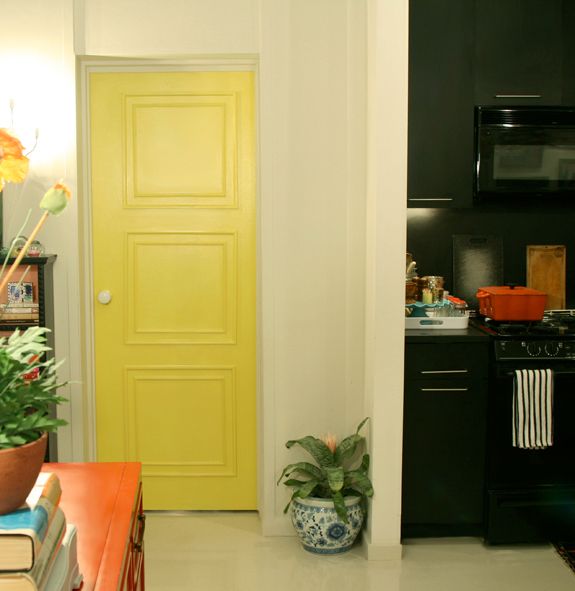
Filling the corners and edges with caulk is a super easy step and it helps give a sad, cheap door a pretty legit look. It almost passes for an old wooden door now on first glance.

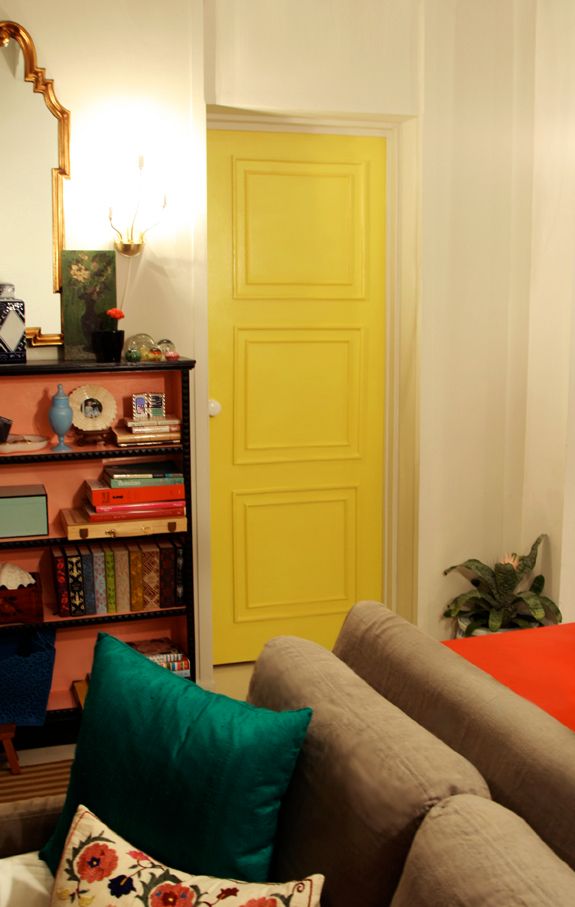
The shots of pure, bright color in our living room are a fun contrast to the sea of white walls and our black kitchen. I’m loving the addition of the yellow door! And it feels appropriate for the entrance to the girls’ room – almost a little Alice in Wonderland maybe?
Musings

Week in Pictures

My dad is truly the most supportive father ever. Even though I don’t think he particularly loves interior design, he reads my blog every day and calls me if I haven’t posted (seriously) first thing in the morning – you know, just to make sure I’m okay. :) This was a couple weeks ago when…
My dad is truly the most supportive father ever. Even though I don’t think he particularly loves interior design, he reads my blog every day and calls me if I haven’t posted (seriously) first thing in the morning – you know, just to make sure I’m okay. :)
This was a couple weeks ago when my mom and dad were enjoying some nice weather up on our roof with the girls (btw, I just shot an adorable party up there that I’m excited to share with you soon!)

The day got away from me, but I don’t want to disappoint Dad by not posting, so, here are some things that caught my eye this week: (love you, dad)

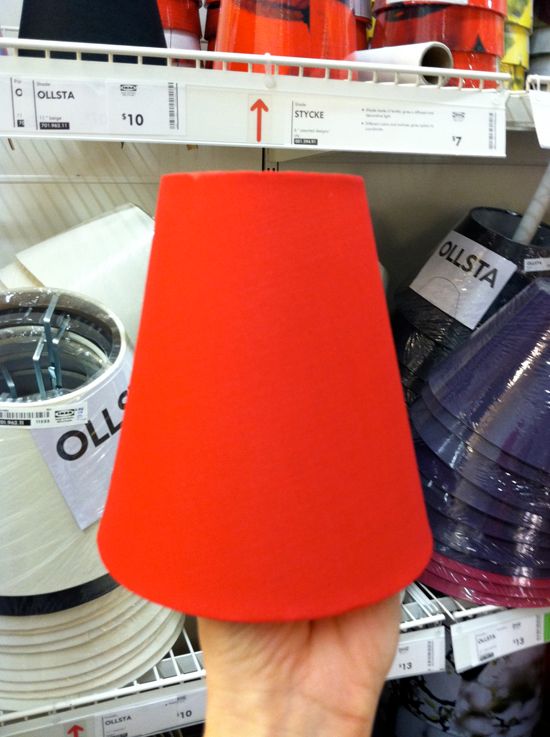
I’m all about colorful lamp shades lately especially. These from IKEA are super inexpensive (about $3 ea!) and come in lots of great colors. Perfect for sconces and chandeliers.

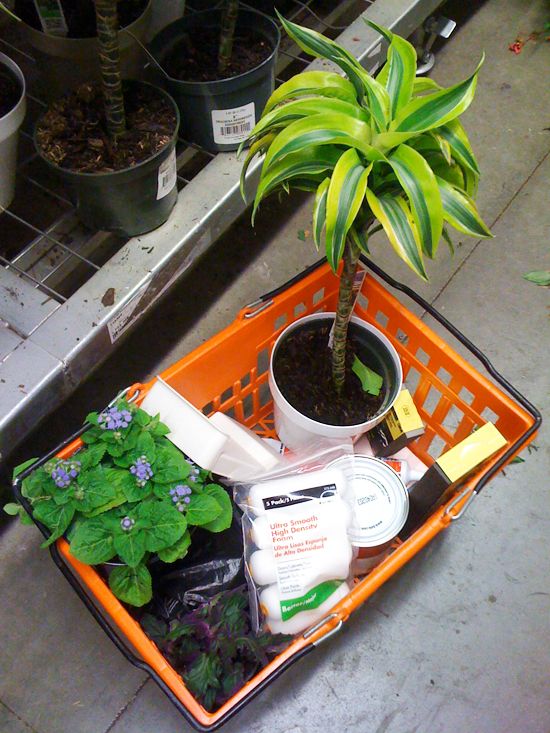
With the exception of my orange tree, all the plants I’ve been buying lately look like they belong in a Dr. Suess book. Loved this mini palm from Home Depot:
Three trees for the price of one at IKEA!

I like putting crazy plants in more traditional pots. I picked up this crusty planter yesterday at an antique shop in NJ called Granny’s Antiques:

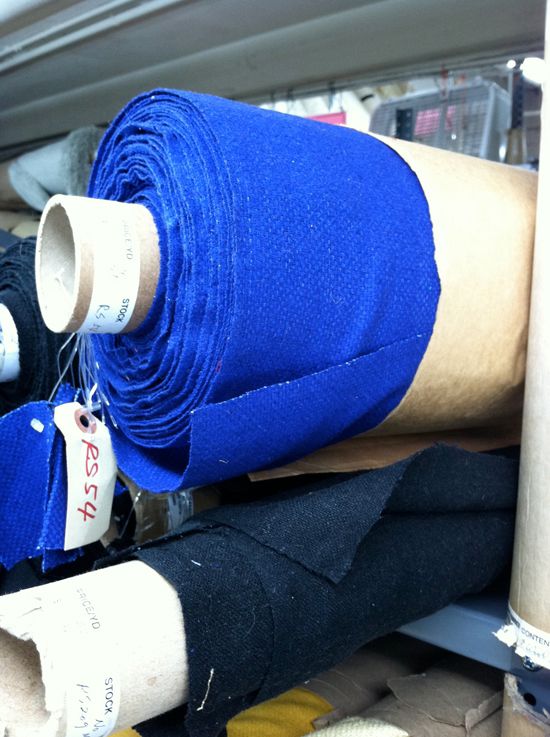
I’m adding a little bit of electric blue to my life this week. Can you guess where?

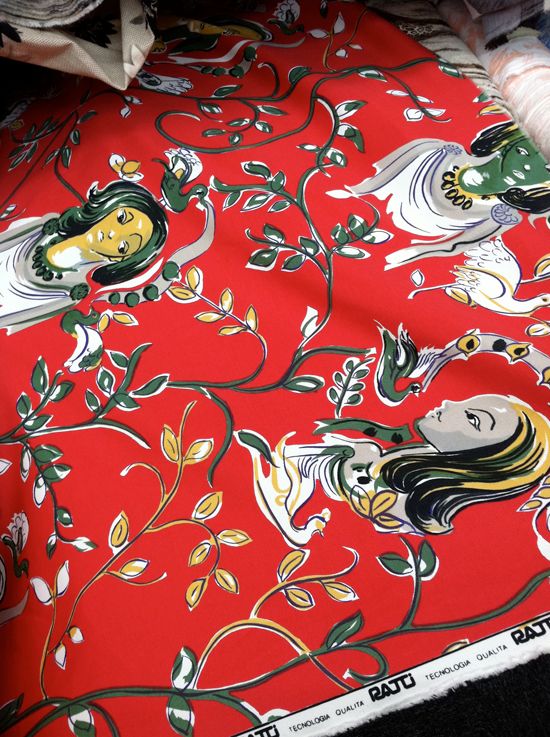
Spotted these ladies at Mood. My friend thought the fabric was weird. I can see her point, but think the pattern could be really amazing for just the right client on a chair, curtains or a little girls bed canopy. I like rooms to be mostly traditional, and then on second look, there’s a little bit of funk. This one feels all Gauguin meets Picasso to me.

Want another clue about what’s happening this weekend?

Loving jade and mint:

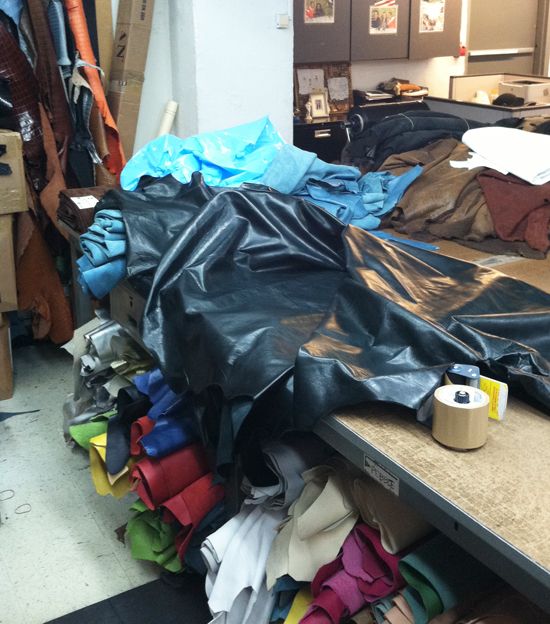
Speaking of mint, I’m working on getting some of this lovely leather in my life (I tweeted about it earlier this week. Are you on twitter?)

Though, I might also like this deep peacock/emerald leather.

Maybe some buttery black leather for a pair of Mr. Baughman’s? (definitely the world’s most comfortable chair)

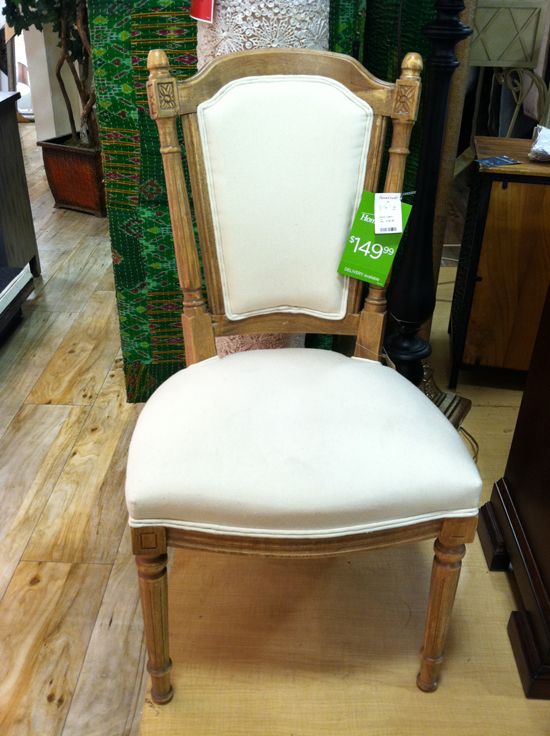
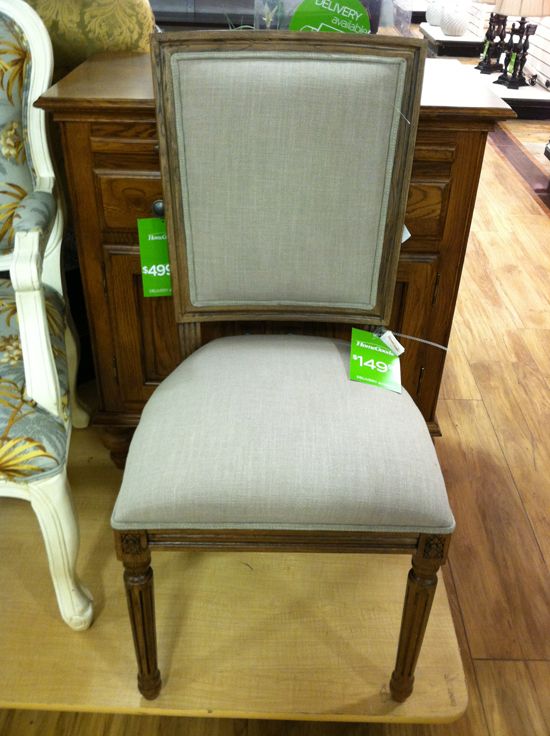
Lastly, Manhattan has a Homegoods! Whoop whoop! Check out these awesome chairs. $150 each is a steal and I like that they went with neutral upholstery.

Oomph knock-off for $50! Not as pretty as the real deal, but a lot less expensive (about 90% less!)

Another look for less:

Pretty sure they were going for Anthropologie’s Astrid chair here. These are only $300! Love the Robert Allen suzani fabric too.

Off to work on some projects and start enjoying the weekend! They turned on the water features at the parks on Memorial Day. My kids are loving it (though Evie was a little unsure at first. Lots of jogging around in confusion, especially after another kid totally splashes her in the face…)

Peace out.

This error message is only visible to WordPress admins
There has been a problem with your Instagram Feed.
© Jenny Komenda. All Rights Reserved.
Site by