Today’s room tour comes from the lovely Linda at Lime in the Coconut. I love the earthy and ethnic vibe of this gorgeous room!! Enjoy!

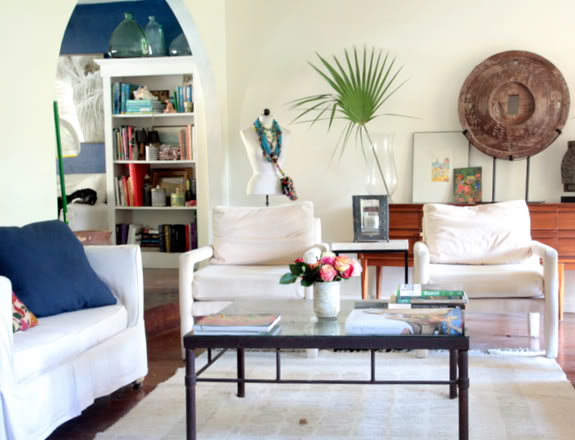
“When we bought the “hacienda” the first thing we did was rip out the red shag 1970’s carpet. We decided we liked the coolness underfoot, and chose to have the floors acid stained. Absolutely bombproof!
“The coffee table was a garage sale find…It is rusted metal and had tiles inserted in it, and was clearly used outside. I even used it outside in a previous home. Added some glass to the top…and now it fits in perfectly. Leaning against the back wall is a favored piece of art…actually a door…in the ADORE series by artist Aimie Phillips.
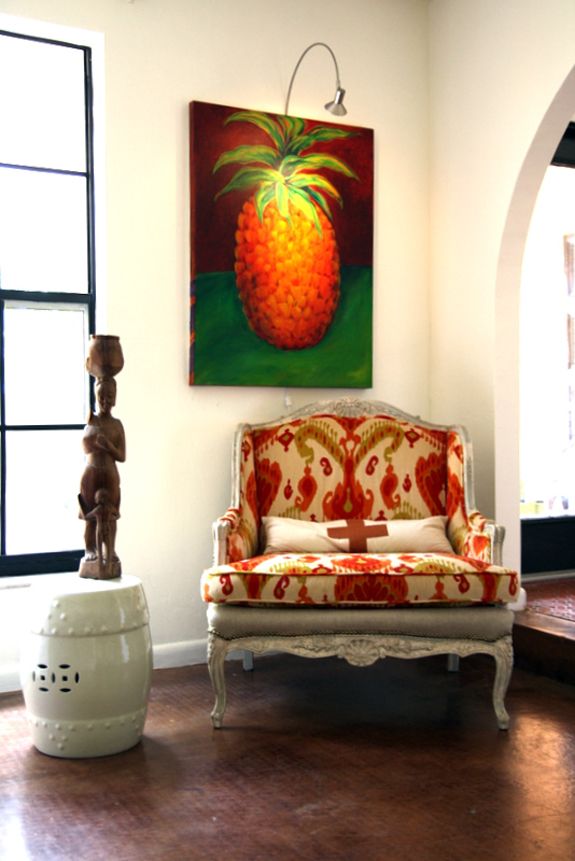
“The window end of the room (large black metal windows) Has three big pieces of art
by artist Ginny Piech Street…each one has a light over it which casts a beautiful glow at night (I love using timers for these…I don’t need to remember to turn them on).
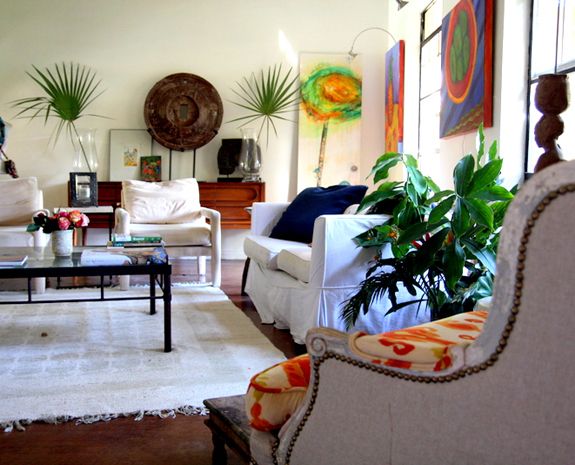
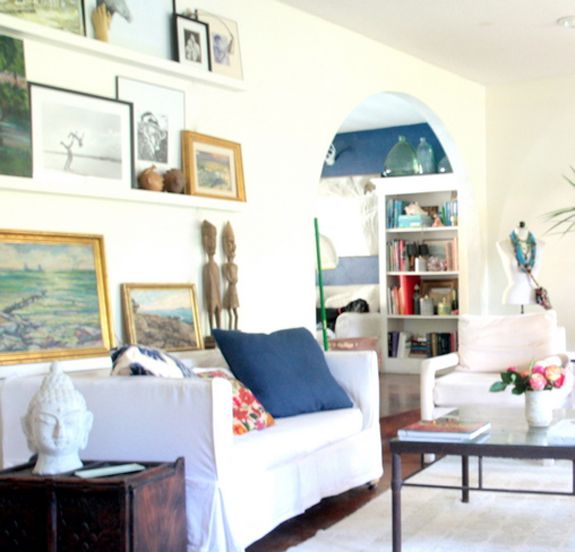
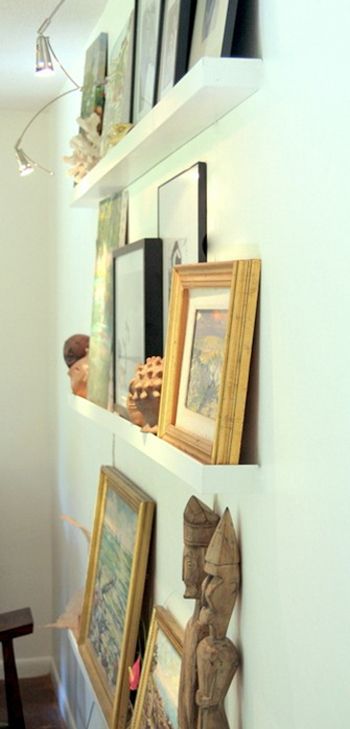
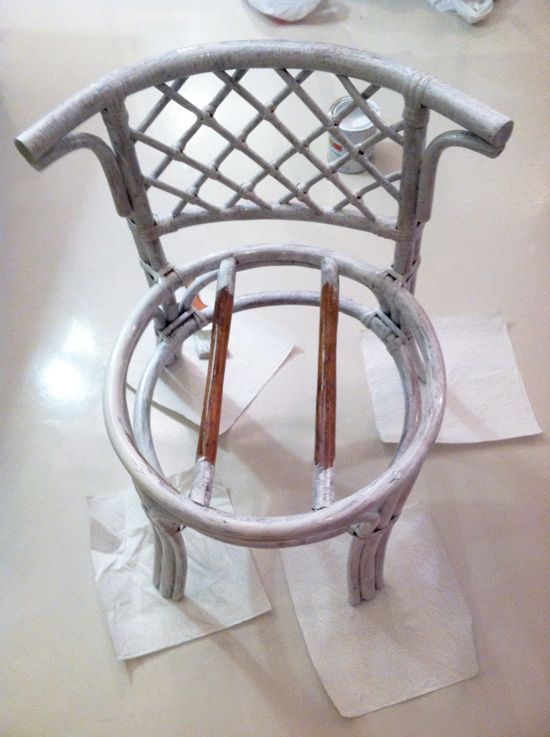
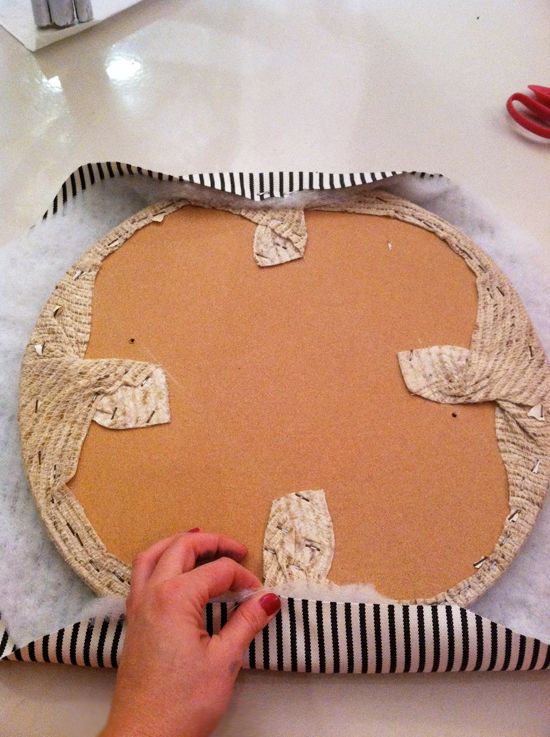
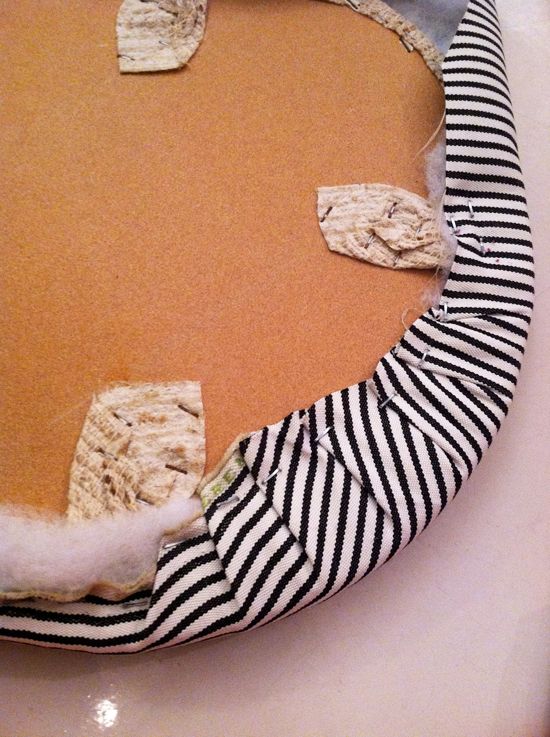
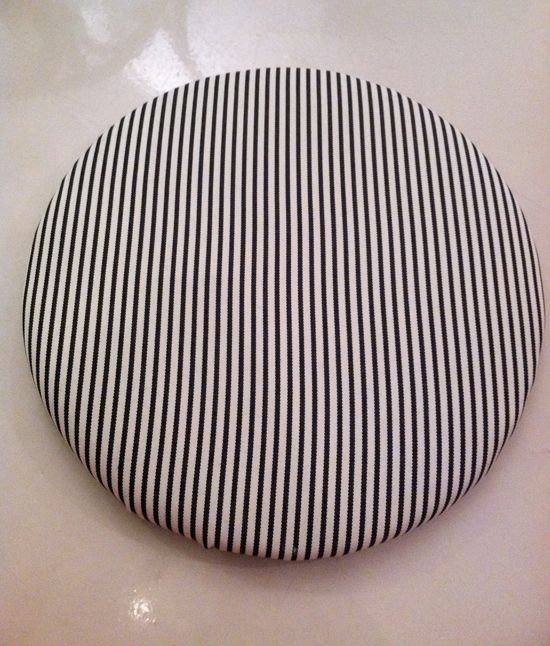
“I had two loveseats…also from 1970! Slipcovered them both in white duck cloth…am always switching out pillows. Art is a…well…bit of a problem in this house. I LOVE all of it…and collect too much. Building art ledges solved the problem of easily revolving my pieces. Mid century credenza…found at goodwill. 14 clams. This room looks into the library (with blue wall) if you look closely, you will see a speed bump of a great dane lounging on the linen slipcovered love seat. lovely. White chairs in the back are waiting to be upholstered into something else….just not sure what. Found them at Habitat for Humanity for like seven bucks each.
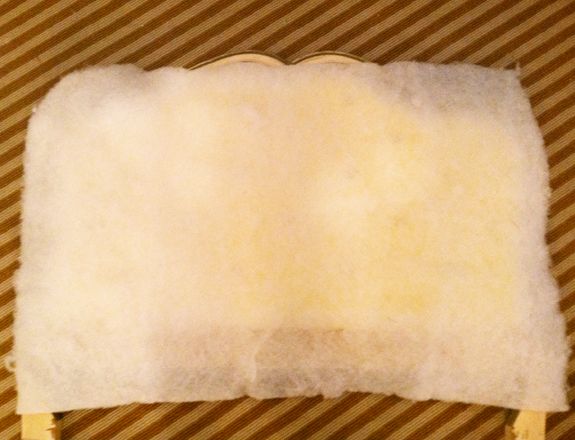
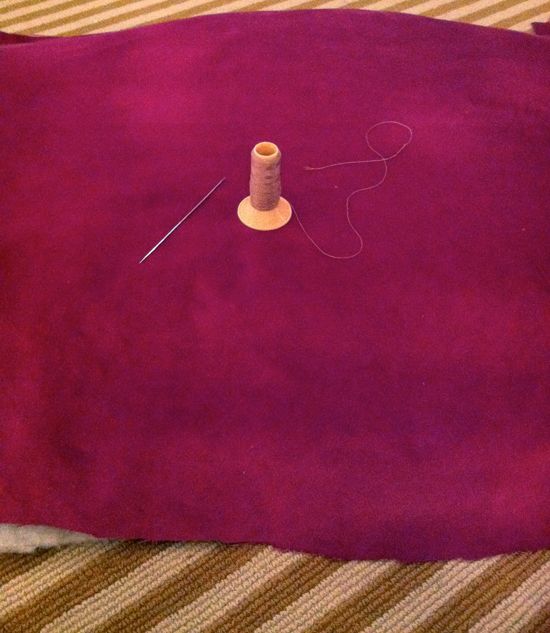
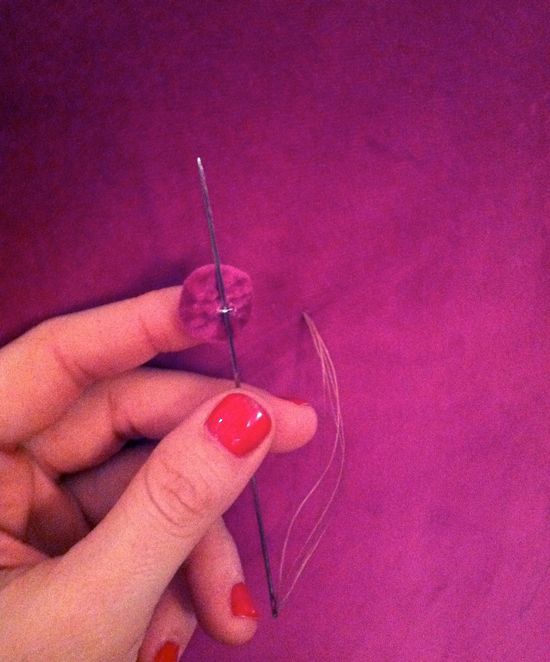
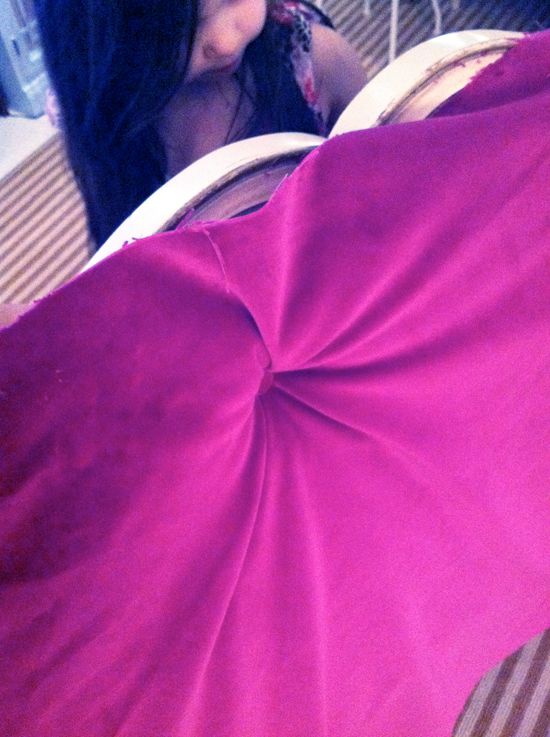
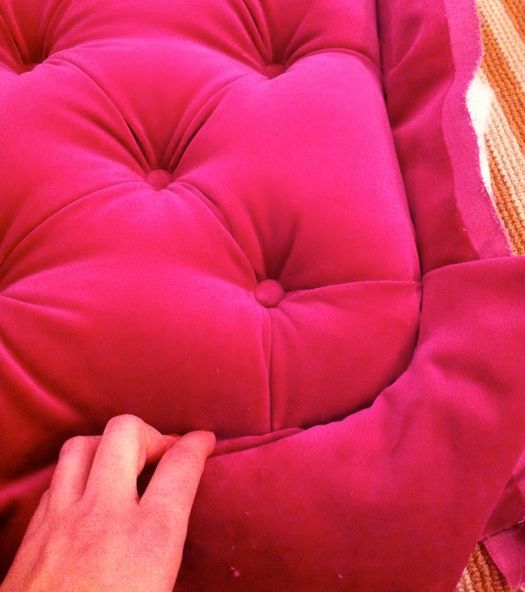
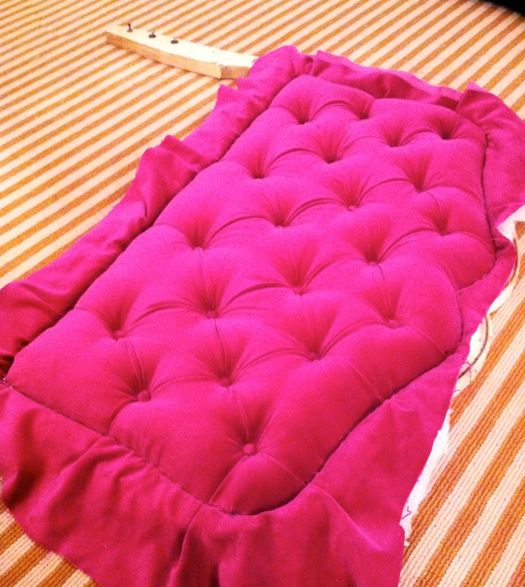
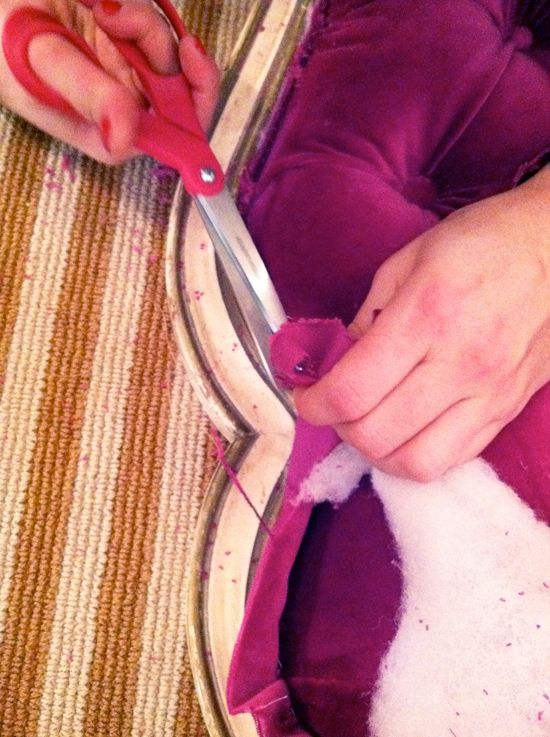
“In the foreground you can see the side of my lovingly named “big Ass Chair” I upholstered it…not so gracefully…but have come to love the uniqueness of it….and COZY…is it ever. The chair was a steal at 10 bucks. you can read a bit about it here . The beautiful and lively velvet is a Schumacher print…and believe it or not…I found it in a bin for 4 dollars a yard. Needless to say, I bought what was left (4 yards). It retailed for $395 a yard. Call me eagle eye. and lucky. Carving is from a Mexican artist of a mother and child with laundry on her head and a baby on her back. Story of my life. sigh.
“Turning around and looking into the foyer through the LR. More art on walls…many acquired at thrift and estate sales. The portraits I name….the guy is Buenaventura and the woman with the parrot on her shoulder is Paloma. I know…strange. I’m ok with it.
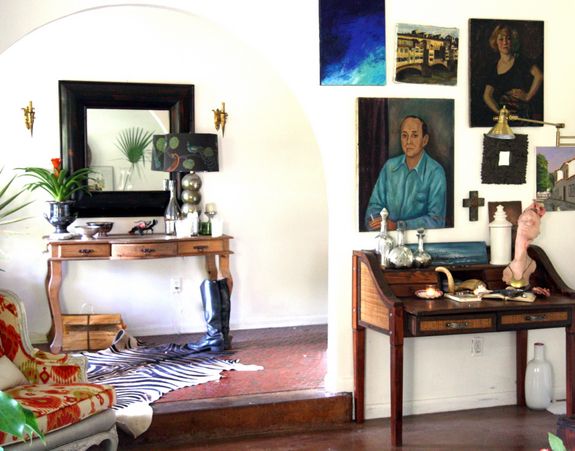
“A close up of the desk…collection of magnifying glasses, an old necklace display (paper mache) I found at a jewelry store when still in college. Some mercury glass, and an old steer horn.

“A closer view of the art ledges. I constructed them out of 1X4’s and molding. Halogen lights (on timers again) light the wall at night.
“And another favorite painting from Michelle Armas..


