I’m sure some of you already saw these photos on Joanna’s blog (and I just saw on twitter that Apartment Therapy did a feature too), so sorry for the repeat. This was such a fun (and very quick!) project Joanna, Kendra Smoot and I worked on together.

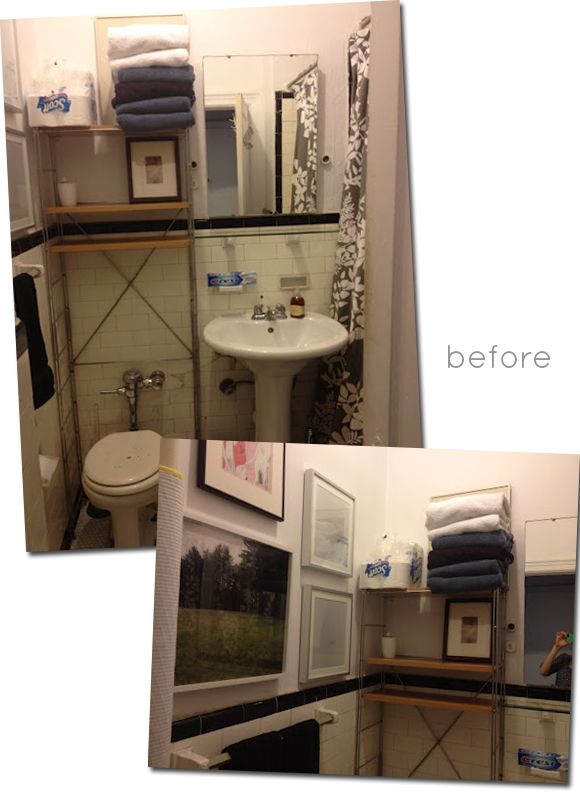
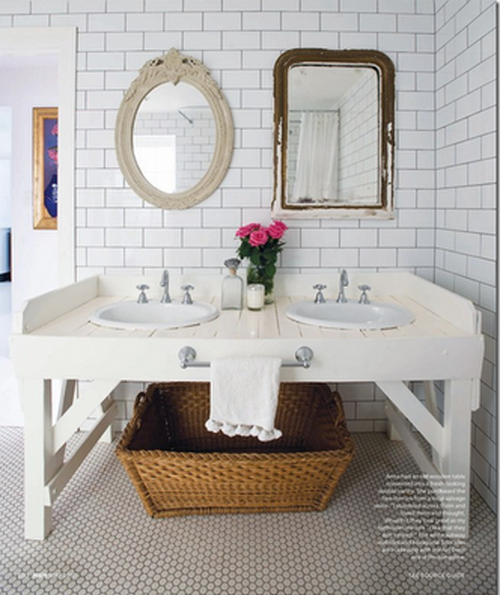
Joanna wanted an easy bathroom update. She and Kendra worked together to come up with a direction and I got to help with the execution. Here are the before shots. Such a dramatic difference, right?!
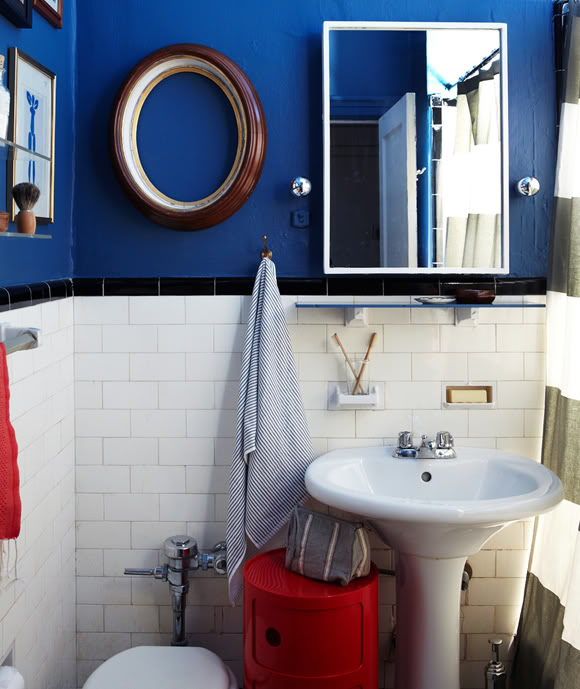
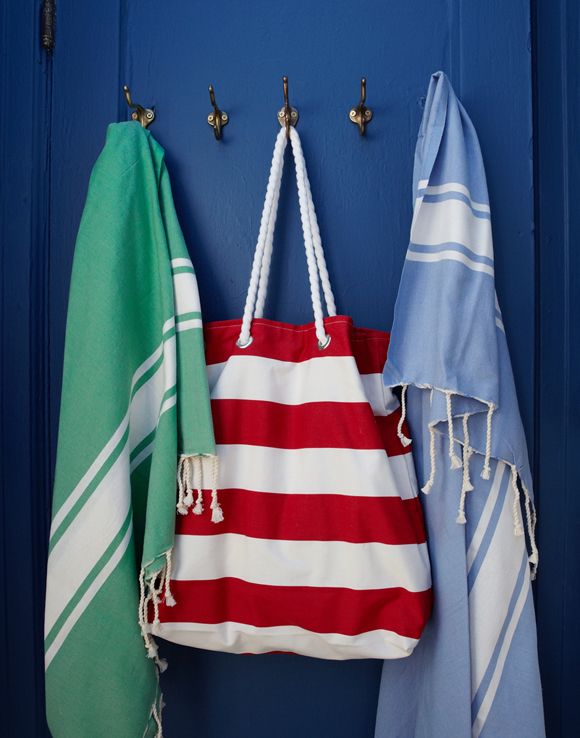
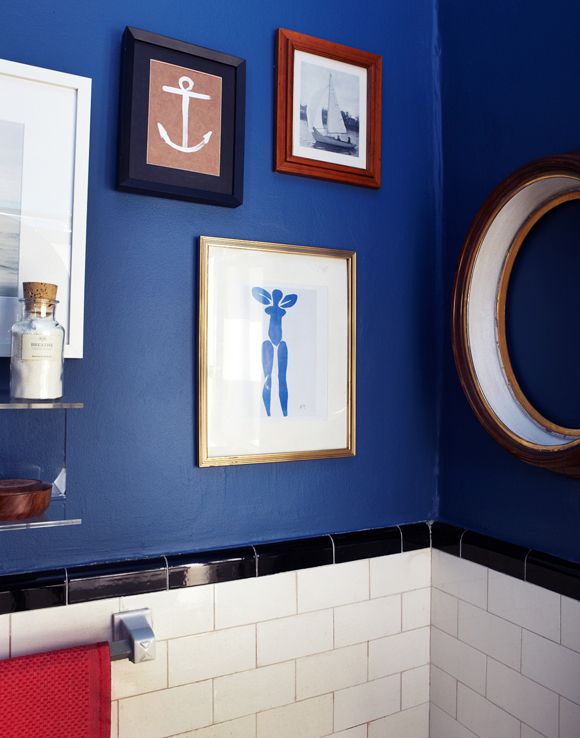
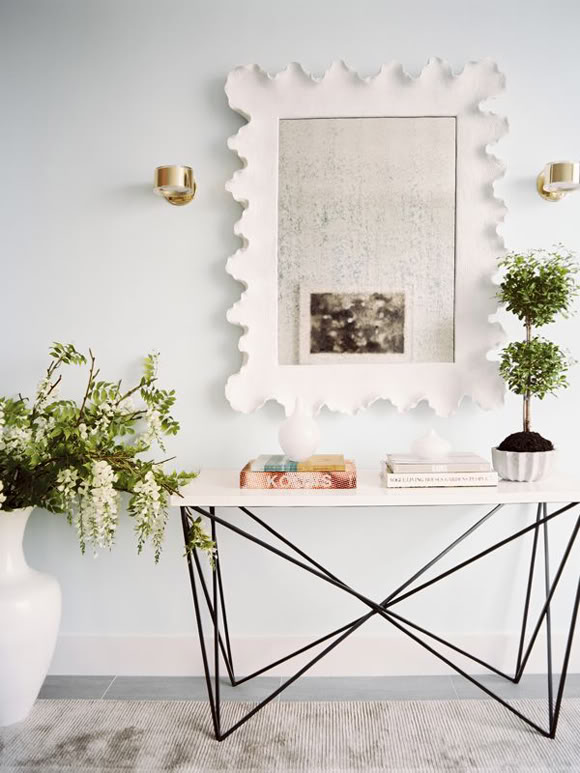
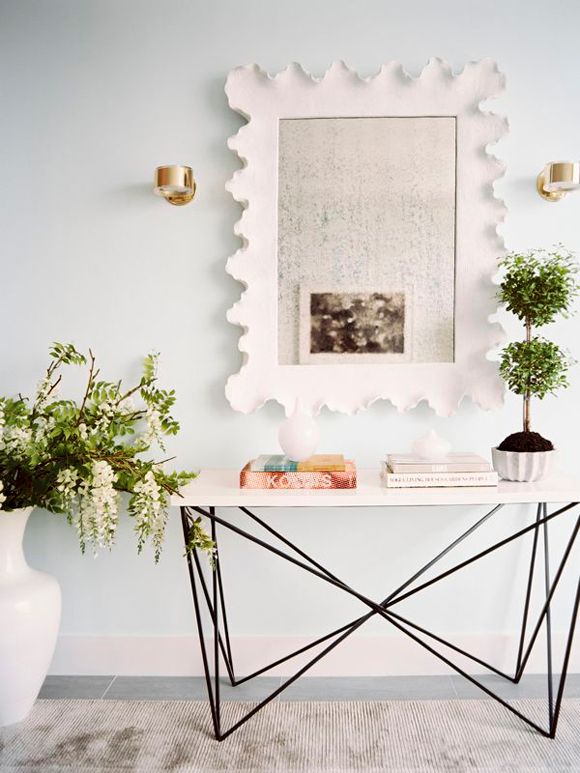
The walls AND ceiling were painted navy blue (the exact color was Ballard Blue by Valspar), which really helped the room both feel bigger and more cozy. We used a lot of brass accents, like these slightly mismatched antique brass hooks from the flea market.
I added white painted cube moulding to the fronts of the medicine cabinet using mirror glue and a little caulk. It was a super easy, 20 minute project. The framing makes the old medicine cabinet look so much more finished, don’t you think?
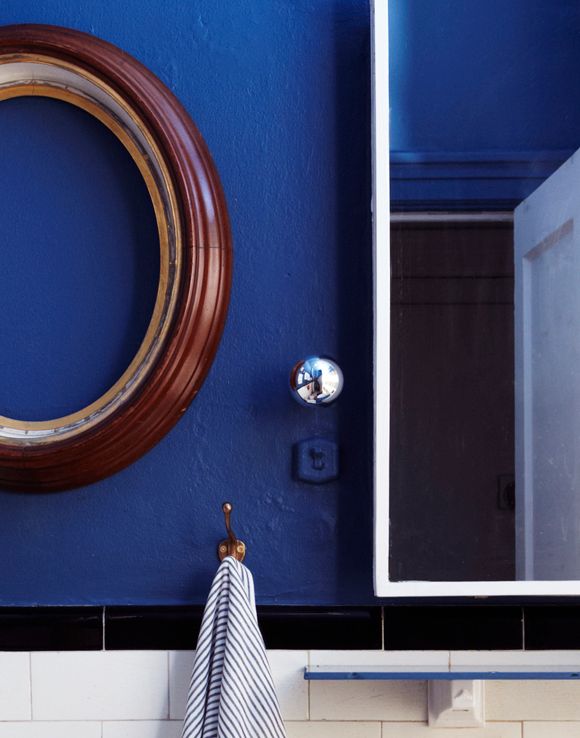
Last I checked there were a couple nay-sayers on the round captains mirror frame we hung to the left of the medicine cabinet. Some people thought we should have used the space for storage shelves, but I love the frame and there’s enough storage elsewhere. Plus, do you really want to see storage shelves first thing when you walk into a room? Me neither! :) And I really liked the idea of mixing of square and round corners on the frames. As soon as we hung it up I was like “Anna Spiro!” Remember her bathroom in Lonny?
I was originally wanting to to add mirror to the frame, but we all ended up liking the empty frame enough to keep it open. Gosh I love that frame. I found another similar one at the flea market recently and it will be making an appearance at our house I think.
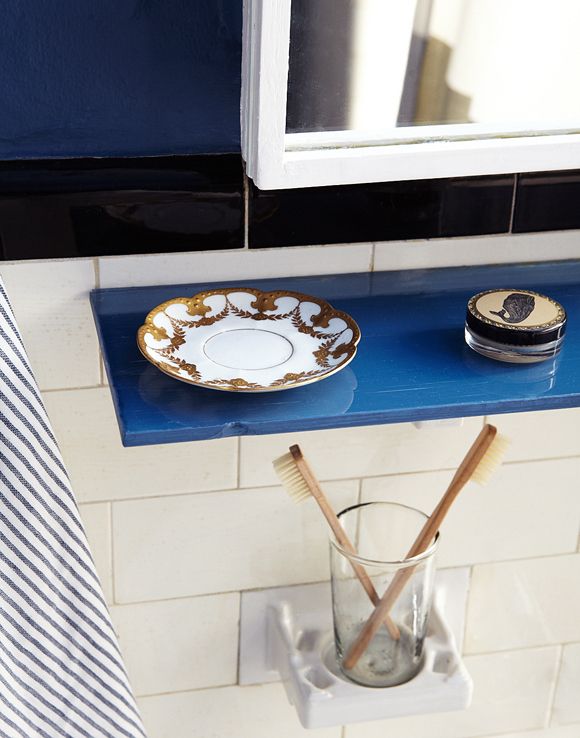
Another little easy project was painting the underside of Joanna’s glass shelf. Remember this post? It’s such a cool way to change things up without getting too crazy.
We wrapped the hot pipe (it literally gets boiling hot in the winter) with jute rope, which added a great textural element, but still allows the pipe to heat up the room, the way it was meant to – this way without burning little Toby’s hands. This was another easy project and there was absolutely zero glue required – just really tight wrapping.
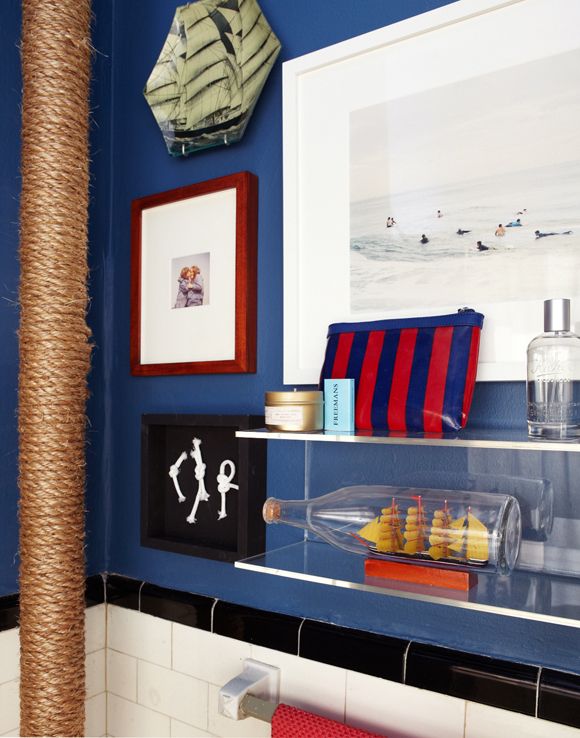
I think these $25 double acrylic shelves are so perfect for small spaces. I picked up two for our house too. Also, the artwork here (the photo with the surfers) is available at 20×200. I’ve got a fun giveaway from that site on the blog tomorrow, so don’t forget to stop by and say hi!
Thanks again to Joanna for letting me pitch in here. And a huge thanks to Kendra and Seth Smooth for the beautiful styling and photos.


