
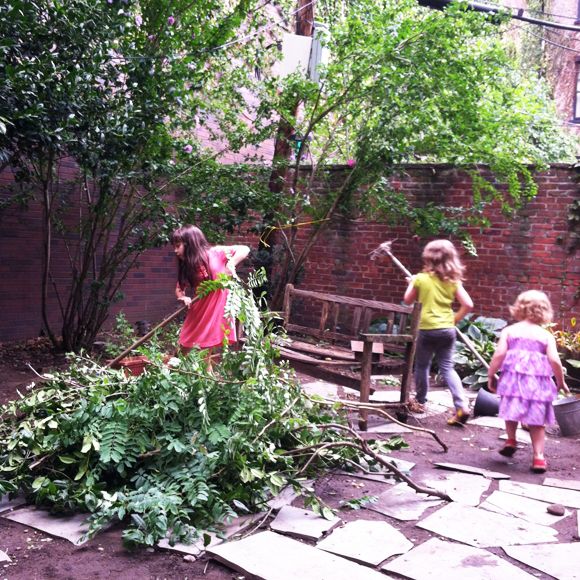
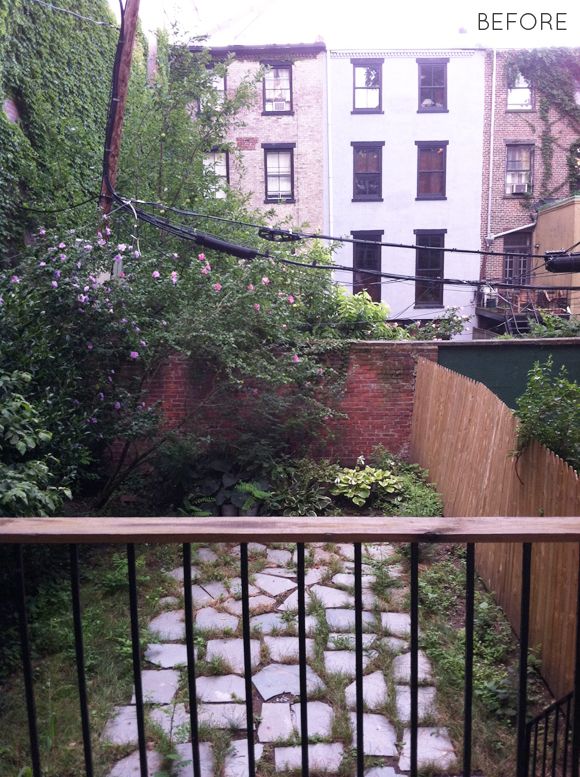
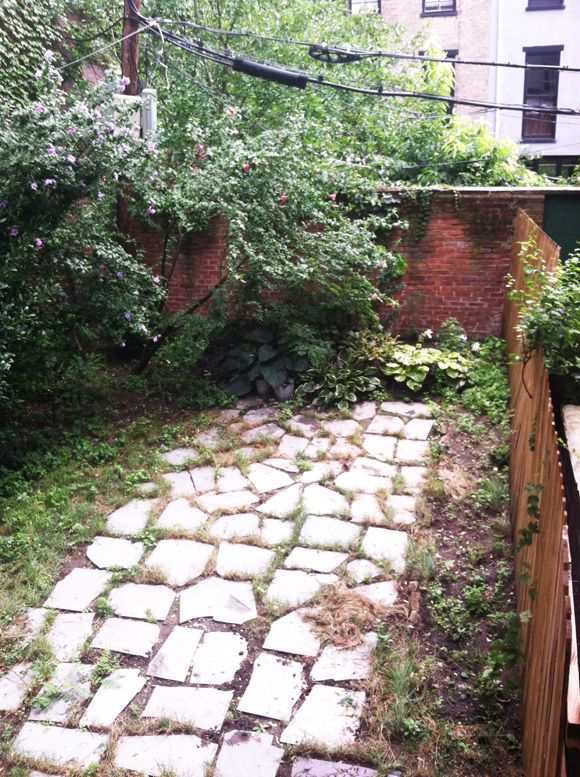
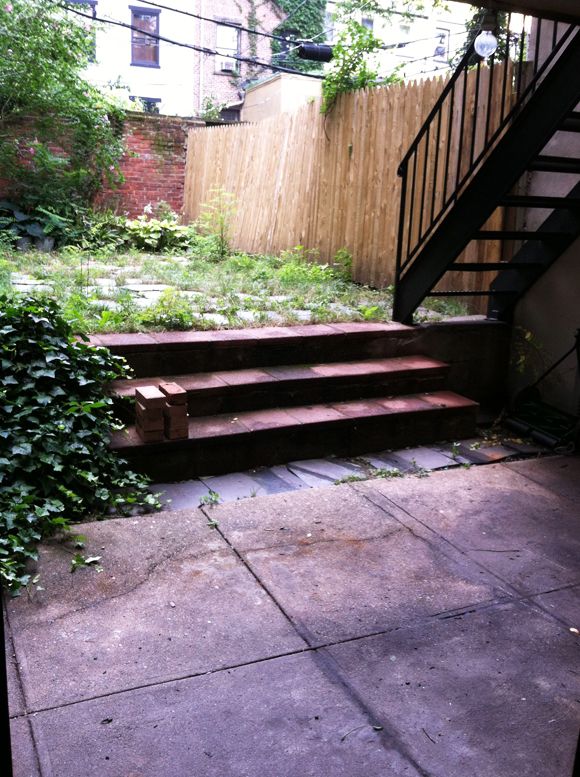
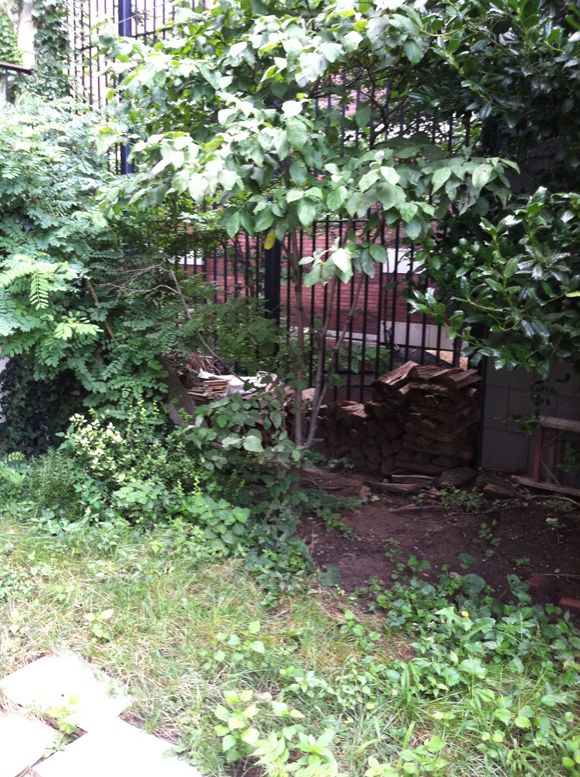
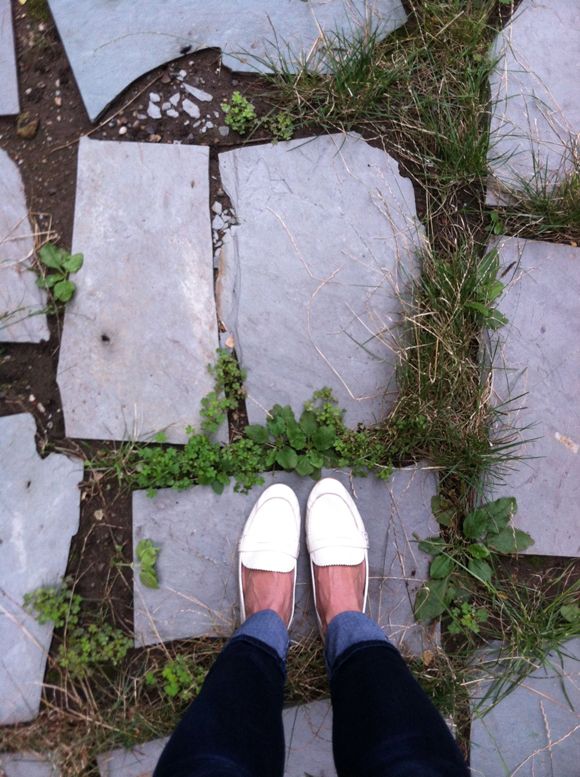
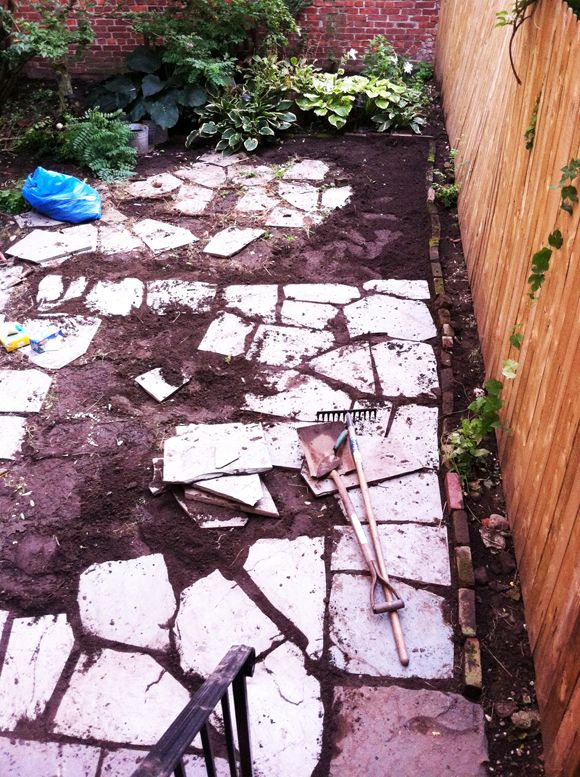
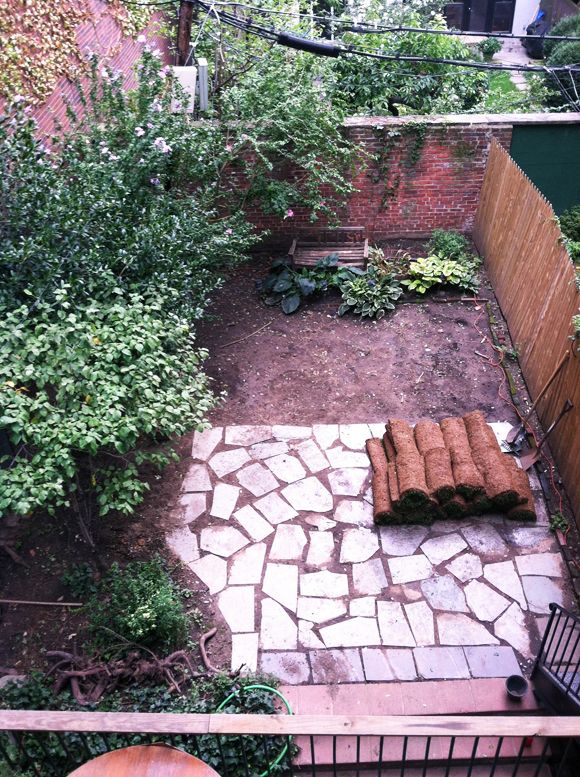
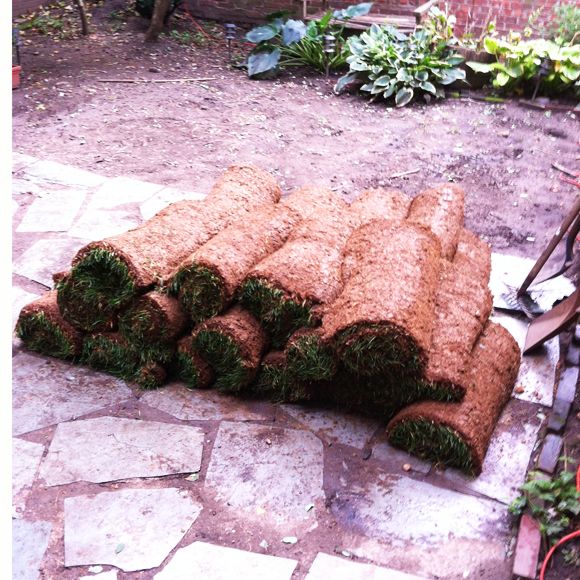
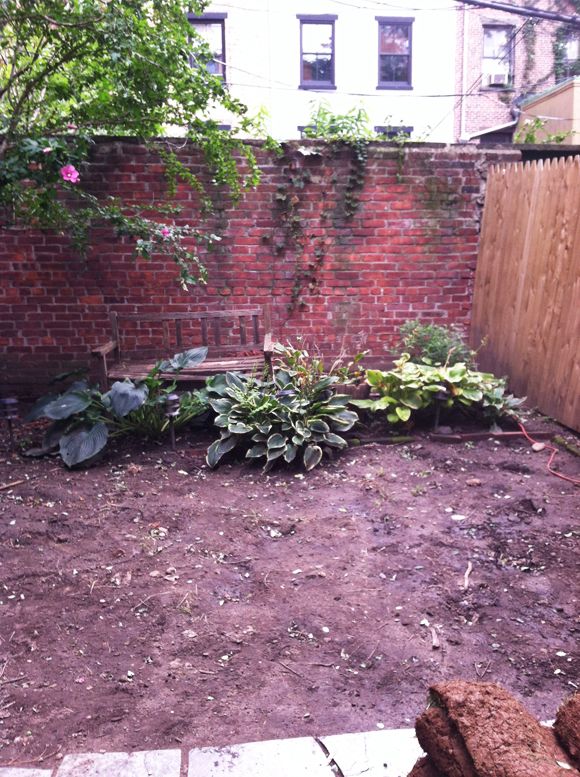
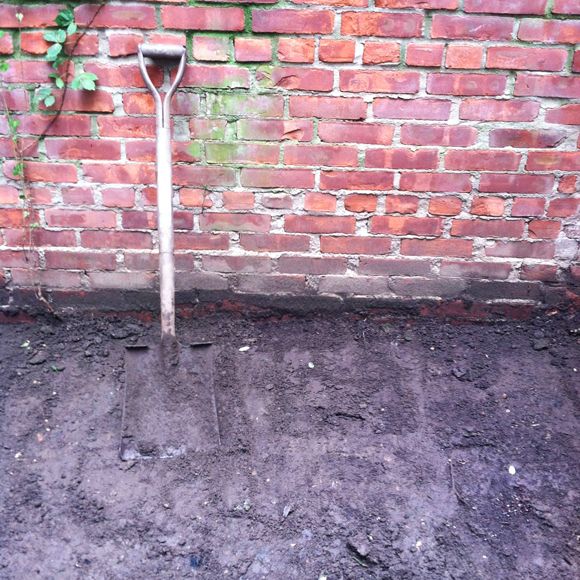
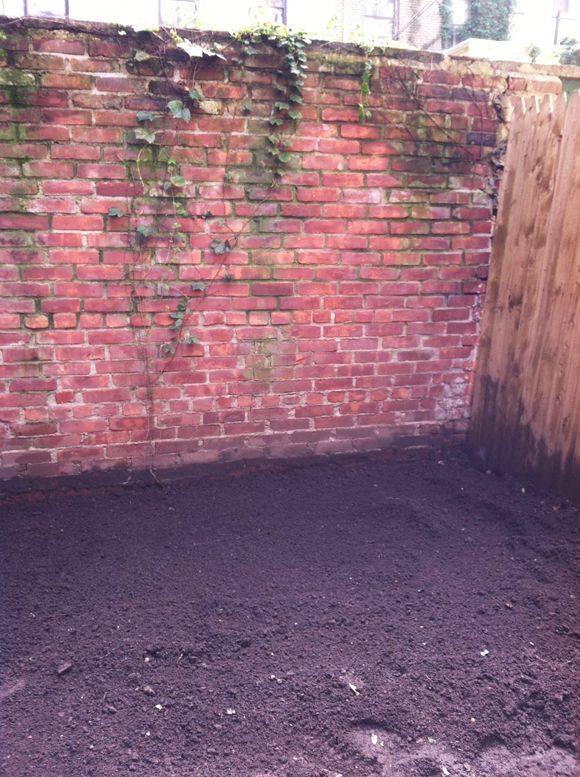
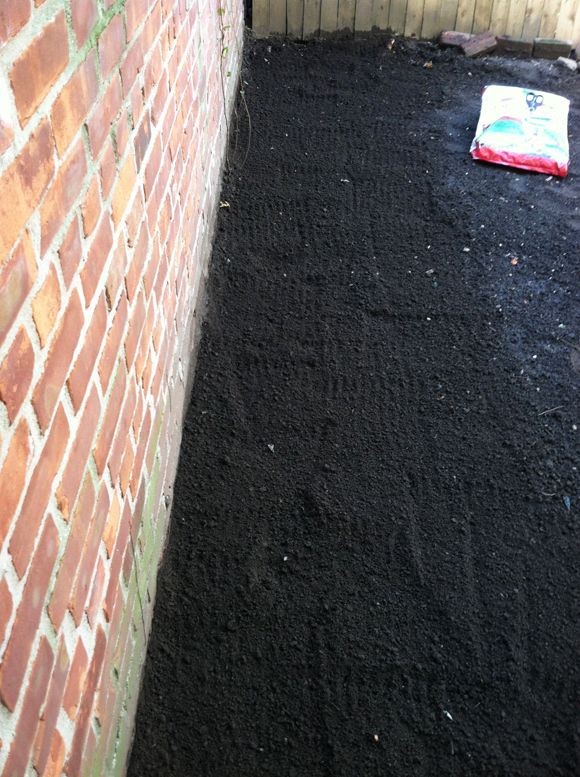
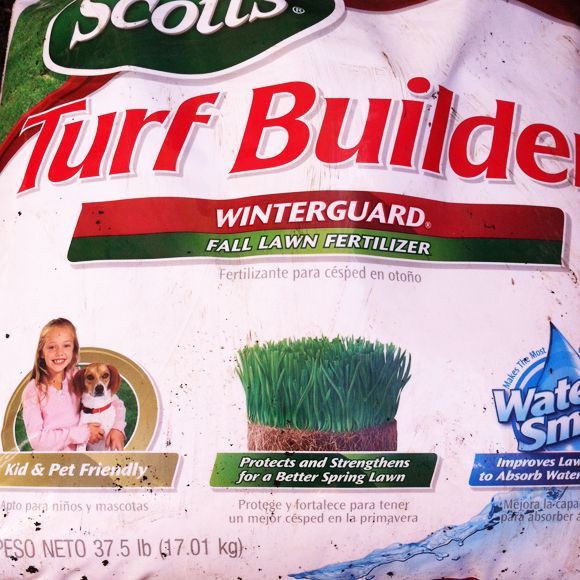
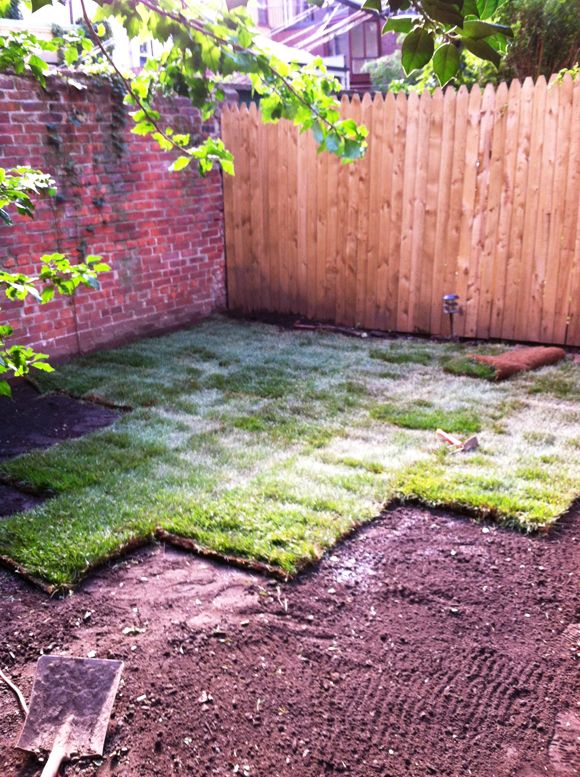
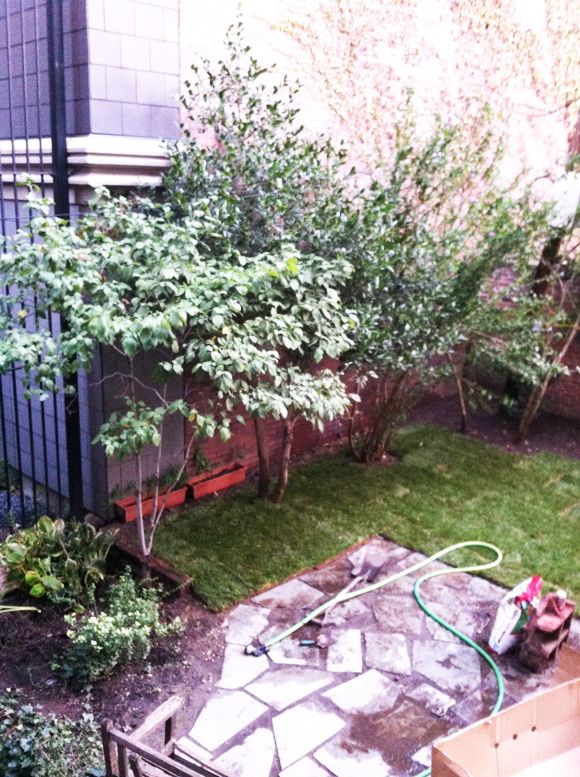
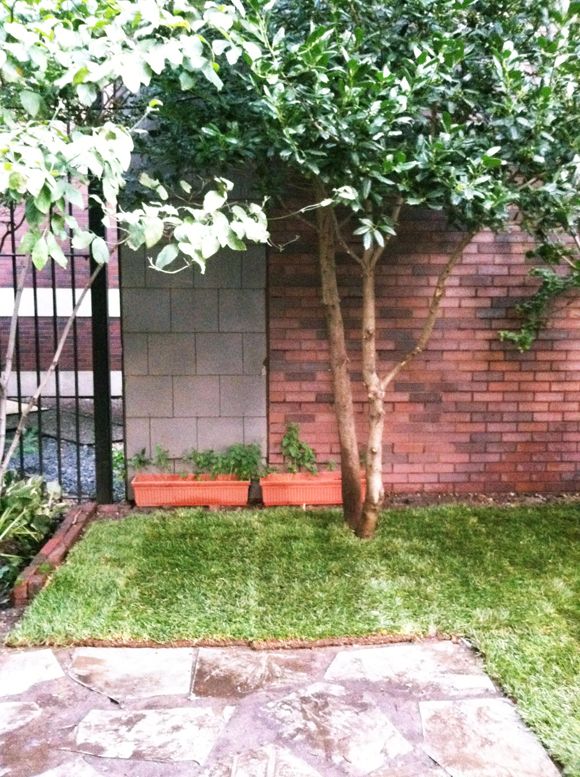
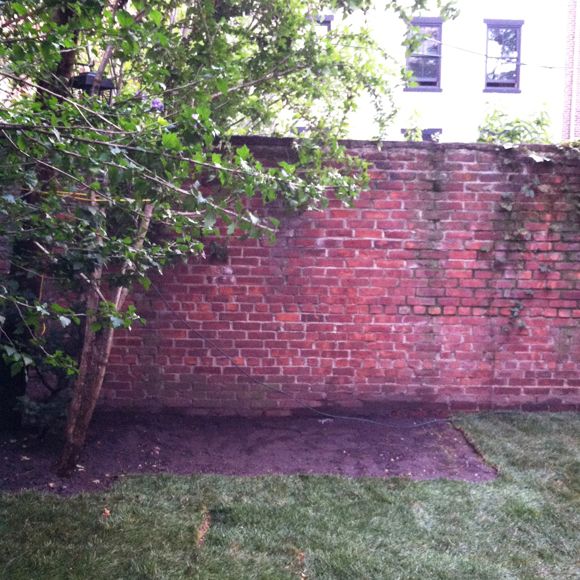
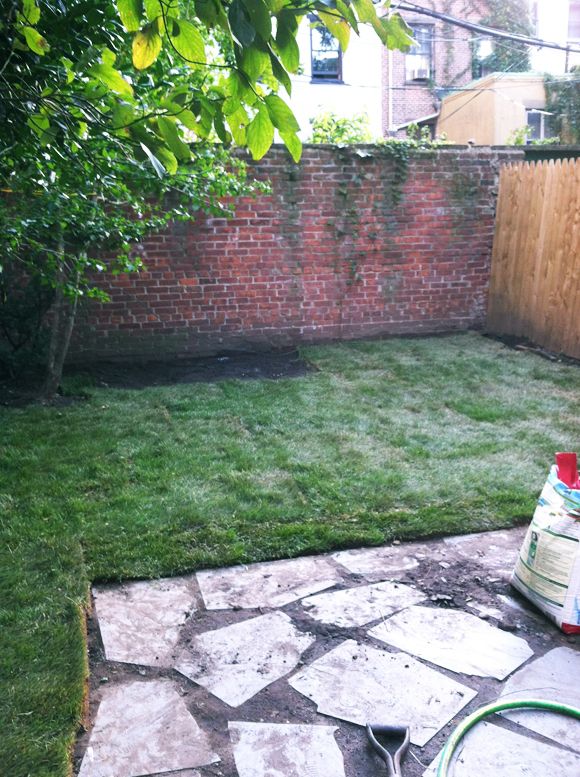
I started the draft for this post a while ago and never got around to posting it. Before I got sick we pumped out a lot of yard projects (photos to come!), and I had this post in the back of my mind when I made some of the plant choices. Here’s the old post…
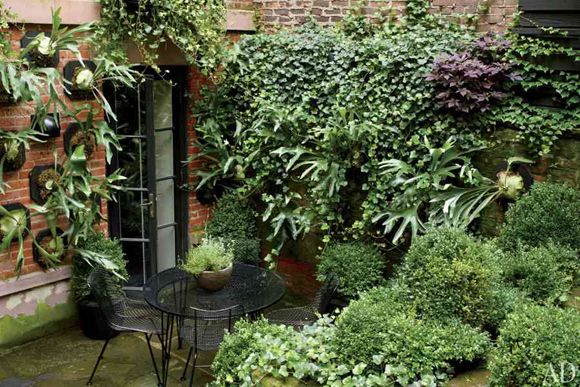
Someone commented here to remind me about Julianne Moore’s lovely new landscaping of her West Village brownstone. And then I was chatting with the lovely Joslyn (who was on the SF trip last weekend) about how awesome her yard is. Simple. Artsy. Pretty easy-care. This might be the right approach for us busy ladies.
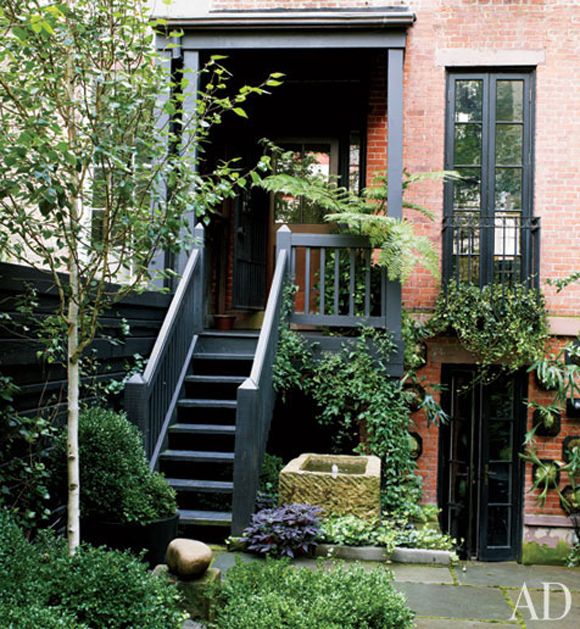
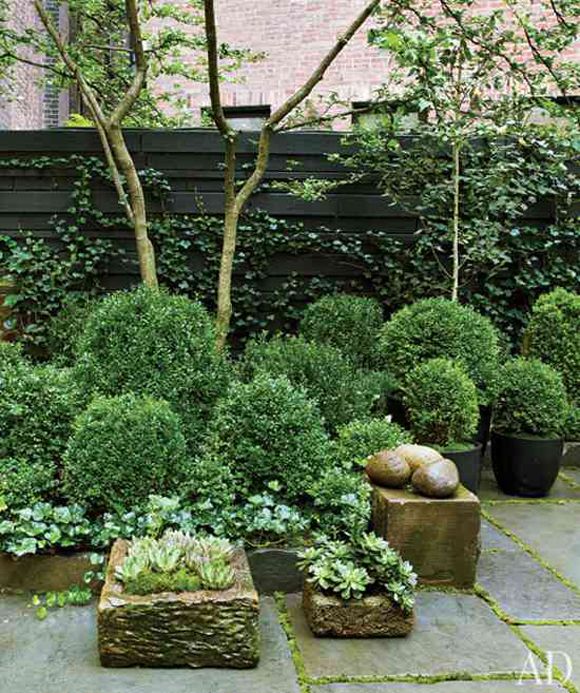
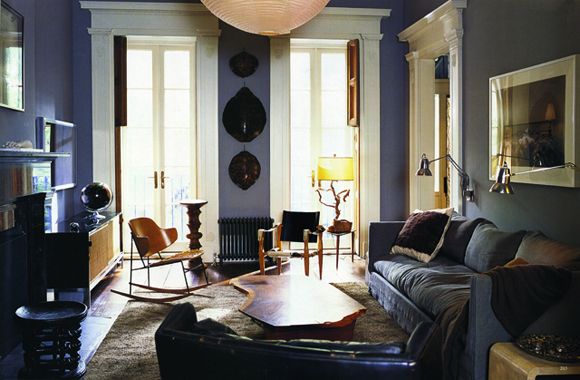
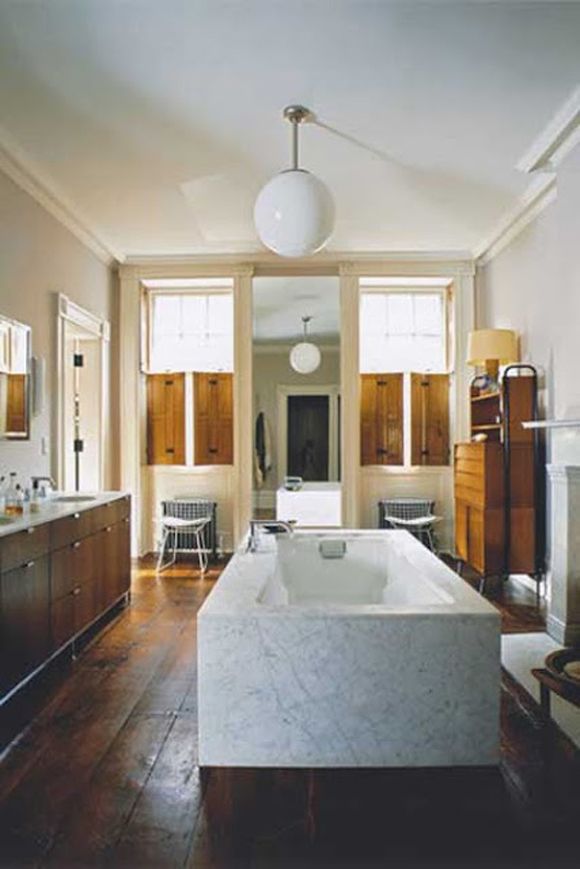
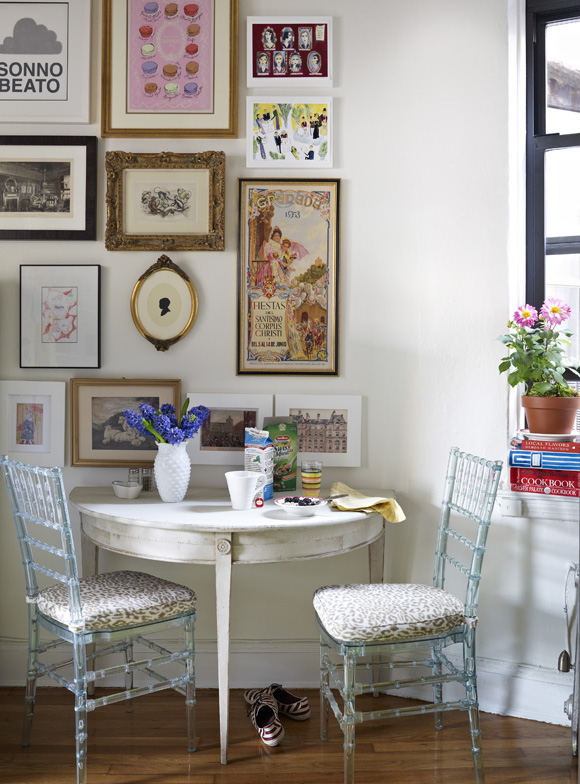
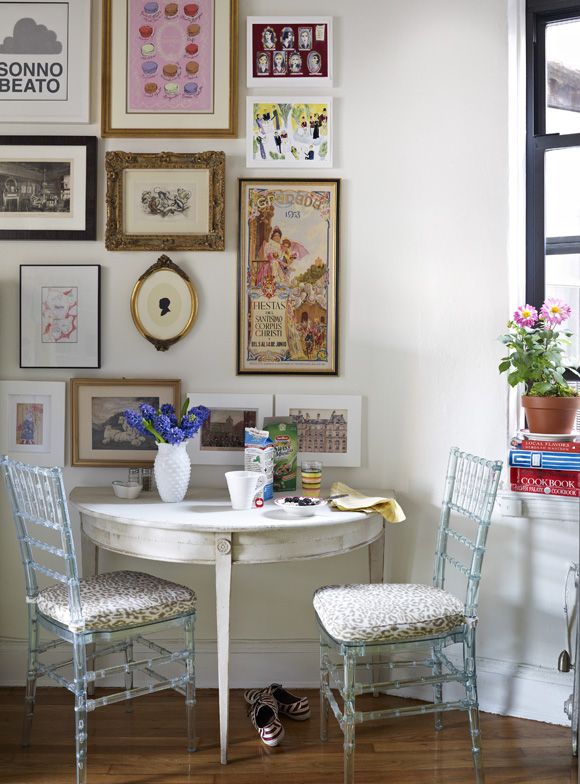
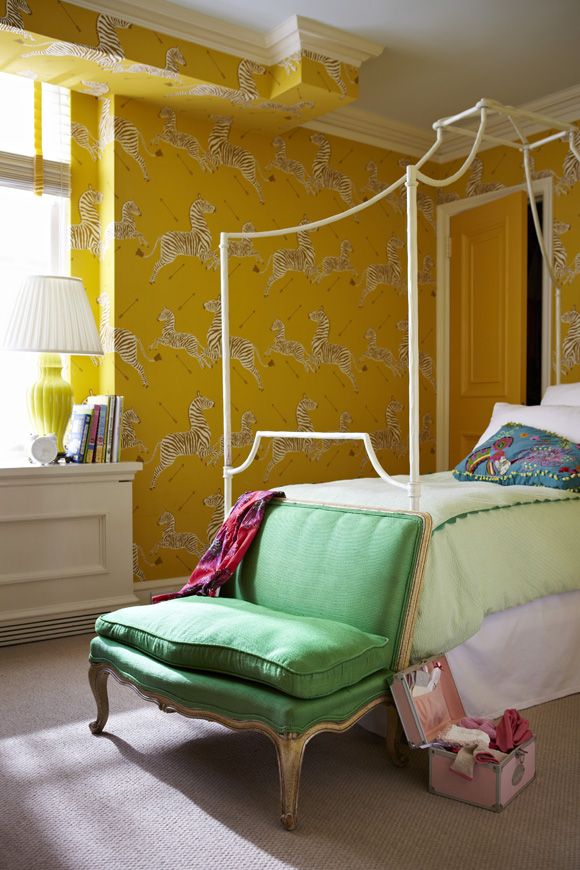
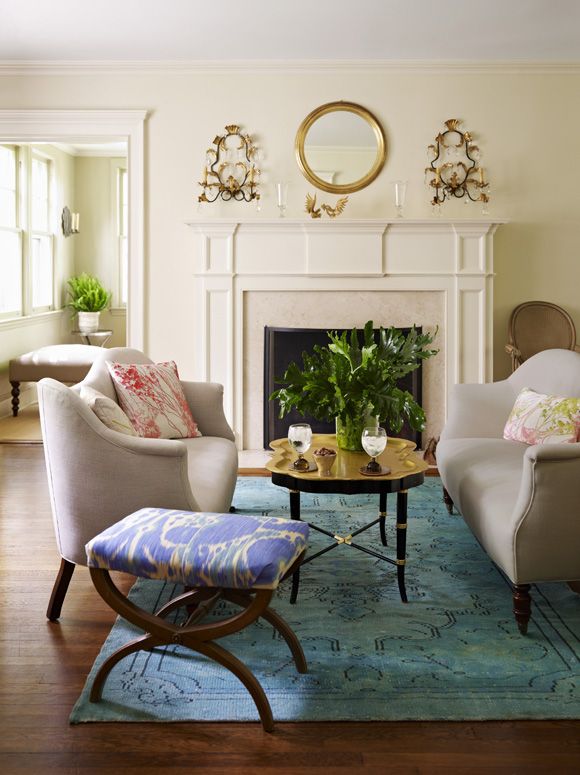
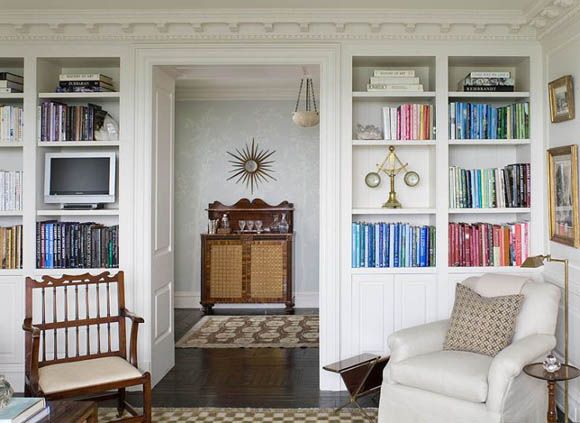
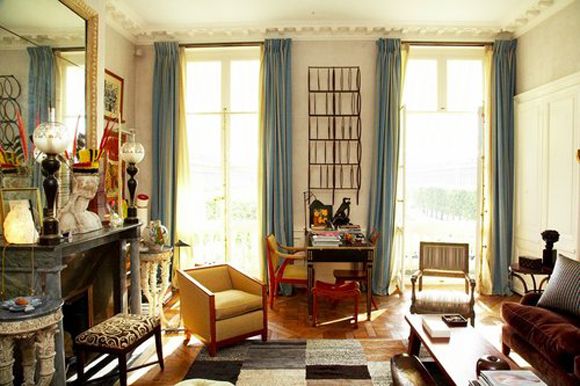
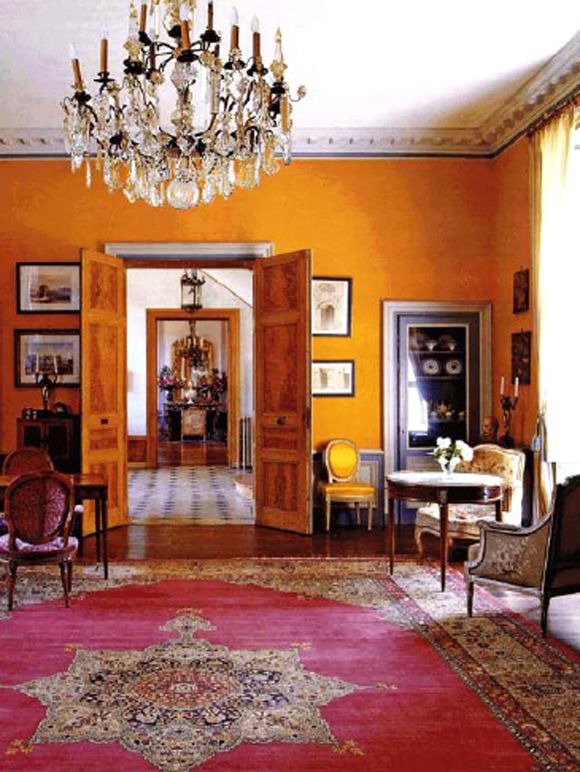
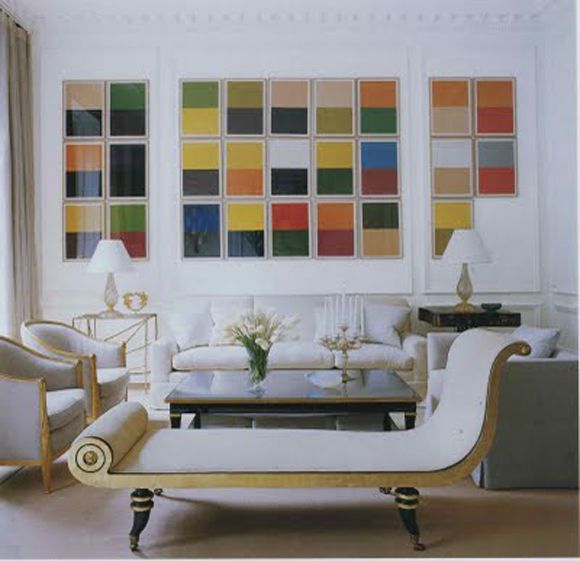
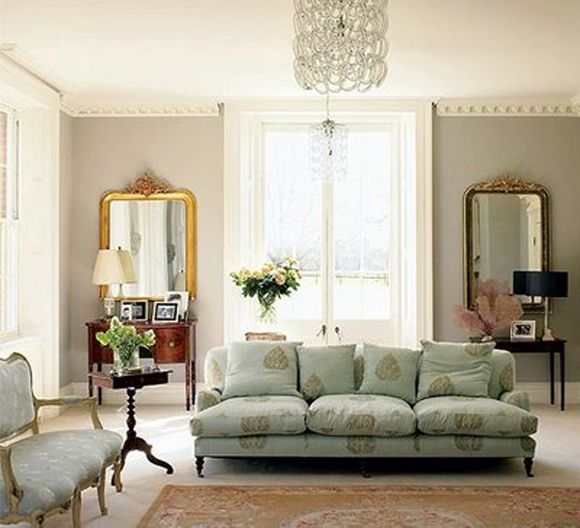
So I pulled up the article from Arch Digest on my flight home Saturday night. The photos really are cool (Her whole house has a great vibe – I’ve included photos from other shoots here, too).
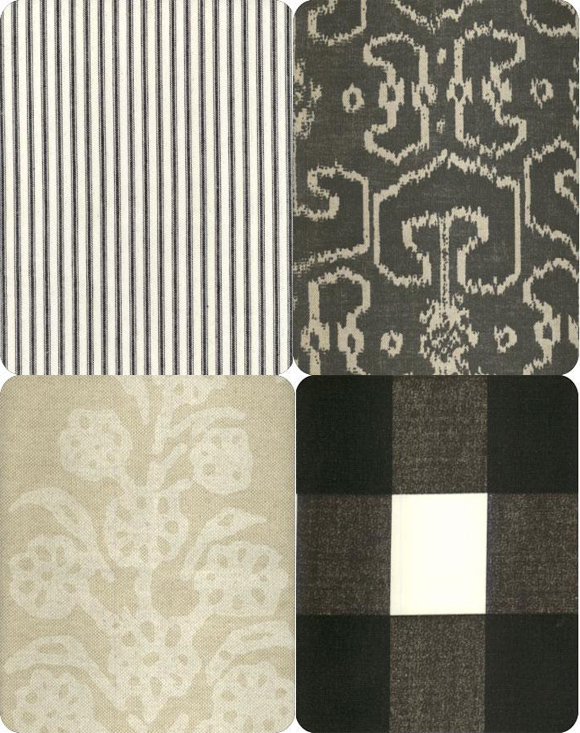
I was super fascinated with this part of the article where Julianne mentions that she only wears and decorates with a handful of colors. She won’t buy it or bring it into her home unless it’s white, black, gray, green or purple. At first I was like…huh. But the idea has stayed with me all weekend.

Wasn’t it was Matisse who talked about how the beauty of art comes from the struggle of an artist and his limited medium? I think the idea works in designing a home.
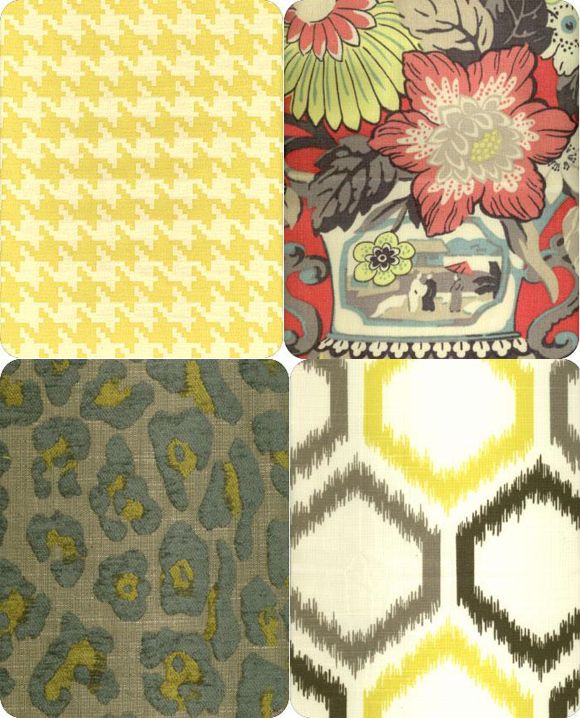
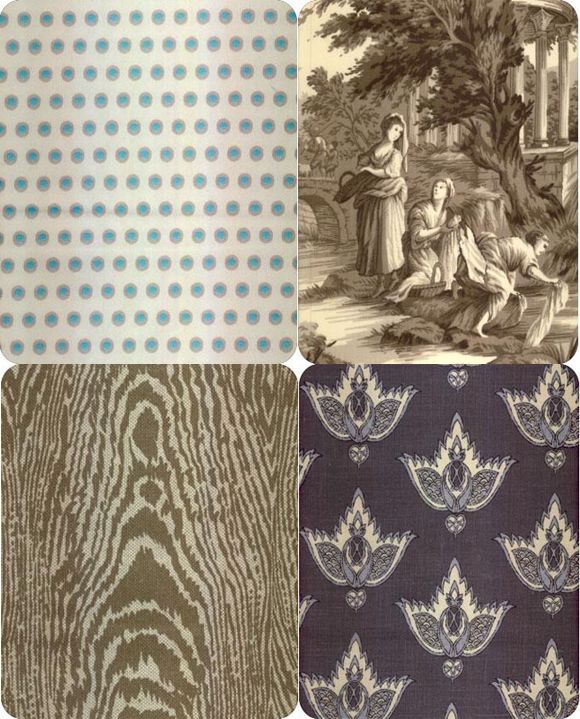
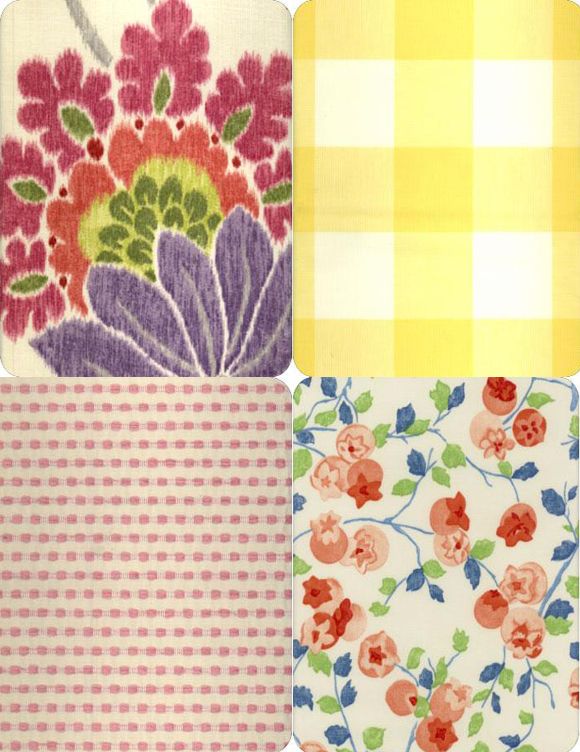
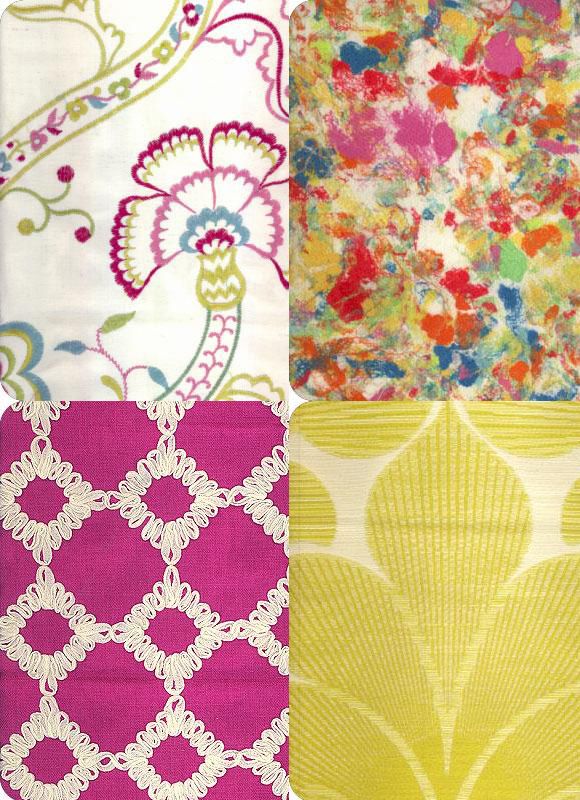
As a decorator who usually uses a lot of color, I think I’m making my life harder by not limited my color palette a little. When there are infinite choices, it’s easier to make a misstep.
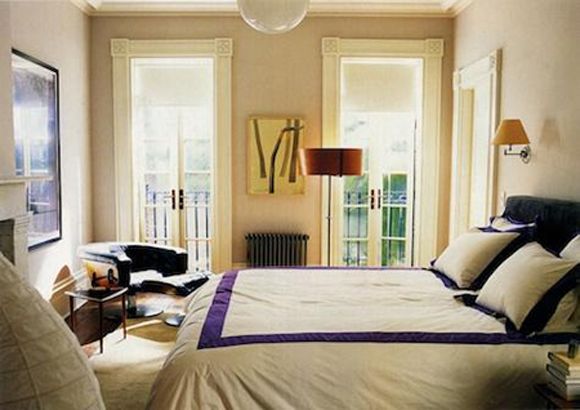
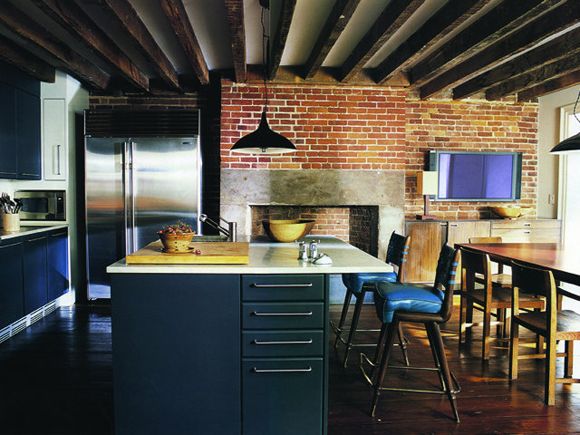
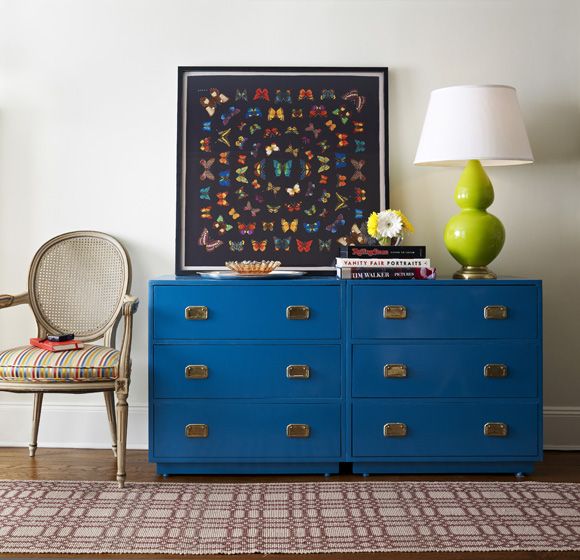
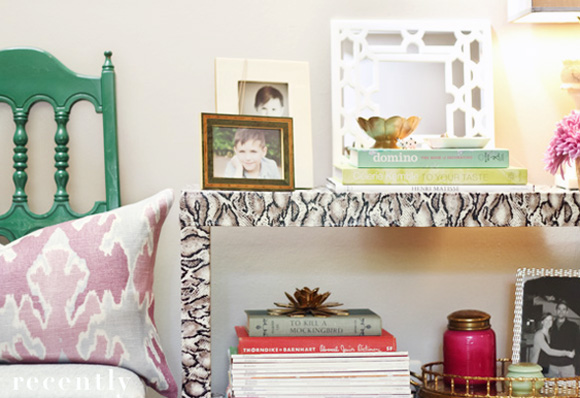
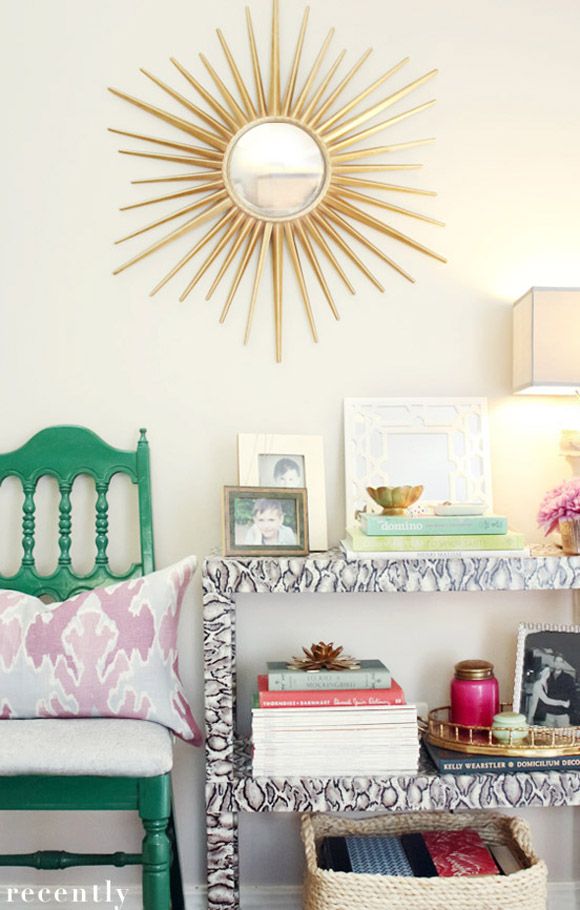
Although, let the record show, I am not usually in favor of matchy-matchy rooms and I think what we’re talking about is a very different approach. The key here is to vary the shades and tones of similar colors. Use peach and tangerine colors rather than the same bright orange on every accessory. Try mixing sky blue with cobalt. I doubt Julianne’s house is filled with the exact same shade of plum over and over again. It looks like she mixes plum with dusky gray lavender and deep burgundy, which feels lovely and warm.
What are your thoughts about limiting the color palette in your home? Do you love for things to match in your home?


