

I always think it’s a good idea to go out of your way to do or buy things that help you stay more organized and on top of your life. We’ve been chugging right along with these home projects, but for the past couple of weeks, the office has been a bit neglected. It’s frustrating that we finally have a dedicated, more private space to use as a home office, and we weren’t really enjoying it! Earlier this week I took a stand and started decorating without any forethought. It was actually really fun to just work with what I had on hand.
One thing that I decided I really needed and wanted this go-round was a calendar whiteboard, but just for my blog posting scheduling. It’s so helpful for me to plan out posts this way – it helps keep me on top of projects.
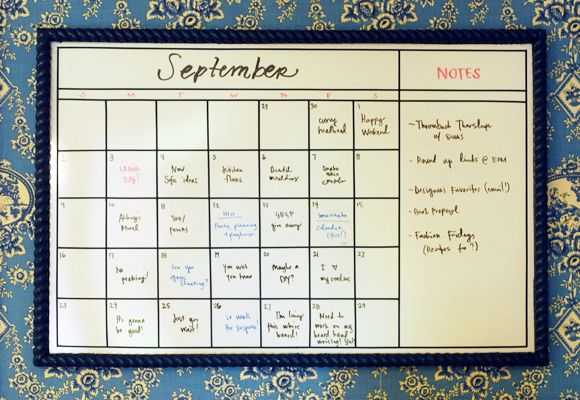
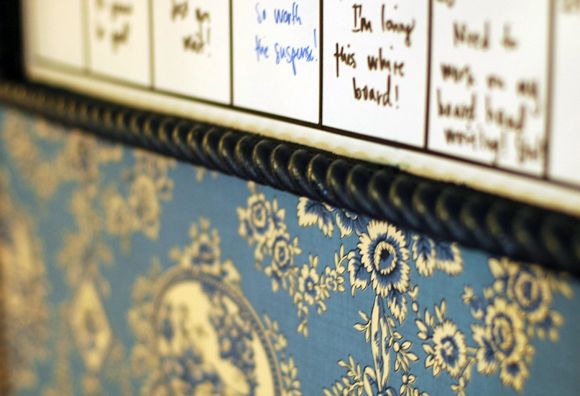
I looked around for some simple pre-printed calendar whiteboards and there’s not much of anything I liked, so I decided to make my own. I used this whiteboard and it is really good and incredibly cheap. I also used two rolls of this tiny chart tape.
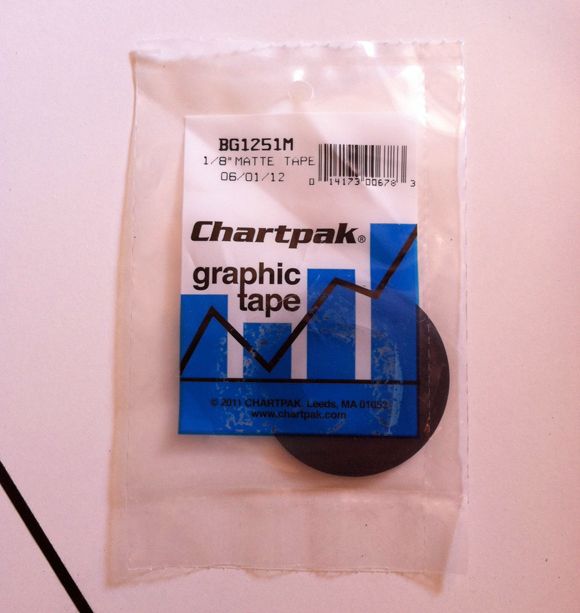
It’s 1/8″ wide and it’s super easy and really fun, actually, to work with. I had grand plans to mark everything out and use leveling tools, etc. But the tape sort of took over before I had a chance to be responsible about the thing! It’s just so easy to use, I ended up eyeballing it all! Cutting small strips of tape to help mark out the spacing first helped a lot.
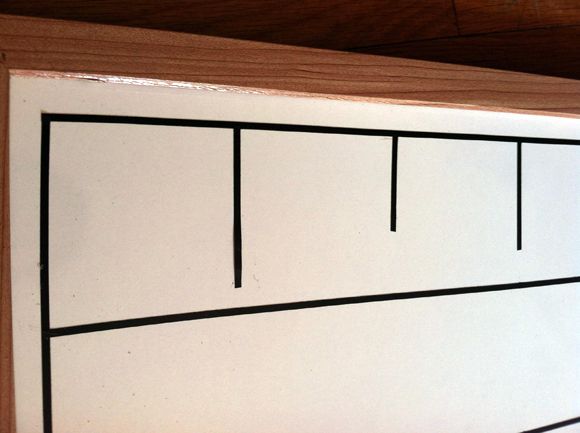
It’s not perfect but I don’t mind. The tape is totally repositionable, so I can fix it later if I want to.

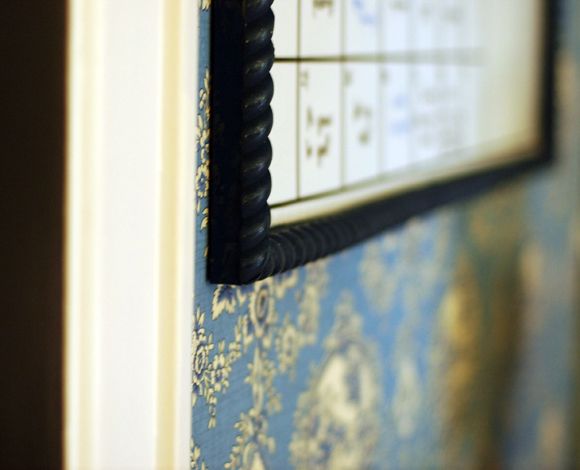
I like the way the tape turned out (I wanted the design there to be very simple), but the frame was sooo boring. I had my miter saw and my brad gun handy from all the moulding we’ve been adding in other parts of the house, so it was easy to add trim to the existing whiteboard frame. If you don’t have either of these tools, a hand saw and some finishing nails work just fine! I used the pretty rope moulding I’ve always loved.

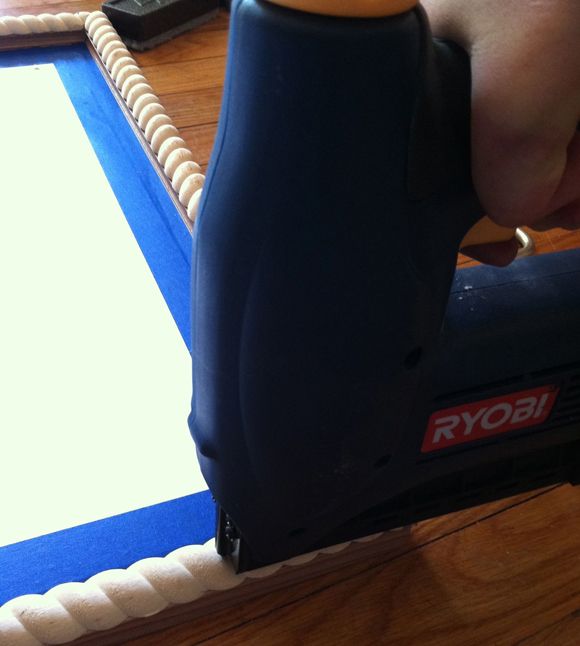
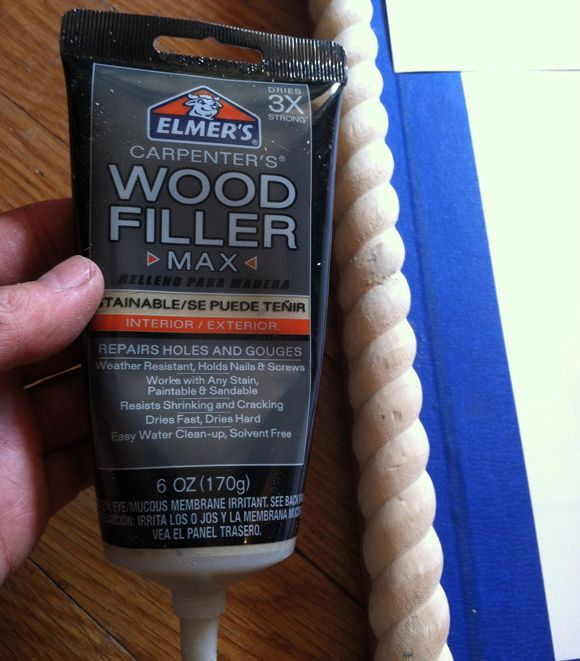
Once the moulding was cut and nailed, I filled the nail holes and corner gaps with this amazing, new-to-me wood filler. It is thicker, and just plain awesome. Recommend!
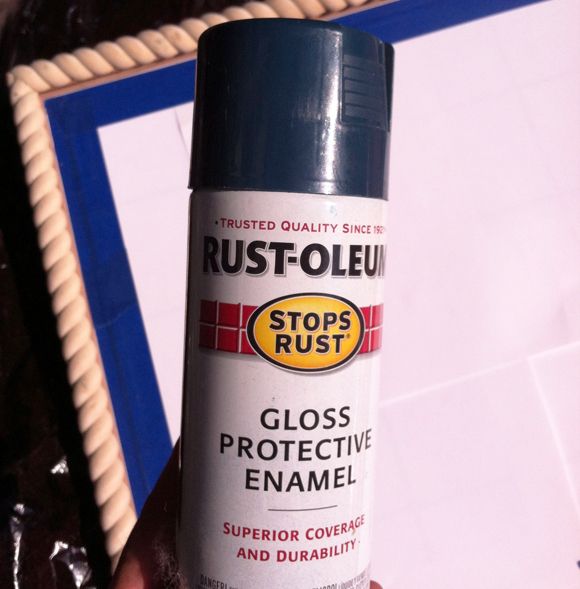
I sanded down all the trim once the filler dried, papered and taped the whiteboard, and then sprayed the frame with one of my favorite spray paint colors – Night Tide from Rustoleum. I’m sad it keeps looking black in all these photos. In real life, the color is a moody, deep forest/peacock blue color. I love it.
I let it dry and off-gas for about a day and then hung it up in my newly spruced office. I’m feeling 100% more organized already.
Going forward, all I have to do each month is fill in the date numbers, and then brainstorm what posts will go live when. It’s so helpful to have the reminder up on the wall where I will see it every day. I’m such a visual person that writing to-dos and seeing lists in front of me is pretty much a necessity. I’m thinking of making one for the girls room, too. I know they’d get a kick out of keeping track of soccer games and ballet practices.

What do you do to keep your family or your business organized?


Thanks, friends! I'll be sure to share the other projects in the room too! The wallpaper is old – from a Brunschwig sample sale a couple years ago. Got it for $3 a roll! It's cute.
The table is a DIY! I wish the color was translating better. It's bright neon pink! I need to take photos in better lighting for the tutorial post.
Yellow bag is also neon – from Shoemint.
Have a great weekend! xx
I love that table!! Source?
WOW!! The white board is amazing, but that office is seriously teasing- details soon I hope!!! I'm so inspired by you, I am going to do a small DIY this weekend on a side table :)
Love this idea – I'm really really in love with …everything – about this photo, though! (the door, the wall covering – the bag -the shoes – the table!) You are so so good, Jenny!
This is fab, as ever, and leaves me itching for your house tour. I am dying to see how your kitchen is coming along, please photos soon!! You are so inspirational – keep it coming Jenny :)
I live by my whiteboard … but holy moly WOW!! to this sneak peek!!! Beautiful… ~Nicole
i'm with everyone…great project and wanting more details about everything! (that TABLE!!) :)
totally thought this was a pinterest photo until i saw all the DIY instructions for the white board. LOVE it! Can't wait till you share all the details – especially that awesome table and fantastic wallpaper!
great idea! It look just great above that great metallic stand. I want it!!!!!!
laura
Love this DIY Jenny! The rope trim is gorgeous! Can't wait to see more pics if your office!
Check out my blog for a pillow giveaway! I used your envelope tutorial to make these pillows!
Wow! The calendar board looks great especially against that beautiful wallpaper. I just might have to steal this idea. However, what I eally want to know is where did you get your yellow purse that is sitting on the floor?
The white board is great, but I have a serious crush on that table! Hope you'll give details soon. And where on earth is the lamp cord? Did you tuck it away for the shot? Is it invisible? Is the lamp battery powered?
GORGEOUS! I'm with the others who are stunned that this is your "just decorated" office. Question though–what kind of brad nailer is that? I have a bunch of trim projects calling my name and I've decided that a brad/finish nailer is in my future…
Amazing picture! Love the table (do tell!), black door, wall paper, everything!
Very nice, looks like the whiteboard version of my DIY chalkboard calendar… even down to the "Notes" column on the side. Check it out if your interested: http://laurie-freshpicked.blogspot.com/2012/08/diy-chalkboard-calendar.html
-Laurie @ Fresh Picked
I love this project, and I am loving the space that it is in. That table! So great. Dying to see more of your new home :)
I love how you dressed up an everyday-usually-ugly item and turned it into a piece of decor. I never would have thought of this. Thanks for the inspiration!
The DIY board is great (!) but , wow, love the wallpaper and that red table! Can't wait til you post about them.
Whoa Whoa Whoa – what about the ROOM? Did you put up the wallpaper? Nonchalantly talk about the whiteboard when I thought the room was from a magazine! You are very talented.
you are so cute. "so worth the suspense." i really was straining to see what you had written up there.
and your wallpaper!!!
there is a lot of awesome happening in that photo…i am going to go back to it and drink it in a little longer. :)
Beautiful! I agree with everyone else…the white board is great, but I love everything else in the photo. What is the source of that gorgeous wallpaper?
Love the peek into your office, and the eraser board idea is fantastic.
Please share more details of your office, pretty please!
Liz
Yes, please share more info on the room. The table, wallpaper, etc!!!!!
Thanks, friends! I'll be sure to share the other projects in the room too! The wallpaper is old – from a Brunschwig sample sale a couple years ago. Got it for $3 a roll! It's cute.
The table is a DIY! I wish the color was translating better. It's bright neon pink! I need to take photos in better lighting for the tutorial post.
Yellow bag is also neon – from Shoemint.
Have a great weekend! xx
Wow! Definitely amazing. I really love the project. I will surely make on too. Great job! http://www.ecarport.com.au/
I love how you're playing coy with the messages on the calendar. You are thorough, that's for sure. Lovely vignette lady.
I AM OBSESSED WITH THAT WALLPAPER. I never comment (let alone in caps), but this post just really spoke to me. That table is amazeballs too! You are awesome!
That table is super amazing!!!! Is that fabric on the walls? We've been struggling with organization recently, old methods aren't working as well. Thank you for sharing!!
xx. Patience
whitelacquer.blogspot.com
I've been looking at that rope trim for a picture frame. I may have to go for it after seeing how fantastic yours turned out!
Such a great idea! I've seen these before in stores but they've never looked so good!
Loving that table too! I need to know how to make it!
I really love this… but can we get a tutorial on how to style our entry way like that!?! AMAZING! :)
Looks great. I have a tip to share. If anyone marks on your board with a Permanent Marker don't despair. Go over the permanent marker marks with a dry erase marker and then wipe it off. You may have to do it twice but it will act like a solvent and take it off. I learned this the hard way at work when I filled an entire dry erase board w/permanent marker!
Or to make it smudge free put glass over it and use permanent marker… it wipes off really easily with a glass cleaner but won't smudge!
Great idea and and that whole vignette looks gorgeous! I love "night tide" – my kitchen chairs are painted in it!
Lanvin One of the baggage There's no doubt that about the smallest nonetheless in all probability get the a lot of apply outside of is definitely this facial bag. I personally use them them daily, them trip by using me plus, to be honest, I actually don’t bring very good caution than me. I ought to bring improved caution of it, but rather I actually think I actually bring this cute minimal facial travelling bag for approved. The simple truth is, it's topic of time right until I actually fully grasp I have to upgrade them plus when this working day can come, I can predictably be used by way of wonder plus under-prepared. In lieu of longing until this present-day
Lanvin Bag bites a debris, I’ve chosen to try a little something innovative plus planahead.
http://www.lanvinbagonline.com
AMAZING! what a great idea! Thanks for sharing :)
An authentic Ferragamo Handbag handbag looks well from every aspect such as proportion. Perfect proportion is the most outstanding feature of a Ferragamo Outlet handbag. The handle is a detail for you to pay attention to a handbag that is completely centered in handle is real. If not, do not consider this handbag as it is a fake.
http://www.ferragamobagsale.com
Great post Quartz, Corian and Granite kitchen worktops suppliers Graniter us. We supply the finest quality granite products at outstandingly competitive prices in Hertfordshire, near London UK. We also perform a range of granite maintenance and repair services.
granite worktops
Find lanvin bag from a vast selection of Handbags & Purses.Hey guys, don't let this Lanvin Bag escape your Hand! The perfect bag to carry all of your must-haves for work or travel. http://www.lanvinbagonline.com/
Great post Photo Giant Prints, A Superior Quality Alternative to Giclee or Lambda, Good Quality Large Format Photographic Prints for both the B2B and B2C Market sectors. Find all type of personal, commercial and business photography.
photo enlargements
very good comment
I usually do not post in blogs but yours is amazing and good work.
I usually do not post in blogs but yours is amazing and good work.
Nice! I've done a few DIY whiteboards but that is one really nice whiteboard calendar – job well done.
Great! can I please ask what measurements you used for the lines and the whiteboard size?
thanks so much
We at Whiteboards NZ offers a huge variety of high quality whiteboards and its accessories NZ wide. Whiteboards NZ