I finished reupholstering our old bed frame right before we moved out of the loft, and I still really love it.

Remember how I was trying to figure out what fabric to use? I thought a lot about the color…
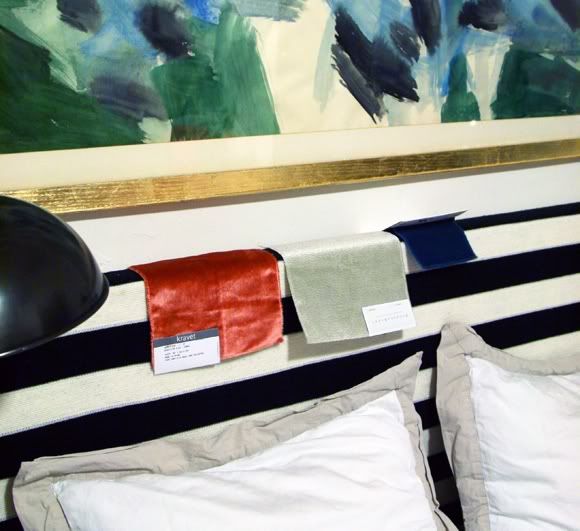
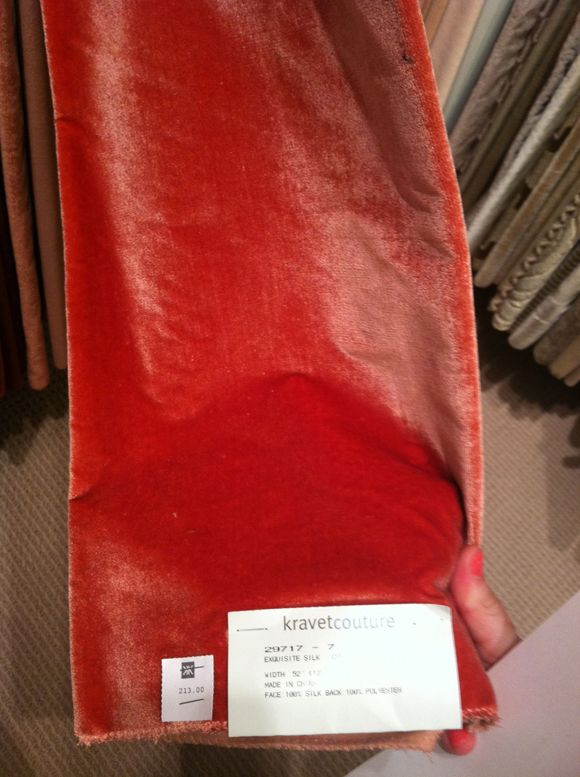
I was leaning toward this pretty silk velvet from Kravet, but it was pricey (like, very pricey), but I loved the color and sheen.
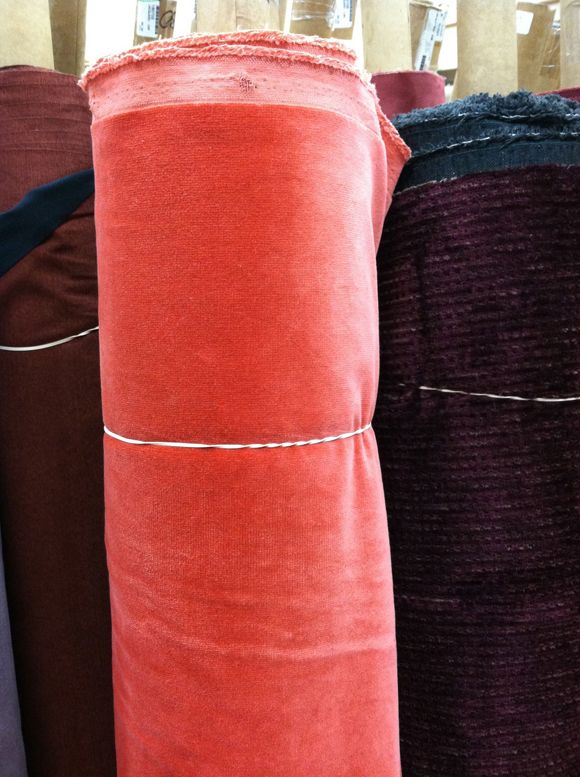
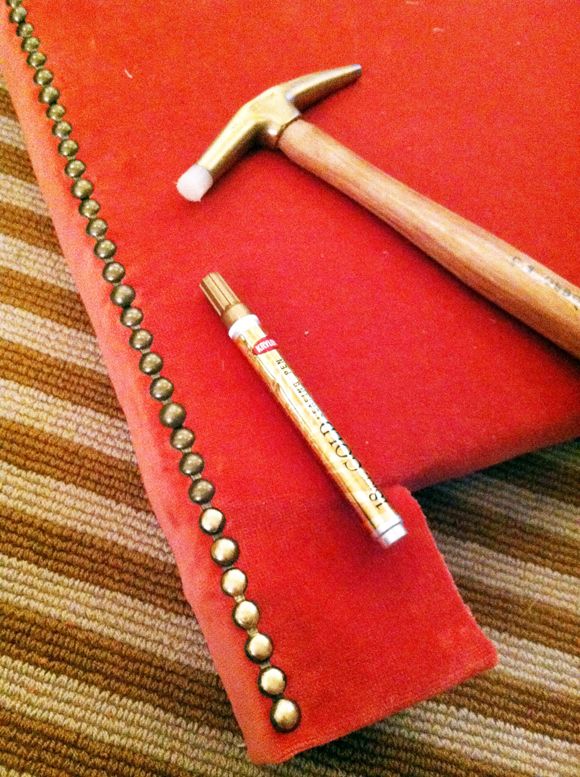
Then I stumbled across this really pretty cotton velvet when we were in Arizona this summer, for only $13 a yard at Home Fabrics in Mesa. I bought six yards and had to carry it on with me on the plane right home — it was so heavy! (and I had too many Last Chance finds stuffed in my suitcase)
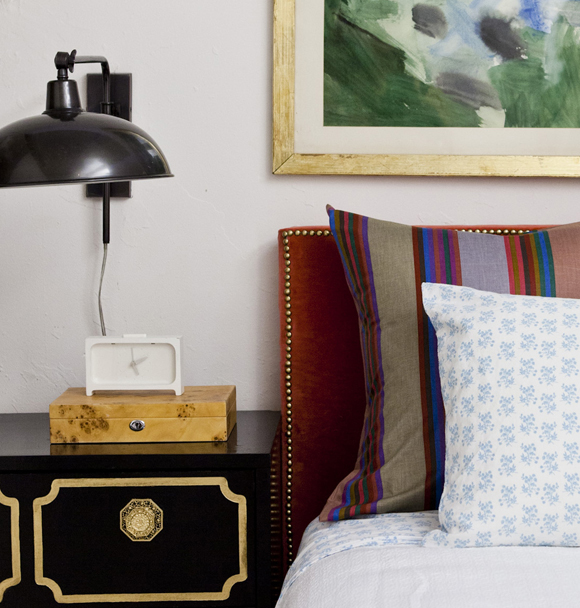
I used this basic approach to the upholstery process after pulling off the old fabric, but I actually removed some of the footboard so that it would be easy to climb over in our small room. I also used the same nailhead trim roll. This time, after tapping in the nailhead strips, I quickly colored over the nailheads with my gold leaf pen. (see how bright the bottom few are here?) The key is to not color too perfectly. A messy job looks more real.
I’m in love with how low the head and footboards are – it feels more modern to me. The top of the headboard is about 38″ high. It’s nice because my head sort of rests on the top edge when I’m reading in bed and my back can be supported by the euros and standard shams. It’s really comfortable.

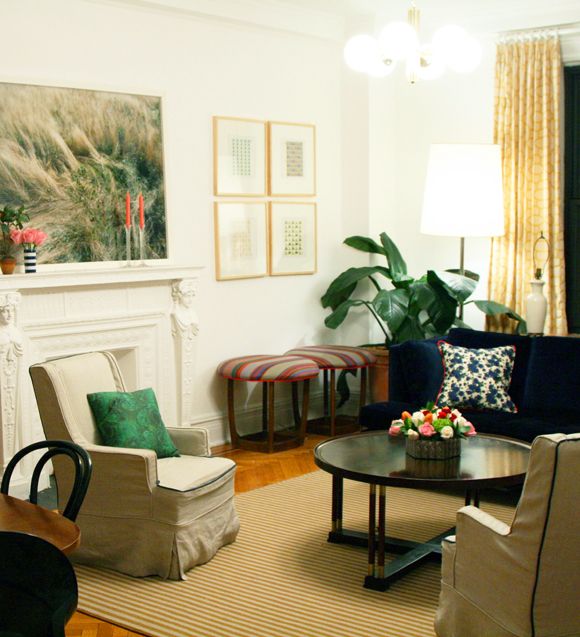
And, hey, do you recognize the pillow fabric? I wish I had a 100 yards of that vintage stripe.
PS In case you are struggling with the corners of a piece like this, I did the reverse approach I shared in this project. Corner strip first, edge pieces last.
PPS More photos of how this bed used to look a couple years ago HERE (including a folding screen DIY)


Thanks! Glad you guys like the color! It's not for the faint of heart. :)
Anon – I bought the bedside lamps about two years ago from the Pottery Barn outlet! I see them pop up on eBay from time to time though, so maybe try your luck there.
xx
I love your blog so much and you've knocked it out of the park yet again with this headboard. The colour is so lush and fresh. One question, can you tell me where the bedside lights are from? They are amazing!
Another winner, Jenny! It looks beautiful. I would pay a lot of money for a bed that looked like that!
Oh, wow. I love the unexpected color! Coral is quickly becomming my favorite color!
*becoming
:/
Thanks! Glad you guys like the color! It's not for the faint of heart. :)
Anon – I bought the bedside lamps about two years ago from the Pottery Barn outlet! I see them pop up on eBay from time to time though, so maybe try your luck there.
xx
I would want 100 yards of that fabric too!!! Have any more by chance?
It looks so lux! Great job. And I love the tip to color with a gold leaf pen!
I have been inspired to try to reupholster from your blog several times…the end product is so great!
you are the color MASTER!!
Hey Melissa, I'm not sure what you mean about the footboard? I upholstered it the same way as I did the headboard. The backside of the footboard is covered by the mattress so I just kept the fabric on the back of the footboard long so it wouldn't show at all. I hope that makes sense! It's hard to describe!
For a daybed, you'll probably have to use a tack strip? Best of luck!
These photos were taken in the loft!
And actually, we're doing a little room switcheroo here at the brownstone. Still figuring out the details, but I'll share soon. That bedroom that is/was ours will probably now be the guest room (and will still go black!) Stay tuned!
I am so into velvet lately. Gorgeous use of it here and that color is to die for!
Love the scale of the headboard & footboard Jenny. It looks totally transformed. And brilliant idea to use the gold leaf to tone things down.
You really are queen of putting colors together… Love! Where did you get the duvet?
Love it Jenny! I like how you cut down the footboard. The color is gorgeous with the duvet!
Jenny I love it! That orange velvet is awesome.
Love this headboard and the color scheme of your room in general! Can't wait to see more pictures of the brownstone!
Love the fabric choice and thanks for the tip on the gold leaf pen!
Love, love, love it! Gorgeous choice of fabric and it all looks so beautifully styled!
Mary @ At Home on the Bay
I love your scones. Can you tell me where its from? Thank you!
Love you side dresser…did you do it yourself?
Love this bed! That color is spectacular! Also, you can never go wrong with velvet. Beautiful!
Can you explain to me how to upholster the footboard? I am still puzzled as to how you did it so seamlessly and without any staples showing?? Please help bc I want to upholster a daybed for my son.
thanks!!
Hey Melissa, I'm not sure what you mean about the footboard? I upholstered it the same way as I did the headboard. The backside of the footboard is covered by the mattress so I just kept the fabric on the back of the footboard long so it wouldn't show at all. I hope that makes sense! It's hard to describe!
For a daybed, you'll probably have to use a tack strip? Best of luck!
Love it! Can we talk about the nightstand? Real draper or DIY Rast?
I love the headboard Jenny! he rust color really looks great and I am glad you held out on finding a more affordable fabric!
Beautiful! I have roman shades in a VERY similar fabric to your vintage pillow fabric. It's from Christopher Farr.
Jenny! I thought you were painting your room black?! I was anxiously awaiting photos…
This is my favorite version of your headboard yet, amazing!
Beautiful job as usual. Absolutely love the color color – so unexpected and so right!
http://www.chattafabulous.blogspot.com
I was just thinking the same thing about no black walls! The room looks amazing still :) So glad the hurricane didn't eat you!
Jenny,
Your bed looks fantastic! And how your handy gold pen comes out to add the last touch, love it!
Liz
These photos were taken in the loft!
And actually, we're doing a little room switcheroo here at the brownstone. Still figuring out the details, but I'll share soon. That bedroom that is/was ours will probably now be the guest room (and will still go black!) Stay tuned!
love it of course but what about black walls? im trying to convince my brother to do it too.
I love Home Fabrics – they have stores in Southern California too. My whole house is upholstered with fabrics from there. Great selection and amazing prices. I picked up a wonderful toile with American colonial scenes for $2 yard. Love your velvet.
Sandy
Gorgeous. I love your duvet too! Where is it from?
Genius on going over the nailhead trim with the pen. I used some of the roll nailheads on our headboard a few months ago, but ultimately ended up taking it out (it didn't leave any marks, whew!). The gold was way too bling-y.
The velvet is lovely, good choice. And I would love to know the source of the duvet as well. Thanks!
The velvet is lovely, good choice. And I would love to know the source of the duvet as well. Thanks!
Hi Jenny! So glad you guys didn't have any major storm damage! Your bed is beautiful! And I love the duvet and sheeting- where is it from?
Its gorgeous. I love the velvet and color.
I love this!
I love your blog! I was wondering if you can recommend where I can get custom roman shades in the NYC area. I'm having issues finding the right window treatment and I recall you getting custom roman shades for one of your clients. Thanks!
Can you tell us more about that nightstand?? Was that a DIY or real draper? If it's DIY, please share the details! I love it!!
Love your site.
Hi guys!
The duvet is really old – I picked it up from the clearance room at Anthropologie for, wait for it…. $20! I had been eying it for a while, so I considered it like winning the lottery! :)
The "Draper" is vintage, but isn't a real Espana chest. It's the partible board version. But it's still pretty! I touched up all the gold parts. You can see the befores here.
http://littlegreennotebook.blogspot.com/2010/04/dorothy-draper-chests.html
Jenny has posted about DIY draper dressers in the past, you can find the post here: http://littlegreennotebook.blogspot.ca/2011/02/diy-draper-chests.html
Hi guys!
The duvet is really old – I picked it up from the clearance room at Anthropologie for, wait for it…. $20! I had been eying it for a while, so I considered it like winning the lottery! :)
The "Draper" is vintage, but isn't a real Espana chest. It's the partible board version. But it's still pretty! I touched up all the gold parts. You can see the befores here.
http://littlegreennotebook.blogspot.com/2010/04/dorothy-draper-chests.html
Doesn't look TOO hard!
http://owleyevintage.blogspot.com/
http://www.etsy.com/shop/OwlEyeVintage
I love the color of the headboard fabric. I think I may try this project myself. You know there are sources for custom nail heads. I one gave box of reflective silver ones to my upholster to use on a chair with blue cut velvet, and the silver nail head shimmer with blue.
It looks great, Jenny! Though anything with nailheads makes me swoon :)