
This post is sponsored by Glad. We’re taking small steps to do our part and want to help you waste less too. Visit GLAD.com for more information.
Like I mentioned recently, it makes me feel really good to give old furniture a new life. It’s rewarding to see furniture transformed, but it’s also environmentally responsible. I’m so happy to be working with Glad on this series.
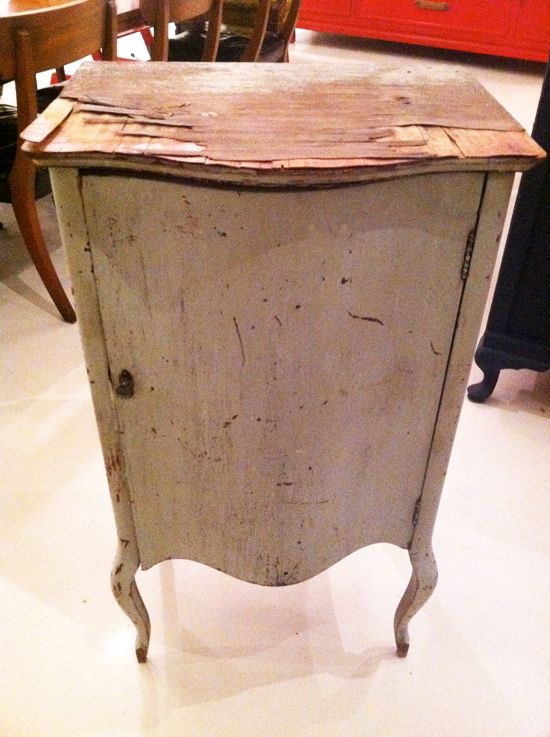
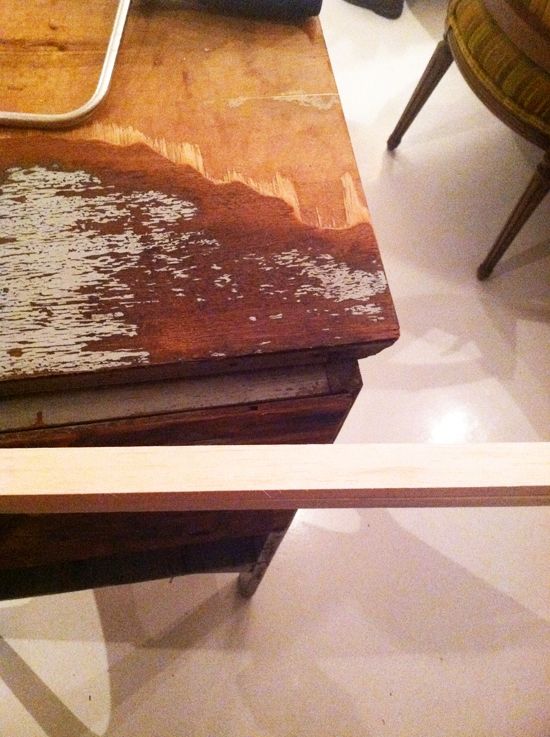
When I found this little French cabinet, it was in really (REALLY) bad shape. The actual cabinet itself mostly just needed a sanding and a new paint job, but the top was almost unsalvageable.
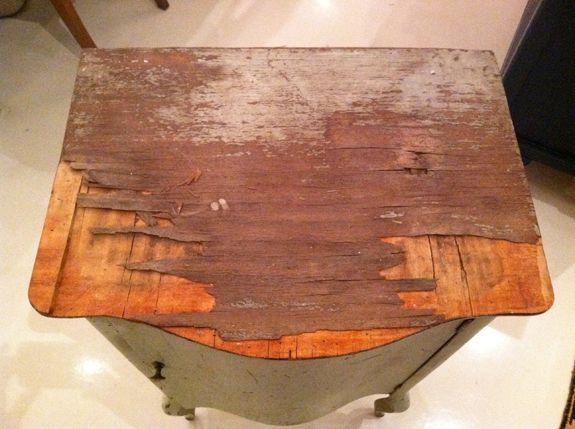
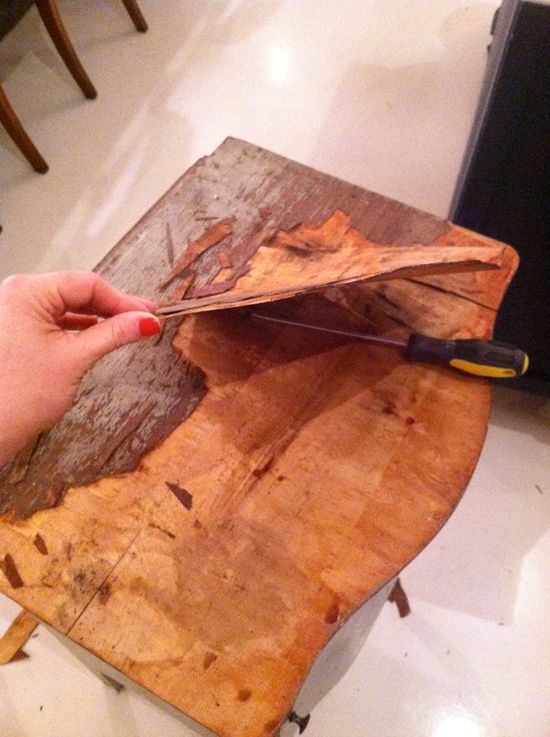
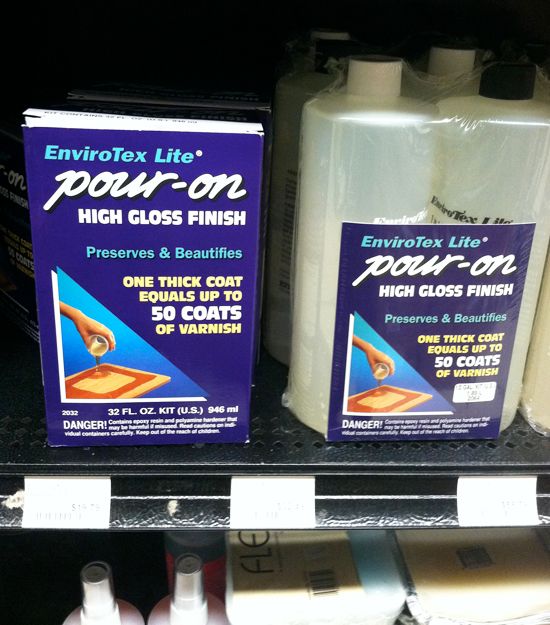
I scrapped off the peeled veneer as much as possible, but the back half was absolutely impossible to pull off. There was just too much glue holding it down. I considered cutting a piece of wood or stone to fit the top, but then I thought it would be really cool to do a resin top in a tortoise shell pattern.
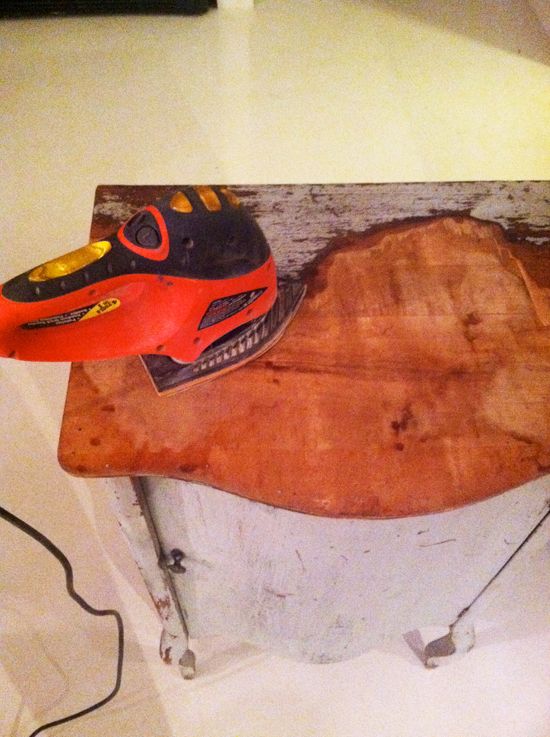
With resin, your surface doesn’t have to be 100% level, so I just gave the top a little sanding and left it as is.
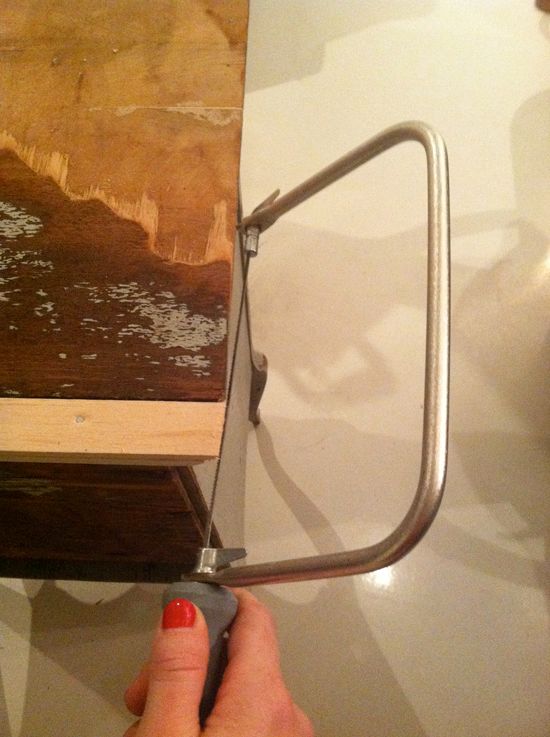
There used to be a back plate on this piece I guess, so there was a gap in the back. I just used a couple of strips of Balsa wood to fill the space.
Balsa wood is super soft, almost like styrofoam, so it was easy to zip through with a little coping saw. I was happy because I could easily mimic the shape of the existing moulding.
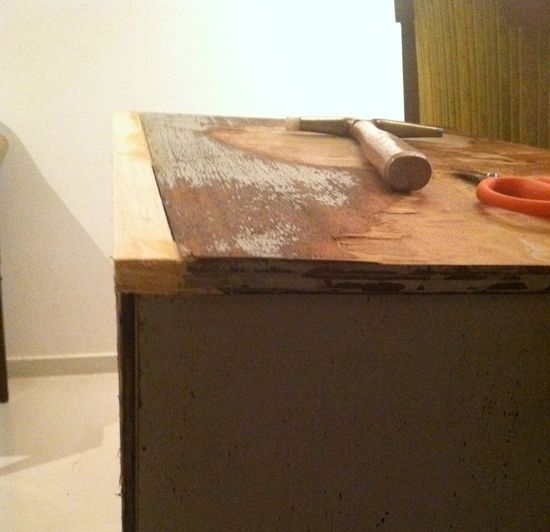
Pretty seamless! I wouldn’t use balsa for a bigger surface than this. It is a very soft wood and not super sturdy, but this part is in the very back and everything is getting a coat of resin, so it was a good solution here.
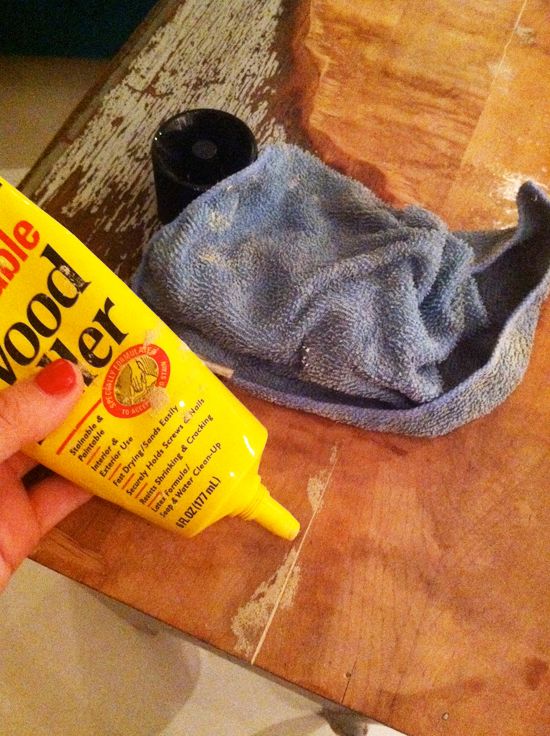
Before priming, I filled any cracks with my favorite wood filler. The best method is to fill with your finger and then wipe away the excess immediately with a wet rag.
Also at Blick’s, I visited the glass paint section.
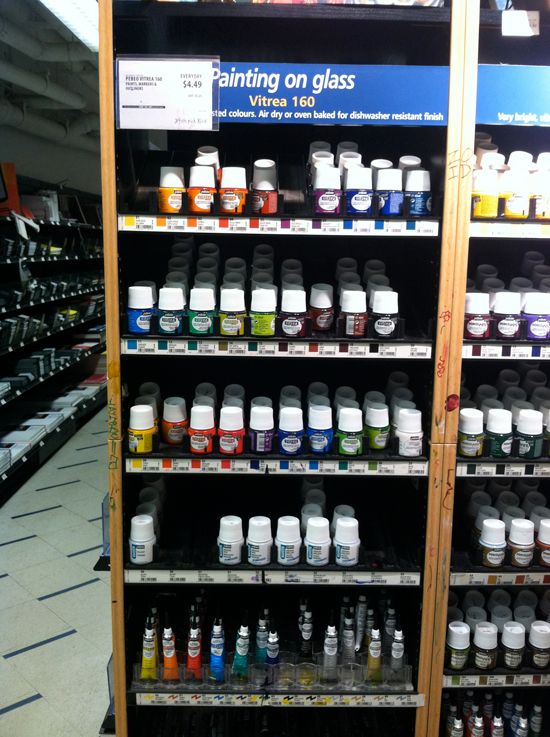
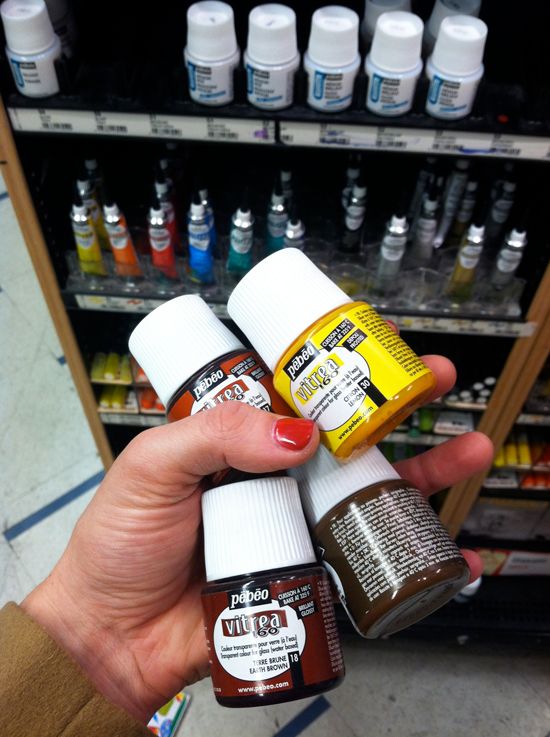
To make a tortoise shell pattern, you’ll need a bright mustardy yellow and two shades of brown (medium and dark)
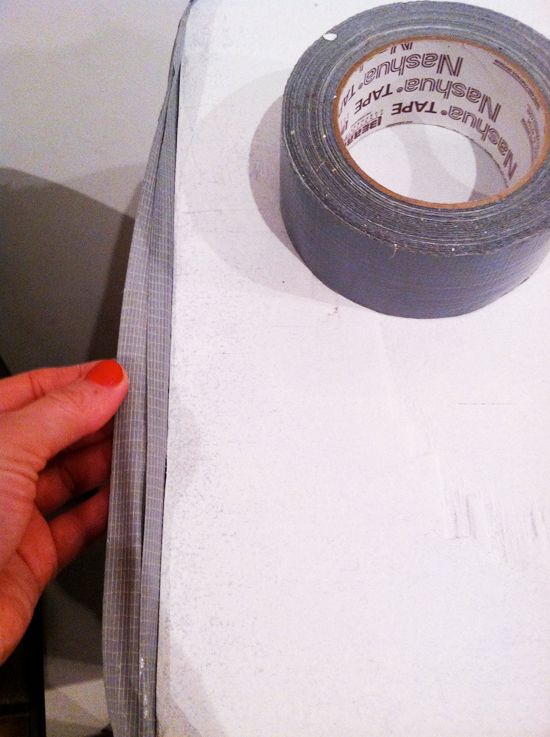
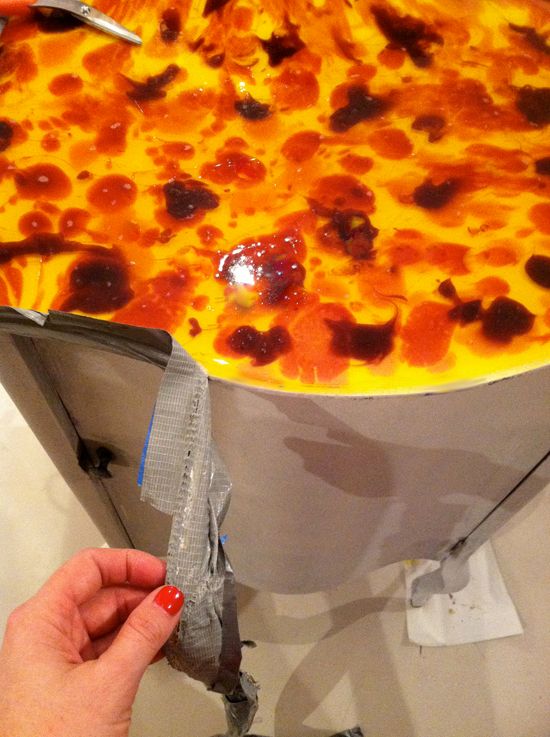
If you’re going to attempt a resin project, I recommend doing some Youtubing first. I had to do this taping method because of the curve in the front of my cabinet, but if my cabinet had straight sides I probably would have tacked up a couple pieces of wood for an even tighter seal.

You should follow the instructions on your resin box, but the basic idea is you’ll need to mix resin with hardener and then stir. I made about 24 ounces for the yellow base.
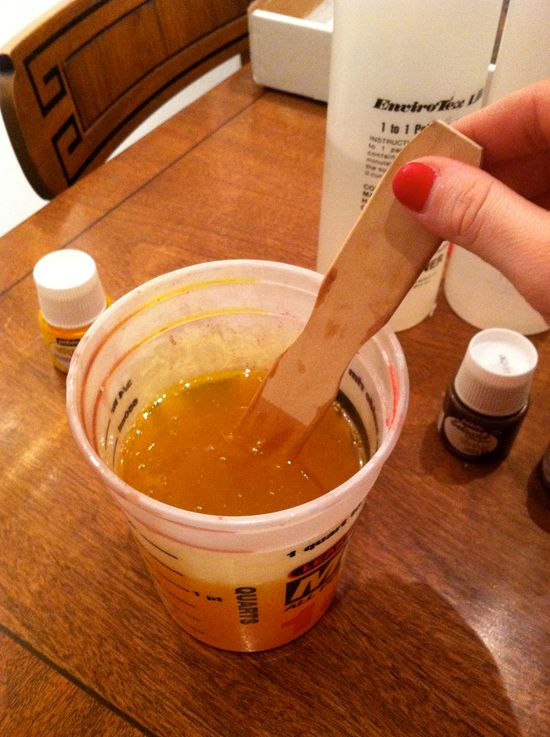
I used three drops of the yellow glass paint to make this color. I wanted it bright and semi-transparent. The white paint underneath makes the colors very clear.
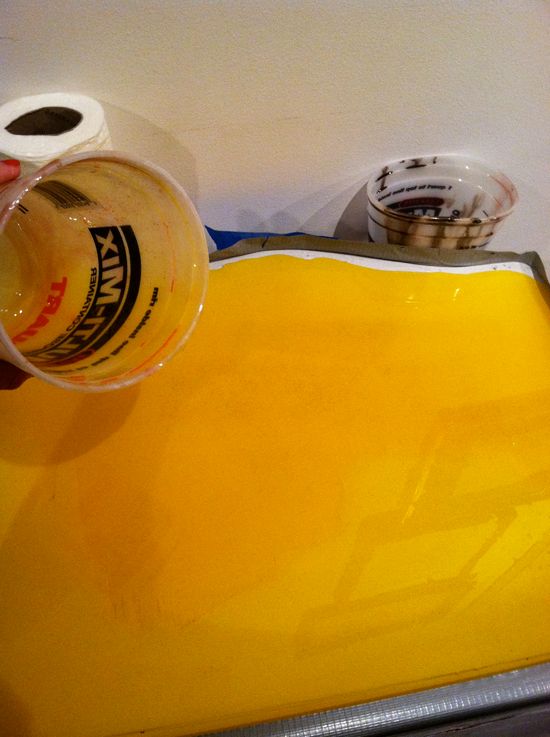
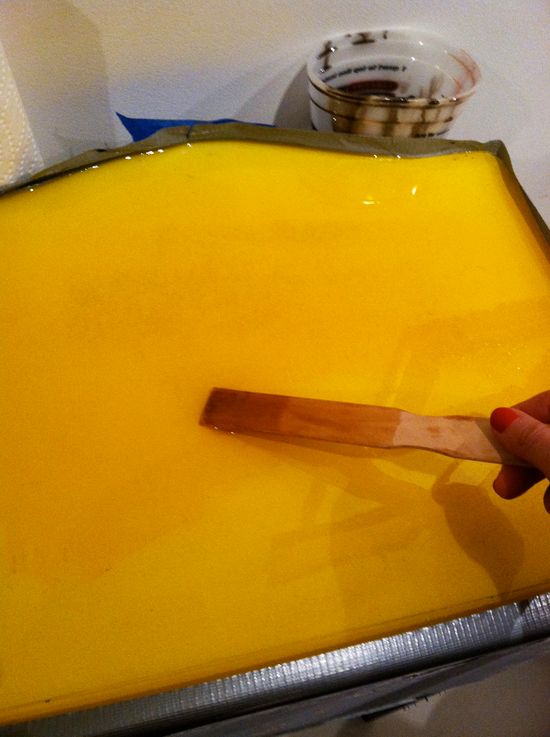
After pouring I quickly but carefully moved the resin around to get an even fill.
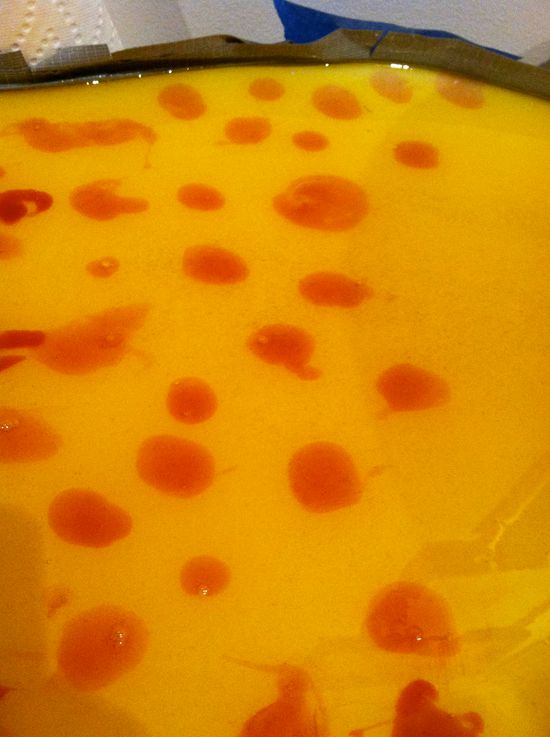
Then I mixed about 8 oz of medium brown paint. Just one drop of paint at first! You want the first layer of brown to be light. I used an old baby medicine dropper for this step.
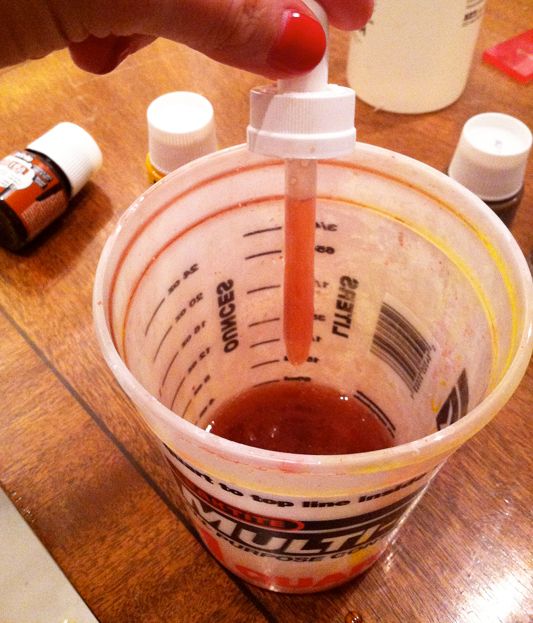
One small dropper full makes a quarter-sized spot. The brown will thin out and spread though, so try to have a light hand here. Just place the resin and sort of let it do it’s thing. It’s a pretty fun art project actually.
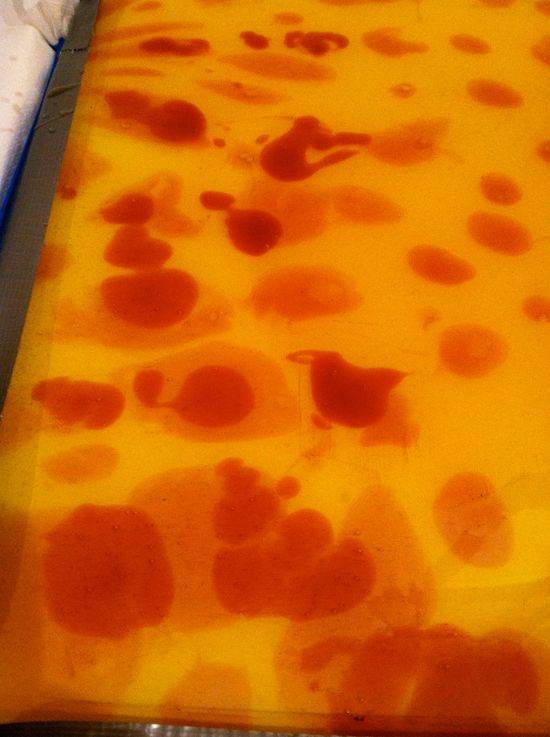
Add another drop or two of paint to darken the resin for the next layer.
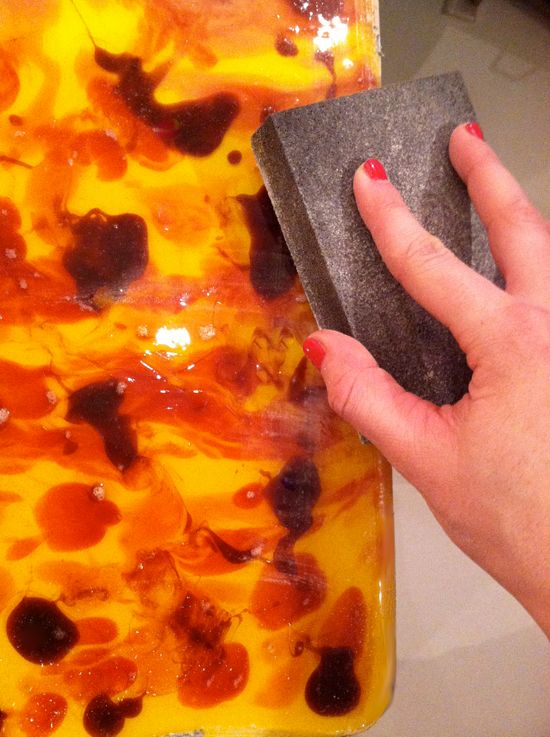
And did some light sanding to even out the edges.
Then I painted the rest of the cabinet (I had only primed the piece before doing the resin, which ended up being a good choice because of the drips).
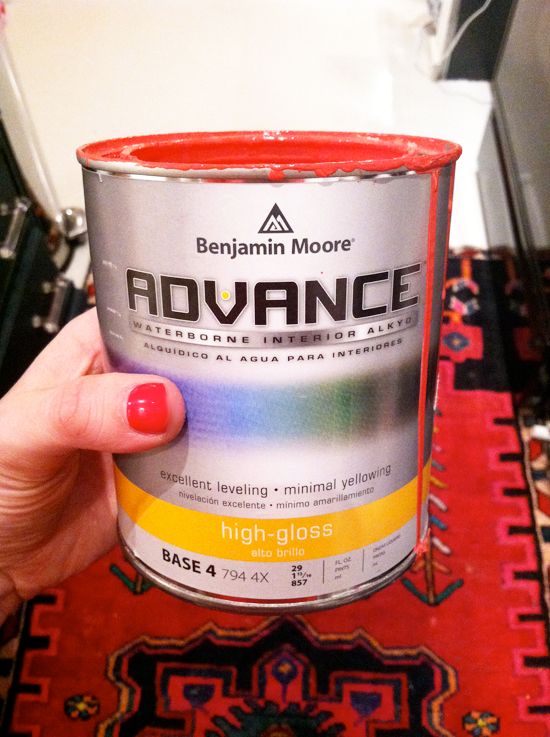
This is my recent favorite paint. I discovered it when I did the One Kings Lane sale. My painted recommended it. It’s Benjamin Moore’s Advance line. It’s oil based, but it’s low VOC (it has a slight odor, but it mostly smells like linseed oil, not crazy chemicals). The finish is AMAZING. It is super hard-wearing and it comes in multiple finishes. I love the high gloss best.
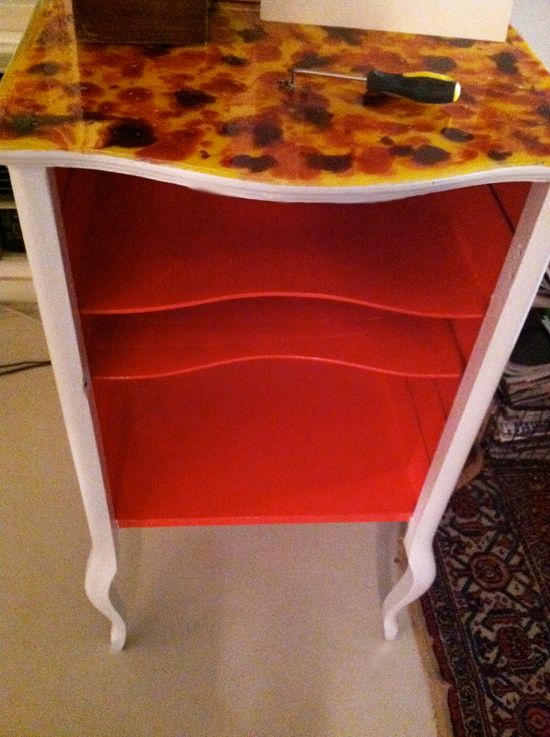
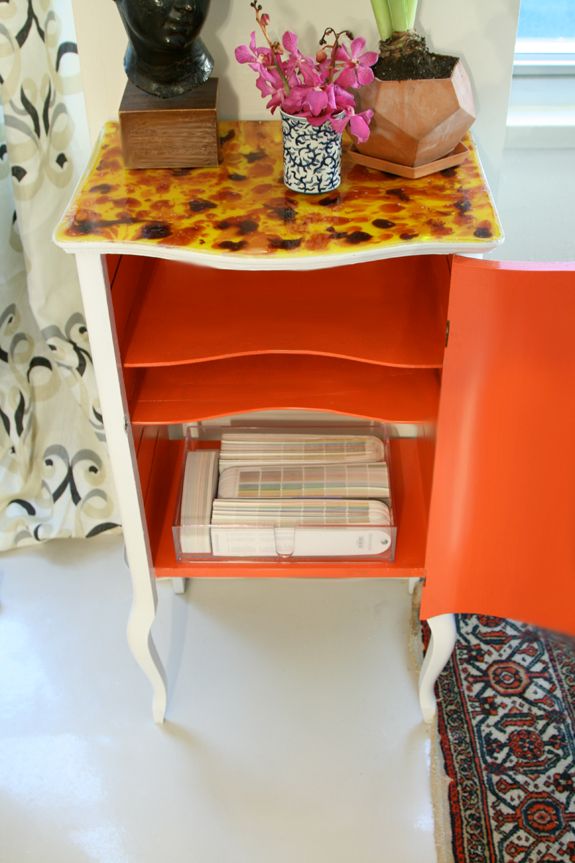
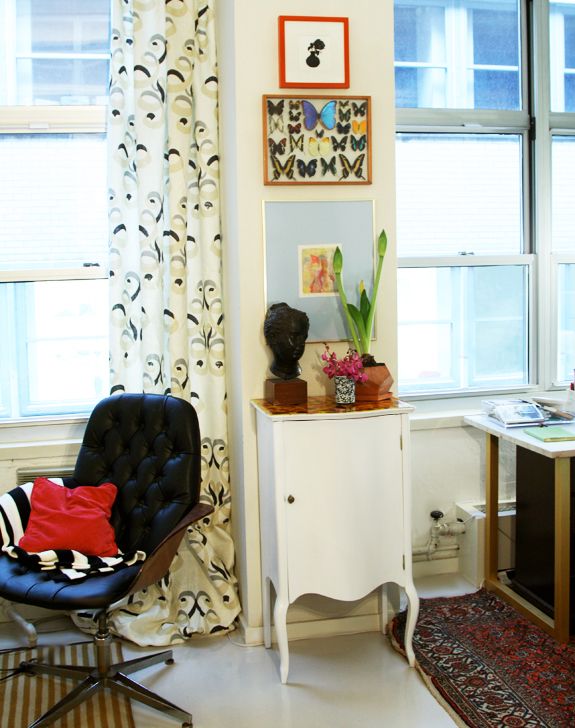
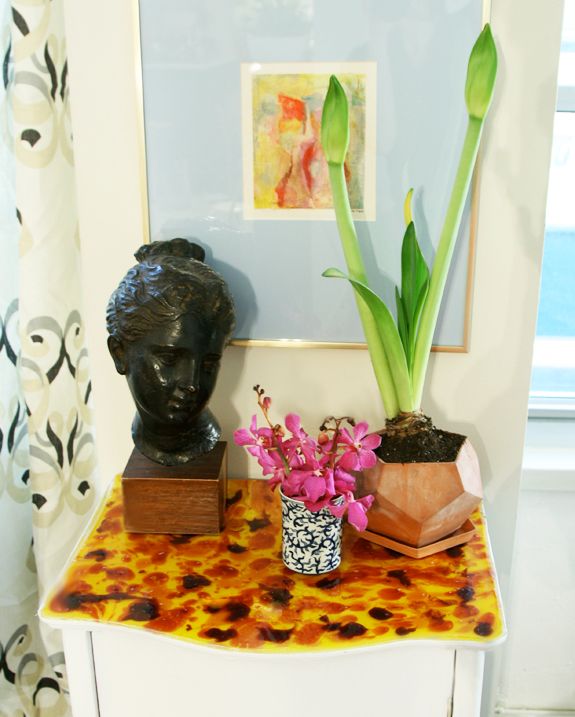
I love the surpise orange interiors. And I love the simplicity of the white. It just looks so pretty with the tortoise shell pattern on top! A color on the frame of the cabinet would have been too much here. (Also, there’s a lot of color and painted furniture in my living room already!) :)


What a great idea! Turned out so much better than I would have expected! Another great DIY! Thanks.
How do you come up with this stuff!!! Perfection!
Amazing! I'm now trying to figure out what to try that on…so cool.
You are truly amazing.We can not believe this DIY. Looks great and we love the interior color.
Jenny, you are on such a roll! I am so in awe of your skills and your very well-written tutorials! I'm always excited to see what your next DIY projects will be–they never fail to impress.
Love this! Just a heads up: the Advance paint is almost what I use exclusively and it is low VOC, but the fumes are just as hazardous to people as solvents. Low VOC is better for the environment, but not for us. Plenty of ventilation is still a must with waterborne paints.
That is awesome! I didn't even know you could do DIY tortoise shell!
Love that tortoise shell finish!
hey this is Taylor Hartley from your ward. Amanda showed me your blog last night and I LOVE it! Interior design blogs are my favorite! I will defiantly be following :) tell Claire I say hi! She is so cute!
Just when I think you've done your best project, you surprise us with something better! I love this!
Champagne Lifestyle on a Beer Budget
Great job! It looks expensive!
Wow, I'm so glad you did this- it looks great! Every once in awhile I think about trying a resin project, but totally chicken out. But this looks like something I might actually be able to do! Yay!
: ) Meg
Oh my goodness, Jenny! I LOVE THAT CABINET. Amazing!
That is awesome!!! Thanks for the new idea!
Such a fabulous idea. I loved it!!
I agree — the orange surprise is great!
What a fantastic transformation. Stellar.
Fabulous project…great job!
Jenny,
It looks great! I really do not know how you come up with these ideas – but I love that you do and that you post for everyone to see!
Could you share the curtain fabric? It looks so familiar but I can't recall the name of it.
Thanks!
Jenny, it's fantastic…please tell me you used drop cloths! Your gorgeous rug and beautiful table…you are the bravest of them all!
So beautiful! Thank for sharing your process. :)
Really neat! Love your guts with the resin top! It came out wonderfully!
Great step by step explanations for this project!
Enjoy the fruits of your labour!
wow! what an incredible transformation!
Beautiful! I love your DIY posts!!!
Here's another "recipe" for faux tortoise (from an old Trading Spaces episode) that is super easy and comes out great:
Base Color: Latex Satin Finish Paint (cream, beige, caramel, etc)
Paint 2 coats base color – let dry completely (at least 4 hours – overnight is best)
Sand lightly & apply glaze.
Glaze:
3/4 c. malt vinegar
2 Tbs. Burnt Umber Powder Pigment (must be powder)
1 Squirt liquid dish soap
Mix glaze ingredients and apply liberally with a small brush. Then dabble your fingers on glaze like you're playing a piano (lightly). Don't allow glaze to dry while your dabbling or you'll get fingerprints. Finish may look chalky as it dries but that will go away when you finish with at least 2 or 3 coats coats high gloss spray varnish.
Sorry for the off-topic question, Jenny. Would you mind sharing the source of the fabric for your drapes? I love them! I don't recall seeing this previously and I'm not seeing it after a search today. Thanks!
what a fun pop of color
fantastic!!!! I had a bad experience with resin once….so i dont think i will be trying this, but it looks AMAZING. and i never would have thought to do such a thing!!!! awesome!!!!!
xoxo jess
Wow! That's such a cool DIY! I've seen plenty of resined tops, but never this tortoiseshell technique. Thanks for sharing.
what an amazing transformation!!!
Oh so cool! Thank you for the DIY…I have a similar cabinet and now am excited to do something with it!!!
Will you ever run out of great ideas? Amazing! Beautiful!
So creative and what a great finish. Love the colors too.
Oh my gosh, I cannot believe the things you tackle! I have always wanted to do resin on a tray, but to add the tortoise shell design? Genius. Love the orangey red interior also. You are so crafty and I don't know how you find the time in the day. Thanks for sharing another great and interesting DIY!
I love the tortoise shell look…you have me inspired!!
Lov, love, love it!!! It's amazing. I am always making sure things get recycled and reused. The less stuff that goes to the dump the better.
Ruth
Wow, what a great idea! It turned out so well, awesome job!
I had no idea you could tint a pour-on finish with glass paint…I'm pretty resourceful but never would have known about half the things you come up with!
My problem is not so much pieces with destroyed tops, but those really beautiful wood pieces that, for whatever odd reason, have formica/laminate tops. Always looking for a new solution for those. Thanks!
My goodness, this is breathtaking! I always wonder how you approach projects like these. Do you read up on the technique a bunch before attempting, do you try the technique with a "throw-away" piece, or do you just jump in. I join other commenters in applauding your courage to tackle a project like this.
This looks amazing! I am dying to try resin now!!
that is a seriously impressive DIY. Awesome!!
http://www.laceandfadedjeans.com/
That piece really got a new lease on life! I love it's curves and shape, and now with this top it looks absolutely fantastic. Well done Jenny!
Nancy xo
This looks so fantastic! I would never have expected that sort of transformation to be possible…it's impressive to see what you can do.
You are amazing!!! I love being able to see all the beautiful things you create. Seriously inspiring!!!
great idea! You could also maybe try a different cupboard pull, something longer?
Dooes the resing ever feel tacky after awhile? I wonder how weather affects it? I know varnish can sometimes feel that way in humid weather. It's a great little cabinet now!
Shut up! That top is like the greatest thing EVER! Going on my To Do list now.
I loved your accessory round-up. Especially the classic clock and hammered tray. Great finds!
You have the BEST DIY project Jenny. Seriously, where do you find these things!?$#. Love the resin and would love to try sometime.
This is brilliant. I love what you did with this table. Just this morning my friend snagged a similar table off the street so I just forwarded to her your tutorial.
xo
What a great job! I'm seriously impressed!
Also, I love your office chair! Do you mind sharing where you got it? Thanks!