This post is sponsored by Glad. We’re taking small steps to do our part and want to help you waste less too. Visit GLAD.com for more information.
Like I mentioned recently, it makes me feel really good to give old furniture a new life. It’s rewarding to see furniture transformed, but it’s also environmentally responsible. I’m so happy to be working with Glad on this series.

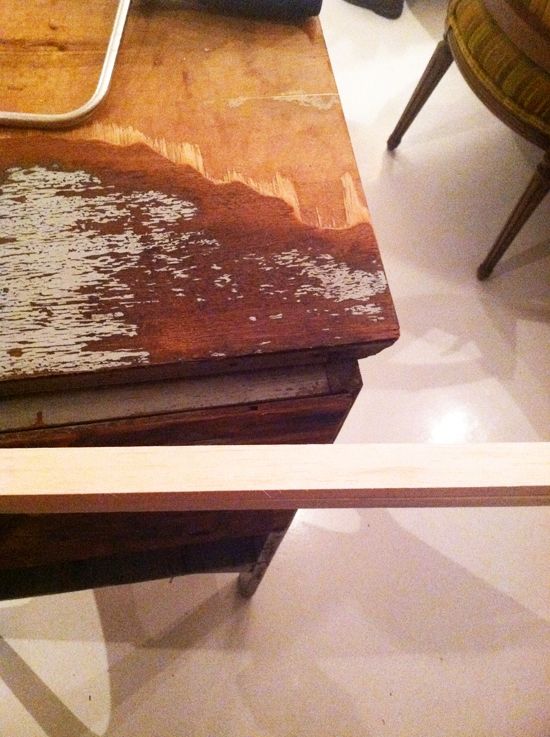
When I found this little French cabinet, it was in really (REALLY) bad shape. The actual cabinet itself mostly just needed a sanding and a new paint job, but the top was almost unsalvageable.

I scrapped off the peeled veneer as much as possible, but the back half was absolutely impossible to pull off. There was just too much glue holding it down. I considered cutting a piece of wood or stone to fit the top, but then I thought it would be really cool to do a resin top in a tortoise shell pattern.

With resin, your surface doesn’t have to be 100% level, so I just gave the top a little sanding and left it as is.

There used to be a back plate on this piece I guess, so there was a gap in the back. I just used a couple of strips of Balsa wood to fill the space.

Balsa wood is super soft, almost like styrofoam, so it was easy to zip through with a little coping saw. I was happy because I could easily mimic the shape of the existing moulding.

Pretty seamless! I wouldn’t use balsa for a bigger surface than this. It is a very soft wood and not super sturdy, but this part is in the very back and everything is getting a coat of resin, so it was a good solution here.

Before priming, I filled any cracks with my favorite wood filler. The best method is to fill with your finger and then wipe away the excess immediately with a wet rag.


Also at Blick’s, I visited the glass paint section.

To make a tortoise shell pattern, you’ll need a bright mustardy yellow and two shades of brown (medium and dark)


If you’re going to attempt a resin project, I recommend doing some Youtubing first. I had to do this taping method because of the curve in the front of my cabinet, but if my cabinet had straight sides I probably would have tacked up a couple pieces of wood for an even tighter seal.

You should follow the instructions on your resin box, but the basic idea is you’ll need to mix resin with hardener and then stir. I made about 24 ounces for the yellow base.

I used three drops of the yellow glass paint to make this color. I wanted it bright and semi-transparent. The white paint underneath makes the colors very clear.

After pouring I quickly but carefully moved the resin around to get an even fill.

Then I mixed about 8 oz of medium brown paint. Just one drop of paint at first! You want the first layer of brown to be light. I used an old baby medicine dropper for this step.

One small dropper full makes a quarter-sized spot. The brown will thin out and spread though, so try to have a light hand here. Just place the resin and sort of let it do it’s thing. It’s a pretty fun art project actually.

Add another drop or two of paint to darken the resin for the next layer.


And did some light sanding to even out the edges.

Then I painted the rest of the cabinet (I had only primed the piece before doing the resin, which ended up being a good choice because of the drips).
This is my recent favorite paint. I discovered it when I did the One Kings Lane sale. My painted recommended it. It’s Benjamin Moore’s Advance line. It’s oil based, but it’s low VOC (it has a slight odor, but it mostly smells like linseed oil, not crazy chemicals). The finish is AMAZING. It is super hard-wearing and it comes in multiple finishes. I love the high gloss best.


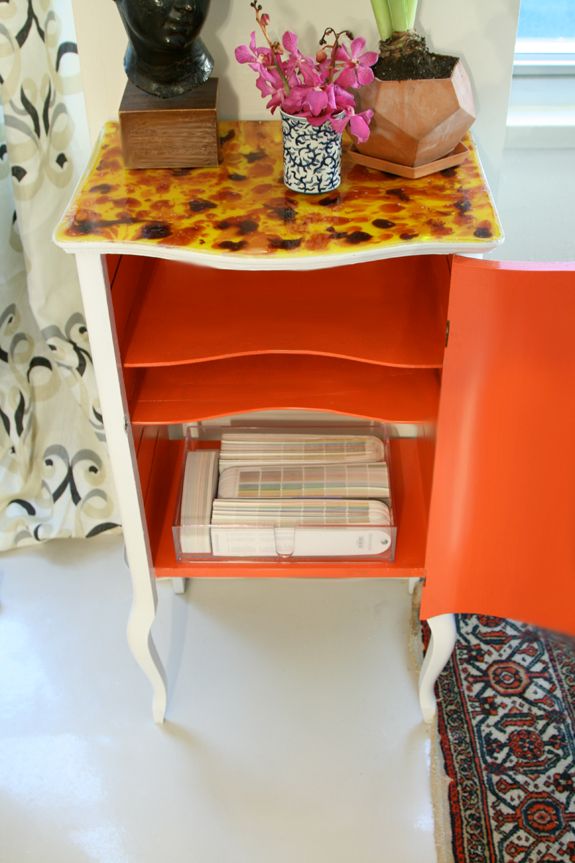
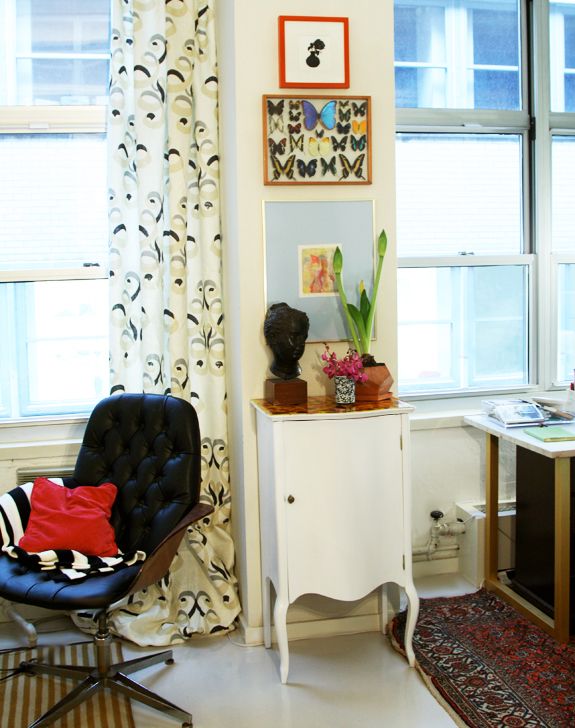
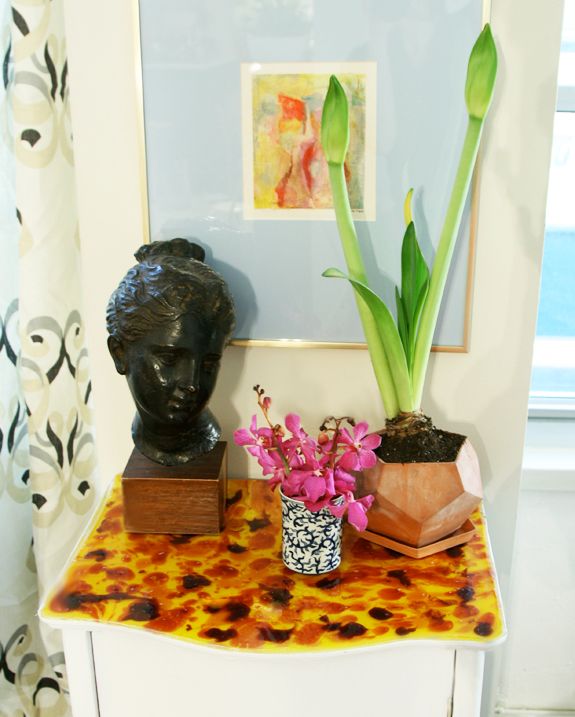
I love the surpise orange interiors. And I love the simplicity of the white. It just looks so pretty with the tortoise shell pattern on top! A color on the frame of the cabinet would have been too much here. (Also, there’s a lot of color and painted furniture in my living room already!) :)


You are genius.
Ótimo trabalho
This idea is a springboard to a multitude of beautiful looks. Brilliant idea!
Love it.
Great step by step.
Such a great idea. I have a little cabinet (quite similar to this in style, but half the height and with a little window info the door) that I’ve been wanting to refinish, but didn’t know how to deal with the very damaged top. This is a great solution!
How thick is the resin top? I have an idea dining room table that I love, but whose top is in terrible shape. The leaves pull out from under either side and lift into place. I was wondering if I could do this and still be able to slide the leaves back under.
I have a piece of furniture exactly like the one you use in your project. Do you know what time period is it and what was used for?
I’ve got a coming project and looking at youtube left me confused.
Some warm up resin after pouring to get rid of air bubbles and others show resonating the mixture before pouring to get rid of air.
Did you do this or just manage with the pour.? did you get bubbles in the hardened resin?
The drapes are my favorite
what is the fabric pattern/source?
Very pretty, love the color. What did you use to prime, regular prime?? What is the hardener you use??
Thank you and enjoy your piece