When my Grandma passed away about a year ago, her granddaughters were able to chose some of her jewelry to keep and remember her by. I picked a couple pairs of earrings and a brooch that belonged to her mother, my great grandmother, and a tin full of really old buttons.
I already had a few buttons that belonged to my dad’s mom, so I was excited to have a collection from both sides of my family. I’m sentimental about family things, so I knew I’d want to do something with these old buttons rather than hide them away.

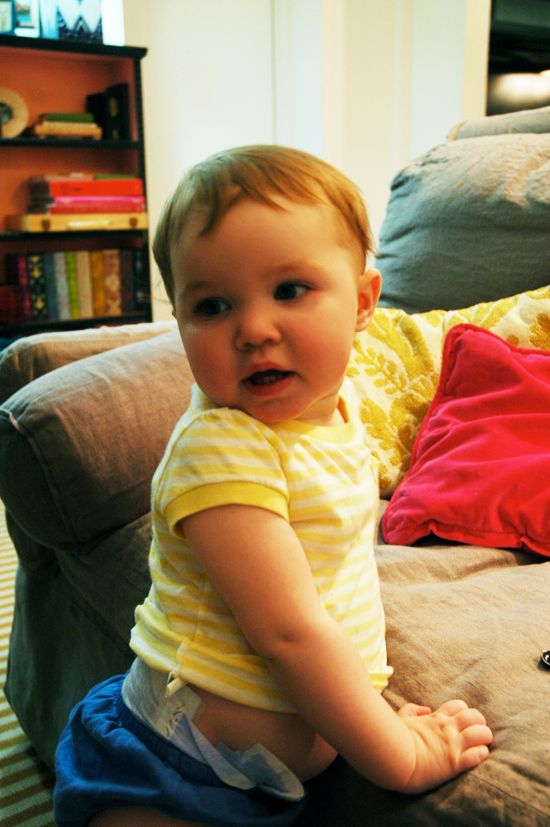
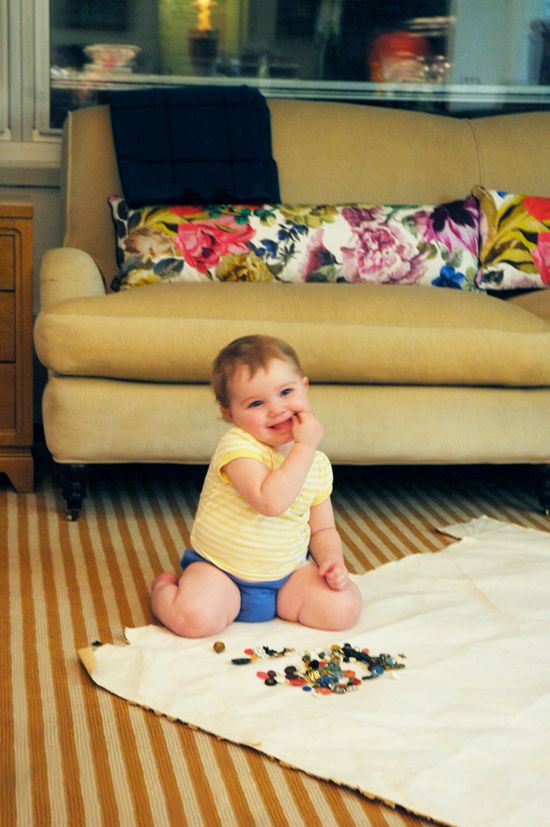
My amazing sister, Ali, was visiting us this week and I thought this would be a fun project for us to tackle together. We pulled out the buttons late one night, when Evie woke up. I got her out of bed and let her join us for a bit. She was so excited by these buttons!
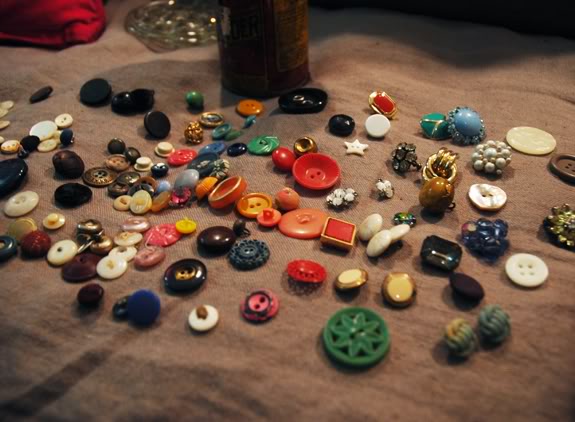
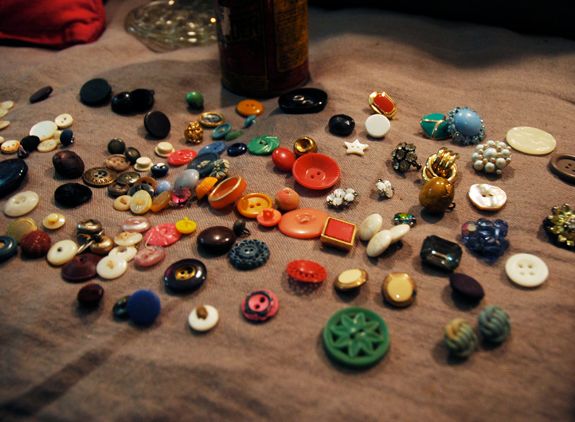
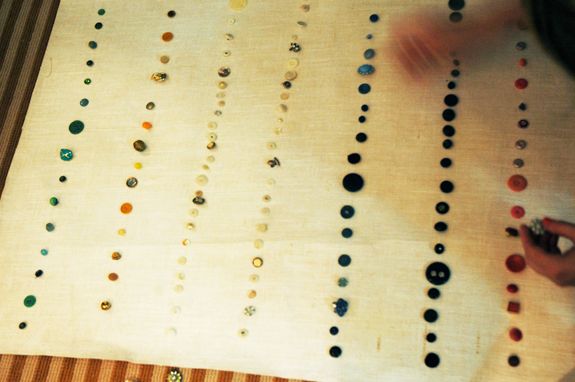
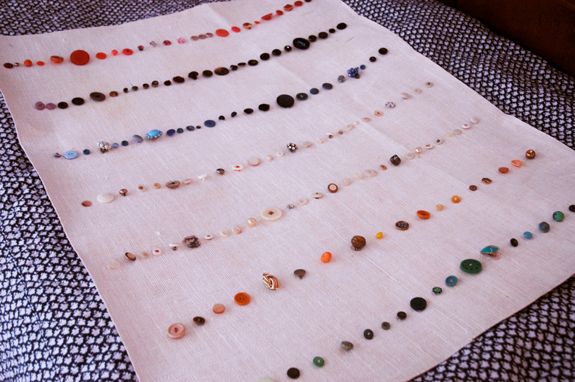
After Evie went back to bed, Ali and I got busy arranging the buttons on this interesting white burlap. It’s mounted on heavy paper and I’ve never seen anything like it (I got it at Bettertex fabrics in SoHo). It a nice heavy weight and the color is interesting with the white fibers on the yellow paper. I’m sure a stiff burlap or a grasscloth would work similarly.

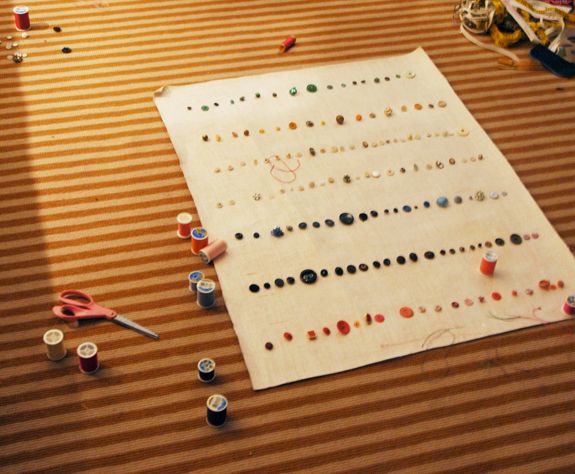
I cut the fabric down to size and ironed it flat. Then we arranged the buttons by color in horizontal lines, but tried to be a little loose about placement so that it didn’t look overly thought out.
The top row is green, then yellows/golds, two rows of whites and creams, blues, blacks/browns/purples and then reds/pinks.
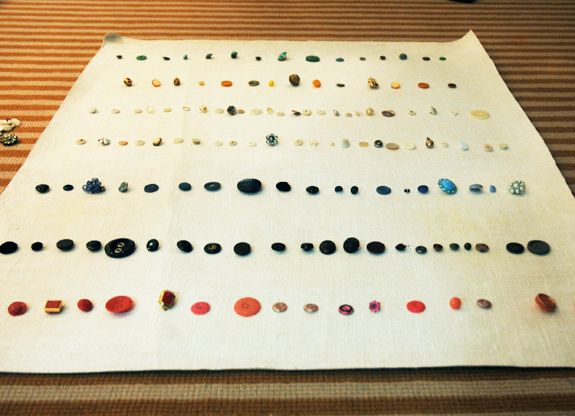
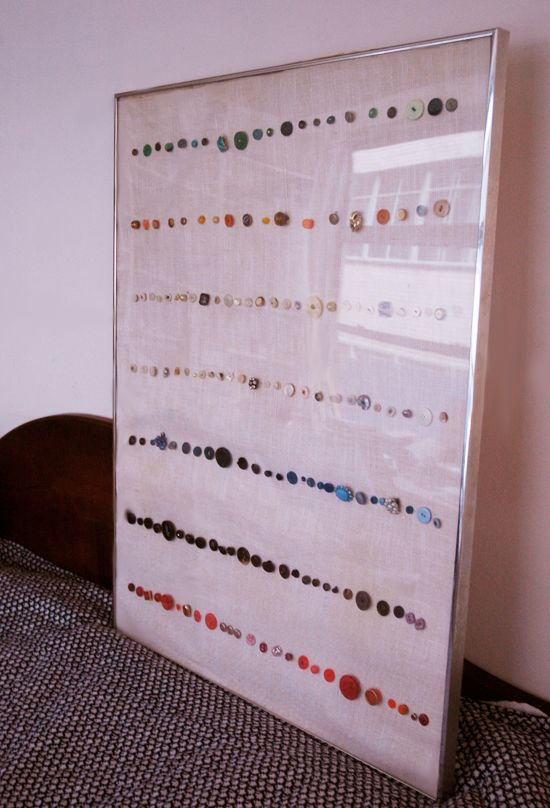
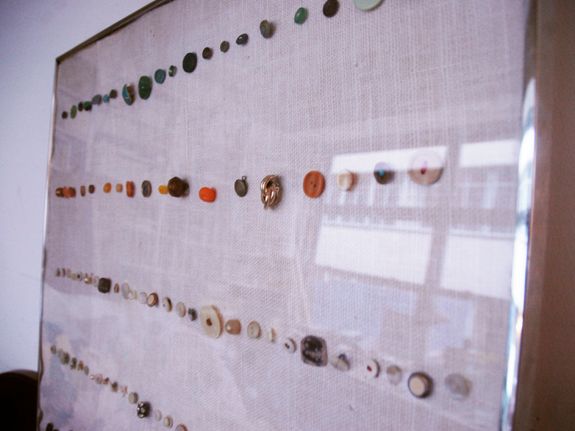
I’m happy with the way this easy project came out. I like that it is colorful and has great texture. And I love that it is something that can be studied. There are lots of pretty and unique buttons. Many of them are connected to childhood memories I have of my grandmothers.
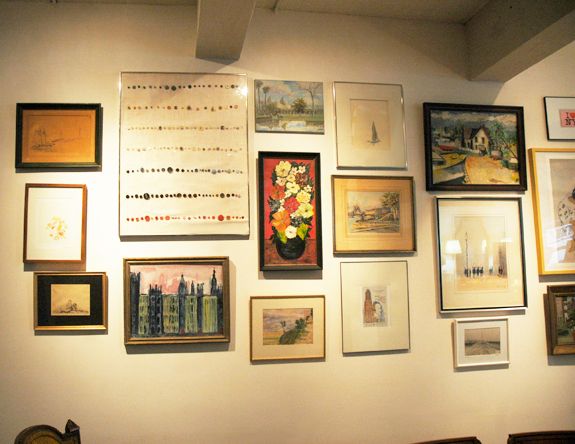
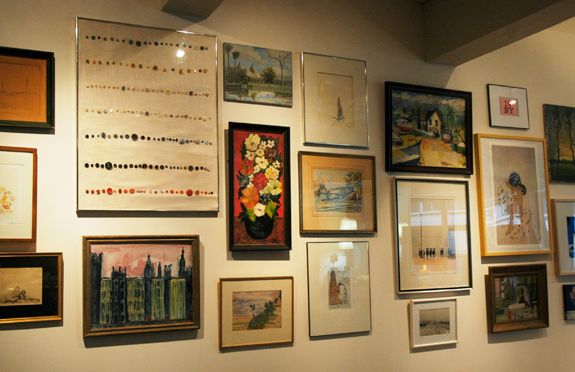
This space is still very much a work in process, but the buttons are a fun, graphic addition. Seeing them every day makes me smile.


So cute, simple buy very stunning.
Love it.
you hit it on the button.
love it.
pve
Jenny, I love this idea – simple but impactful and oh so meaningful!! I'm saving this one in my inspiration files!
Jenny, I love this project on so many levels! What a lovely addition to your wall gallery too.
What a gorgeous way to remember someone special. I love your idea so much. Your gallery looks lovely.
This looks great! I love all of the textures and what a nice way to remember your grandmothers.
I love this idea! I wish I had some heirloom buttons sitting around…I am sure I could conjure up some that have fallen off some clothing :) Looks great on the gallery wall!
http://www.sadieandstella.blogspot.com
It turned out beautifully. I like how you arranged them by color. It must be fun to look at!
I love it!!! So stunning and so meaningful! You will treasure this piece forever and the time you spent with your sister making it!
xoxo
MPM
What a beautiful piece of art, and I love the story attached to it. Great job!
what a beautiful idea and totally unique artwork..looks fabulous mixed with the rest of the art! great job, jenny..have a lovely day..do visit my blog when you have a moment..xx meenal
what a great idea. I love how it turned out.
I LOVE this! I have a box full of buttons from my grandmothers, great aunts etc and this is such a great way to use them!
Jenny, that is so special. What a treasure to look at everyday. Love how the gallery is looking.
i, too, have a box full of my grandmother's many interesting buttons! wonderful and thoughtful idea.
Looks like the perfect addition to your gallery wall!
I really love this, Jenny! I love the combination of the way you laid out the buttons, the texture of the background, and the simple aluminum frame.
What a cute project. I wasn't sure about the buttons since I'm not much of a buttons kind of gal but I love how it looks in your collage. You made it a bit fresh and modern, how about that! Thanks for the idea.
http://thecubaninmycoffee.blogspot.com/
XOXO, Whitney (the cuban in my coffee)
Gorgeous! I'm going to have to remember this since I have a lot of my grandmother's and mother's buttons.
Love it! What a great idea. I am a sucker for sentimental artwork, I have some of my grandfather's old photos in my house.
What a fantastic way to display meaningful family heirlooms. Beautiful, Jenny, as always. Oh, and Evie is ADORABLE!
Unbelievable. Now don't I wish I had done this with my grandmothers stash of old buttons!! It looks just amazing on the wall. Janell
What a cute idea! I also love that you glued them :)!
–Courtney
Fantastic idea! I love that you will always have the memory of making with your sister ( and sweet Evie)! Stil LOVE your carpet!!!
Your daughter is adorable! I like your graphic take on the buttons. I collected buttons for awhile and always intended to frame some, reminds me that I should.
What a lovely way to show those buttons. And your gallery wall is simply amazing!
Brilliant idea! And now these precious buttons are safe and sound, in a lovely display. So pretty.
I can't believe it's been almost a year now. I Love this idea to showcase button and what a great way to tell your kids about their great-grandmas. Happy and simple. and I'm sure grandma would love it, too. : )
A.M.A.Z.I.N.G!!!!!!!!!!!!!!!!!
Love the graphic, modern look using things from your family history!!! Wow!
Love this concept, and it could be done with many different types of heirloom pieces, such as broaches, hairpins, or even beads. I see it as a a modern twist on quilting, by combining individual heirloom pieces you have created one beautiful, cohesive piece. Great idea and thanks for sharing!
I love anything to do with buttons, specially old buttons! Nicely done!
OOOOOOOH this was a GORGEOUS project!!!!!
Looks amazing!! And such a special piece to hand down to your girls someday…
There you go again. So perfect. Want this in my home!
Love this, first because it is so meaningful, and second because it is so very pretty!
ARE YOU KIDDING ME?!?!?!?!?! Why haven't you done a post yet on the wall art in the dinning room?!?! I am sooooooo in love with gallery layout! OK, I don't think that I can make it through two weeks till I move out there!
BTW I love this project. I think that it's the perfect way to remember the Grandmas.
Fantastic idea. My grandma also passed away in the fall and I asked for some of her buttons! She had a fantastic collection of gorgeous mother-of-pearl buttons. I should get a shadow box and do the same!
Thanks for the idea. Love your gallery wall by the way! {and that lumbar pillow on your sofa – gorgeous!}
A wonderful and unique project. I absolutely love it. And the pictures of Evie are precious. Thank you for sharing this!
I have jars full of buttons from my Nana and my Mom too! That's a great idea!
Oh Evie is so adorable! Thanks for sharing this awesome project – love your gallery wall- so inspiring!
LOVE IT! It looks amazing on your gallery wall! I found an etsy artist who does button/bead artwork- so pretty!
http://www.etsy.com/shop/NicoletteTabram
Love it!
Love it!
What a great idea! Looove your gallery wall and I think the button art makes a nice addition!
I inherited all my Grandmothers tea cloths she embroidered while she was pregnant with my Dad but have never figured out a way to display them. Thanks for the ideas!
I like this clever idea! I think it would also work with any other types of collections like stamps, coins etc.
such a great idea! i predict this will start a mini-trend.
Gorgeous DIY and gorgeous child. Well done on both. :)
this is so delightful!! loved all the photos and the outcome is really charming.
Wonderful! I love how you took the antique buttons and made the whole thing look so modern and fresh by color blocking them and putting them in the simple silver frame. Gorgeous! I have my grandma's buttons, too. I love them so much; I might just have to copy this idea.