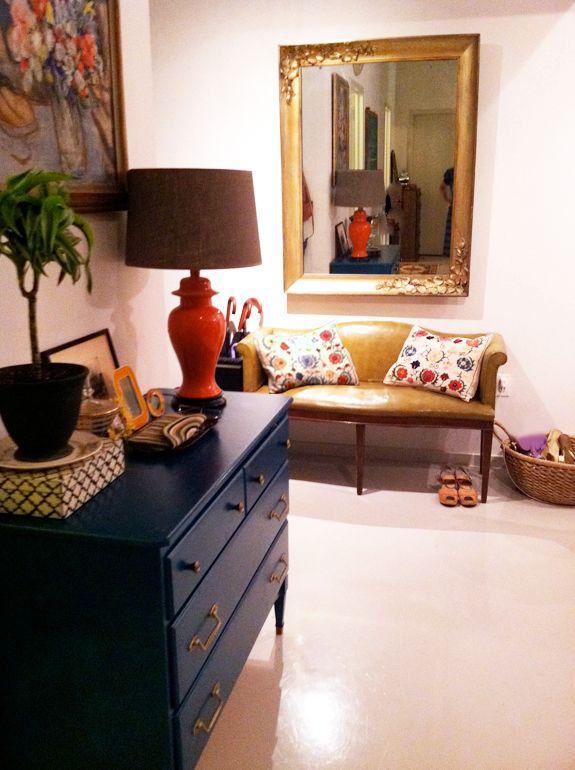
Update: Welcome, D*S readers! If this is your first time visiting my site, you can read a little bit about me here. I hope you look around and decide to stay a while! By way of a quick introduction, here are a few of my recent projects:
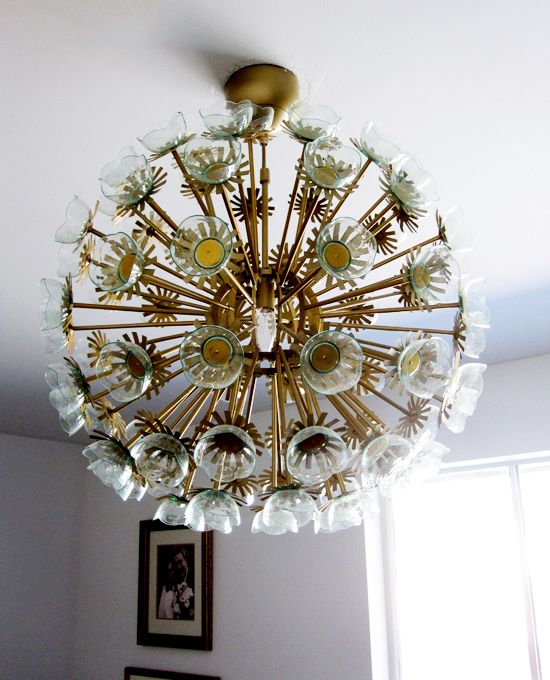
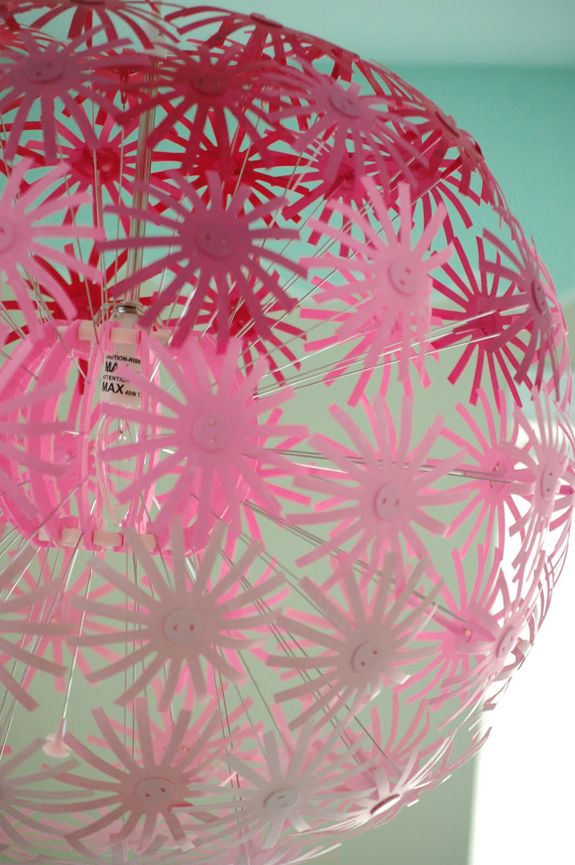
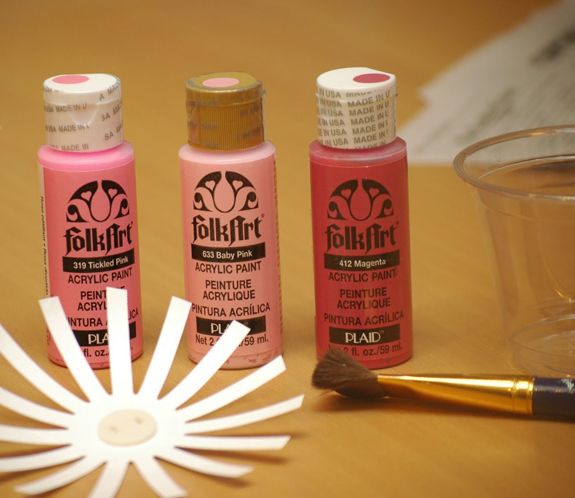
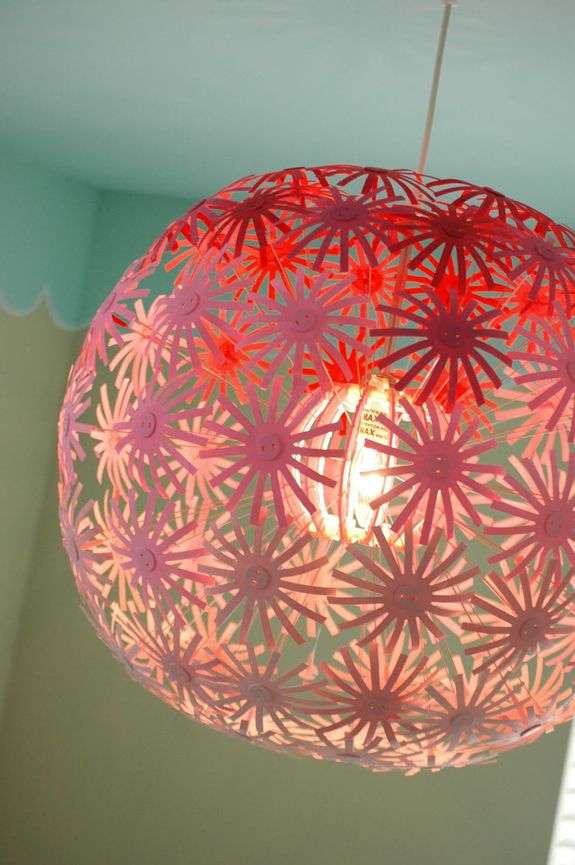
– DIY Sputnik chandelier
– Antique dresser as a kitchen island
– Heirloom Button Art
——————————————–
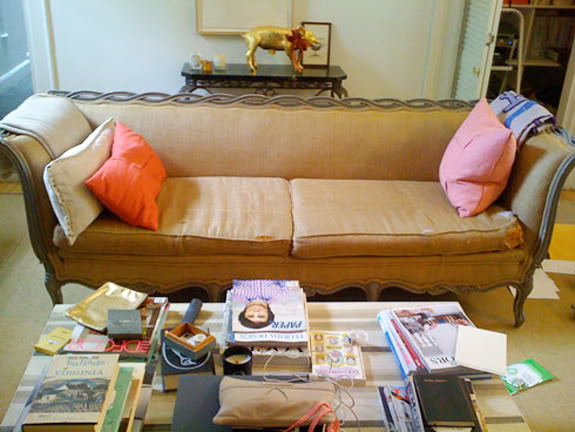
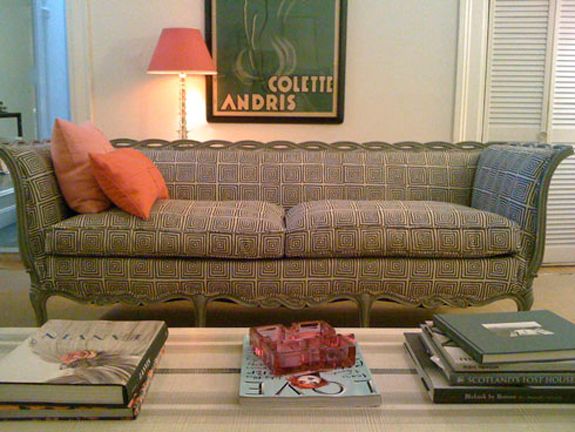
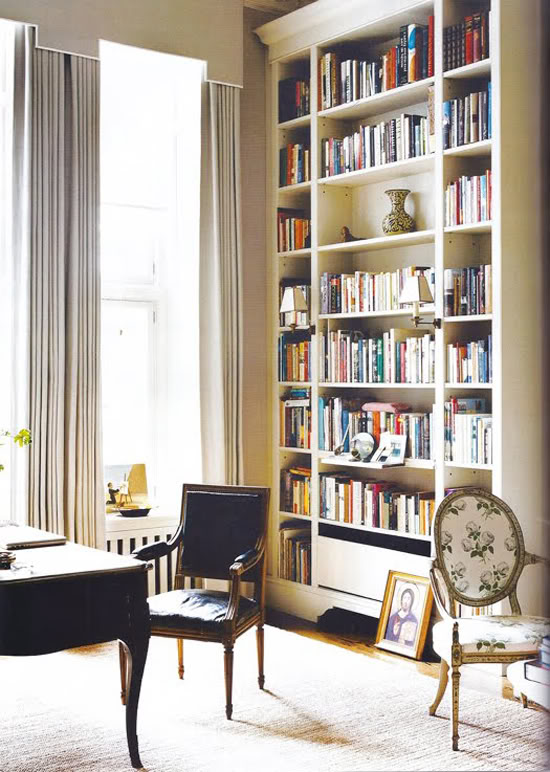
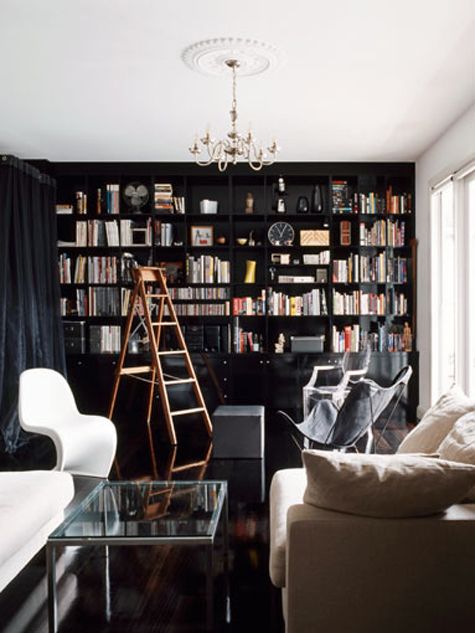
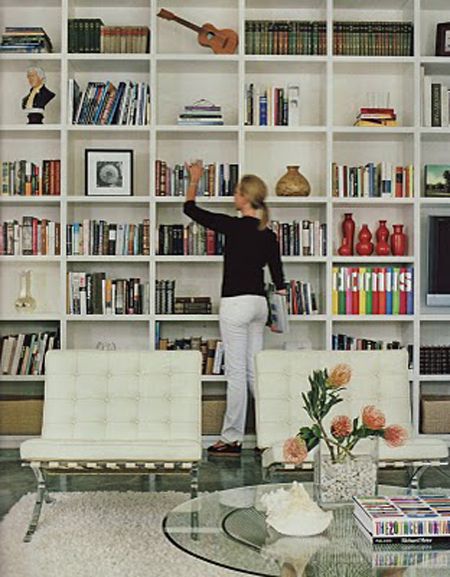
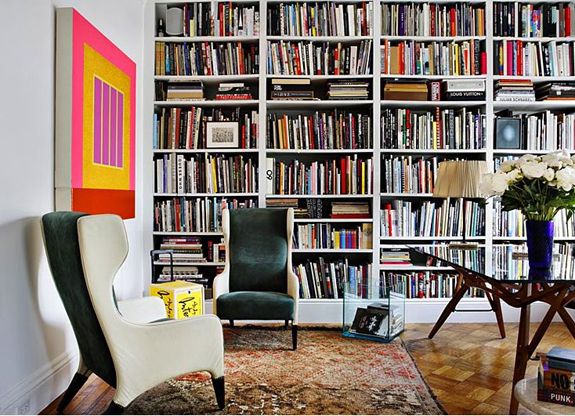
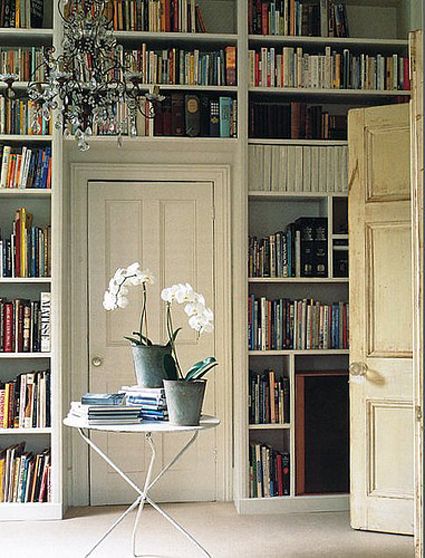
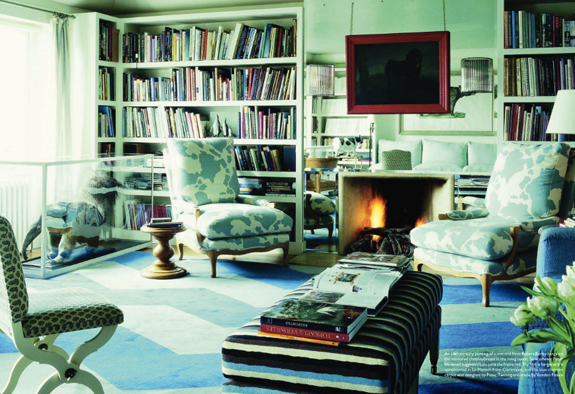
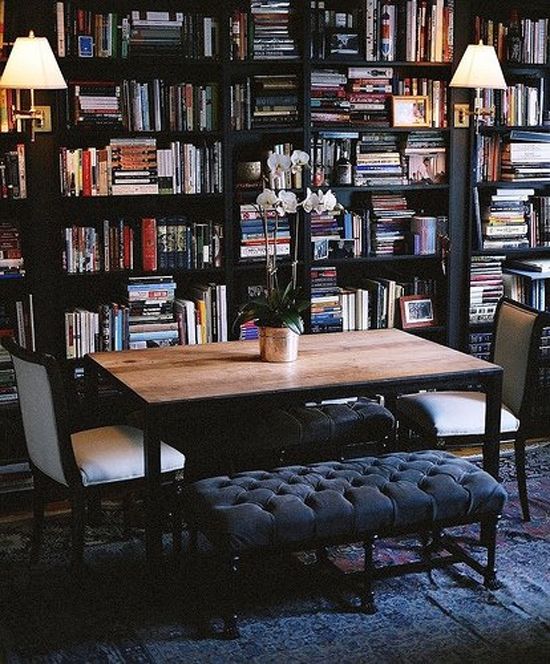
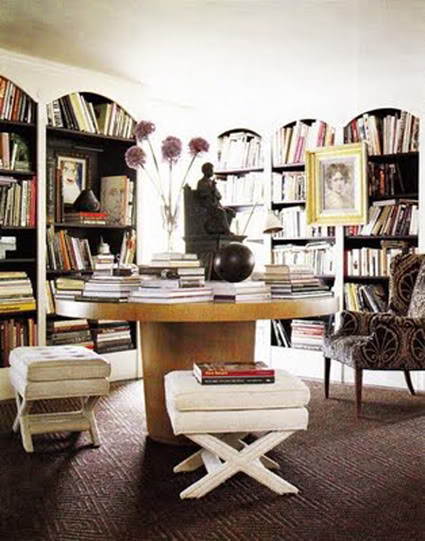
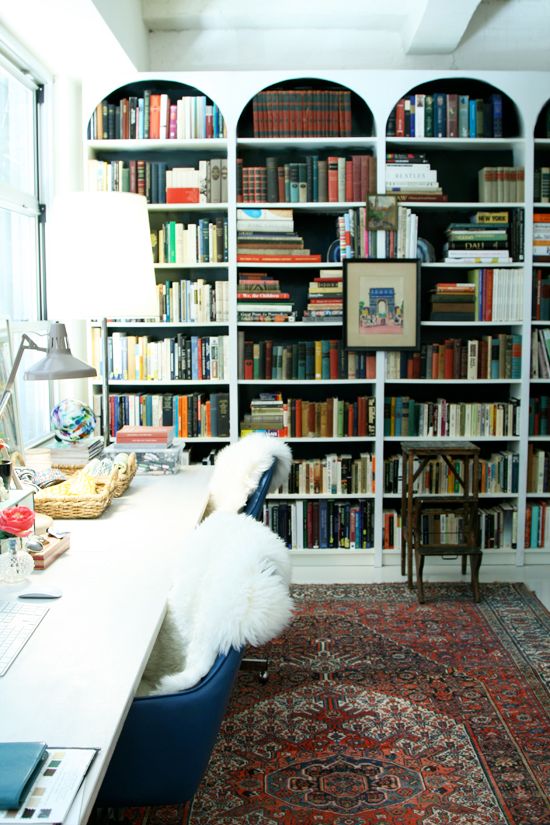
Remember this post where I shared my love for arched bookshelves?
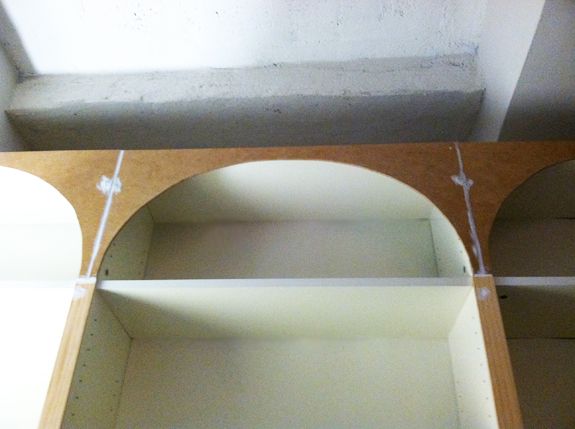
We decided to put a wall of bookshelves in my office, so it would sort of feel like a library. We already had two white Billy bookshelves from IKEA, so we bought two more for $50 each, and then eight $10 extender shelves, so that the shelves would go up really high. I wish we could have gone all the way up to the ceiling for the true ‘built-in’ look, but the rafters in our loft made it tricky.
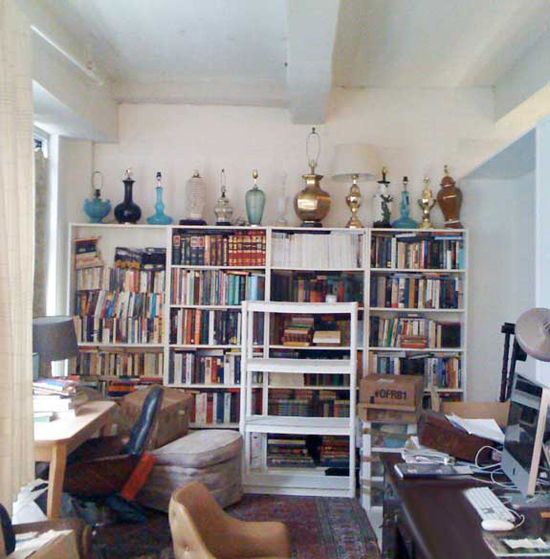
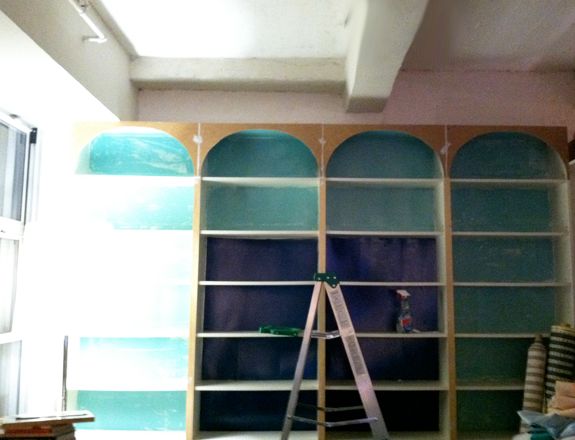
This is the super sad before photo from the week we moved in:
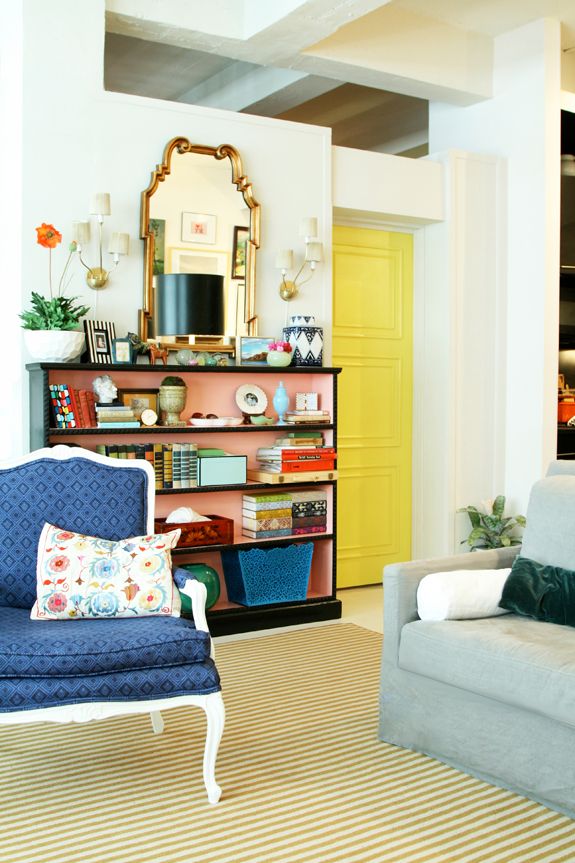
And now:
It was a crazy-easy project! (I know I always say that, but it’s true!) Here’s the break down:
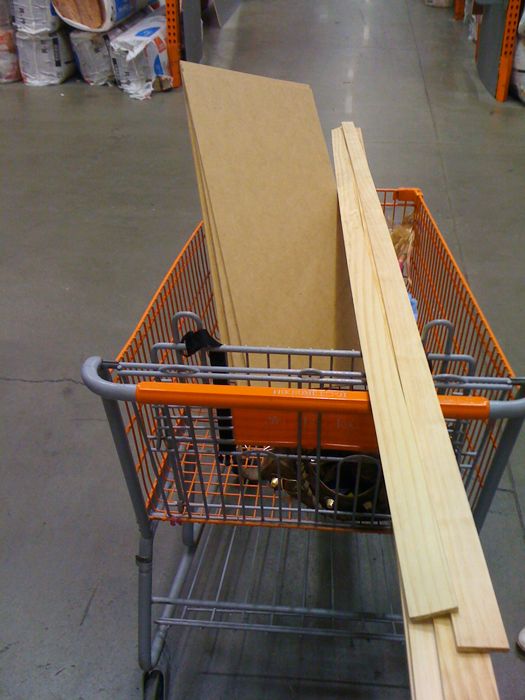
I went to Home Depot and had four pieces of 1/4″ thick MDF cut in to 14″ x 32″ rectangles. While I was there I also picked up three 8′ lengths of 1/4″ thick x 2″ wide and two lengths of 1/4″ thick x 1″ wide flat trim moulding.
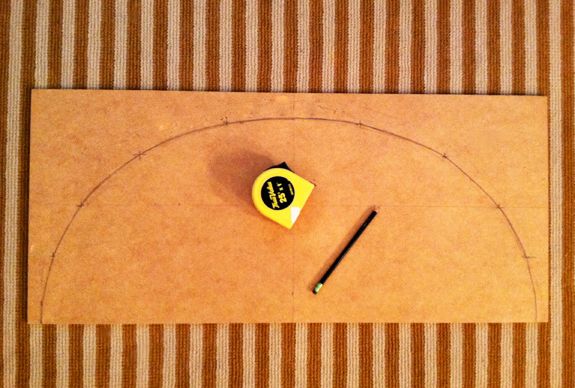
When I got home I sketched out my first arch one of the MDF pieces. If you’re not comfortable with measuring out and eyeballing this step like I did, you can use a flexible curve to give you a more exact curve.
To get arches that look like mine, the top of the curve should be about two inches from the top of the MDF rectangle. No matter how high your arch is though, you’ll need the bottom edges to be 1″ wide.
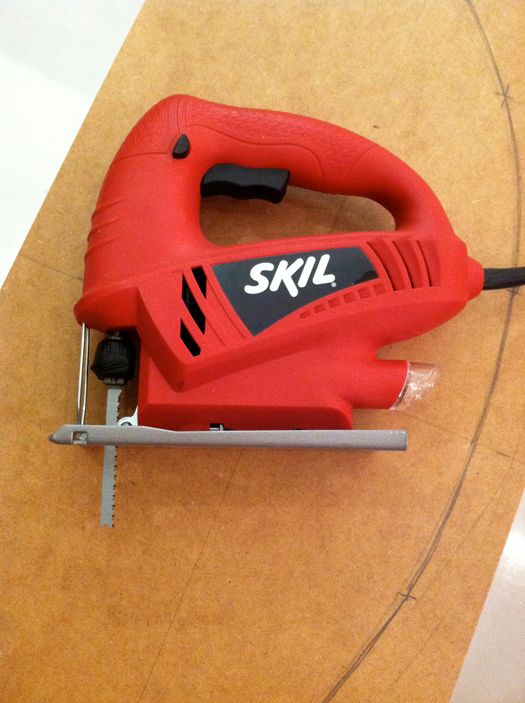
If you are new to the world of electric wood cutting tools, I think the jig saw is a good place to start. I have this $30 model and it works great. My advice here is to go slow and cut carefully. If you start to move off your line while cutting, slowly readjust back to your line. The goal is as smooth a curve as possible, so try not to jerk back to your line.
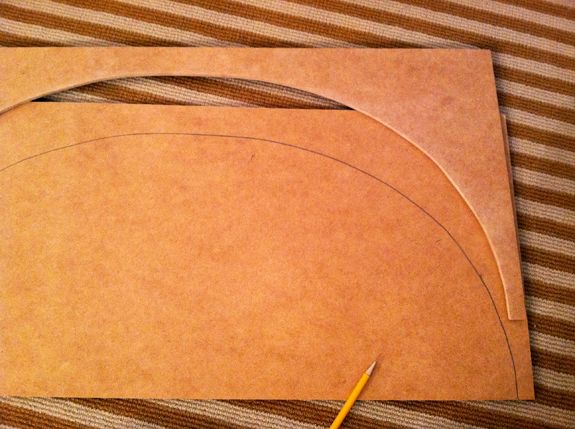
I used that first cut out arch as a template for drawing my other three arches. It was an easy way to make all the arches identical.
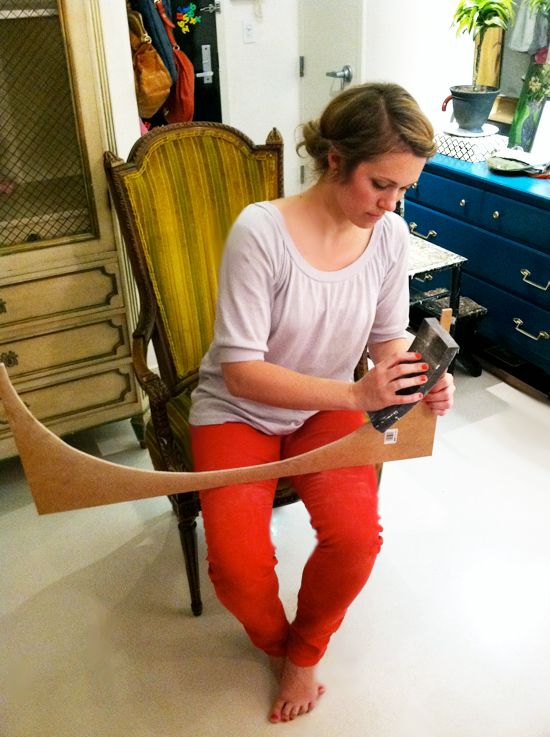
After all the arches were cut out, I hand-sanded the arches a little, just to smooth out some imperfections. I love those big double wide sanding blocks! They last forever.
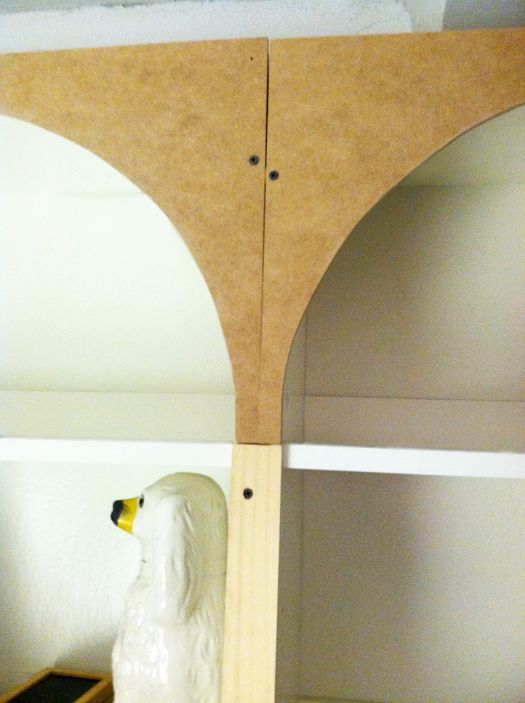
Michael helped me hold up the arches while I drilled in a few pilot holes and some dry wall screws. It’s a good idea to really get those screws in flush with the MDF or even counter-sunk so you can’t see them later. We installed the flat trim in the same way.
The idea is that the 2″ wide flat trim covers where the bookshelves butt up to one another. The 1″ wide flat trim is for the too far ends of the bookshelf walls.
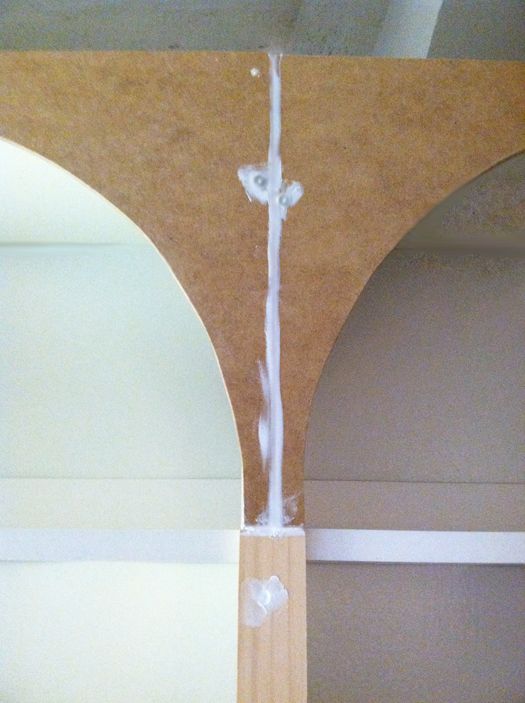
I used white latex caulk to fill in the holes from the screws and to fill in the cracks.
We’ve had two of these Billy bookshelves for like six years or something (you can see when I first painted them peacock blue
here), but the other two shelves and all of the extenders needed to be primed and painted.
IKEA laminate is HORRIBLE to paint. It’s seriously like paint-repellant. It took me three coats of primer and three coats of paint+primer to get full coverage on just the backs of the shelves.
It was worth it though. I love the contrast! The dark green, almost black, paint really makes the crisp white arches pop.

We let the paint dry for a day or two and then started filling the shelves with books.
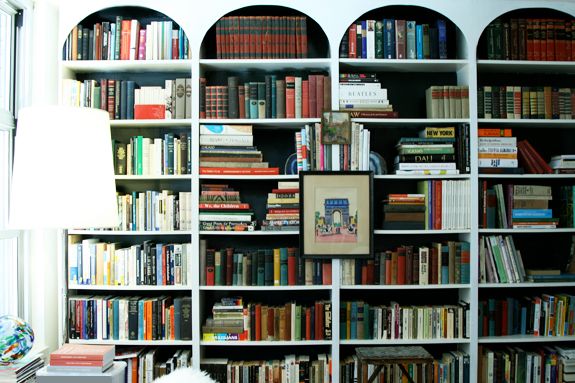
It’s all pretty loosely arranged right now, but I’m cool with a work in process.
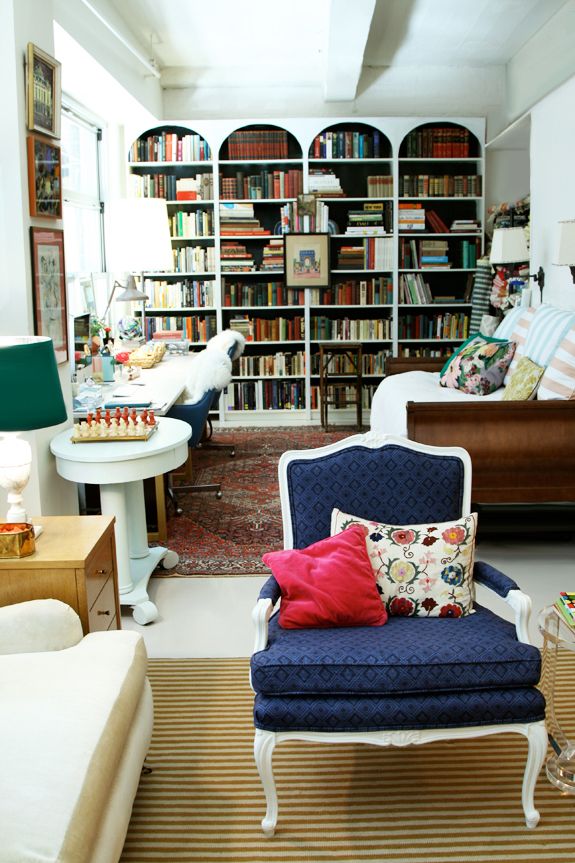
My husband loves books more than just about anything and I have a pretty big collection of books myself. So this was a really fun project for us to work on together. He’s a big fan of the arches and it’s fun to finally have a wall of shelves big enough to store all of our books.
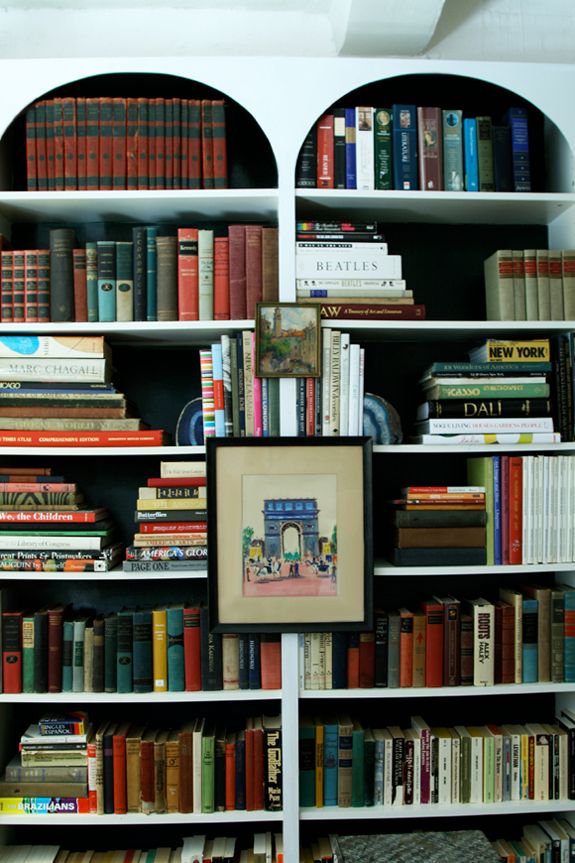
P.S. If you’re curious how I hung the art on the fronts of my shelves (without damaging the wood!) check out
my post on Babble today.
PPS In yesterday’s Babble post I shared my secret weapon for productivity: Teux Deux!


