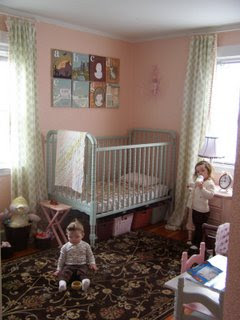
When I caught my four year-old gazing longingly at PBK and Serena & Lily catalogs, I knew that something had to be done about her boring bedroom. Both of my girls love color. They are girly, but not too girly, so an all-pink room wasn’t going to do.
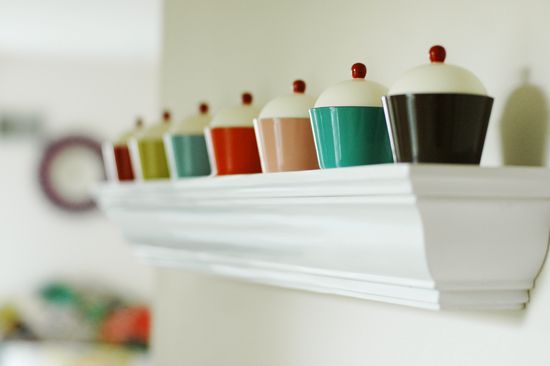
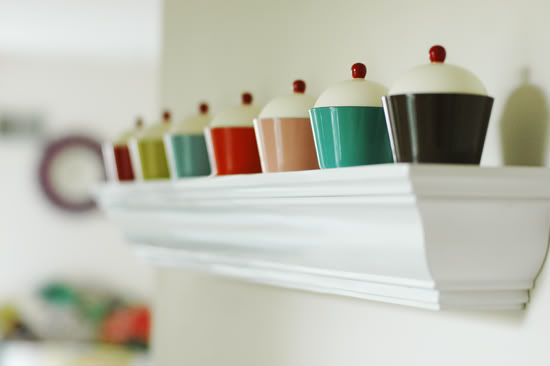
Cupcake jars purchased 50% off at Rose and Radish
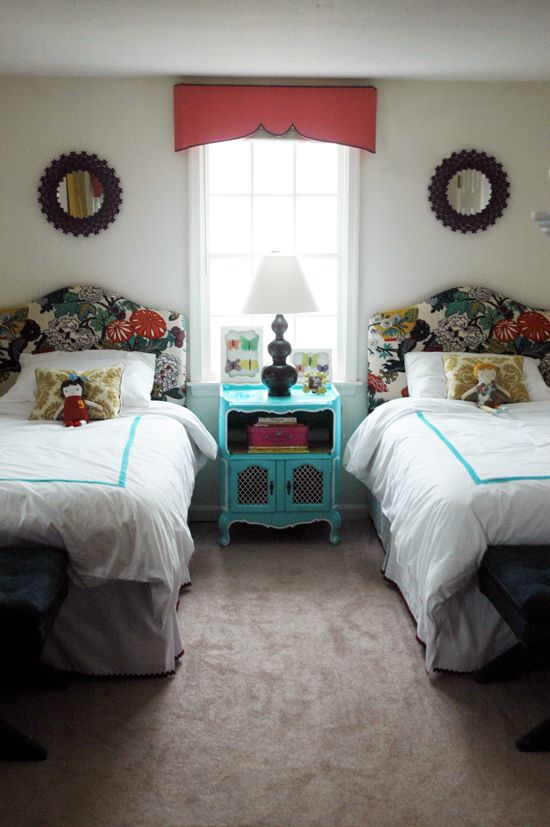
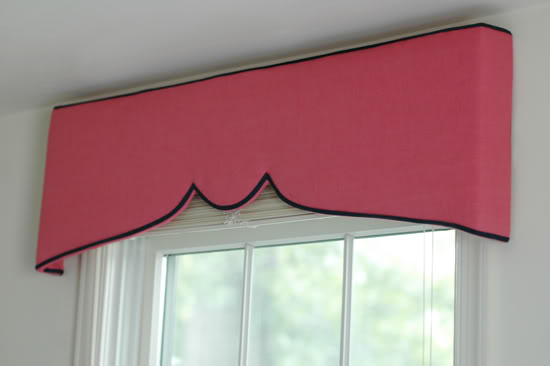
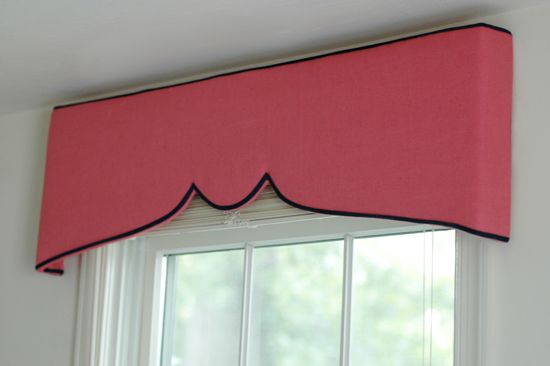
Here’s what we came up with on our very (very) small budget:
I already mentioned that I did a lot of the ‘shopping’ for the room in our basement storage area. It was fun to work with things I already owned.
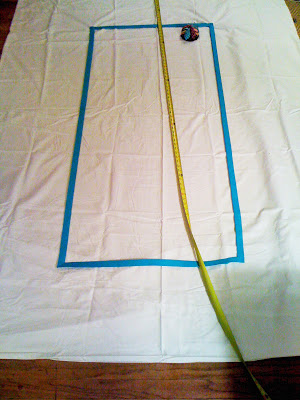
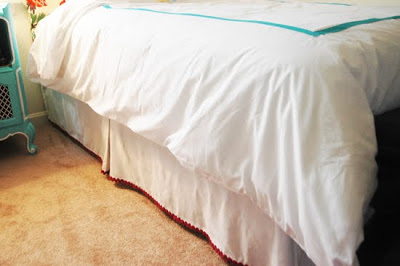
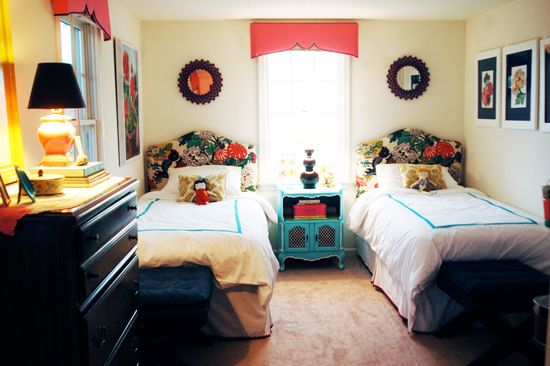
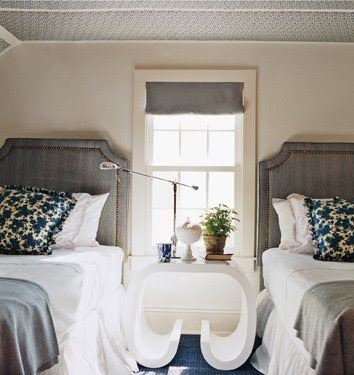
I really wanted new duvet covers for the twin beds – something simple and mostly white, but with a colorful trim that matched a color in the Chiang Mai headboards. I could have just bought some bedding like this from Pottery Barn, but I figured I could save myself a few hundred bucks and just get creative with a pair of all-white duvets we already owned and some turquoise single-fold bias tape.
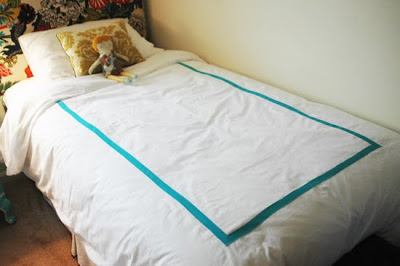
The sewing is not perfect, but the result is honestly better than I expected. I like the punch of color in the sea of white bedding.
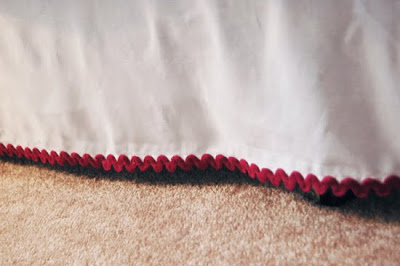
While I had the sewing machine out, I added a few yards of dark purple ricrac to the bottom hem of my cheap Target bedskirts.
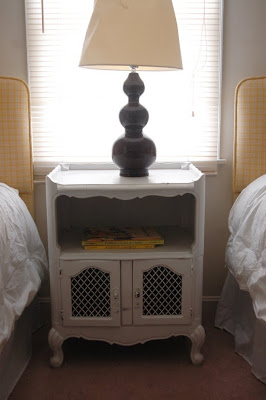
I bought this cute little french nightstand at a vintage shop a few years ago. It’s seen better days and badly needed a paint job.
I went with turquoise again and trimmed out some of the moulding details with white paint.
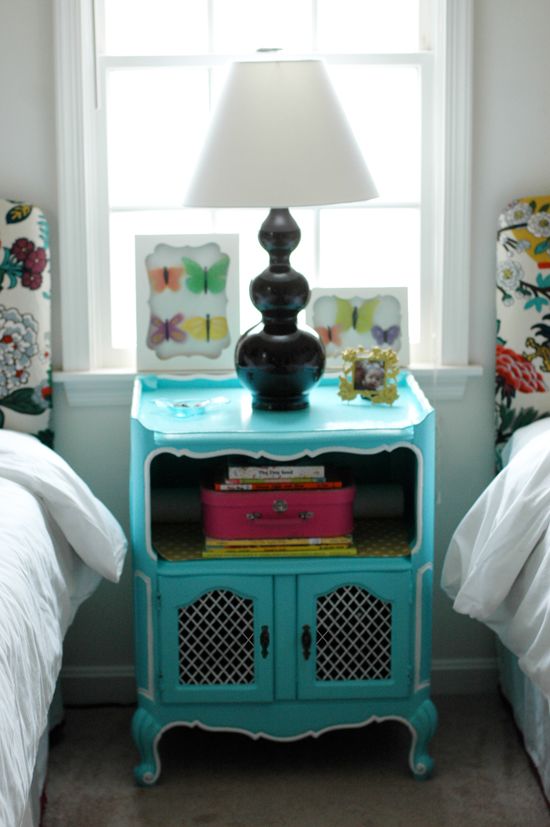
Michael’s had a bunch of the Martha Stewart collage frames on clearance a while back and I finally decided to do something with the two that I picked up. It was fun looking at pictures of butterflies with my girls and picking out shapes and colors to mimic using vellum paper.
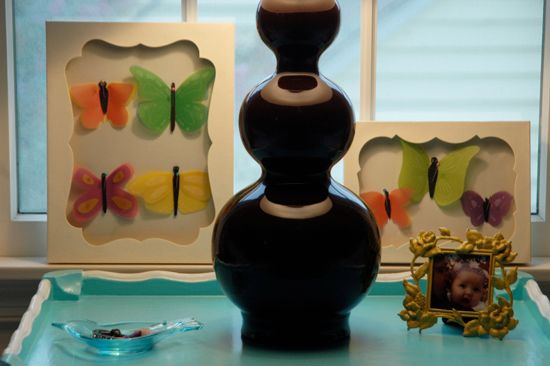
The lamp was $18 at HomeGoods, and while that price included a nice shade, it was badly damaged in our move (see before pic), so I had to buy a new shade at Target. I’m loving clean parchment shades these days.
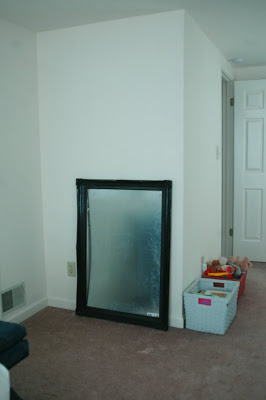
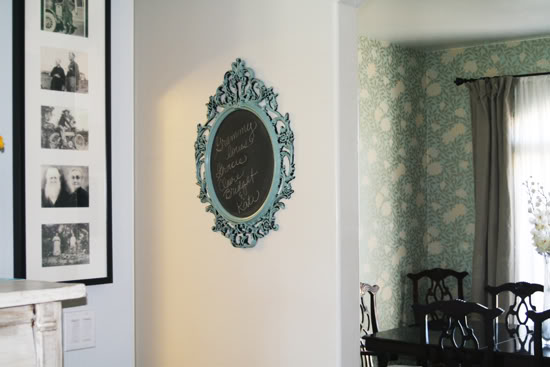
On the opposite wall from the twin beds, I reused a large frame and a piece of sheet metal to make a chalkboard. Here’s the before shot…
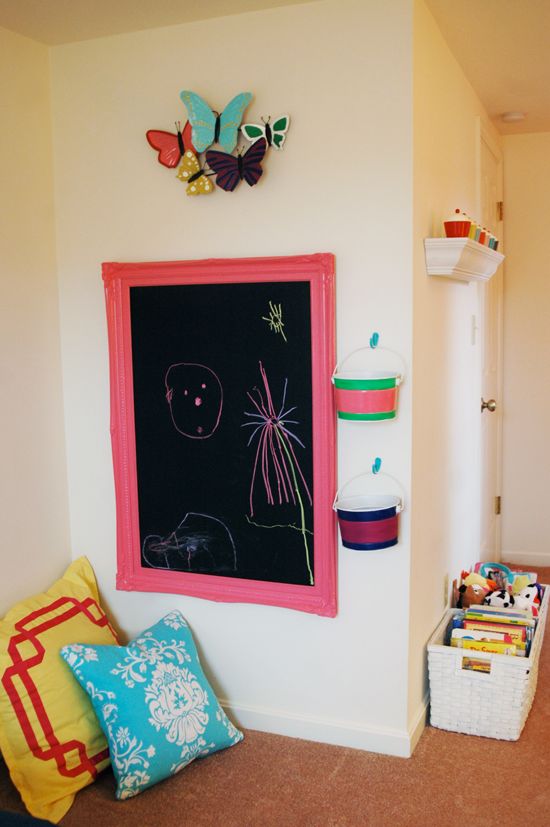
I mounted it low on the wall for easy kid access and also hung some freshly painted galvanized buckets filled with chalk. The floor pillows are from HomeGoods and Target. Above the chalkboard, I hung a metal butterfly wall sculpture thingy from Target’s clearance aisle. It was all black metal when I bought it a few days ago, but I (shocker) decided to paint the butterflies.
Years and years ago in college, a roommate gave me a paper star chandelier. It’s been in storage for a long time and I’m so glad I thought to dig it out for this project.
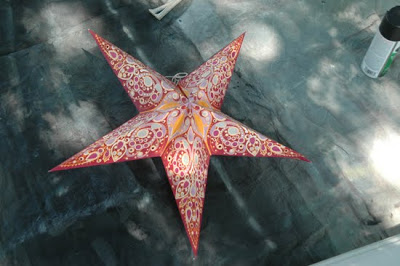
The colors weren’t right for the space, so I painted it white and now I love it in the room.
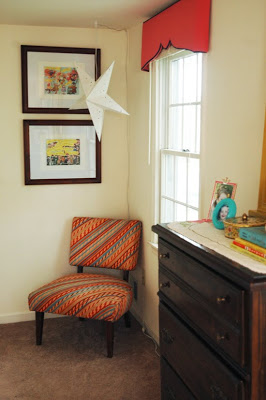
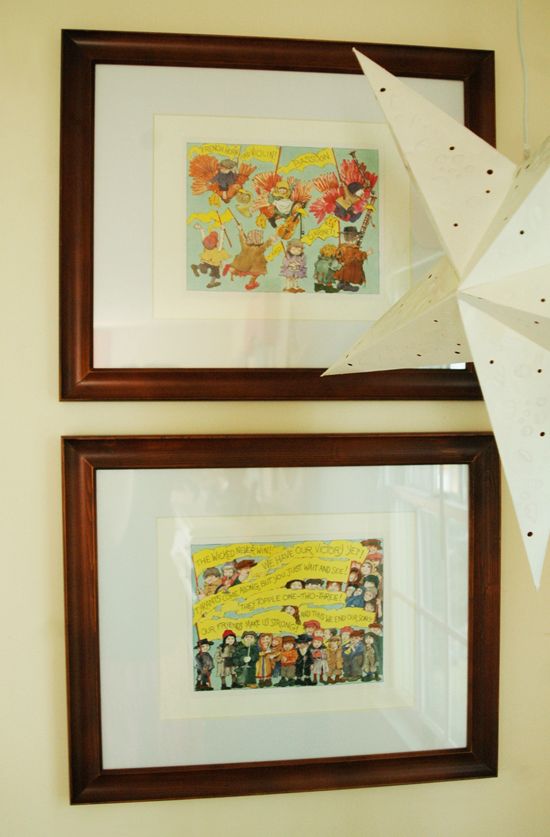
The star hangs over a striped slipper chair we found just sitting in our basement when we moved in and some framed pages from a favorite children’s book, Brundibar.
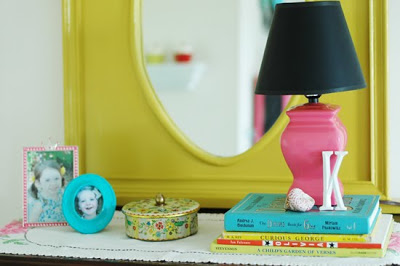
Also from our storage supply was this white mirror I bought a very long time ago at Nordstrom (well, really, Last Chance for all you AZ natives) for $20.
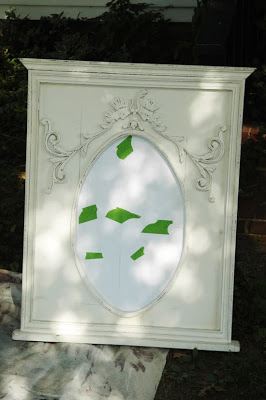
The old paint finish was a little too shabby chic for my taste, but I decided that yellow would be just the right pop of color for the above the dark brown dresser (which we can’t paint). In this picture you can also see what the white star looks like when it’s lit up. It’s the perfect night light for my girls – my two year-old calls it Twinkle-Twinkle.
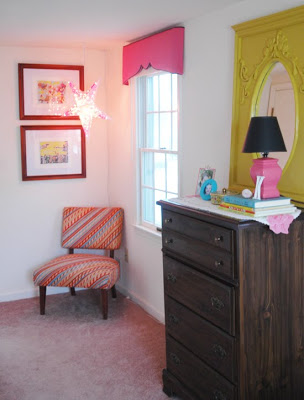
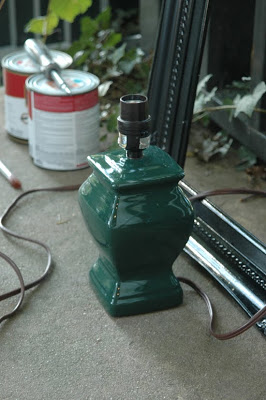
The little pink lamp on the dresser used to be green. I found it at a thrift store for $0.50 and used a small brush to apply some glossy pink paint. Good as new.
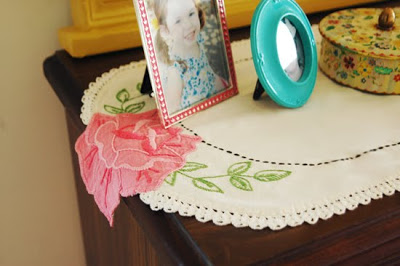
I also found the embroidered linen table runner at the same thrift store.
The room’s not completely done yet – I still have some finishing touches to make – but I like the progress that has been made since last weekend.


