
Are you ready for a crazy amount of pictures?
Welcome to my parents’ new bedroom…
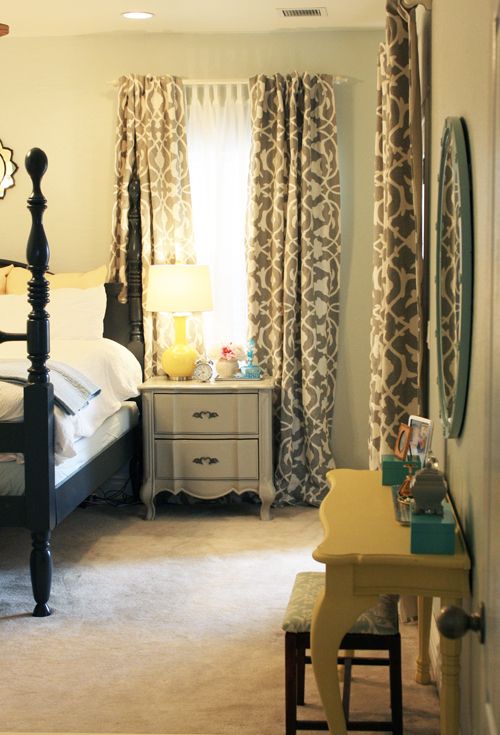
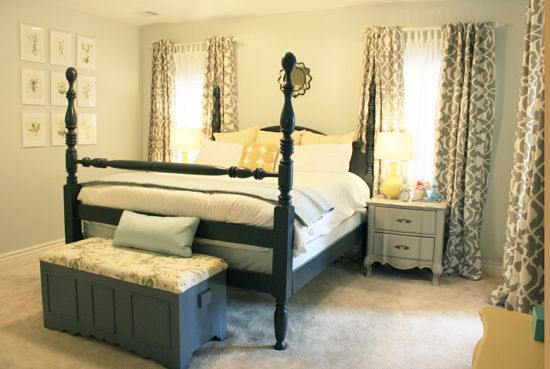
You’ve come a long way, baby.

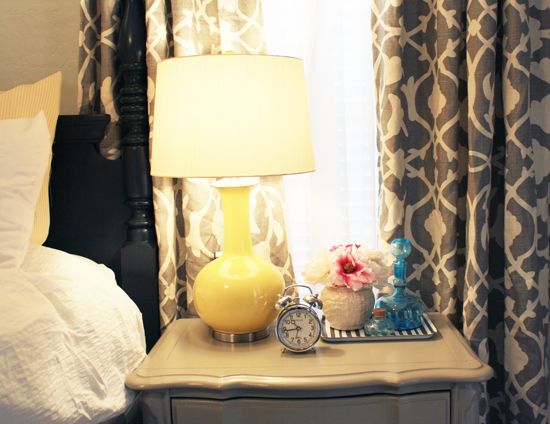
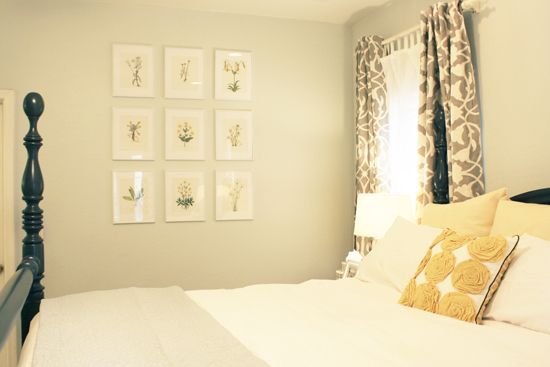
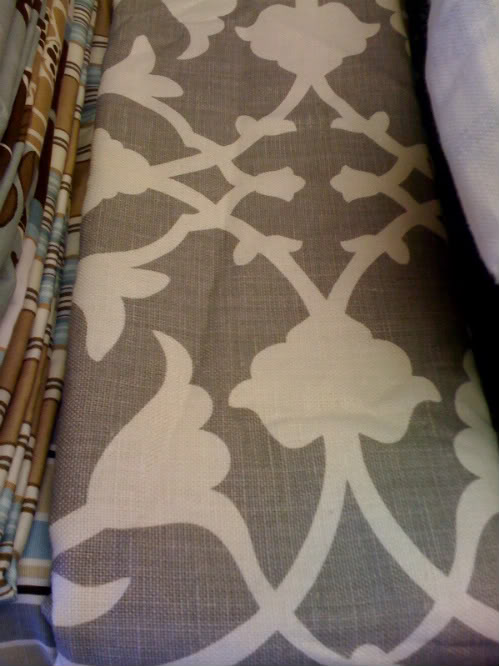
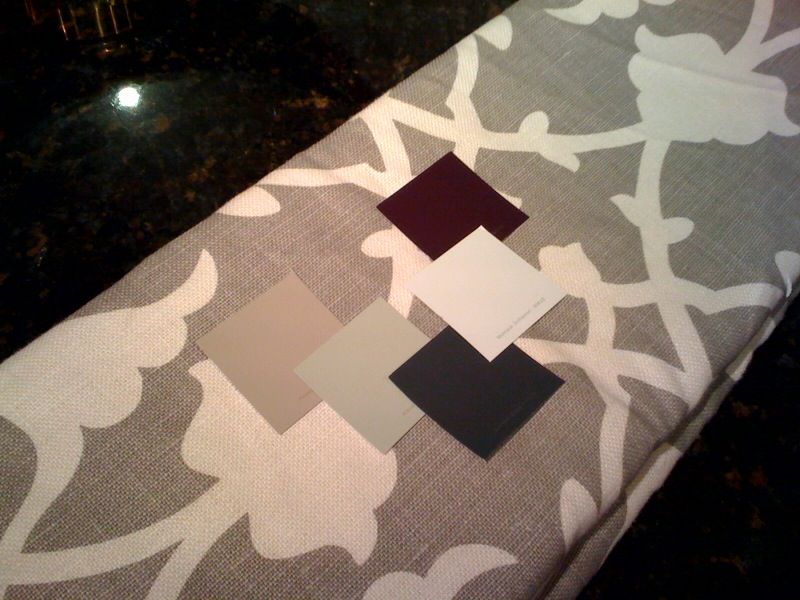
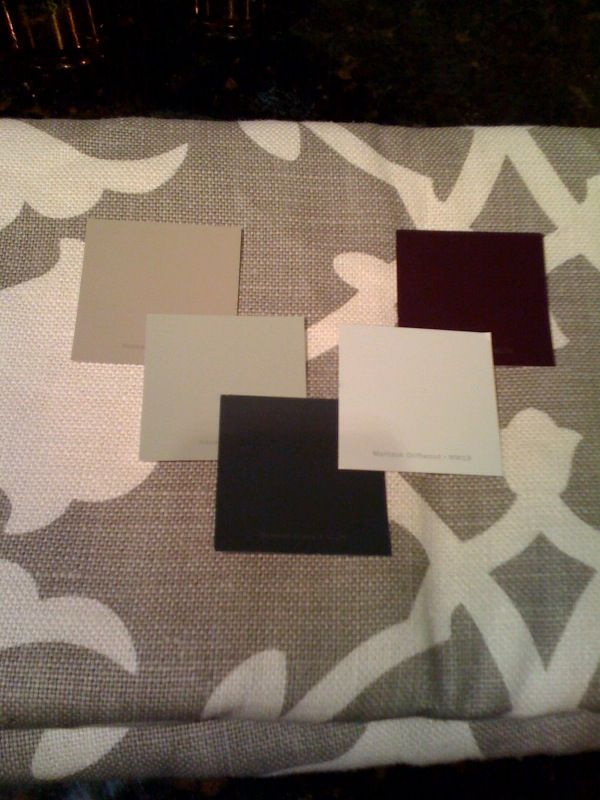
The drapes are really the focal point of the room. I love how they turned out. And the yellow Home Goods lamps really pop against them.
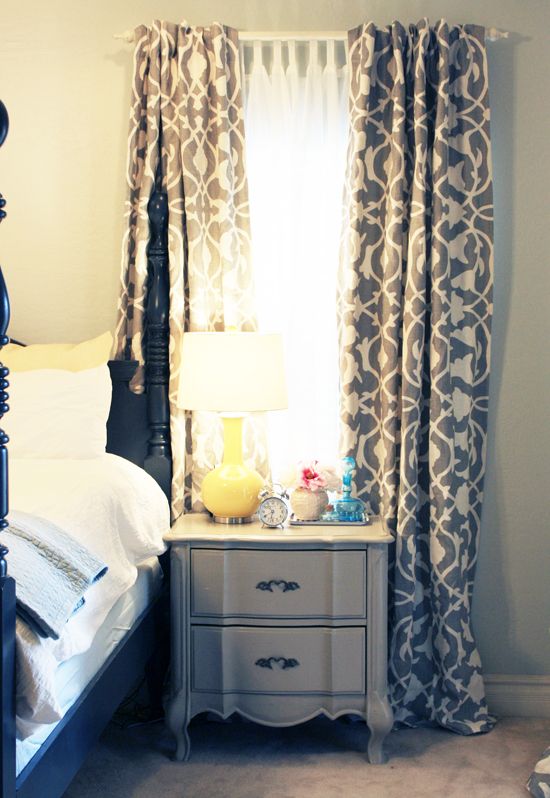
Someone asked why we didn’t buy vintage lamps and just paint them yellow. The idea crossed my mind at one point, but between the cost of lamps, paint and new shades, I thought it was a better use of our time/resources to just spend the $39 on these. Also, I wanted a ginger jar shape, or something similar, with a smooth surface. Anything with more pattern or texture would have been too much with the drapery fabric.
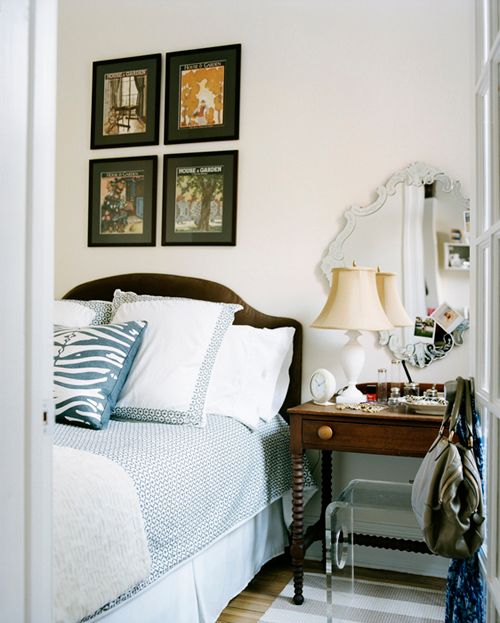
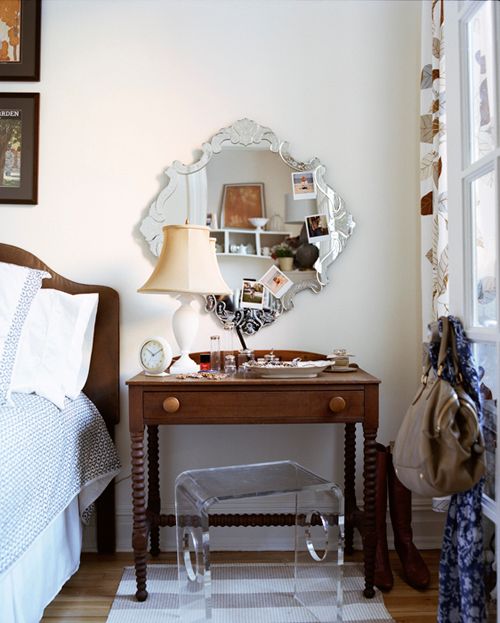
The nickel alarm clock is from Target. The blue decanters are vintage and the tray is from IKEA.
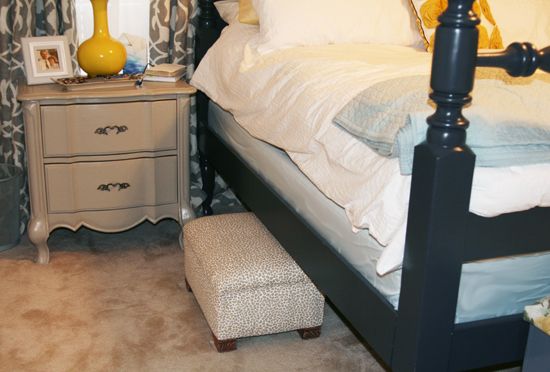
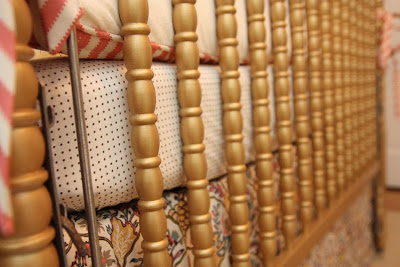
Here’s the other side of the bed. Do you spy the tins we spray painted from Home Goods? The side tables are painted in RL’s Hopsack and the bed is RL’s Smoked Glass. Many of you asked about painting the furniture here. It’s always a good idea to prime and put a coat of sealer on furniture that gets a lot of use, like bedroom furniture does. Remember that the secret to a smooth and long-lasting paint finish is multiple thin coats with drying time in between!
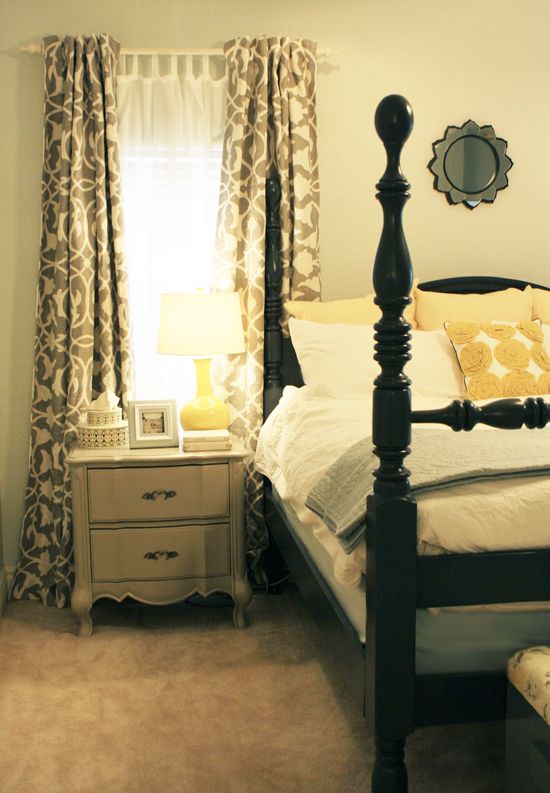
The small sunburst mirror is from the Home Goods clearance section ($10, I think). The yellow rosette pillow is by Dwell Studio for Target.
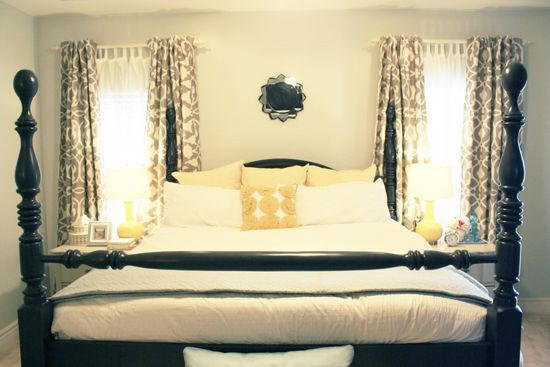
The white duvet is from IKEA. It has a lovely pleated detail that makes it look more expensive than IKEA bedding usually looks. The quilted coverlet at the foot of the bed is from Home Goods.
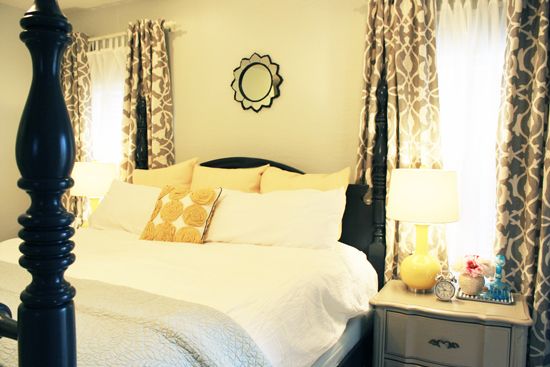
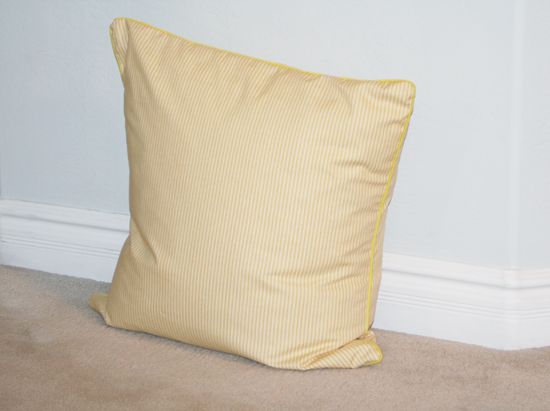
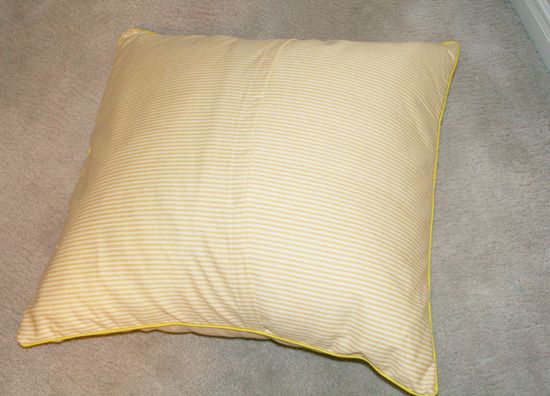
We bought the down Euro shams on clearance at Home Goods and made new covers out of the Robert Allen yellow ticking stripe from Home Fabrics and yellow piping from Joanns. Mom was so sick of sewing that she decided not to put in zippers and just made envelope slips.
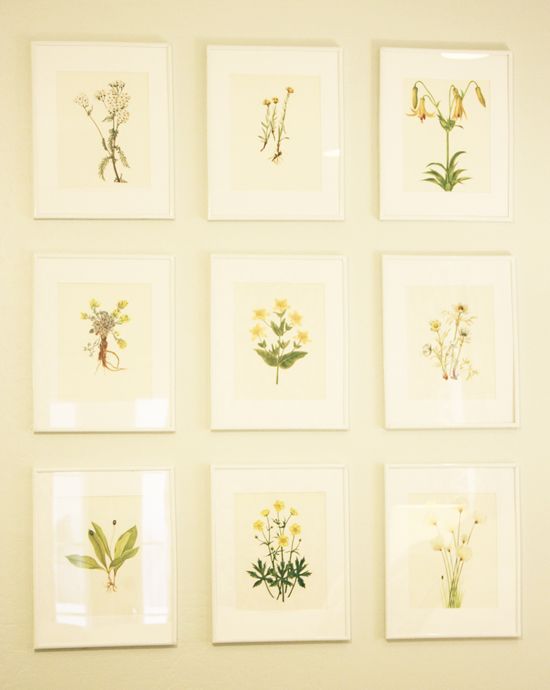
The botanical prints series is one of my favorite parts of the room.
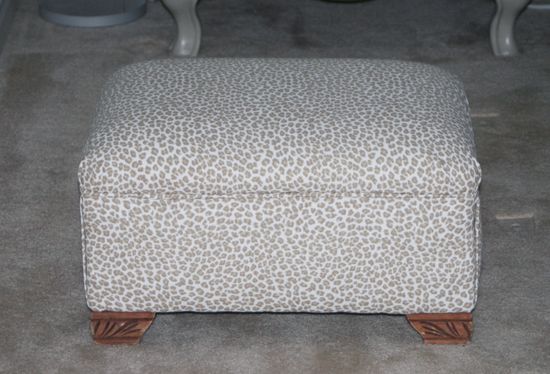
We didn’t finish this project before I left, so my mom just sent me pictures of this little footstool that she reupholstered in the subtle leopard print.
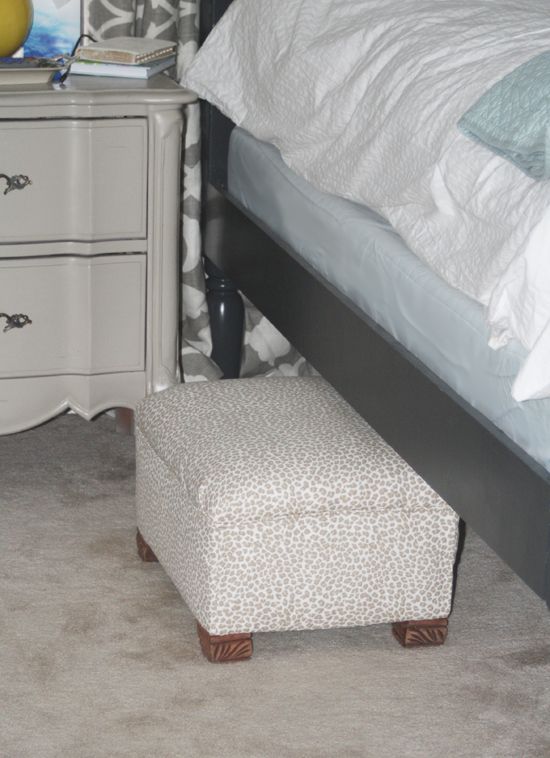
It belonged to my great grandparents years and years ago. I think my mom swiped it from our old family cabin. :)
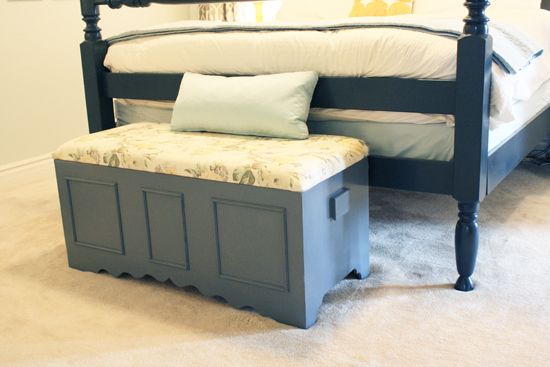
My Grandpa Russell made my mother’s cedar hope chest, so it has a lot of sentimental value to us. It really needed a paint job though.

And I think the addition of some decorative moulding did just the trick to break things up a little. We also reupholstered the seat cushion with a soft floral. The pale blue bolster is from IKEA.
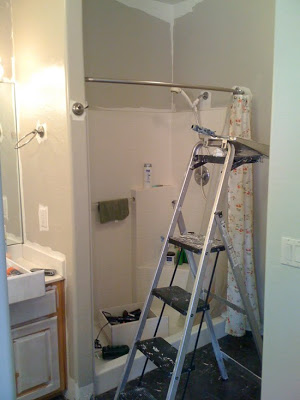
My parents’ en suite bathroom got a serious make over too.

New paint on the oak cabinets (Zinsser primer first, then two coats of Martha Stewart’s River Mist).
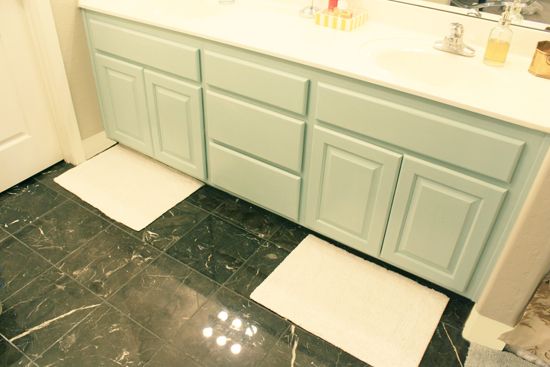
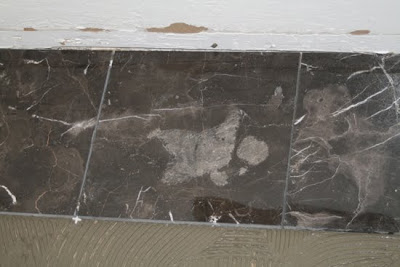
New black marble floors. Bath rugs from Home Goods.
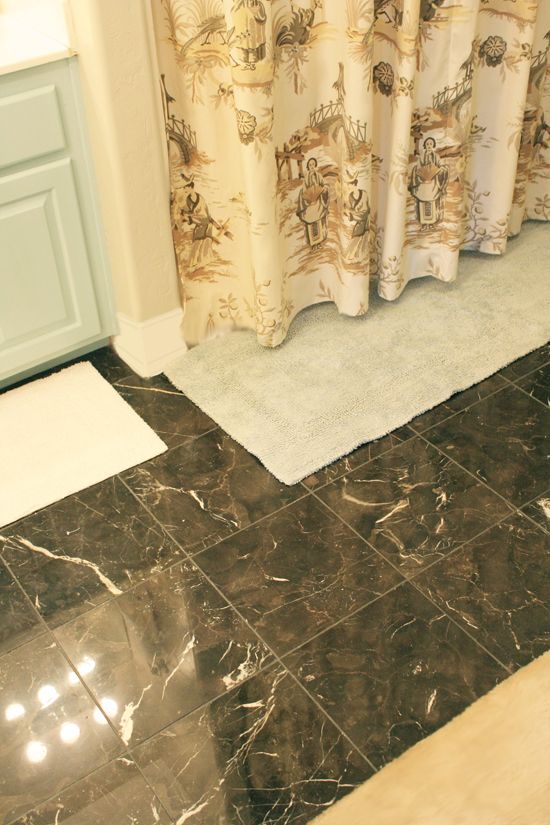
A new shower curtain that my mom sewed using the Lee Jofa Hollyhock from Home Fabrics. I had her sew it extra long (about 85″). We re-installed the rod at the taller height. It’s amazing how that simple change really opened up the room.
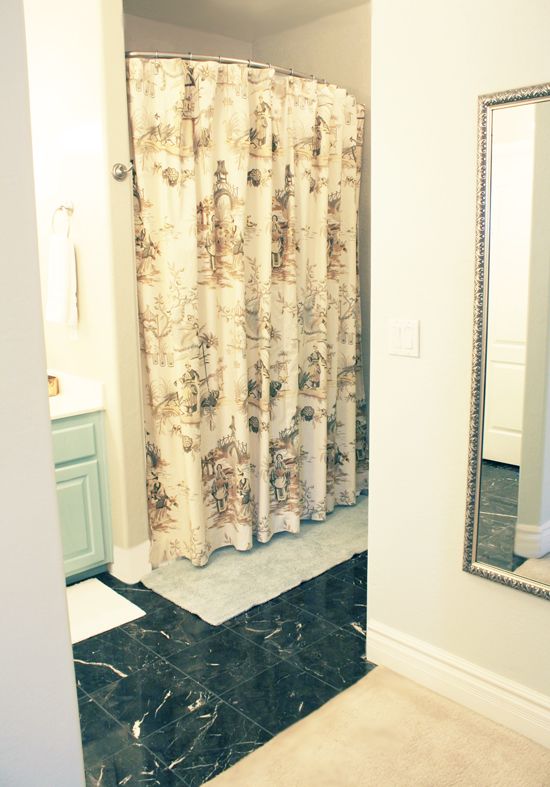
It really took things to the next level and I can’t wait to use this idea again in another project.
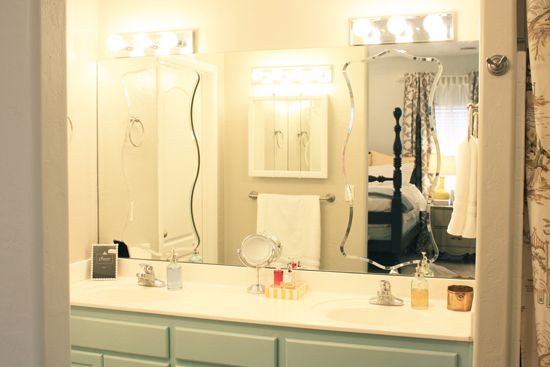
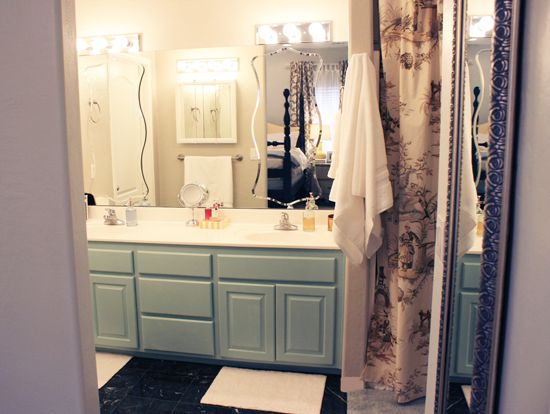
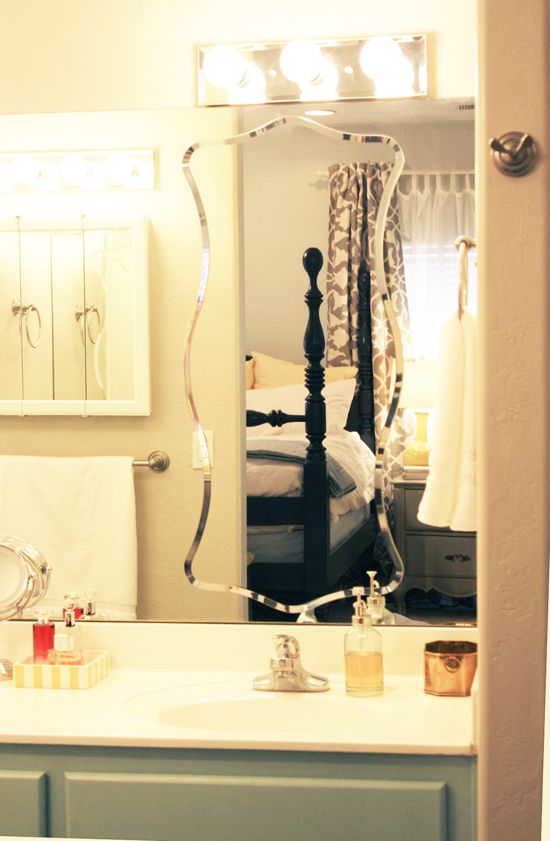
And lastly, here’s the vanity area. My mom turned a second hand (and broken, I think?) dining table into a console table by cutting off the end and adding a pair of legs to the back. Looks great, right?
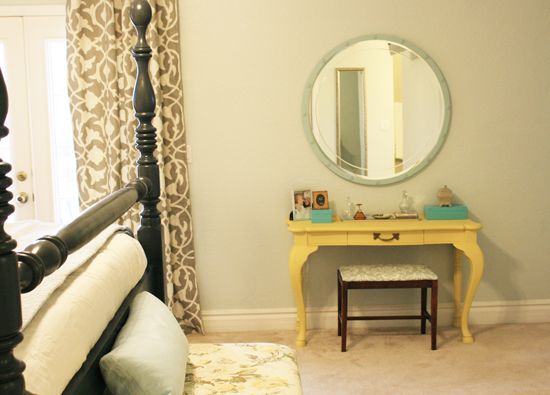
It used to be an antiqued white color, but we gave it a fresh coat of Martha’s Magnolia Yellow. The little bench was purchased at a vintage shop for $12. We reupholstered the seat in a pretty damask that mimics the wall color.

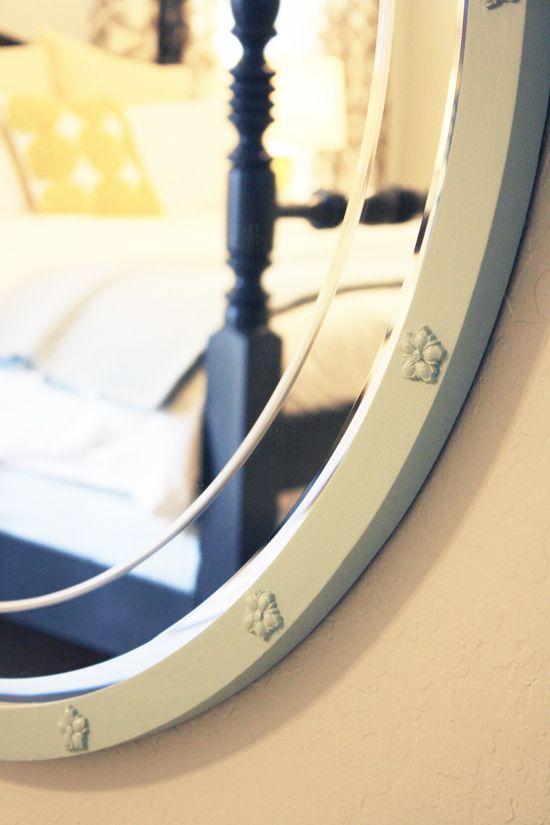
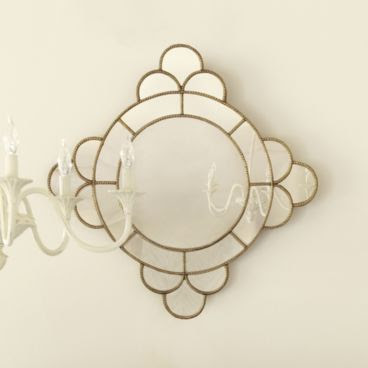
Didn’t the circle mirror project turn out pretty? I think it’s sort of like a feminine version of a Captain’s mirror.

The floral wooden appliques were purchased at Michaels and adhered with a little wood glue before painting.
We hung the mirror low enough to be useful while sitting and high enough so that you can see yourself while standing.
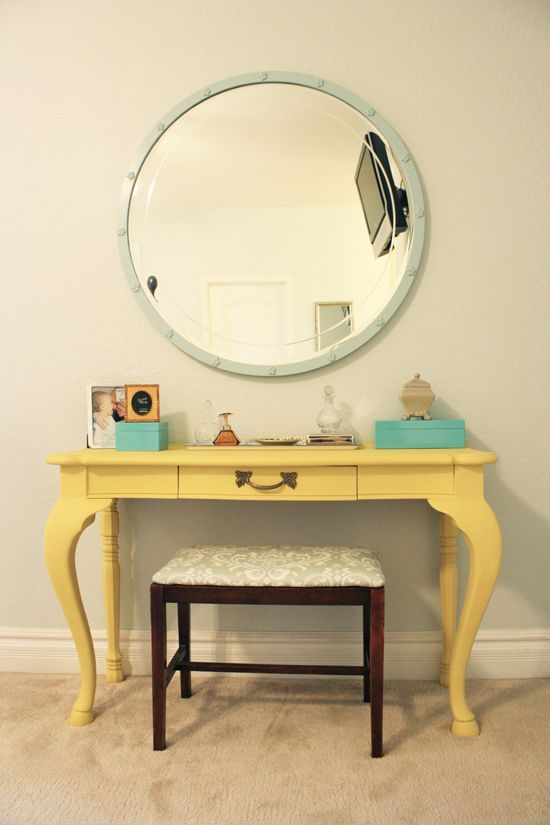
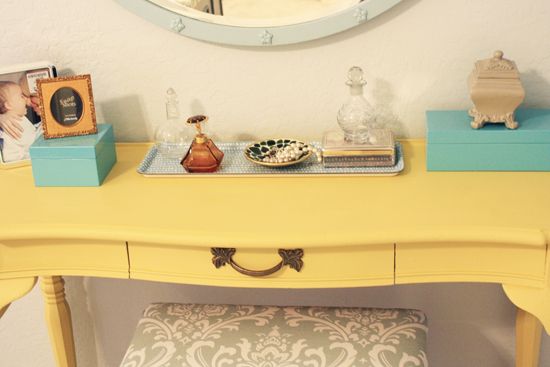
The photoless frames (whoops! ran out of time!) are from Home Goods, as are the blue lacquer boxes. The curvy gray box on the end used to be a hideous gold (from Marshalls clearance aisle), and I think it looks great now, painted in Hopsack. The tray is from IKEA and the other accessories are vintage.
Hope you enjoyed this little tour of my parent’s overhauled master bedroom. True that it was a lot of work to accomplish in a week’s time, but we had so much fun doing it together.


