I am so behind on posting photos of completed projects! I have several to share with you guys over the coming weeks.
First up is Joanna Goddard’s living room. I know many of you read Joanna’s blog – she is a style maven and truly one of the most lovely, genuine people I’ve ever met!
Joanna and her awesome husband, Alex, have a really great pre-war apartment in the West Village. They had some nice pieces in their space already and just needed a little help with the details and reworking a few areas.
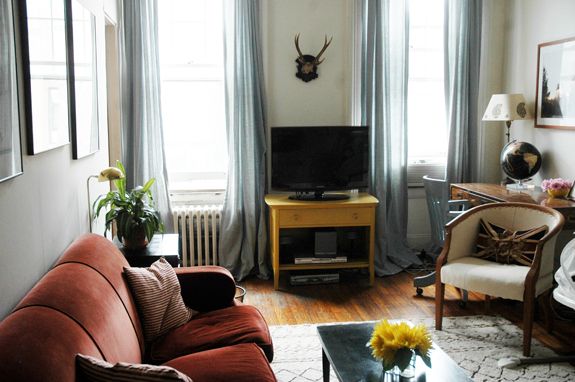
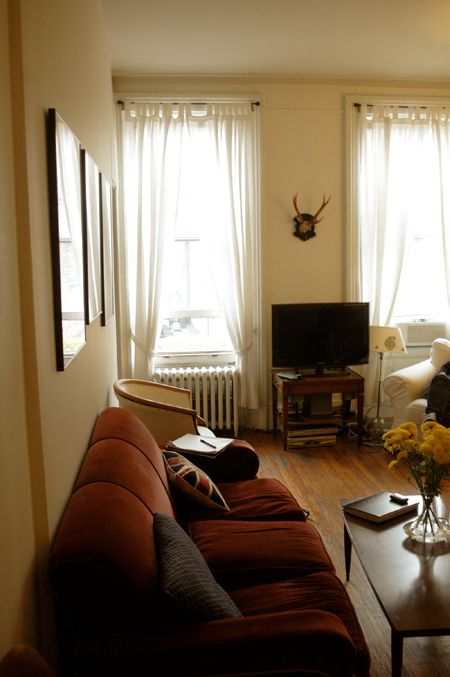
As a side note – I’ve learned over the years that I’m really sensitive to the balance of warm and cool colors in a room. Sometimes I confuse my clients with all my talk of color ‘temperature’! In Alex and Joanna’s case, the room in it’s before state was altogether too warm – lots of oranges and reds. Rust red couch, orangey red (bare) wood floors, wooden bookcase and tv stand, yellowy cream chairs, etc.
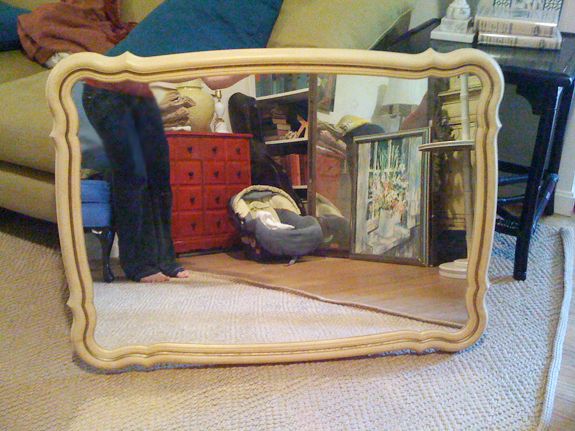
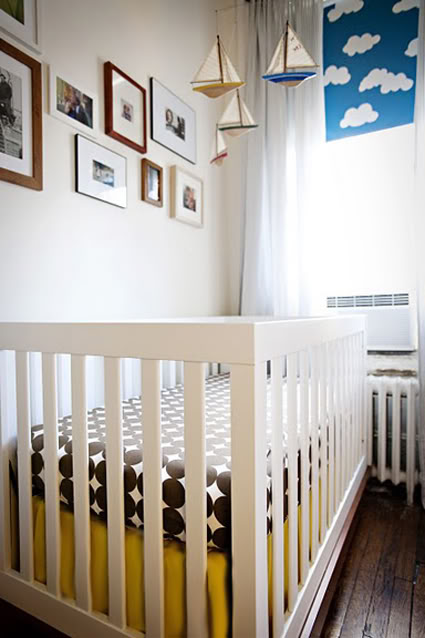
{some before shots…}
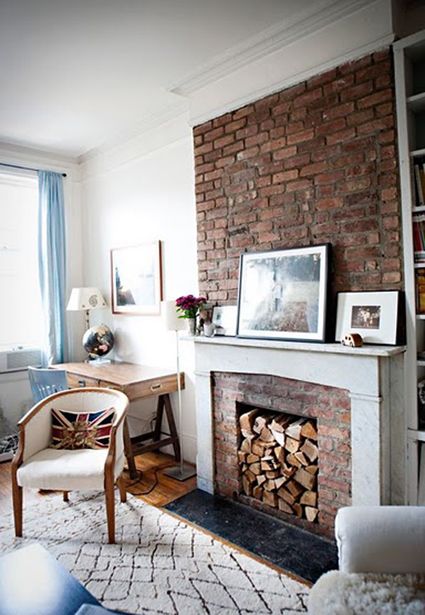
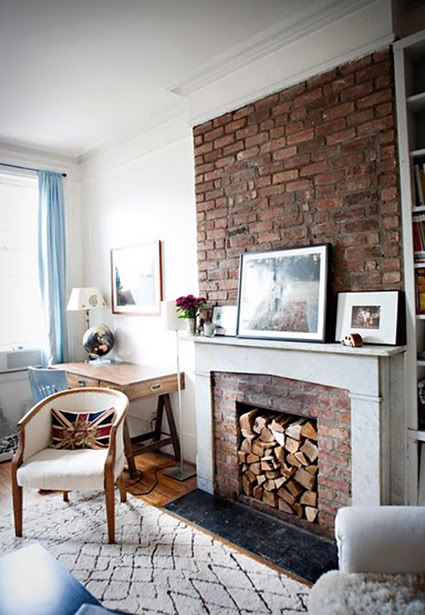
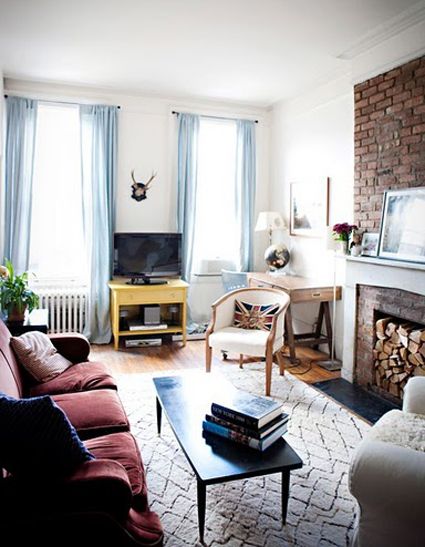
To balance out all the warm oranges in the room, I sewed some simple, long blue linen rod-pocket panels for the windows. I found the pretty linen at a fabric warehouse for $3/yard.
Joanna needed a desk in the room, and we really scored on craigslist with this vintage sawhorse-leg stunner!
I spray painted a very inexpensive, but high-quality vintage office chair a pale gray color. I think it was Krylon’s ‘Medium Gray.’
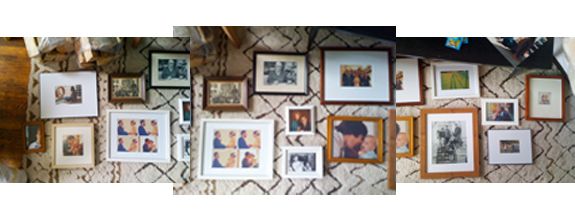
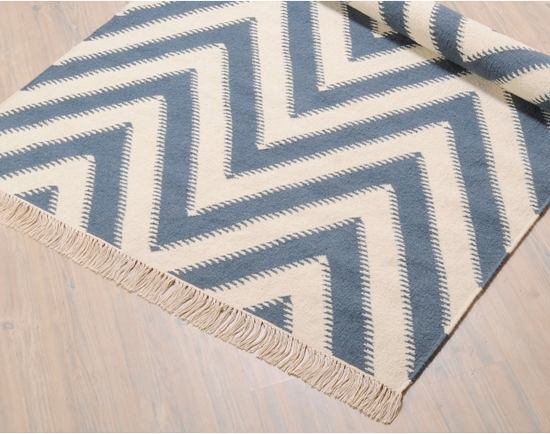
The rug is Pottery Barn’s Tangiers rug, which we got on eBay. Joanna reported to me that the rug did shed quite a bit for the first months especially, but she just vacuumed and it wasn’t a big deal. I love the look of a Moroccan wool rug, and this one was very reasonably priced for an 8×10 and is really soft.
We painted the existing coffee table black to break up all the wood pieces in the room.
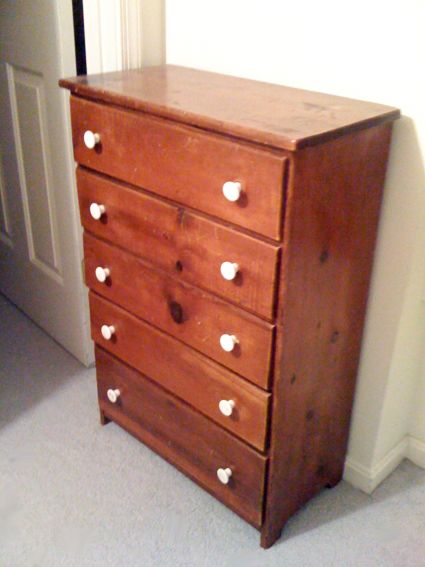
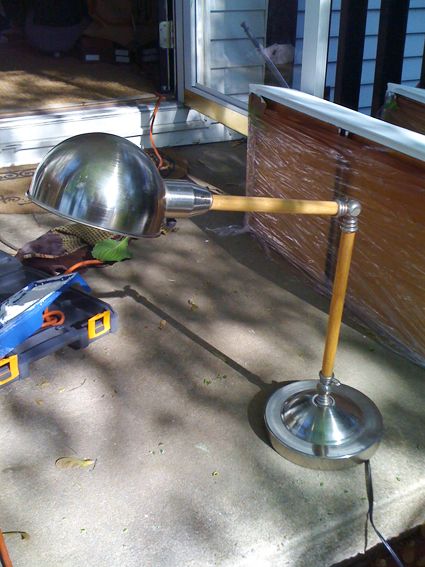
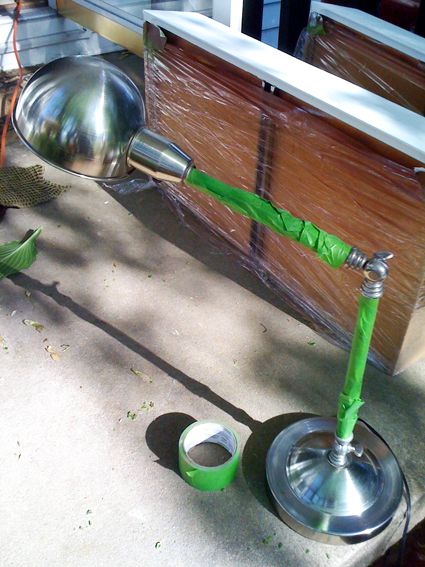
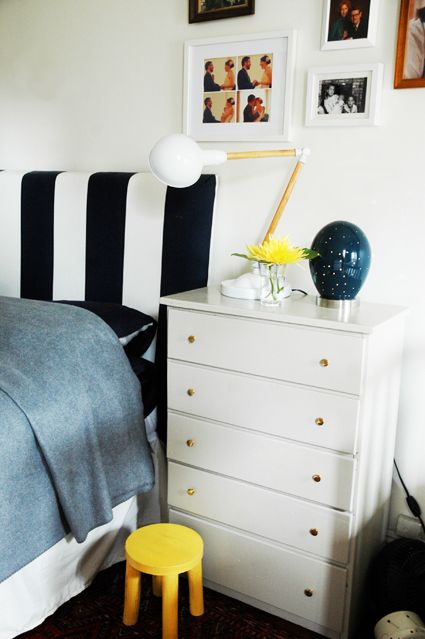
I found a campaigner chest that needed some love and painted that black too. The brass reading lamp was also a great vintage find. I love that little lamp so much.
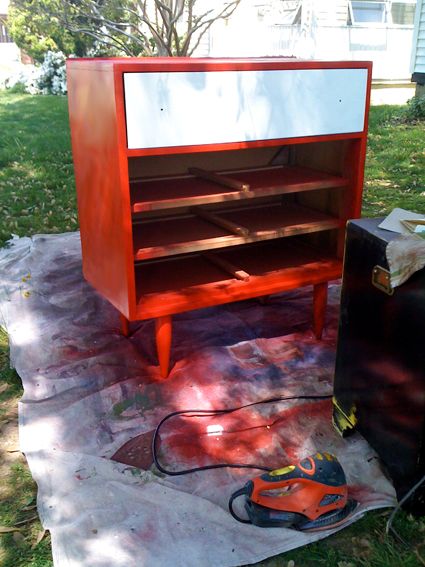
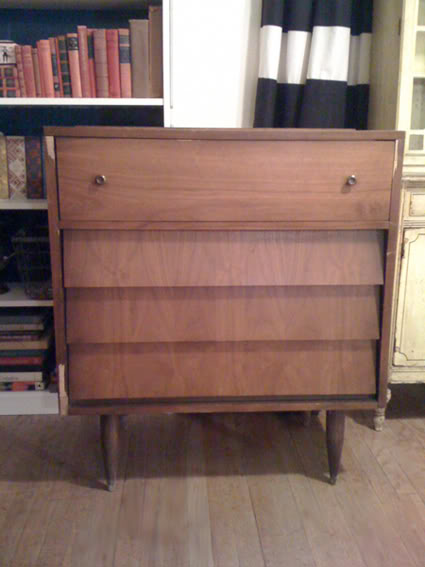
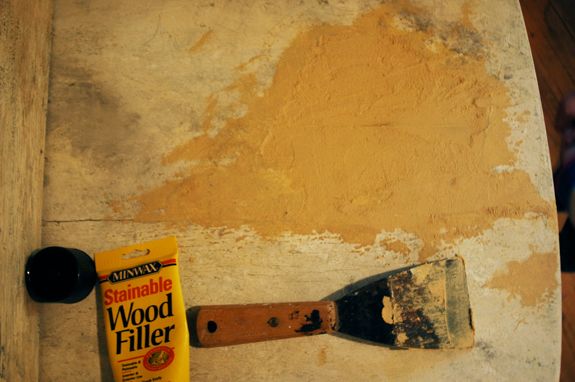
The tv stand is one of my favorite parts of the room. Alex and Joanna had been using a old side table as a tv stand and it just wasn’t working. They wanted a new piece with open shelving. I found this really old and very beat up chest at a flea market for pennies.
The most challenging part was the ripped veneer.
I cleaned up the jagged edges with a razor and then covered the whole spot with wood filler using a putty knife.
I had to also fill in the old hardware holes and drilled new holes for simple ring pulls that I’ve used before in other projects (they’re my favorite).
After the filler was completely dry, the whole piece got a really good sanding, then primer and paint (Martha Stewart for Valspar in “Olive Oil’).
I was really happy with the color and scale of the piece. It fits the room perfectly!
Come back tomorrow for the second half of Alex and Joanna’s living room…
{PS HUGE thanks to Karen Mordechai for taking many of these photos above. Karen is a fabulously talented New York-based photographer. You should check out her portfolio, especially if you have a wedding coming up!}


