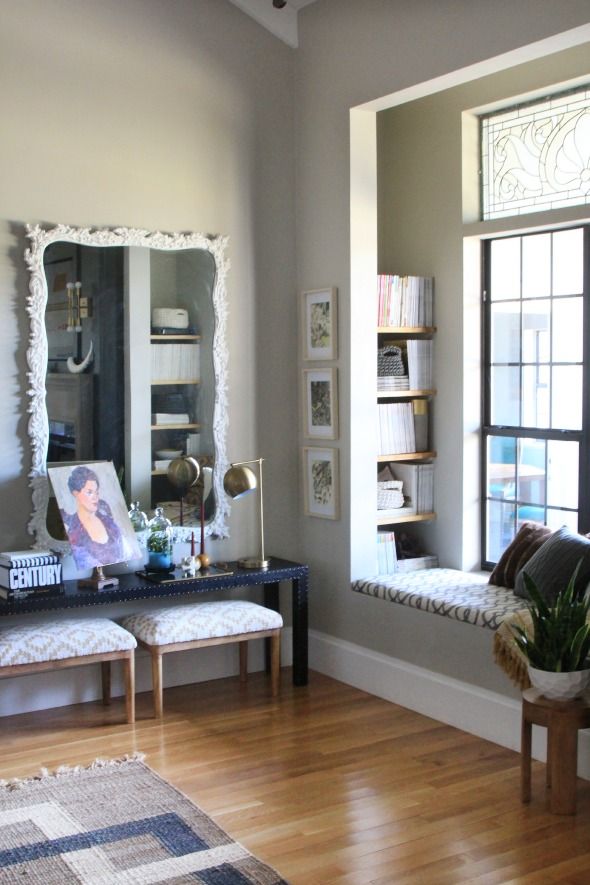
Remember how I mentioned that our carpenter had installed a few simple shelves in our nook to hold our TV components? I like the easy bracket system he had come up with, so I duplicated it recently when I wanted to fill out both sides of the nook with shelves.
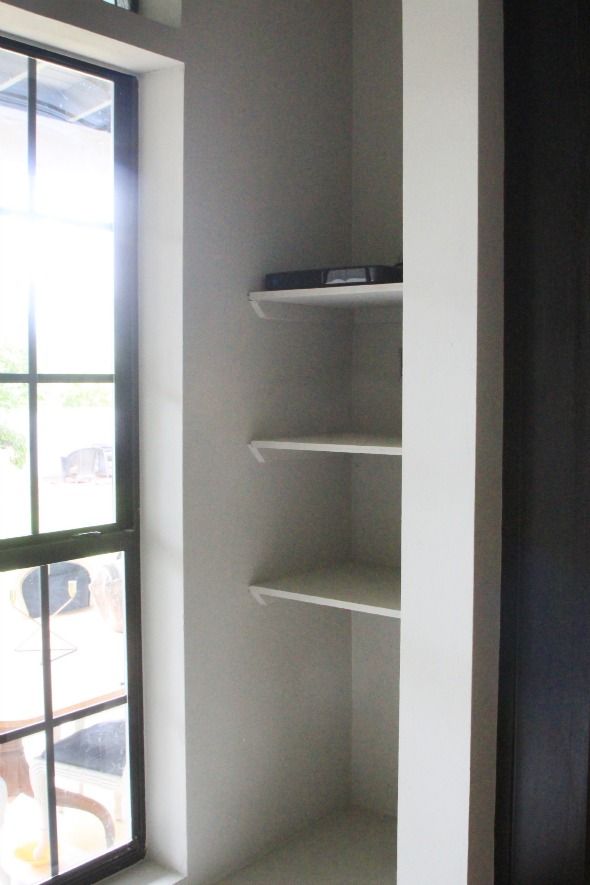
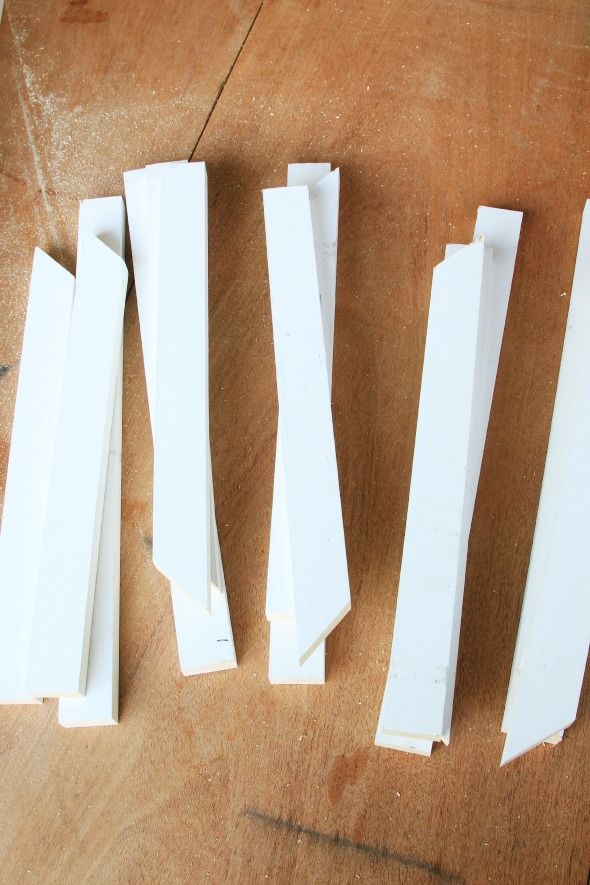
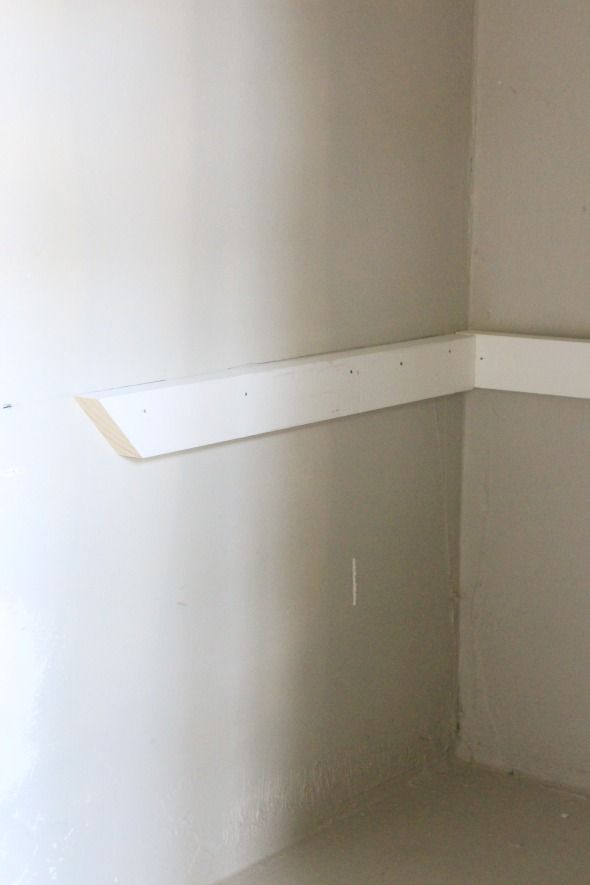
I pulled off the old shelves, but kept the brackets and cut down 1×2″ primed pine boards with a miter saw to fit the back and sides. The side pieces were finished off with a 45-degree angle cut.
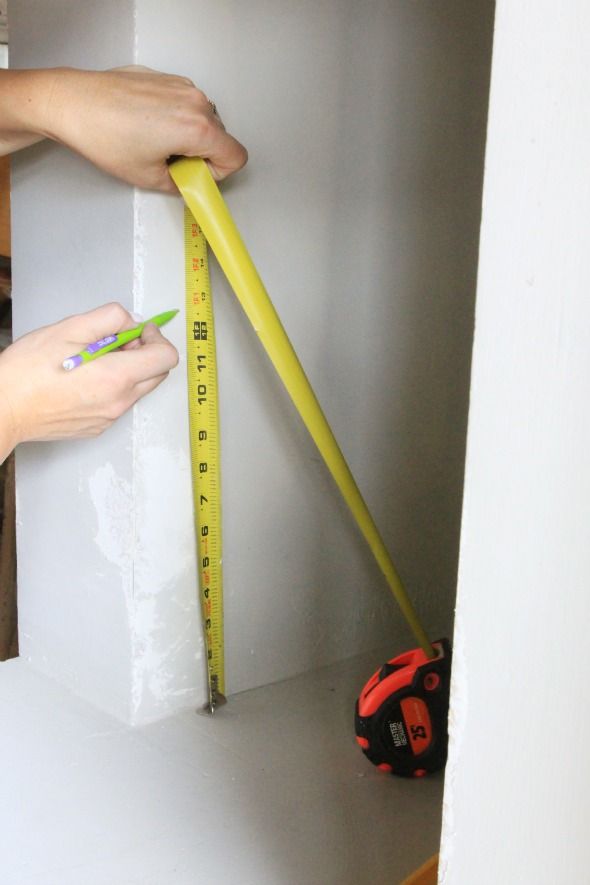
The first bracket installation is the most important. Starting with the bottom most shelf, I made one measurement and mark on one of the walls.
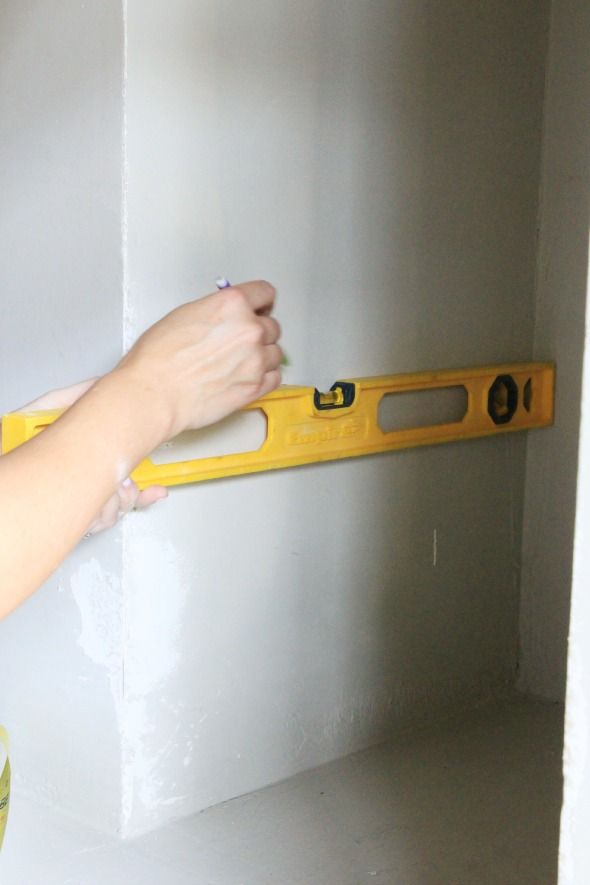
Then the most important part after that first measurement is to use a level to mark all the way around the nook to help you know where to hang the brackets.
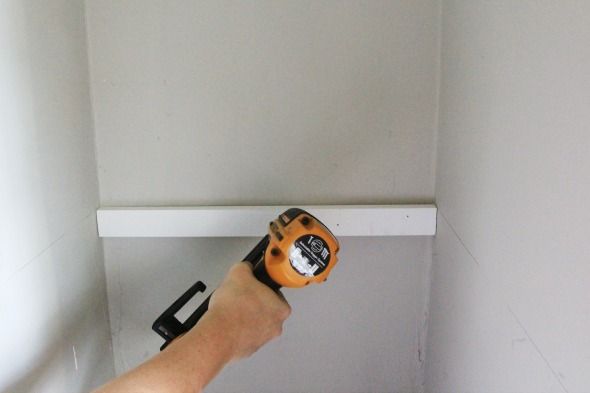
I used an 18-gauge nailer to hang the back bracket first, right on the line, and then the side brackets.
Once you have the first set of brackets perfectly level and installed, the rest of the measurements are easy. Just figure out the distance you want between each shelf, measure up from the bracket and make a little mark. If the first shelf is level, the others will be too.
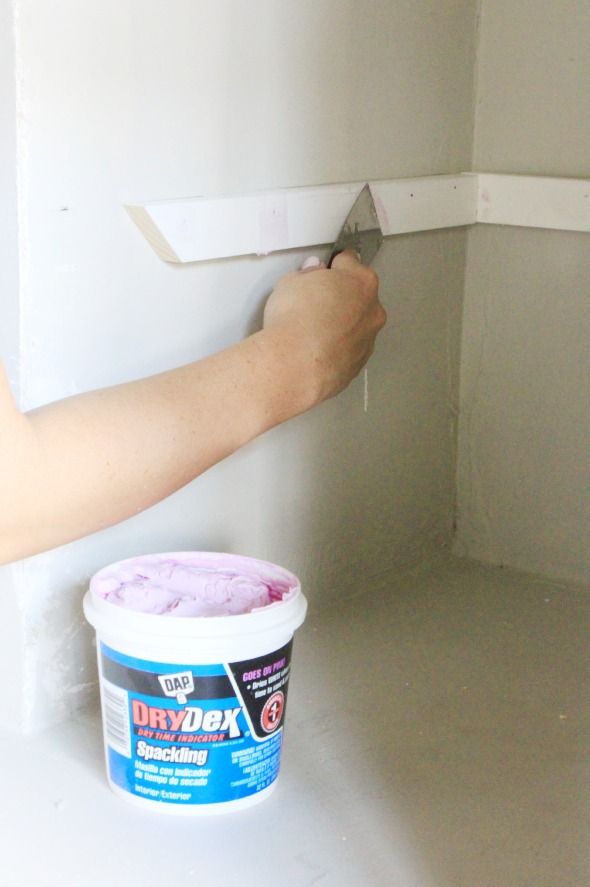
When all the brackets were installed, I filled all the nail holes with spackle before giving the whole nook a fresh paint of gray paint.
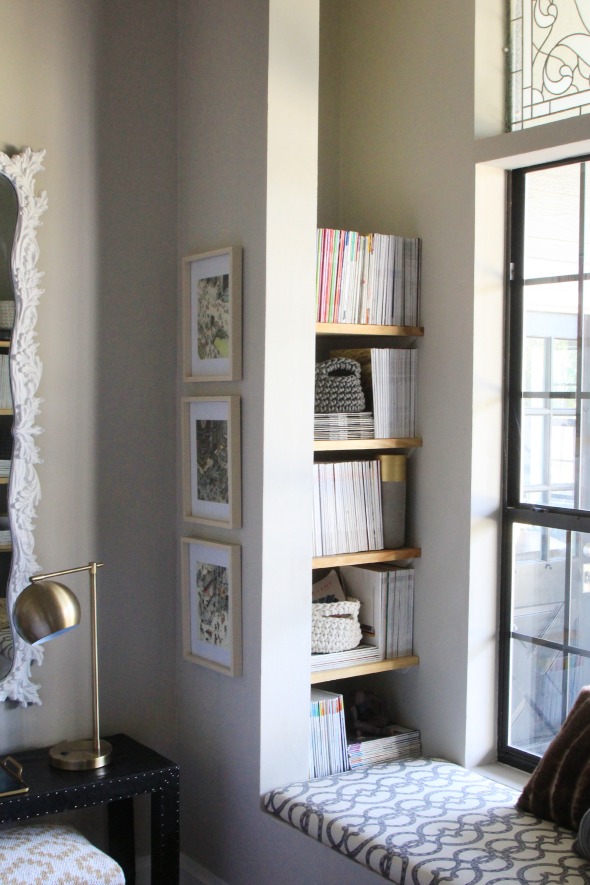
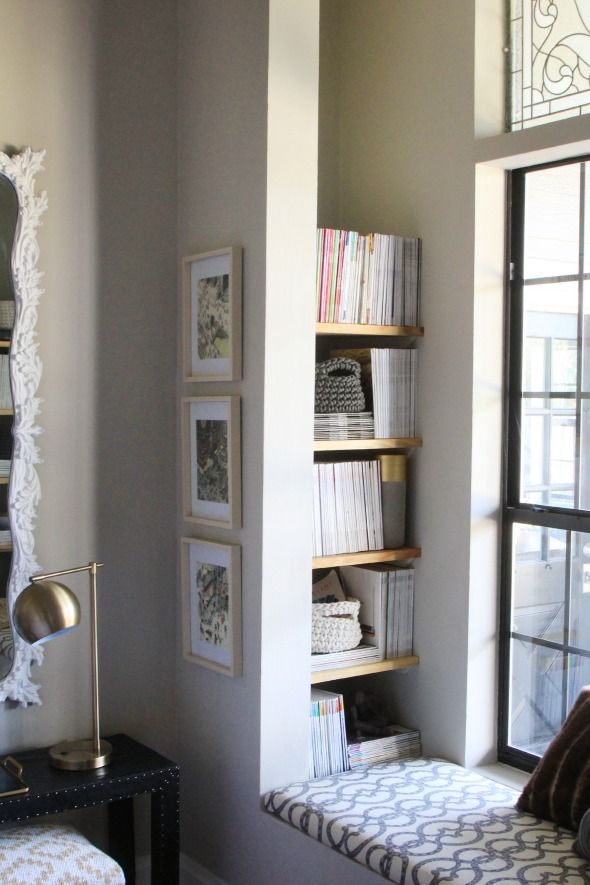
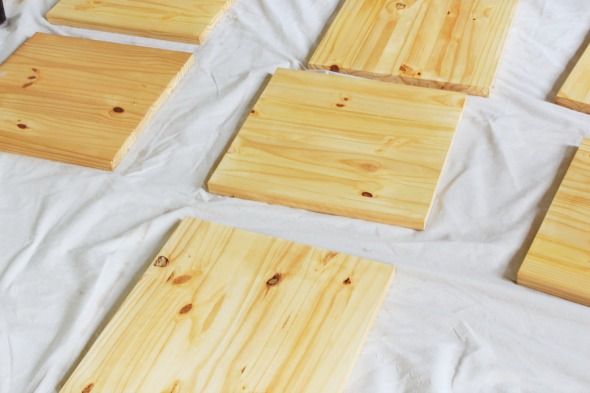
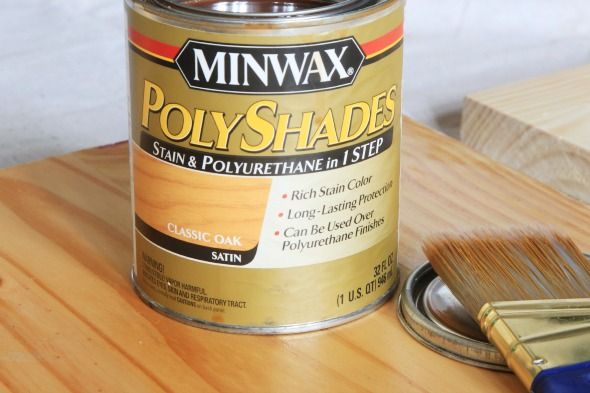
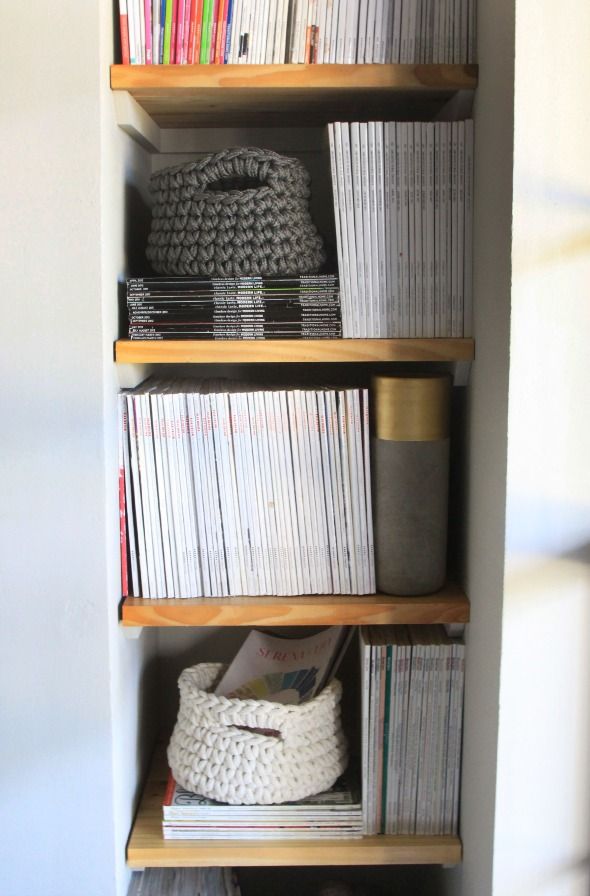
I used laminated pine boards for the actual shelves. Home Depot cut them all to size for me and I stained them with half classic oak and half driftwood stains.
The pine boards are just sitting on top of the brackets, but I could have nailed or glued them in place if I was more worried about it. I’m so happy with how these shelves turned out. I really love the thicker, more chunky look!
I don’t know why installing shelves has sort of felt too hard-core for me up until now. It’s a crazy simple project!
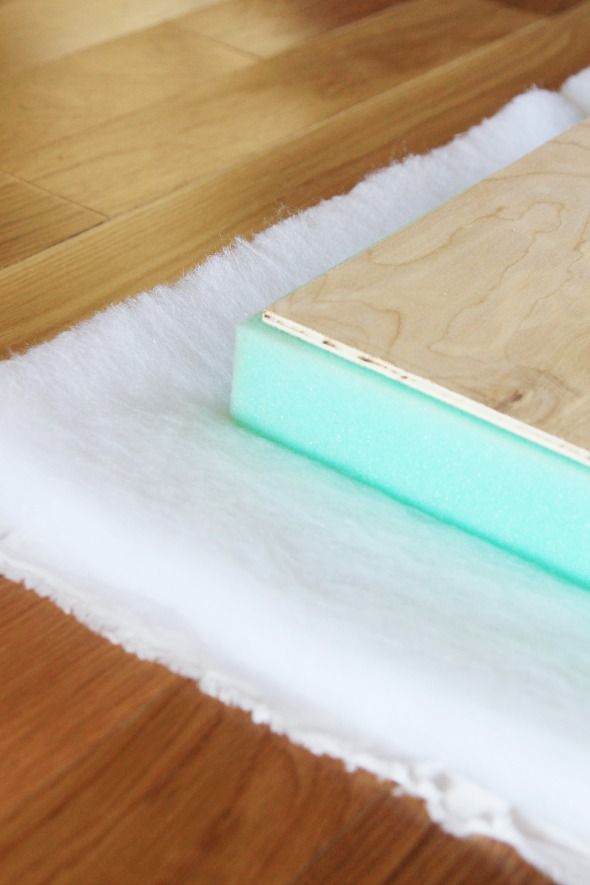
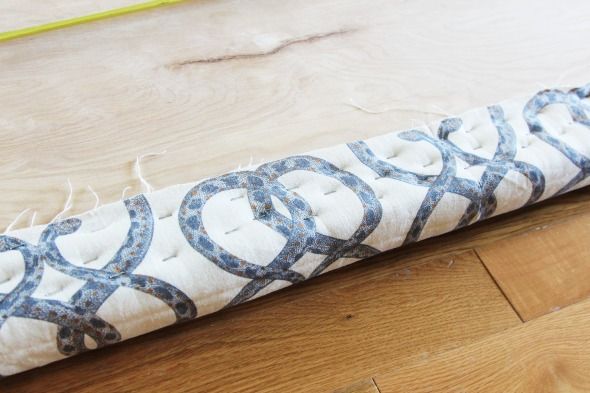
The bench solution was simple too! I didn’t want to sew a box cushion, so I had a piece of 1/4″ plywood cut to fit the seat area and used a coupon to buy a piece of 2″ upholstery foam at Joanns.
The bench is wider than the full width of the fabric. so I had to seam the fabric. The pattern made it pretty easy to line everything up, and a really good pressing fixes even less-than-perfect seams. In the end it’s pretty hard to tell where the seam is on the bench.
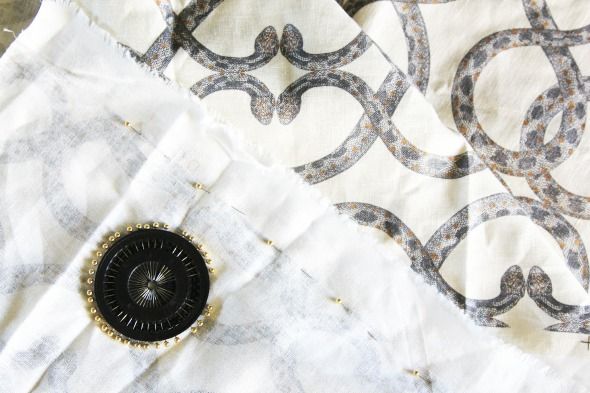
I think the key to a really soft and fluffy bench top is a good, high-loft batting layer. I used my trusty handheld staple gun to attach the seamed fabric. I went a little overkill on the stapling so there would be no pulling on the linen. (You can see where I seamed the fabric on the right side of the bench here below – it’s not that noticeable!)
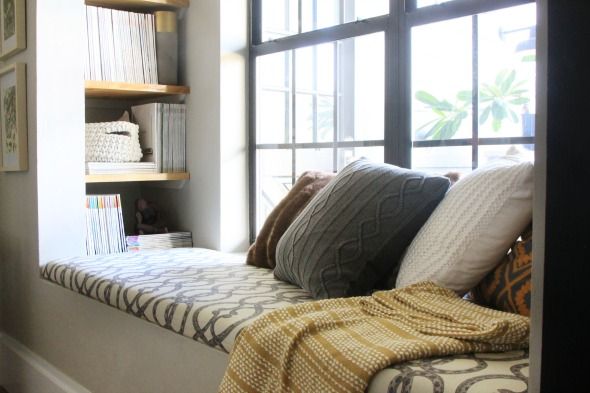
I think the bench turned out nice. The pattern is fun and the seat is a comfy, inviting place now!
Have you made any shelving or bench tops yourself? Any tips you’d like to add?


Wow, it looks very good and comfortable! I would like to make something similar in my office room.
What a cozy nook! Awesome job!
Hi Jen. Years ago, I made my shoes closet shelves using the same technique, it is wider but still sturdy. I also made a bench seat the exact same way you did for my daughter's play room, the base is a low profile Ikea entertainment unit. Since the bench is movable around the room, I attached the plywood to the "bench" top using industrial Velcro so it wouldn't slide at all.
Whenever I upholster a bench seat, especially with fabric (as opposed to vinyl), I use muslin or junk fabric first. This way, I can get the foam and batting really smooth and even. I put the decorator fabric over the muslin. If I want to change the fabric, I can just remove the top layer of fabric. The foam and batting stay cleaner this way, too.
My daughter has a window seat in her room that is screaming for a cushion. I sew, but have been avoiding (lazy) making a cushion with piping for it. This is brilliant! I am now going to sue this technique and make a cushion top for it! YAY!
Peggy's comment is brilliant too!
It looks wonderful. I am wondering where the reader leans when sitting on the bench since there are open shelves on both ends. Against the windows? or, using the pillows, against one of the shelves?
Also, I plan to make a similar one and I'm wondering if the batting is wrapped around the foam and plywood, or just around the foam?
Thanks for the tips,
sarabeth in boston
Looks great! SO inviting!
Looks great Jenny. I did the same reupholster project last week! Using a geometric fabric really helped the pattern go on straight!
http://blueoncenter.blogspot.com/2014/10/a-lazy-cheap-way-to-reupholster-bench.html
I love the simplicity of the shelves. I have thought often of making "floating" shelves, and with a simple strip of wood acting as a lip on the front edge of the shelf I think that it would accomplish the look I have in mind nicely. Well done on your own cozy spot.
I hadn't noticed, until this post, the snaking details of the fabric. Now I love it even more! Such a cool and interesting print without being busy.
Simply stunning! Who could resist a window seat with built-in shelving? Amazing job!
Looks great! It looks like a nook I would love to curl up in and read.
That bench cushion is so cute. Can I ask where you buy your fabric? Do you just shop online or do you go to designer-only places? Thanks.
I love this so much! You are so talented – what a charming reading nook.
Great idea! I love the idea of using wood on the bottom of the pillow for support and shape!
Christa
http://www.gardeniasandmint.wordpress.com
I love the rug! Please share where you got it from. Thanks!
Hi Jenny, I was wondering if you could tell me where you got the serpent fabric from? Love your site! x
Wow, awesome job!
Love it