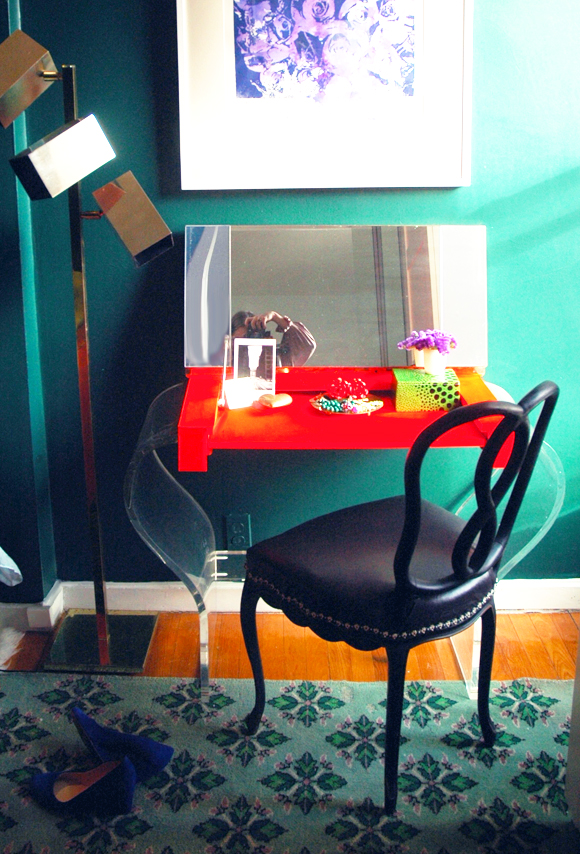

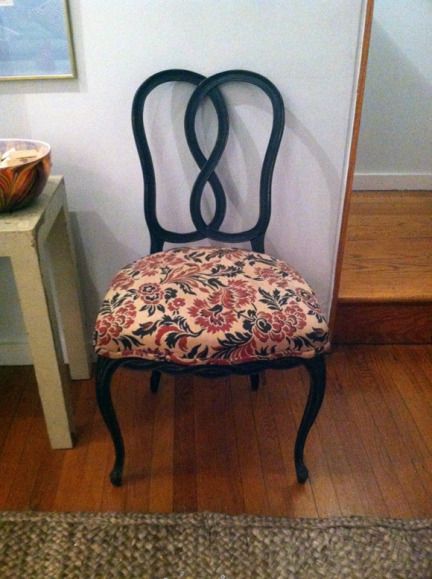
Some of you asked about the little antique black chair in Heather’s room. I got it at the flea a couple months ago for $10! It’s super old and the floral fabric was kind of cool as is, but it was pretty sun bleached.
(You can tell how long ago I bought this chair – the console hadn’t been refinished yet) :)
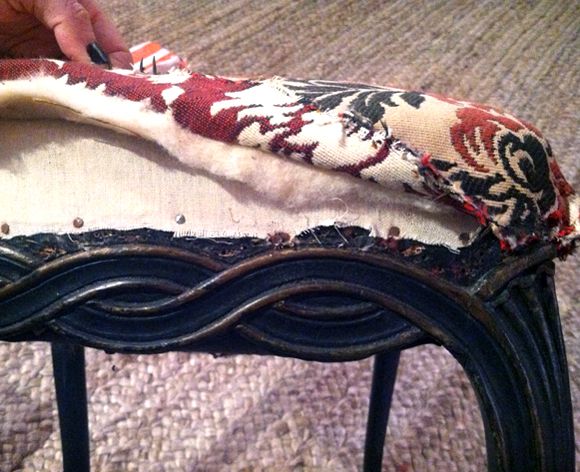
I pulled off the top layers of fabric without much effort – the fabric basically disintegrated. But it was so thick that the inside was pretty pristine and wouldn’t need to be replaced (which was lucky because this chair had springwork and I didn’t want to deal with that!)
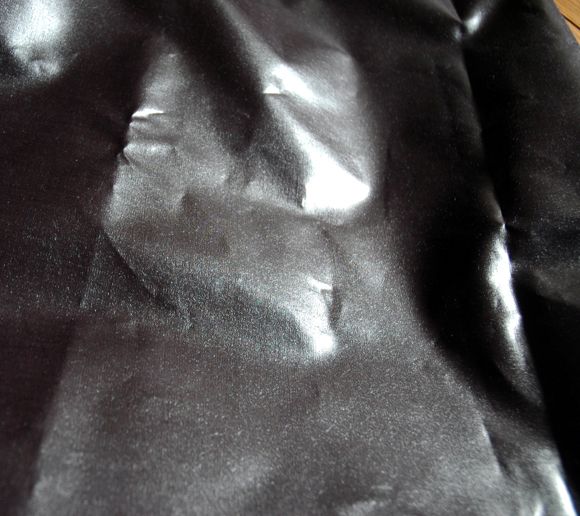
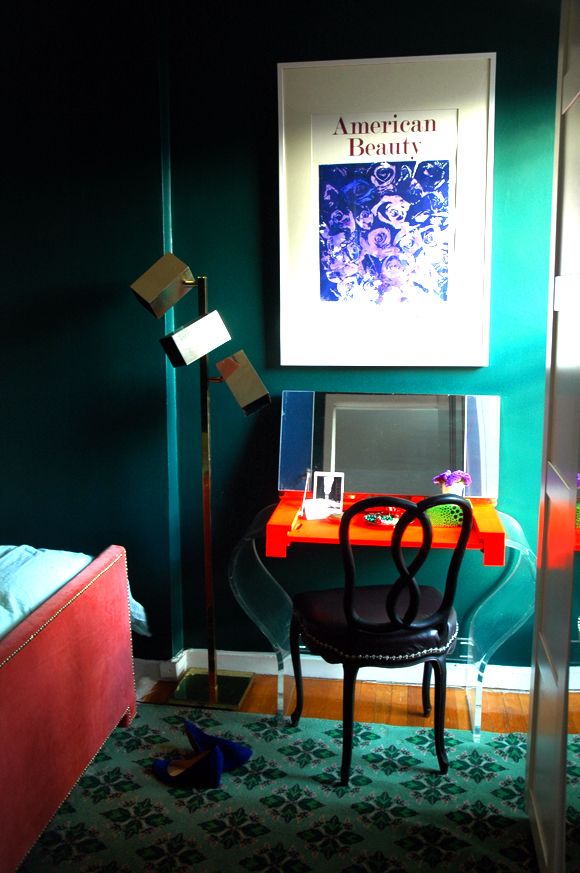
For the new fabric, I wanted something with a sheen to it, but I didn’t want any color or pattern because there is already a lot going on in that room with the neon desk and the patterned green rug.
I’m a pretty big fan of waxed jeans, so when I stumbled across this black waxed cotton at Graylines in the garment district, I thought it would be cool on the antique chair. It actually kind of looks like leather a bit.
I used the old padding as a pattern for cutting out the new fabric. (the padding was a little stretched out, so it didn’t end up working as well as this approach normally does, but at least I didn’t cut the piece too small)
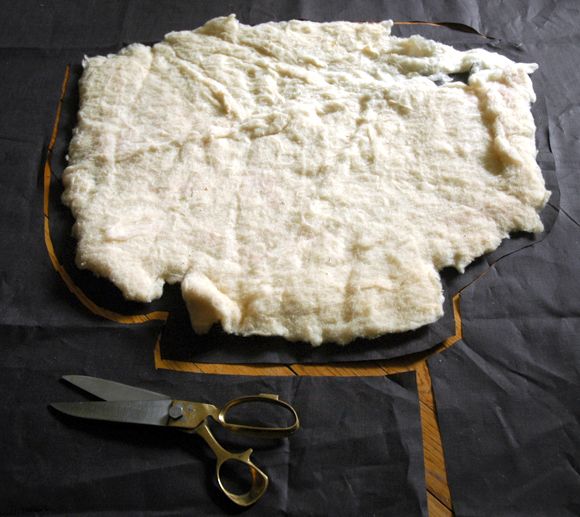
I cut out notches so the fabric would sit around the back pieces.
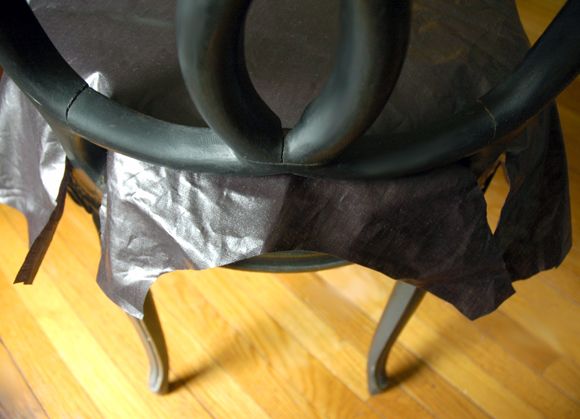
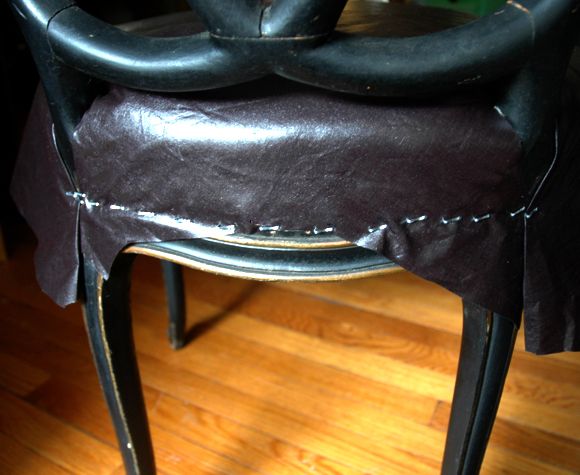
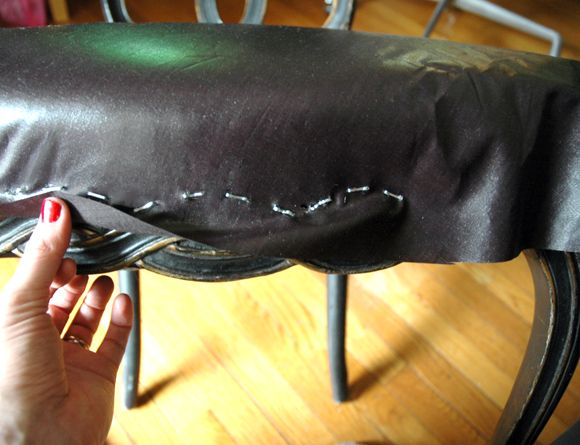
And then I started stapling. I always start upholstery projects in the most difficult area, which was the back in this case. I swear by this inexpensive stapler, especially if you use the same brand of staplers. The staples I had on hand were too long and that’s why they’re sticking out a little, but it’s no big deal at all to tap those in with an upholstery mallet.
Once the back part of the chair fabric was secured, I started on the front of the seat and pulled the fabric as taut as I could. It was a little tricky to pull the fabric enough while also getting the scallop shapes right, but that’s the great news about upholstery projects. It’s hard to really screw things up. If you put a staple in a the wrong place, you just pull it out and try again.
The sides and then the corners of the chair are stapled last, again, pulling tight and smoothing with your hand the whole time.
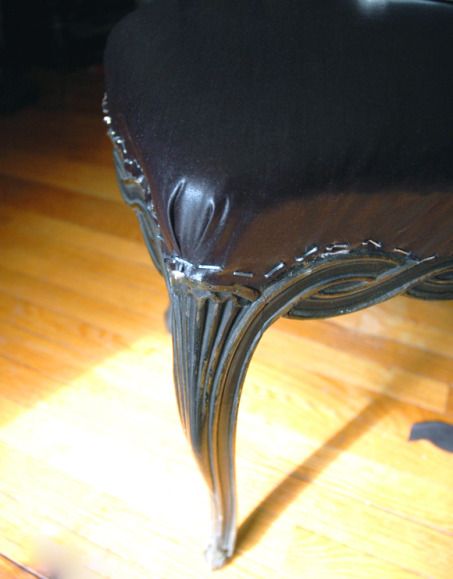
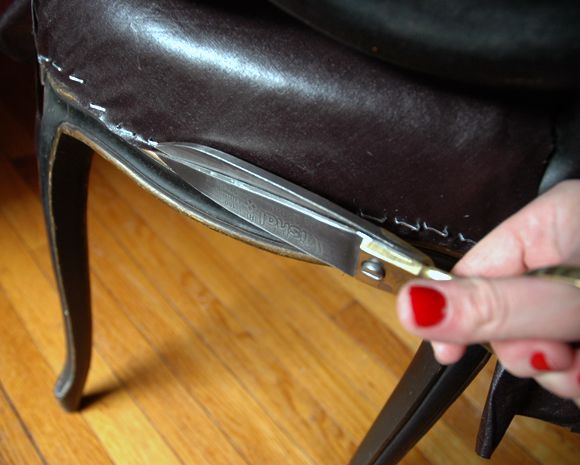
I trimmed the excess fabric and then tapped in the staples that were sticking out a bit.
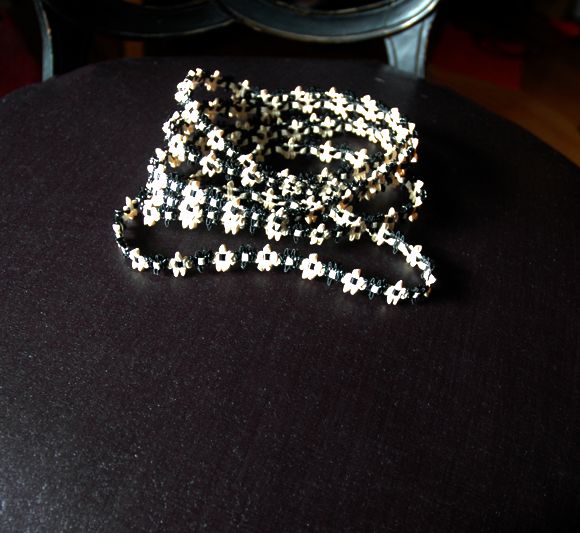
I was going to do a self welt for the trim, but I fount some of this really cool vintage woven leather for sale at JEM fabrics in Tribeca. It felt all Chanel-y to me with the alternating black and white flowers.
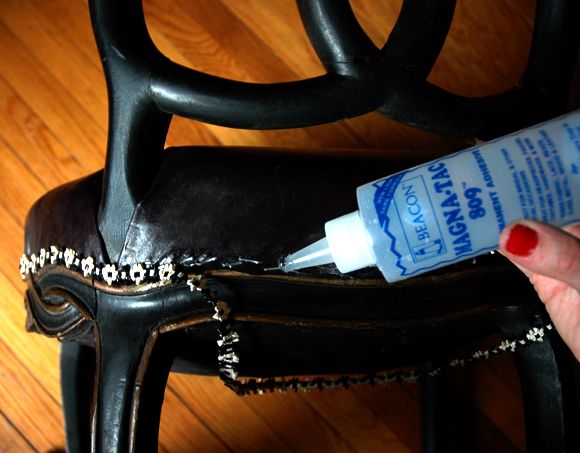
I started the trim in the back (it’s a good idea to start your trim in the least conspicuous place) and used a not-too-thick line of my beloved Magnatac to secure the trim and cover the staples.
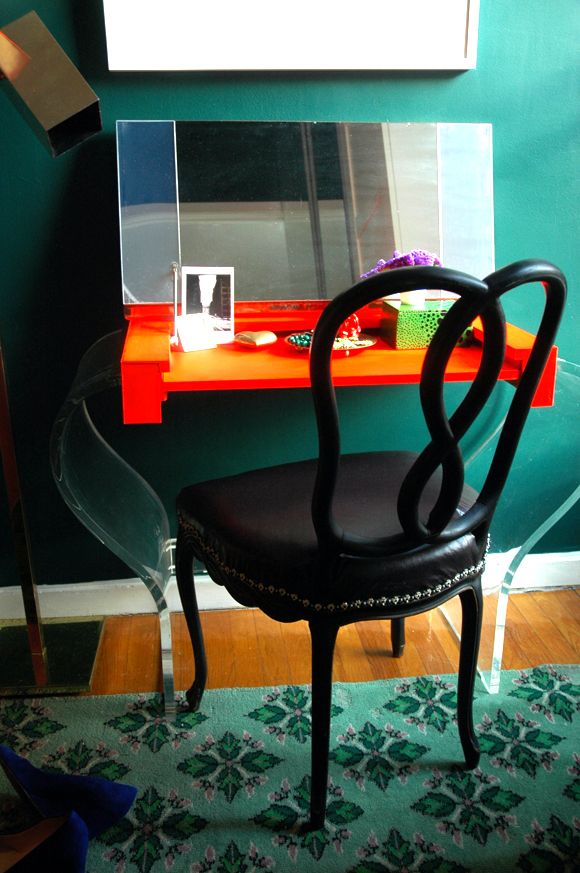
I love how the trim adds just a little bit of texture and interest to the desk area. The black on black upholstery could have been a little stale without it.
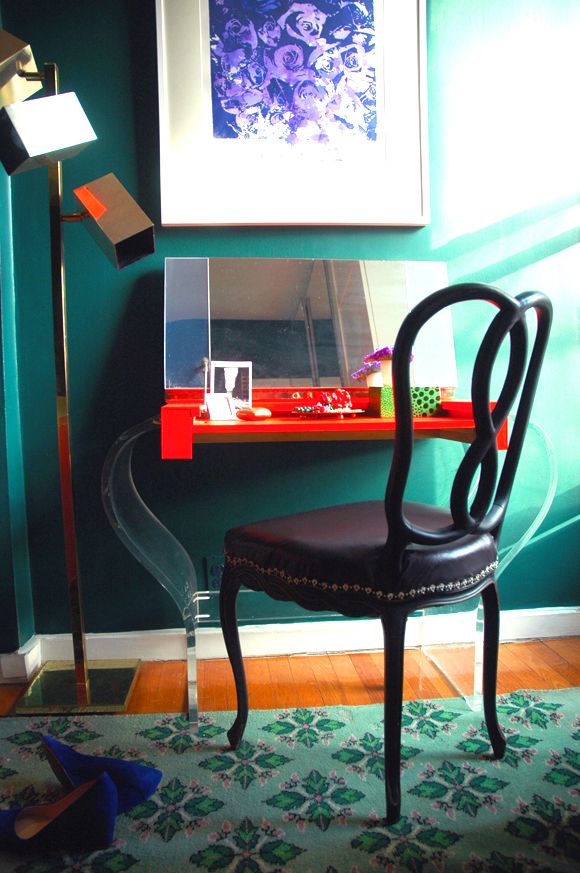
And doesn’t the waxed cotton look a bit like leather? I’m thinking it would be a great choice for dining chair upholstery since it’s water and stain-resistant, but looks way better than vinyl in person. I’ll have to poke around online to see if I can find any more colors.


I love these updates on this room! It's so fun. Love the trimming on the chair x
Looks amazing.
At first glance I thought the trim was nail heads. I think the flowers are great upon closer inspection. And that waxed cotton is hot. Gotta get me some. Great Job as usual and thanks for the step by step!
I love this fabric! On to ebay to see if I can find some…thanks for sharing (as always <3).
I learn something new from you everyday! I've never heard of wax cotton before and I can definitely see its appeal! Love the chair!
Your eye is just beyond amazing. How could you look at that trim and see how it was all going to come together so beautifully? Fantastic.
The trim is perfect and so is the sheen that fabric has-I love how the chair turned out!
just amazing, as always!
it looks great
Simply wonderful!
Gorgeous! And so sophisticated. How do you think waxed cotton would do on a sofa?
I love how the chair is understated with a touch of bling. You have such impeccable taste. What a fun sister you are!!! P.S. The metallic linen at Grayline looks like something you could do something great with too.
Ohhhh, that is super nice. I like the trim too and for those of us who don't have a sewing machine, it's nice to see something other than welting for inspiration.
I thought the trim were nail heads too! I love the flowers ~ nice touch!
You do such a fantastic job Jenny. Love that waxed cotton.
xo Nancy
Powellbrowerhome.com
What a great idea. I am trying to become more open to the idea of finding old pieces and breathing new life into them by refurbishing. I have never considered myself very crafty so the idea of this scares me….but it's good to do stuff that scares us right? (www.blairsays.com)
Looks great! For a chair that you're not going to really get into the guts and re-spring, why take off the current fabric? Why not just upholster directly over it? My laziness is showing…
Wow! Makes me want to go out and reupholster something! Nice job!
Susan
simplymodernhome.com
If you only needed a small piece of fabric, you can make any cotton or canvas fabric waxed. You just need a bit of beeswax wax, paraffin wax, and a hairdryer. And humor and the gusto of Mcgyver (but that comes with the DIY territory).
Great DIY! Thanks for sharing.
xoxo
Mags
http://magsmind22.blogspot.com/
Looks great! I love chair upholstery projects like this. It makes the chair look brand new yet still perfectly vintage. I did a similar project with my great Aunt's desk chair: http://thepinkchalkboard.blogspot.com/2012/07/chalkboard-project-how-to-reupholster.html
I was recently given a sleeper sofa that needs to be reupholstered. When I looked at linen for the job it was $38 a yard. I will have nearly $1000 in fabric. At that rate I might as well buy a new sleeper sofa. Do you have any suggestions on how to find linen upholstery fabric at an affordable price?
I am an avid fan of your blog. Please keep up the flow of information.
Ann
Thanks for such a great post. I'm redesigning my mom's house and she has two antique chairs that need to be recovered. I think you may have given me the inspiration to try this myself! Another great post!
Stephanie Kraus http://www.stephaniekraussdesigns.blogspot.com
@ linenqueen
here are is a place on ebay I have found great deals on linen
http://www.ebay.com/sch/m.html?_odkw=&item=400423822096&_osacat=0&ssPageName=STRK%3AMEBIDX%3AIT&_ssn=designerfabrics*rr&_trksid=p2046732.m570.l1313&_nkw=linen&_sacat=0&_from=R40
I hope this helps!
@ linenqueen
here is another ebay source that I used for slipcovers and curtains
http://www.ebay.com/sch/m.html?_odkw=&_osacat=0&_armrs=1&_ssn=koshtex&_trksid=p2046732.m570.l1313&_nkw=linen&_sacat=0&_from=R40
I love your blog! I don't have the same decorating tastes as you do, not that I have my own. But, I love your bright furniture and art, it is so fun to watch you take on projects.
The chair is fabulous!
Jenny
http://Www.simcoestreet.blogspot.com
Girl you make this look so easy! So well done.
Amazing! You are a constant source of inspiration.
Can you please tell us more about that AMAZING table? Is that a DIY project of yours as well?
Thank you!
Stephanie
So, is waxed cotton the same as laminated cotton? I've been looking for wipeable fabric to recover the seats of my dining room chairs. With 5 kids, I need to be able to wipe things right off, not get out my shop vac! But I refuse to cover them in vinyl. Any suggestions?
Thanks!
I love,love this chair and the waxed cotton on it. The trim was genius!
This is a really nice DIY idea. The decorative wreath to cover up the stitches is refreshing. Keep sharing more of such ideas.
thank you, this is very helpful. I am going to try it on our dining room chairs.