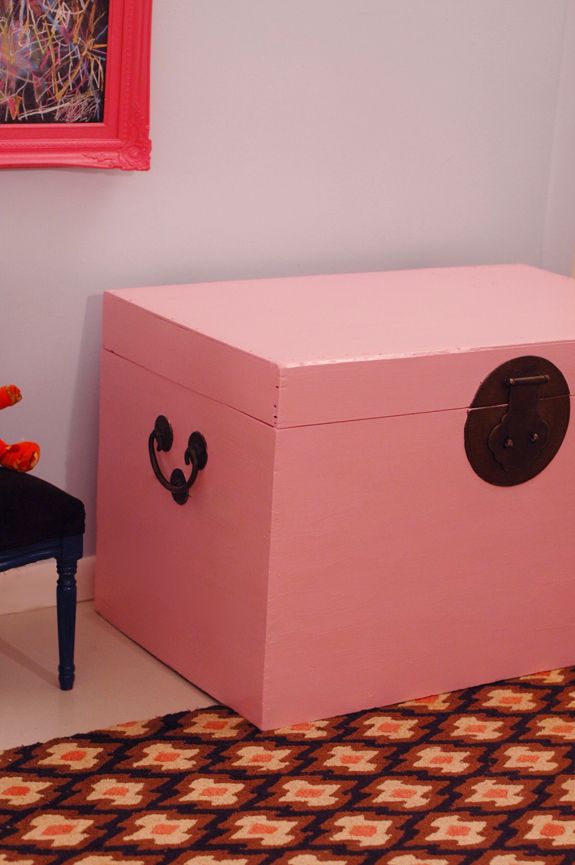
My approach to toy organization is pretty simple compared to the systems some of my super organized friends have. Books go on the shelf, small toys go in the fabric bins and large toys go in the big toy box. It’s been our system for ages and it works for us.
The first toy box we had was a clearance aisle find from TJ Maxx or Marshalls and it lasted us several years then finally kicked the bucket during the move to NYC (like, it broke in the truck I think). Then oddly enough the day we moved in, our neighbor across the hall was hauling this gigantic chinese chest out to the curb and I did the awkward – ‘Hi nice to meet you! What’s that? what are you doing with it? So you don’t want it any more?’ conversation. What a lousy first impression right? #embarrassing
Also embarrassing is that the chest has seen no improvements in almost two years other than an occasional wipe down. I know it doesn’t look it, but it is super clean, just very old and beat up.
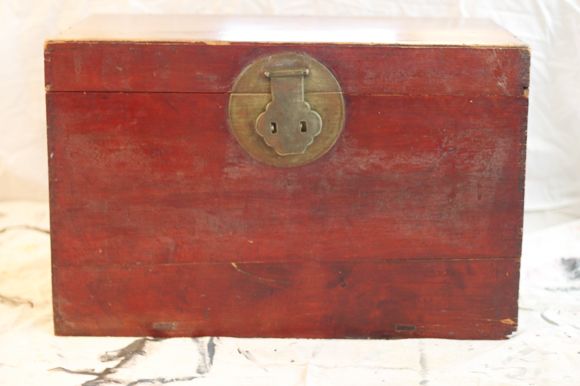
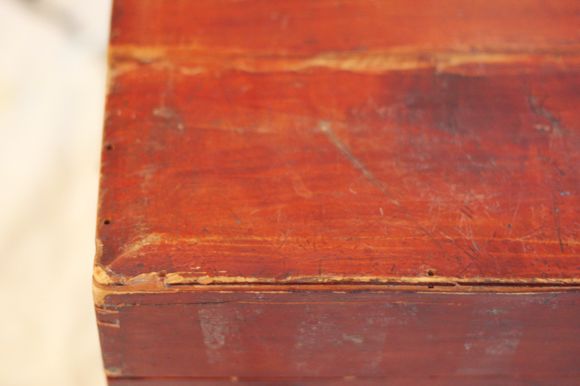
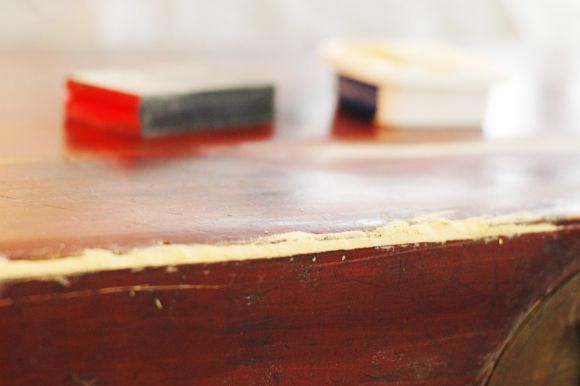
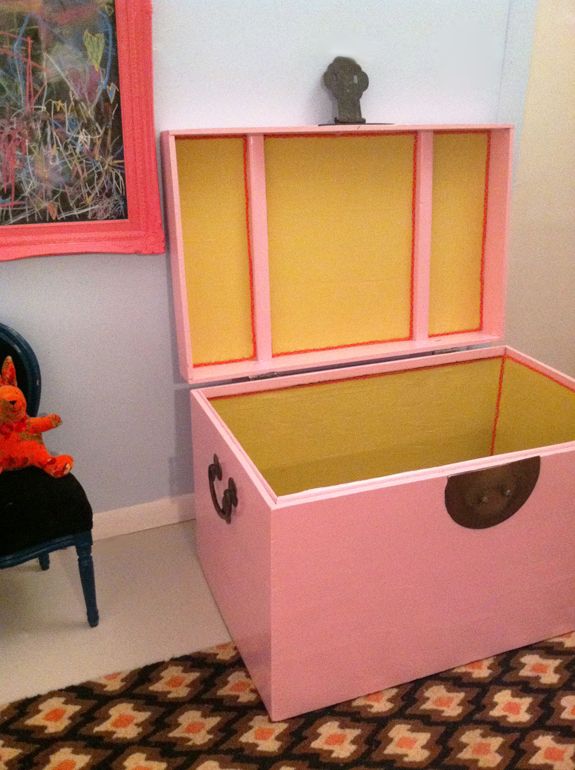
I’ve been pumping out a couple projects for the girls room this week though, so the toy box finally got some attention yesterday. I wiped it down again, filled the (many) cracks with wood filler, and then painted it with Sherwin Williams’ In the Pink.
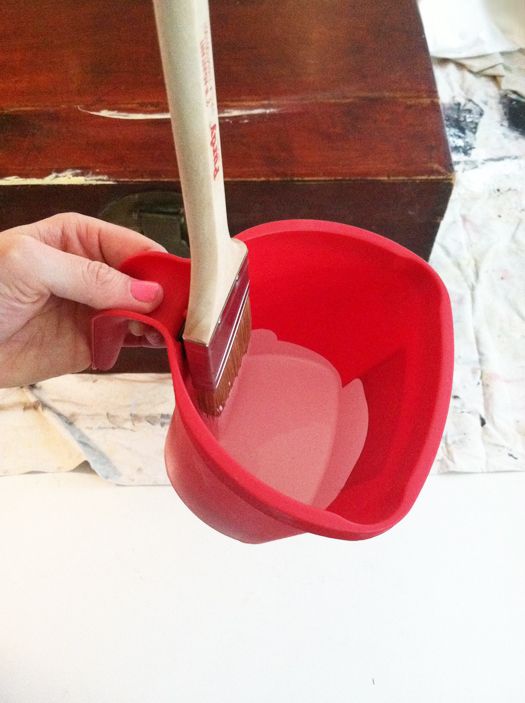
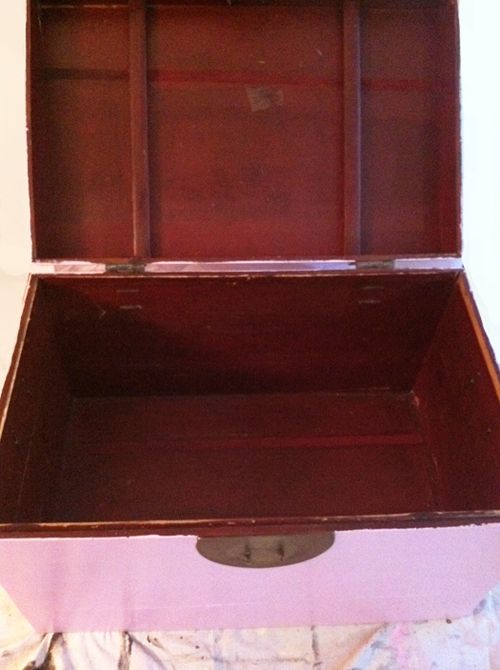
I finished the first coat of paint, stood back and had a weird deja vu moment. Then I suddenly remembered this image from Sibella Court/Vogue Living:
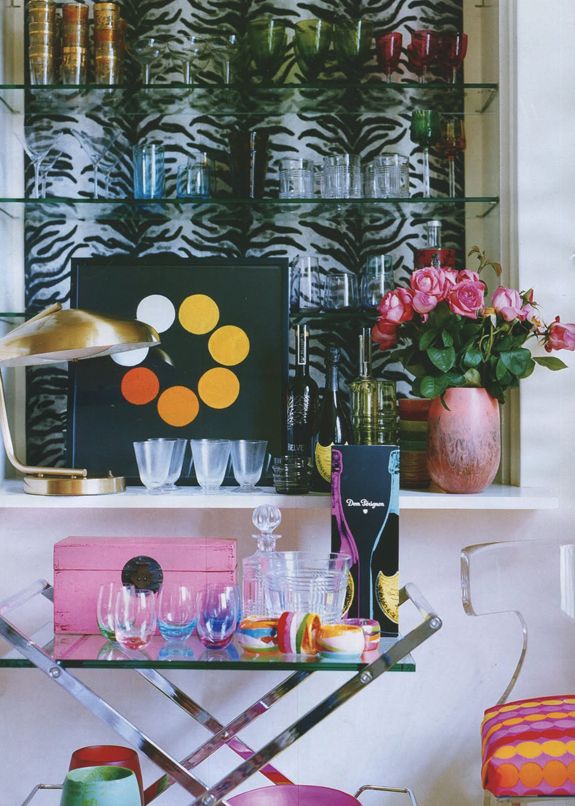
What the WHAT with that box color! It’s so weird how ideas seep into our subconscious!
Since the toy box lid is open 99% of the time, I wanted to do something fun with the lining of the trunk. I thought about just painting it a contrasting color, but I had a bunch of this chartruese linen on hand and I thought it looked so pretty with the pink. I got both the linen and the orange/magenta braid trim at SAS in Phoenix, AZ (one of the greatest bargain trim stores EVER – I practically clean them out each time we visit home).

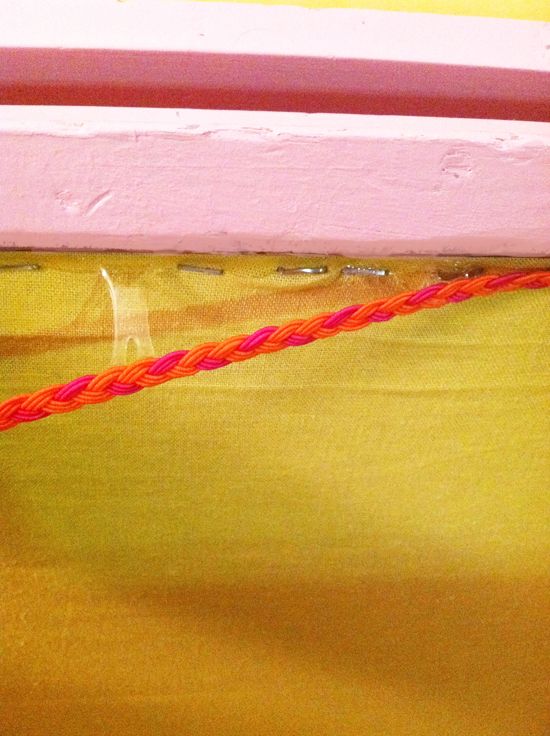
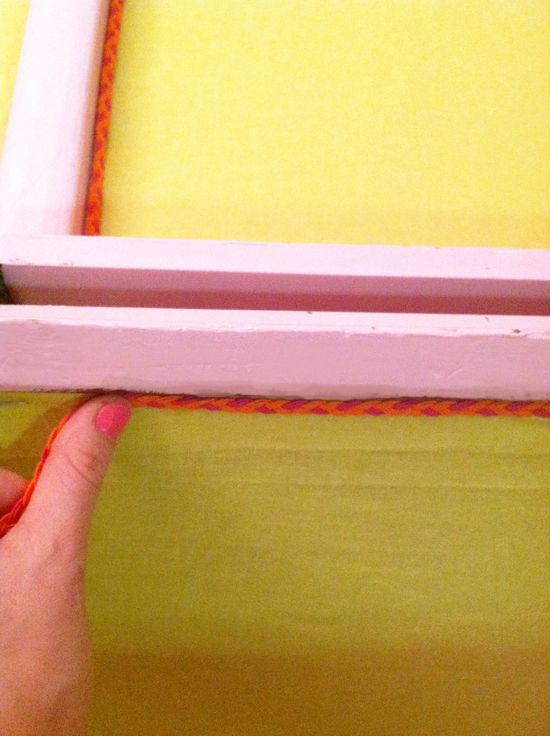
Using my trusty staple gun, I just ran a line of straight staples along the top of the fabric inside the trunk, then along the left side, then I pulled tight and stapled down the right side. Then I pulled really tight and stapled along the bottom. (basically my approach to every upholstery project is the same)
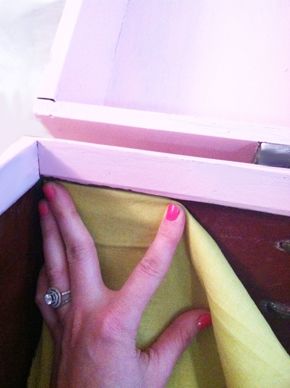
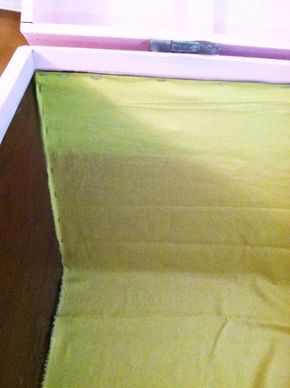
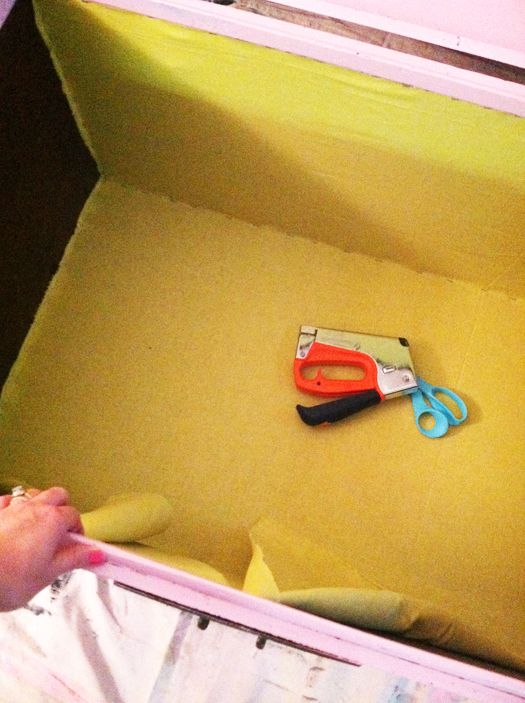
It’s okay if your lines aren’t perfect – that’s what the trim is for. The goal here is tight fabric.
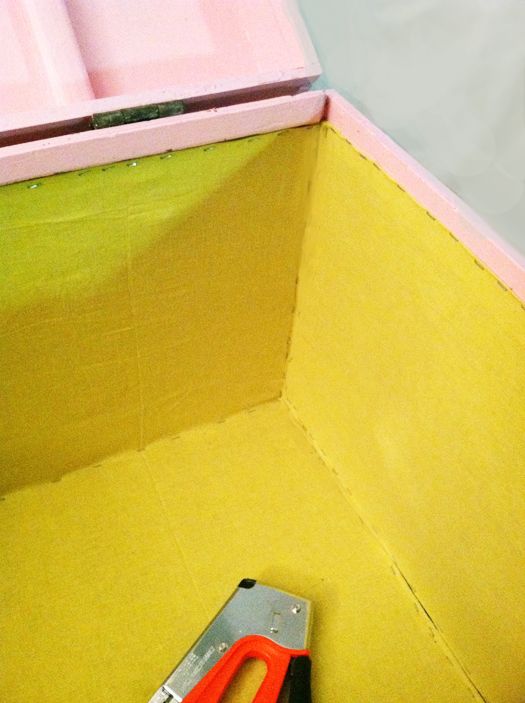
Once I finished the inside of the box, I did the three panel insets in the top of the lid too.
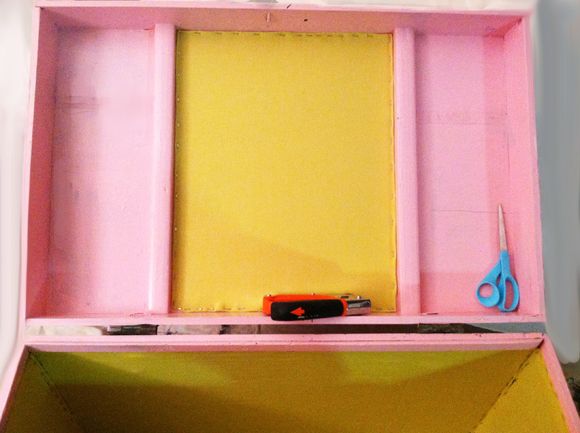
Then I used a little Magnatac to glue the trim on top of the staples. Magnatac is super-strength, so I think it will hold up well, but I’m also thinking about putting in a few small nails to keep the trim extra secure.
I love the way the toy box looks opened and closed now. I’m so sad I let this project go undone for so long.
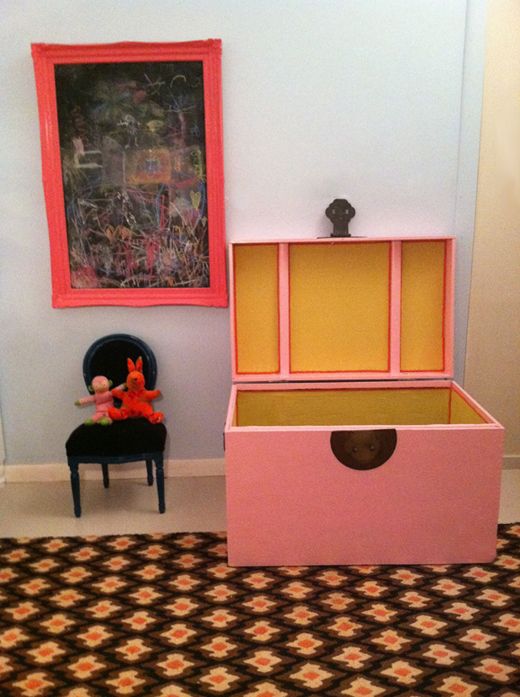
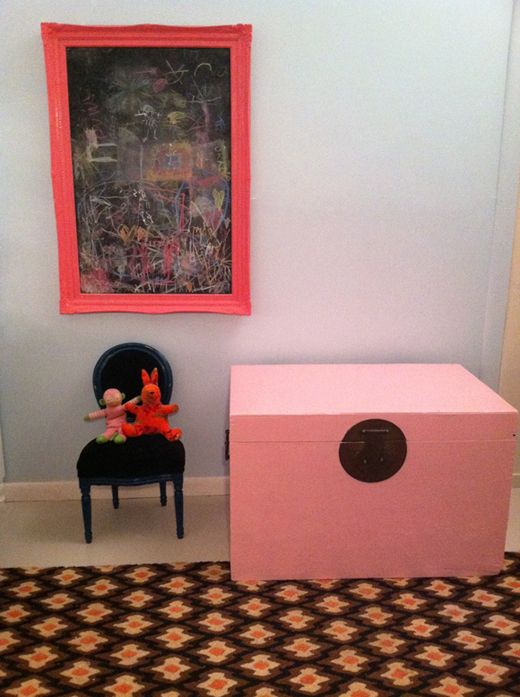
I’m giving the glue a night to fully dry, so the girls will be able to enjoy another morning of toys all over the dining room floor. I guess this was a good project for spring break :)


What a clever idea, I love the trimings on the inside of the box!!!
How do you find that glued on trim holds up on upholstery projects Jenny? My Mum and I were discussing techniques the other day for a chair and had quite a strong "discussion" on whether a glued on trim or welt would be durable enough.
She firmly believes in the traditional stapling technique. I know you've tried it before – has it lasted?
Love the box colour too – it's gorgeous! I just did up a Chinese style sideboard by painting it glossy blue. I wouldn't mind adding to my collection now! xx
Anna (My Design Ethos)
Jenny – your projects are so simple, yet clever. They help me think twice about an objects potential purpose.
Hello Jenny!
Thanks for the lovely post (love the description of your awkward neighbor introduction – that would so be me too!)
You may have already posted on this & I missed it, (apologies for any double work) – what is your source for the gorgeous four color, stepped diamond tiled rug in the girls room?
Thanks so much Jenny!
I love it! I think it's so sweet for your girls! Lining/trimming the inside was such a good idea!
I love the unexpected color combinations you put together! What a pretty toy box.
Adorable- can't wait to see more!
I love that! I am always trying to think up new ideas for my daughters room.
It is more like a treasure box. Love that you did the interior!
Love the stuff you come up with! So creative and smart…and totally doable. I actually loved the chest before, but how darling it is updated.
What a gorgeous redo! Especially love the attention to detail on the inside. Would also make a great end of the bed, extra blanket or pillow trunk!!
Cheers
~ Jillian
http://www.hersplitends.com
That's one of the cutest/stylish toy boxes I've seen!
Love it! I may not have a need for a toy box, but this technique could be applied to so many other things! Thanks for always sharing such seemingly simple, yet inspirational projects! :)
It does look like a giant jewelry box.
You are insane in a good way.
Those girls of yours are lucky duckies.
pve
What a great toy box! I would have been the same embarrassing neighbor! Such a great makeover. And I think I should simplify our toys to your system. Having an away for each toy in a certain bin really just makes my life harder :) Love all the detail you put into this pretty pink one!
I love the trim in the inside…adoable! It came out lovely…love the chalk board too nd the mini Louis chair.
Great project. Love the pink. Found some nice old wood chest yesterday on my thrifting adventure. I put safety closing hardware on the inside for little fingers not to get caught. See you at Blogfest. So excited.
Do you ever just veg out?! Really, you are such a time-management warrior. Your really do amaze me with your seemingly endless energy and enthusiasm. Such a great little transformation!
I think this was worth the embarrassing moment with your neighbor. It's awesome! Also, after reading this and some of your other posts, I'm realizing I'm totally underestimating the power of trim. You know how to work some trim!! Thanks for sharing.
looks FABULOUS! great idea with the lining. Really adds and upexpected splash when you open the truck.
I love it. You turned a granny antique into a girly and chic toy box. YOU WIN.
How awesome! What a transformation!
What a transformation!
love this DIY! Wishing I were so crafty.
i LOVE THIS!!!
I love the story of how you got the chest. I would have fell all over myself to pick that out of the trash! Hahaha! I guess we would make good neighbours.
perfectly pink in every way!
What a wonderful idea, and I love the box. It's a classic! I'm impressed that you always seem to get so much done with small children in the house!
You never cease to amaze with your attention to detail. This toybox is incredible! My painting projects frustrate me to no end… so much time and then the inevitable CHIPPING! Curious about your process here:no primer, no sealer for a piece that will most likely be subject to a good amount of wear? do you think this piece will hold up ok? also, struggling with our kids' space right now and would love to see more of this room along with ways to wrangle in and "conceal" toys within the main living spaces while also making them accessible and not forgotten: i.e. small parts (Legos, Playmobil, etc.) Thanks so much for your inspiration!
So cute! I love the extra detailing you included on the inside; I'll have to store that idea away for future projects.
Love it! Please show us more pictures of your daughters' room — it looks adorable!
So so cute, I love the colors you chose- they are perfect together!
I dont even have kids but I want to make a toybox now too :)
I'm a little nervous that one of the girls could lock one in while playing hid and seek or something…
This is lovely, but should really have a safety hinge to prevent the top from closing on your children!
This is such a beautiful idea! I wanted to do the same thing for an old basket. I thought about spray painting it and creating a no-sew liner for the basket, for my kids playroom.
Does anyone have any experience with painting baskets? Sounds a little messy!
That is a fantastic redo, and the inside is such a colorful, interesting touch. I've always been a little against toy boxes, thinking they just become a huge mess where kids can't find anything so nothing gets played with. But I may be rethinking this, as large toys are kind of a problem with my system.
Do you plan to add some safety hinges so the lid won't crash down on fingers, heads, or necks?
Great redo!
That is so cool! I admire people who are creative like that. Also, I have 3 boys and could REALLY use a toybox. LOL Will have to keep any eye out for one. Right now I use a laundry basket.
I'm taking a moment to come out of blog lurking because I just have to tell you how great your blog is! Your ideas are so original and clever! I would never have thought to line an old wooden box with fabric and trim. Thank you for showing us all your great ideas. I'm a loyal reader!
So pretty! Okay I'm in love with the rug too and must know where it came from!!
Oh, I just love that attention to detail. Who but you would give as much attention to the inside as the out? So pretty.
The transformation was well worth the wait- it looks fabulous.
Hi Jenny! I've absolutely love your blog! This is such a fun and cute project- I am always amazed! I was actually wondering what color you used on the frame of the chalkboard right next to the toy box. It's GORGEOUS! Thanks so much. Keep up the good work!
Sydney
Jenny!
I love it! Perfect!
Thanks for the comments!
About the safety questions – I'm totally with you. The lid is super light (surprisingly) and also very tricky to close from most angles. You have to be above or behind it. But I ordered some safety hinges online when I started this project and plan to add them as soon as they arrive. Thanks for your concern!
I need to do a post on the rug! It is vintage/antique that I got for almost nothing at Meeker Ave Flea. It was in bad shape, but I had it cleaned and restored. The colors are really fun in person especially.
The chalkboard frame was painted a color from BEHR I think. The post with the paint info is in my girls room posts back when we lived in Delaware. The chaing mai headboards room. Hope that helps!
xx
That is the prettiest toy box I've ever seen. Love it!
I love the trim inside! I know it inspire me to keep my toys nice and tidy inside! :)
hey jenny! it's whitney, we lived in cambridge/harvard together-you were a 3L when we were 1Ls. anyways, i wanted to tell you i LOVE your blog, i am always reading it, have been for years. i have some questions for you.
i love this toy box/trunk, your paint job was perfection. but it made me think about a question i have had for a long time. before you painted it, i actually loved the antique/vintage look of the original. with that said, when do you think it's necessary to paint antique furniture and when it should be left alone? clearly when it's in really bad condition it needs a face lift, but does it make the item lose its value? i have an old trunk that i use as my coffee table and its been in my family for years. i have gone back and forth on whether or not to paint it, but my mom (who is also way into design and especially antiques) told me not to paint it because it will lose its value. anyways, i would love your professional thoughts on this subject. i have many family antiques and most of them fit the antique/vintage shabby type category, but others i am scared to paint for fear they will lose their value. i can also send you pics of them if you would like. thanks for your thoughts! i can't say it enough how much i love LGN and you + your style :)
Hey, I saw this dresser for a little girl's room and thought of your toy chest. Maybe this is not a new idea, I'm just behind the times :)
http://www.allthingsthrifty.com/2012/03/tutorial-painting-furniture-anyone-can.html