
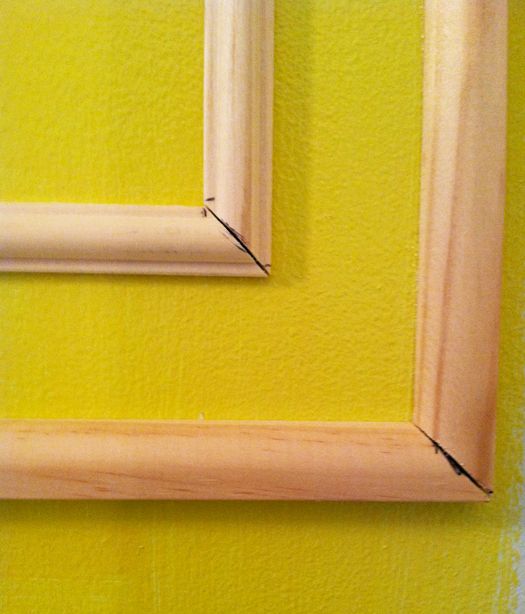
This weekend I finished caulking and painting the door to my girls’ room. Last week I added some inexpensive moulding to the front of their hollow-core door. There were some gaps in the mitered corners and the edges of the moulding pieces that needed caulking.
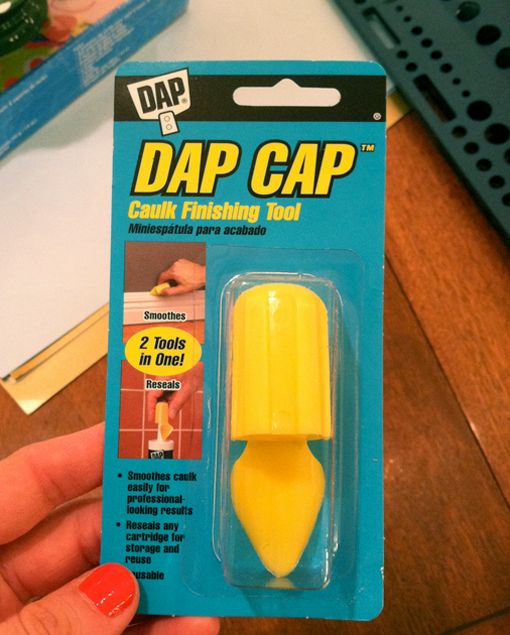
Caulk guns feel cumbersome and awkward to me, so I almost always use the tubes:

I usually use my finger to smooth the caulk lines, but these little tools are much more accurate and save my pointer finger tip from getting destroyed.
It’s an easy process. Just run a thin line of caulk along the space where the moulding meets the door and then immediately follow up with the edger tool for a super smooth finish.
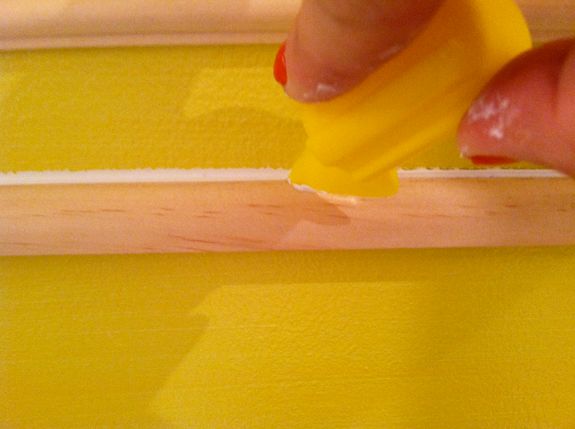
Here’s a mid-smoothing shot:
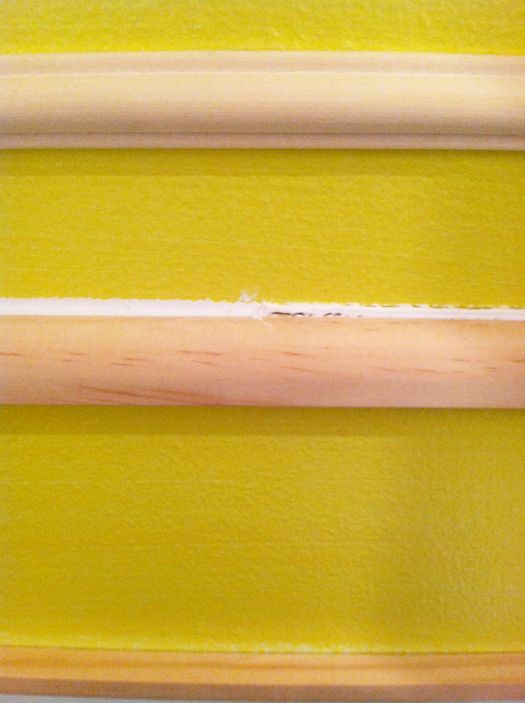
I caulked all the edges, top and bottom, and the mitered corners and followed up the smoothed out lines with a damp rag to remove any excess caulk smudges.
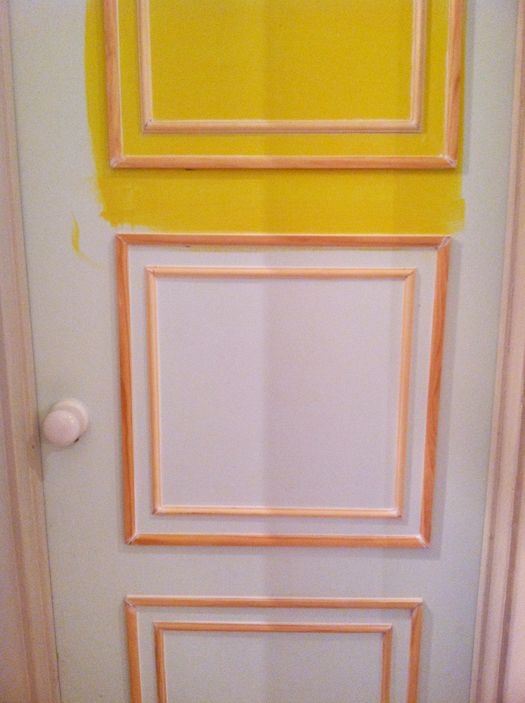
I let the caulk dry for a day and then brushed in the details around the moulding and finally rolled on the paint (Glidden’s Spicy Banana Pepper in high gloss – which, strangely, reminded me of a cheerleading dance class I took when I was like six maybe? Other than the Paula Abdul dance routine, I can only really remember one of the cheers that had some cute/sassafras hand rolling action: “Go. Bananas. B-A-N-A-N-A-S!” Repeated a bunch of times. Sort of annoying actually, but that didn’t keep me from teaching my kids the cheer while I painted) .
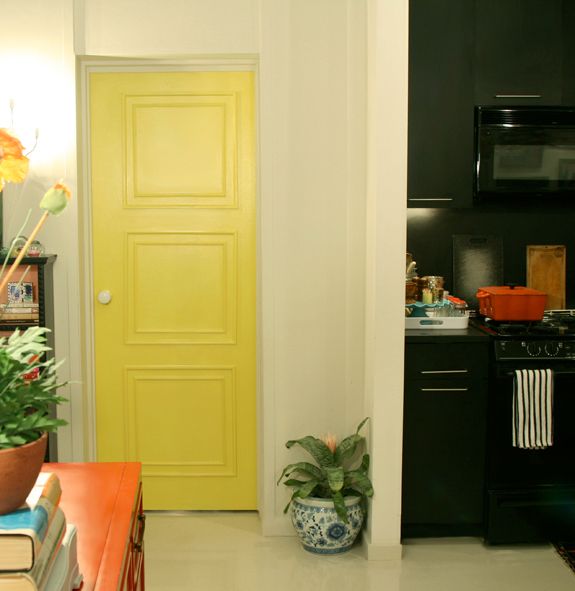
Filling the corners and edges with caulk is a super easy step and it helps give a sad, cheap door a pretty legit look. It almost passes for an old wooden door now on first glance.

The shots of pure, bright color in our living room are a fun contrast to the sea of white walls and our black kitchen. I’m loving the addition of the yellow door! And it feels appropriate for the entrance to the girls’ room – almost a little Alice in Wonderland maybe?


Thanks, friends! It was a fun and easy project. Probably three hours total? One hour each for adding the trim, caulking and then painting with touch ups.
Ann – I off-centered the moulding to account for the knob. I've seen doors done this ways many times so it doesn't bother me at all.
xx
I am in love with your door and all of those pops of color in the room especially the red table behind the sofa. Adding the trim detail to the door was genius!
You make it look so easy and the door looks fabulous!
Jenny, the door looks great and the pop of color is so refreshing! I love the color!
The door looks amazing, the addition of the moulding is perfect and thanks for the tips concerning caulking. I also do not like the caulk gun format!
My girls sing that bananas cheer too!
What a great job! You are perfect and this door looks amazing..
This looks so great! An instant upgrade for sure. Thanks for sharing!
I love the door. You always make things seem so easy.
What an amazing idea!!! Question, how did you attach the trim to the door originally? I didn't see any nail holes and would love to know how I can re-create this at home. Thanks!
So this is wonderful! I love the color– will you do the other doors now, too?
Oh yeah – that totally passes for an old door now! What a good technique to have in the bag of tricks.
Oh yeah – that totally passes for an old door now! What a good technique to have in the bag of tricks.
Great idea! It looks beautiful and I LOVE the color.
Ingrid :)
Wow, this looks so expensive. Such a great idea!
How awesome are these doors! Makes me want to go gets some molding!
Rashon aka Mr. Goodwill Hunting
http://www.ilovethrifting.com
Just gorgeous! I love this idea! I wish I had your nerve (and talent)!
Oh I just LOVE it!!! Great work! Love that shade of yellow too… presh!
i always use my fingers as well. might be time to invest in one of those handy tools!
I love colored doors and this looks so pretty! Also, I started saying the Bananas cheer in my head as soon as I saw your title. My mom taught us that cheer too.
I love the door! Yeah!
I LOVE it! I love how colorful and young it is in there but still sophisticated and grown up! Nice peek at the gg sconces too!
This is really great. Just want to say once again how great your blog is. Your DIY's are always elegant and there are so many. LIG stands out for me in that it's not just loaded down with pics, you give us the confidence to do it! Also, your sense of color is just amazing. Fresh but classic. Please keep up the great work and be forever inspiring. You're wonderful!
Wow! What a difference-it looks perfect in your space!
What a great idea for turning something standard into something spectacular. What a difference it makes.
Uh-mazing
It turned out so nice! I love it!
-Kate
http://www.cinnamonink.blogspot.com
Addind the trim nakes it look amazing. And then the color. Perfection.
You are inspiring me. I have cheap-o hollow core doors and this seems like a relatively simple way to spruce 'em up!
A-door-able!!!
it turned out beautifully. i love it.
LOOOOVE this! our home came with beautiful solid core wood doors, and i just don't think that my husband would let me take a bright color to them, but now i'm itching to!!
Ok, I have to admit, when you posted about painting your little bookcase coral and black and having a bit of a crazier paint colour scheme, I was skeptical, but you are a genius! From what I can see of your pictures, I LOVE all the colours in the room together, it looks amazing! How did you figure out your colours, were you working from fabric, or are you just pulling complimentary colours together on your own? I love colours, but I obviously don't have your skills, cause I couldn't make so many diverse colours look so amazing together. That yellow door is just a wonderful touch!
I love your idea for embellishing a plain door, and appreciate the tips on caulking. The project came out beautifully. However, shouldn't the design be centered on the door? It appears to be centered in the space next to the doorknob, and looks off to me.
k, Ima do that. great job…donna
This is absolutely FANTASTIC — hey, will you do a WHOLE APARTMENT TOUR soon?? We're seen snippets here and there, but it's hard to get a sense of everything that you've done — I'd love to see the whole deal, pretty pretty please!! ~Melissa
Thanks, friends! It was a fun and easy project. Probably three hours total? One hour each for adding the trim, caulking and then painting with touch ups.
Ann – I off-centered the moulding to account for the knob. I've seen doors done this ways many times so it doesn't bother me at all.
xx
Beautiful!
woot, woot!!! love it!! Martha has nothing on you.
Oh it turned out so great!!
Your door looks fabulous! The color was the perfect choice.
-Kathleen
This turned out really beautifully!
The yellow door looks incredible! It turned out so well.
Fashionable Collections
Beautiful and awesome. The yellow is fab!
wow! it is amazing!!
it looks awesome!
it's lovely!! way to go! you probably need a manicure after all that cutting and caulking and painting, huh?
:)
You are brilliant- need I say more??? I LOVE the yellow door in contrast to the black in the kitchen- perfection!
How have I never seen that handy little yellow tube before?? so clever- I am the one taht has always struggled with the dran caulk gun!
I have a giveaway going on right now to celebrate my 1st year of blogging if you're interested!
that is AMAZING!!!! seriously good :)
It looks great. I even like that the trim is off centered to account for the knob. I really wish I had your eye for style! You make it look effortless!
Yay! You did such a good job! Also love your new sconces, top marks!