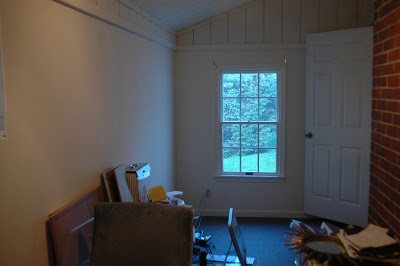
I painted the 500 lb credenza over the weekend, which spurred the official decorating of my office. By Monday night the last coat of poly had cured and we brought the furniture inside. Tuesday morning I headed down to my basement to go ‘shopping’ for my sorely neglected office, a long and narrow room off our living room. Seriously, the office was a mess – boxes still everywhere.

Here’s how I put the room together with almost no money:
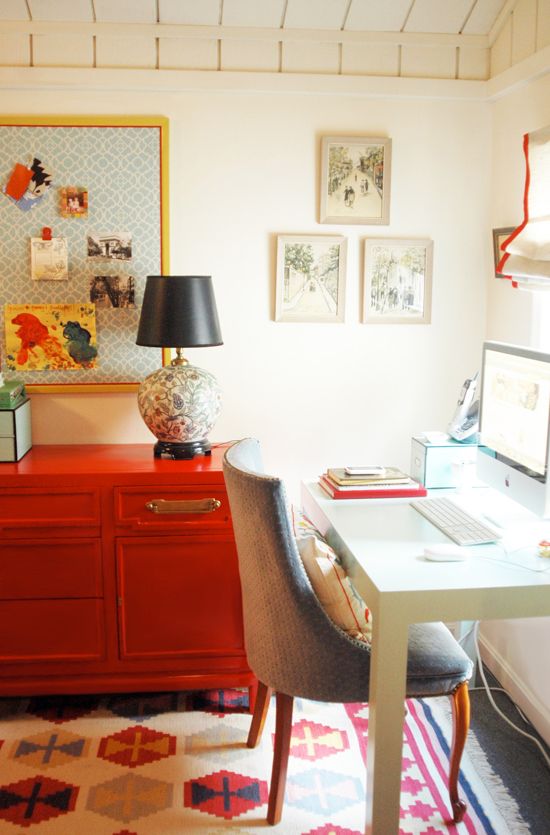
1. Revamped Parsons Desk
I bought a vintage Parsons desk on Craigslist a year or two ago for almost nothing. This is after I sanded it.

I had painted it a fun green color, but now I wanted a sort of dingy pale aqua color, similar to Martha Stewart for Valspar “Vintage Map.” Since the desk is pretty small, I decided to save money on paint and mixed my own color using some glossy white latex and a little bit of turquoise and brown acrylic craft paint.

I rolled on the paint with a mini-roller and did about three coats. After letting the last coat dry overnight, I used my favorite product – Wipe On Poly. Yes, it’s as easy and awesome as it sounds. Polyurethane sealer that you wipe on.
 Action shots!!

Two good coats of Wipe-on in “Gloss” and 24 hours of curing time and the Parsons desk looked as good as new.
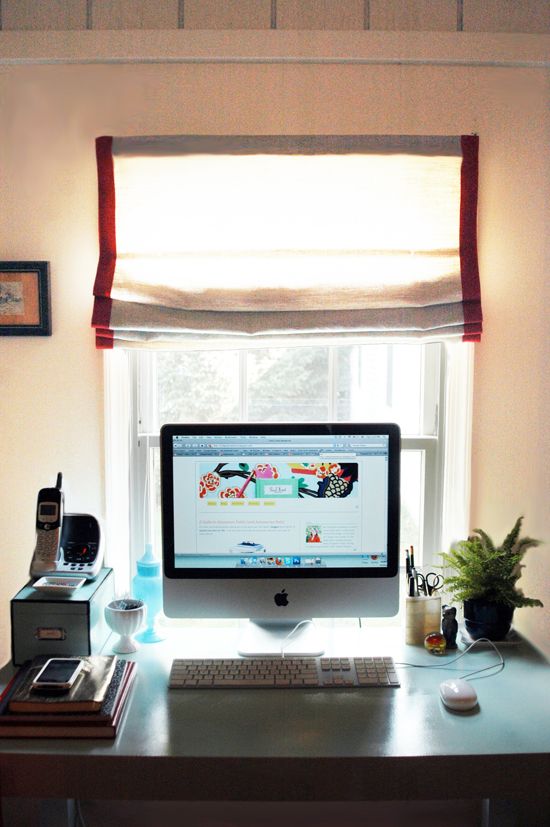
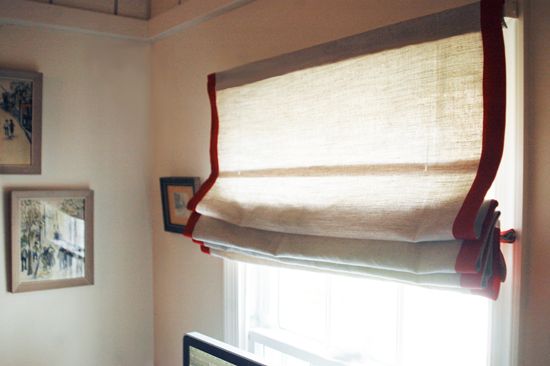
2. DIY Fabric Shade
I used about a yard and a half of linen from my stash and a roll of 1.5″ red grosgrain to make a fabric shade for the window. It still needs to be lined, but it’s not bad for a $0 project. Here are the instructions for making your own.
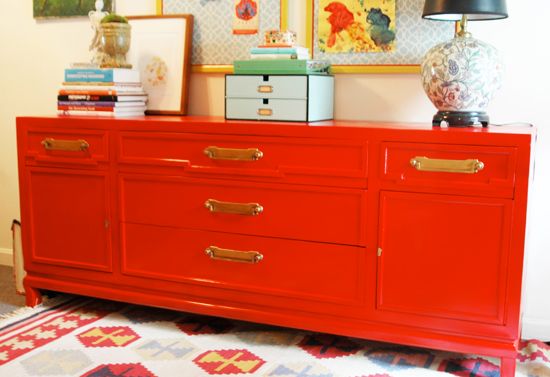
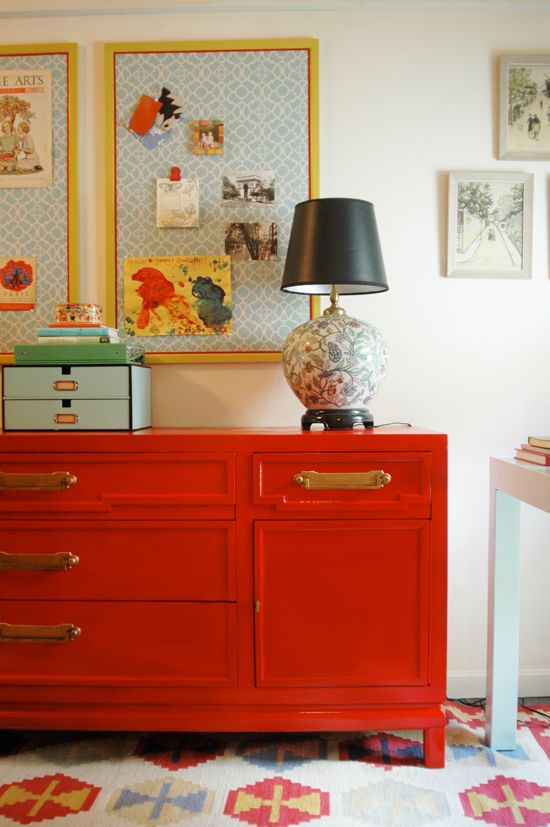
3. New (old) RED Credenza.

After reading this post from Nick Olsen a while back, I picked up a couple cans of Rustoleum’s ‘Saftey Red’ Spray Enamel at Home Depot for a client’s project. We ended up going with a different color scheme, but I kept the spray paint. And I’m so glad I was able to use it on this project! Isn’t it a fun color? The perfect orange-red.

Since I know you will ask — I did prime the credenza first. Well. Part of the credenza – just the top since that’s the part that gets the most wear.

I rolled on my trusty Zinsser and let it dry while I worked some magic on the dingy brass hardware with white vinegar and salt.

The credenza ended up needing two or three coats of the spray enamel. Because I invested $2.95 in this reusable spray painting nozzle/trigger/thing, my pointer finger and I are still on speaking terms. AND the paint job looks professionally sprayed.
 The freshly painted credenza got two coats of Wipe-On Poly as well and it was done. I love the way the cleaned up brass hardware looks against the orangey red!
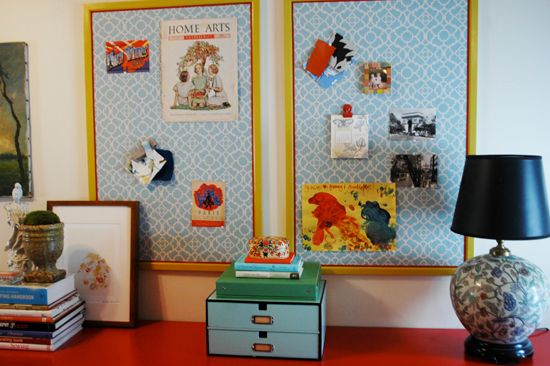
4. Pretty Inspiration Boards
I picked up a pair of very cheap cork boards and painted the frames with that same yellow paint that I used in my girls room (Martha Stewart “Olive Oil”). No need to tape or to be careful with the paint job here since the cork will be covered up.

I measured and cut up some old fabric that I bought for a project and never used (–Are you picking up on a theme here??) and simply ran a line of fabric glue around the border of the cork board. I glued one edge at a time and smoothed like crazy so that the fabric would lay perfectly flat. (PS the fabric is an outdoor print made by Waverly, called “Lovely Lattice” in Lagoon)


Then I fabric glued on some red gimp/trim to cover any imperfections or gaps in the border.

I hung up the refinished cork boards about five minutes before taking pictures, so I haven’t had a chance to really style them yet with inspiration stuff, but that can be a fun ongoing project.
The rest of the room was put together with stuff I already had. An IKEA rug, an eBay lamp, some prints from a vintage shop, etc.

And that’s it for my (basically) $0 office redo! I’ve got some sort of cold/flu situation happening, so I think I’m going to call it weekend. See you back here Monday?
xoxo, Jenny


This is so darn incredible! I love every part of it! Well done. And thanks for sharing it!
Jenny,
Have you ever had trouble w/ getting the wipe on poly to cure? I've got a piece I wiped down 2 days ago & it is still not cured…
amy
Your credenza takes my breath away! Obviously I am not alone! :D
This is incredible! I am going to bookmark it so I have ideas when I get cheap (and free) finds from Craiglist but am never sure what to do to really make it impressive. Love your ideas!!
Thanks a bunch!
Jenn
Free Quilling Instructions for Scrapbooking
i was going through my folder of pretty, inspirational pictures i've saved and found an old picture of the blue design sponge credenza. it made me think of yours that i saw on cup of jo, then linked to you and was going to let you know yours has a twin… then saw it was your inspiration! haha, small blog world!
Hi, loved your office make over. Could you tell please how many cans of spray paint you used?
Thanks!
I would never find a better place to read as good comments as this site never seen before.Its easy to find easy to understand, and it have serious comments not sick jokes as others, thanks and please keep like this.
This is a great blog with excellent posts and links.
Thanks for sharing .
You've got an amazing and an inspiring office out here. It really shows how a creative person you are. I'm really really impressed on what you've done. Keep up the good work. Cheers!
Ellie
office space
Looks absolutely fabulous!
Do you Wipe On Poly the entire piece or just the top?
Thanks!
That looks comfy!
Shockingly fabulous, the red is DIVINE! Janell
Jenny, love your blog! Question for you…I have an old teacher's desk I'd like to repaint blue and I'm looking for some brass pulls similar to the ones you have on this red dresser to replace the typical wooden pulls it has on it now. I've searched the internet and I'm coming up short. Any suggestions on where to find a similar pull? thanks in advance!
Always love your bold color choices. I just wanted to let you konw I included a photo (and link) of your office in a post I wrote about DIY cork boards. Thanks for sharing!
http://turnedtodesign.blogspot.com/2013/01/fabulous-cork-boards.html#