Art

Antique Prints in IKEA Frames

Like I mentioned earlier, the main part of my mom’s kitchen is very white. So when we added the green wallpaper and painted the island navy blue, it seemed like a good idea to add some white to that side of the room to get some more balance. When I imagined what art we were…

Like I mentioned earlier, the main part of my mom’s kitchen is very white. So when we added the green wallpaper and painted the island navy blue, it seemed like a good idea to add some white to that side of the room to get some more balance.

When I imagined what art we were going to put over the island, I really wanted two big botanical prints with fruits and vegetables. I did a little searching and nothing I found was the right size or price. So we went antique shopping and found these antique Audobon prints for $26 for all four.

We decided to use just the three blue bird prints in the kitchen and to put the yellow finches in another room. These definitely needed to be reframed though.


I love the modern look and the very reasonable price of IKEA’s Ribba frames. My only complaint is the long, european sizing of the mats. It makes framing standard US sized prints very tricky. And getting custom mats cut is more expensive than these frames so we needed a make-it-work solution.

I thought about getting some velvet ribbon to cover the gap between the matting and the print, but first I thought I’d try just painting out the gap. I used a little bit of flat black latex paint right on the paper that comes with the frame. I didn’t thinking it would work because it was a little ripple-y at first, but it dried pretty flat.


I LOVE the way the black accents the print. It looks really custom, right?

We hung the frames 3″ apart from each other, which is how far apart I usually hang frames in gallery walls.

So, I guess I have two complaints about the Ribba frames. Those lame wire hanging mechanisms on the back always slip and are such a pain to use. And if you hang the frame just by the lip of the moulding, it eventually stretches the wood and the frame begins to sag.

To fix the problem, we bought some of these keyhole fasteners:

And attached them along the top corners of the frame, using a drill and the provided screws. It’s a good idea to make a little pilot hole first to avoid any splitting.

We did a little marking and then my Dad drilled in a couple Wall Dog screws to hang these.

The frames are super secure with the new keyhole fasteners. My mom’s happy she won’t have to be constantly straightening these. And we both love the way the prints look against the wallpaper and with the navy island.

Musings

Blogging as a Career

I get a lot of questions about the business of blogging. I’ve posted about my thoughts on growing blog traffic here, but I thought it might be a good idea to talk about advertising. It seems like it’s the elephant in the room with the blogging community lately and I always feel better when I…

I get a lot of questions about the business of blogging. I’ve posted about my thoughts on growing blog traffic here, but I thought it might be a good idea to talk about advertising. It seems like it’s the elephant in the room with the blogging community lately and I always feel better when I am open and honest. So bear with me here.

In this post on Cup of Jo, I mentioned that a year or two ago my blog transitioned from a hobby into a paying job. I think at the time I had about 250,000 monthly page views (just in case you’re a fellow blogger and wanting a reference point). I noticed about then that I was spending 20-40 hours a week working on my blog. Every day I would get 100-200 emails. I get more now. Some are press releases or ridiculous, basically spam emails. But many require responses. The time to read and respond to even a quick email really adds up.

Then there’s the actual posting. As you fellow bloggers know, even the simplest posts take about an hour to put together — Editing and uploading the photos takes the most time. Linking takes a while. And then writing the copy can be really time consuming. The longer posts require 3-6 hours of work just to put together – not counting the time to actually do the project or photograph the room, etc. Crazy, right?

I hope to not come across as defensive or like I’m complaining. I’m just trying to keep it real. Seriously, I really, really love my job. I’m so grateful to you readers and the support you guys give me and my family. Every now and then I get a nasty commenter, but for the most part, you guys are only ridiculously sweet and supportive. Virtual hearts!

All this to say that there is usually sort of a turning point when a blogger can start to feel like what they have is more like a business and less like a hobby. For some, this is when the sparkle of blogging starts to fade because it is easy to get caught in the weeds of the business/administrative side of things. I don’t think this is a job a person can do unless they are passionate about the subject matter. That said, it can get hard to dedicate the time necessary to maintain something that’s just a hobby. Eventually it needs to make financial sense too.

A couple years ago, I started using Google Adsense as a way to offset the cost of blogging – both in terms of time and the expense of the projects I was posting about. Adsense is a free service that is open to any blogger. Though I think they suggest waiting to add the program to your site until you’re getting about 10,000 page views a month (I suggest using Google Analytics for traffic tracking). Adsense pays based on traffic and ad clicks. I did Adsense for a couple years and I also accepted (still accept!!) private sponsors, who advertise with the banners in the column to the right.

Earlier this year I was signed by Federated Media, which I was thrilled about. FM is an amazing ad network run by creative, thoughtful people. It had been a dream of mine to work with FM and I’m giddy that I can call myself one of their authors.

FM now manages the ads that you see on my site (excluding the private, small business ads previously mentioned). Also, I recently decided that I am going to try out hosting sponsored posts on LGN. I like to think of a sponsored post as a lot like a commercial. Some of them will be posts that I write, others might be something written by the sponsor.

This has been a tough choice. I am not making a fortune off of my site. I’m sure I’d make a better living if I spent all my time decorating. I keep blogging though because I think it will continue to provide me with good opportunities in the future, but most of all because I love blogging and I love my readers.

Have you been sensing how fast and furious the blog industry is growing? It’s really fascinating to me. I’ve been watching, like you have too, I’m sure, as bloggers have begun to really capitalize on the success of their blogs. I think that some bloggers are handling it *just right*. Sometimes I feel like others might be acting a little sneaky with how they’re monetizing their blogs. I worry those few bloggers in the minority are giving the rest a bad rap and making some readers annoyed whenever they see an ad. Me, personally, as a reader, I get it. We all need to make a living and I don’t hold that against anyone else. But, me as a blog author, I never, ever, ever want money-making opportunities to overshadow the genuine, hard work I put into this site.

I know not everyone will love seeing these occasional “commercials” but here’s what I can promise:

1) I will do my best to keep sponsored posts to a minimum. I’m anticipating only one or two a month.

2) On the very few days that a sponsored post goes up where the content is not mine, I will also be posting a regular content post and I’ll try to make it extra good!

3) The words “SPONSORED POST” will be at the top of each of these posts, making it easy to skip past if you’re not interested.

4) I am hand-selecting each of my sponsors. I promise to continue to work only with companies that I like and want to support. Not all of them will be design-related companies, but most will. They really will look and feel like commercials.

So there it is. It’s not an easy subject to discuss – money and advertising. But after some consideration, I decided it was worth sharing with you lovely, thoughtful readers. Tomorrow my first sponsored post will go live. Thank you in advance for your support with this. I promise to give you lots of the good stuff in return.

xoxox
Jenny

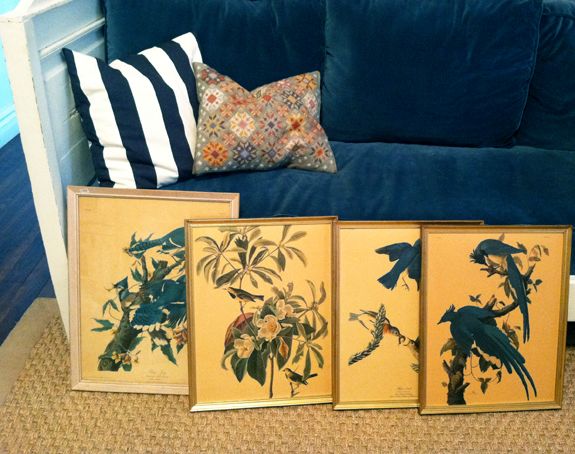
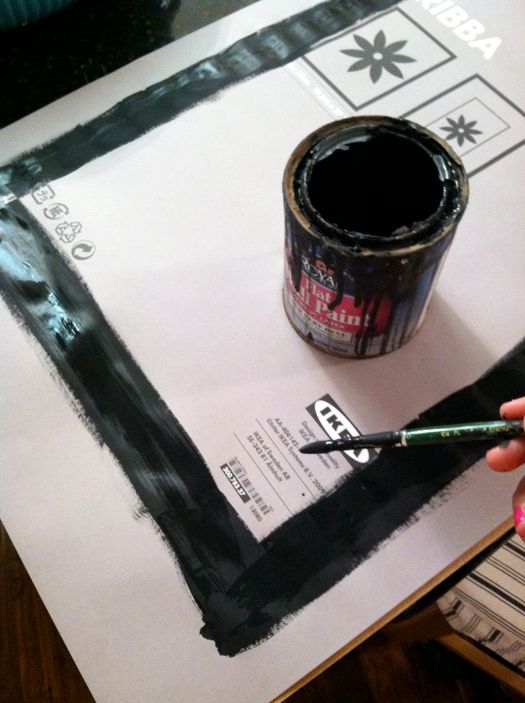
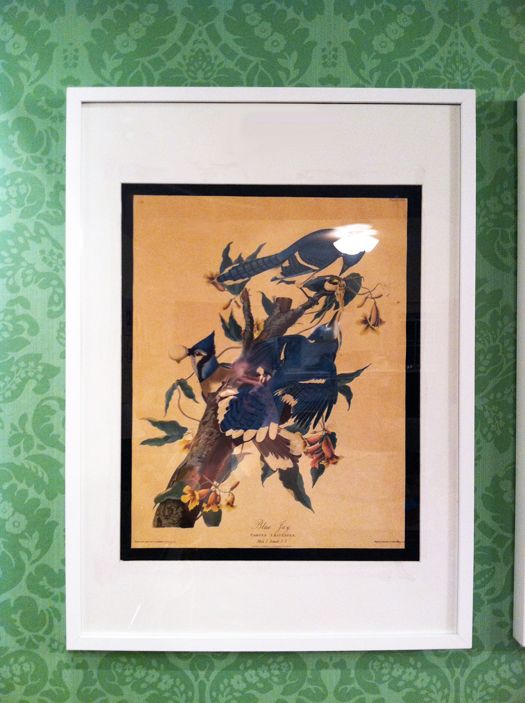
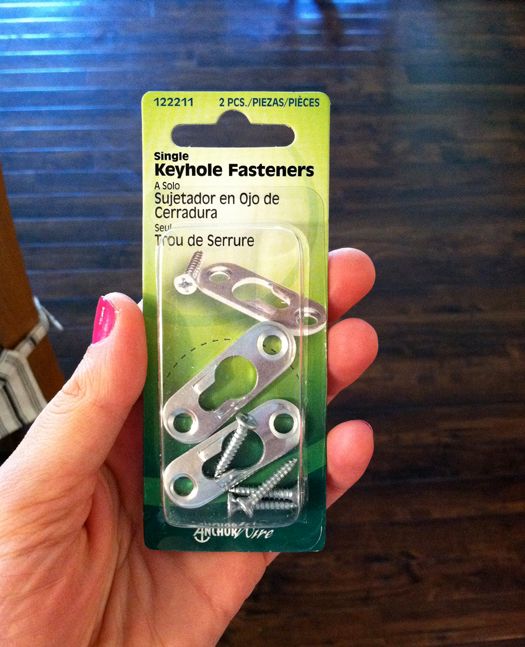
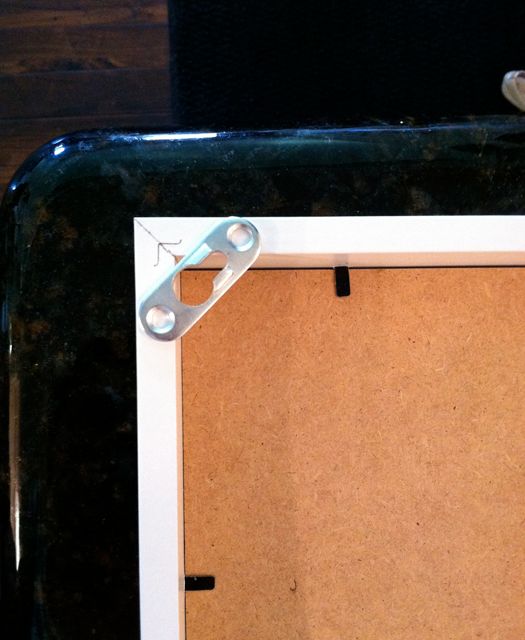
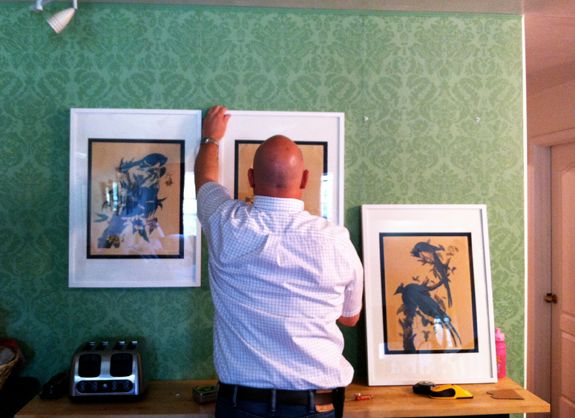
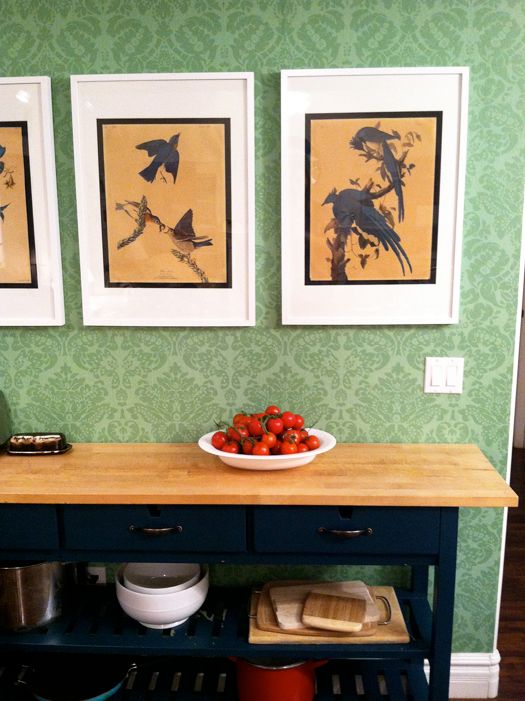
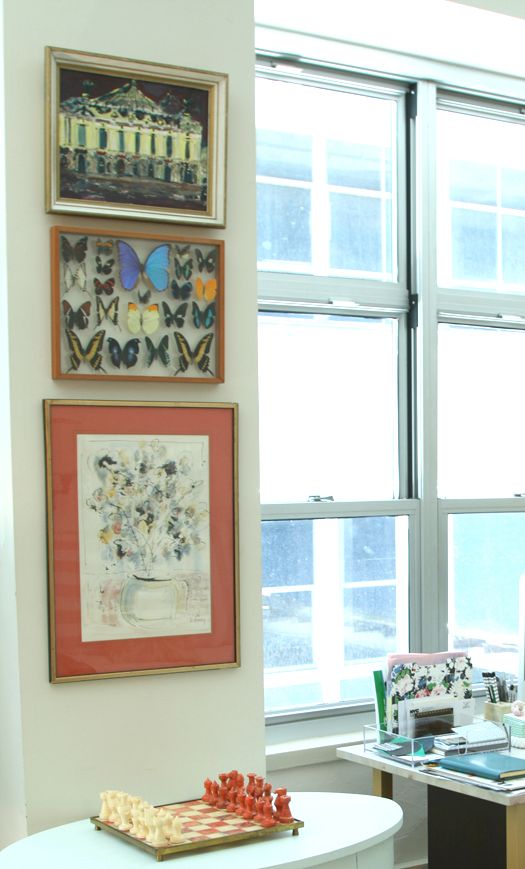
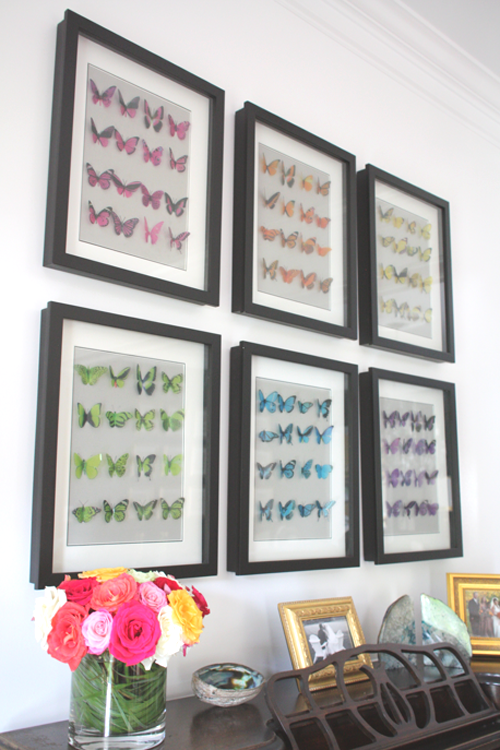
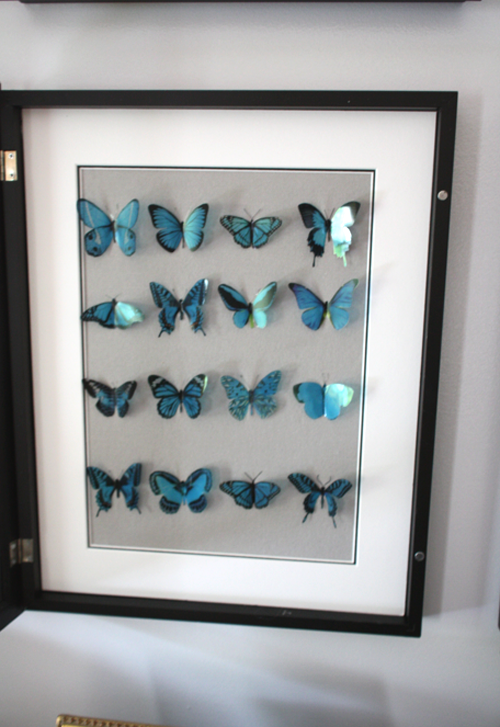
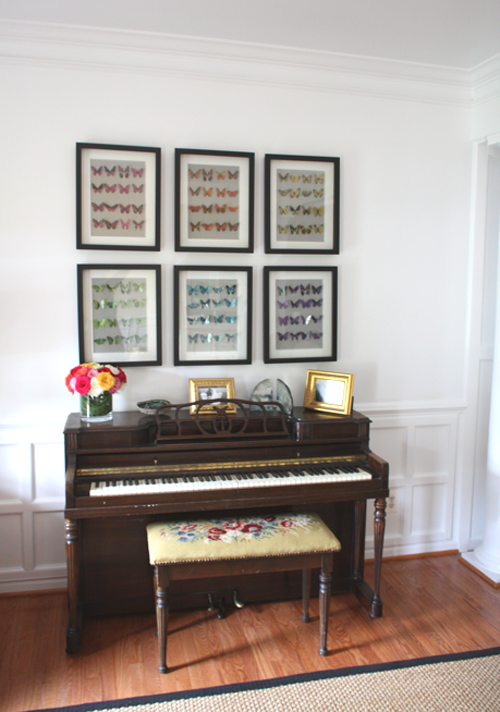
PS Also tomorrow, look forward to a post on making too-small art fit beautifully in large frames!

PPS There has been some further clarification in the comments section, so feel free to read my answers there and ask more questions if you have them. Thanks!

Inspiration

Wallpaper in my Mom’s Kitchen

When I posted here a while back about using wallpaper in kitchens, my mom called me and said she wanted to do that in her house and asked me to keep an eye out for a fun pattern. Then I found this Brunschwig and Fils wallpaper and my mom loved it as much as I…

When I posted here a while back about using wallpaper in kitchens, my mom called me and said she wanted to do that in her house and asked me to keep an eye out for a fun pattern. Then I found this Brunschwig and Fils wallpaper and my mom loved it as much as I did.

I’m so mad at myself for not taking before pictures! You can see here that my mom had done sort of like a shabby chic crackle paint treatment on this wall a few years ago and she was ready to update.

We hung the wallpaper ourselves using foam mini rollers to quickly spread on the wallpaper paste. Hanging wallpaper is definitely a two person job, but it goes quickly once you get into a groove. We did these two walls in about two hours, start to finish. (even with little ones wanting to assist)


This 12″ brush is a lifesaver for hanging wallpaper. Once you have started placing a sheet at the top of the wall, use this brush to smooth down the rest of the paper. It really helps to reduce wrinkles and makes the job go really fast.

You know how when you finish one project in a room, suddenly you want to redo a few other things? As soon as we had the wallpaper up, my mom wanted to repaint her butcher block island (you can see it to the right in the picture below) and she also was not loving the brown accent tiles in the back splash here.


The island got repainted and we also decided to try painting over the brown tiles.

We used an off-white latex paint in high gloss to cover up the brown. This tile is not in the main part of the kitchen – it’s just a decorative tile in a lower use place, so we weren’t that concerned about durability. I know that there are paints specially formulated for painting over ceramic tile though if you want a more durable solution.

The navy blue color on the island and the white accent tile make all the difference here. Also, it’s worth mentioning that we made the mistake of cutting all the wallpaper pieces in the same place on the pattern. We assumed that the wall was even, but it’s actually pretty rare for a ceiling to be completely level. We ended up being about half an inch off (as you can see in photos above). It was an easy fix though with a piece of inexpensive molding and a little sample pot of matching green paint (which we also used for touch ups other places).


We also picked up six new bar stools from IKEA as part of the revamp. So far we are pretty happy with the Ingolf stools and the ticking stripe chair pads.

The island was painted in Valspar’s Jazz Club, which I think looks great with my mom’s granite and the new art we hung (more on that later this week). The main part of the kitchen is mostly white — painted cabinets and a subway tile back splash–so this wallpaper is a really fun departure.

The kitchen is open to this family room that we redecorated a year or two ago. One of my favorite little details is a pair of decorative cornices I found at a flea market a while back. We hung the pieces in the wall corners and it sort of frames out the view into the kitchen. There’s a matching cornice on the other side too.

Inspiration

Wallpaper in my Mom's Kitchen

When I posted here a while back about using wallpaper in kitchens, my mom called me and said she wanted to do that in her house and asked me to keep an eye out for a fun pattern. Then I found this Brunschwig and Fils wallpaper and my mom loved it as much as I…

When I posted here a while back about using wallpaper in kitchens, my mom called me and said she wanted to do that in her house and asked me to keep an eye out for a fun pattern. Then I found this Brunschwig and Fils wallpaper and my mom loved it as much as I did.

I’m so mad at myself for not taking before pictures! You can see here that my mom had done sort of like a shabby chic crackle paint treatment on this wall a few years ago and she was ready to update.

We hung the wallpaper ourselves using foam mini rollers to quickly spread on the wallpaper paste. Hanging wallpaper is definitely a two person job, but it goes quickly once you get into a groove. We did these two walls in about two hours, start to finish. (even with little ones wanting to assist)


This 12″ brush is a lifesaver for hanging wallpaper. Once you have started placing a sheet at the top of the wall, use this brush to smooth down the rest of the paper. It really helps to reduce wrinkles and makes the job go really fast.

You know how when you finish one project in a room, suddenly you want to redo a few other things? As soon as we had the wallpaper up, my mom wanted to repaint her butcher block island (you can see it to the right in the picture below) and she also was not loving the brown accent tiles in the back splash here.


The island got repainted and we also decided to try painting over the brown tiles.

We used an off-white latex paint in high gloss to cover up the brown. This tile is not in the main part of the kitchen – it’s just a decorative tile in a lower use place, so we weren’t that concerned about durability. I know that there are paints specially formulated for painting over ceramic tile though if you want a more durable solution.

The navy blue color on the island and the white accent tile make all the difference here. Also, it’s worth mentioning that we made the mistake of cutting all the wallpaper pieces in the same place on the pattern. We assumed that the wall was even, but it’s actually pretty rare for a ceiling to be completely level. We ended up being about half an inch off (as you can see in photos above). It was an easy fix though with a piece of inexpensive molding and a little sample pot of matching green paint (which we also used for touch ups other places).


We also picked up six new bar stools from IKEA as part of the revamp. So far we are pretty happy with the Ingolf stools and the ticking stripe chair pads.

The island was painted in Valspar’s Jazz Club, which I think looks great with my mom’s granite and the new art we hung (more on that later this week). The main part of the kitchen is mostly white — painted cabinets and a subway tile back splash–so this wallpaper is a really fun departure.

The kitchen is open to this family room that we redecorated a year or two ago. One of my favorite little details is a pair of decorative cornices I found at a flea market a while back. We hung the pieces in the wall corners and it sort of frames out the view into the kitchen. There’s a matching cornice on the other side too.

Musings

Back in the Big Apple

I got back to NYC tonight after three whole weeks in Arizona and California. It was such a fun trip – filled with lots of friends and family time… PS If you’re an iPhone user, you should definitely try Instagram. It’s a fun (free!) photo editing app that is nothing short of addicting. My user…

I got back to NYC tonight after three whole weeks in Arizona and California. It was such a fun trip – filled with lots of friends and family time…


PS If you’re an iPhone user, you should definitely try Instagram. It’s a fun (free!) photo editing app that is nothing short of addicting. My user name is jennykomenda if you want to follow me. xoxo

Blue

B&F Wallpaper

Farrow and Ball’s colors are just perfection. One of my favorites is Arsenic. It’s a lovely bluey jade green. The arsenic color was used on the walls of this pretty Victorian house featured in Living Etc. It’s such a pretty, clear color. A couple months ago I bought about 10 triple rolls of this wallpaper…

Farrow and Ball’s colors are just perfection. One of my favorites is Arsenic. It’s a lovely bluey jade green.

The arsenic color was used on the walls of this pretty Victorian house featured in Living Etc. It’s such a pretty, clear color.


A couple months ago I bought about 10 triple rolls of this wallpaper at the Brunschwig and Fils sample sale. It’s pretty spot on with the arsenic paint color. I think I paid either $2 or $3 a roll. It was insane.

It wasn’t until I got home that I realized that half of the rolls were a smaller, different pattern. I’m thinking of using the smaller pattern on the daybed wall in my office.

I’ve got plans for a big piece of modern art layered on top to mix up the more traditional pattern. I’m super excited.

Spoiler alert: I brought a few rolls of the bigger damask with me to Arizona. Mom and I did a little mini-reno of her kitchen this week and the wallpaper makes an appearance. Can’t wait to share the photos next week. I’m trying to dig up some before photos for you. Aren’t afters are always better when you can see the befores?

Happy weekend! xoxo

Office

Organizing a Desk with No Drawers

Some of you asked if it was tricky to keep a desk organized without any built in storage. I actually love that my IKEA desk is leggy and open, but I discovered pretty quick that some drawer storage was going to be necessary. I use my old aqua lacquered drawers for smaller office supplies (tape,…

Some of you asked if it was tricky to keep a desk organized without any built in storage. I actually love that my IKEA desk is leggy and open, but I discovered pretty quick that some drawer storage was going to be necessary. I use my old aqua lacquered drawers for smaller office supplies (tape, stapler, paper clips, etc).

I looked for a while for a decently priced filing cabinet that wasn’t completely offensive looking. Finally this little filing cabinet showed up at the Chelsea Flea Market for only $20. Sold!

It looks like four drawers, but it’s actually just two deep drawers for hanging files and it fits perfectly under the IKEA desk. I thought about painting it, but I’m sort of digging the wood. (and you can’t tell that the top is scratched when it’s under the desk)

You can also see in the photo above that I use an antique wire basket for magazine storage. I get a lot of magazines and catalogs, so I like having a place to keep them that’s off my desk top. They sit here safely until I have a chance to read them and then I recycle most or pass them on to friends. I also have a couple acrylic folder trays from the Container Store for rounding up loose files and papers at the end of the day.

On the other end of the desk, I keep two seagrass baskets for corralling trims and loose fabrics I pulled from the shelves of fabrics on wall behind this desk. I keep another acrylic tray here too for my husband’s magazines. Isn’t that glass ball so cool? It was another flea market find and wish I knew more about it so I could buy more!

I’m finding it’s pretty easy to keep this desk clean. If I can’t fit all the loose paperwork in my tray at the end of the day, then it’s time to file. There are no ‘black hole’ drawers here. It forces me to be more organized and then my desk stays tidy. Kind of necessary when my work space is approx. 5 feet from the living room.

Furniture

My Desk

With all this talk about work schedules and approaches, I thought it would be fun to share some photos of my home office in progress. (See here for the story on my vintage office chairs.) Our loft has two long banks of windows. One is in our living area and the other is in our…

With all this talk about work schedules and approaches, I thought it would be fun to share some photos of my home office in progress.

(See here for the story on my vintage office chairs.)

Our loft has two long banks of windows. One is in our living area and the other is in our office/guest space (both these rooms are open to each other). I wanted the desk to basically run the length of the windows so an assistant could work there during the day and my husband at night. I wanted a shallow desktop. Also I needed something with legs that were or could be pushed forward so the desk could sort of sit over the top of the radiator vents. Sounds like a custom job, right? No good for me ($$$$$), so I figured I’d have to build something myself (like this).

Then I remembered that IKEA sells interchangable table tops and legs at really reasonable prices. I was hoping for something on the more modern/streamlined side anyway. I was able to buy two of the VIKA pine wooden tops and three of these metal legs for about $90 total (the pricing is/was a little less in-store — I bought the legs for $10 each and the tops for $30 each).

The legs attached very easily with the use of a drill and the provided screws. Just make sure to measure where you want the legs to sit, so that the legs line up together.

We were a little nervous that putting a single leg under the seam of the table tops (in the middle) was a bad idea, but it has been really fine – no problems here. I really just didn’t want the added bulk of a fourth leg. Then it would just look like two desks pushed together. I’m so glad it worked to just use three legs. The result was exactly what I wanted.

I love the modern shape of the legs.

Once I had everything put together, I whipped up a quick pickling paint concoction with a little bit of white paint, some gray primer (because that’s what I had around in the dark gray department) and water. I would say I ended up with four parts water to one part paint. I wanted it on the watery side.


I wanted to be able to see the knots and some of the grain in the wood through the paint job.

Pickling the tabletop was about the easiest paint project I’ve ever done. It took about 10 minutes to brush on all 100″ of table length!

I wanted a brass look on the legs, so I broke out my quart of Ralph Lauren Regency Metallic Parlor Gold and brushed it on the legs with a foam brush (no primer first, because I was feeling a little lazy – it was after bedtime. See me in my jimjams?). I did two or three coats and then sealed the gold painted with Polycrylic.

I made this desk a couple months ago and it has held up beautifully. No chipping on the legs and the tabletop has withstood it’s fair share of rogue crayon/marker scribbles.

I’m happy with the look of mixing the pickled wood with the modern brassy legs. And I really love how much surface space we have in that room now. It’s great for a second work station, but I also use it a lot for laying out fabrics and samples. Two thumbs up for this great IKEA product.

More on my office next week. Hope you have a wonderful weekend!! xx

Musings

Motherhood

So many of you fellow mothers have commented or emailed asking for tips on “how to do it all.” It makes me laugh to think that I would be the imparter of advice on that one. This summer has majorly challenged me on the professional/personal balance front. All great things happening – just not enough…

So many of you fellow mothers have commented or emailed asking for tips on “how to do it all.” It makes me laugh to think that I would be the imparter of advice on that one. This summer has majorly challenged me on the professional/personal balance front. All great things happening – just not enough hours in the day.

Disneyland yesterday morning. This photo makes me laugh everytime. Grace and Claire were so excited to get going and the last thing they wanted to do was stop for a photo. :)

Joanna asked me to participate in a series she has this week on juggling motherhood with work. It was fun to write out my schedule and some of my thoughts about the subject, but I think my ultimate conclusion was that we all have to find a balance that works for us and constantly be re-evaluating and adjusting. I am reminded every day that life is full of trade offs. I feel like my schedule is a little too work-heavy right now, so we are taking this long trip out west. Vacationing with kids isn’t always the most rejuvenating, but I am so happy to be with them all day, every day.

Thanks to Joanna for including me in her series. You can check out the post HERE.

xoxo

Why Don't You

An Alternative to Butterfly Taxidermy

I was sort of surprised that so many of you think that framing butterflies is a morbid practice. While I think it’s a great idea to only purchase vintage pieces or to buy from humane harvesters (there are lots of these sellers on eBay and etsy), framed butterflies don’t bother me at all and I…

I was sort of surprised that so many of you think that framing butterflies is a morbid practice. While I think it’s a great idea to only purchase vintage pieces or to buy from humane harvesters (there are lots of these sellers on eBay and etsy), framed butterflies don’t bother me at all and I love getting a chance to examine these beautiful creatures up close. The patterns and colors are completely amazing. Mother nature at her finest!

But if you’re still creeped out by the real butterflies, check out what one of my readers, Krista, shared on her blog Kiki’s List.

Krista purchased a few sets of these pretty plastic butterflies (meant for wedding cakes a la Martha!) on etsy and framed the sets arranged by color in shadow boxes from Michaels. Doesn’t this look great? Check out her entire post here.

Thanks for sharing your beautiful project, Krista!!

If you have a project to share on LGN email me: jenny (at) jennykomenda (dot) com. Thanks!

Furniture

How to Reupholster a Chair, Part 5: Sewing the Cushion

Hi friends! We are out west for my sister in law’s wedding, the beach and a little bit of Disneyland. I had to take an unexpected blogging break due to some technical difficulties (it’s so hard to be away from my iMac and all my files/photoshop). Anyway, sorry for the delay on this final installation…

Hi friends! We are out west for my sister in law’s wedding, the beach and a little bit of Disneyland. I had to take an unexpected blogging break due to some technical difficulties (it’s so hard to be away from my iMac and all my files/photoshop). Anyway, sorry for the delay on this final installation of the upholstery tutorial series!

Here are the rest of the steps: Part 1Part 2Part 3Part 4

Sewing a chair cushion is very similar to sewing a self-welt pillow with a zipper. Not hard at all.
Step 1: Using a seam ripper, carefully pull apart the original cushion. I used an extra large seam ripper which makes the process fly by.
Step 2: Use the original cushion pieces as a template to cut out pieces from the new fabric. Pay close attention to the pattern on your fabric. You want things to line up as much as possible.
Step 3: Always have your iron out and hot when you are sewing. Press everything! My mom (who is an AMAZING seamstress) always says that the key to professional looking sewing projects is in the pressing. The fabric will be much easier to sew and there will be less mistakes. Here we are pressing the back panel, where the zipper sits.
Step 4: Whip up some more piping. This photo was taken when we made the double-cord welting (instructions here), but the idea is the exact same. You’ll need less width though for single cord piping.
Step 5: Sew the piping to both the top and bottom pieces of cushion. My seam allowance here was about 1/2″.
A quick tip: if you cut the seam of the piping a little just around the curves, the piping will be much more flexible and it won’t pull or rip from the inside.
Step 6: Sew the middle panel (which in the case of my cushion was one long strip the wrapped around three sides) to the top piece.
We had a little trouble getting the pattern to match on one cushion (below) because we were short on fabric, but this pattern has so much going on, that it doesn’t bother me at all.
Step 7: Reassemble the zipper using the old cushion as your template. You can even reuse the old zipper if it sort of matches your new fabric (mine didn’t).
The old cushion had a small panel that covered the beginning and end of the zipper. It’s a pretty clean look, though you don’t really see the back of the cushion from behind the chair.
Step 8: Once your zipper is in and the three-sided panel was all sewn in place, it was time to attach the bottom panel. Just like sewing a cushion, you turn everything inside out, with the zipper open so you can turn it back to it’s right side after sewing.
And that’s it! The cushions fit just right and are easily removable for washing.
I took these photos as we were running out the door to catch our plane, so forgive the less than great styling. I definitely need some new pillows for to the chairs. I found this awesome red and green leopard print that might be *perfect*.
Off to help with more wedding stuff. I promise to post as often as possible while we’re away. I have some really exciting projects to share with you that I photographed before we left. xoxo
This error message is only visible to WordPress admins
There has been a problem with your Instagram Feed.
© Jenny Komenda. All Rights Reserved.
Site by