
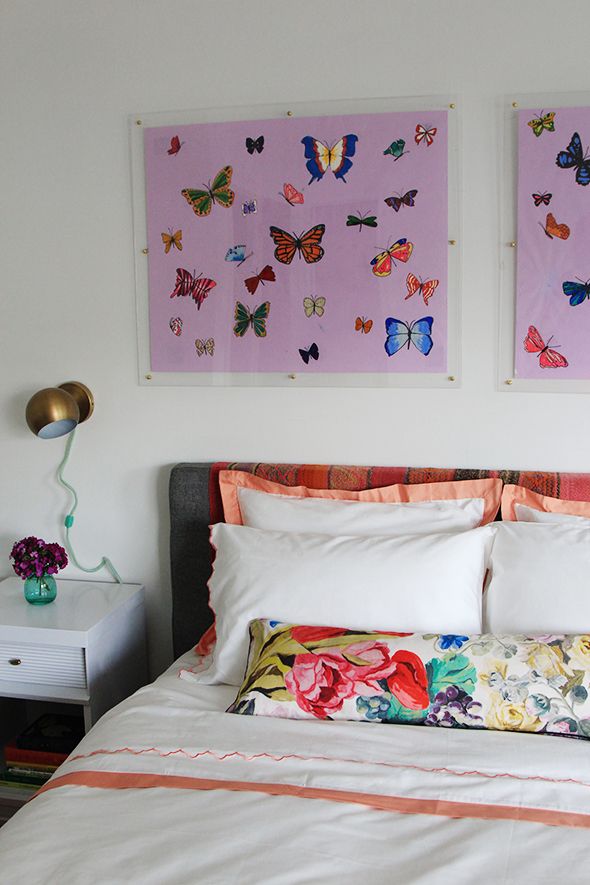
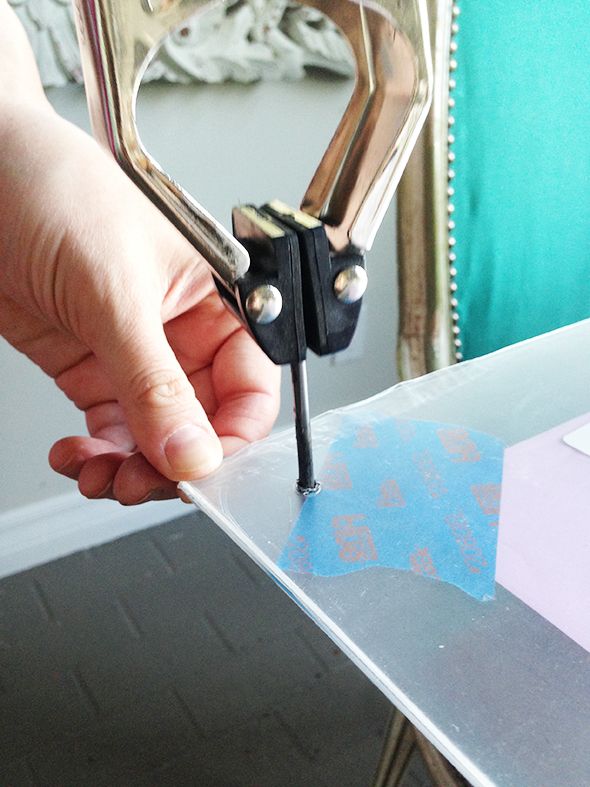
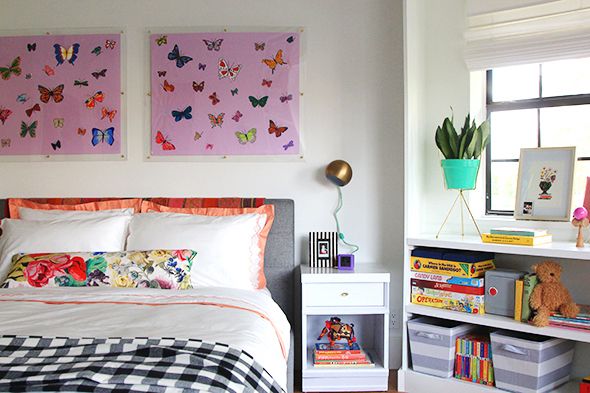
When it came to figuring out art for Evie’s room (remember she requested butterflies?), I knew I wanted to try this great tutorial from Honey and Fitz. I’ve used oversized acrylic sheets for framing wallpaper before and I loved it, but I really like the look of double-paned acrylic rather than just the one sheet against the wall.
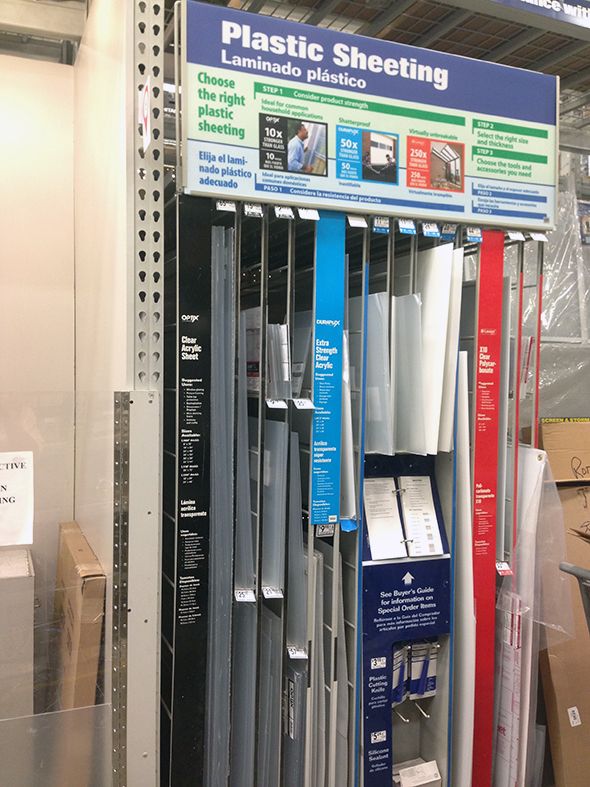
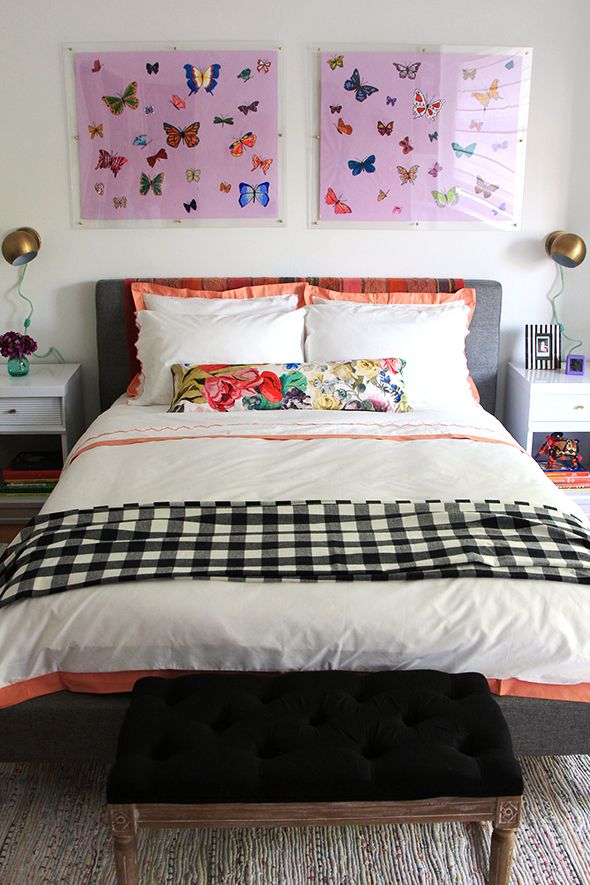
I had no idea that you can buy smaller sheets of acrylic at Lowes! Such a helpful tip! I picked up four of these 30×36″ sheets for about $20 each and then I got started on the artwork with my girls.
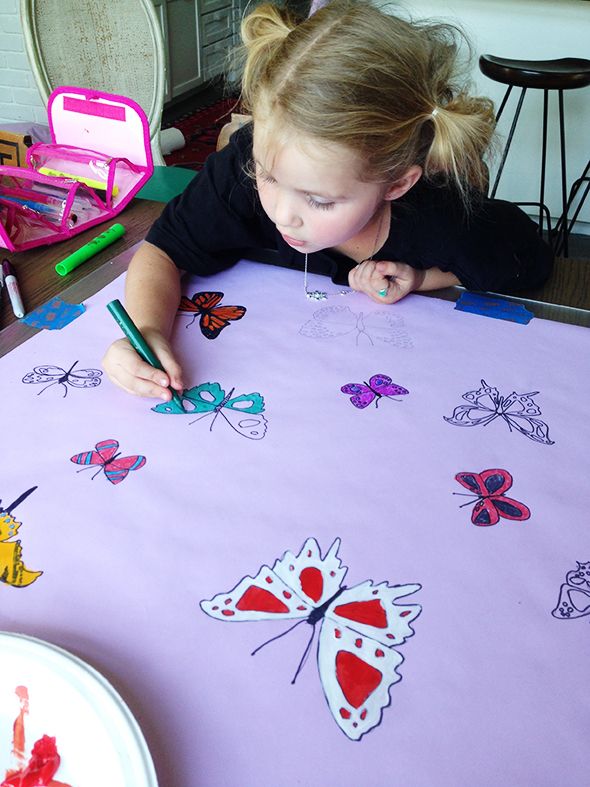
I found this butterfly book at an antique book store (it can be found here too).
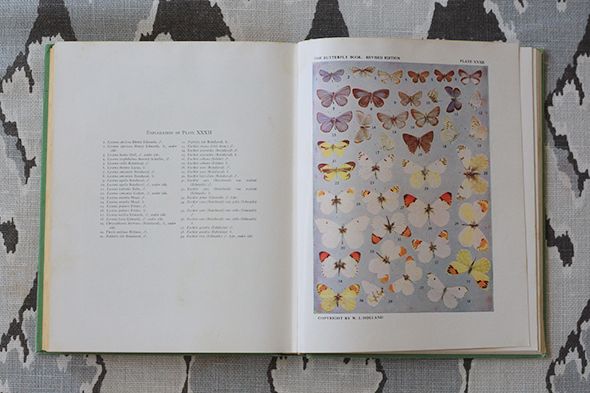
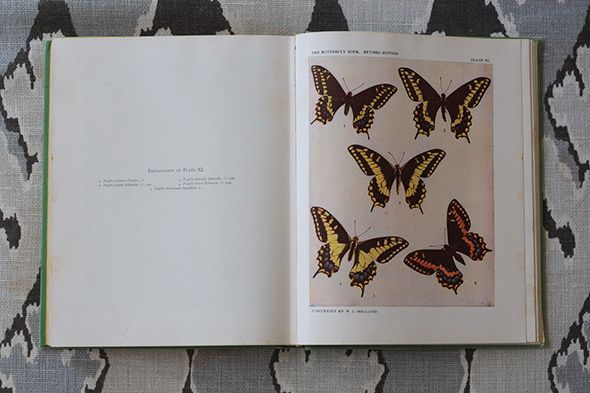
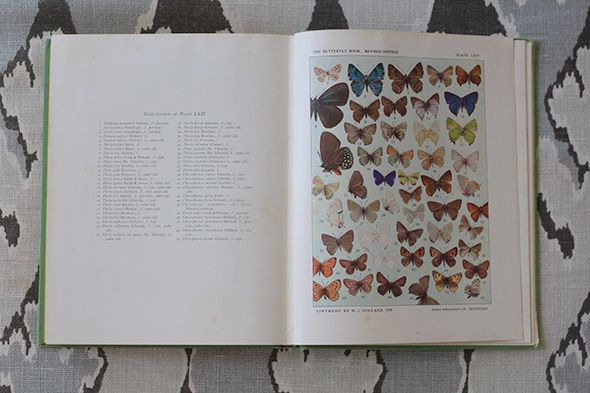
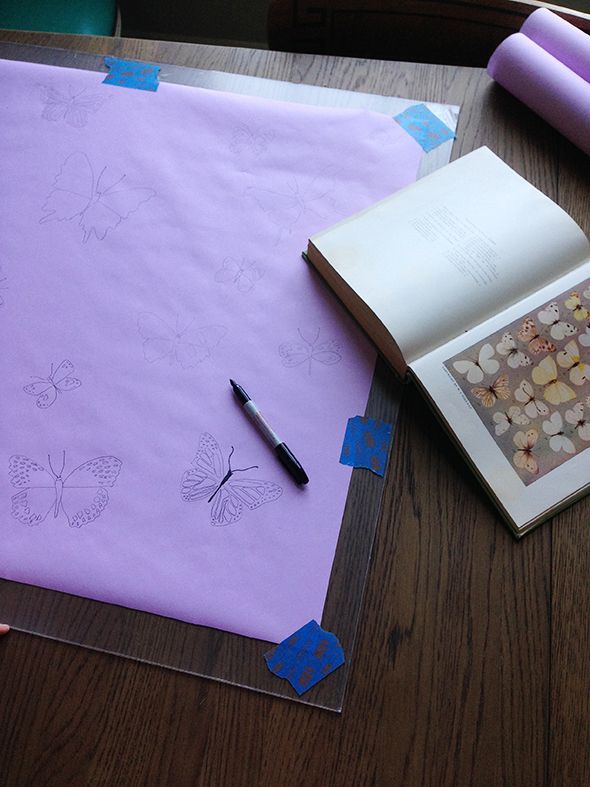
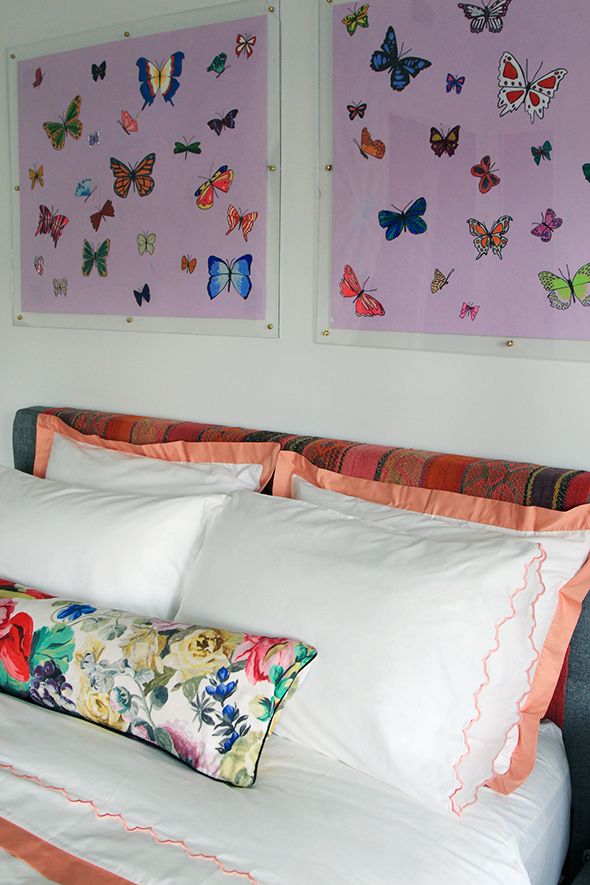
It has about 50 color plates of butterfly sketches that I referenced to draw random butterflies on two sheets of lilac colored art paper that I cut to be just a few inches shorter than the acrylic sheets.

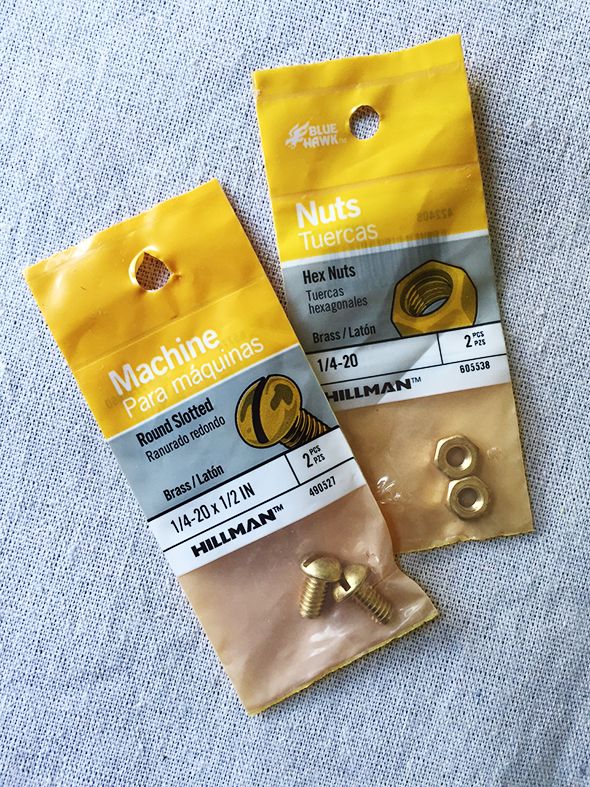
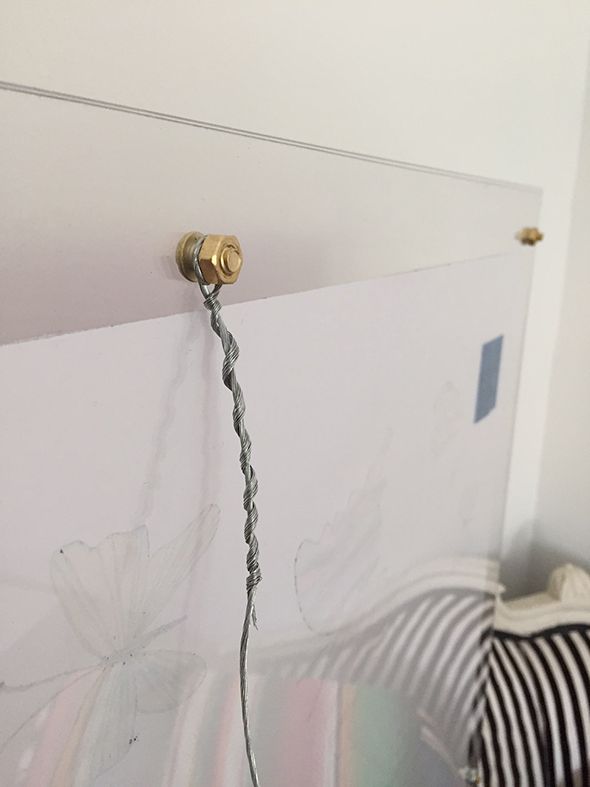
Then all you do is thread the holes with a 1/2″ long machine screw and a nut to sandwich the two boards together.
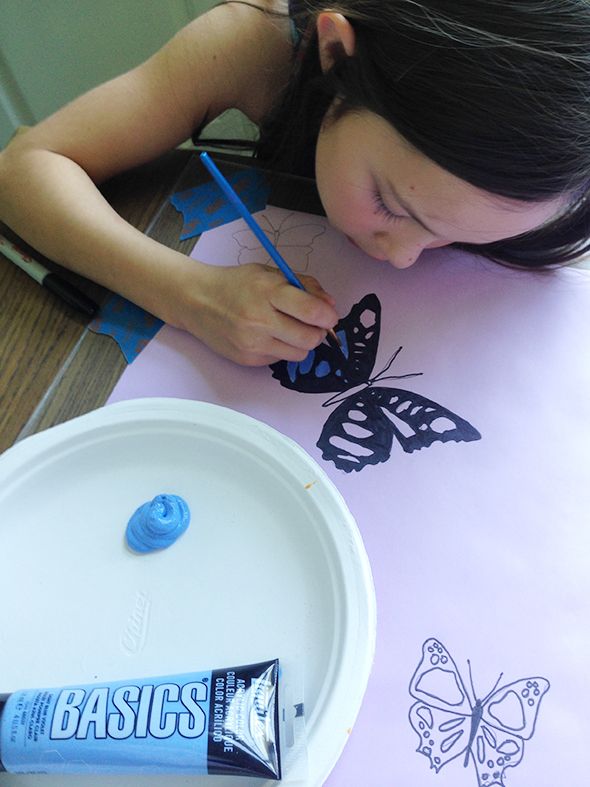
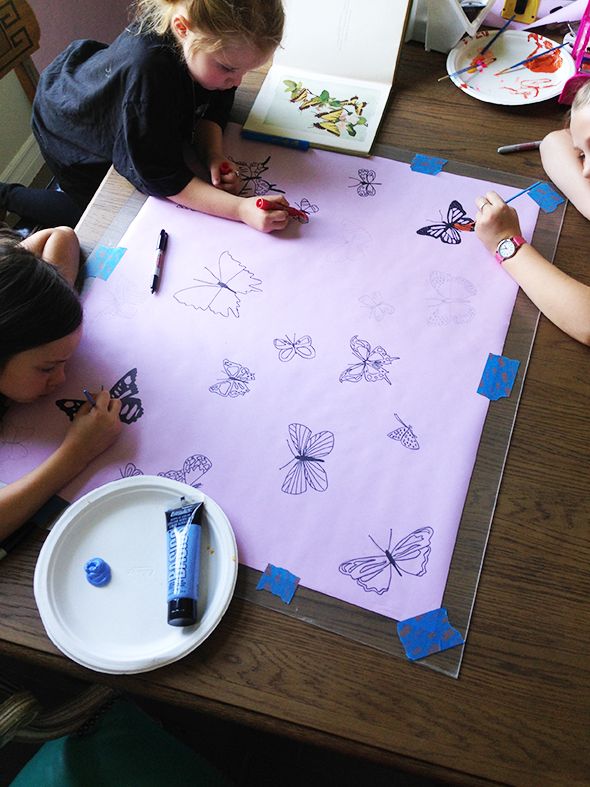
I love how this project turned out and the girls really loved working on it with me! :)


Such a fun room. And the best part is that it looks mature too- so hopefully as she gets older you won't have to change too much!
I love this room! The hot screw idea is BRILLIANT! I've done a similar thing with binder clips, removing the handle part. It looks very good too, but I may try this idea. One caveat for both, however: don't do this with any fine artwork or print. They need the air circulation; that one of the reasons for mats.
Oh my word! This is too fun! I loved that you let the kids get involved with the project. I am always looking for ways to get kids involved with art projects and decor. So cute!!
http://www.sweetlytattered.com
My three year old is Evie too! (Evangeline). I love that Evie got to have some choice in her room and then you could direct that into something that would still have style and grow with her and not be too theme-y!
Thanks so much for linking to my tutorial! I love the lavender color you choose for these pieces. Your ability to mix colors is always so inspiring!
Honestly! Who knew? I've been stressing about drilling, but this will have me sleeping like a baby! I found amazing vintage prints and now I can move forward. THANK YOU!!!
Sharon
I seriously thought these were fortuny! You (and your girls!) are amazing!
This is so cute! And the butterflies are handdrawn?!
This is genius. Thank you!!!
I did something like this last summer and it's one of my favorite DIY projects thus far: http://blog.effortless-style.com/2014/06/diy-extra-large-aerial-beach-photo-frame/
I love the beach photo I picked a la Gray Malin and the lucite is just the perfect pairing for it.
Love these and how the girls helped paint them in. So special!
Something tells me your girls have inherited your artistic talent. Beautiful work, ladies!
This post came at such a great time because I was literally JUST scheming up a way to hang my Vera Neuman scarf collection up on the wall! Love this idea and think it'll work perfectly! Thank you!
Is this acrylic flimsy or hard like glass? I will be trying it for sure. Thank you!
Thank you for the clear step by step photo tutorial and sources for materials! I really loved this frame in your daughters room and was trying to figure out how to recreate it with my own artwork.
Can you please tell the source for that beautiful blanket on the headboard? It looks like a peruvian frazada.
I am totally doing this!!! Great idea, as usual. Thank you
Love this idea. We borrowed this idea when it was used with the beautiful huge Asian panels. It came in handy when we had to cover a large area in the staircase of our latest remodel of our Manzanita vacation rentals. Your ideas are always wonderful and useful. The Houses On Manzanita Beach http://www.VacationRentalsManzanita.com
This framing idea is really cute. I have a couple of paintings on paper I made for my boys' room. I think this would be a great way to frame them.
Such a fun mom!
Such a fun mom!
I love this even more knowing that the girls helped you with it!! I am continually impressed and inspired by your work. Thanks for all you share!
Rebecca
UniquelyYouInteriors.com
Unbelievable! They did it by themselves!
Absolutely loved this! Brilliant idea for art and a fabulous project for kids!
These have an uncanny resemblance to Damien Hirst's butterfly works (http://www.artnet.com/Magazine/news/topten/topten3-21-1.asp) and I love it!!
Loved the idea. Especially involving your kid into this.
Good Wishes
Interior Design
Nice idea to involved the Kids.