
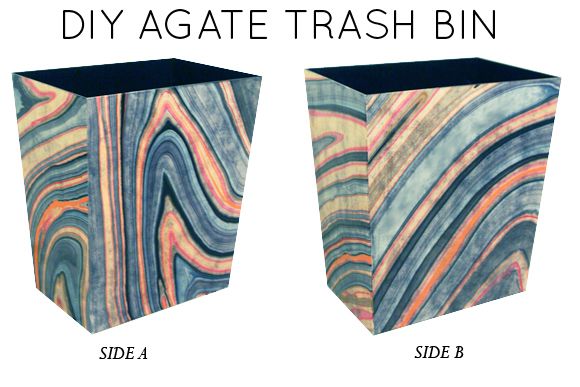
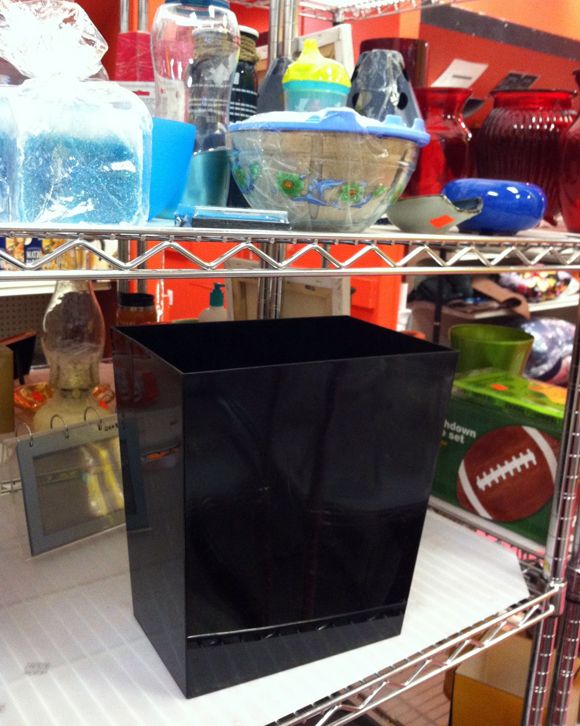
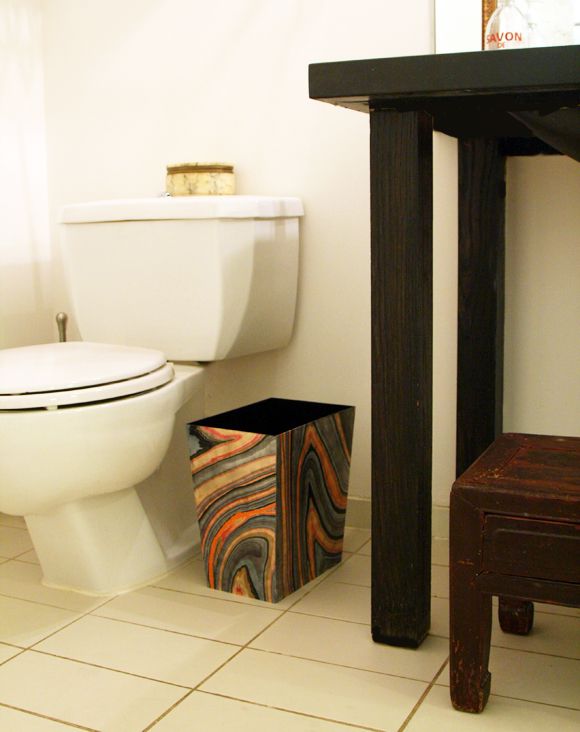
I fell in love with this $190 trash bin featured in the June 2012 Elle Decor, but I figured I could make my own. I finally got around to doing the project this weekend using a $3 Target plastic trash bin that I randomly saw at a thrift store.
I actually had bought a round bin for this project a few weeks ago, but realized after the fact that the project really only works on bins with squared off sides, or else there’s no fooling anyone that that marbleized paper could be real sheets of agate.
I bought the paper from Paper Mojo for about $5 ages ago and used it in a frame for a while, which was pretty, but I was fine with giving it up for this project.
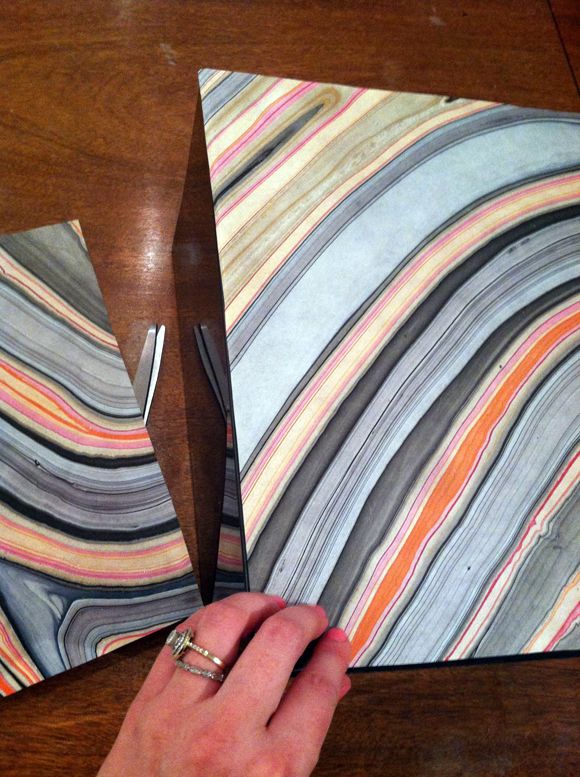
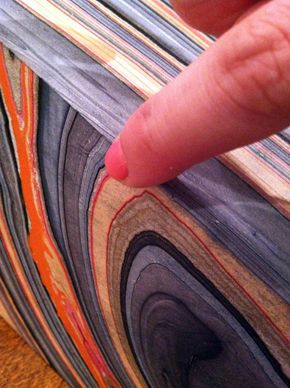
When you’re ready to get started, look at your piece of marbled paper (I only needed one sheet for my whole trash bin), and figure out which pieces of the pattern you want to feature. Keep in mind that it looks best if you can alternate the direction of the swirl on each side of the bin.
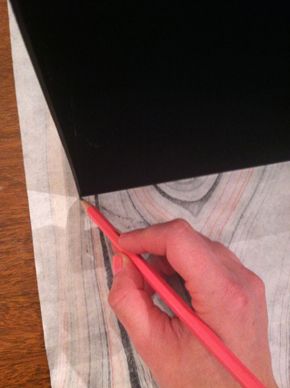
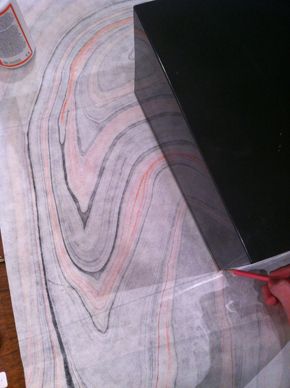
Use just a pencil to trace out the sides while holding the bin perfectly still. Cut out the pattern directly on the pencil line. Your cut pieces will end up being a hair to big, which is just what you want – a little overhang.
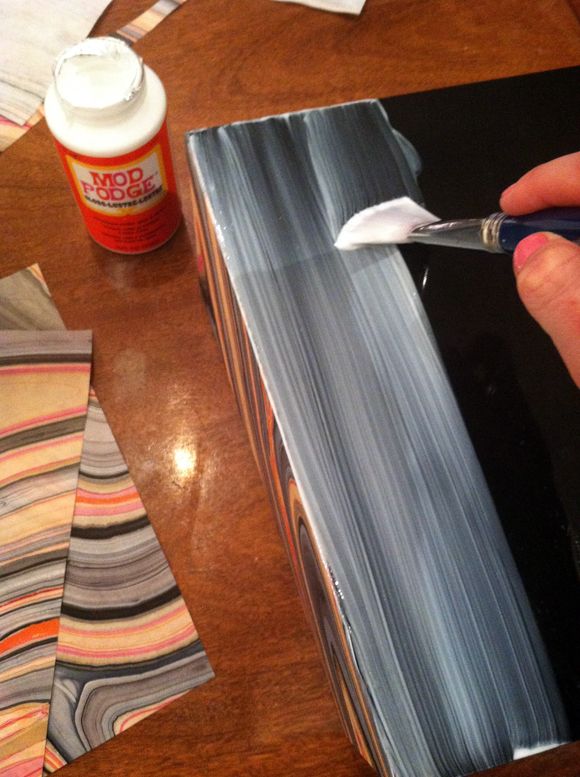
Use a soft brush to put down a layer of Mod Podge (no need to prime or sand first – just a clean surface) and then carefully lay the paper piece down. The top edge of the paper should be perfectly flush with the top edge of the trash bin, but the three other sides should have a little overhang.
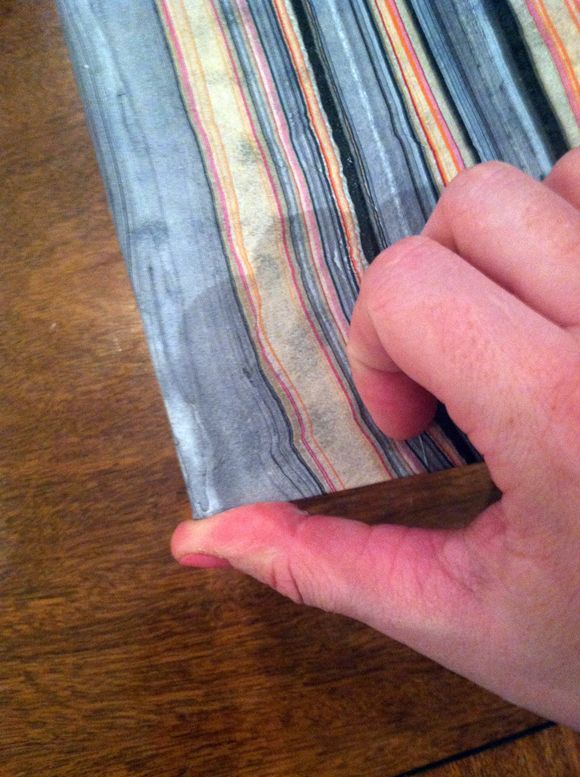
When the top edge is perfectly centered, use your hand to smooth out the paper. Make sure there are no air bubbles. It’s okay if there is a little mod podge spillage on the sides, that actually helps the extra paper on the side lay flat.
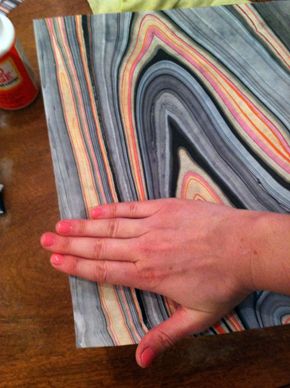
Don’t forget to crease the bottom edge under too.
I let the pieces dry for an hour or two and then I sealed it all with a top coat of mod podge.
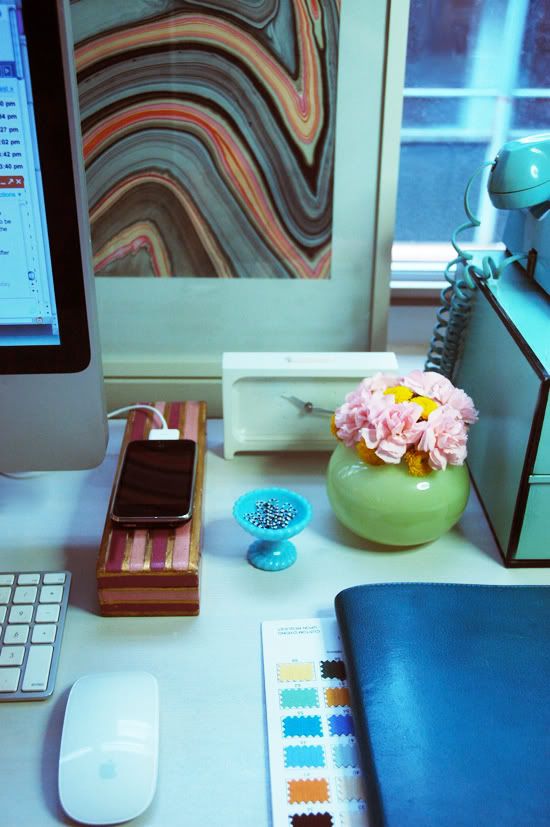
One lesson I learned for next time: use a light or white trash bin. The paper is pretty thin, so my finished project is a little blotchy with the black base peeking through. A white base would have been clear and bright though. Bummer.
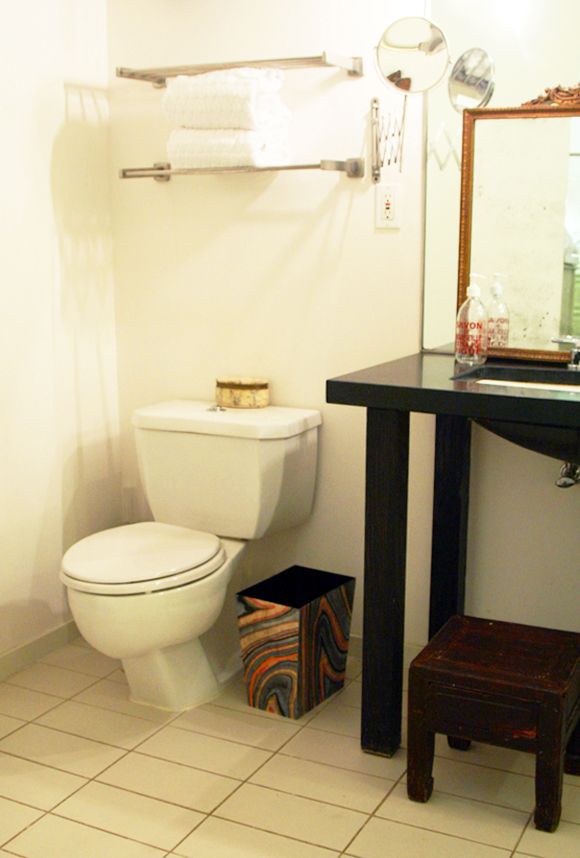
Still love it though and am glad I tried the DIY route and saved the $190! Plenty of other places to spend that money these days. :)
PS If you love marbleized paper as much as I do…


Great knockoff. I have a big old bottle of modge podge that I am dying to bust open.
That looks so great in the bathroom! Good savings :) x
You are so creative! It looks so similar to the $190 dollar one. Excellent job.
Looks awesome. As always!!! You creative genius, you.
Fabulous!! Great idea.
LOVE! can't wait to try this with some interesting paper… gives me ideas for tissue boxes, too! thanks for your creative genius as always.
fantastic idea- such a chic trash can now!
Nancy
Powellbrowerhome.com
Love this! What a great way to update any kind of old/boring piece…i might even try this on my old filing cabinet!!!
cheers
~ Jillian
http://www.hersplitends.com
Looks really professional, I like it ! Think I´ll build my own later :)
I love it, and definitely a place to save money. Who would spend $190 on a trash can?!
I love it, and definitely a place to save money. Who would spend $190 on a trash can?!
when i saw this on instagram last night, i headed over to LGN first thing this AM to see how you did it!!!!!!!!!!!!!!
this looks fantastic! I actually the dark bin color too.. moody agate!
Gina
http://www.readeandhudson.blogspot.com
It looks great. I actually liked that you started w/ the black base, because it looks better on the inside than the white would.
What a great project and resource! I just ordered some paper for a bookcase I have been stuck on, awesome site!
Genius, love it! Pinning…
The Aestate
It's so hard to find cute bins, this is a brilliant solution!
I just moved into a new house and wanted to update our plastic Target trash cans, but have been so disappointed by the lack of chic trash cans until I found these guys on West Elm's website. Not the most inexpensive options, but a nice in-between other options.
http://www.westelm.com/products/wola-nani-wastebaskets-d168/?pkey=cbathroom-storage-hampers
Awesome…it bring that little corner to life!!
so cool! i love this!
That looks amazing.
This looks awesome! I love your posts!
I have this trash can Jenny…I must try this!
I got it because I liked the shape,,,,,and it was cheap! I had planned on painting it it but you have changed my mind!
Great idea! Thanks for posting this ( and all your other ideas;)
such a good idea!
Amazing job! So smart!!
I love marbleized papers and read your link to that post as well as this. I really enjoyed reading them both. Your DIY project is fantastic. Such a great looking waste paper basket. And you did it yourself!
What a fun way to jazz up a trash can! I love it! :)
This is a great project!!
This is such a cool idea! I've never used mod podge before…is it easy to use and to work with?
Fantastic idea. I will be doing this next week.