When I caught my four year-old gazing longingly at PBK and Serena & Lily catalogs, I knew that something had to be done about her boring bedroom. Both of my girls love color. They are girly, but not too girly, so an all-pink room wasn’t going to do.
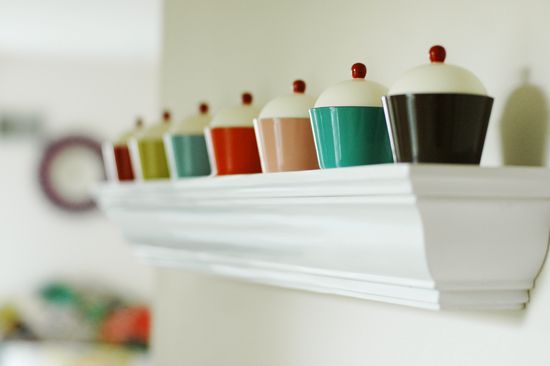
Here’s what we came up with on our very (very) small budget:
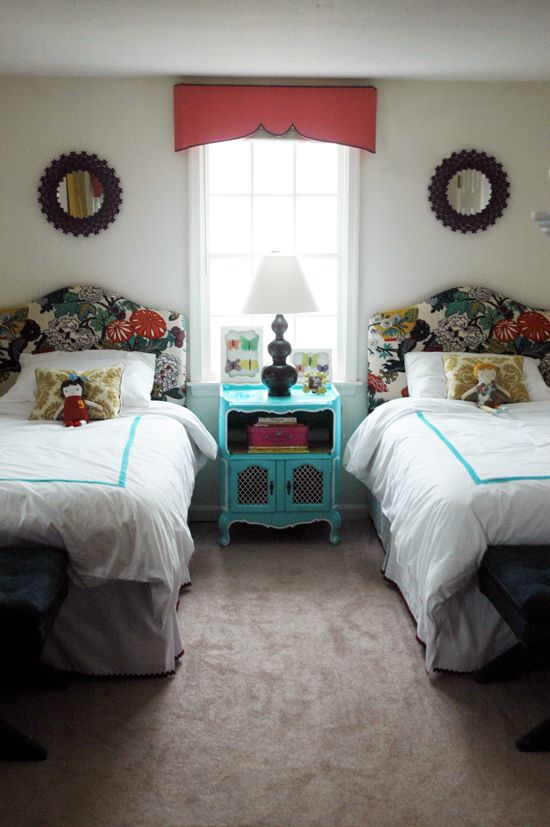
I already mentioned that I did a lot of the ‘shopping’ for the room in our basement storage area. It was fun to work with things I already owned.
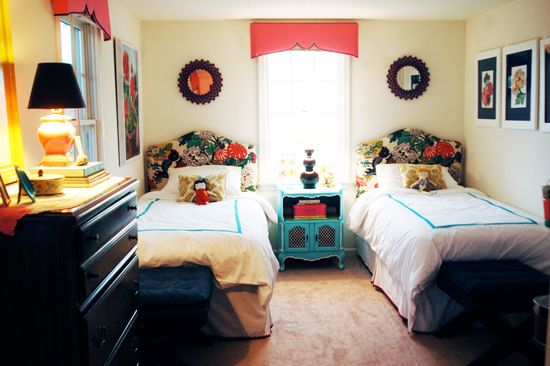
I really wanted new duvet covers for the twin beds – something simple and mostly white, but with a colorful trim that matched a color in the Chiang Mai headboards. I could have just bought some bedding like this from Pottery Barn, but I figured I could save myself a few hundred bucks and just get creative with a pair of all-white duvets we already owned and some turquoise single-fold bias tape.

The sewing is not perfect, but the result is honestly better than I expected. I like the punch of color in the sea of white bedding.

While I had the sewing machine out, I added a few yards of dark purple ricrac to the bottom hem of my cheap Target bedskirts.


I bought this cute little french nightstand at a vintage shop a few years ago. It’s seen better days and badly needed a paint job.

I went with turquoise again and trimmed out some of the moulding details with white paint.
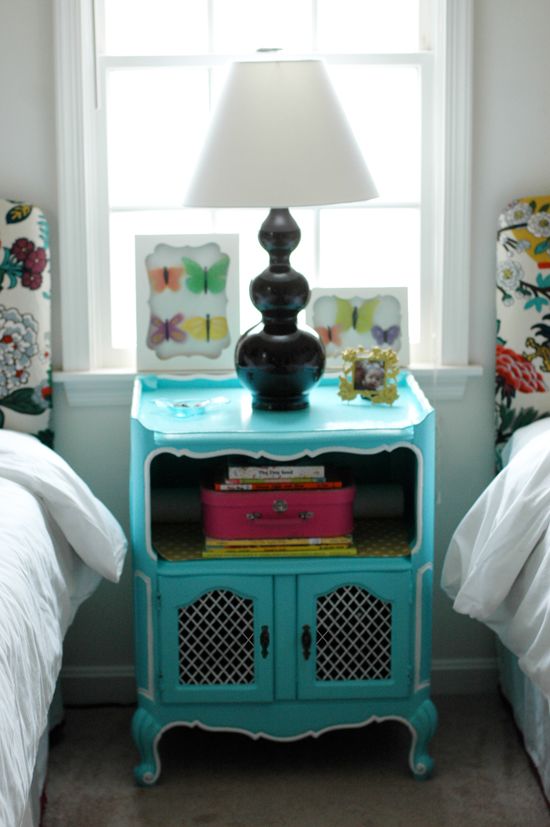
Michael’s had a bunch of the Martha Stewart collage frames on clearance a while back and I finally decided to do something with the two that I picked up. It was fun looking at pictures of butterflies with my girls and picking out shapes and colors to mimic using vellum paper.
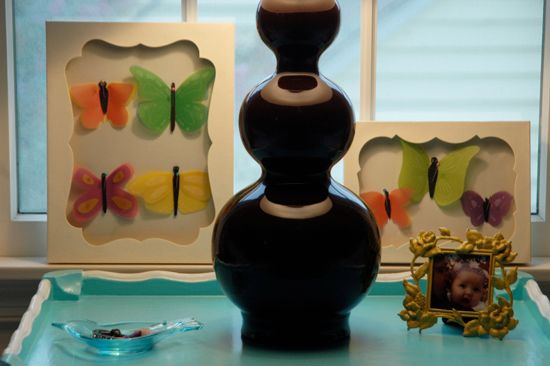
The lamp was $18 at HomeGoods, and while that price included a nice shade, it was badly damaged in our move (see before pic), so I had to buy a new shade at Target. I’m loving clean parchment shades these days.
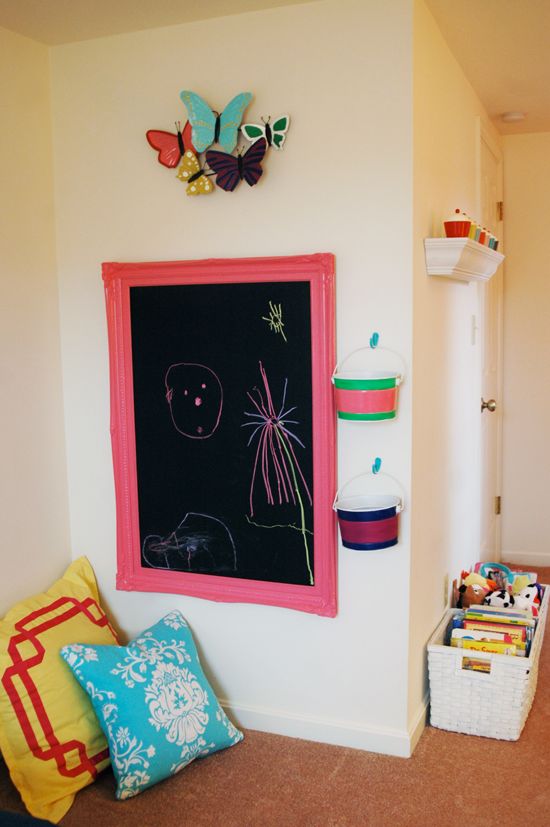
On the opposite wall from the twin beds, I reused a large frame and a piece of sheet metal to make a chalkboard. Here’s the before shot…

I mounted it low on the wall for easy kid access and also hung some freshly painted galvanized buckets filled with chalk. The floor pillows are from HomeGoods and Target. Above the chalkboard, I hung a metal butterfly wall sculpture thingy from Target’s clearance aisle. It was all black metal when I bought it a few days ago, but I (shocker) decided to paint the butterflies.
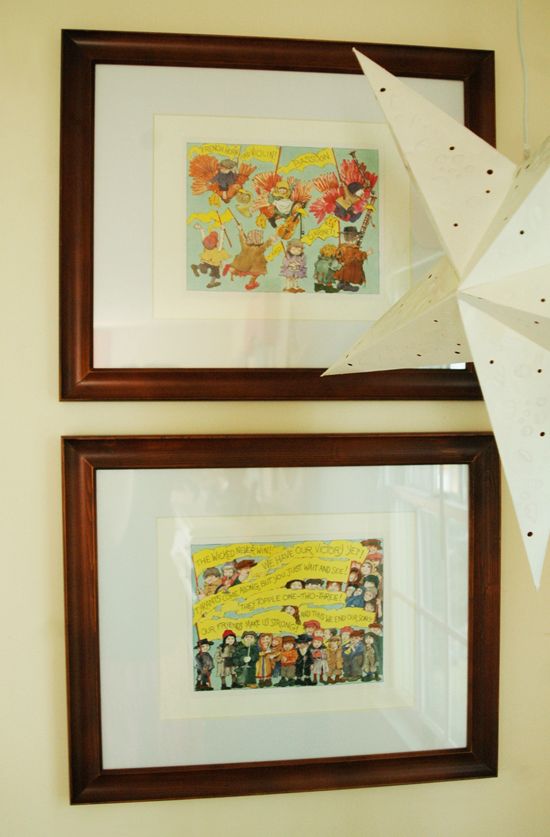
Years and years ago in college, a roommate gave me a paper star chandelier. It’s been in storage for a long time and I’m so glad I thought to dig it out for this project.

The colors weren’t right for the space, so I painted it white and now I love it in the room.

The star hangs over a striped slipper chair we found just sitting in our basement when we moved in and some framed pages from a favorite children’s book, Brundibar.
Also from our storage supply was this white mirror I bought a very long time ago at Nordstrom (well, really, Last Chance for all you AZ natives) for $20.

The old paint finish was a little too shabby chic for my taste, but I decided that yellow would be just the right pop of color for the above the dark brown dresser (which we can’t paint). In this picture you can also see what the white star looks like when it’s lit up. It’s the perfect night light for my girls – my two year-old calls it Twinkle-Twinkle.

The little pink lamp on the dresser used to be green. I found it at a thrift store for $0.50 and used a small brush to apply some glossy pink paint. Good as new.


I also found the embroidered linen table runner at the same thrift store.

The room’s not completely done yet – I still have some finishing touches to make – but I like the progress that has been made since last weekend.


I LOVE this room! It makes me want to be a kid again!
darling, great job!
God, it's GORGEOUS! Love, love, LOVE!
I love it. You are really very talented.
Thanks again for all the sweet (and very generous) comments!! Also, thank you for withholding your criticisms – I'm sure you all have more than a few!! :)
About the pink lamp. It is ceramic. I used a 3/4" artist's brush and hi-gloss interior latex paint from Home Depot – no primer, believe it or not. The trick was using the hi-gloss paint in multiple coats (probably four or five coats in total). Hi-gloss will stick to almost anything, really. Be careful of drips though!
The navy x-benches were bought about a year ago on Craigslist. They are vintage and the upholstery was ugly to me, so I spray painted them blue (with a special fabric spray paint) and then painted (with a brush, by hand) the welting black. If you're looking for a pair of x-benches yourself, I would totally save up and buy the Ballard version. If you are patient and sign up for their emails, you can usually get some good discounts. The quality is great with Ballard, and once you add in the cost of reupholstering some old ebay or craigslist benches, you're close to the price of a brand new x bench.
The turquoise damask pillow (down-filled, BTW!) is on clearance at Target right now for about $6-7. The yellow and pink pillow is actually a Euro sham from Home Goods (had to purchase the insert separately).
I'll answer the pelmet questions in the comments section of that post.
Thanks!!
I am SO inspired! This is perhaps the most lovely room-on-a-budget I have ever seen. I can't wait to try the pelmet boxes myself {at least I hope to get around to it!}. Thanks for the inspiration. It's gorgeous!
That's a really beautiful room, with so much personality and character. Love the bedding details.
You did an absolutely INCREDIBLE job!!!!!!
WOWEEE, that is fabulous! I love the cupcakes.. where did you find them?
oh my goodness. too much cuteness. i wonder if you could tell me what kind of paint your use to redo your furniture & lamps? it looks like you have quite a bit of experience and i am curious if you have found one that works better than others…Thanks. lovely, lovely space!
WOW! I have just stumbled onto your blog…perfect timing is we are about to re-do our nearly 6 year olds room…LOVE how you have just painted everything to make it fit…
this room is to die for! i'd take it and i'm far from a little girl ;) bravo on a stellar job!
-a
this is the perfect little girls room!! I am saving my pennies to contract with you!! (do you ever travel to Connecticut?)
Hello,
I came via The Nester…what an adorable room for your sweet little girls…just a fantastic job !!!
Nice to meet you !!!!
All the best,
Kathy :)
jokaj@comast.net
LOVE your little girl's room!! so chic! and even better, this look can last for years! easily transitionable into a pre-teen room as well!
I love love love love this room. Original, girlie and absolutely fab. The headboards are my favorite although all of the accents are amazing too.
I wish I had this room – except my husband wouldn't be too fond of having twin beds. ;) I love how you made everything coordinate without being matchy-matchy. Soon my little girls will be sharing a room so I now have some inspiration to work from. Thank You!!!
wow i love this in so many way! many of your colors are the same as my family room and you have given me even more to work with. thank you for sharing your amazing space with us!
Jenny,
What color yellow paint did you use on the mirror? I want to paint a side table that color. Thanks.
Jenny – I think the yellow color was "Olive Oil" by Martha Stewart at Lowes.
Good luck!
j
WOW! This is so stunning, your girls are so lucky to have such a cool talented mom. Now I have a question…what kind of paint did you use to re-do the pink lamp? I love the idea of updating a lamp base's color!
Nevermind on the lamps Jenny – I read back through the comments and found it. Seriously…this is amazing. You have such a gift!
i am in awe. you have such great taste. perhaps i should email you and get your rates and start saving so my home can be as amazing as yours.
This is so beautiful! I LOVE what you've done-every detail works so well together!
I was just wondering if you upholstered the headboards or if you bought them like that? I'm in love with that fabric and wondering where I can get some. This room is a dream. I'm in love:) Thanks
Ohhh! you're a magician. Really lovely room!
You did such a lovely job. Perfect for two little girls. I am so jealous that you found those cupcake bowls on sale! I have wanted them ever since I first spotted them.
Your projects are simply stunning and so inspiring….I wish i could "see" individual pieces and recognise their beauty in the way you seem to have done so effortlessly.
Thanks for sharing pictures of this room redo. I'm about to tackle the shared room of my two daughters and you've given me a few ideas from which to draw inspiration. Hope you have a great week!
Because of their antique pandora jewelry aspect, Art Deco rings make excellent engagement rings. Art Deco rings are vintage pieces, which creates a wonderfully buy Pandora romantic feel. These are antique, and thus, they make a perfect jewelry to pass on to future generations. With their hand engraved designs that discount pandora hearkens back to a simpler time, these pieces also possesses a very feminine pandora jewerly look.Art Deco engagement rings are truly unique with its large square center stone surrounded by smaller square stones or triangular stones. They put a pandora earrings unique twist on the traditional and classic diamond rings.The following are a few tips in buying Art Deco engagement rings.Make sure that cheap pandora earrings your future wife will not mind having an Art Deco engagement ring instead of the traditional diamond engagement ring.
I really like this room. Especially the chalk board and the cup cake jars. Have you any idea whether these can be purchased online?
Thanks for sharing:-)
I love this bog! Is there a way that I can follow? I didn't see that option?
I love this bog! Is there a way that I can follow? I didn't see that option?
my design philosophy: renew, refresh, repurpose-love the repurposing you did for your gilr's bedroom…not to mention using my all time fav fabric on the headboards-great work-always love you posts-
Tanya
http://www.stylestudiollc.com
This is the BEST girl's bedroom in the whole world! The butterflies, little cupcakes, board, buckets and star chandelier are AWESOME! Great work!
This is absolutely fantastic. Thanks for the tutorial. I've added your post as it inspires me. This is such an amazing room. Great job!
http://typearamblings.blogspot.com/2011/08/blog-binge-drapes-and-valances-pelmet.html
Your room looks great!! I really need to start shopping at thrift stores i guess! I just finished a reading nook makeover in my 5 yr. olds room, she loves it! I am going to go looking around your blog for other ideas, I have just started one of my own, you can see the nook there…
http://honeybeeboutiques.webs.com/apps/blog/show/11335606-one-small-step-for-the-malloys-one-huge-step-towards-resolution-completion-step-1